Bow Scrunchie Sewing Tutorial
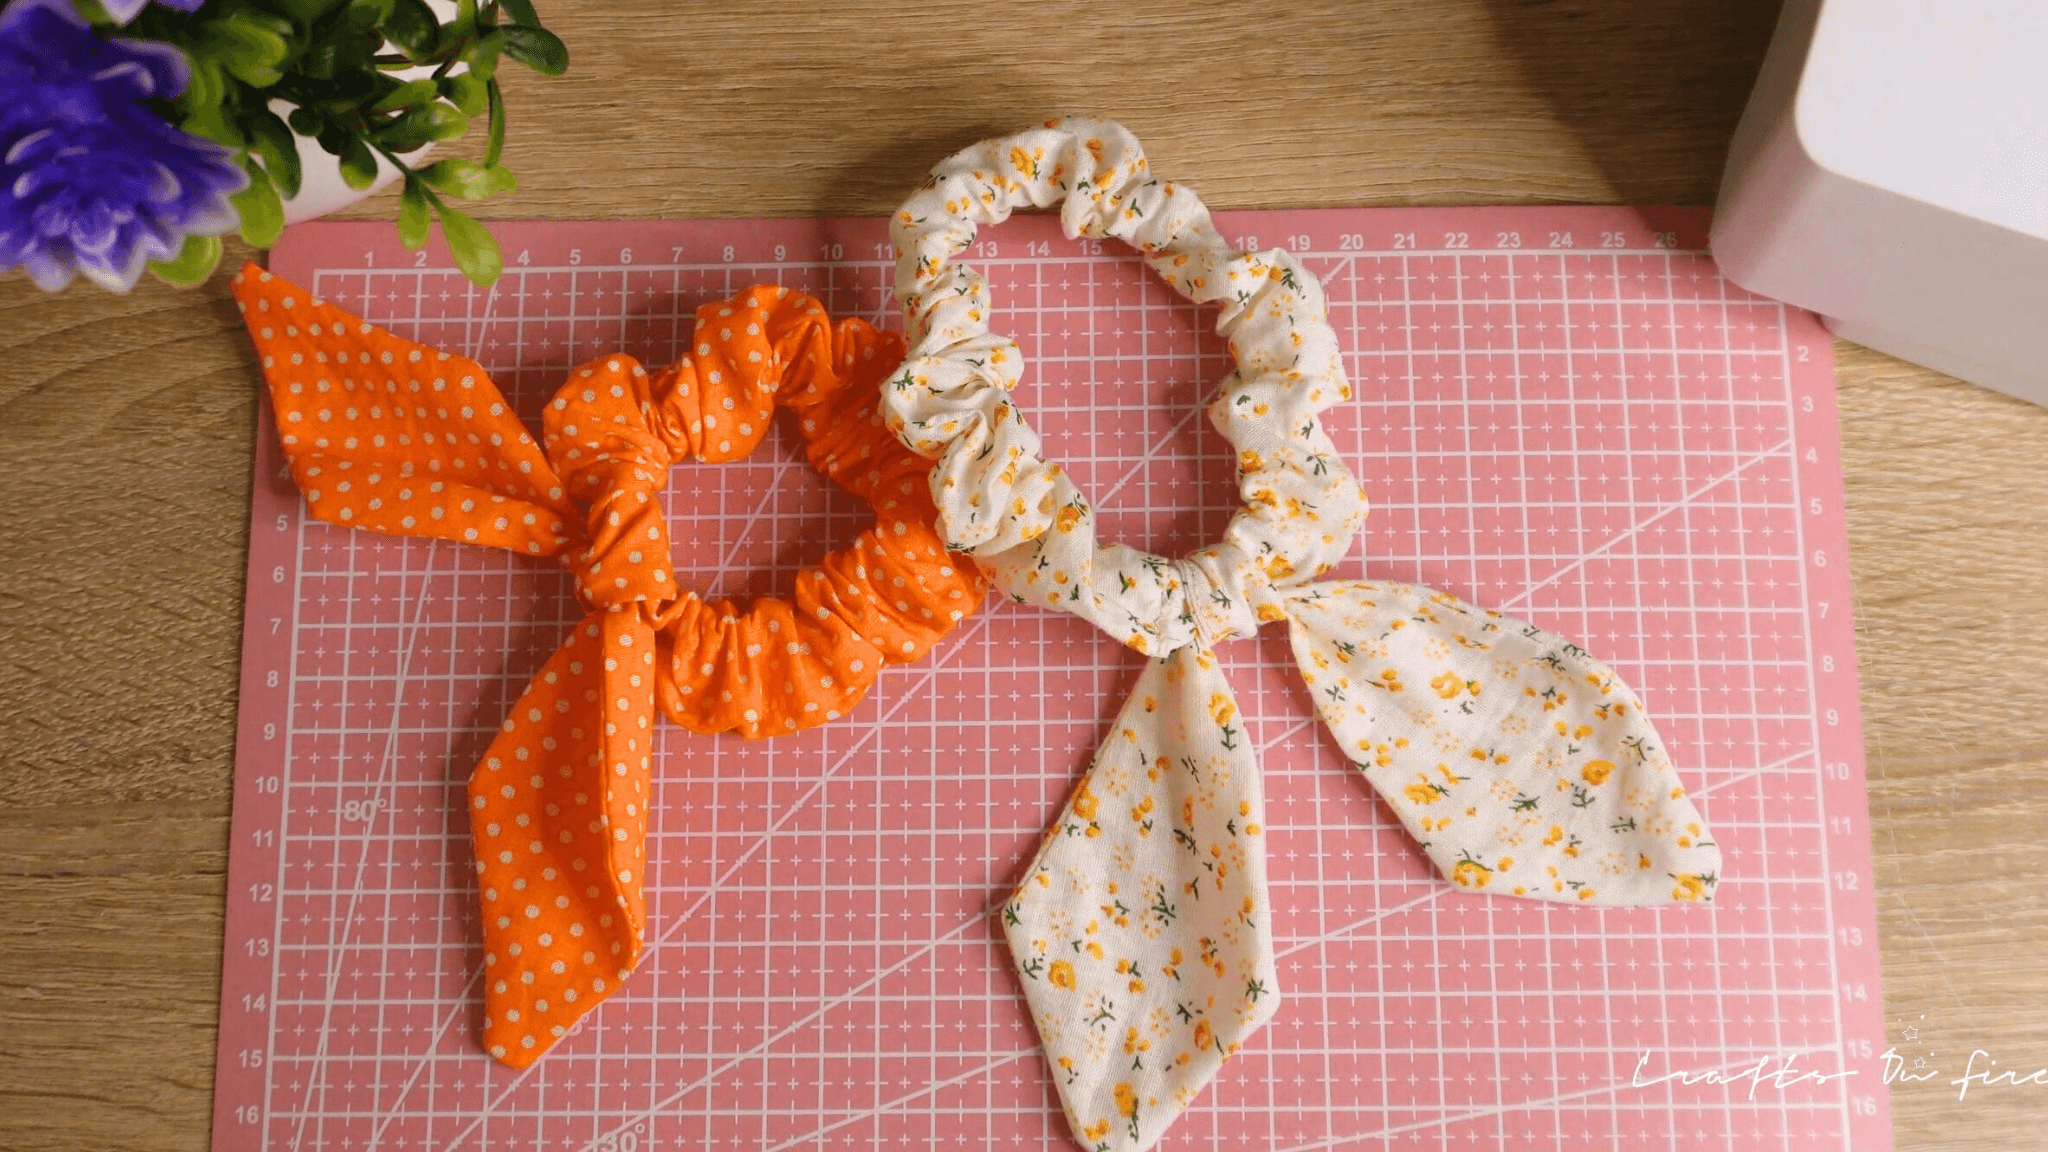
In today’s tutorial, I want to share one of the easiest ways to sew a bow scrunchie that will only take you a few minutes to complete.
I have extremely long and thick hair, which makes it difficult to maintain and control without some kind of hair band or scrunchie.
When it comes to my clothing and accessories, I’m all for uniqueness and one-of-a-kind products which is what motivated me to invest in a sewing machine.
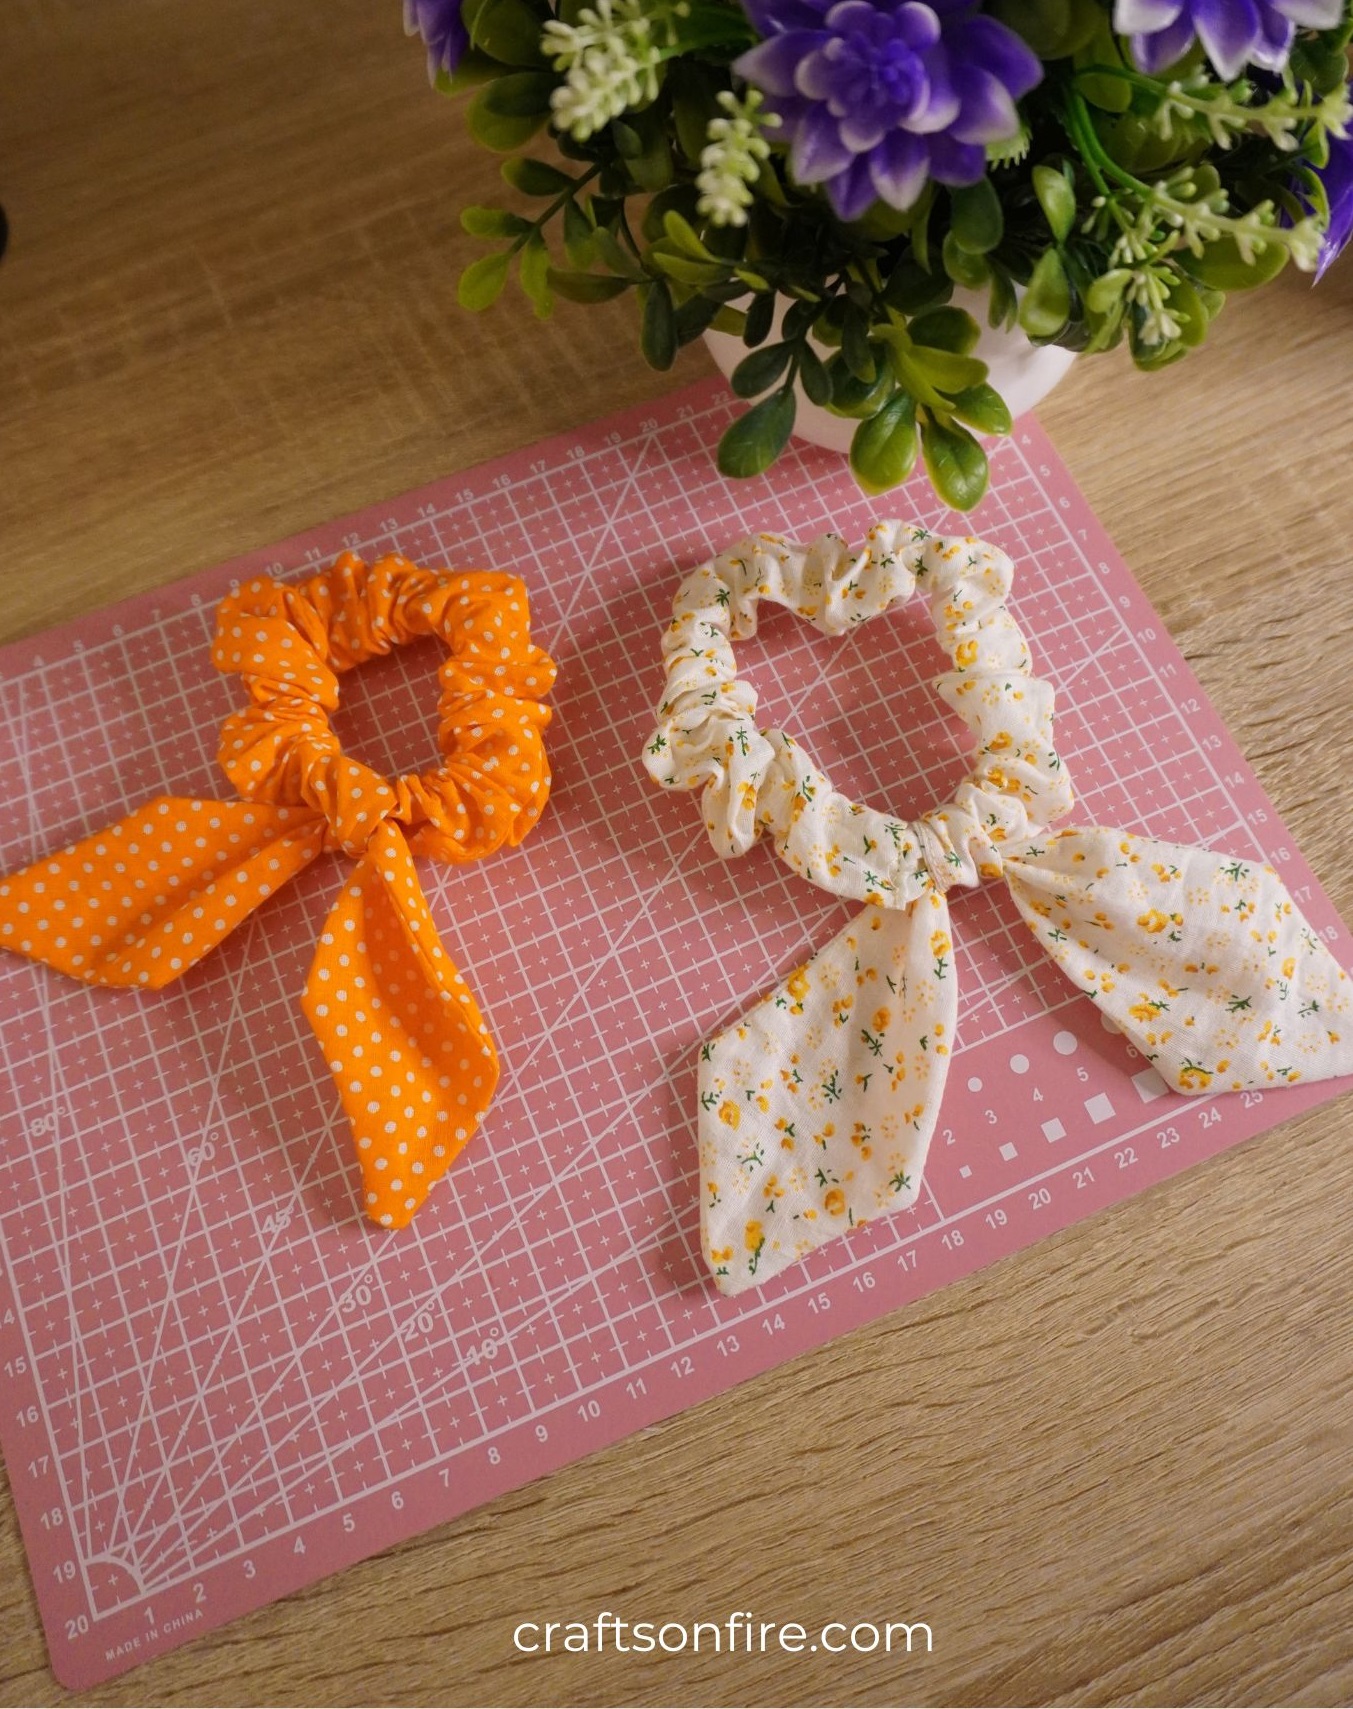
I structured this sewing tutorial for beginners and I opted for a design that is both unique and cute.
If you were looking to start a small sewing business, perhaps you could sew these scrunchies and sell them?
I’d love it if what I share on this blog can be used to benefit my readers both creatively and financially.
With that being said, let’s begin!
Table of Contents
How To Sew A Bow Scrunchie
Supplies
- Elastic
- Patterned Material
- Sewing Clips or Pins
- Sewing Machine or Needle
- Cotton
- Fabric marker or pencil
- Ruler
- Scissors
Measurements
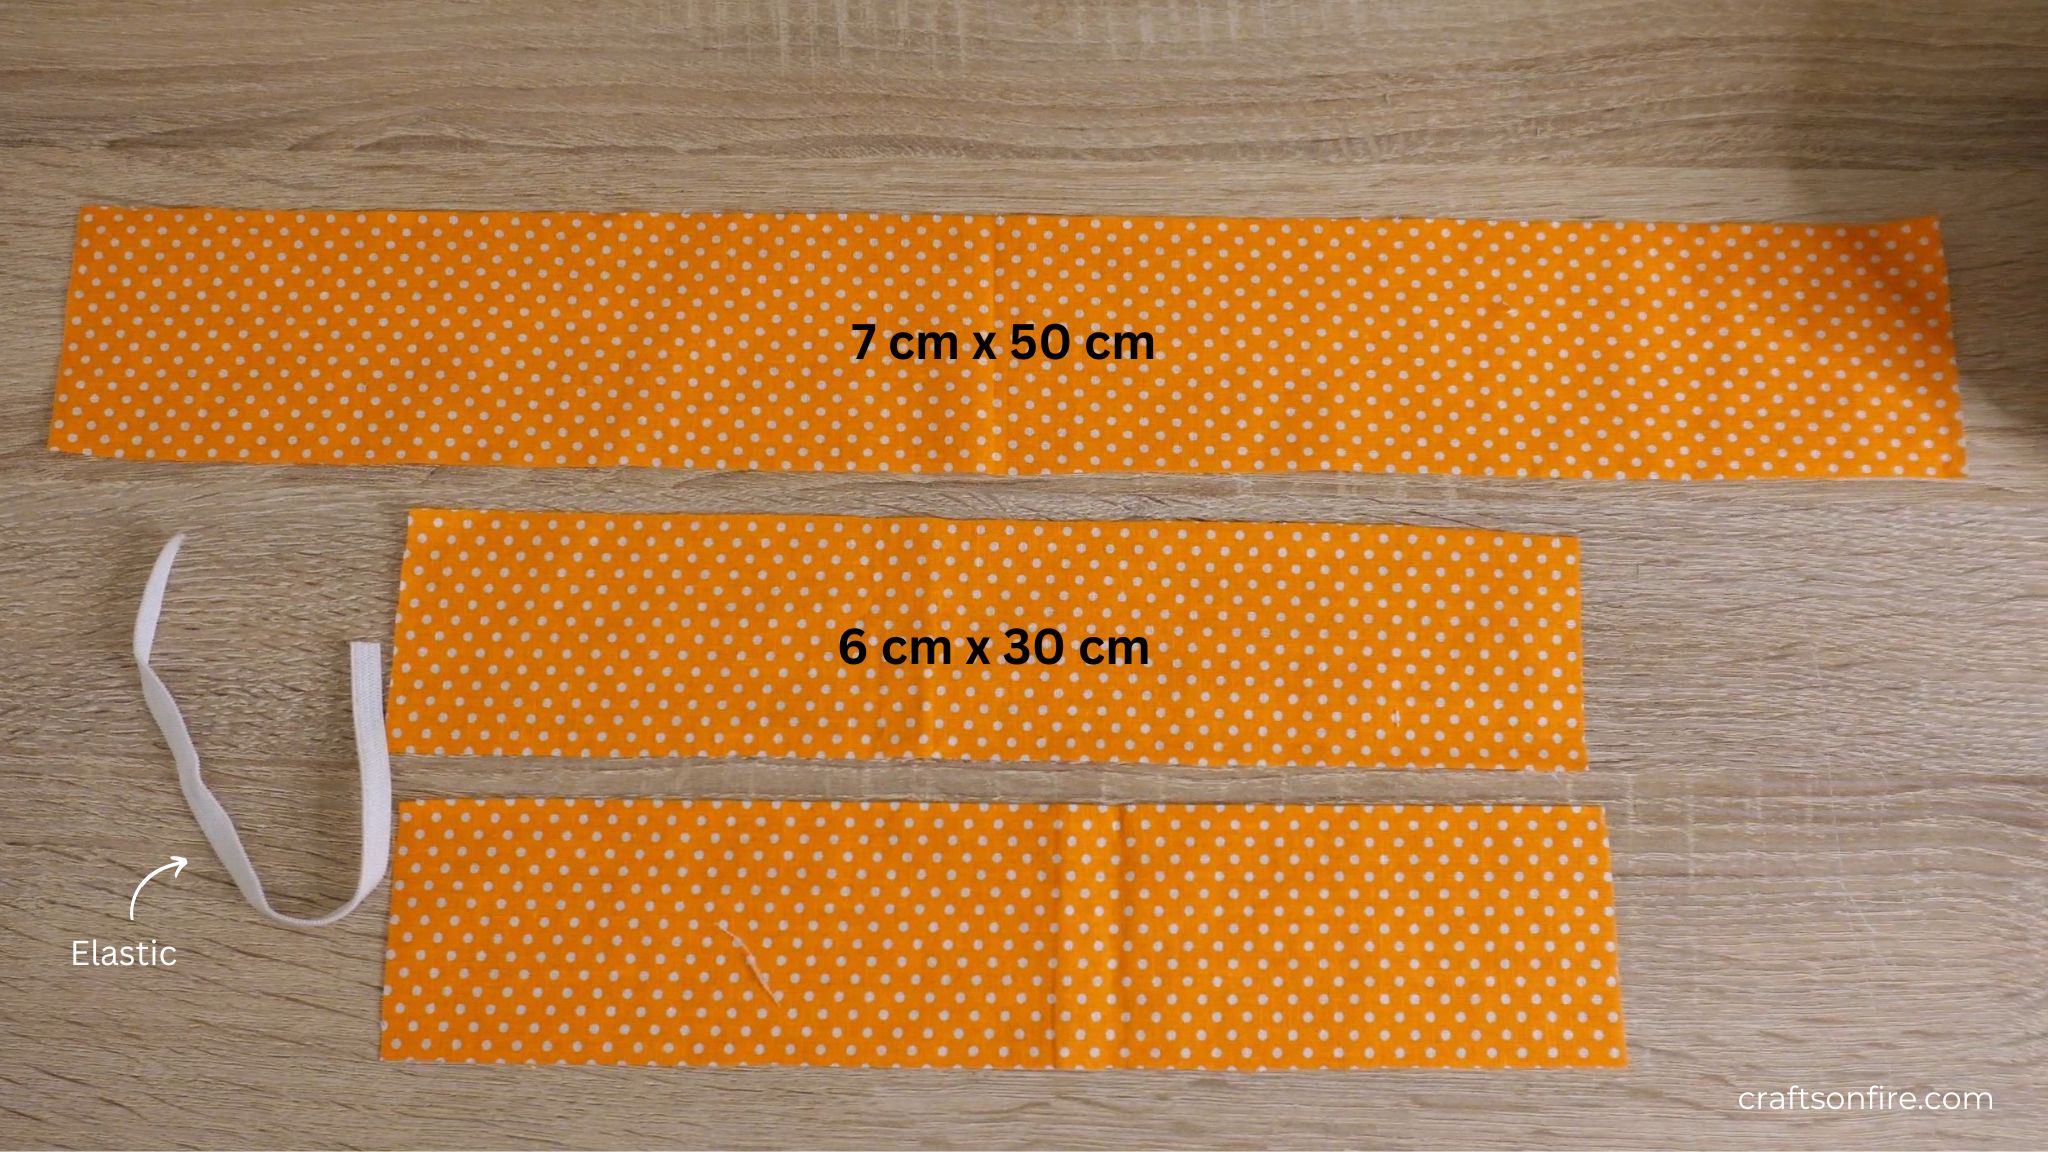
Cut the material into three rectangles as follows:
- The scrunchie: 7 cm in height and 50 cm in length
- Two bows: 6 cm in height and 30 cm in length each.
- Elastic band to the size of your wrist
Video Tutorial
Instructions
Step 1
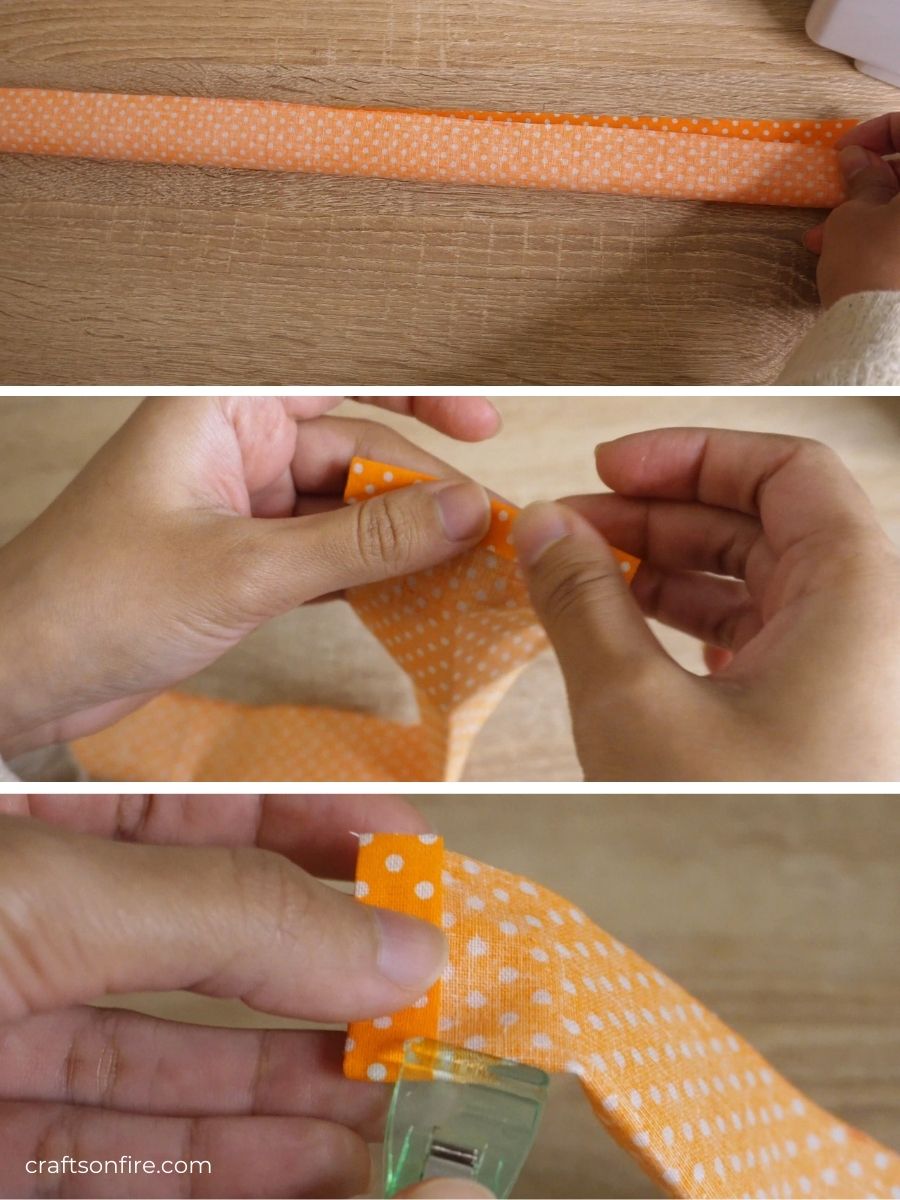
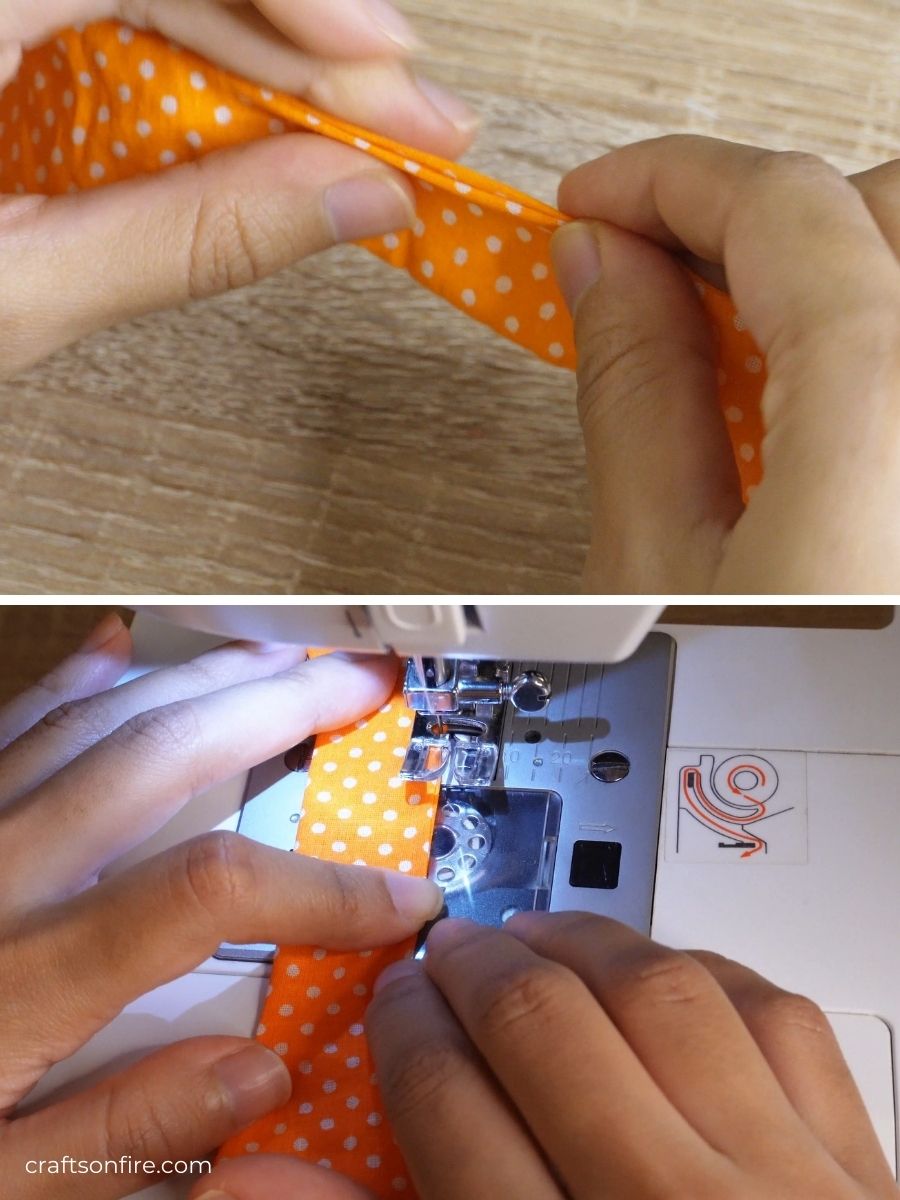
Fold the longest piece (the scrunchie) in half revealing the wrong side to you. Fold the corners over and use a peg to secure them. Repeat this on both sides before moving onto the next step.
Step 2
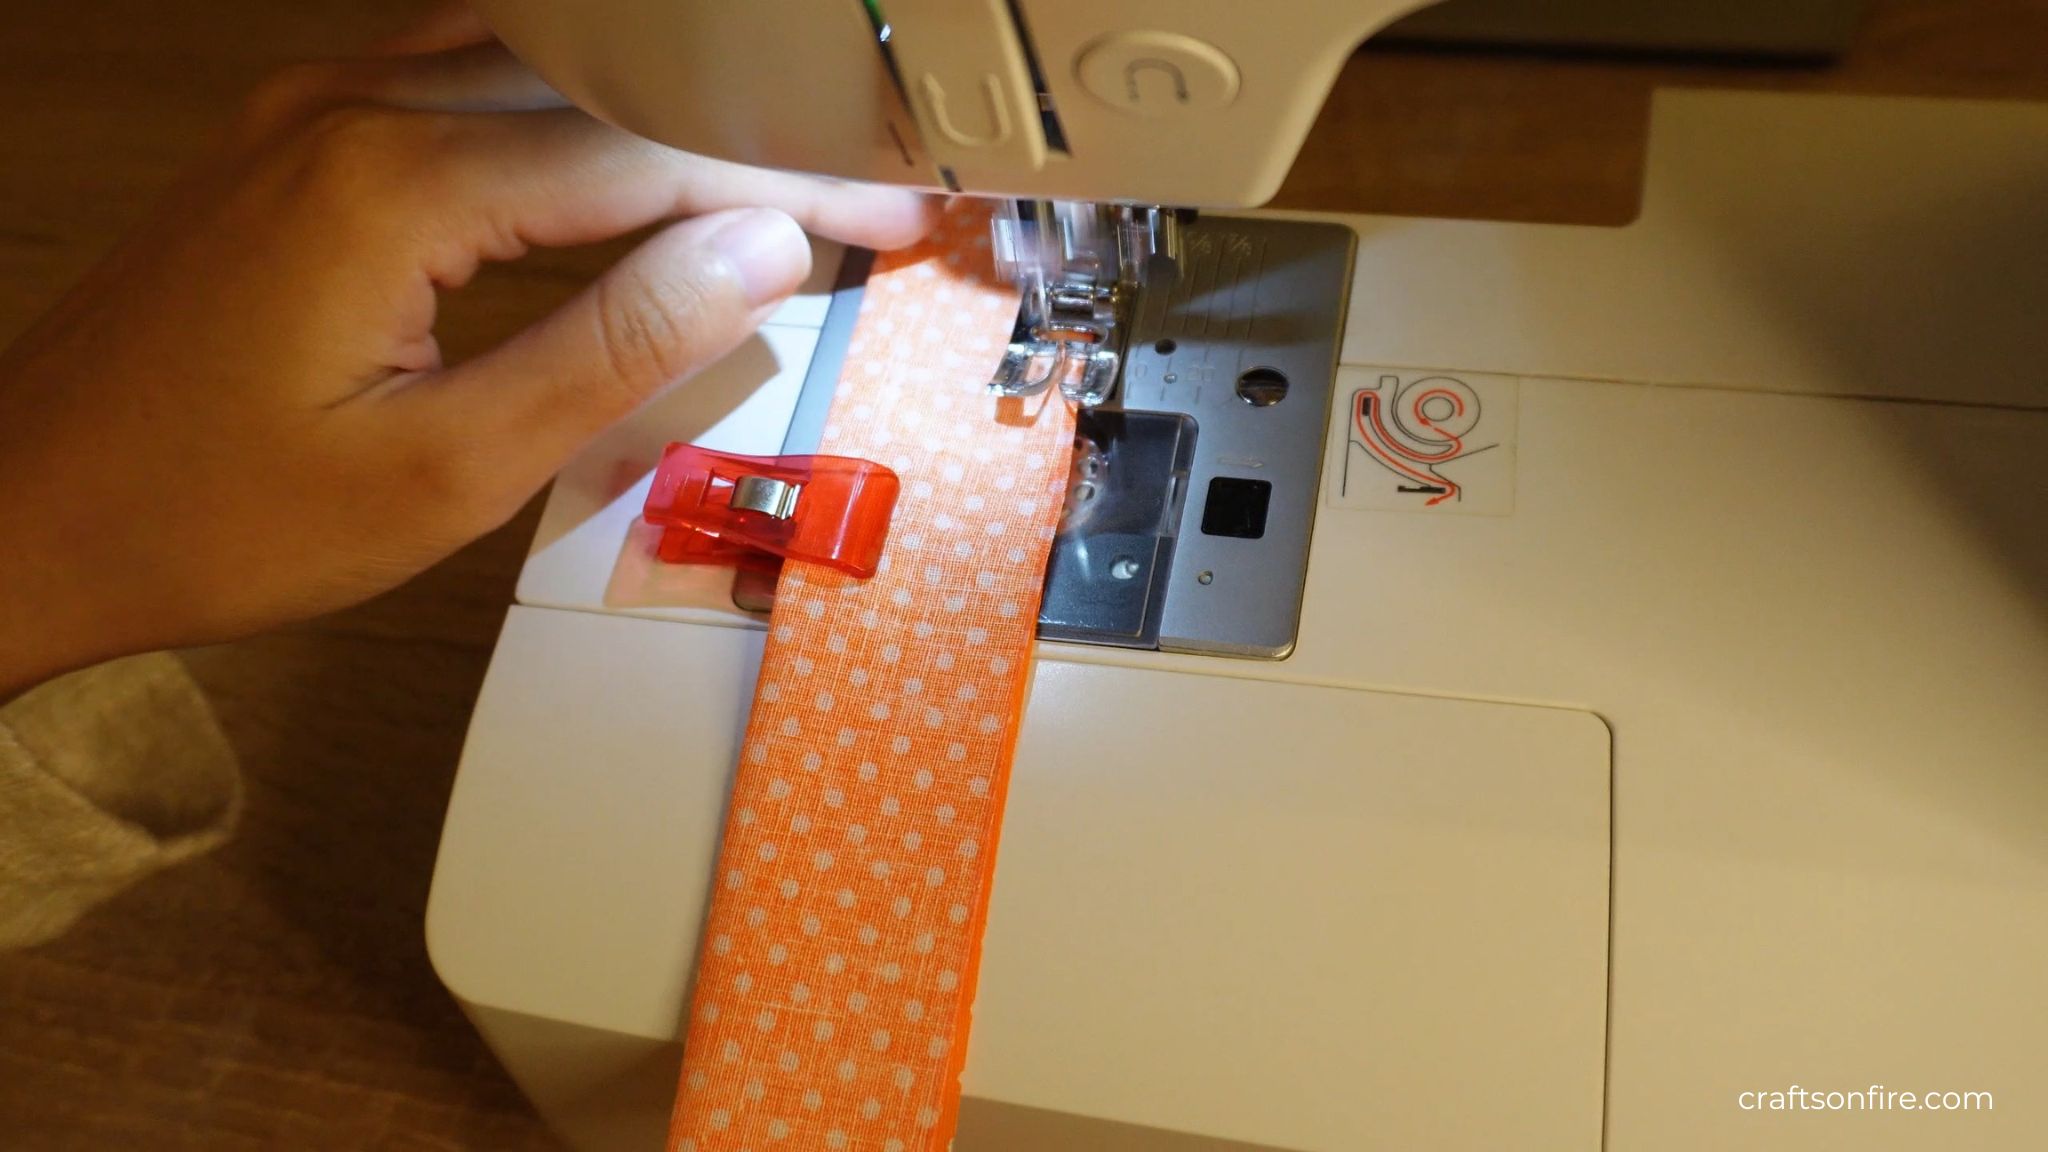
Place the folded material into the sewing machine and stitch the corner where both ends meet from end to end using a straight stitch.
Step 3
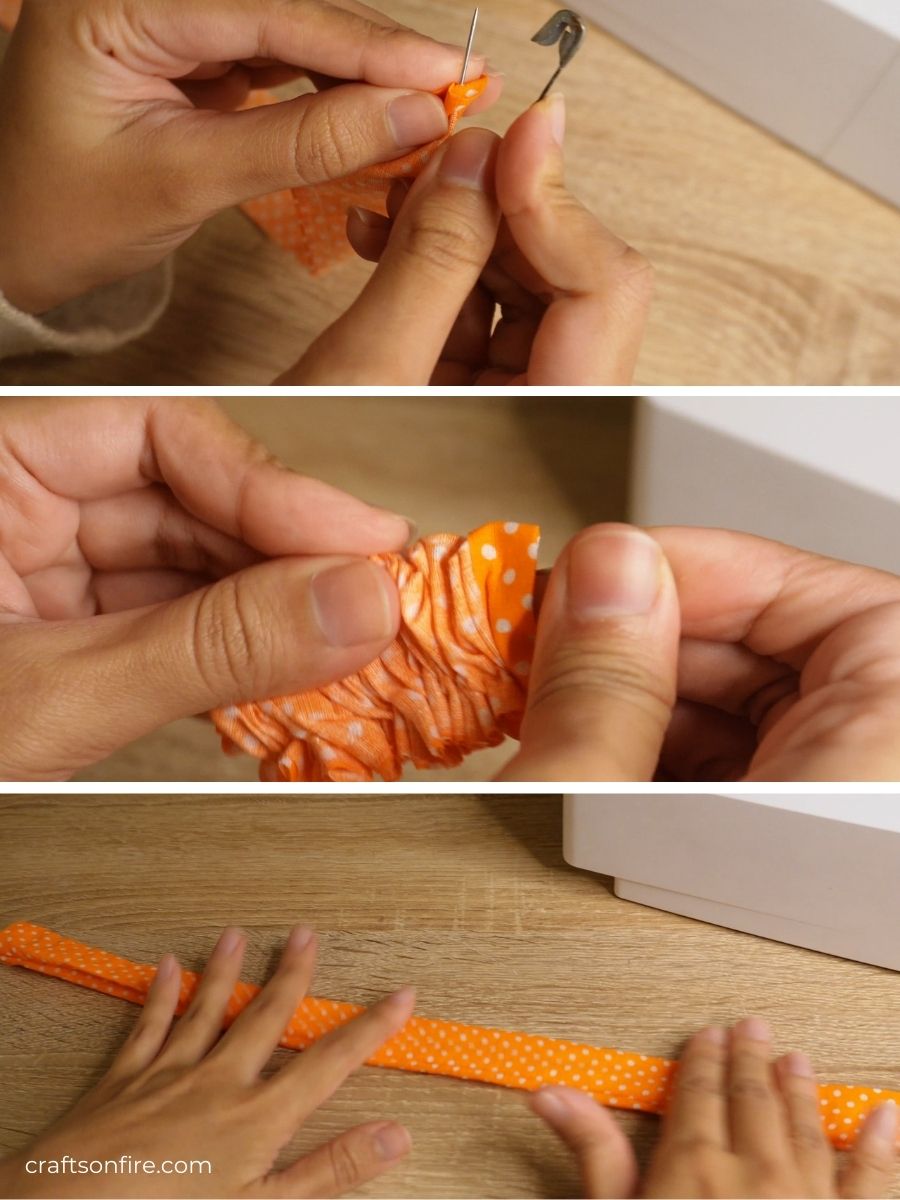
Open a safety pin and insert it through one end, close it, and then push it inside all the way until it comes out the other side. Once it does, pull it all the way to reveal the correct side of the scrunchie that has been sewn.
Step 4
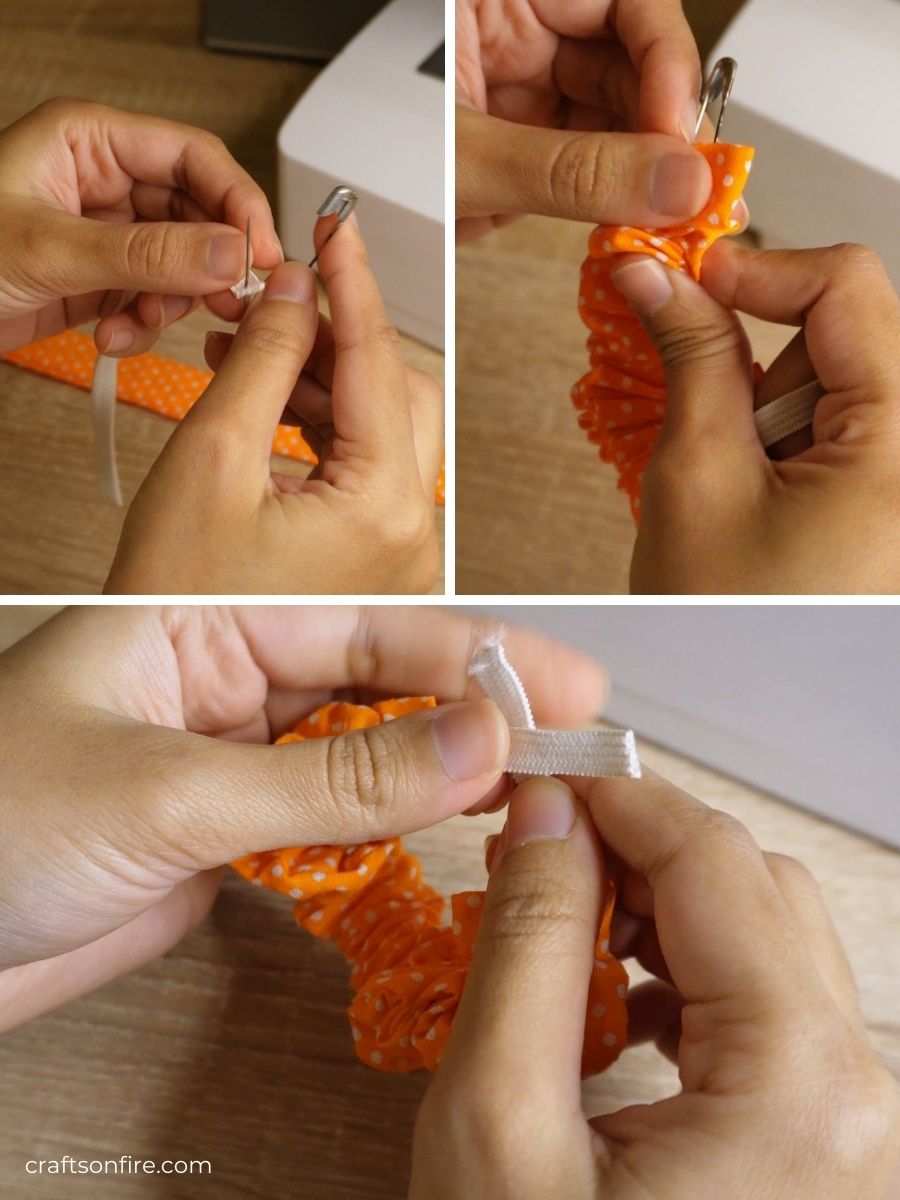
Insert a pin through one end of the elastic band and close it. Then, push the pin through the rectangle fabric while holding onto the elastic band in one hand.
This should gather the material until it appears in the shape of a scrunchie.
Step 5
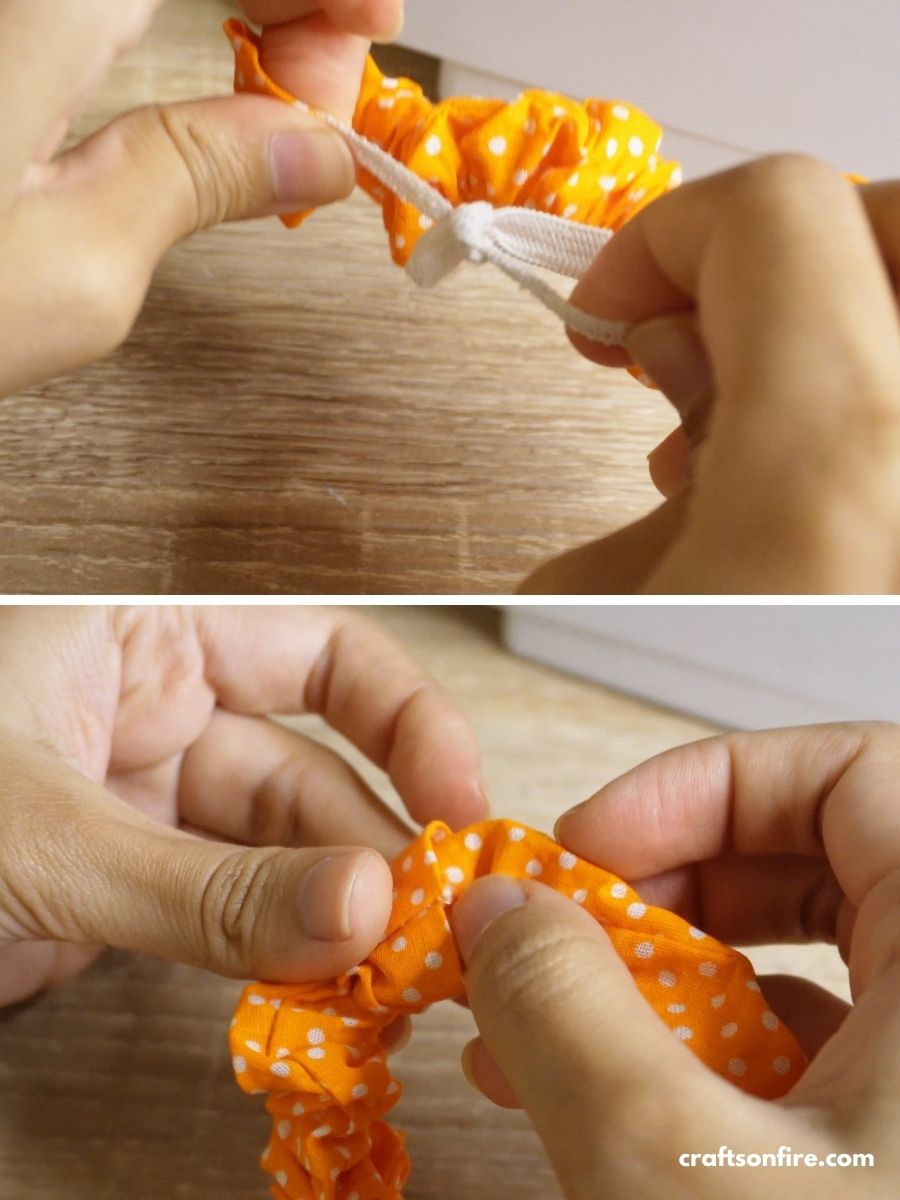
Remove the pin and begin to tie a knot with both ends of the elastic band. Secure the knot so that it doesn’t open.
Then, pull both ends of the fabric over the elastic band until they meet. Be sure to align the seam lines before moving onto the next step.
Step 6
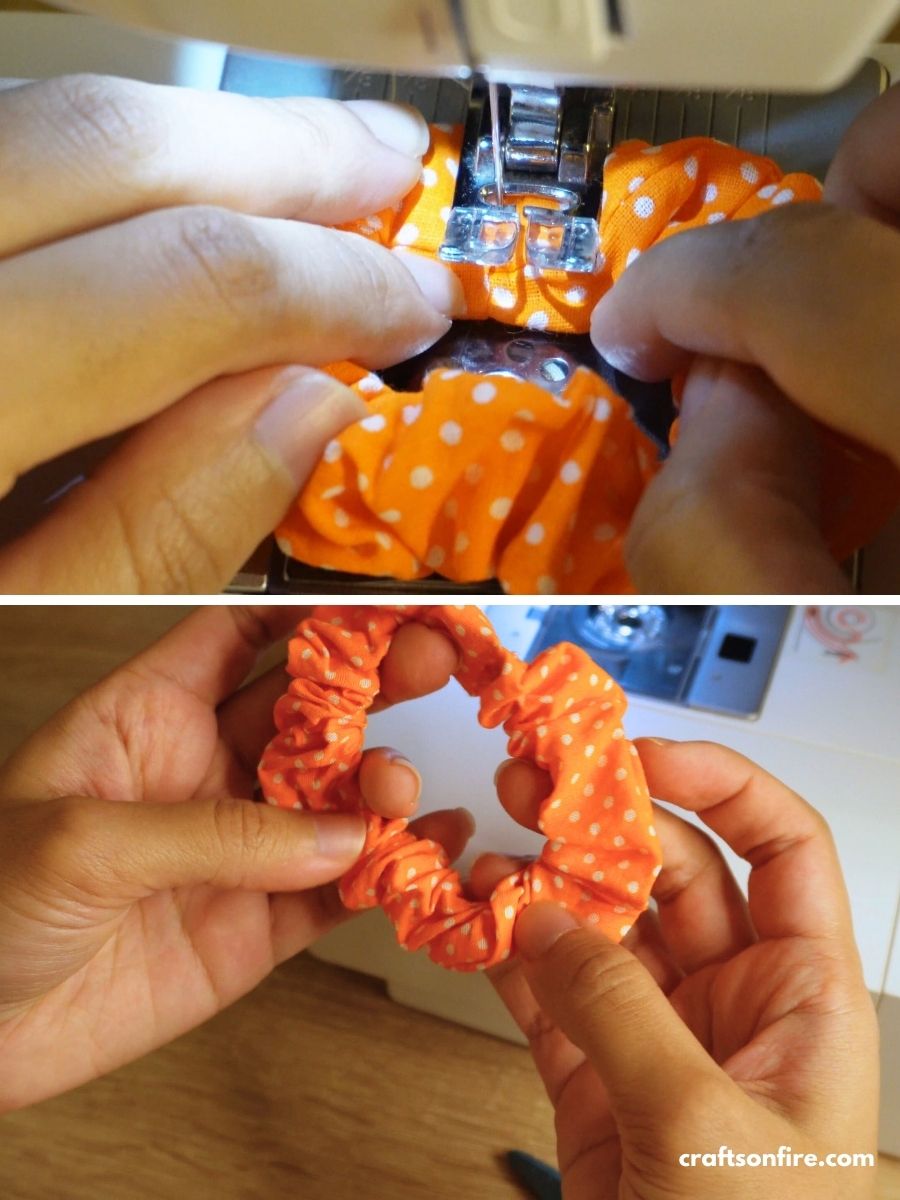
Place the scrunchie in the sewing machine and release the foot until it is centered to both the seam lines that are pressed against each other.
Work slowly and use the reverse stitch function to ensure that it has been stitched tight and the two sides are secured.
Step 7
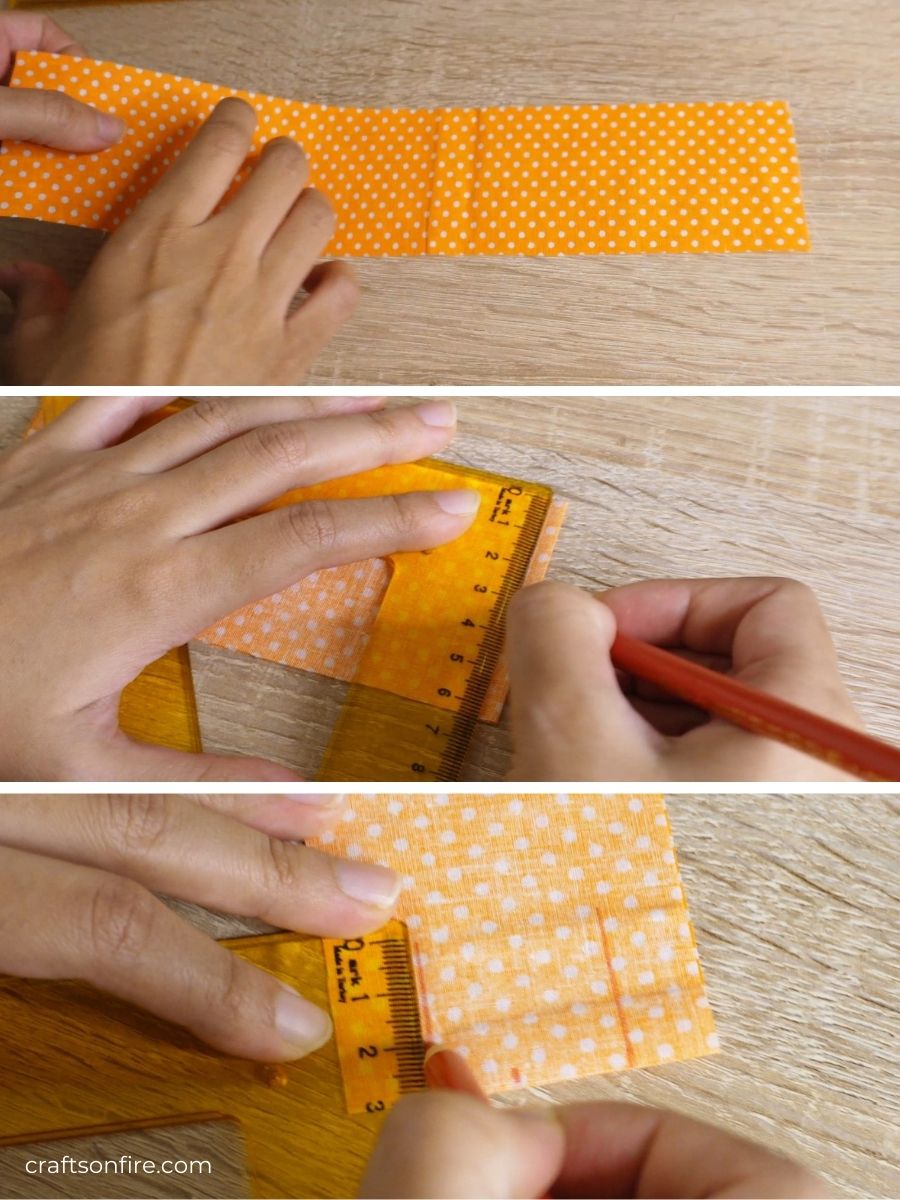
Now let’s work on the bows. Take one rectangle piece of material and fold it over onto the wrong side.
Mark the center point and then two adjacent points on either side of the center point.
On the two adjacent points, draw two lines 3 cm in length.
Step 8
On the other end, mark the center point and on both sides of the rectangle, add a mark 6 cm down. Use the center point to draw two lines to create a triangle shape.
Extend the length of the lines on the other end by 1 cm and then draw two more diagonal lines to complete the bow.
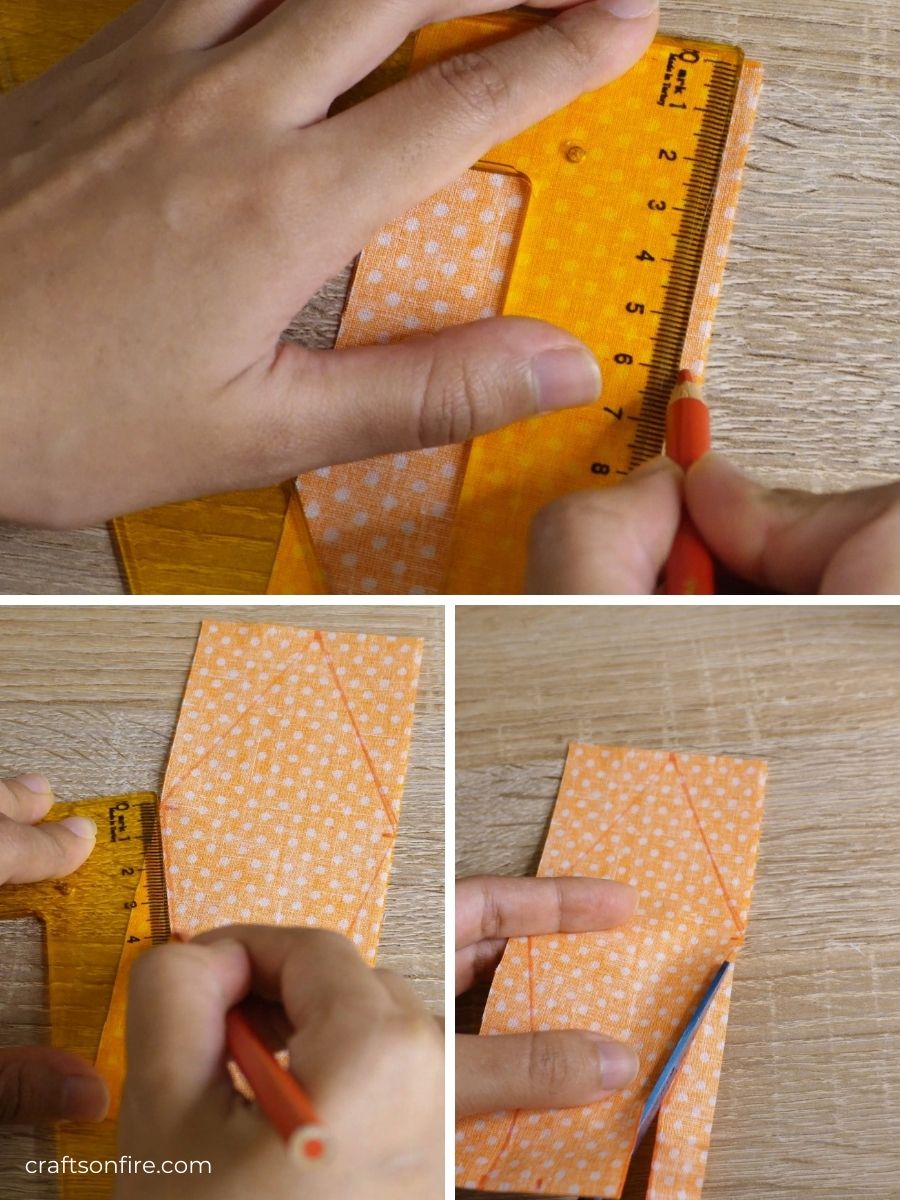
Cut along the lines as neatly and precisely as possible.
Step 9
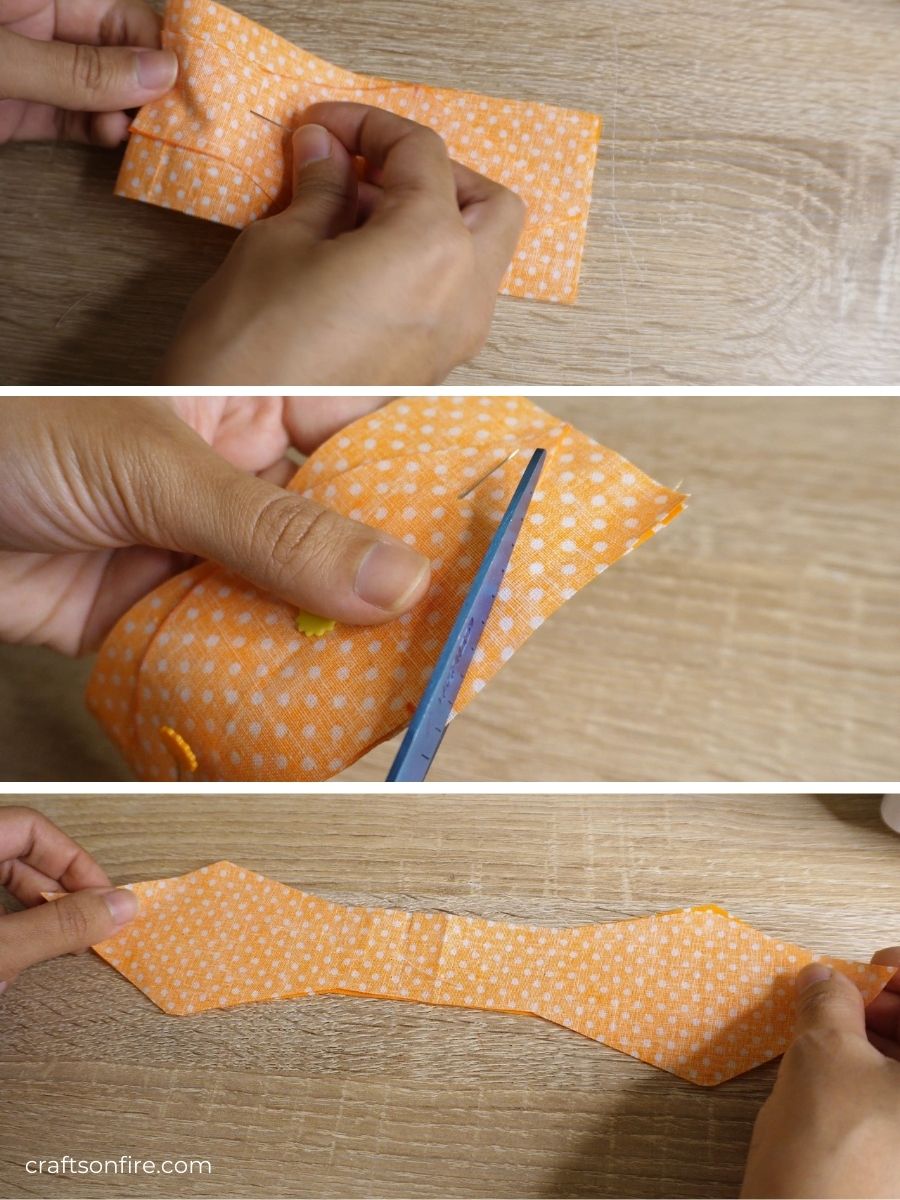
Open it up to reveal one of the bows. Then, fold it over again, grab the other rectangle and fold it over the wrong side.
Place the folded bow onto the rectangle and use pins to secure them in place.
Cut another bow and unpin to reveal both bows that should look identical to each other. Now, flip over one bow onto the wrong side and place it over the other. Use pins to secure them in place.
Step 10
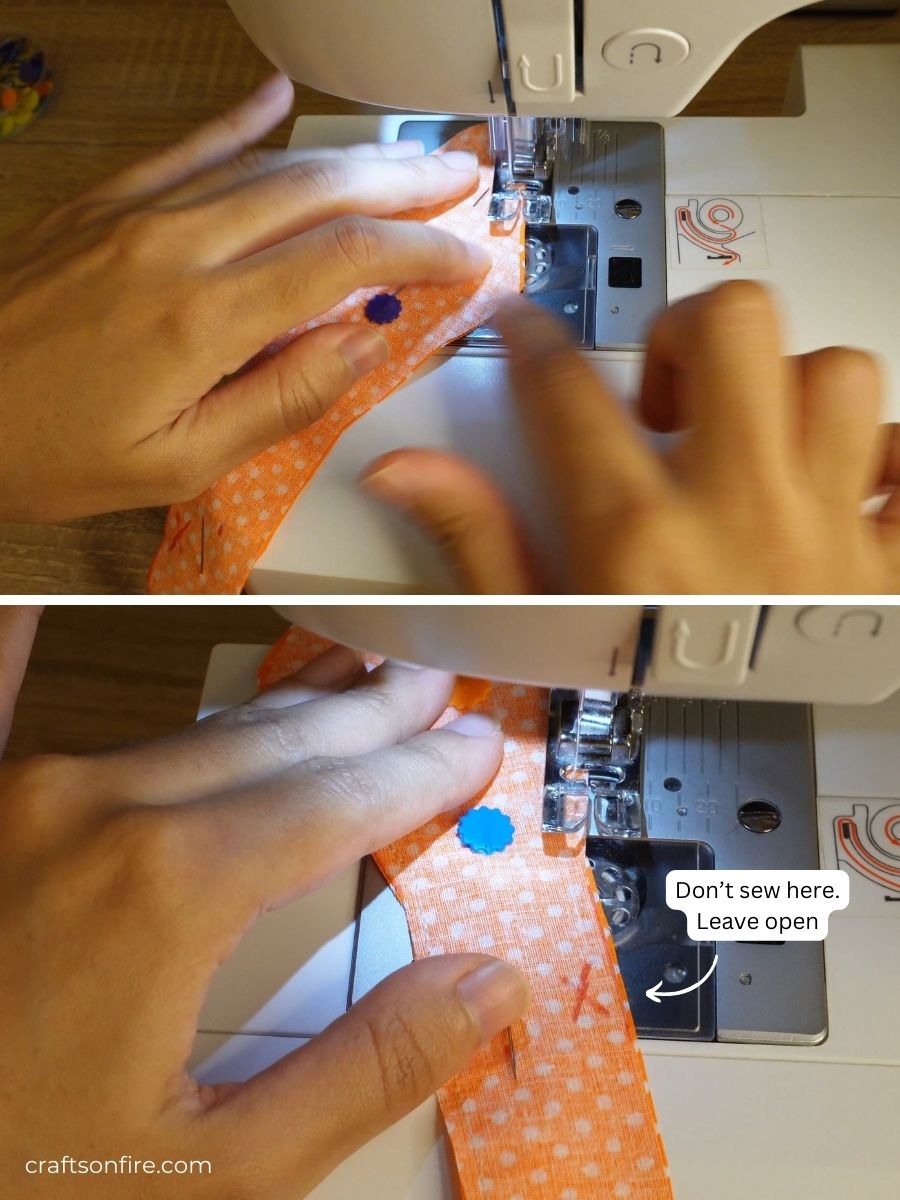
Place the bows into your sewing machine and stitch all ends except one portion that will be used to flip the completed bow over to the correct side.
Step 12
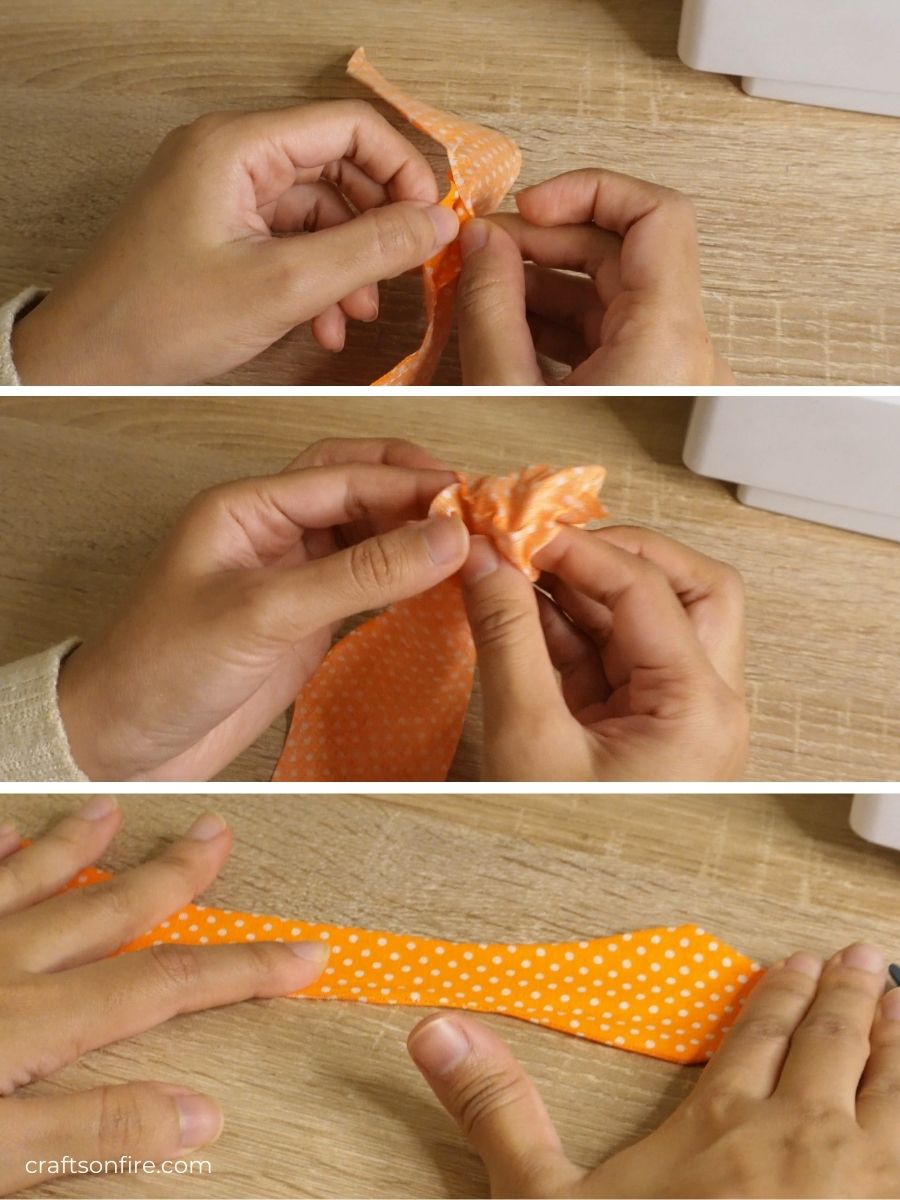
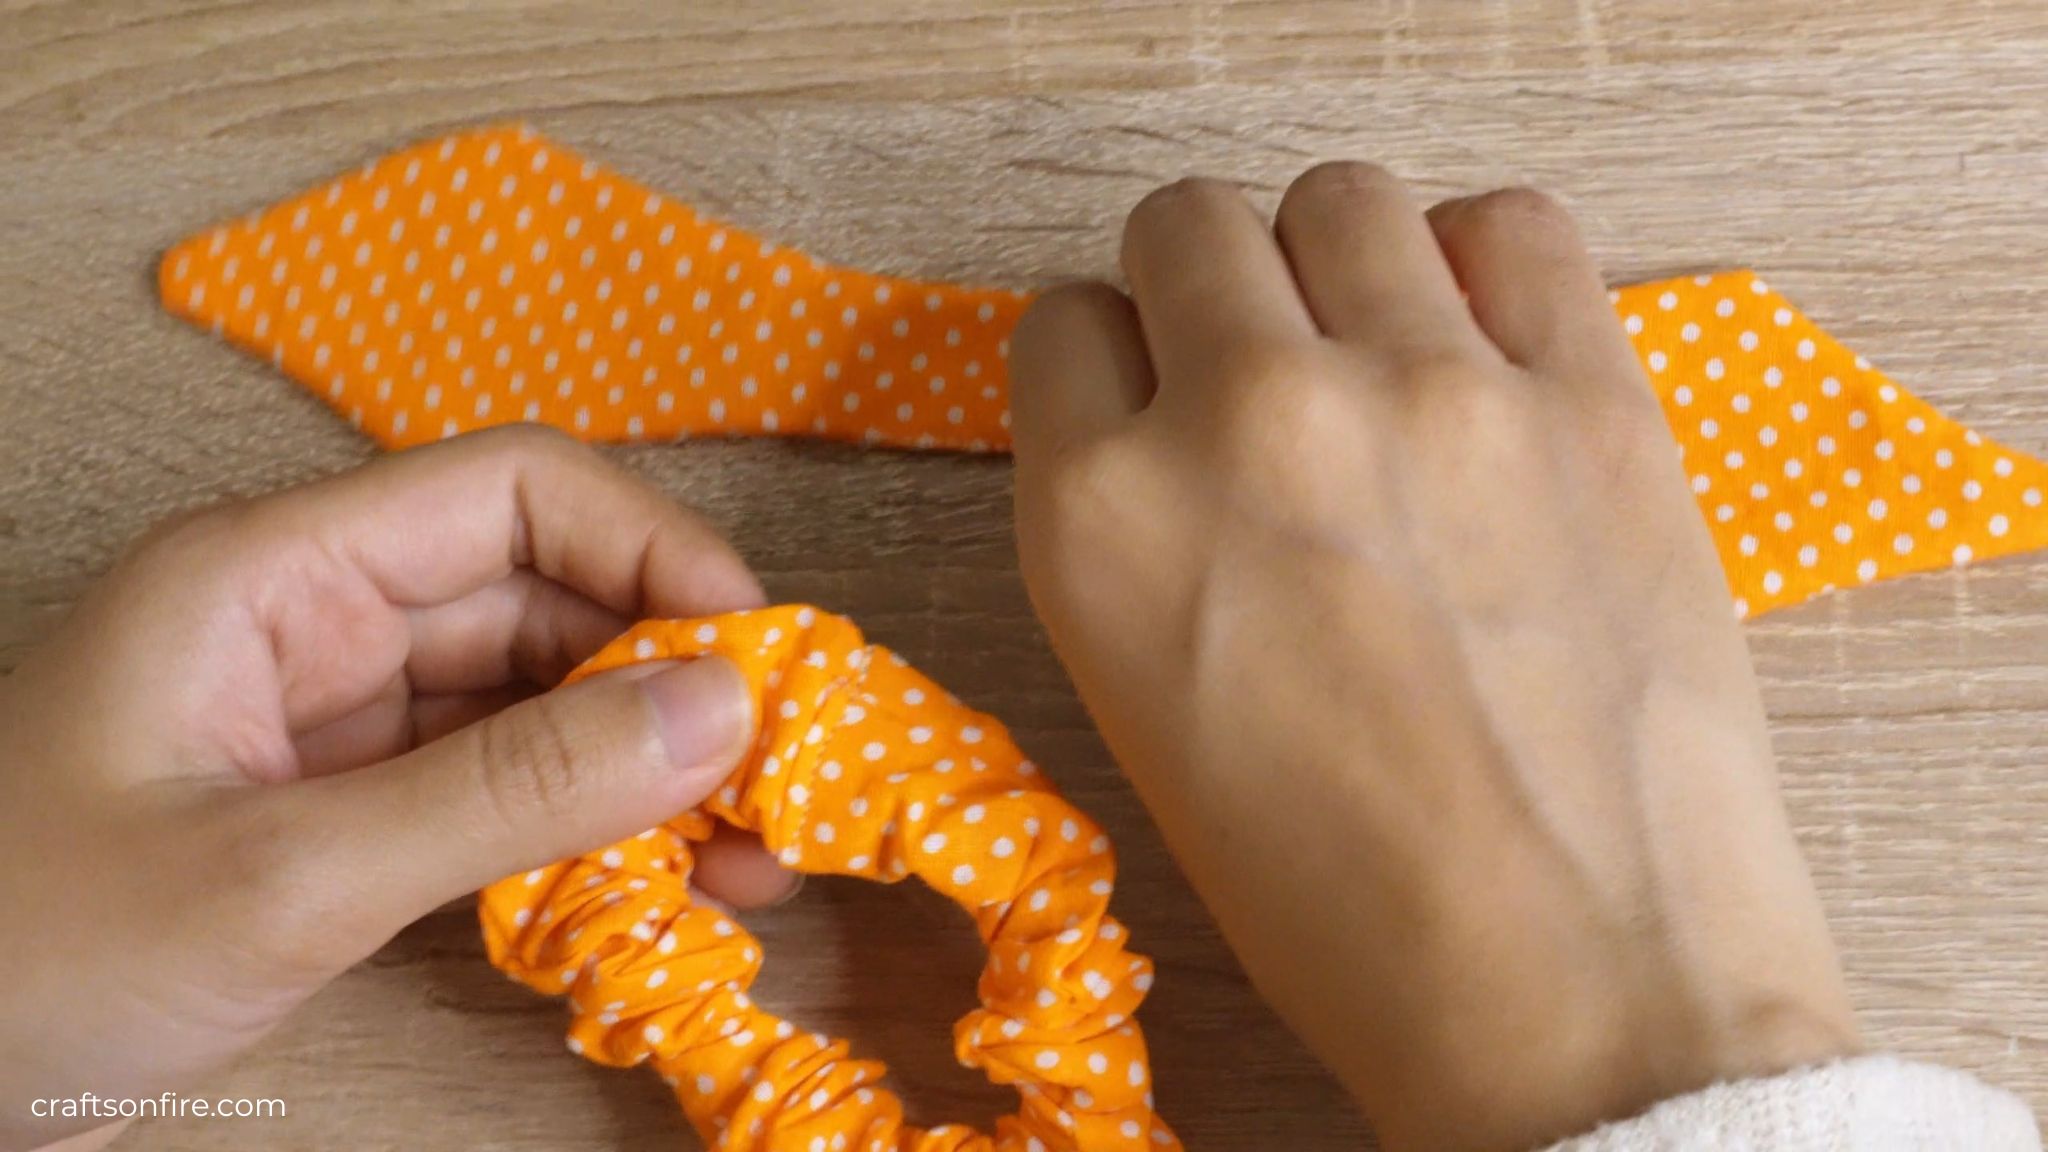
Once the bow is turned inside-out to reveal the correct side, stitch the corner that was left open in your sewing machine or do it by hand using the invisible slip stitch.
Step 13
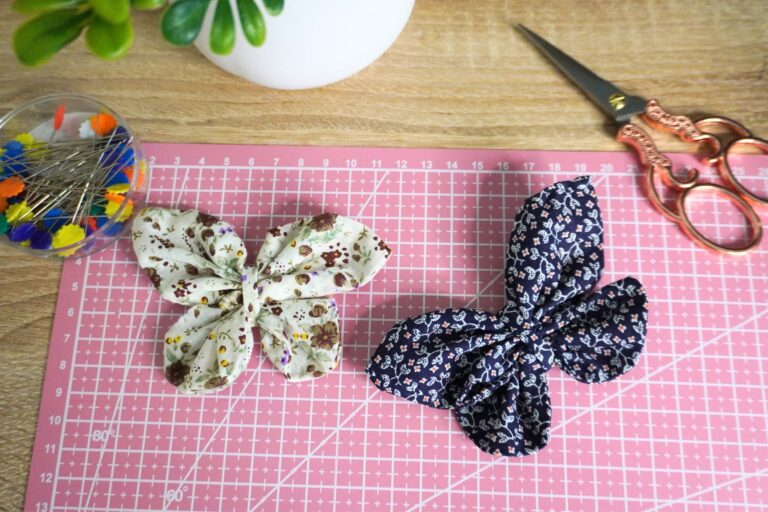
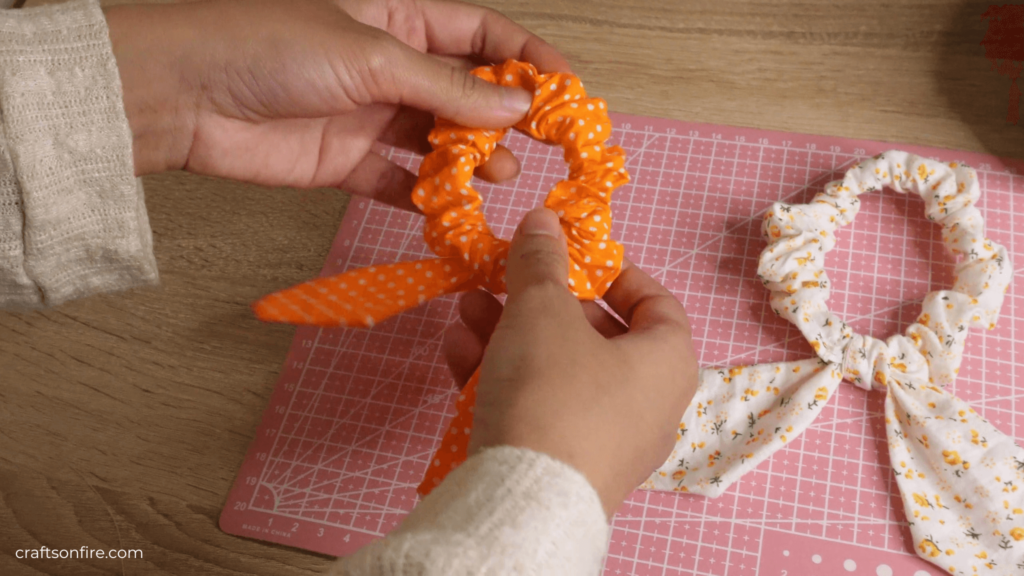
Slide the bow through the scrunchie until it has been centralized, fold over and knot them until you have created the perfect bow.
Readjust it to your liking. In some cases, you could stitch the bow to the scrunchie but in my opinion, that’s unnecessary.
Final Product
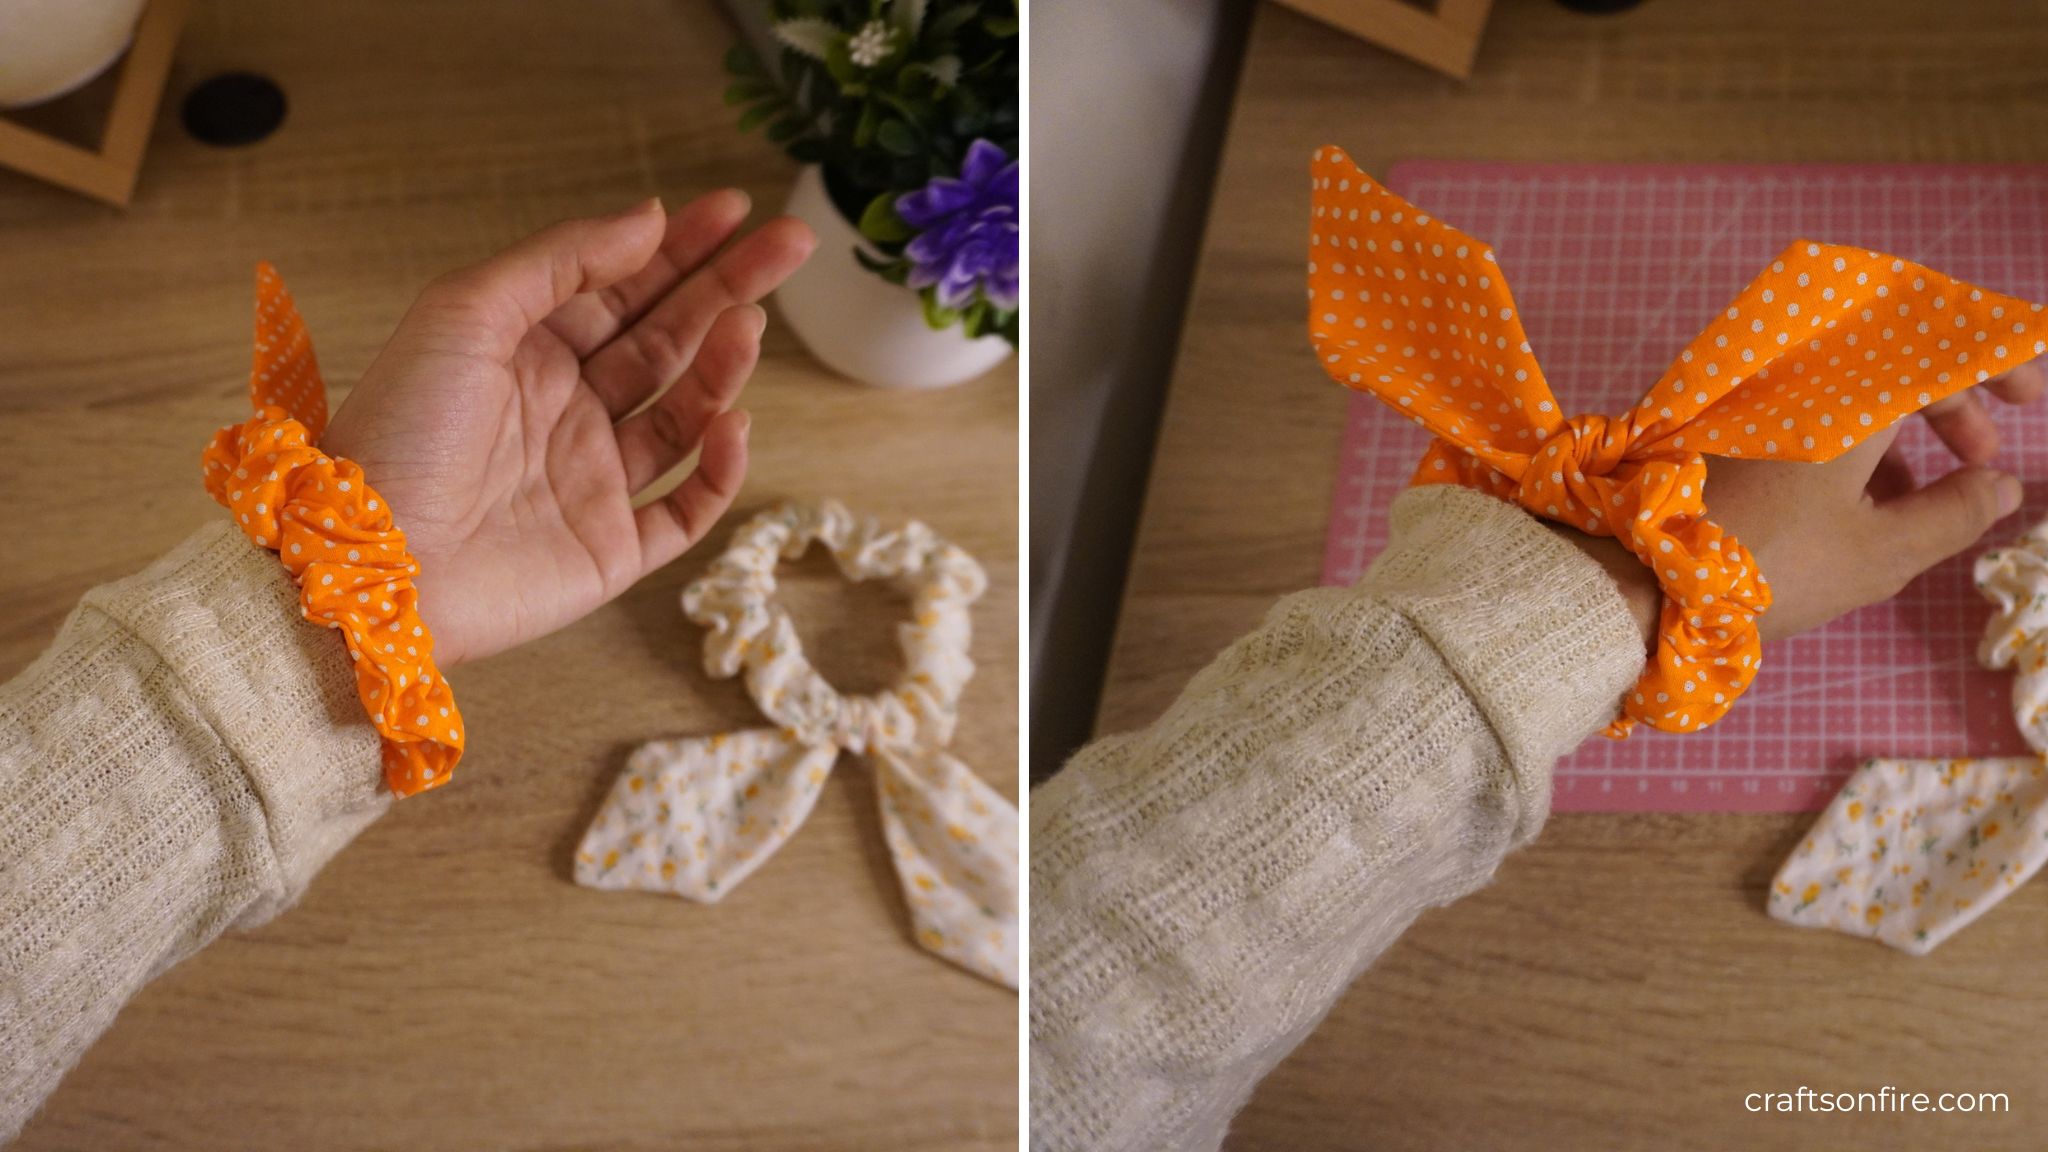
Congratulations! You have successfully sewn a bow scrunchie using my tutorial. I’m absolutely thrilled with how it turned out and I hope that you like it as well.
Once you work through each step, it becomes much easier to replicate it in the future. I’m pretty sure that with some practice, you’ll be able to sew these bow scrunchies in like 10 to 15 minutes max!
That brings us to the end of this scrunchie sewing tutorial. I would really love and appreciate it if you can support my blog by sharing this tutorial on social media.
Alternatively, subscribe to my Youtube channel and like the video so that I can grow and do more of these tutorials.
