How To Make A Folded Coaster
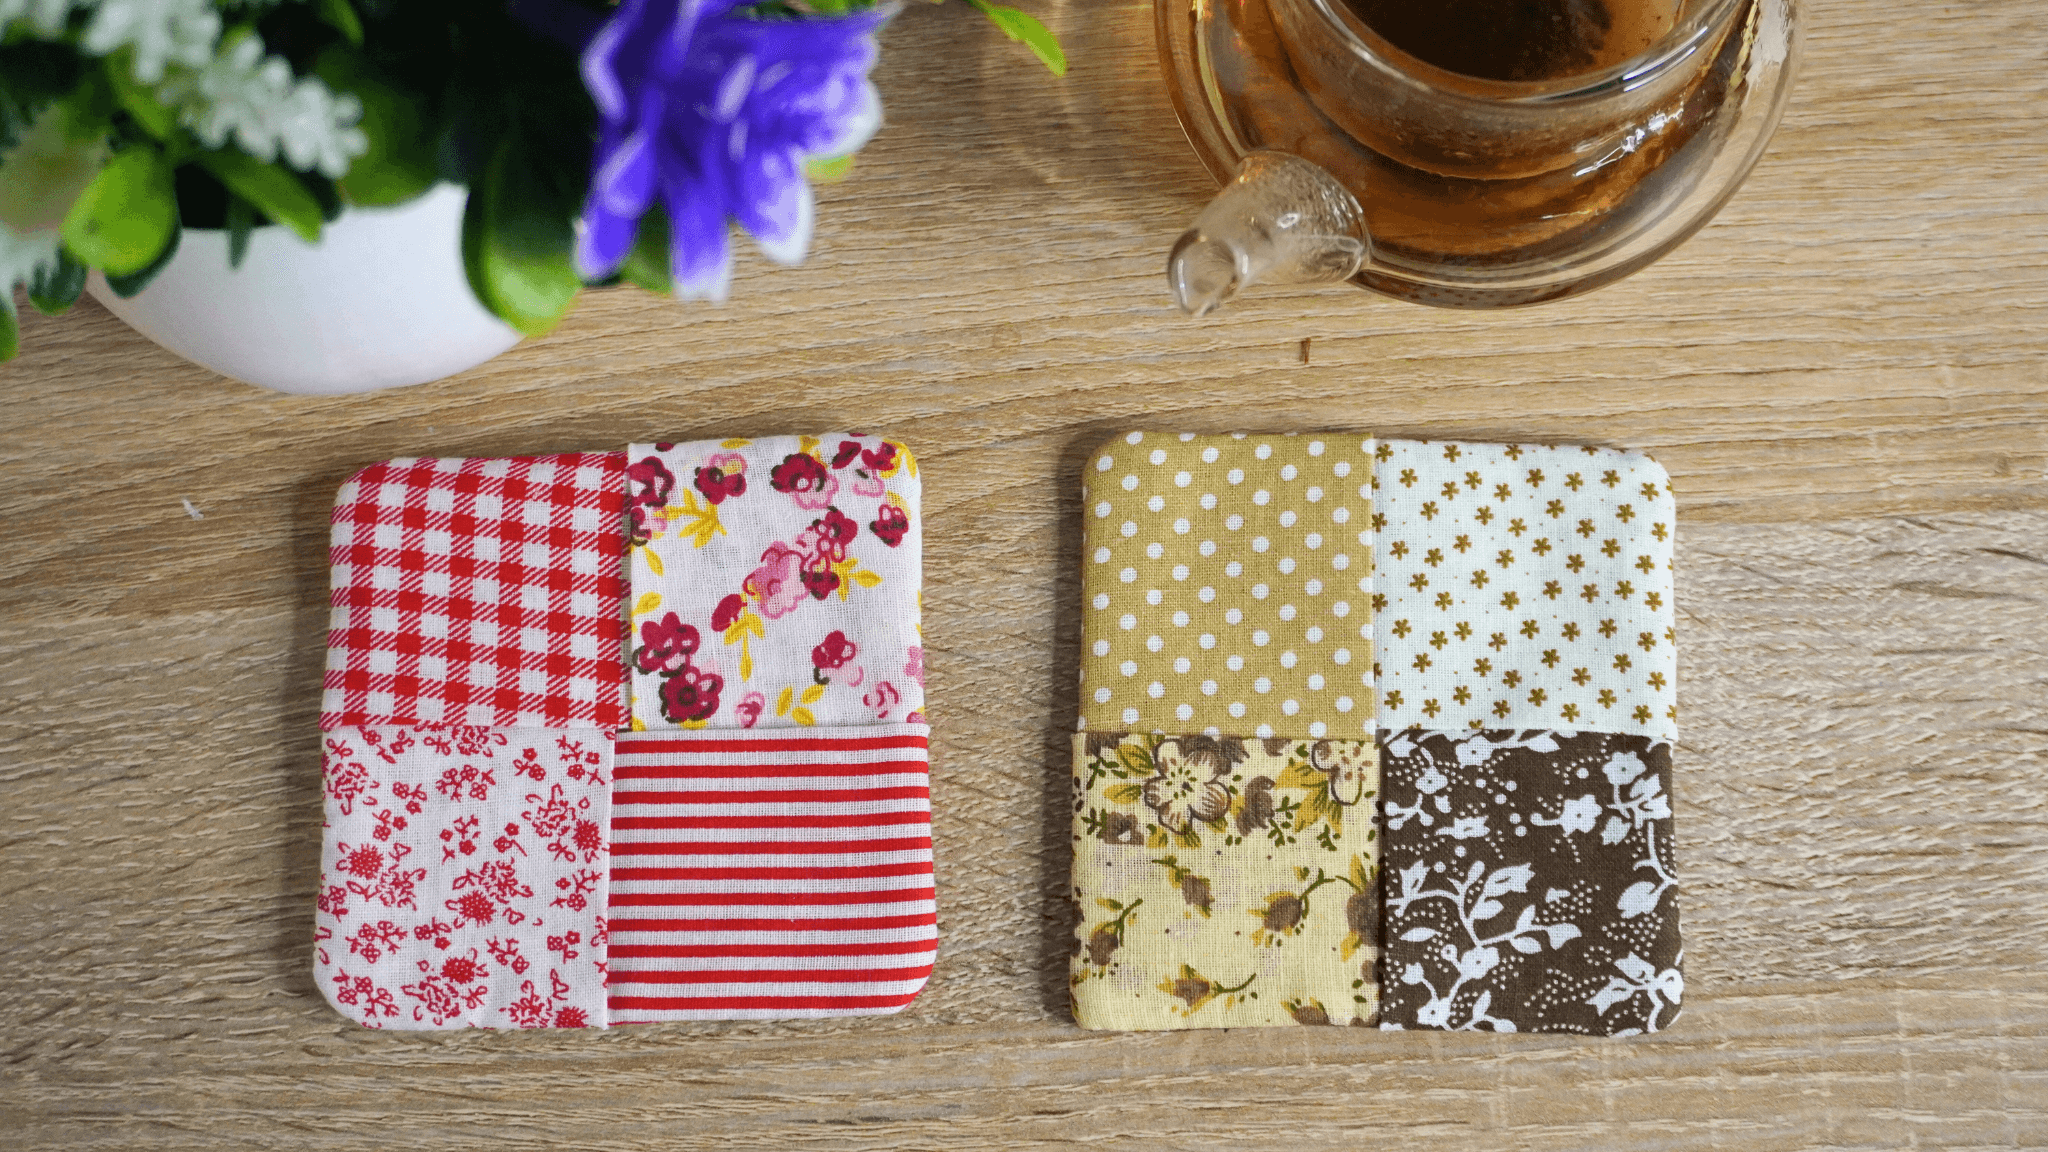
Folded coasters have become my favorite thing to sew now. I’m obsessed with them! These fabric coasters are so easy, quick, and fun to sew. You can make them in less than 10 minutes with my step-by-step tutorial.
However, what excites me the most is the different color combinations and patterns you can come up with! The options are endless.
If you’re looking for a simple sewing project that looks so cute, then this folded coaster should be your next sewing project.
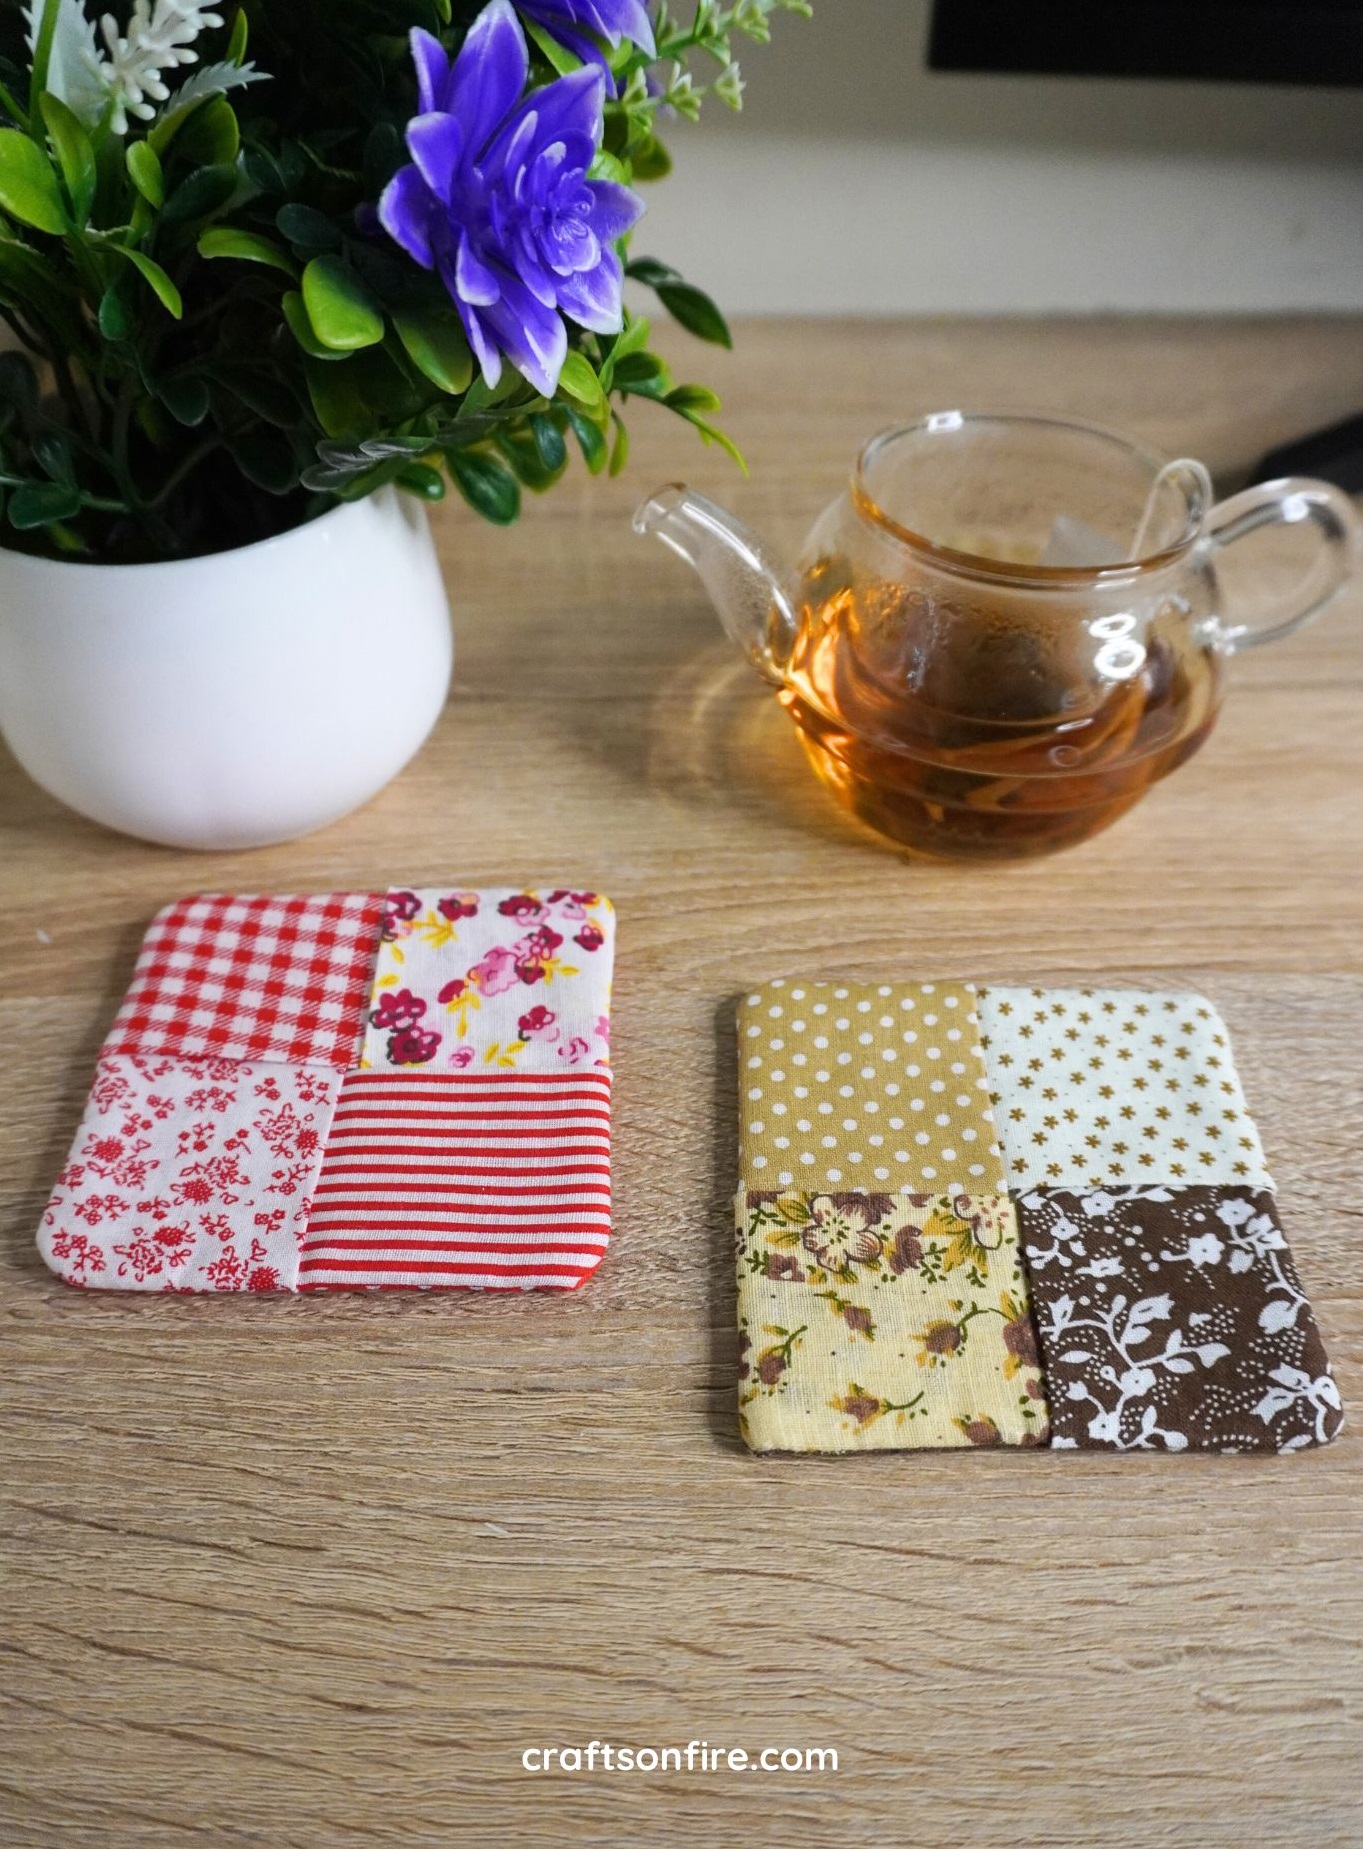
You won’t regret showing off these cute coasters on your desk or coffee table! It’s a wonderful little handmade project anyone can make!
So, grab your supplies, and let’s get sewing!
Table of Contents
Folded Coaster Sewing Tutorial
Project Overview
- Prep Time: 2 minutes
- Working Time: 5 – 10 minutes
- Total Time: 7 – 12 minutes
- Skill Level: Beginner
Supplies
- 5 Patterned Fabric Squares (10 cm x 10 cm)
- 1 Fabric Batting (10 cm x 10 cm)
- Sewing Machine
- Pins
- Matching Thread
- Ruler/Tape Measure
- Scissors/Pen
Pattern
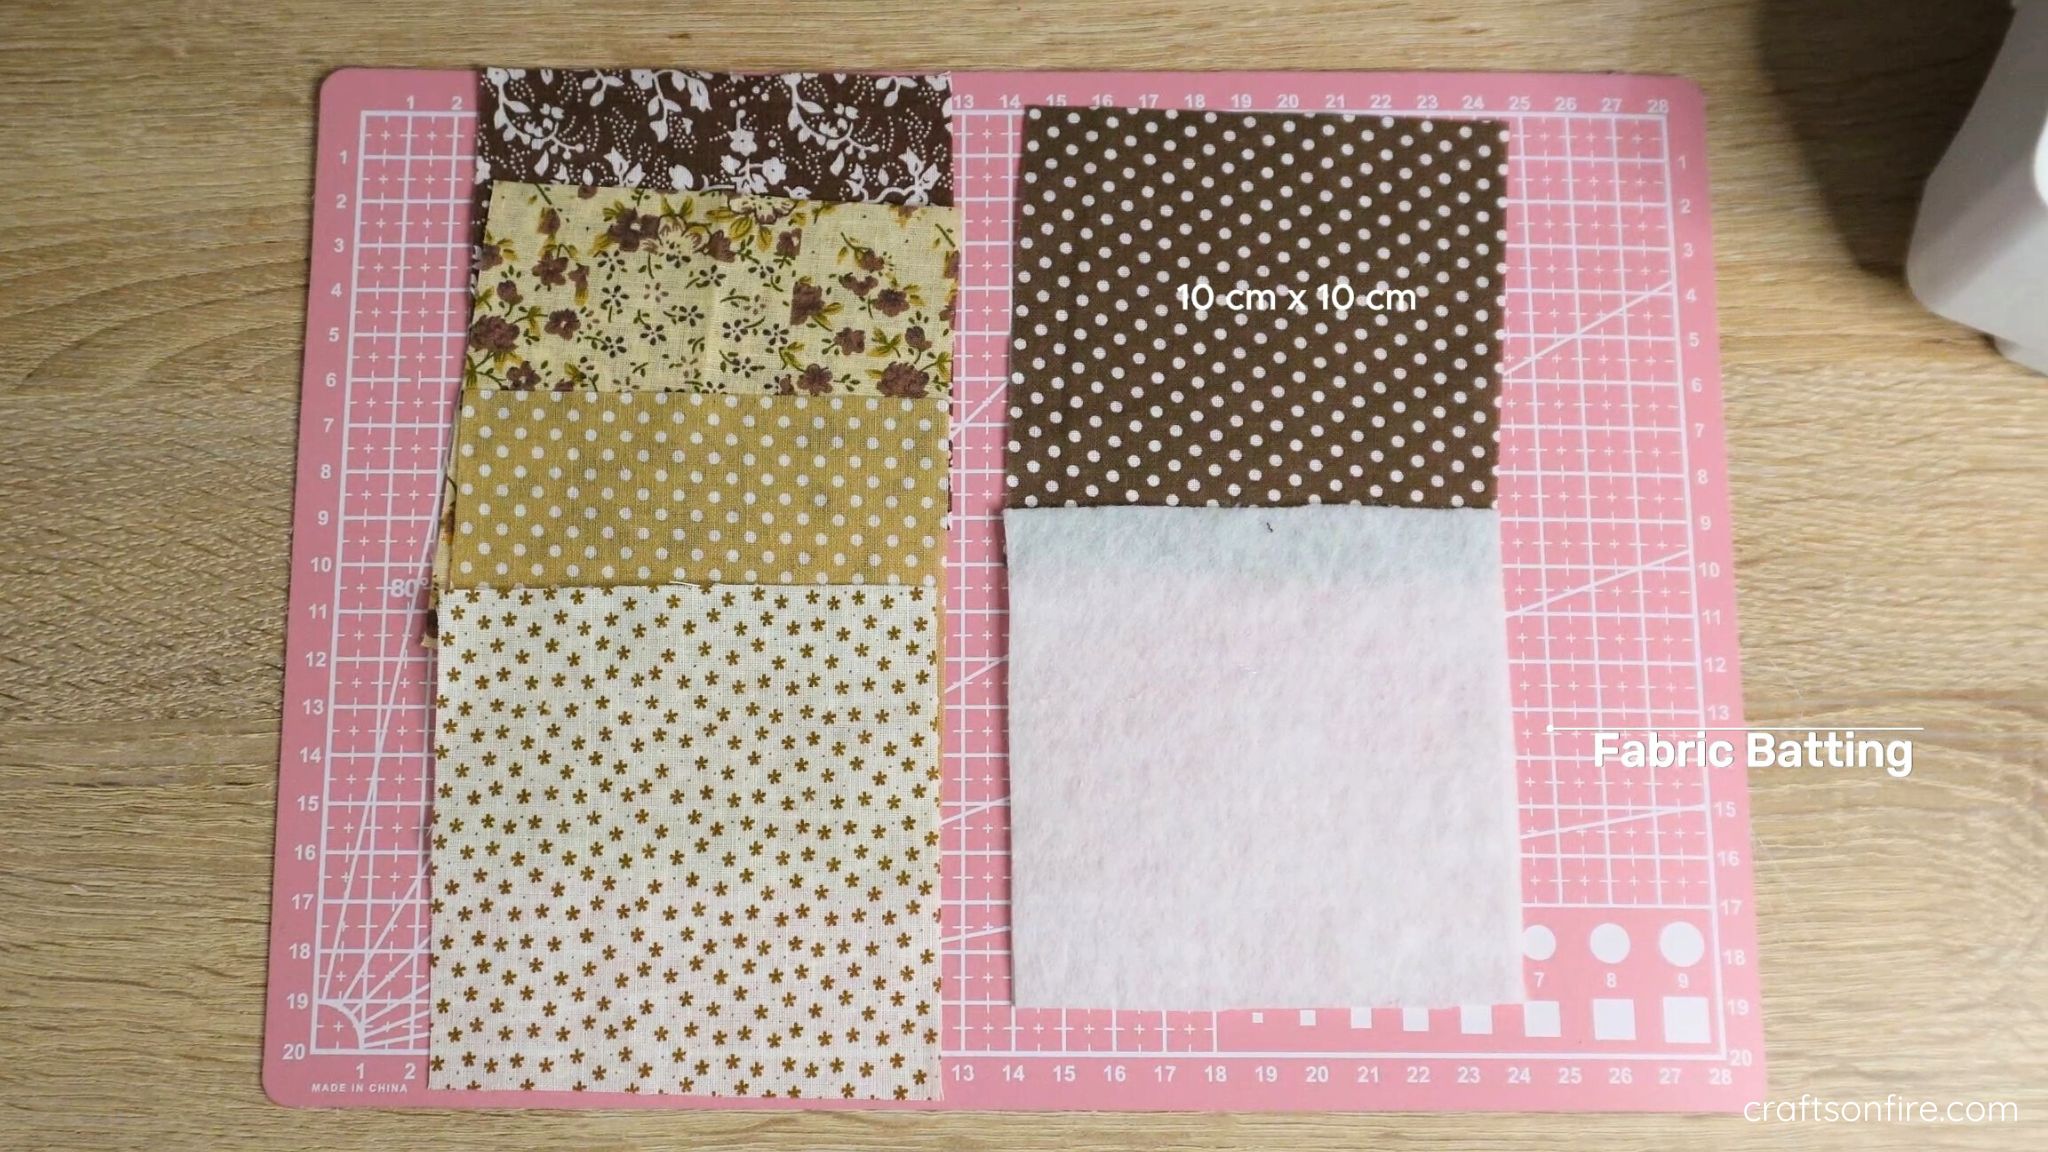
Making a folded coaster is so easy. I’m making a small size but if you want a larger coaster, increase the size of your fabric square. You’ll only need 1 piece of fabric batting but if you want a thicker coaster, add another layer.
If you don’t have any fabric batting, you could try using jeans or felt.
Video Tutorial
Printable PDF:
A quick heads up: I created a more detailed A4 Printable PDF version of this sewing guide. If you’d like to follow along without ads getting in the way, grab your copy over here!
Instructions
Fold The Pieces
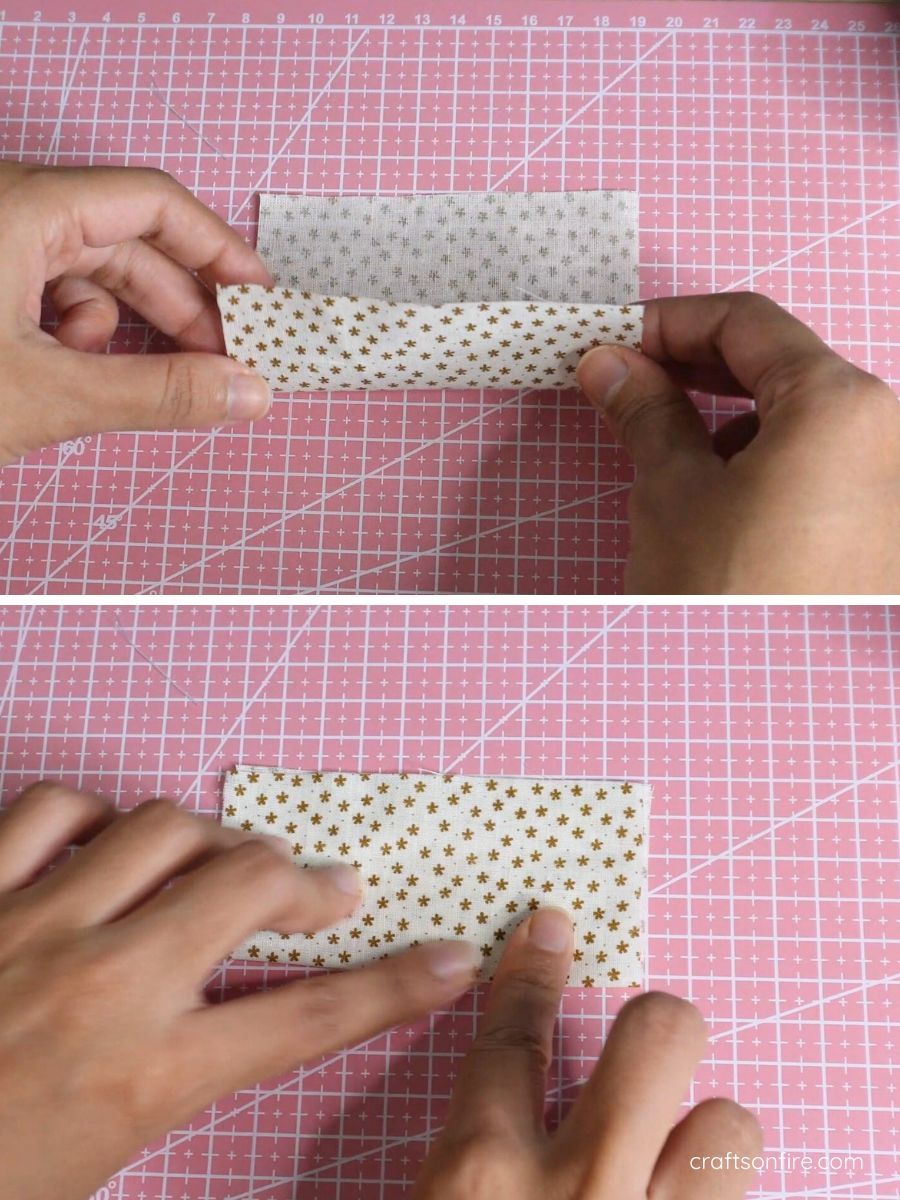
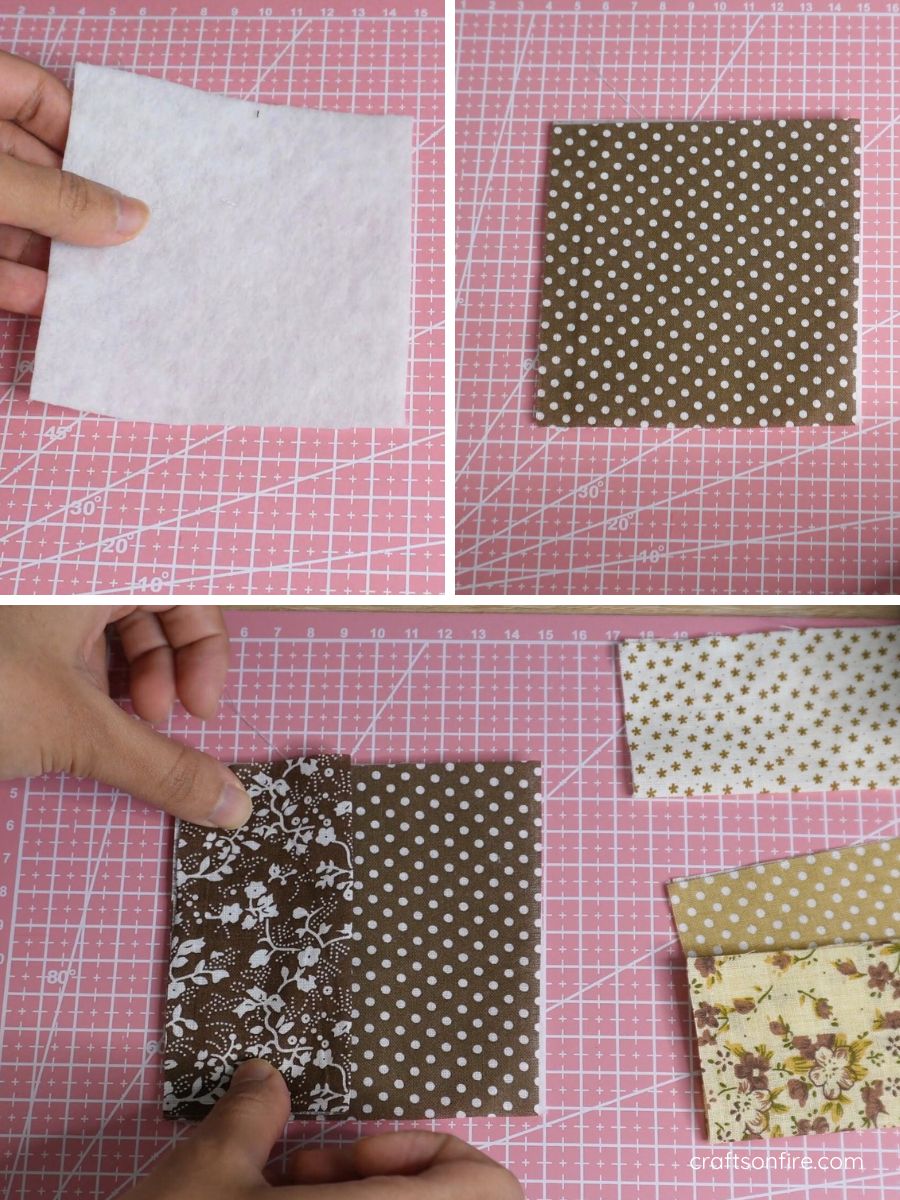
We’ll begin by folding a pattern square in half and lightly pressing down on the fold line. Repeat this process for the next 3 pieces.
Layer The Fabric
Grab the fabric batting and place the polka dot fabric on the batting. Now lay that folded piece you just did on the polka dot fabric with the right sides facing each other.
Create The Woven Pattern
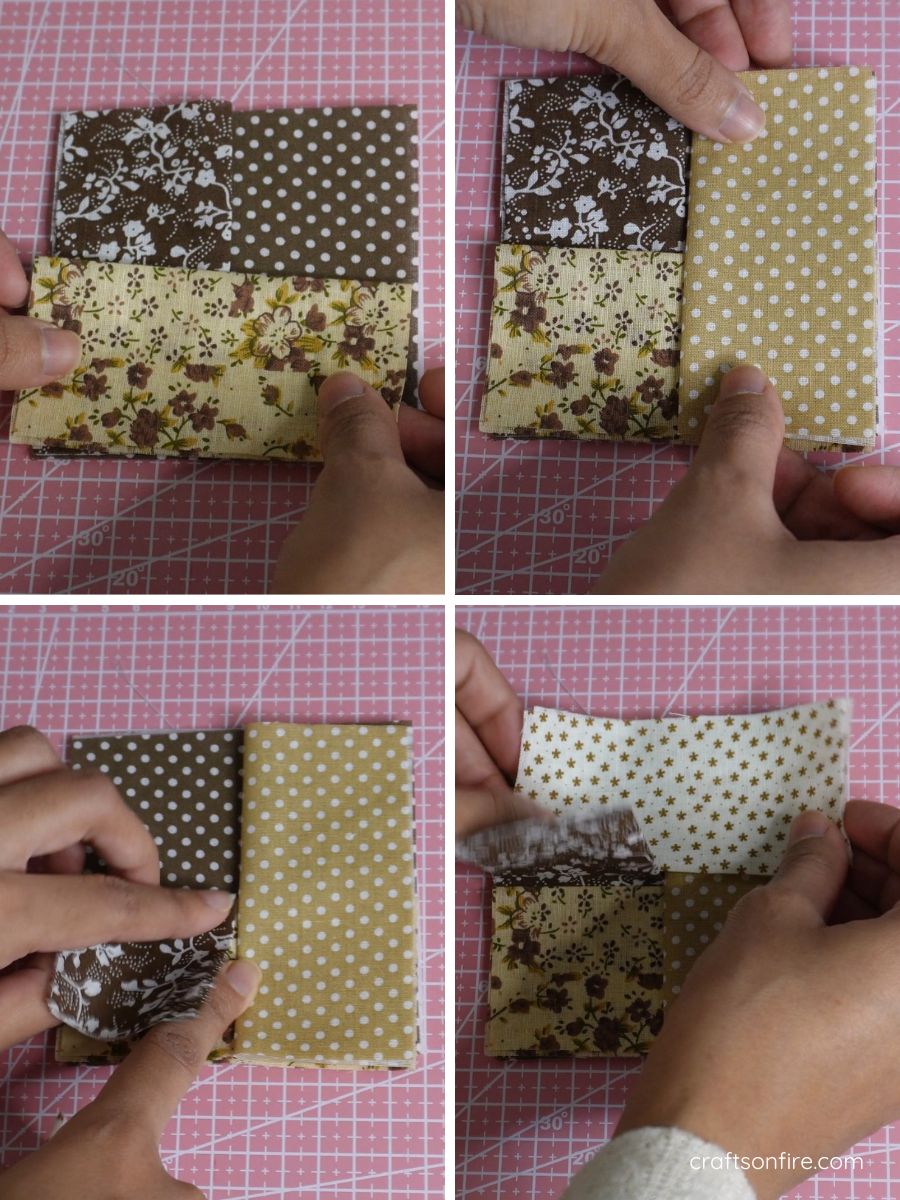
Grab another folded piece and place it at the bottom end of the square as shown below. Then lay the 3rd folded piece on top of the last piece.
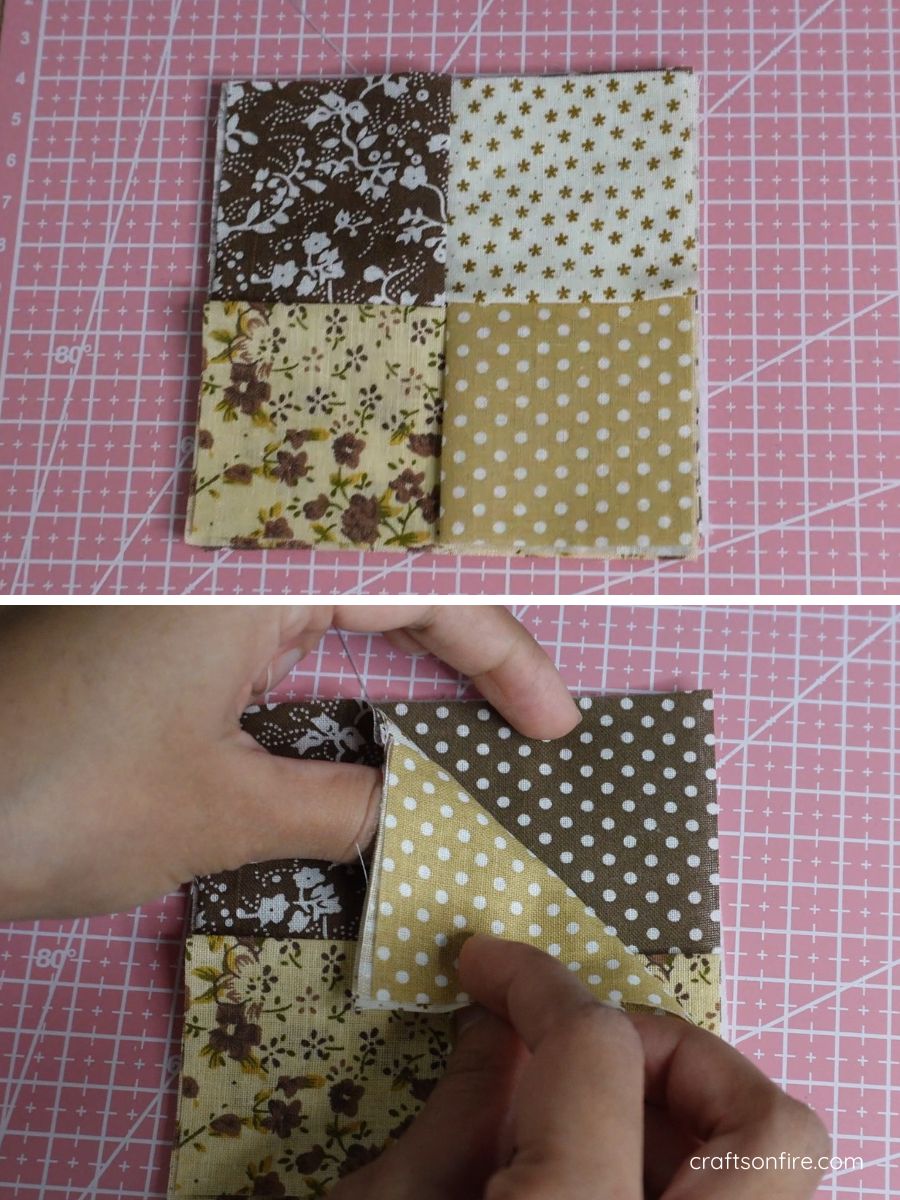
You’ll then want to lift the first piece and wove in the last folded fabric piece.
This is how the folded coaster should look like:
Pin & Sew
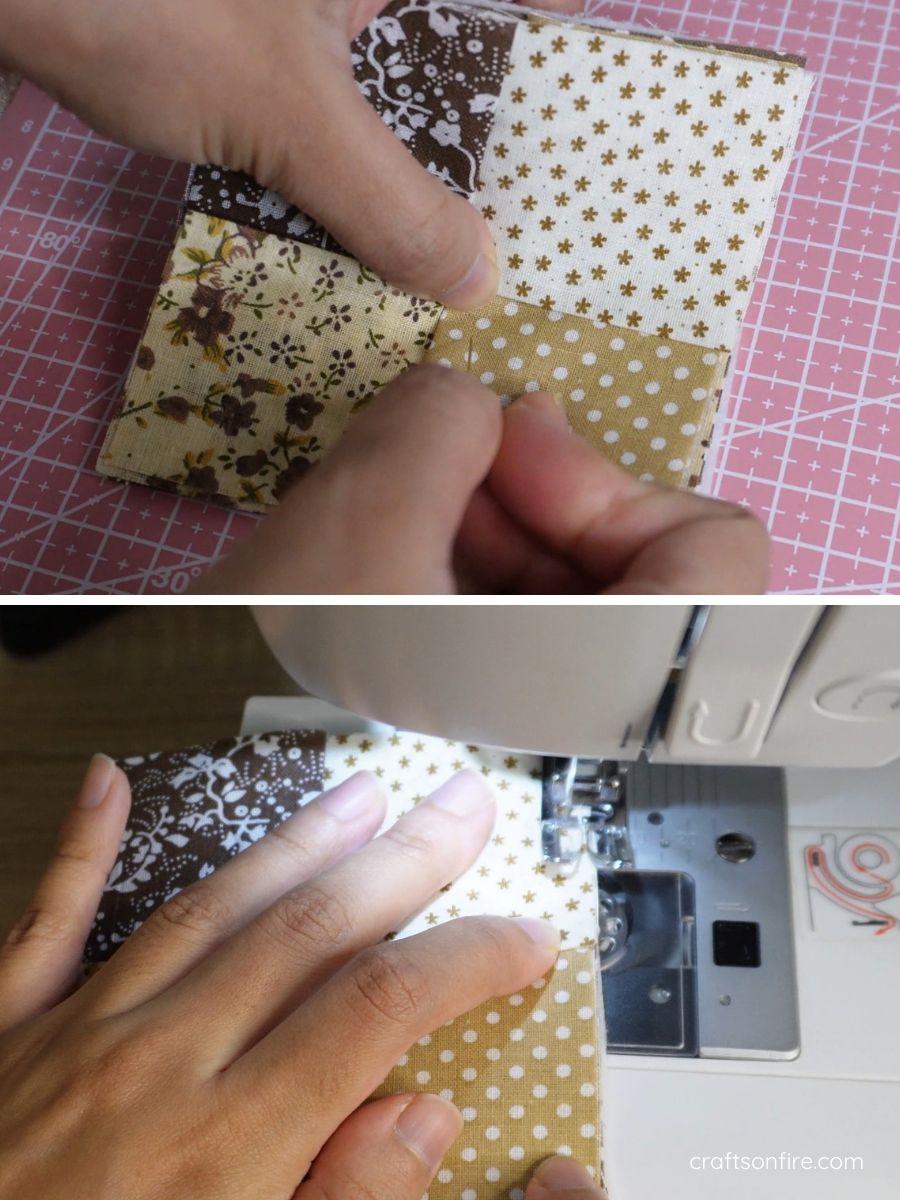
Now it’s time to pin and sew the coaster. You can pin on each side of the square or you can do it as I have done by pinning the center of the square as this keeps the fabric pieces in place.
Once you’ve done this, sew a small seam on all sides of the square.
Turn Over
Once your square has been sewed, open the first folded piece and turn the coaster inside out. Use your finger, pen, or scissors to open and fold the entire coaster over as shown below.
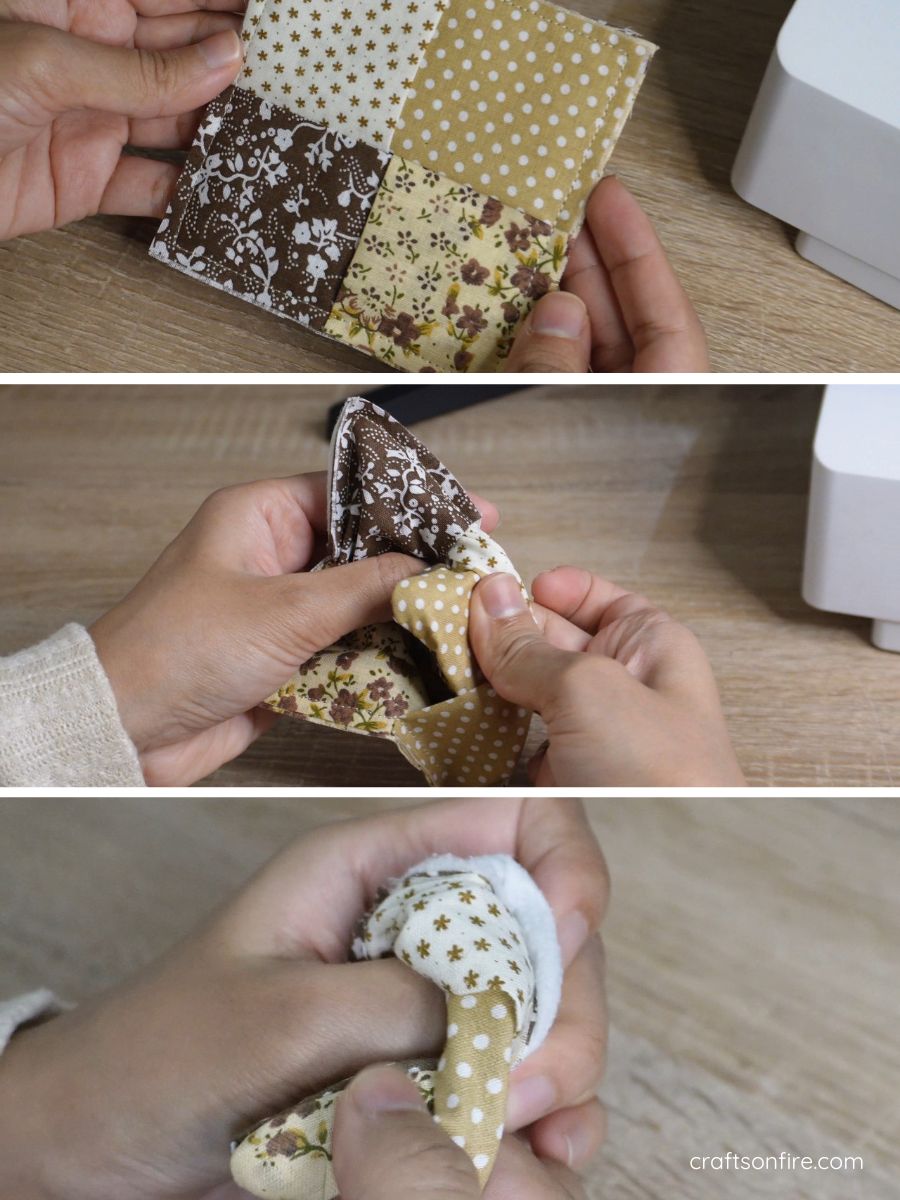
As you do this, the batting should go in the inside and your coaster should look like this:
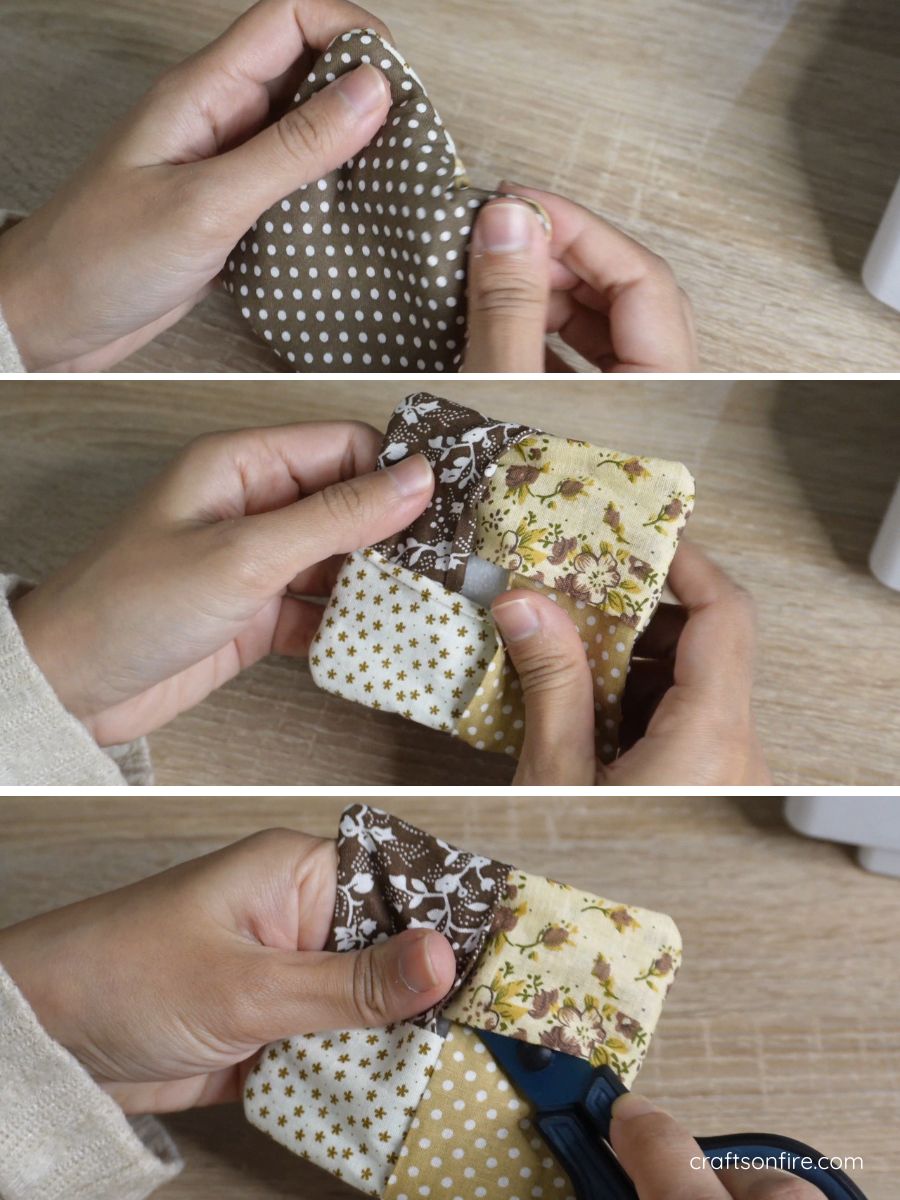
Use a pen or scissors to neaten the corners and smoothen any untidy ends or folds.
The folded coaster is now complete. Here’s how mine turned out:
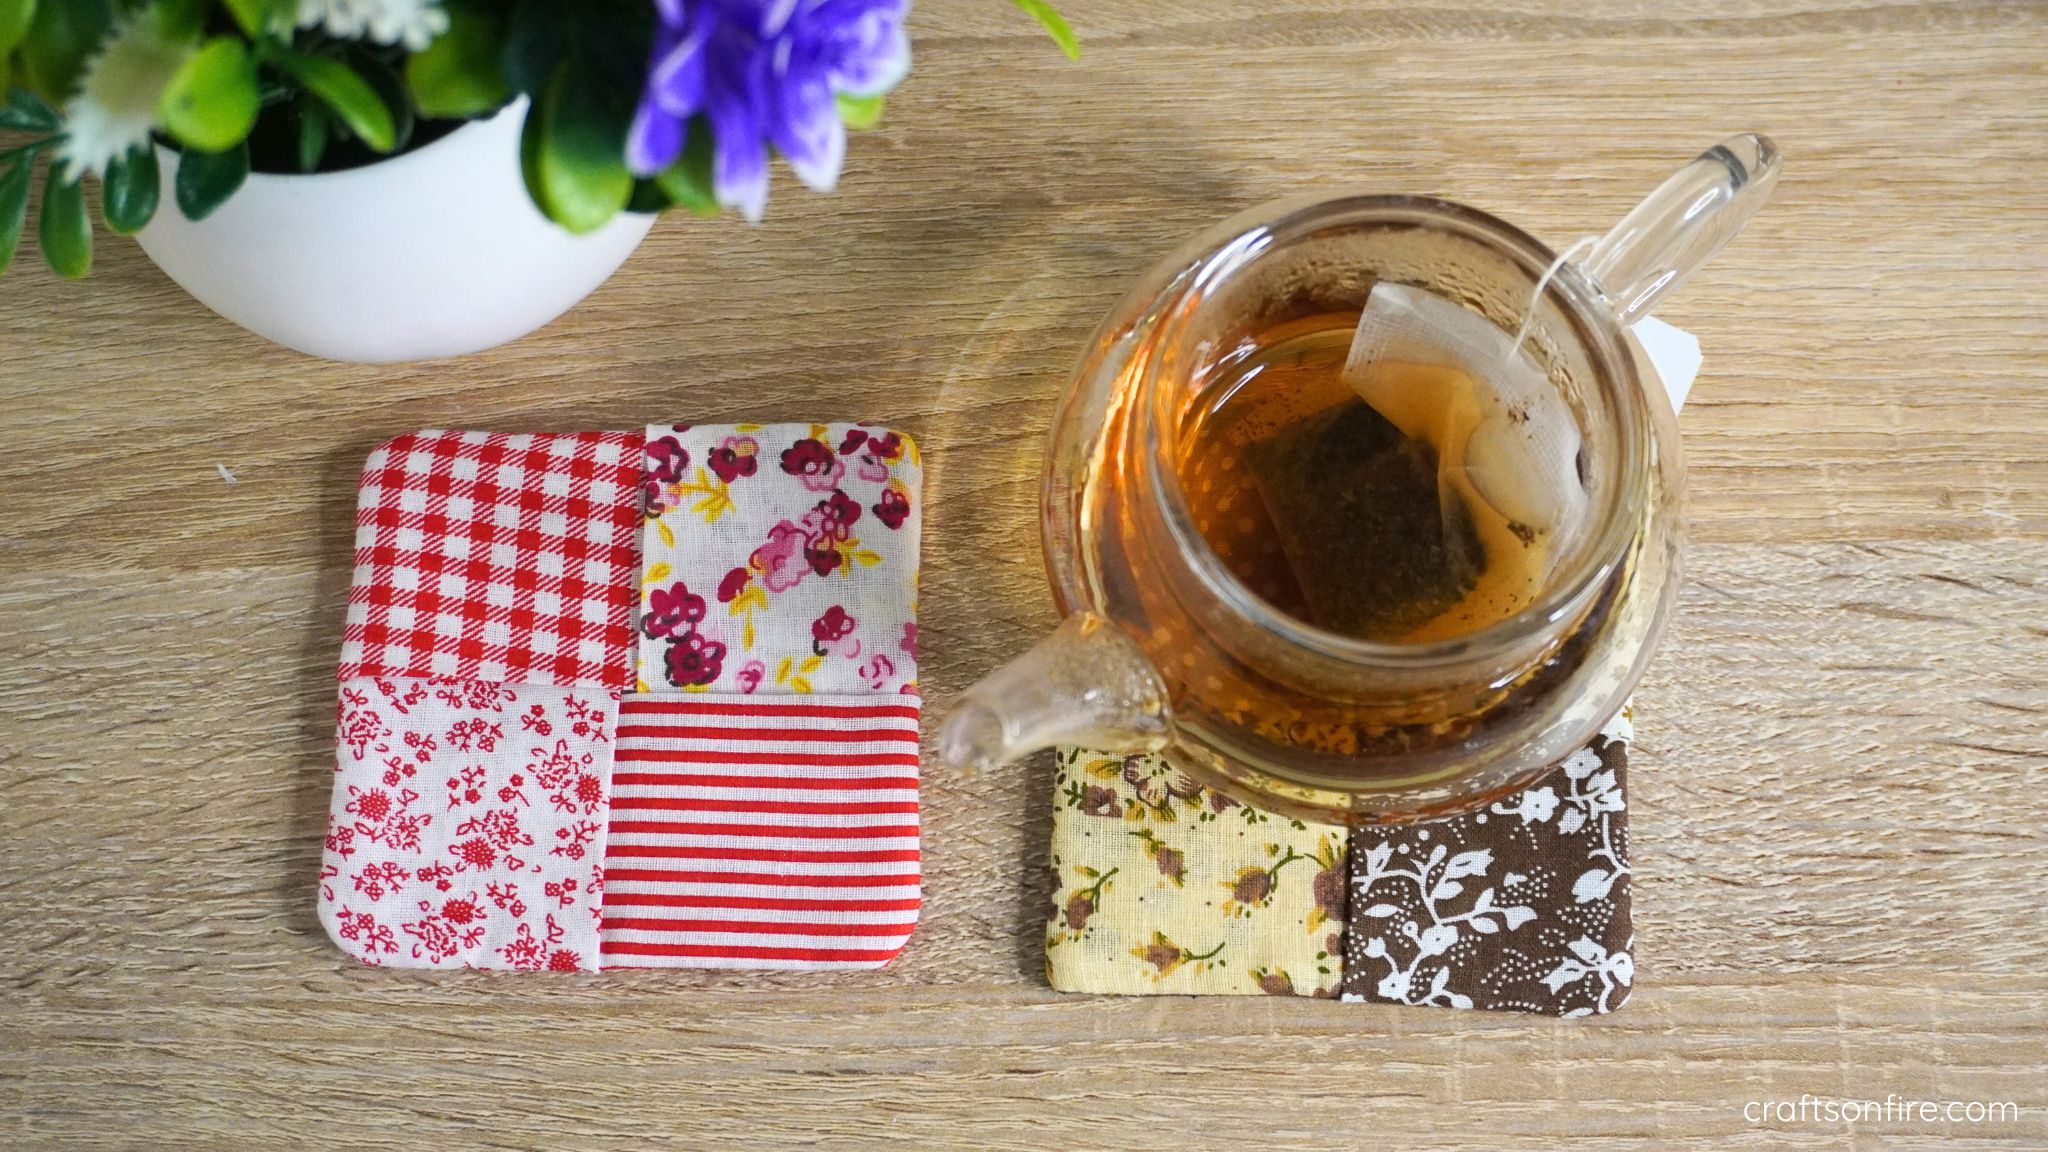
I loved sewing this fabric coaster. It’s so easy and quick to sew and as you can see, I did sew another red and pink-themed folded coaster.
This combination also works well which means you could do a blue, green, orange, and purple one too but you don’t have to be so structured in your fabric choice and designs.
You could make these folded coasters with any scraps of fabric you have lying around. Since you only need a small square of fabric, you should be able to make it work.
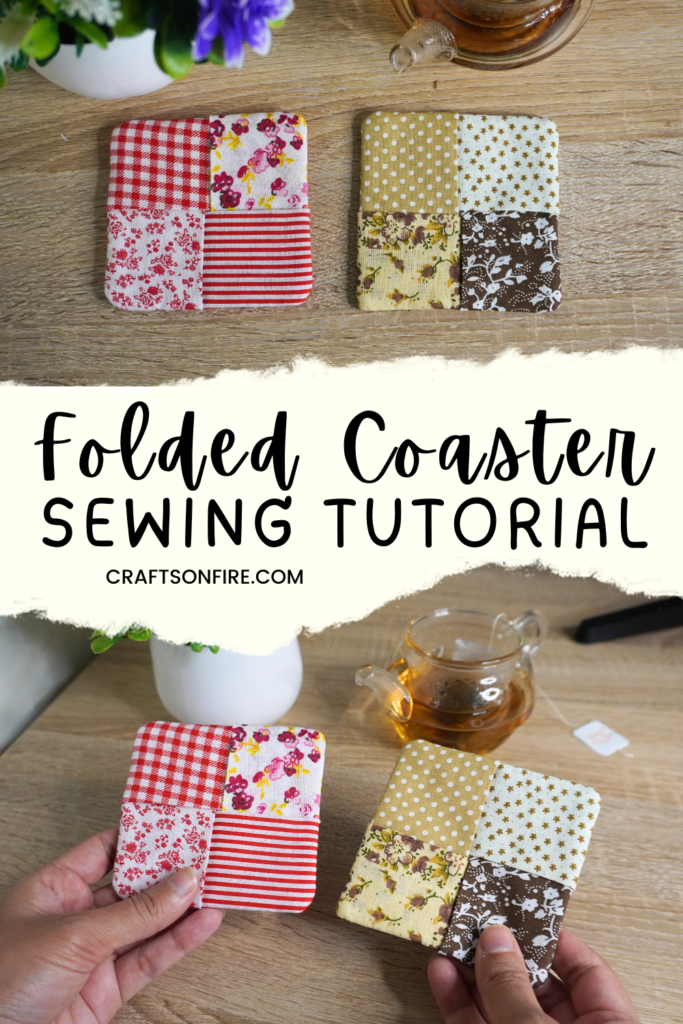
I honestly can’t recommend this sewing project enough. You have to try sewing this coaster if you haven’t yet started. Trust me, you’re going to love this one.
More Easy Sewing Projects
A quick beginner’s guide to sewing simple and easy fabric coasters.
These pot holders are so fun to sew and really handy to have. It’s a great sewing project for those lazy afternoons.

Love these and your directions!!Thank you!!
Thank you so much!! I’m glad you liked it