DIY Scrap Fabric Bookmarks
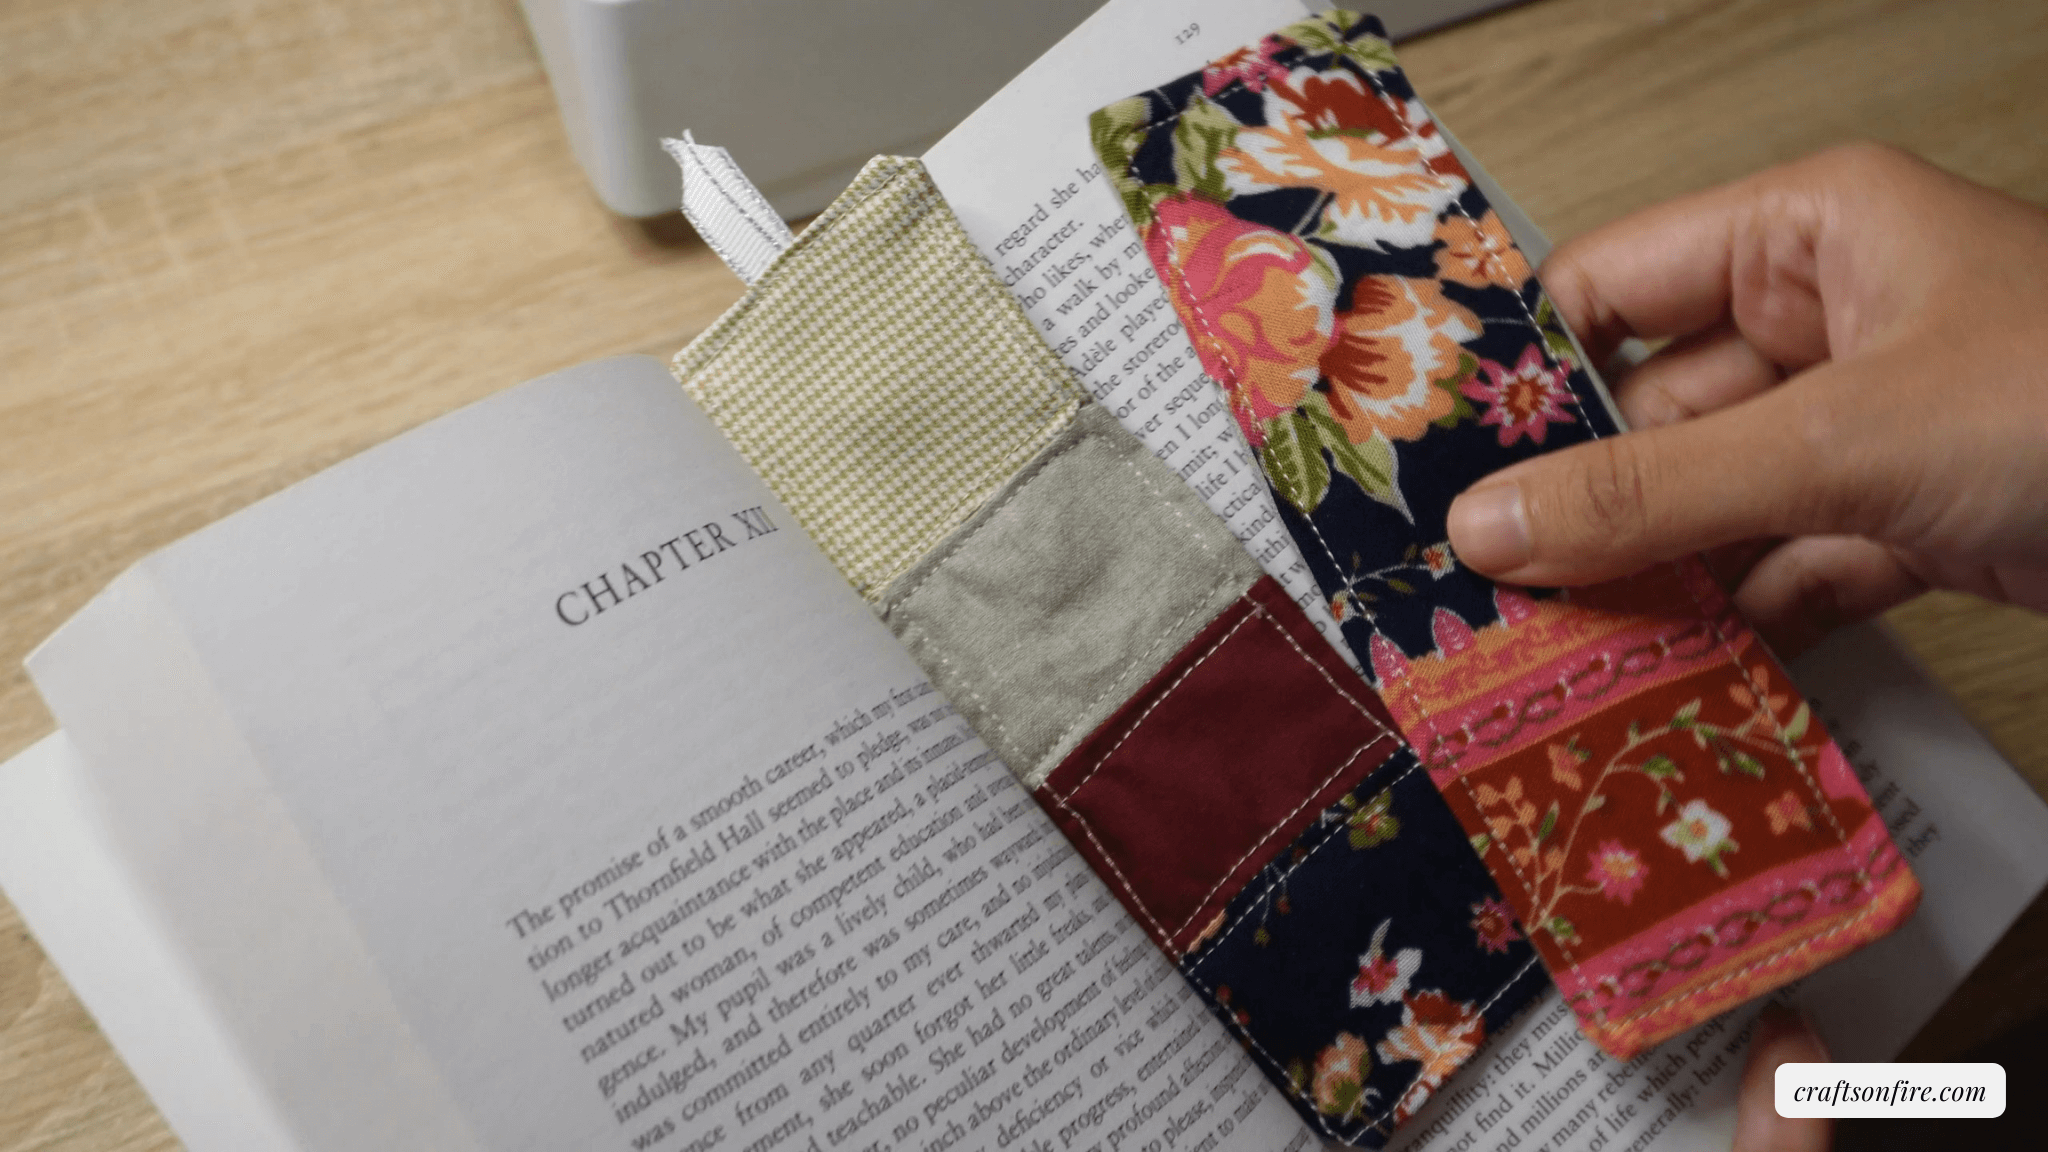
Rather than using cardboard bookmarks that get easily damaged, why don’t we make our own bookmarks from scrap fabric? They last longer, can be washed, and can be one-of-a kind representing our unique taste or style.
I spent some time digging through my supply drawer to find enough fabric for this tutorial. Thankfully, I did, and I was able to sew two different types of fabric bookmarks.
I had my reservations at first, but after completing this tutorial, I’m more than pleased with how these DIY scrap fabric bookmarks turned out.
Follow along with me, and let’s sew together!
Table of Contents
Video Tutorial
Supplies
- Scrap fabric
- Fabric batting
- Scissors
- Pins
- Sewing machine or sewing needle
- Cotton
- Ribbon (optional)
Instructions
Step 1
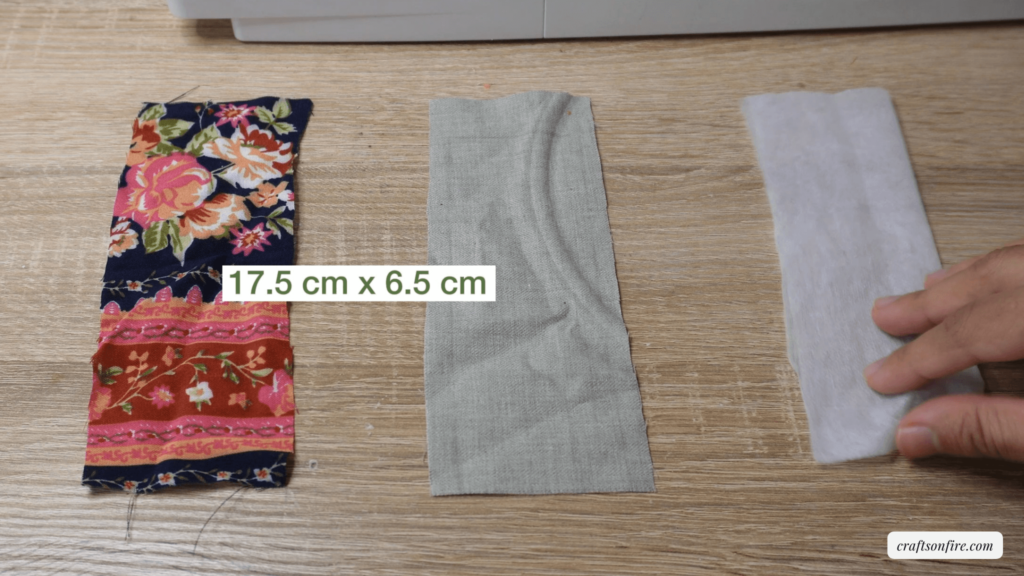
For this tutorial, we will be cutting all pieces of material into a rectangle. Begin with the two pattern fabrics, followed by the batting. The length is 17.5 cm and the width is 6.5 cm, but this can be customized according to your preferences. The batting should be slightly smaller in size than the other fabrics.
Step 2
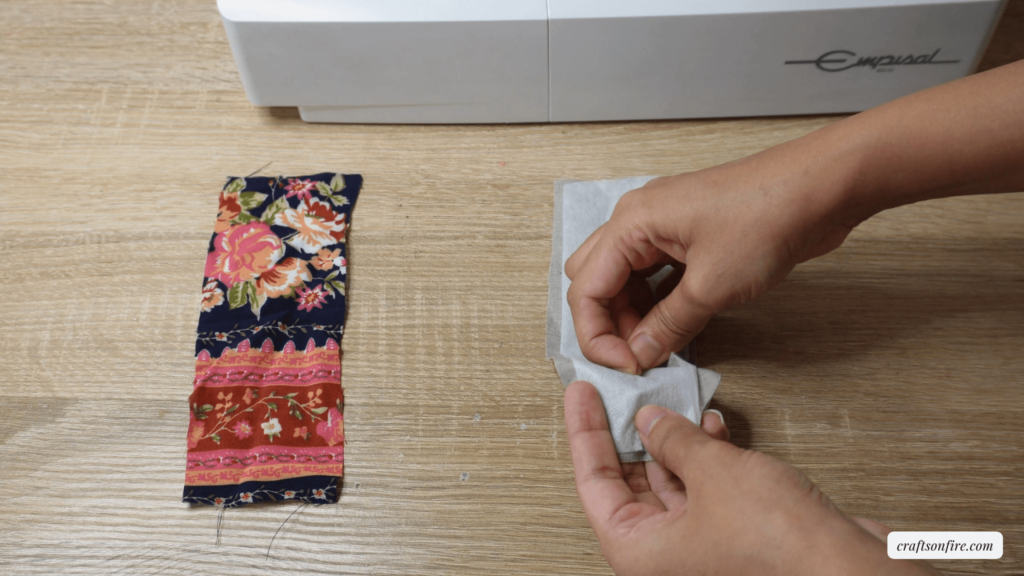
Place the fabric batting onto one of the rectangles and use pins to secure them together.
Step 3
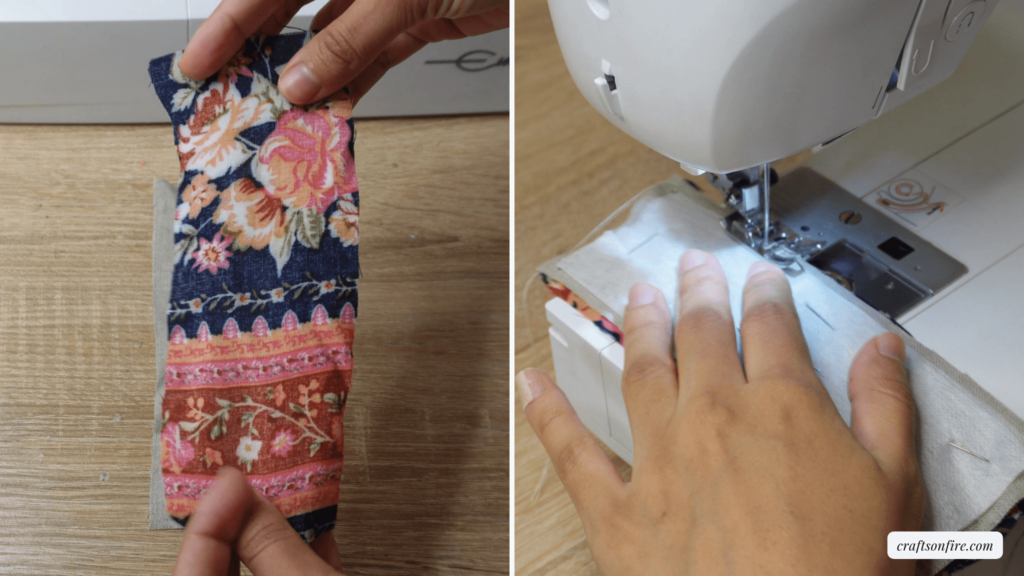
Place the third piece of fabric on the other rectangle and pin. Once pinned, proceed to sew the fabrics together.
Step 4
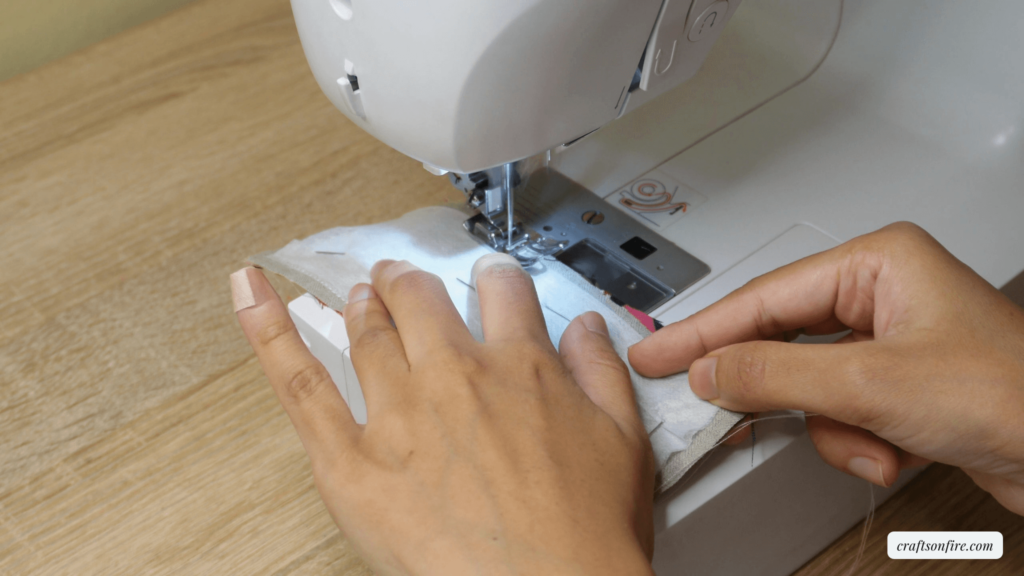
Leave a 5-cm gap on one side of the bookmark while stitching the rest of the fabrics together. This opening will be used to turn the bookmark inside-out so that the correct side is visible.
Step 5
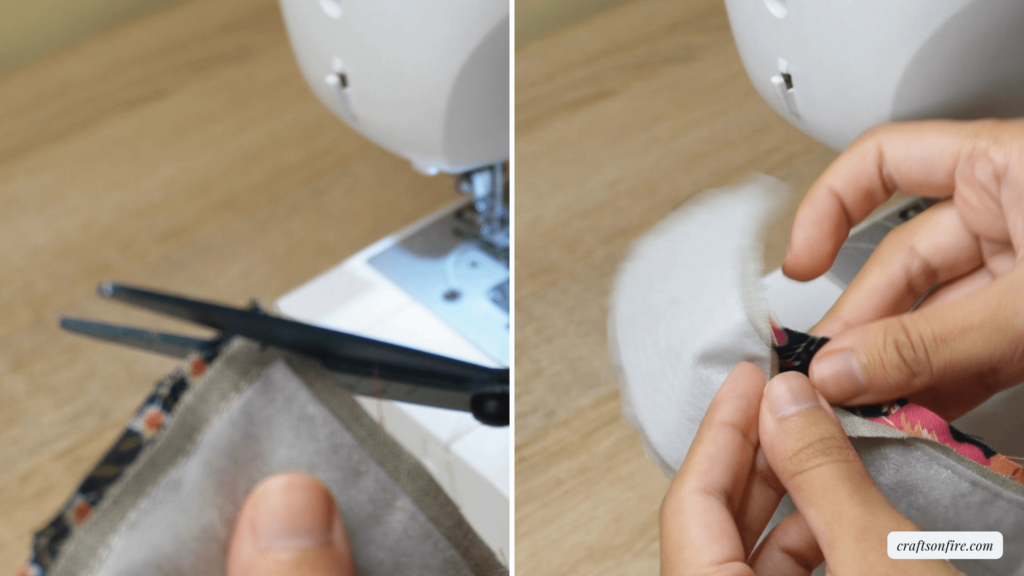
Trim the corners, snip any loose threads, and flip the bookmark to the correct side using the opening.
Step 6
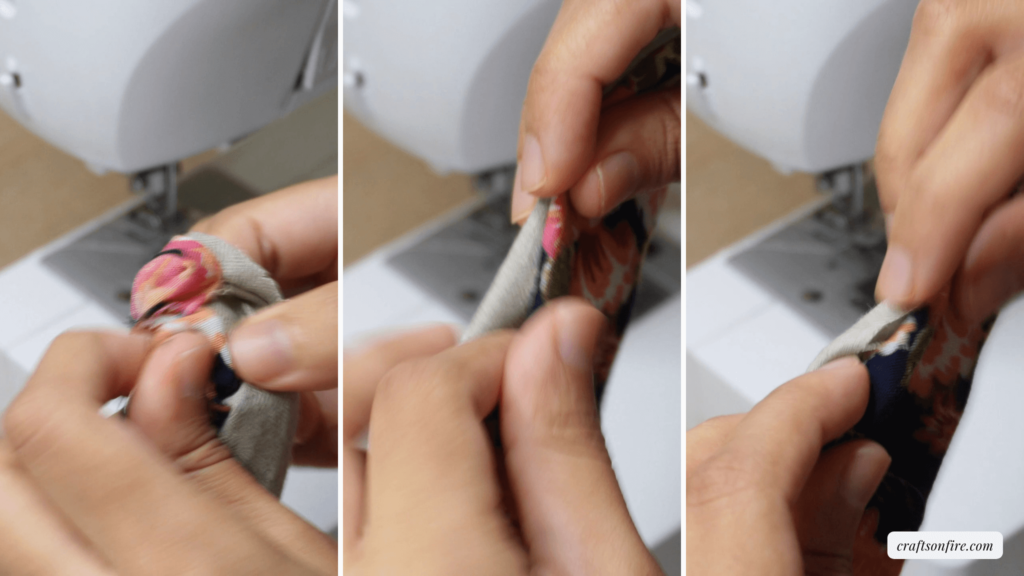
Once turned inside-out, make sure that all corners of the bookmark have been stitched tight. Fold the open corner and secure it with a pin if necessary.
Step 7
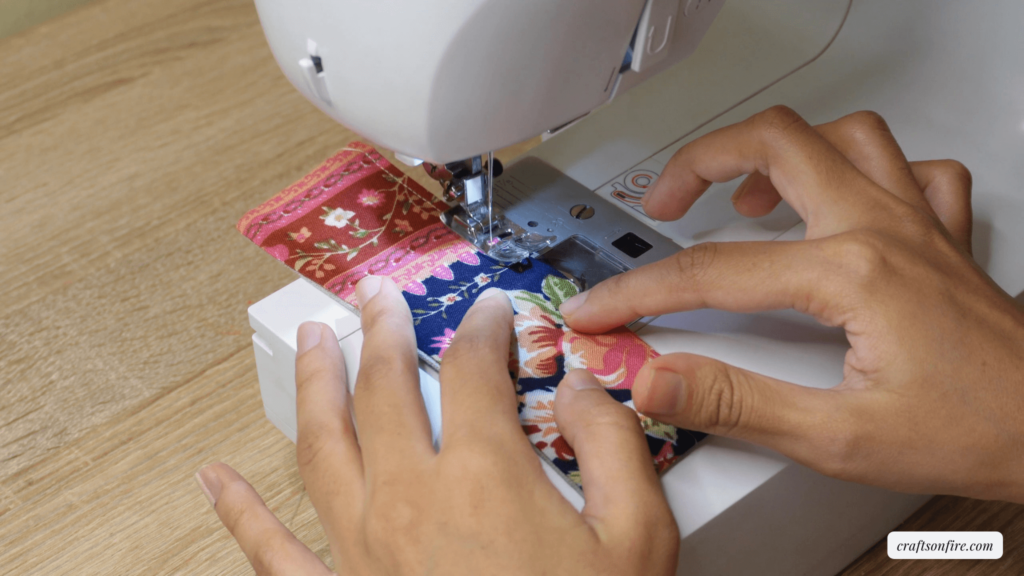
For this final step, sew a border around the bookmark, following the shape of the material. Leave a small gap between the edges, and use a straight stitch to secure the open end. With this step, you would have successfully sewn a simple fabric bookmark.
Step 8
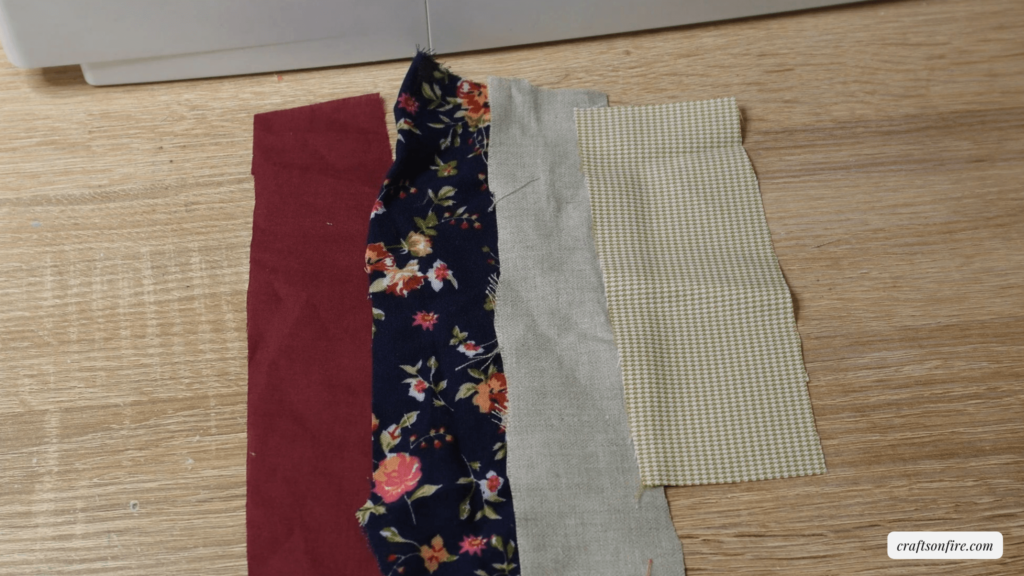
This portion of the tutorial will focus on sewing a multi-tiered scrap fabric bookmark. As you can see from the image below, I used four pieces of material, three of which were about the same size in length.
Step 9
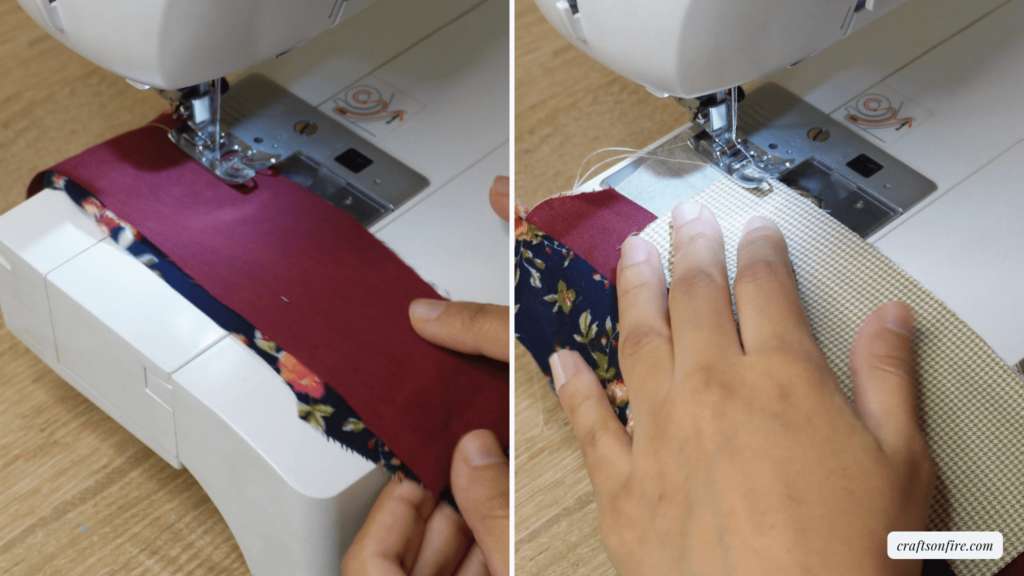
Place one piece of fabric onto the other and stitch just one side from the top to the bottom. Then, open that out into a flap and attach another piece of fabric. Repeat this step by sewing one side and attaching them together until all four pieces of material have been stitched together.
Step 10
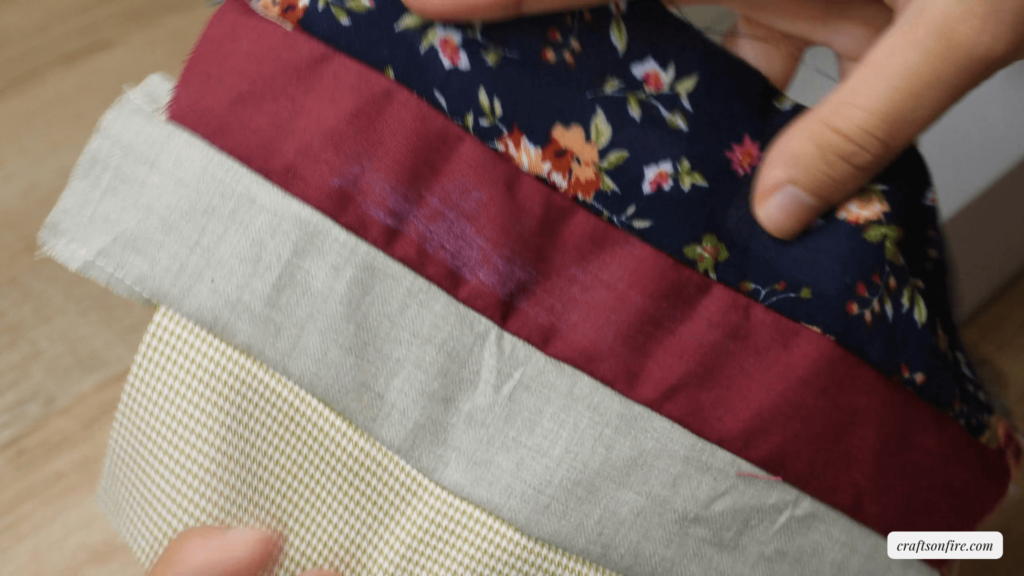
This is what they should look like once they have been stitched together.
Step 11
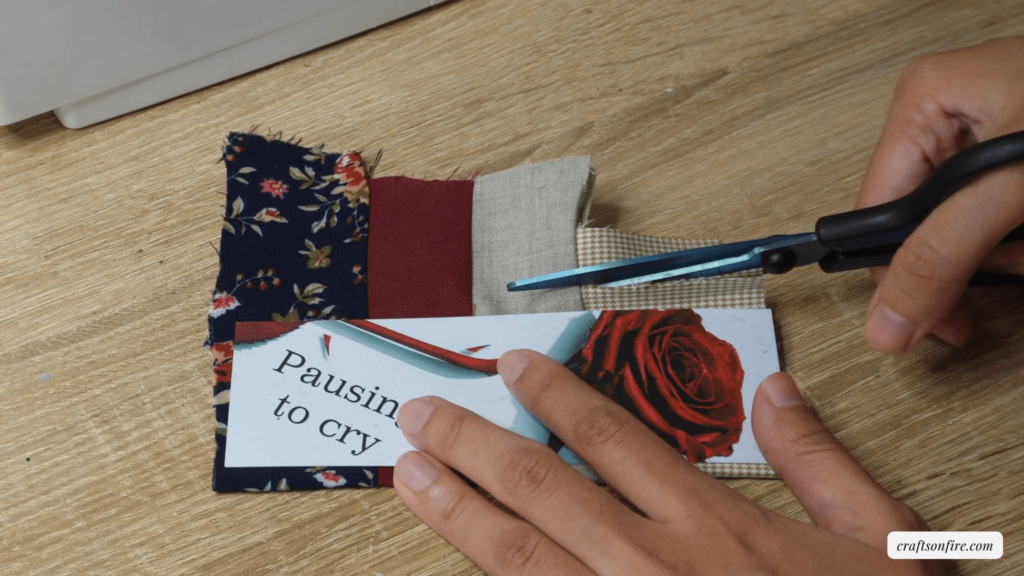
Fold over the pathwork fabric until you have two layers. Place a bookmark or paper cut-out across the folded fabrics that have been sewn together and cut. Make sure to leave an allowance on either side.
Step 12
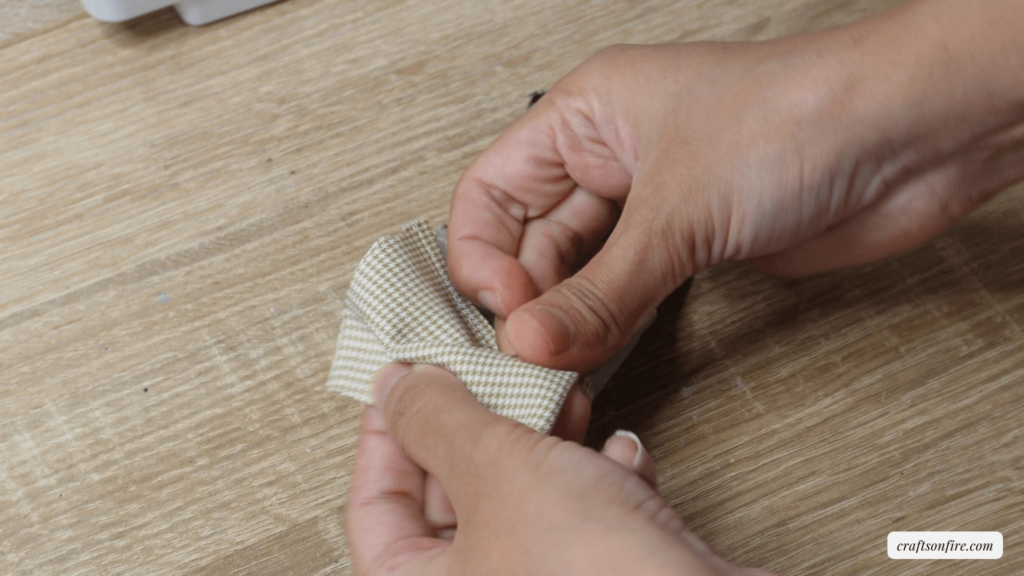
Turn the fabric to the side, which reveals the stitches, and fold them together. Secure the cutting with pins, using as many as you need.
Step 13
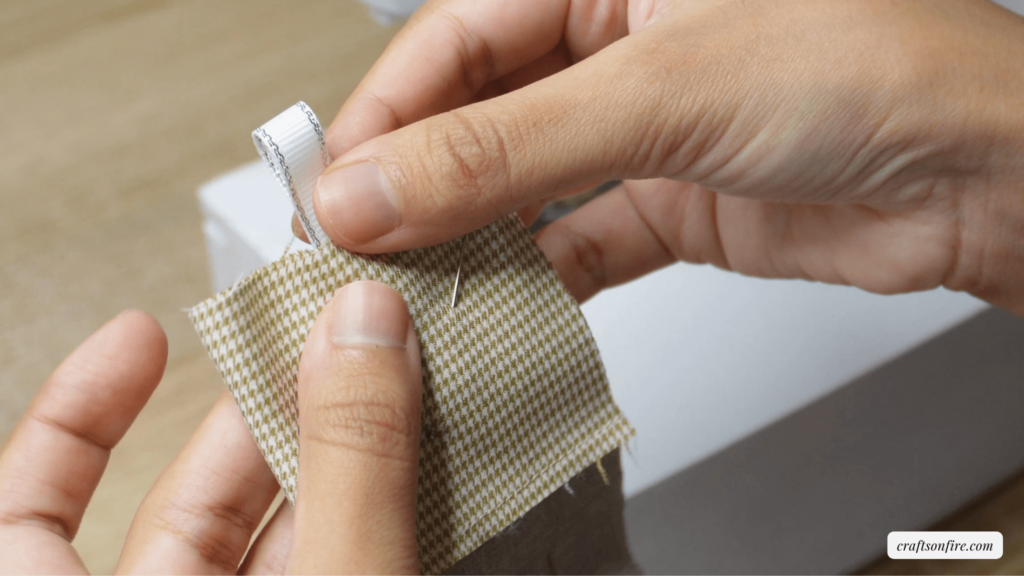
Cut a ribbon, approximately 8 to 10 cm, and fold it loosely. Place the two ends inside the bookmark and center it.
Step 14
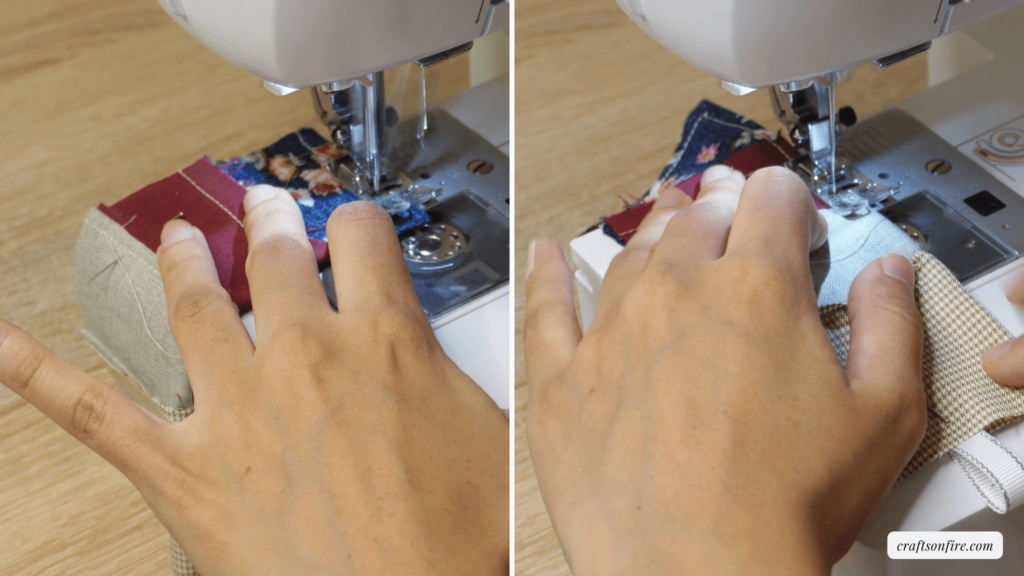
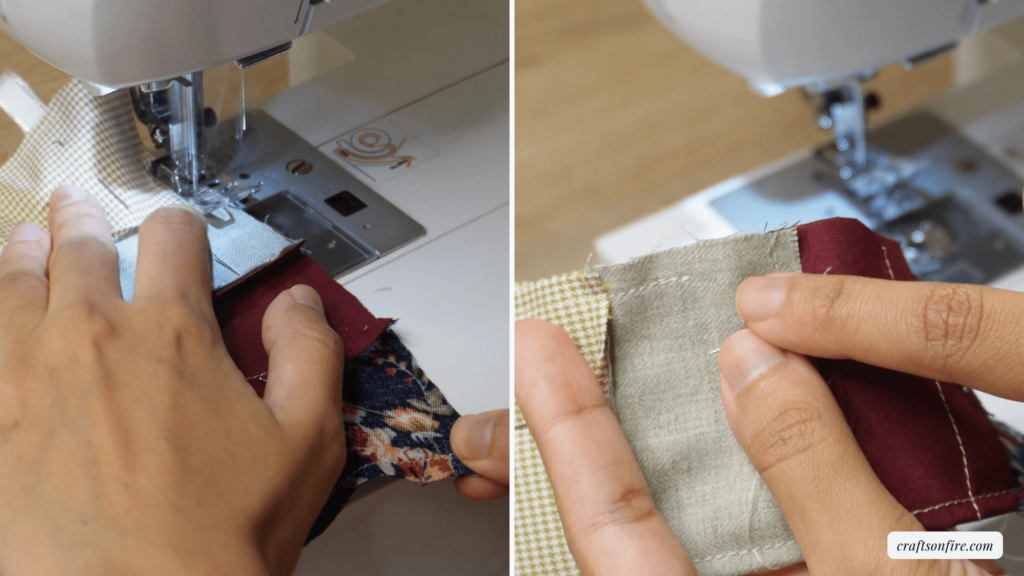
Place the bookmark in your sewing machine and sew all four ends. Leave a gap unstitched on one side so that you can reverse this bookmark to reveal the correct side.
Step 15
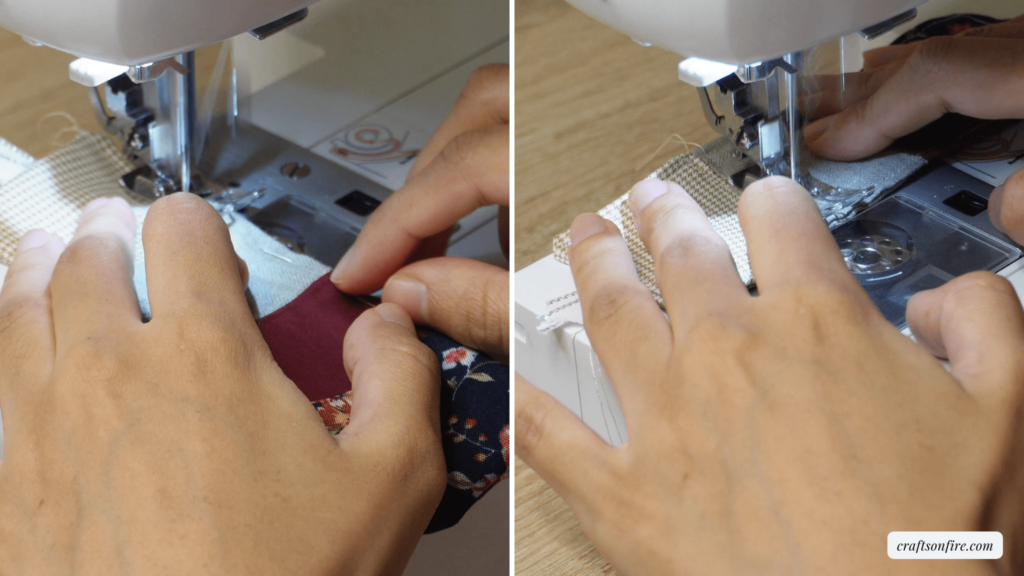
Be sure to sew over the corner where the ribbon has been inserted. Once most of the bookmark has been stitched, remove it from the sewing machine and reverse it, using the opening to reveal the correct side. (PS: Remove pins before reversing.)
Step 16
All that’s left is for us to sew around the border again to reinforce the opening and enhance the design with a straight stitch.
Final Product
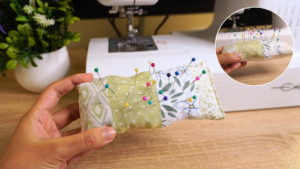
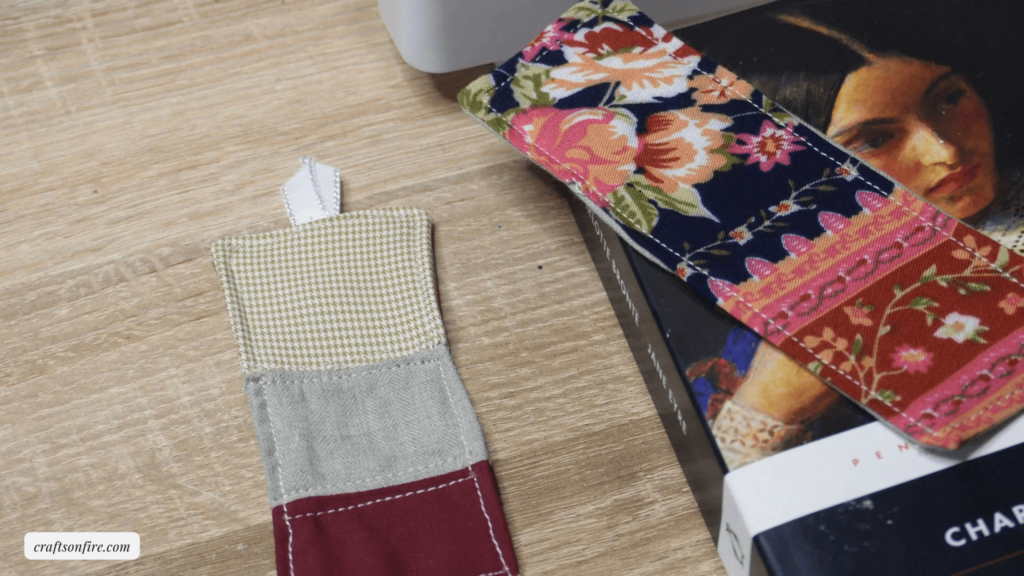
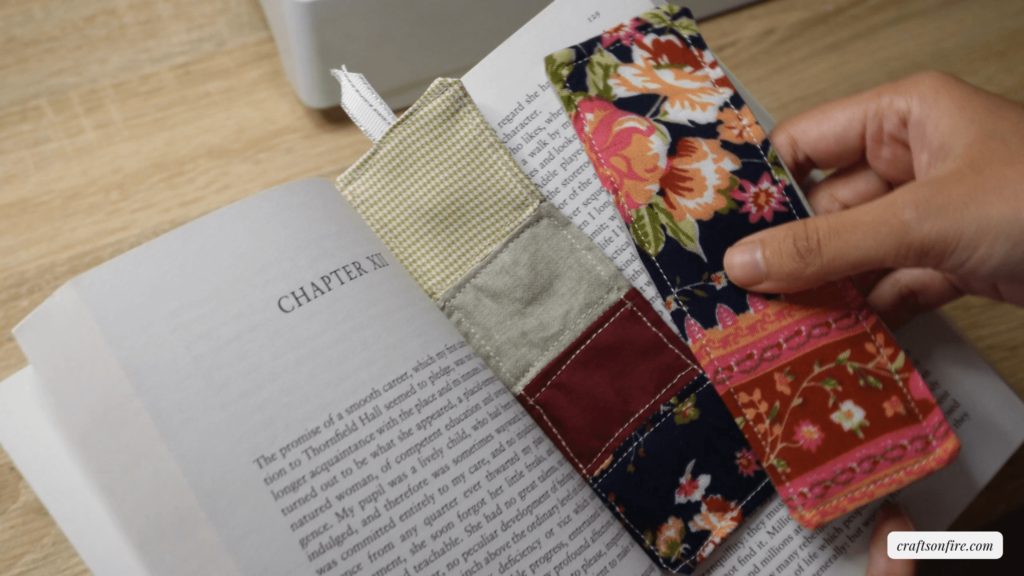
Don’t you agree that these scrap fabric bookmarks look chic, creative, and cute? I really like how they turned out, but if I were to be critical, perhaps I wouldn’t have sewn the square borders.
Other than that, they’re a great sewing tutorial for beginners and I’m happy that you decided to make these bookmarks.
If you have any questions, feel more than free to leave them in the comment section below, and I’ll be sure to assist wherever I can.
Sewing Projects You Can Try Next:
