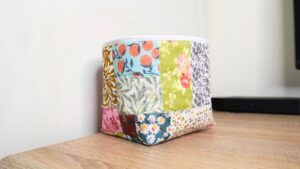
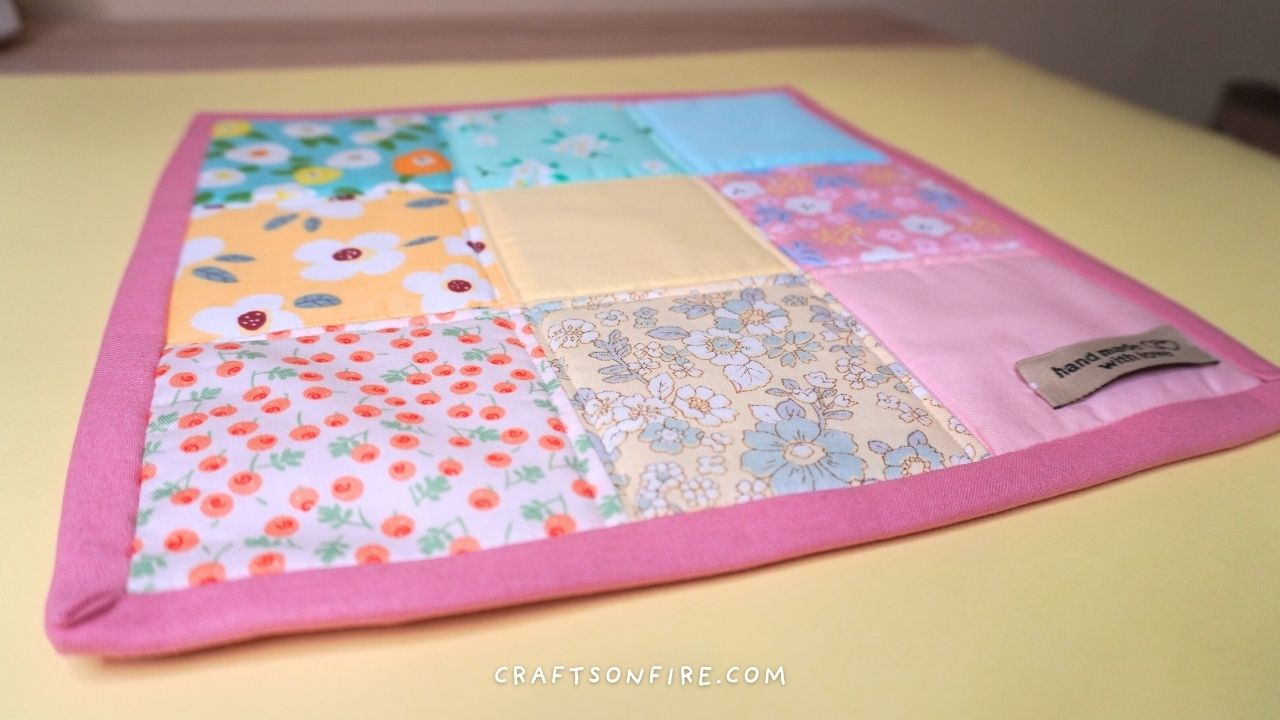
Easy Patchwork Pot Holder tutorial

Sew this cute and colorful patchwork pot holder in just a few simple steps! My detailed sewing guide will walk you through each step to craft this charming and functional pot holder that will brighten up your kitchen.
It’s so lovely, you can leave it on display on your counter or kitchen table. Alternatively, use them as placemats for an added personal touch!
It’s the perfect size to hold any plate or bowl.

You could also make and gift this patchwork pot holder to friends and family.
If you enjoy sewing your own pot holders, this one is a fun and rewarding project. Having sewn a few potholders myself, I can say that this square patchwork pot holder is one of my absolute favorites!
I can’t wait to show you just how easy it is to sew this pot holder — even if you’re still learning to sew.
Let’s get started!
DIY Patchwork Pot Holder
Supplies & Tools

- 9 Patterned Fabric Squares – 10 cm x 10 cm / 3.94 inches x 3.94 inches
- 100% Cotton Pink Fabric
- Heat Resistant Fabric Batting
- Bias Tape – 5 cm x 110 cm / 1.97 inches x 43.31 inches
- Labels (Optional)
- Pins
- Sewing Machine
- Scissors
Final pot holder measurement – 25.5 cm x 26.5 cm / 10.04 inches x 10.43 inches.
*A quick, important note: Craftsonfire is not responsible for any issues if you use this pattern and tutorial to create your pot holder. I highly recommend using 100% cotton fabric and heat-resistant batting. Use this item at your own risk.
Instructions
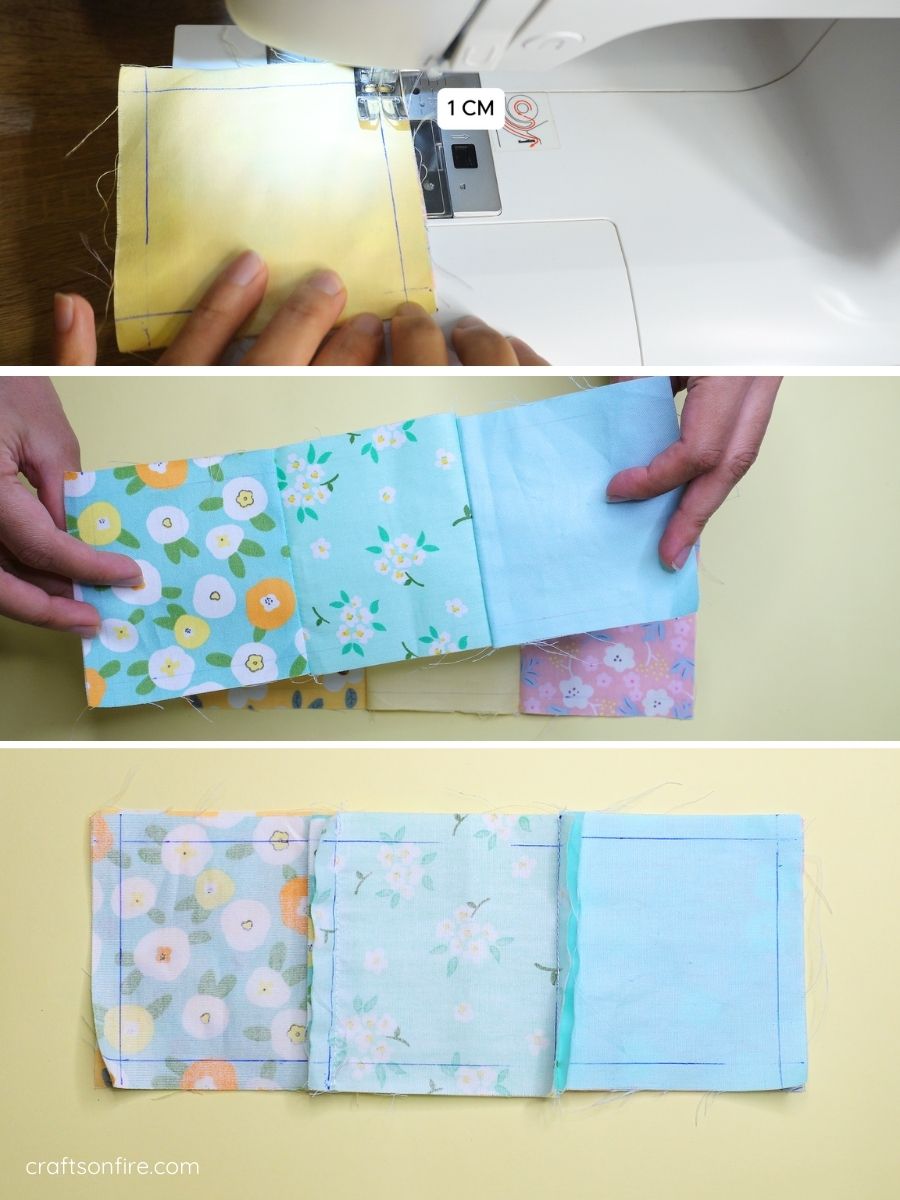
Step 1
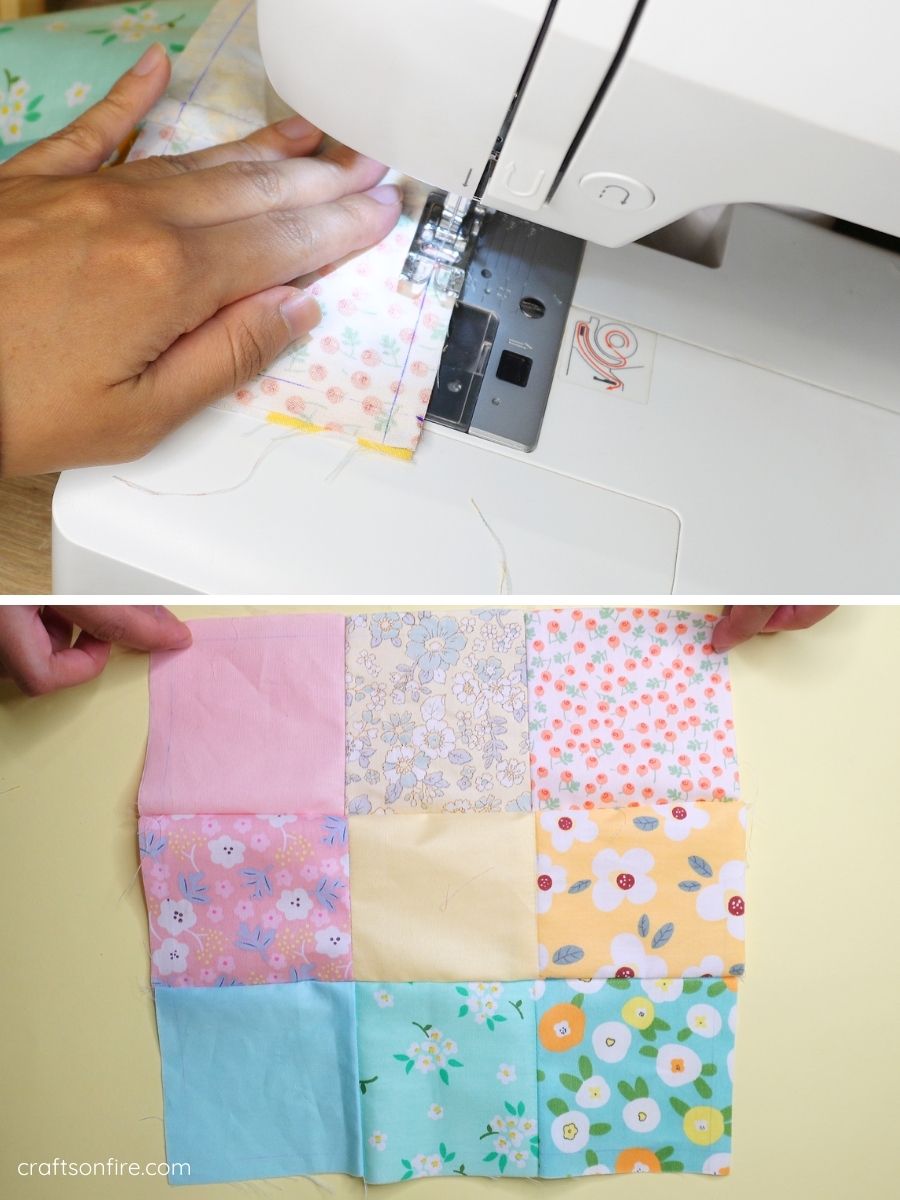
Before starting, I quickly marked each square on the wrong side of the fabric with a 1 cm border along each side. This helps provide a guide for an even patchwork.
Place the first two squares of fabric together with the right sides facing each other and sew.
Then, open the strip, grab another square, and sew it to the strip with the right sides facing in.

Step 2
With your first strip completed, go ahead and sew the next 2 strips following the same process.
Next, pair the first strip with the second one (right sides facing each other) and sew them together.
Step 3
Sew the final strip to the second strip, again with the right sides facing each other, using a 1 cm seam allowance.

Step 4
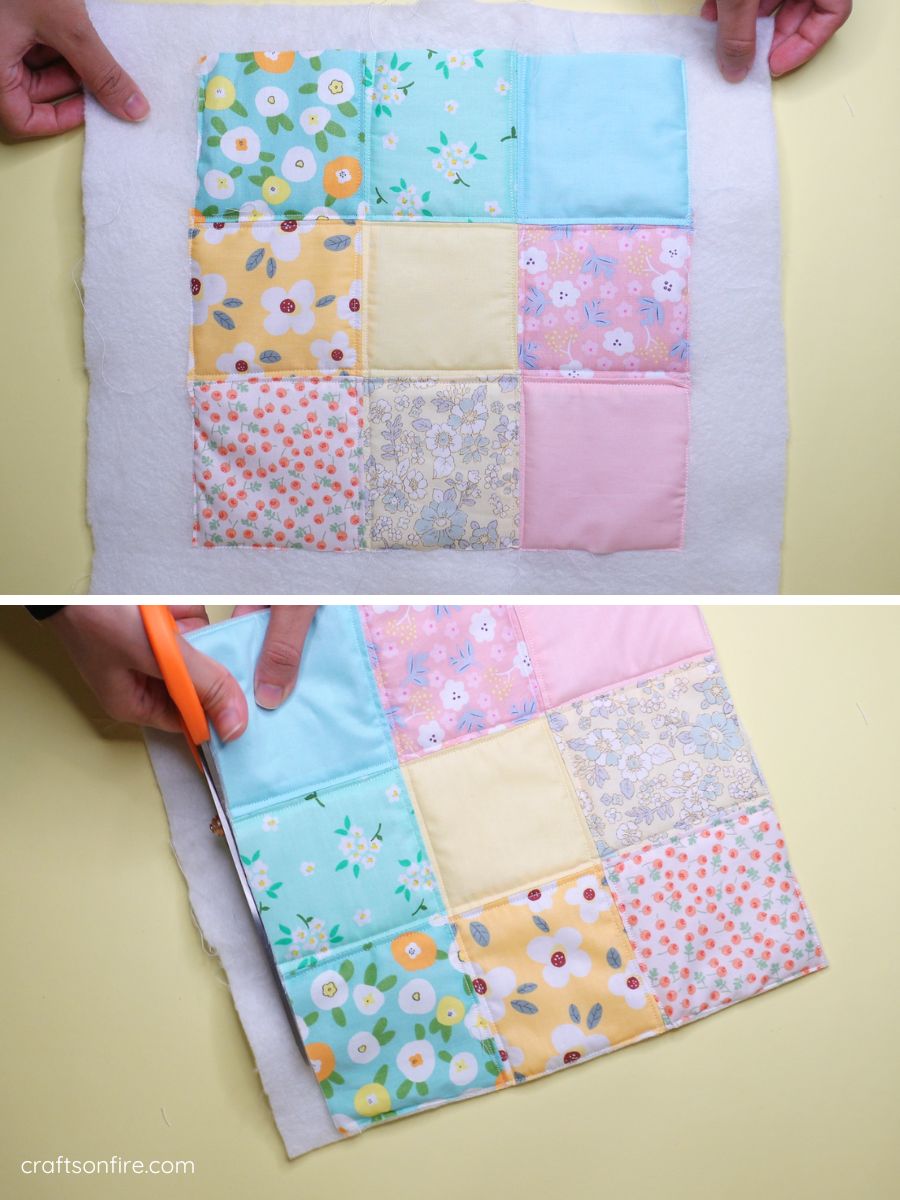
Your patchwork fabric is now complete. Go ahead and press it with the iron to smooth any wrinkles.
Step 5
Place the patchwork piece on top of the heat-resistant batting, aligning the edges.
Pin them together, then quilt the fabric as desired.

I went for a simple pattern by stitching vertically and horizontally through each strip, but feel free to use any pattern you like!
Step 6
You can also sew the edges of the fabric to the batting to keep it in place.
When you’re finished sewing, trim off the excess batting from the sides.
Step 7
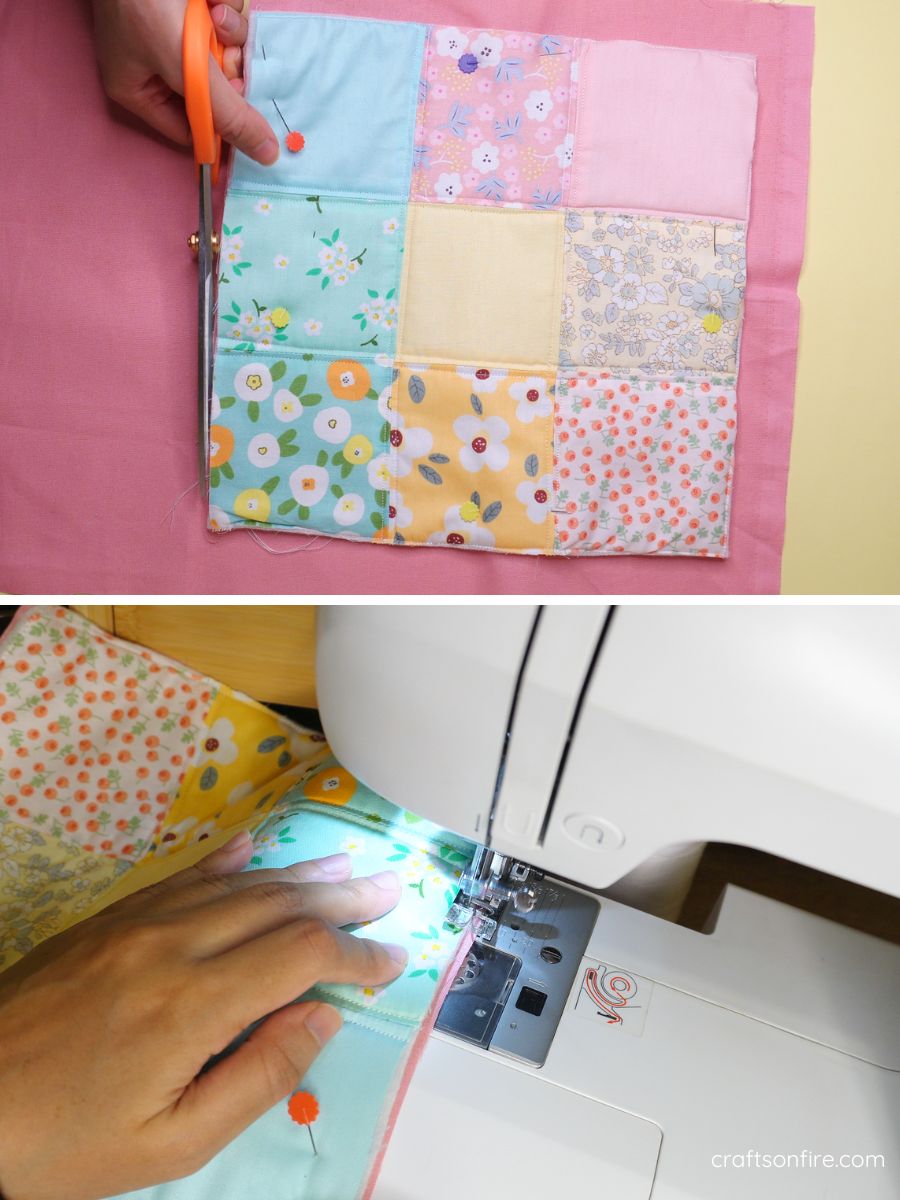
You’ll also need to cut the pink fabric to match the size of the patchwork piece.
Then, place the pink fabric on top of the patchwork, with the wrong sides facing each other. Pin them together, then sew or pin the pieces together (optional).
Step 8
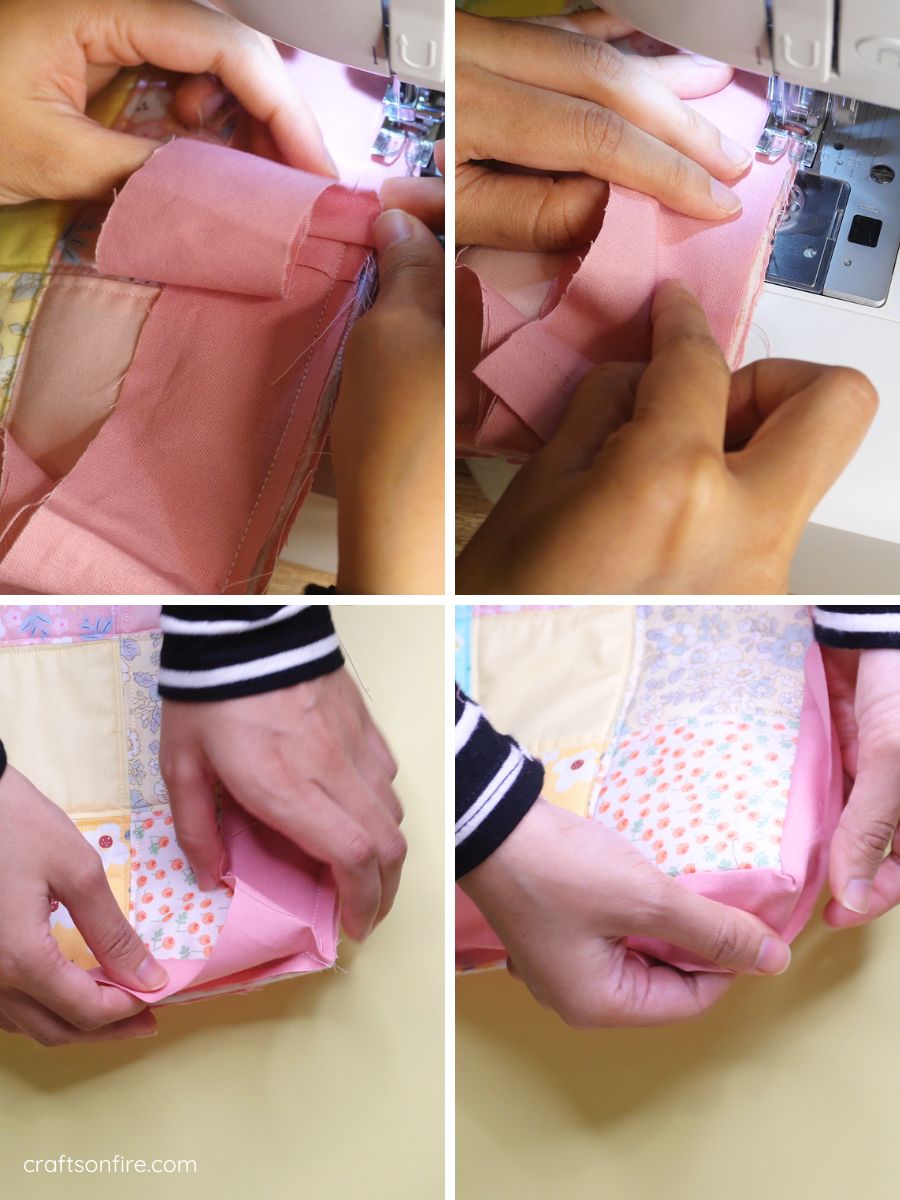
We’ll now add a border to the patchwork potholder. Grab some bias tape or cut a strip from the pink fabric measuring 5 cm x 110 cm (1.97 inches x 43.31 inches).
Place the tape on the pot holder with the right side facing in.
Create a small flap by folding the fabric over and pin it in place.
When you reach the corner, lift the strip and fold it towards you.

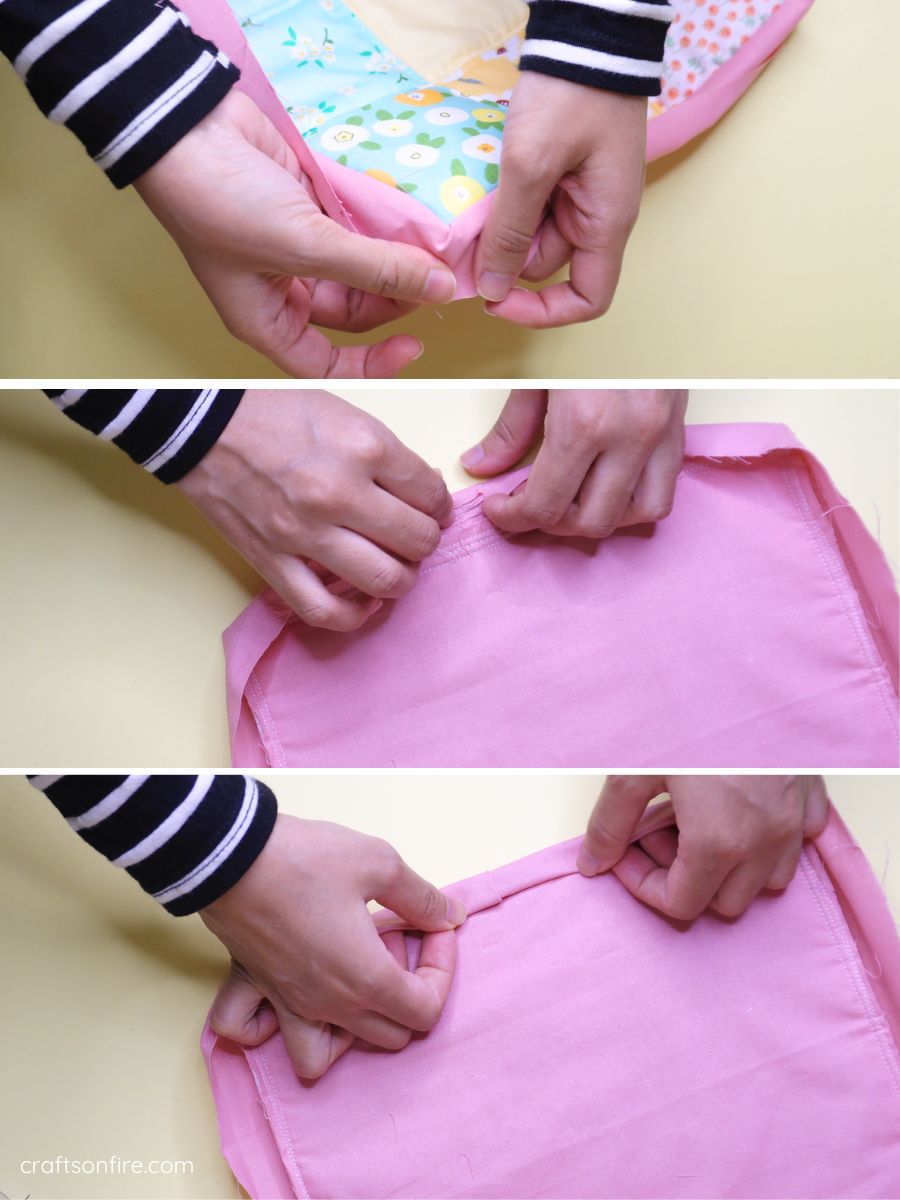
Step 9
Hold the fabric and then fold it down, creating a flap.
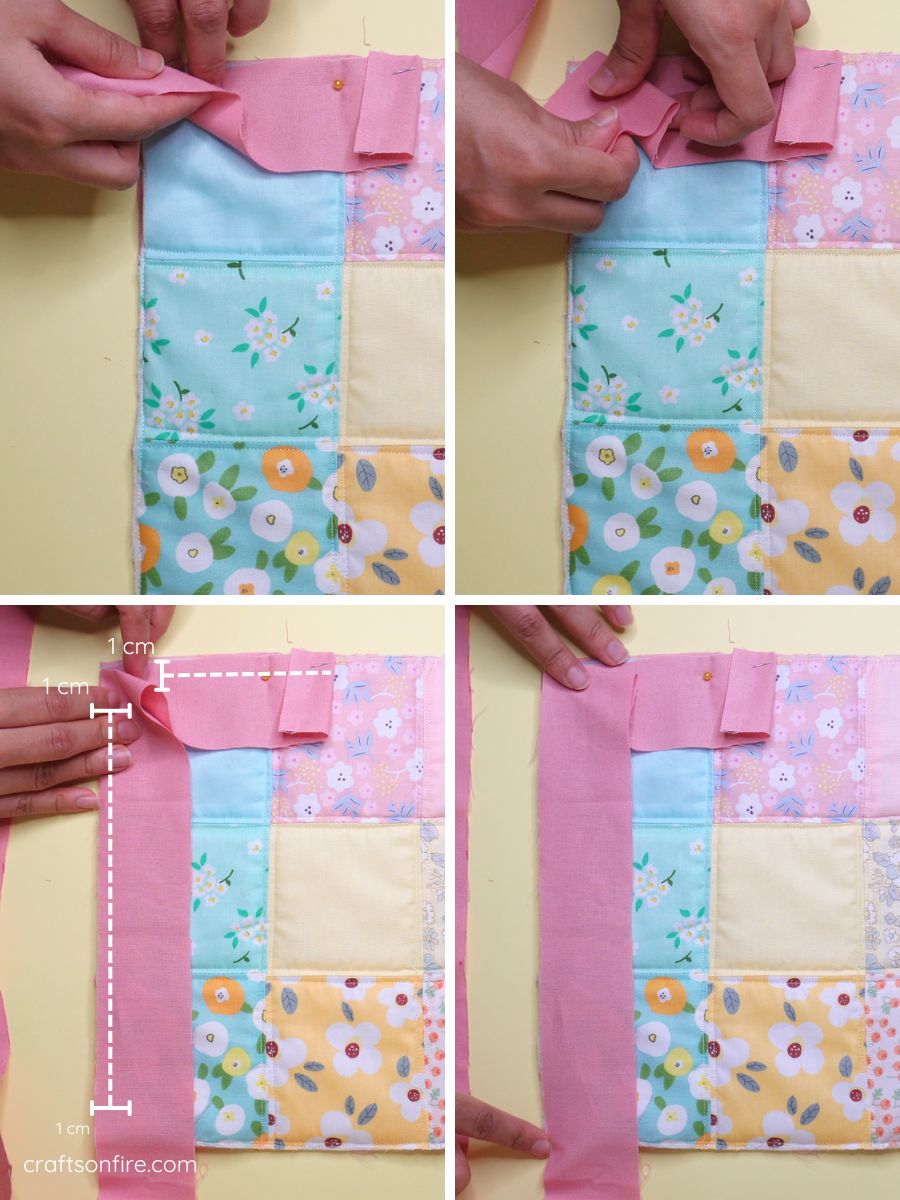
You’ll need to stop sewing 1 cm before the first corner point, backstitch, and then continue sewing 1 cm from the next lifted side.
Step 10
Keep sewing until you reach the other side and repeat the process.

Step 11
Sew over the beginning of the bias tape, then trim off any excess fabric.
Then, fold the bias tape over each corner to create a neat edge.
Step 12
Fold the tape once more on each side of the pot holder.
Step 13
When you’re done pinning the bias, (you could also use sewing clips to hold the fabric instead), hand stitch the tape to the pot holder using an invisible stitch.

Final Result
This patchwork pot holder is now complete!

This patchwork pot holder was definitely worth it! I loved every second of sewing this, especially watching the beautiful mix of colors and patterns come together.
Patchwork projects hold a special place in my heart, and I’m excited to share even more projects with you in the future.
It’s amazing to see how scraps of fabric or small pieces can be transformed into something truly artistic.
If you’re planning to sew this pot holder or if you’ve already made one, I’d love to hear how yours turned out!
I hope this pot holder brings love and warmth to your kitchen.
Happy sewing!
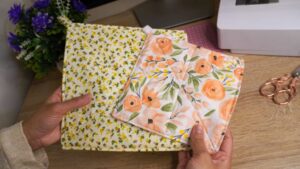
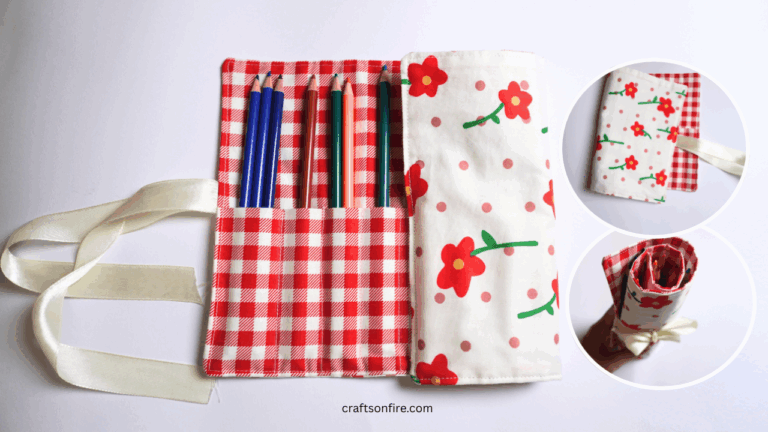
More Step-By-Step Patchwork Sewing Projects