How To Sew Fabric Coasters
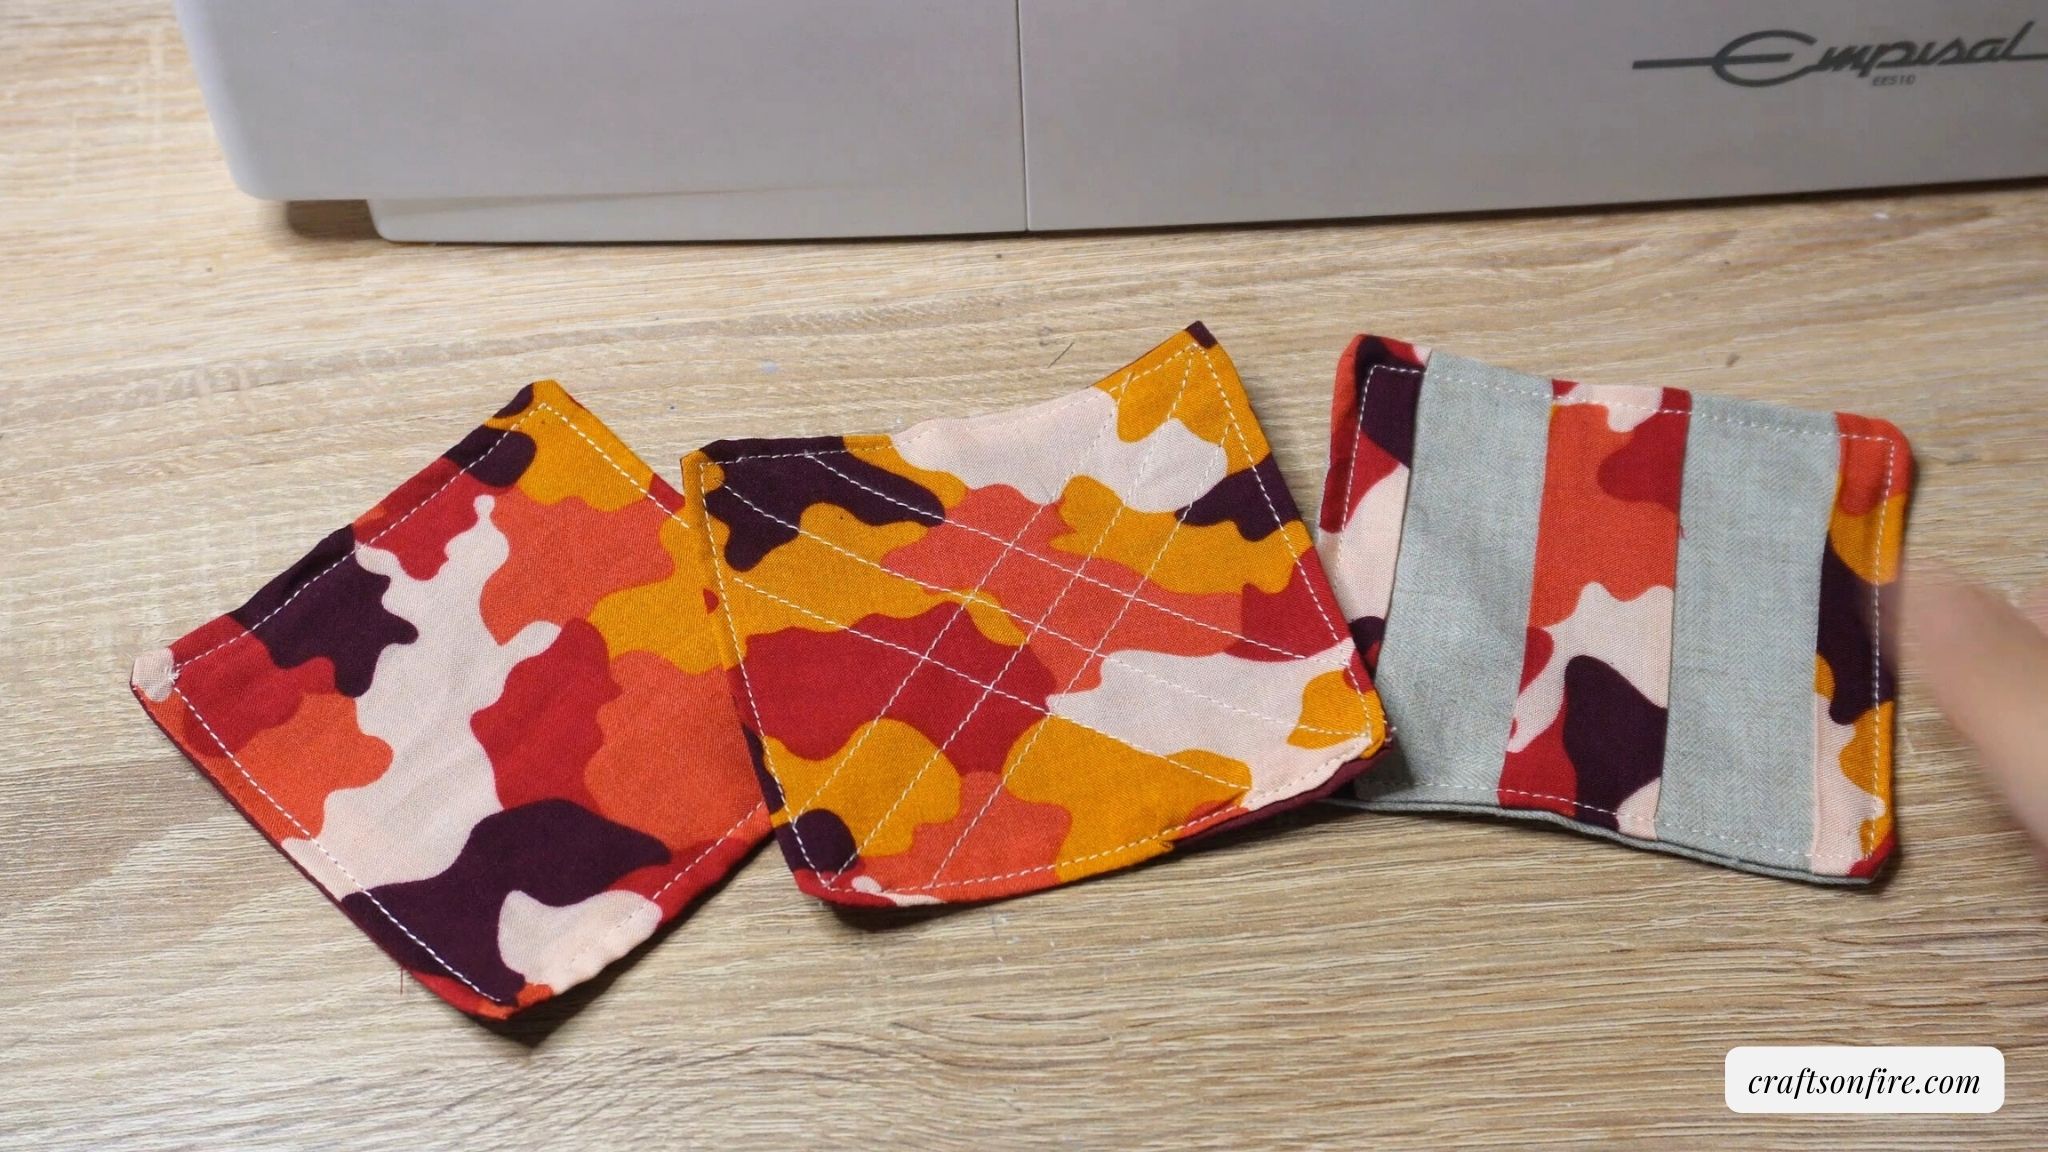
One of the first things I sewed when I just got my hands on a sewing machine for the first time was a fabric coaster. I knew this would be the perfect tutorial to learn and practice sewing and I was right.
Fabric coasters are so awesome to sew and you can do so much with them. I’ve made so many fabric coasters over the last few weeks and can confidently say that sewing them is easy and enjoyable.
If you want to learn how to sew coasters for the first time, you’ll love my simple step-by-step tutorial.
I’ve included everything you need to know about sewing a basic coaster and a scrap fabric coaster. You’ll find all the pictures and instructions to help you every step of the way.
Grab your supplies and let’s get started.
Table of Contents
Fabric Coasters Sewing Tutorial
Supplies
- Scrap Fabric
- Sewing Machine
- Pins + Scissors
- Fabric Batting / Fusible Fleece
Video Tutorial
Instructions
Coaster 1
Step 1
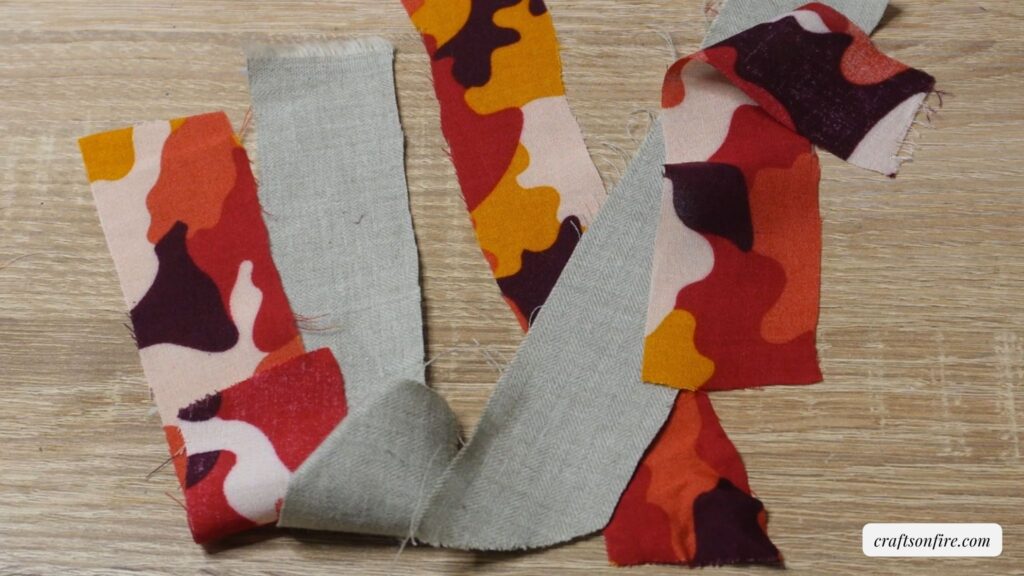
To make a scrap fabric coaster, you’ll need to use any leftover fabric pieces and cut them into strips. I’ve used about 3 patterned strips and 2 plain fabric strips but if you want a larger coaster, you’ll need to cut a few more pieces.
Step 2
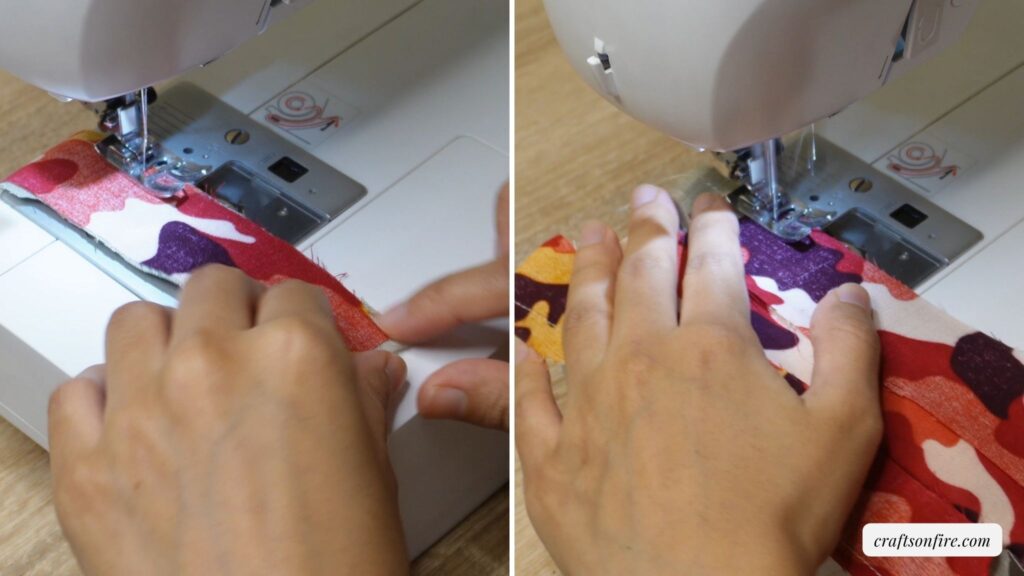
Take the first two strips and place them together with the right sides facing inside. Stitch one side of the strips together.
Open the strip you’ve just sewed and take another strip, attach it to one of the strips with the right side facing in, and sew.
Step 3
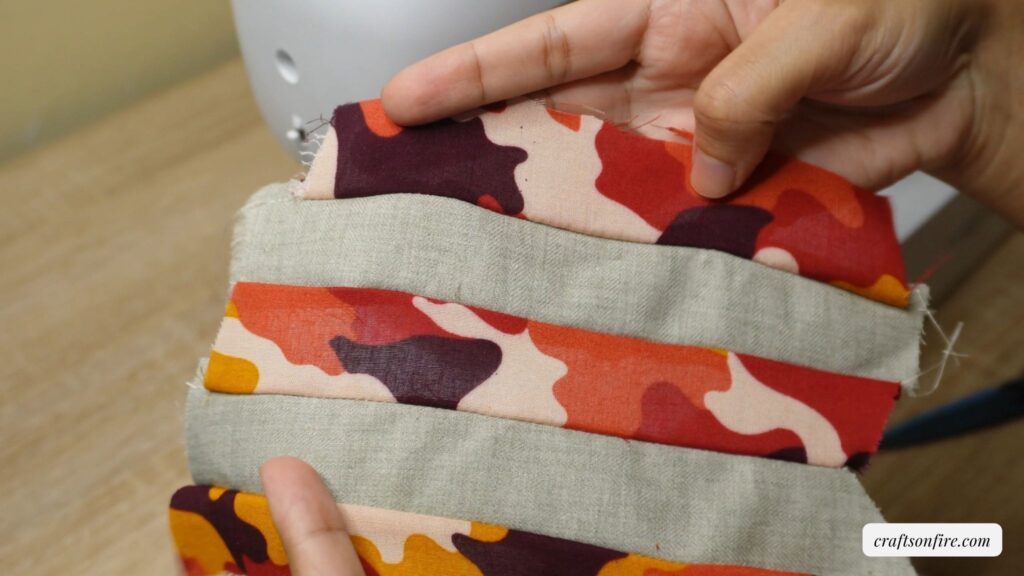
Continue stitching all the scrap fabric together until your piece looks like this.
Step 4
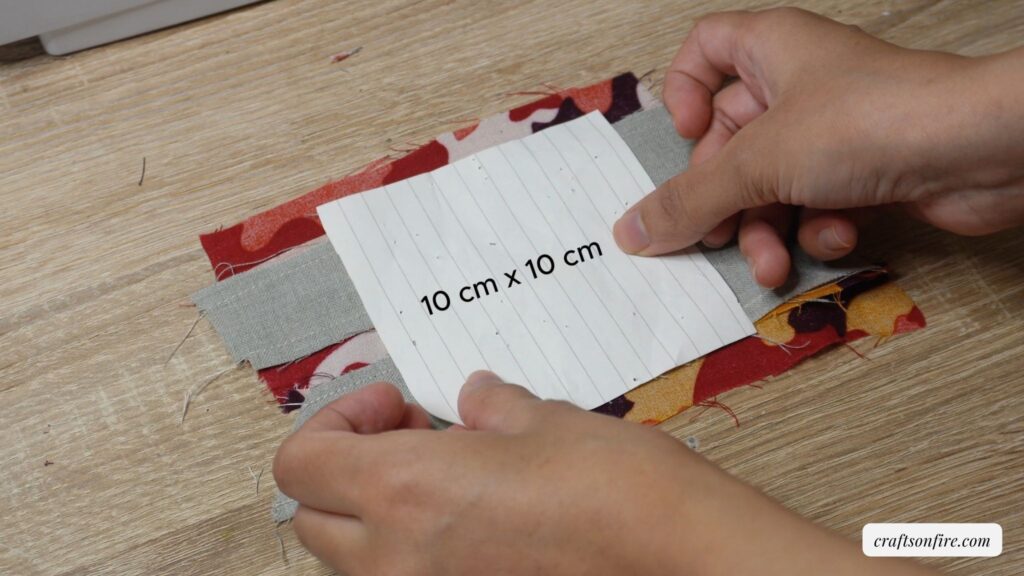
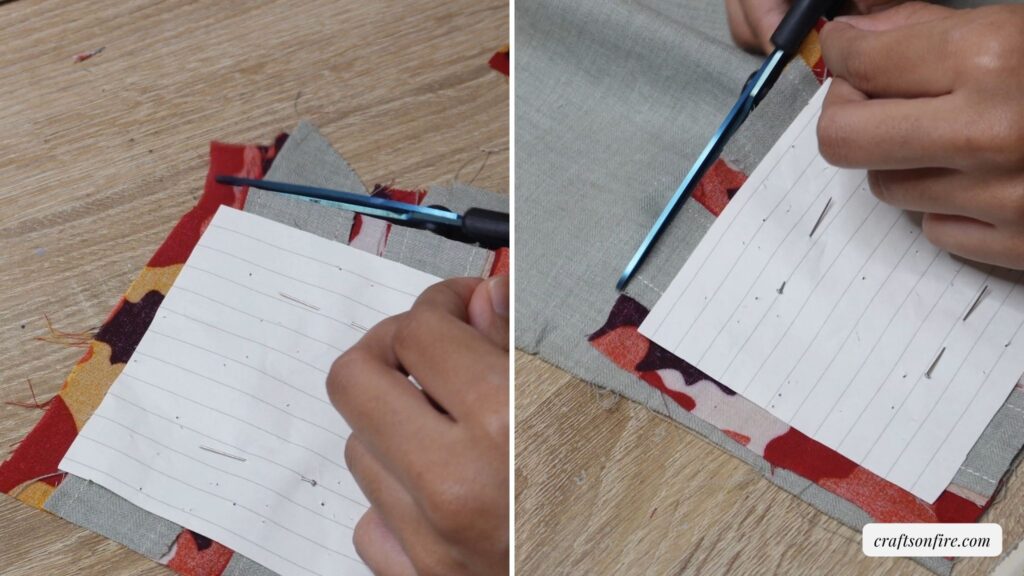
Grab a piece of paper and cut a 10 x 10 cm square or use a fabric maker to mark the measurement.
Step 5
Before you cut, add on 1 cm for the seam allowance and then cut the fabric. Go ahead and cut another square in a plain fabric. You’ll now have 2 squares of fabric.
Step 6
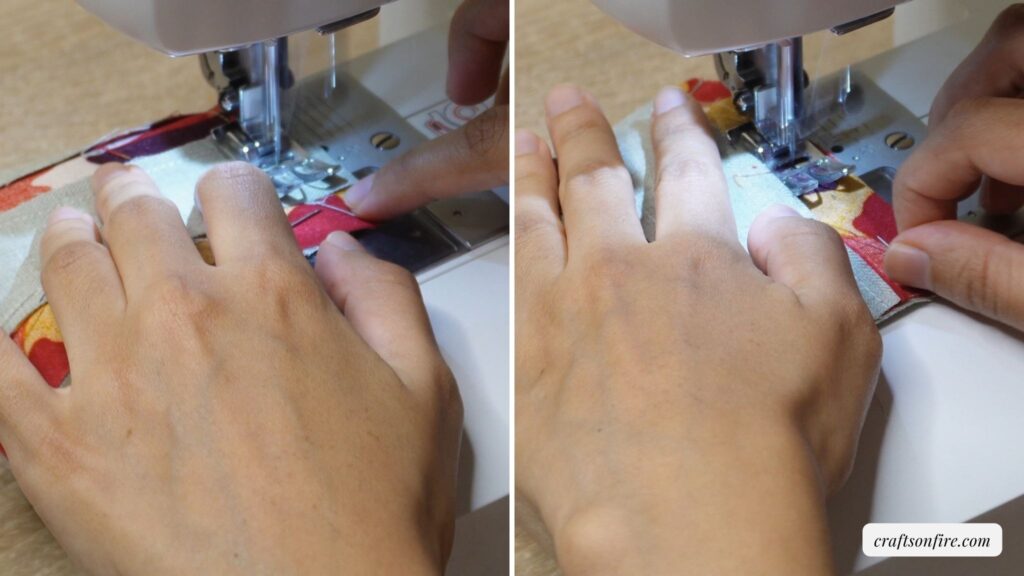
Stitch these two pieces of fabric together with the right sides inside. At this point, you can also include the fabric batting if you want a thick coaster.
Do not stitch at the corner or side of one end of the square as this will be used as the opening to turn the fabric to the right side.
Step 7
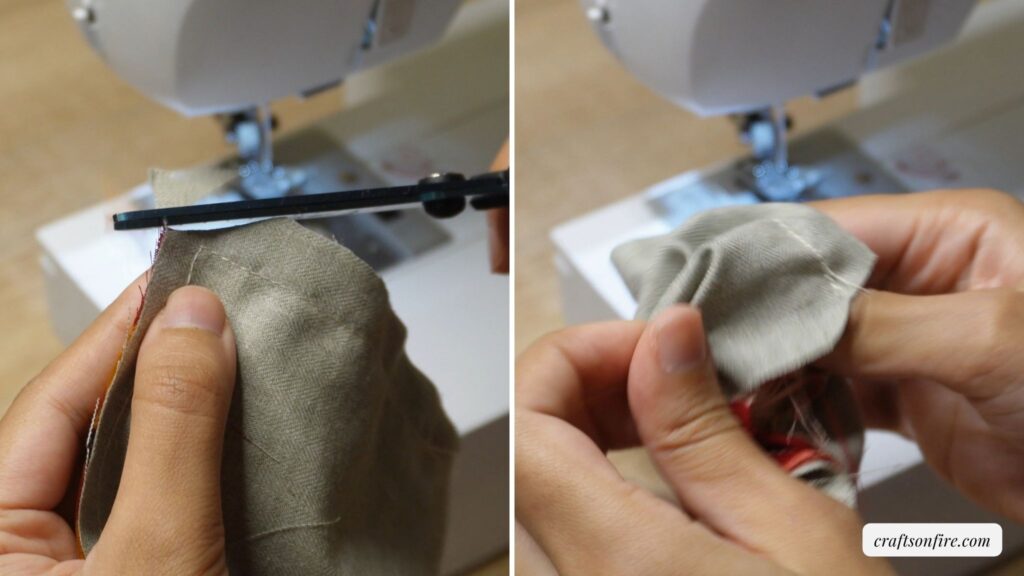
Now cut the 4 corners and use the opening to turn the coaster inside out.
Step 8
Use a pen or scissors to open out all the corners of the coaster. Be careful not to poke too hard as this can rip the stitches.
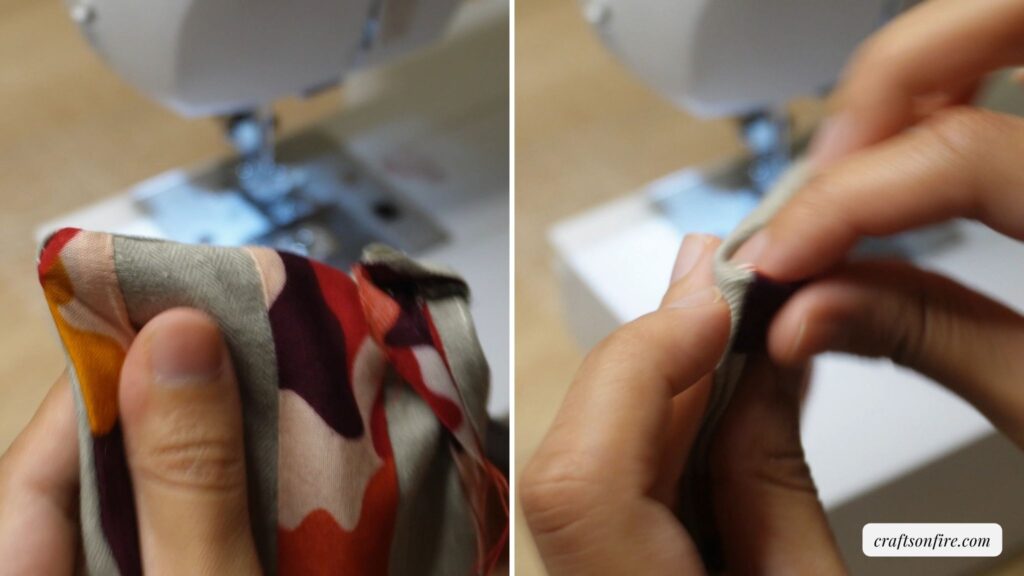
Once you’re happy with the coaster looks, fold the opening in and pin it in place.
Step 9
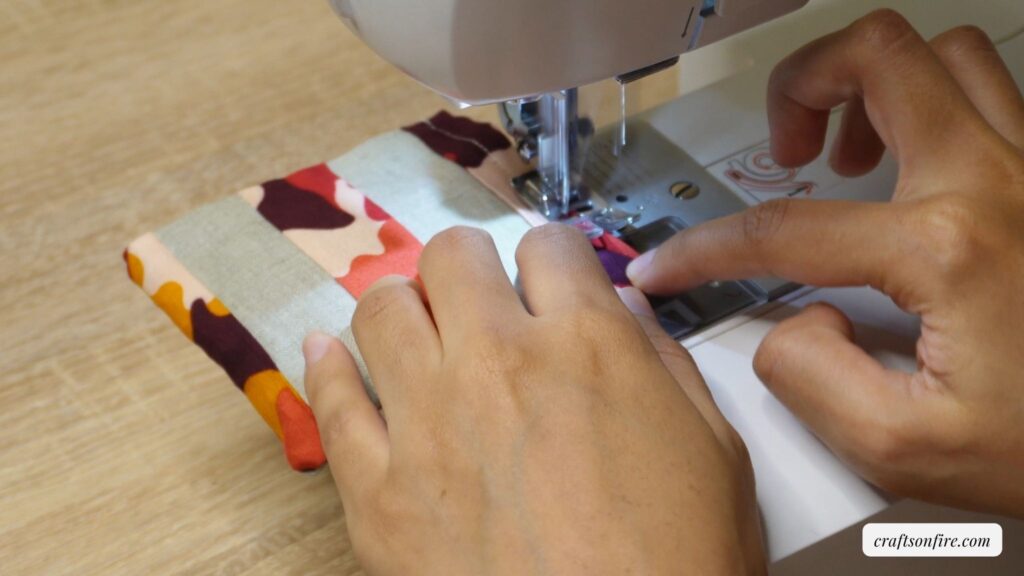
To close off that opening, we’ll now do a small top stitch on the coaster and you’re done!
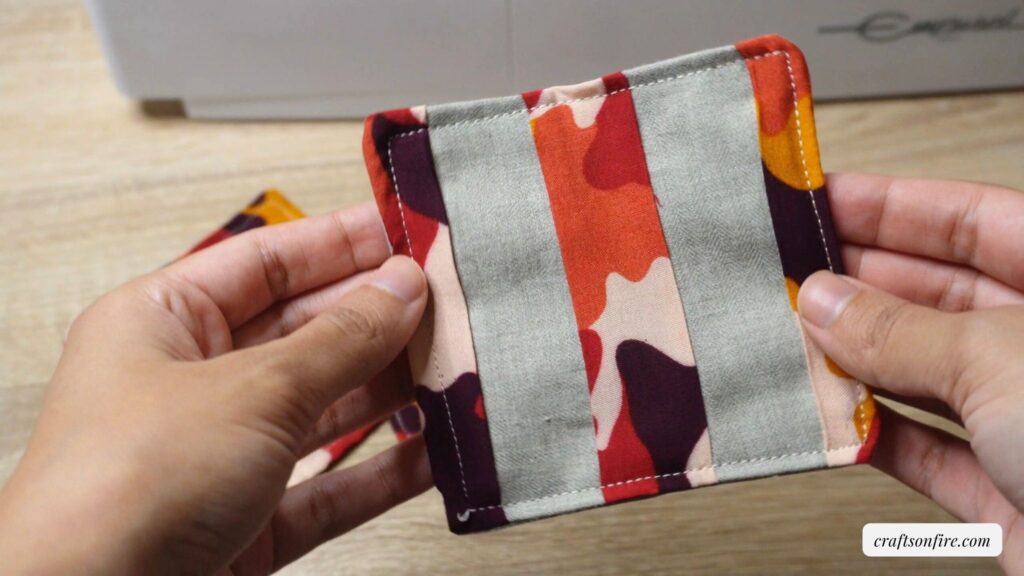
Here is how my first scrap fabric coaster turned out:
Fabric Coaster 2
Step 1
Let’s sew a basic and simple coaster now.
To make the second coaster, we’ll follow some of the previous steps.
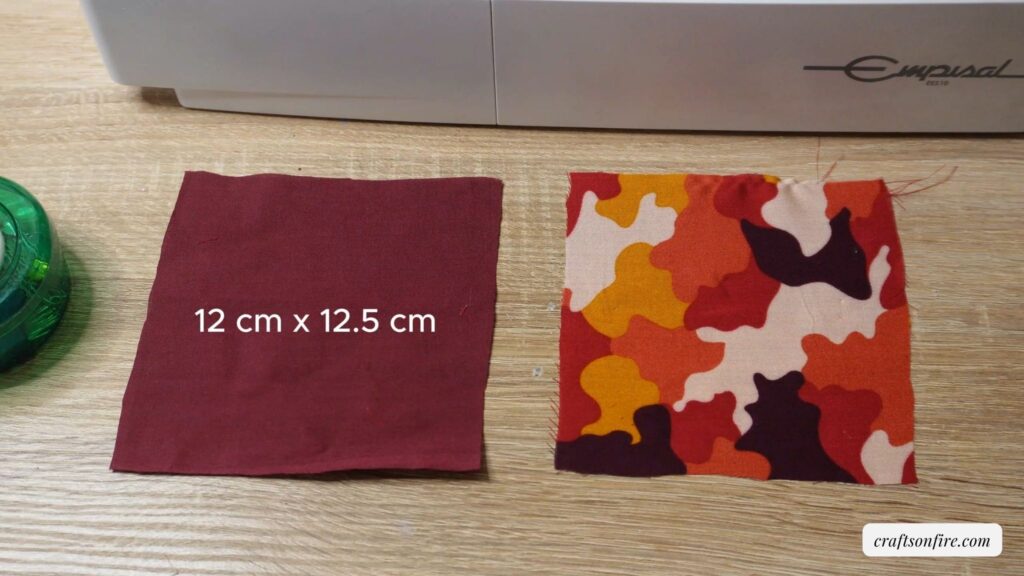
Cut a 12 cm x 12.5 cm square in a plain and patterned fabric. Cut another square for the fabric batting. I didn’t have fabric batting on hand so I had to do without it.
Step 2
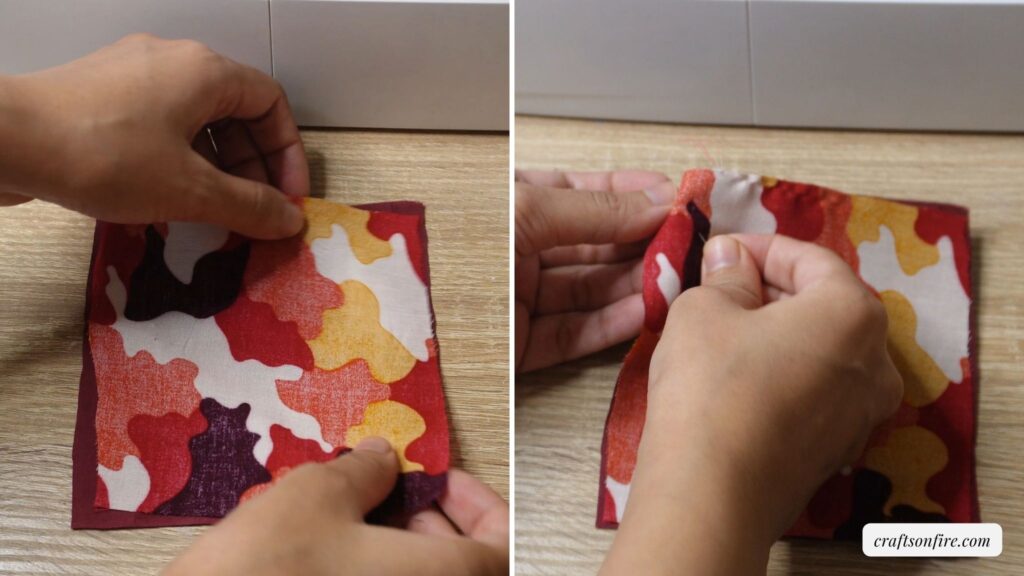
Turn the patterned fabric over and place it on the plain fabric. Pin the fabric together to keep it in place. This ensures the fabric stays together and it’s easier to sew especially when you’re working with soft cottons.
Step 3
Start stitching all around the coaster. Once again, leave an opening on one side. Then snip off the corners on all 4 sides. Go ahead and then turn the fabric inside out.
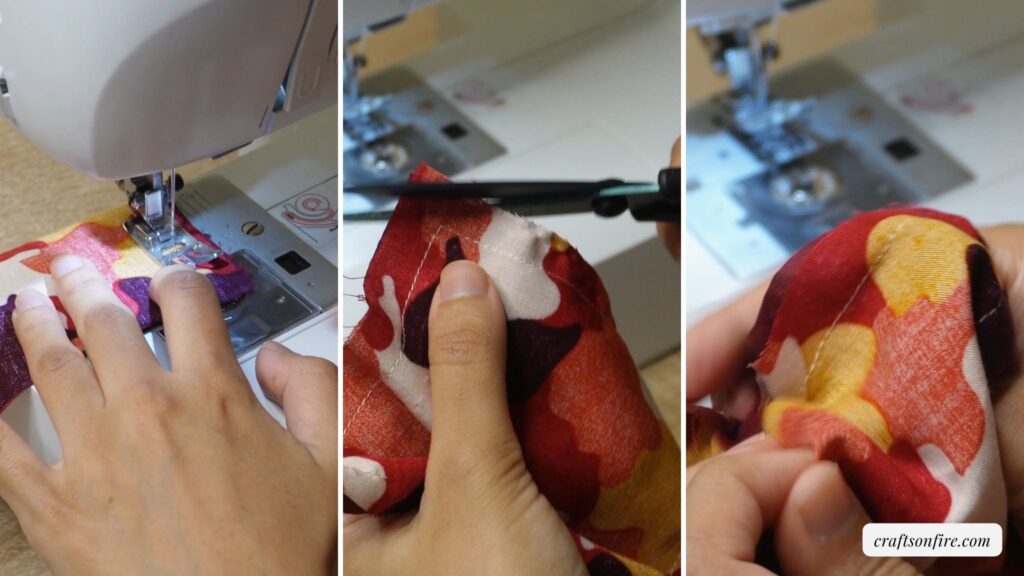
Step 4
Stitch a small border around the coaster to close off the opening.
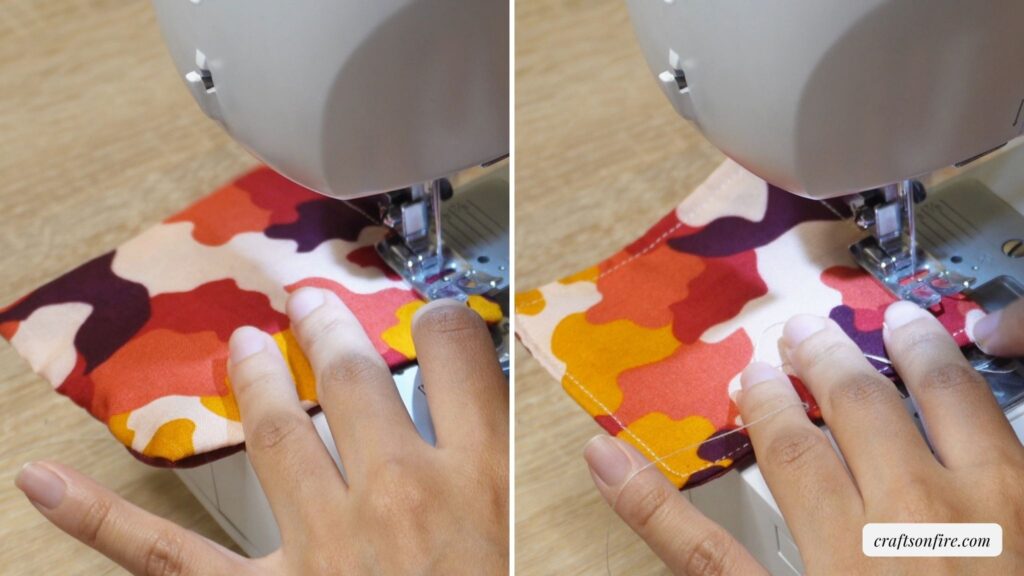
Step 5
Here is how the plain, simple yet cute fabric coaster turned out:
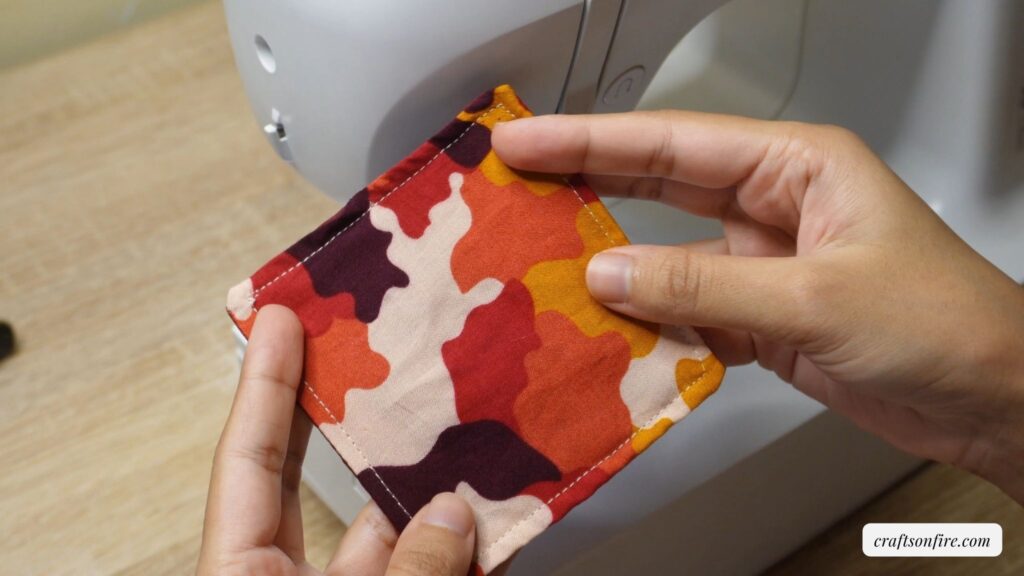
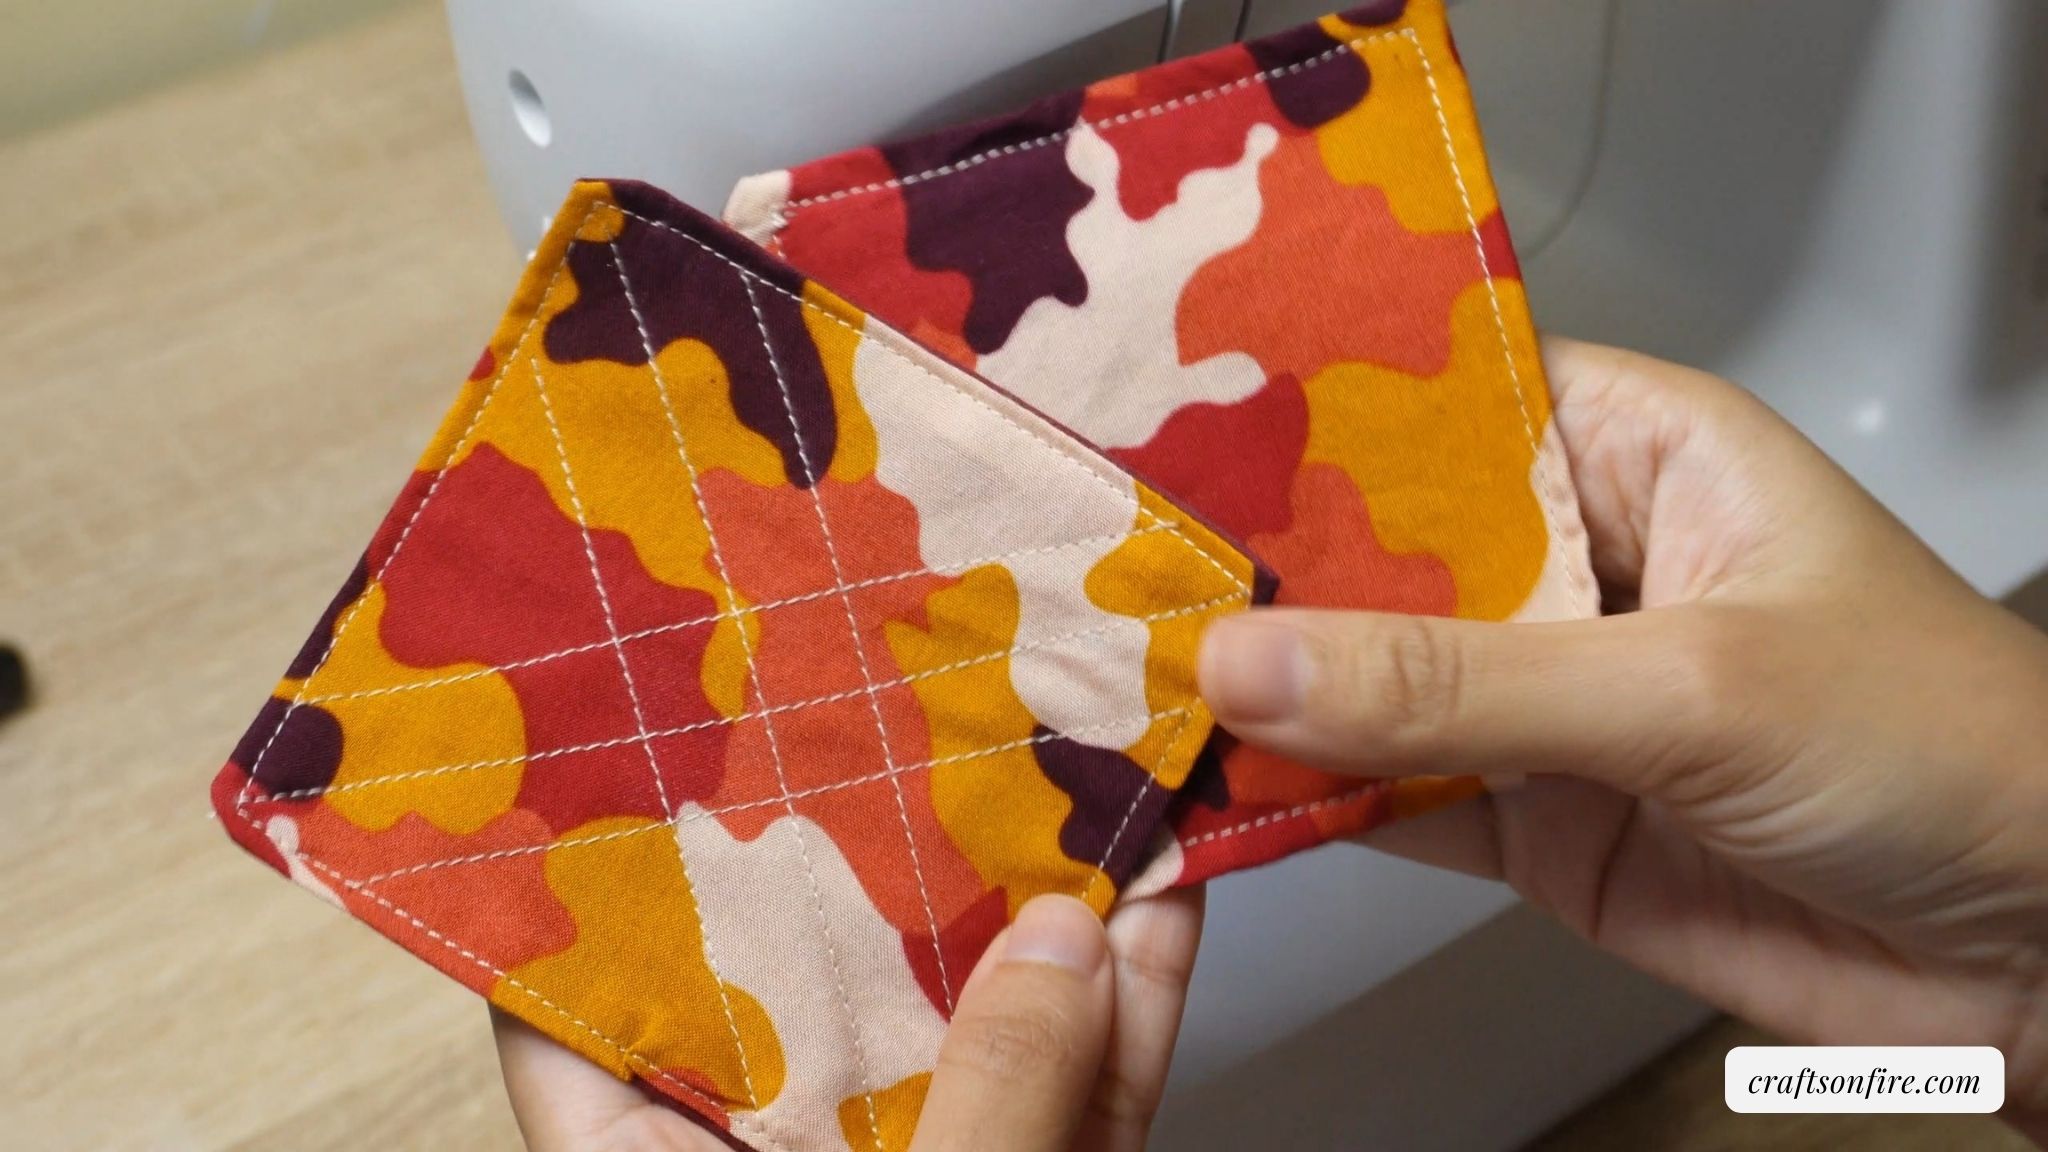
I also sewed another coaster and added a cute pattern to one of them. If you want to add more detail, you can use any pattern to stitch on top of the coaster.
I do advise that you use fabric batting or fusible fleece to help with the absorption of any liquid. This will ensure extra protection if you do spill your drink and make your fabric coaster more bulky.
FAQ’s
What is the best fabric for coasters?
Cotton fabric seems to be the best material to create a fabric coaster but you can use any material you like. Felt or jeans are also a great option for making a coaster. I do not recommend a silk fabric since this tends to move around too much.
What size to make the fabric coaster?
10 cm x 10 cm fabric coaster is a good enough option for any basic cup measurement but you could sew a larger coaster that is about 12 cm – 15 cm if you want a larger coverage area.
Final Thoughts
These fabric coasters are fun and easy to make. It doesn’t take long either. I can sew at least a few in 10 – 15 minutes especially if you have them already precut.
This can also be a nice small gift for a friend or loved one. You can always customize them depending on the fabric you choose.
Also, if you’re a beginner, this fabric coaster tutorial is extremely useful if you’re trying to get the hang of sewing.
These two coasters will help you improve at stitching and sewing corners.
Okay, that’s it from me!
I did create a few more free sewing patterns that will be useful if you want something else to sew that is fun and easy, so do check those out:
