How To Sew A Fabric Butterfly
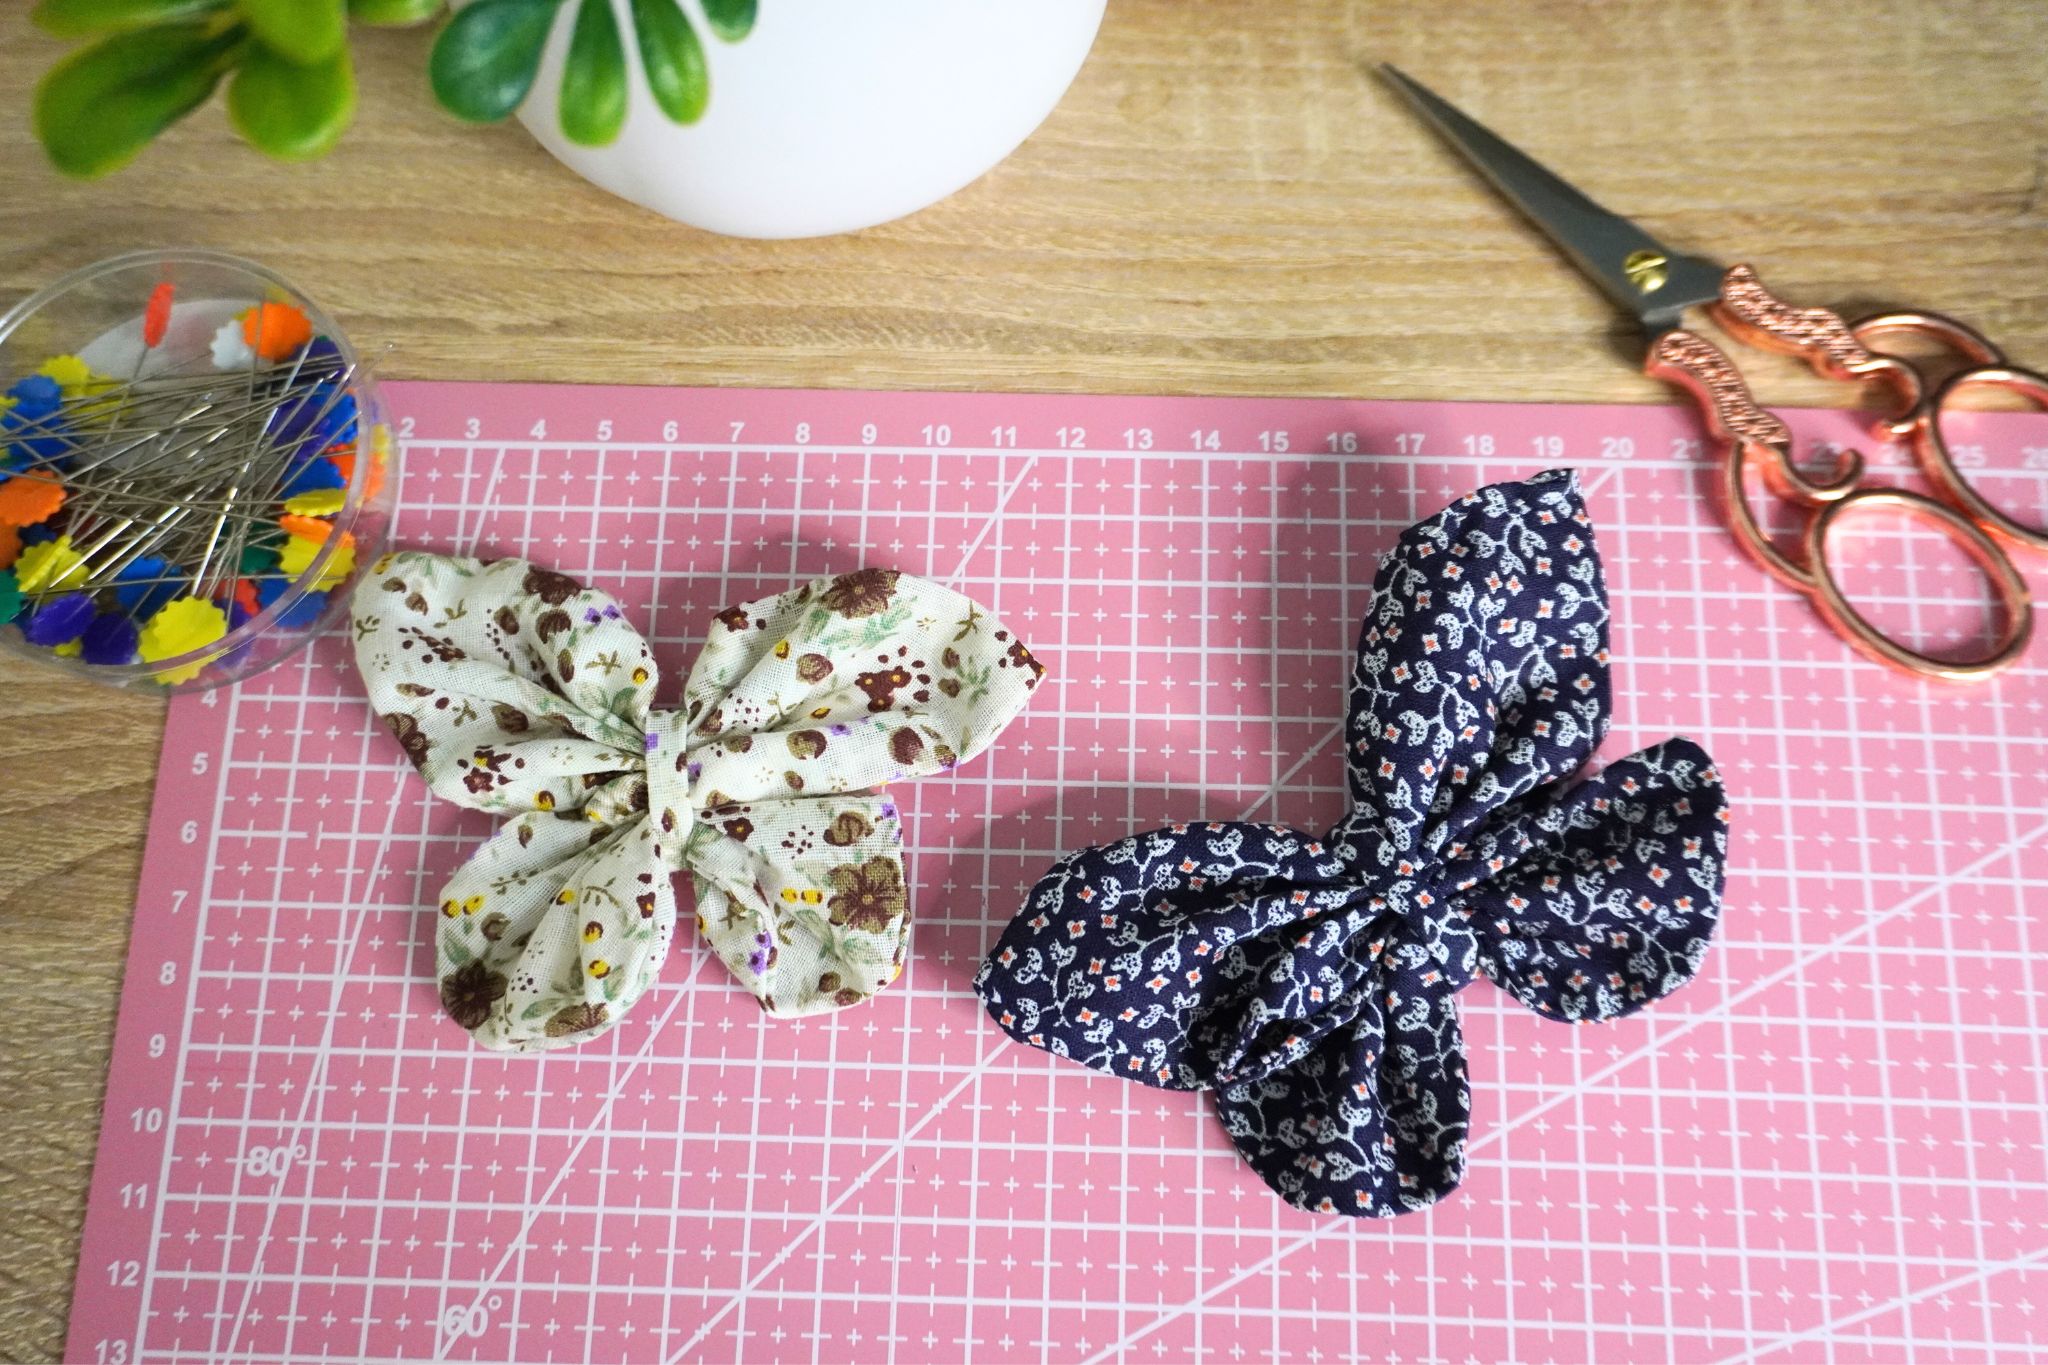
I’ve been seeing these fabric butterflies everywhere lately and couldn’t wait to try them out myself and let me tell you – this project should be at the top of your to-do list!
These fabric butterflies are so easy and quick to sew, you’ll love them.
In this tutorial, I will show you the easiest method to sew a fabric butterfly, guiding you through each step with written and visual instructions.
You can pin this fabric butterfly to your bag, add them to a scrunchie, or decorate your home with them.
It’s a delightful little project that will make you feel happy and accomplished after a quick sewing session.
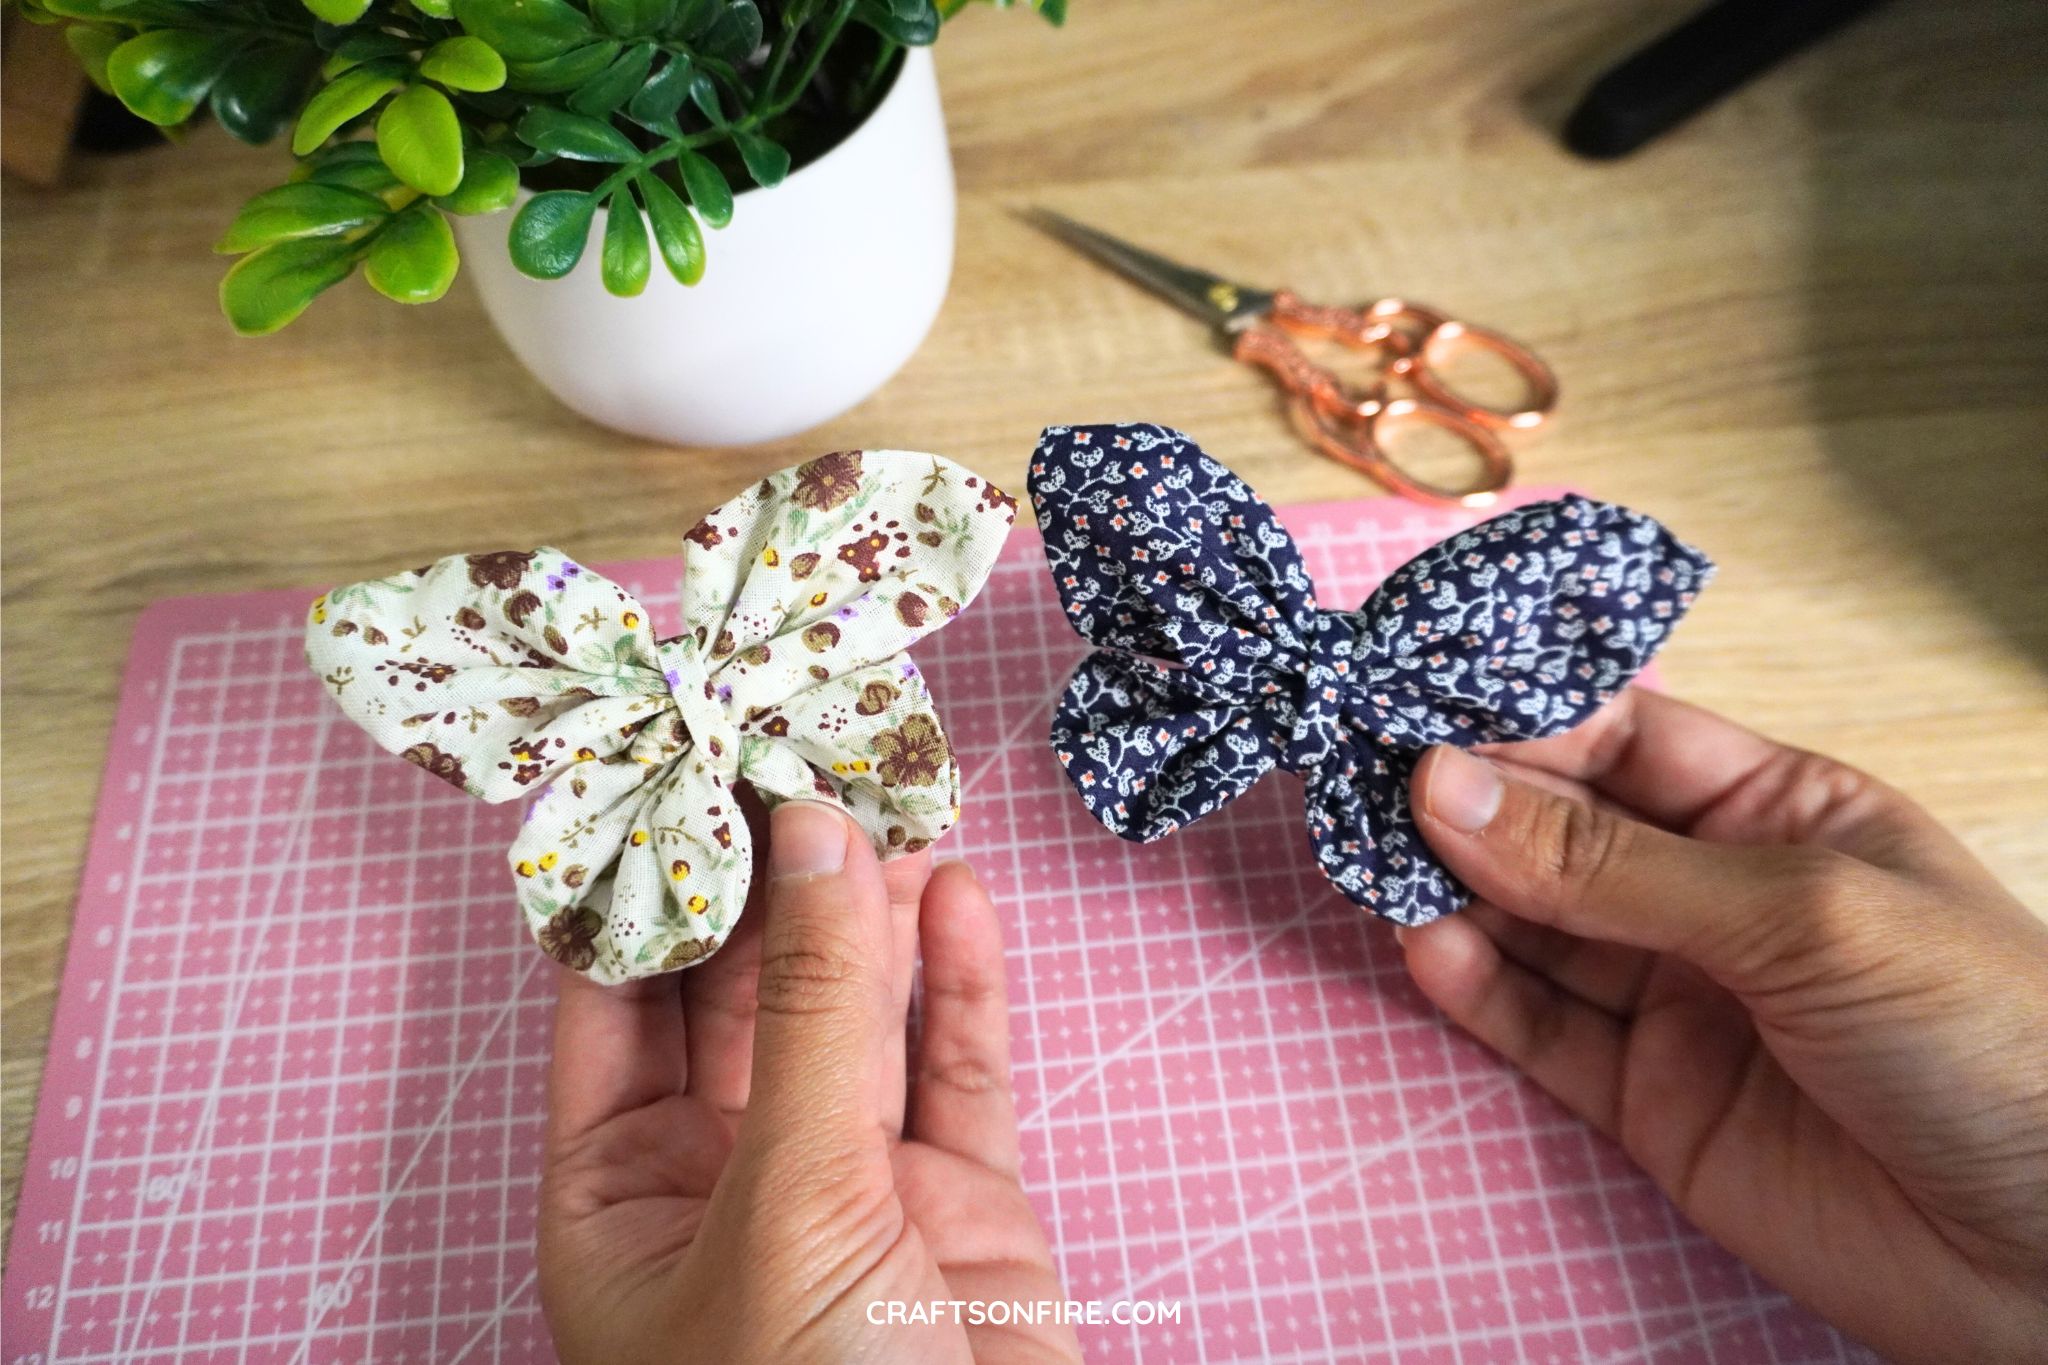
Look how cute it turned out! I made this in a small size using a light and dark fabric and both turned out amazing.
Once you’re done reading over all the steps, you’ll have no problem sewing a dozen of these butterflies in any size.
The process is pretty simple but to give you a quick overview, here’s what it will involve:
You’ll first need to cut a square and circle shape. Then, stitch each piece with the wrong sides facing in, then turn over and close the openings. Next, you’ll stitch the pieces together with needle and thread, sew a small strap to cover the exposed thread and you’re done.
Yup, it’s that easy.
I’m so excited to show you how to do this. Grab your sewing supplies and let’s go.
If you don’t have a sewing machine, no problem! You can do this entire project by hand!
Let’s begin.
Table of Contents
Fabric Butterfly Sewing Tutorial
Supplies
- Patterned Fabric
- Ruler
- Cup
- Tailors Chalk or Fabric Pencil
- Needle & Thread
- Sewing Machine
Video Tutorial
Now if you’re sewing for the first time or if you’d like to get more familiar with the process before you start, watch my quick and easy video tutorial of sewing a fabric butterfly below:
Printable PDF:
A quick heads up: I created a more detailed A4 Printable PDF version of this sewing guide. If you’d like to follow along without ads getting in the way, grab your copy over here!
Instructions
Fold Fabric & Draw Circle
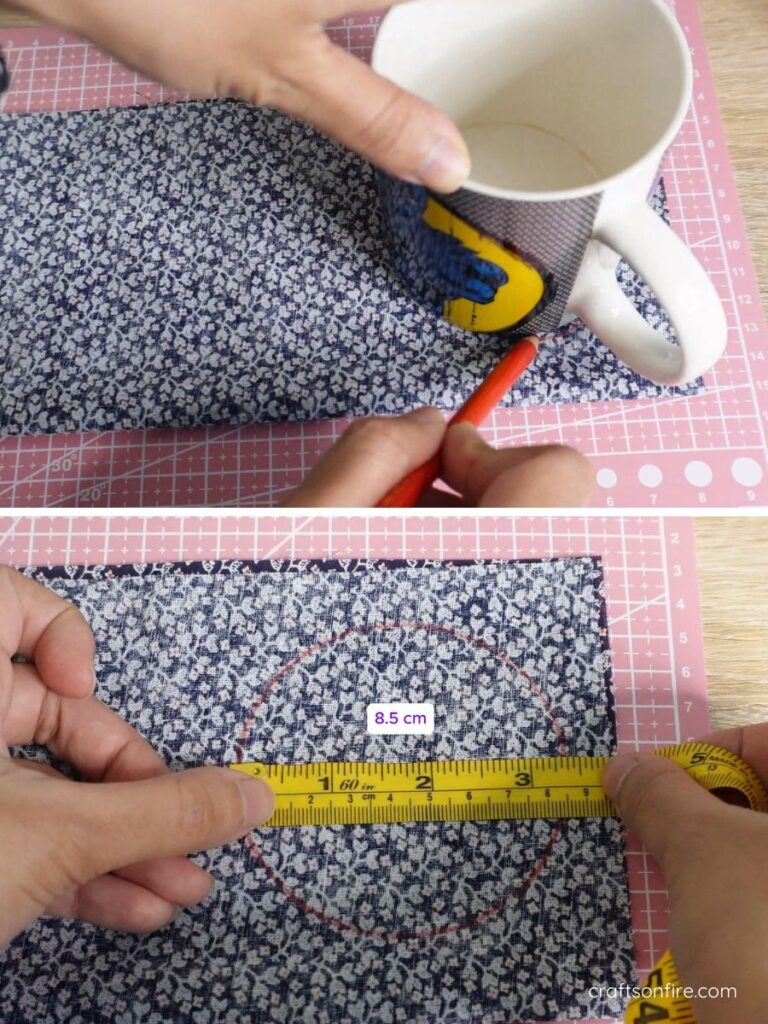
Take your fabric and fold it in half. On one side of the folded fabric, place a teacup to use as a measurement for the circle shape. Then, use a fabric pencil or tailor chalk and lightly sketch out the shape of the circle onto the fabric.
Draw A Square & Cut Fabric
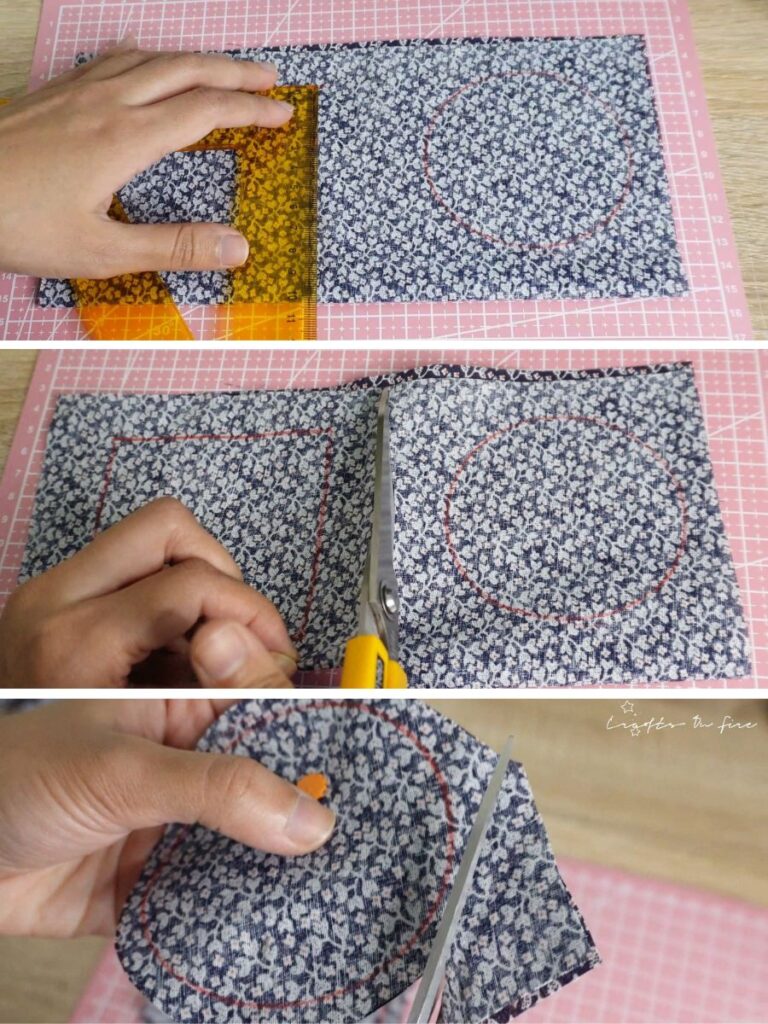
Measure out the circle (mine came to 8.5 cm) and use this as the measurement to draw a square. Cut the fabric into two pieces, then pin the circle and square.
Cut along the circle and square while leaving a 1 cm allowance.
Stitch The Square & Circle
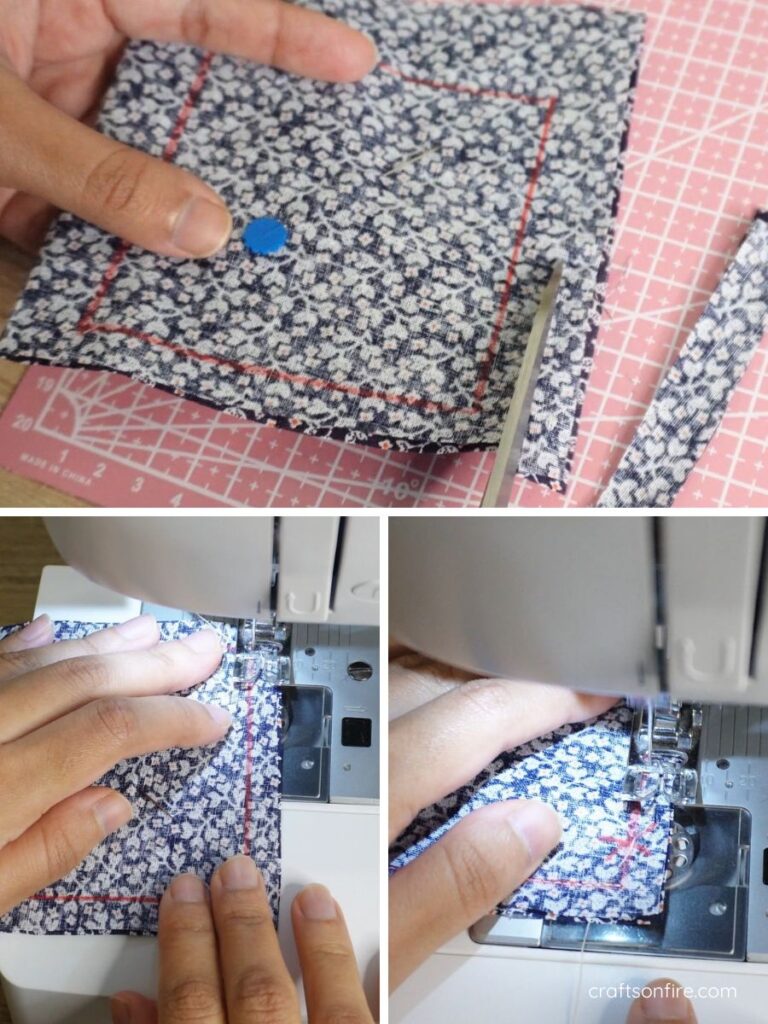
Start stitching along the red line however when you reach the end of the line, leave a small corner open.
Turn Fabric Inside Out
Use the open corner to turn the square inside out. Use your finger or a pen to open out the corners of the square. Then turn the opening in and pin it in place.
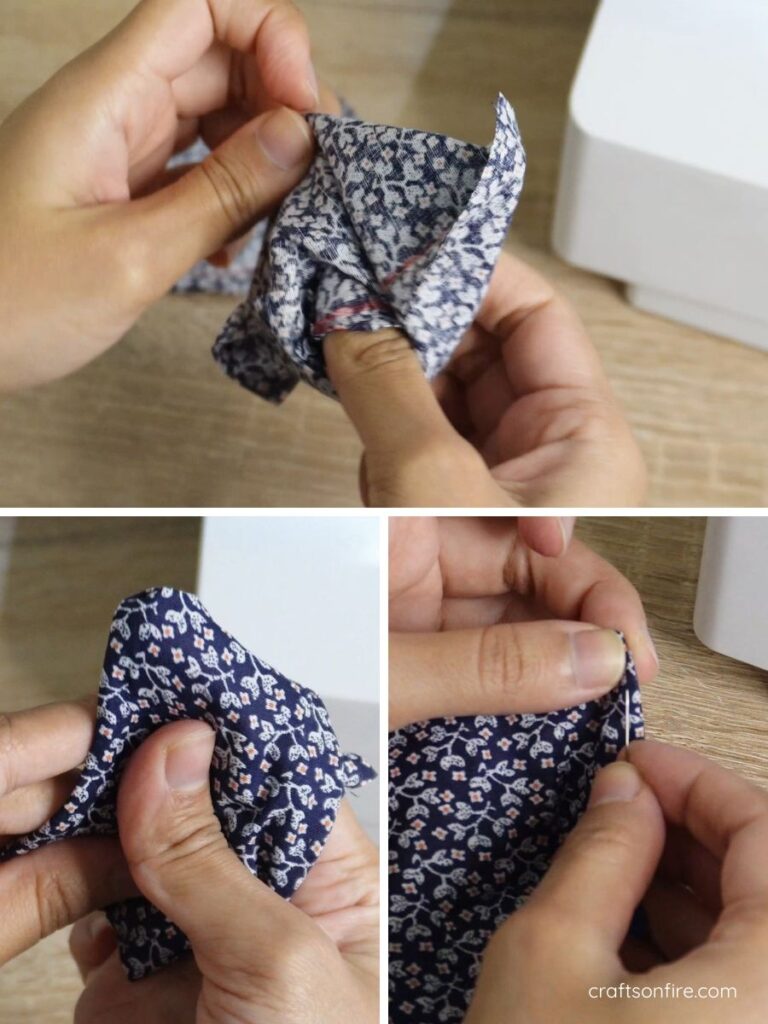
Repeat this step for the circle as well. Don’t forget to leave a small portion of the circle open when sewing to turn it to the right side as shown previously.
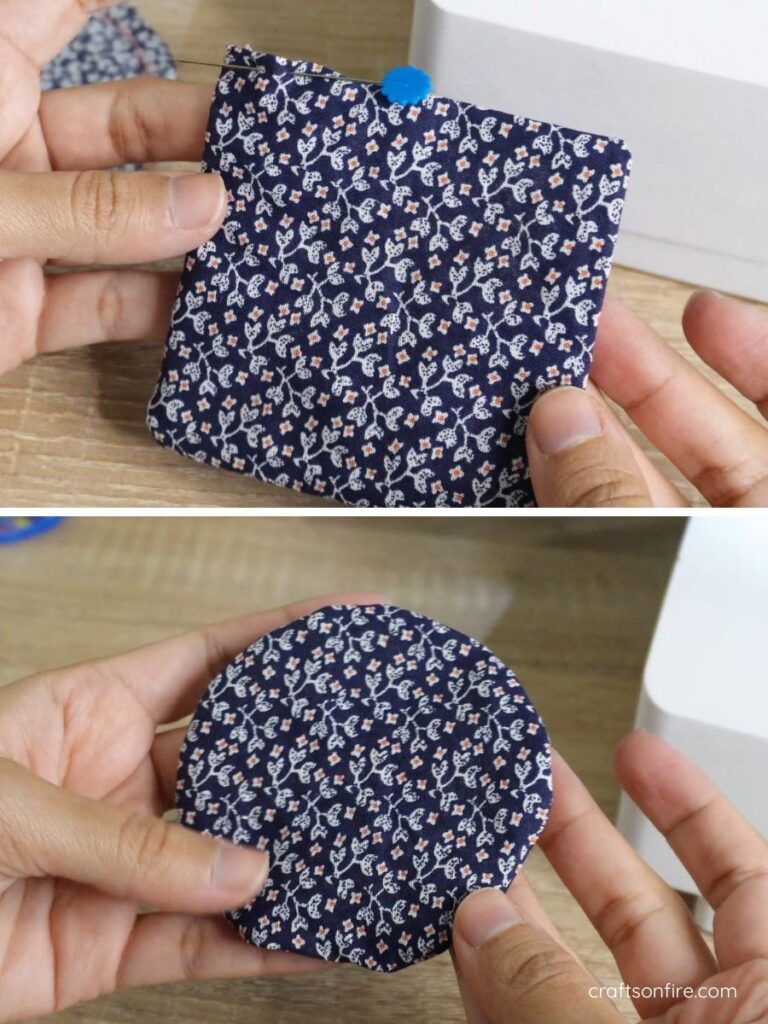
Here’s how both pieces should look:
Stitch The Opening
Grab a needle and thread to stitch the opening of both pieces. Try using an invisible stitch for a neater finish.
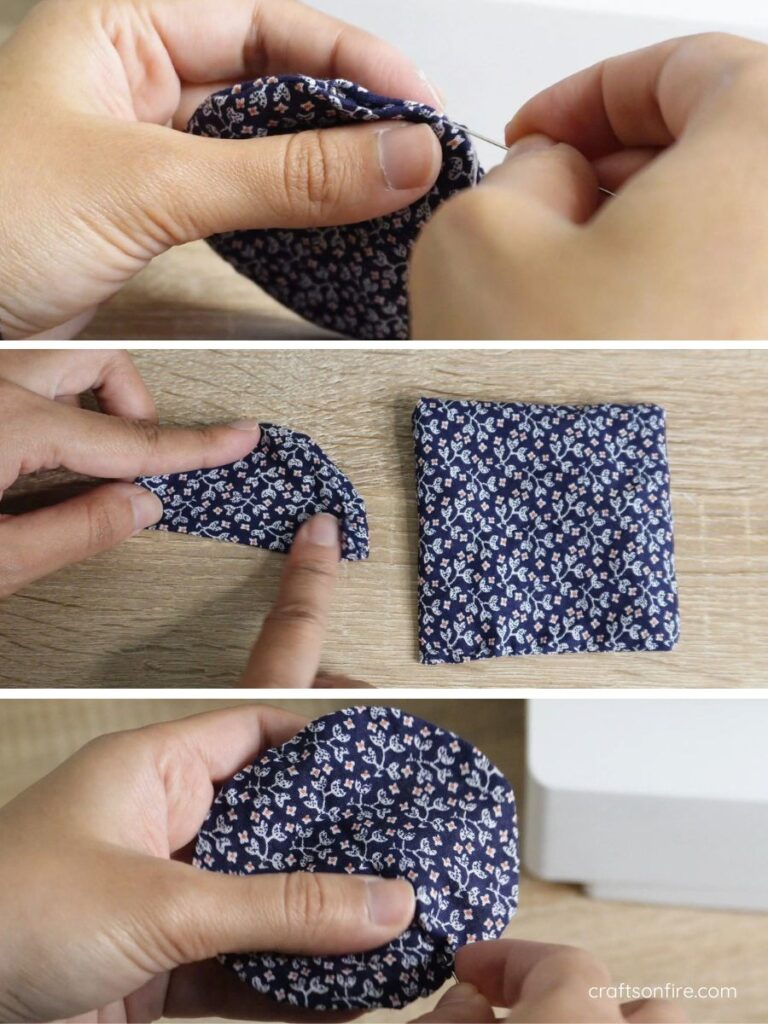
Then fold the circle in half and press down. Grab your needle and thread again and gather the circle in half by threading your needle in and out. You should be able to gather the fabric using this technique.
Gather & Stitch The Fabric
Pull the thread through and hold the gathers in place. Grab the square piece, fold it in half, and use the line as a guide to stitch and gather the fabric.
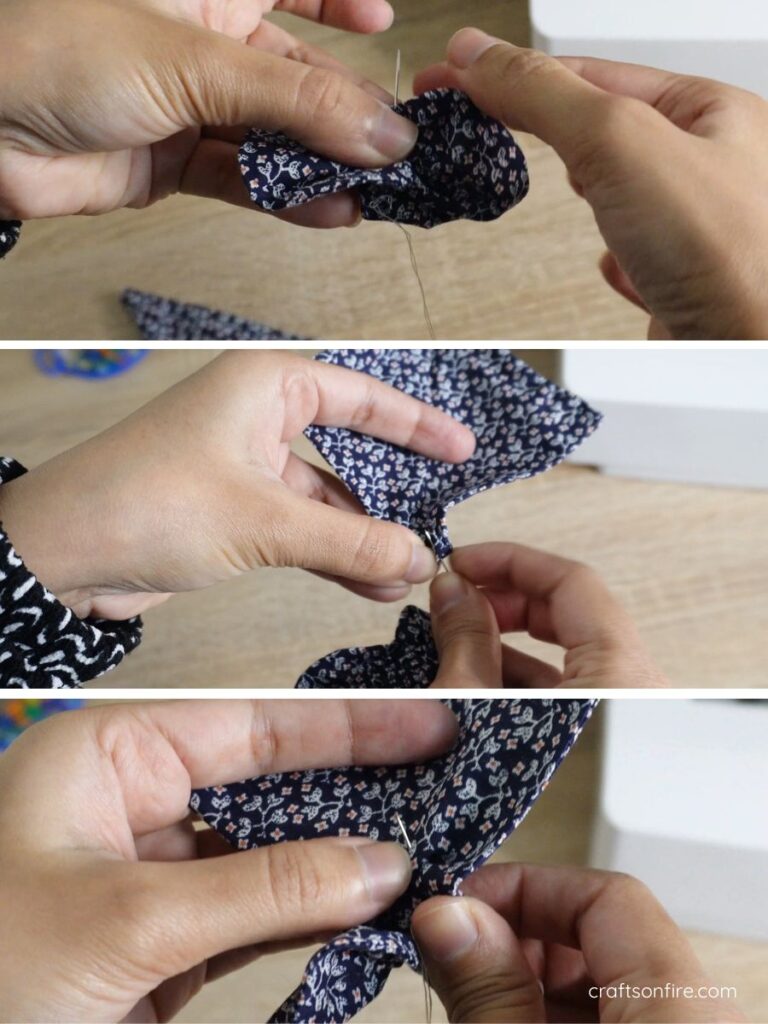
When both pieces are attached, wrap the thread around the middle a few times, and close it off.
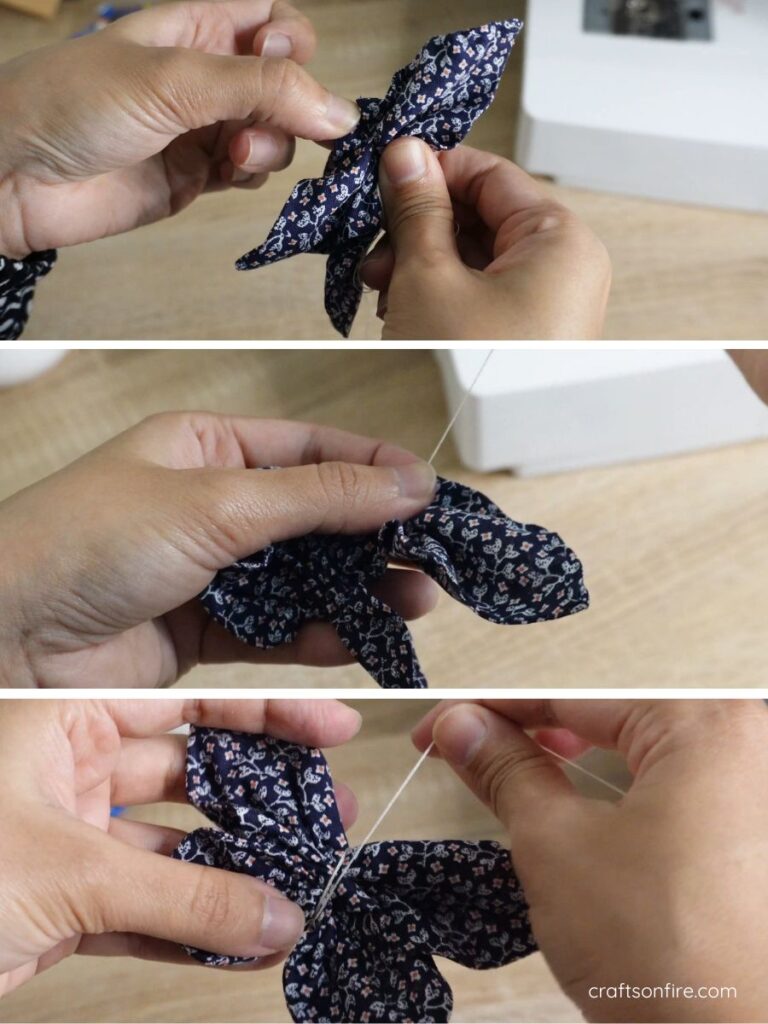
Here’s a clearer view of the butterfly:
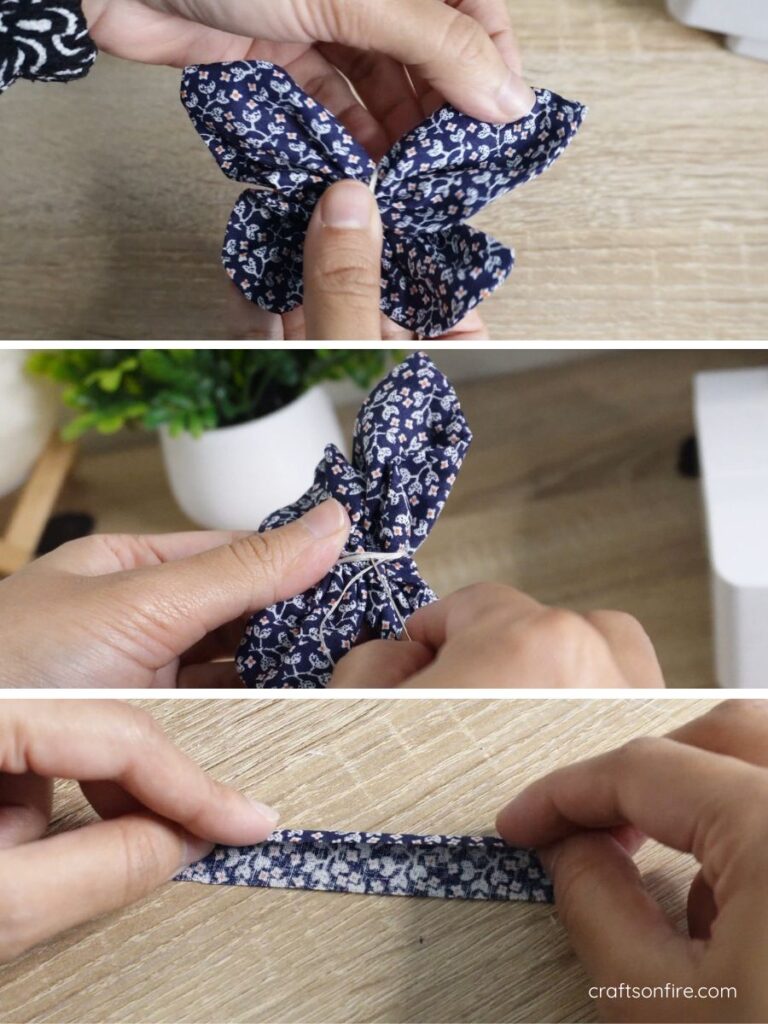
Create The Middle Strap
Take a small piece of fabric and fold it in half. Use this piece to wrap around the thread for a neat finish.
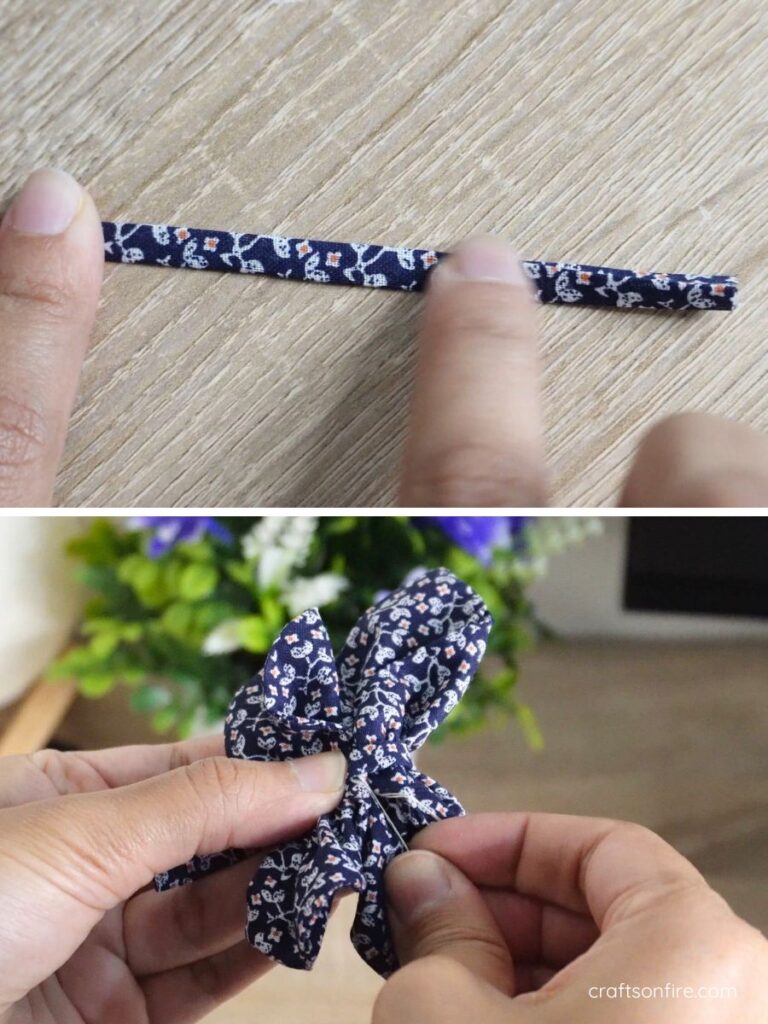
And here’s the final result of the fabric butterfly:
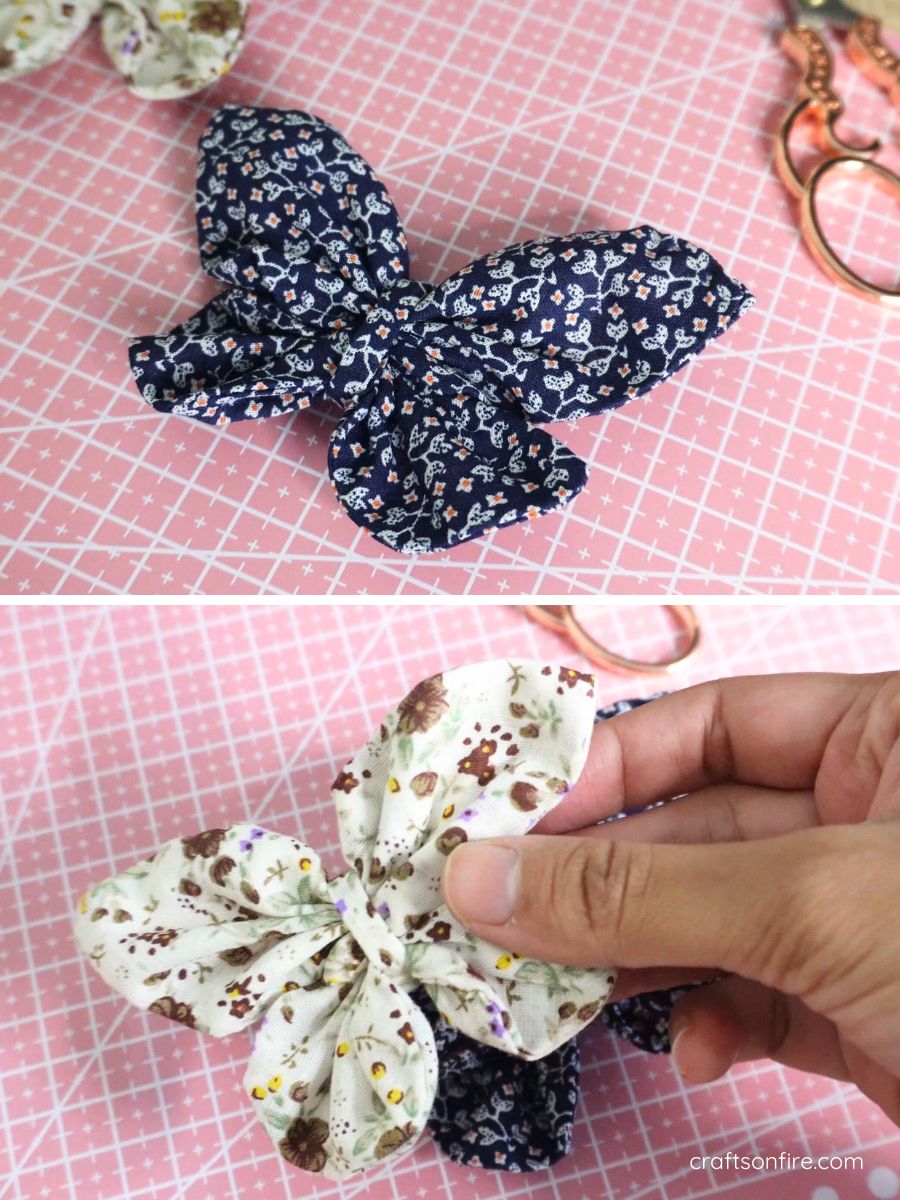
This was so awesome to sew and they look incredible! I had a blast sewing these butterflies but I can’t wait to sew a few larger fabric butterflies.
The process will be exactly as indicated in this tutorial except you’ll want to increase or double the measurement of the circle and square.
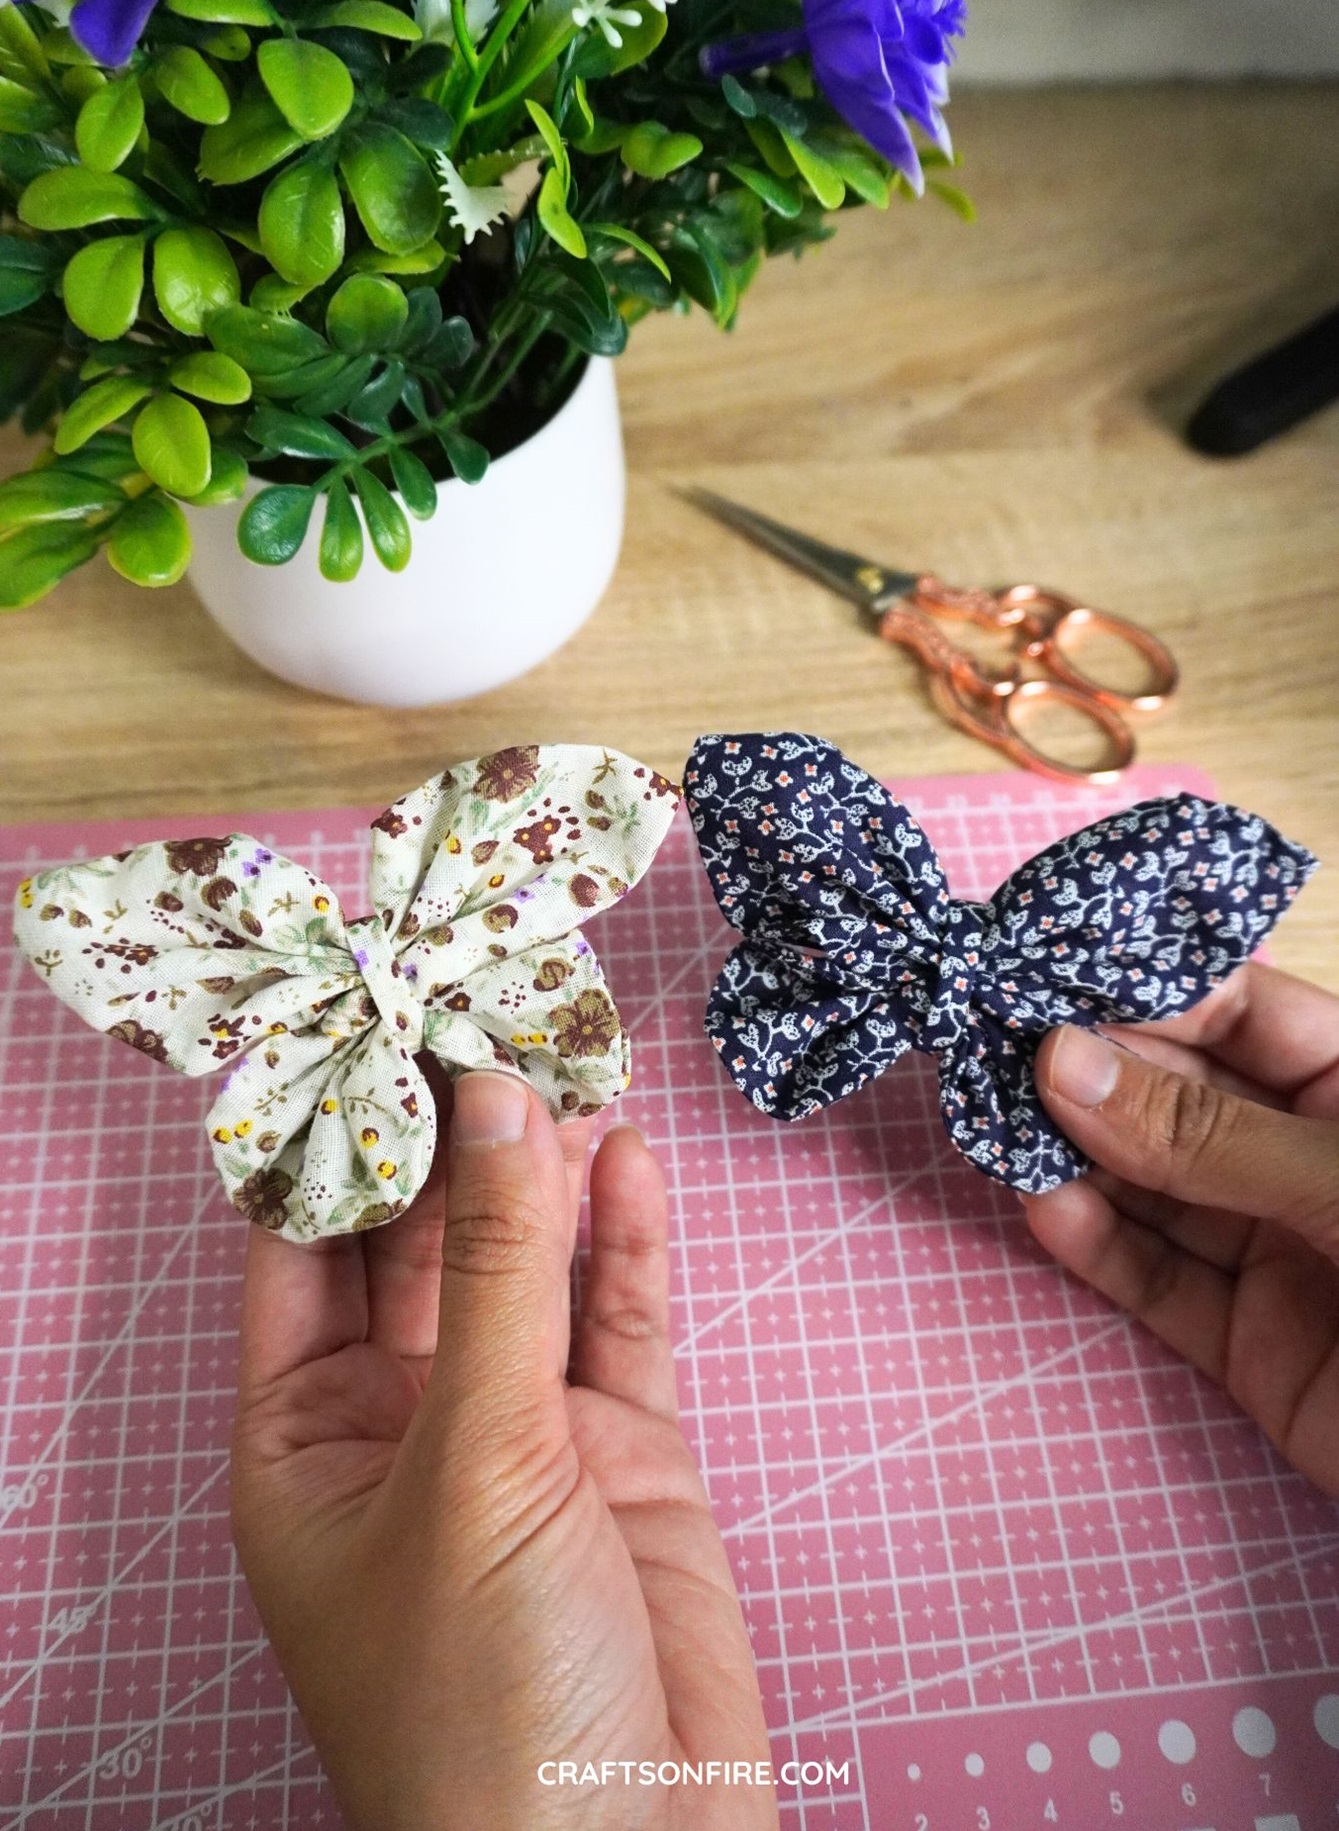
I hope you found this tutorial easy to follow. I tried to present it simple and clear way so that anyone could try this and this method works great.
If you have kids, I’m sure they’ll freak out (in a good way) for these fabric butterflies so you might want to make a few of them.
The good news is that you can sew these butterflies in less than 10 minutes and enjoy every minute.
Speaking of 10-minute sewing projects, have you tried sewing a tassel bookmark, tissue holder, or a pot holder?
These projects are just as enjoyable and quick to sew. It’s worth checking out if you have the time.
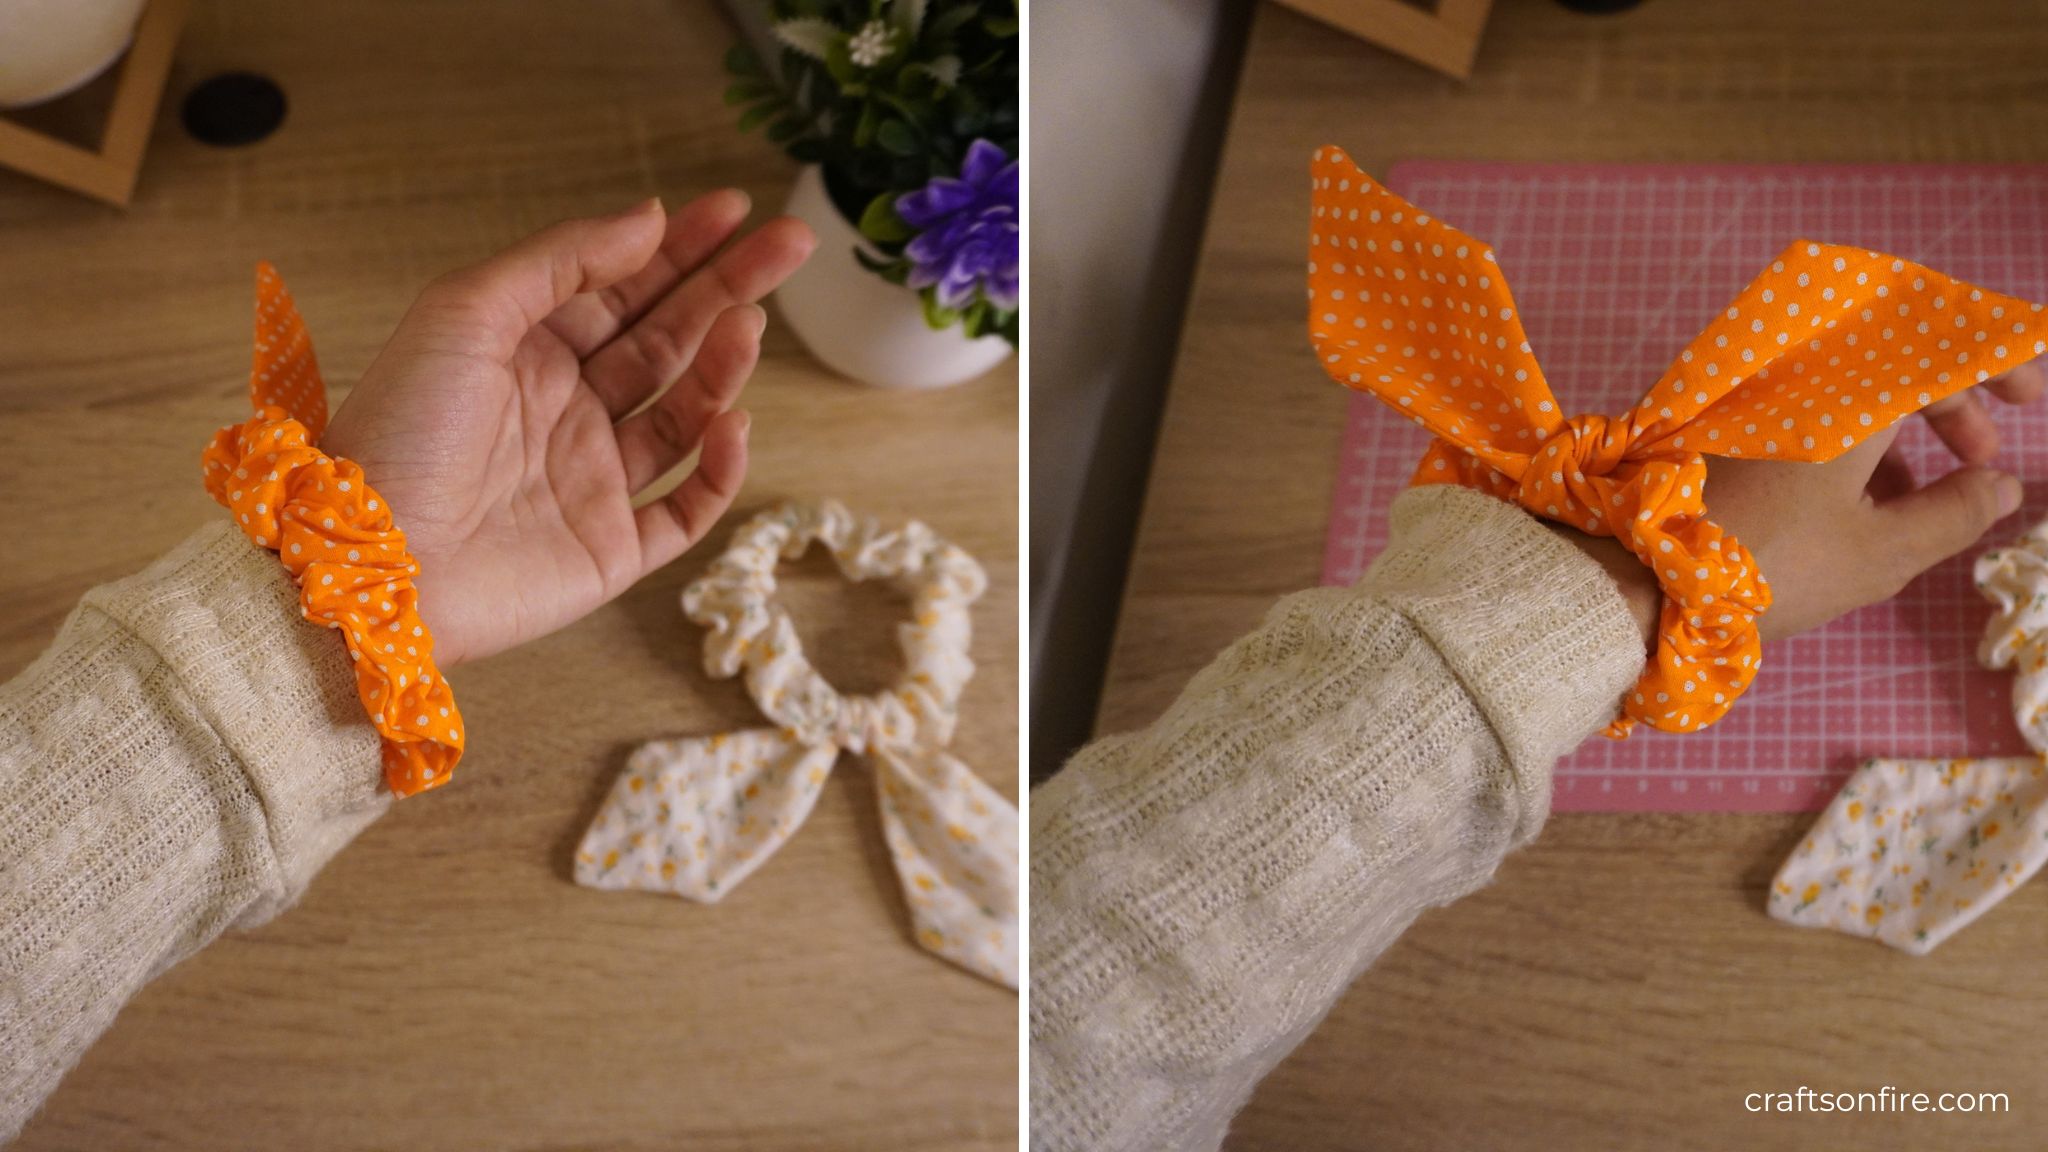
Feel free to use these fabric butterflies for a headband, scrunchie, or any other craft project you have in mind!
Now it’s your turn.
I’d love to hear how your fabric butterfly turned out. Drop a comment below or tag me on Instagram (@craftsonfire).
Here’s More Cute & Fun Sewing Projects
