How To Sew A Coin Pouch (Step-By-Step tutorial)
This coin pouch is my absolute favorite beginner sewing project and takes less than 10 minutes to make (cutting + sewing). It’s such a convenient pouch to have on hand to carry around loose change or cash and this bag will easily fit in your bag or pocket.
This pouch can also be a wonderful gift card holder for a friend or loved one. The size, pattern, and fabric make this coin pouch look so adorable. I can’t recommend it enough!
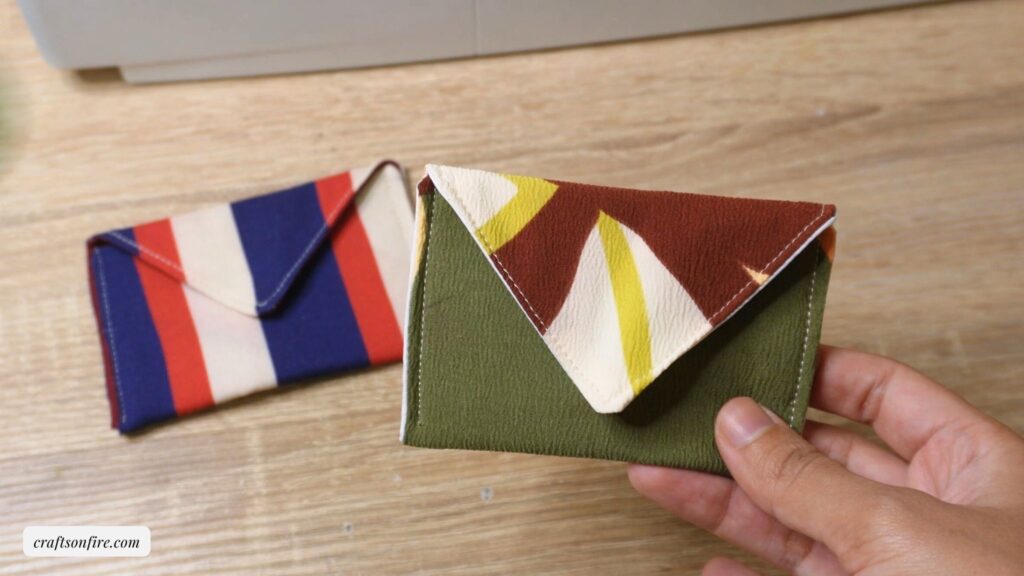
You have to sew this pouch immediately.
In this tutorial, I’ll show you exactly what shape to cut, how to put all the pieces together, how to sew the coin pouch and add the final touches.
By the end, you’ll be a pro at sewing any small pouch, and trust me, you’ll find yourself sewing more than one!
I had so much fun making this and filming the entire step-by-step process to share with you.
I’ve also included the video instructions if you prefer to watch the process.
Anyway, let’s begin!
Table of Contents
Coin Pouch Sewing Tutorial
Supplies
- Sewing Machine
- Material
- Lining
- Interfacing
- Scissors
- Tape Measure/Ruler
- Pins
Video Tutorial
Instructions
Step 1
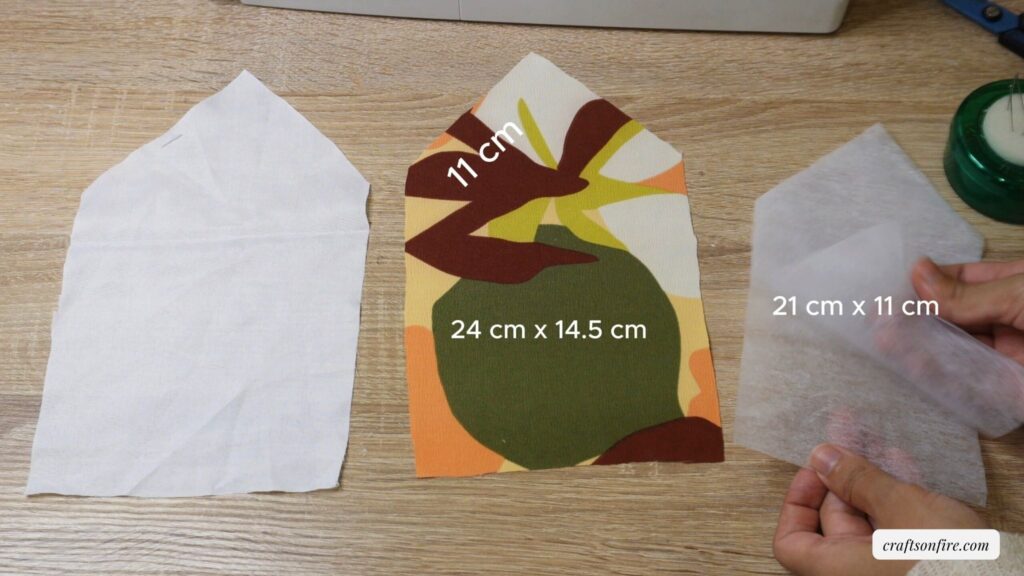
Measurements:
Fabric – 24 cm (length from V point) x 14.5 cm (width). Sides points are 11 cm on each side.
Interfacing – 21 cm (length) x 11 cm (width)
To sew this cute coin pouch, you’ll need to cut out this shape for the patterned material, the lining, and the interfacing.
Since my interfacing was quite thin, I had to cut out 2 pieces. If your interfacing or fabric batting is thick enough, one piece will do.
Step 2
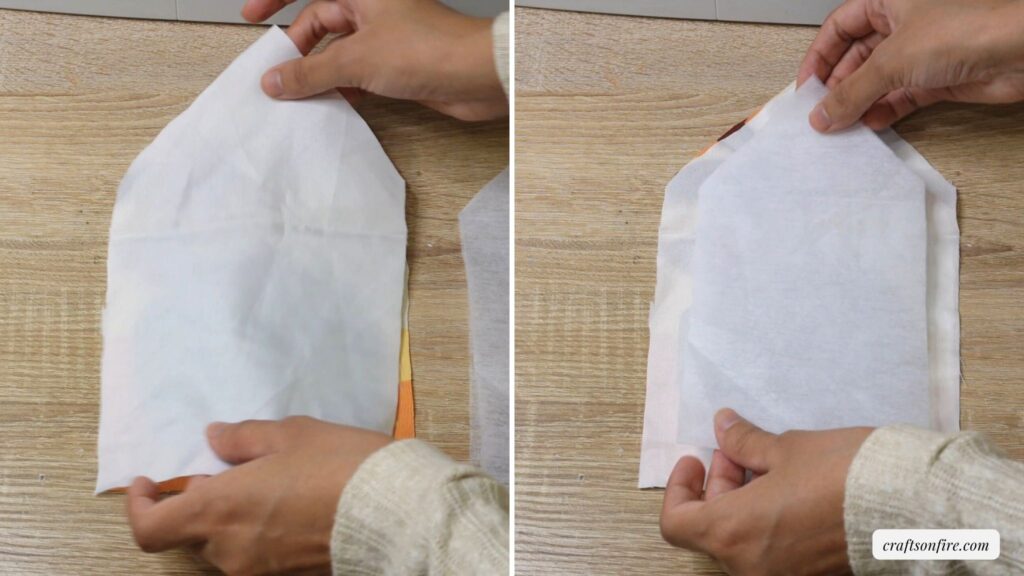
Place the lining over the patterned fabric with the right sides facing in. Then, place the interfacing on top of the lining.
Step 3
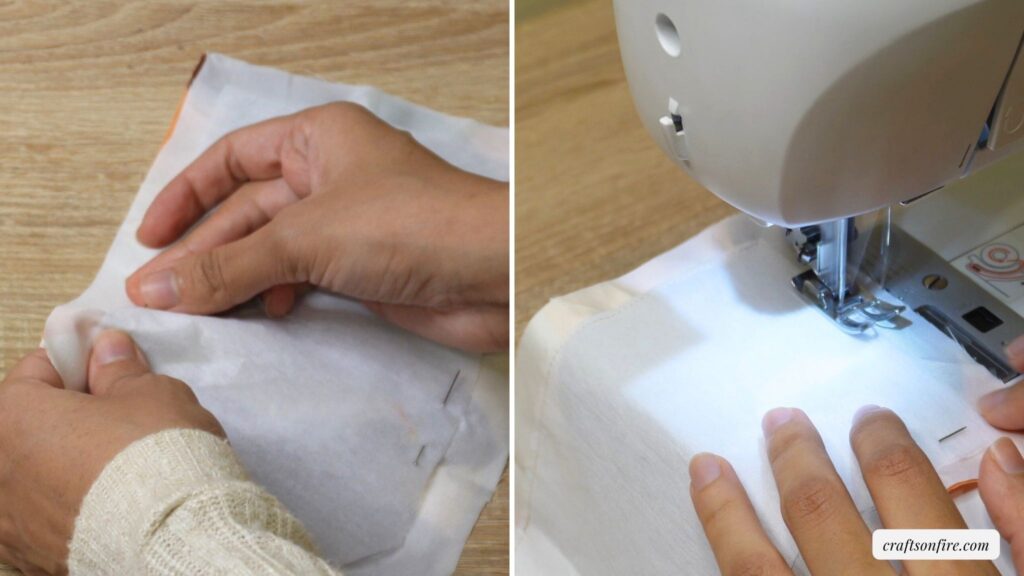
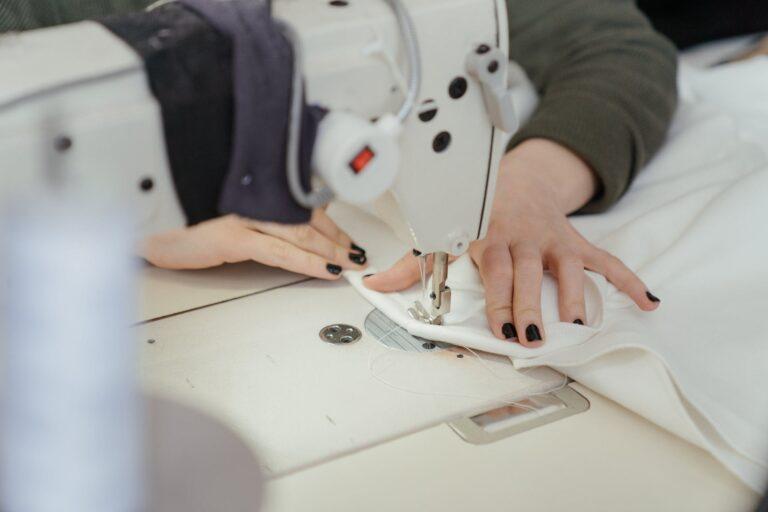
Pin the interfacing to both pieces of the material and sew all pieces together, keeping the stitch line as close to the edge of the interfacing line as possible!
Step 4
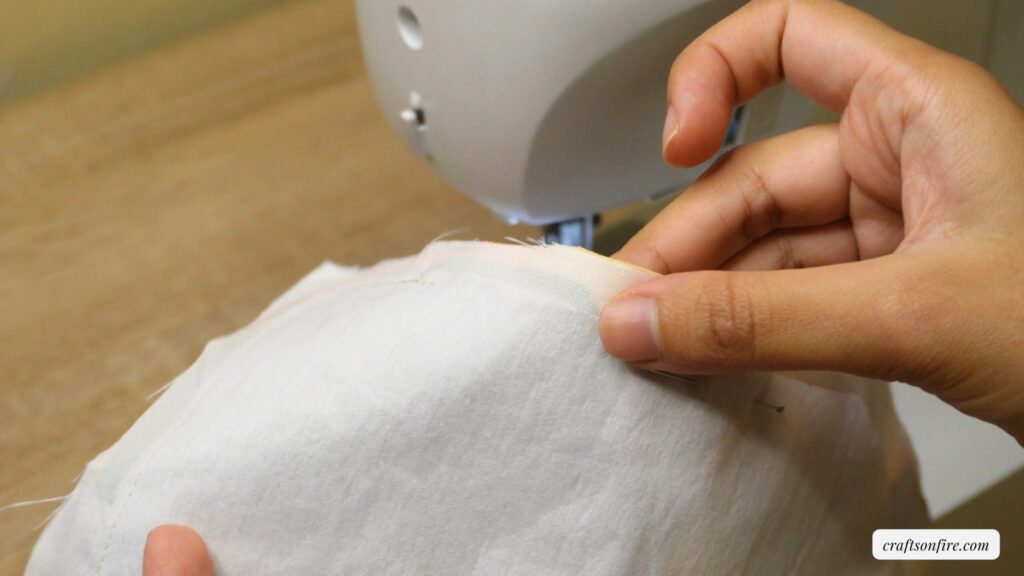
On the side of the fabric, don’t sew for at least a few centimeters, since this will be used as the opening to turn the pouch inside out.
Step 5
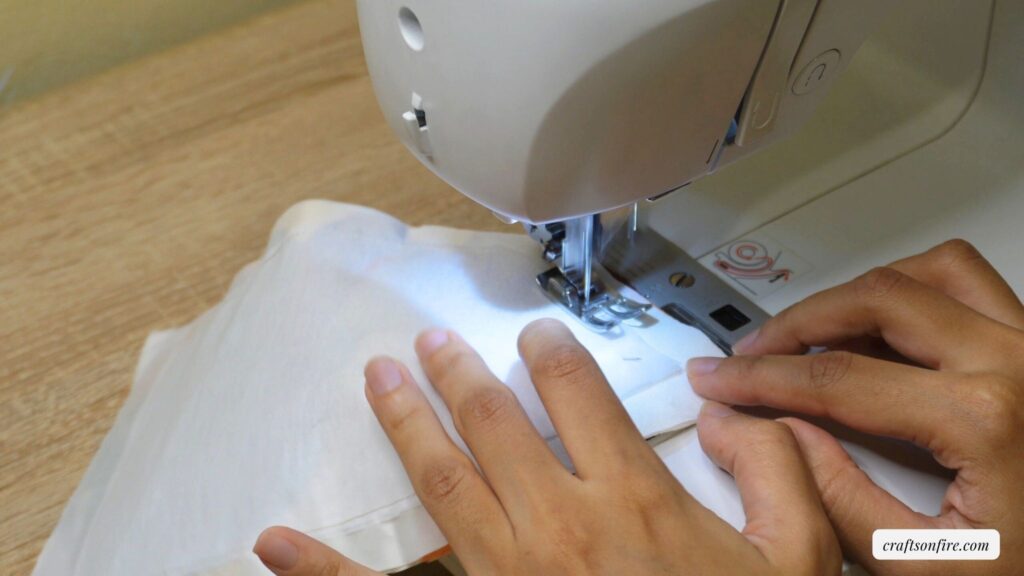
Continue to sew from where you left the opening until all sides are complete. Backstitch to close off your stitch.
Step 6
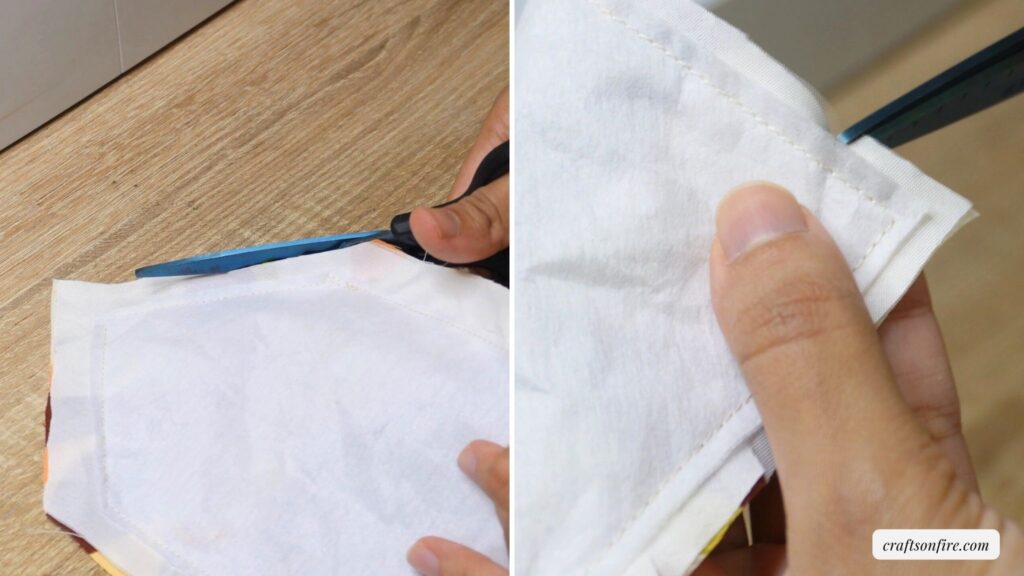
Cut the excess fabric leaving at least 1 cm of allowance. Then, make tiny snips on all sides of the fabric.
Step 7
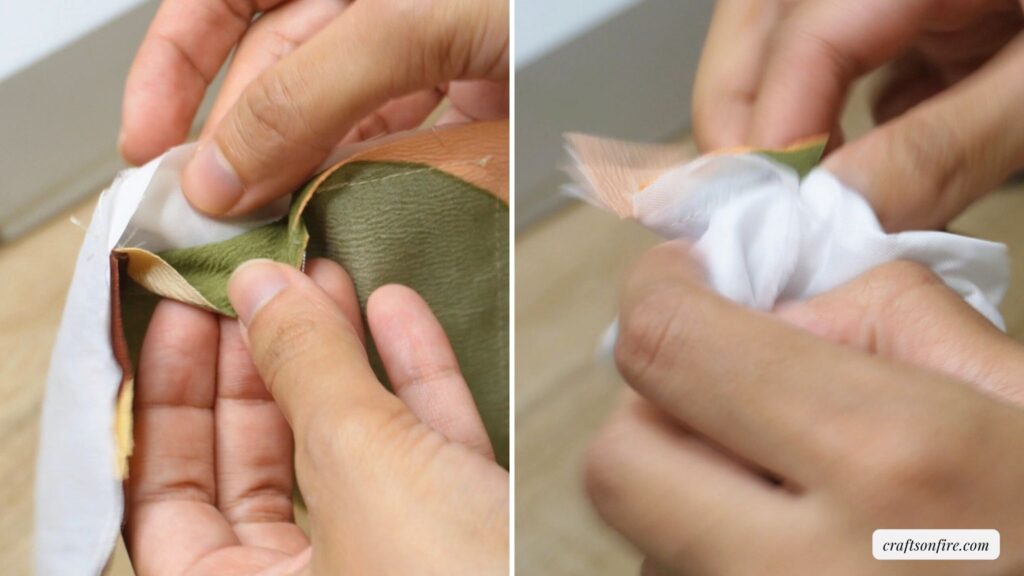
Go back to that opening and turn the fabric inside out so everything is now on the right side.
Step 8
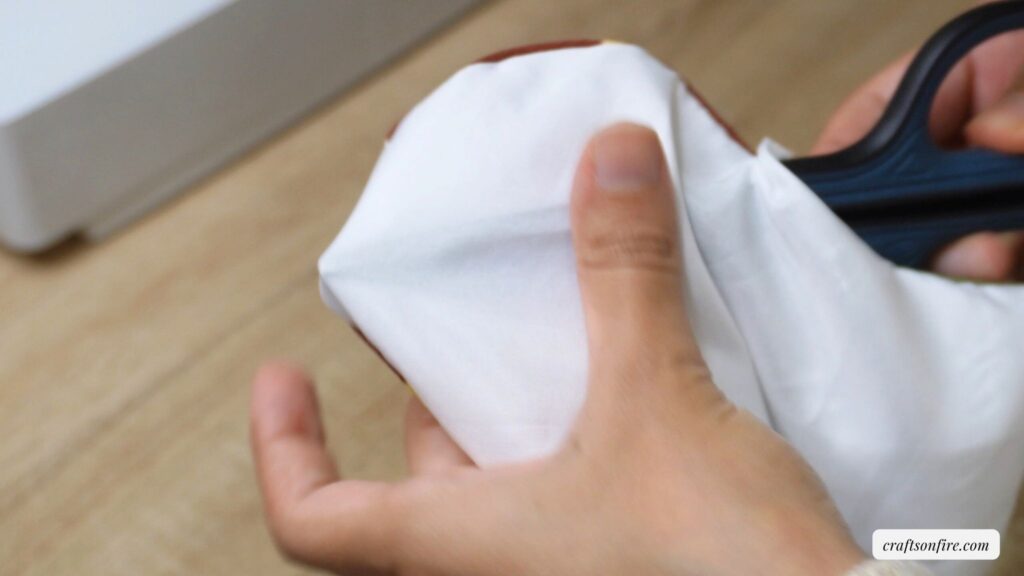
Carefully use the scissors or a pen to open out all the points in the fabric.
Step 9
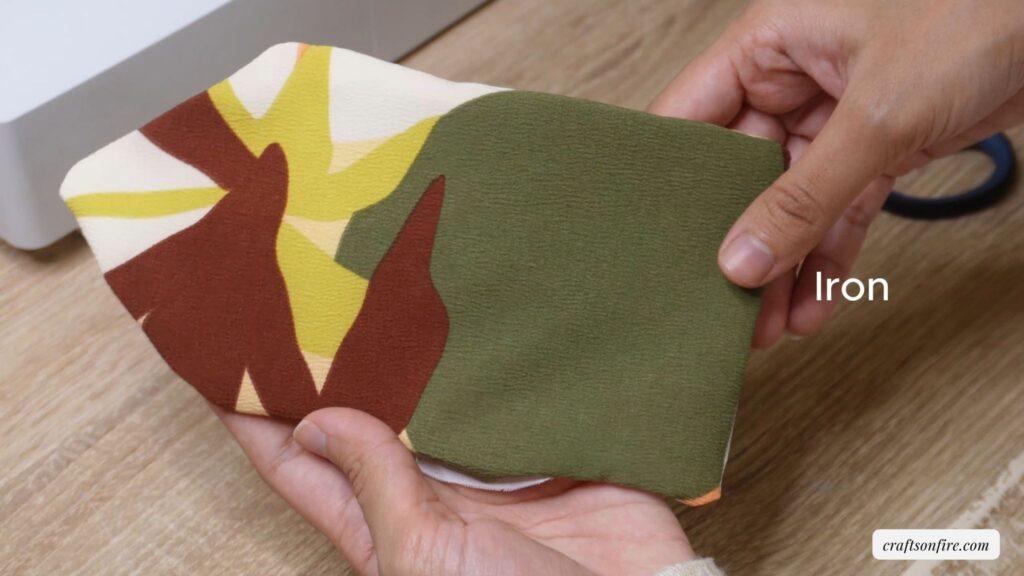
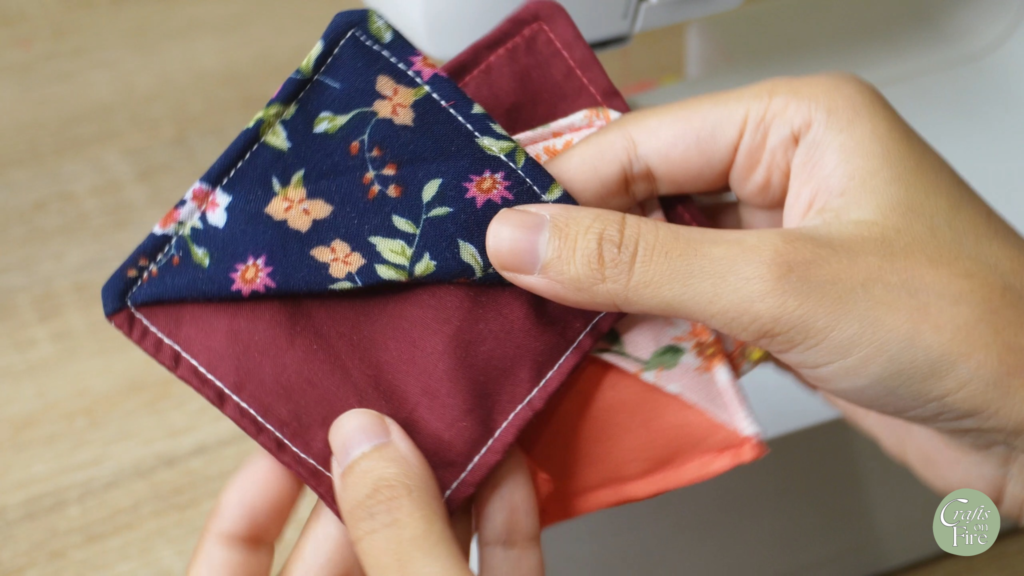
Your coin pouch should look like this. Give the pouch a quick steam press and then we can move on to the next step.
Remember that opening on the side? Be sure to turn those ends in before pressing.
You can use a pin to keep it in place and ensure the edge is aligned before you start stitching again.
Step 10
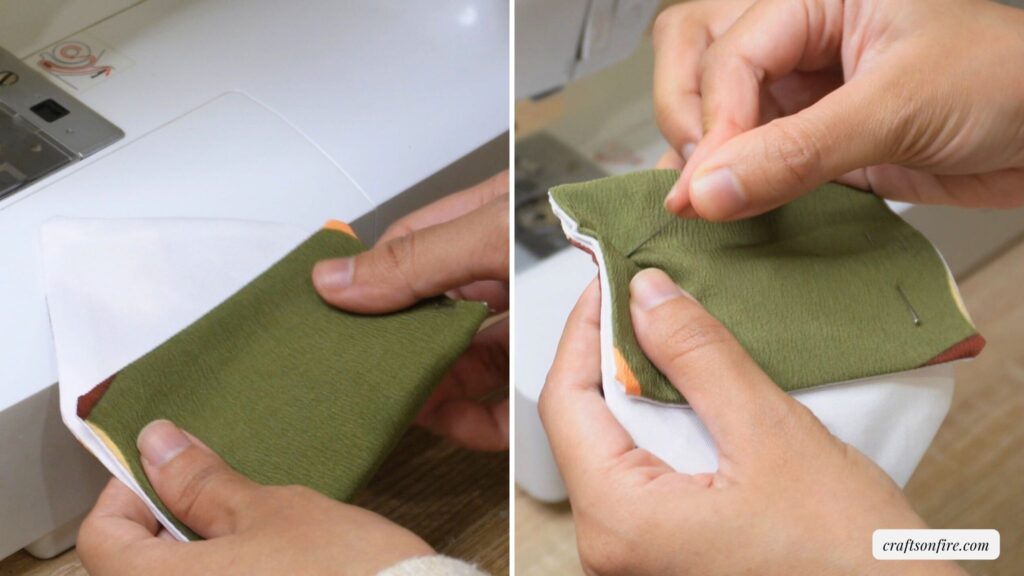
Turn the coin pouch to the lining side and fold the bottom end up. Pin on both sides of this end.
Step 11
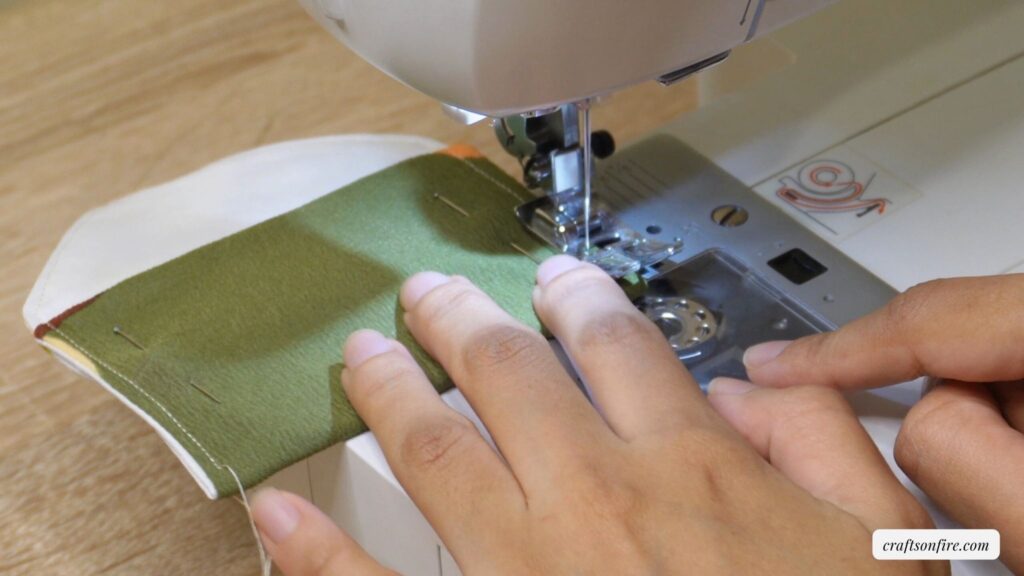
Carefully sew around the edges of the coin purse as shown above.
Step 12
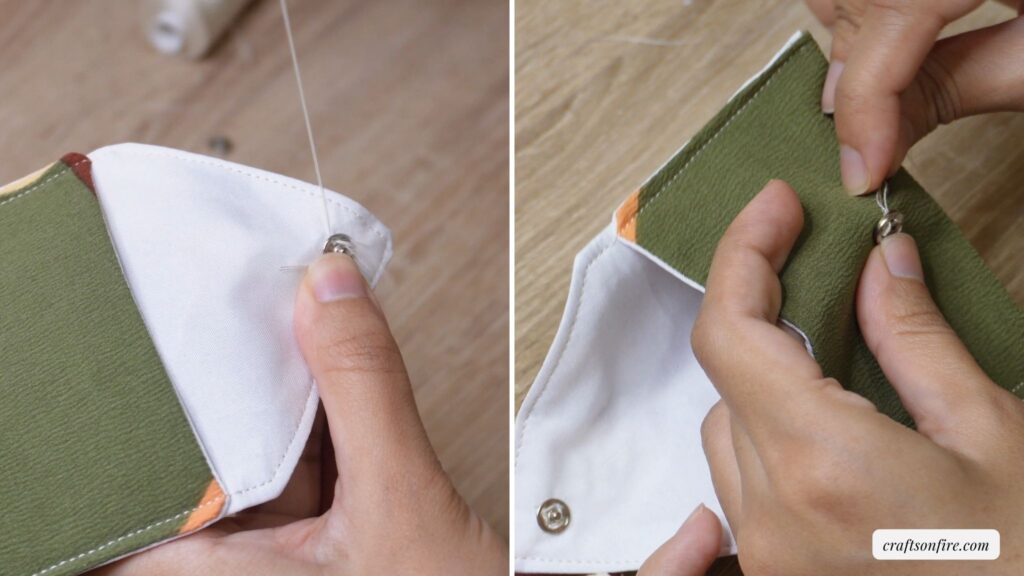
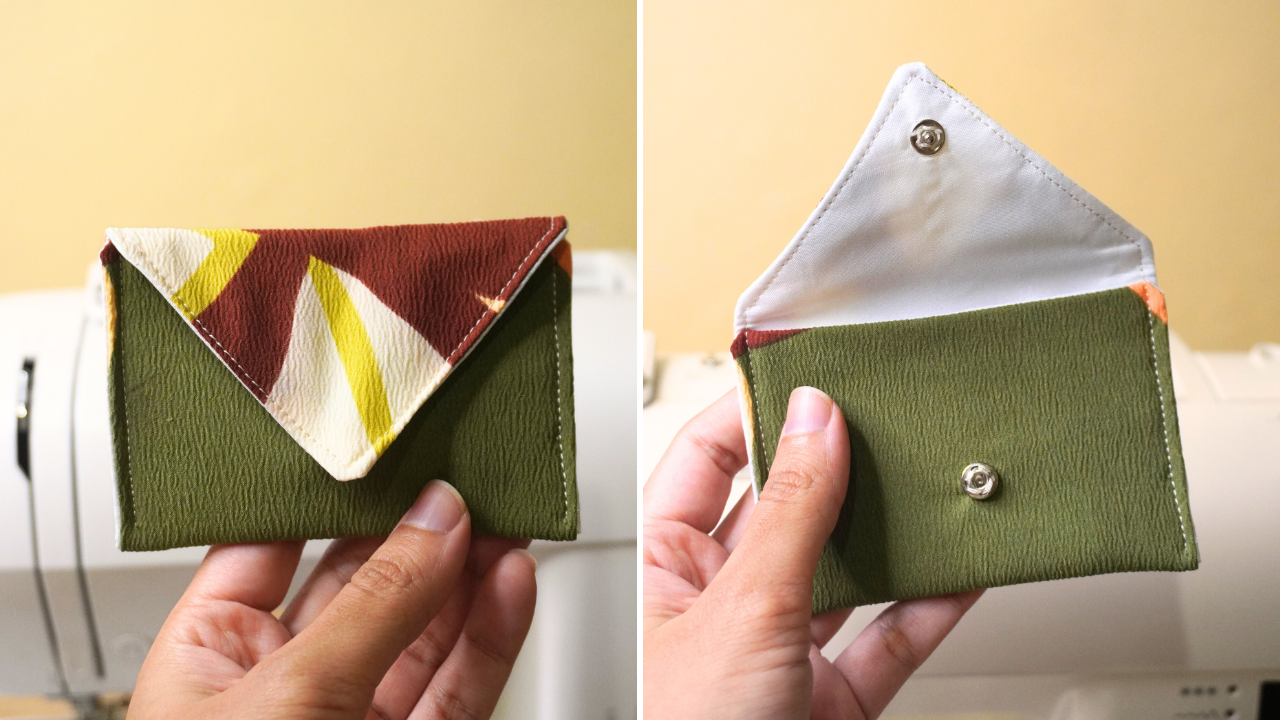
I added a clasp by sewing it into the lining of the fabric without stitching through both materials. This gives a neater finish. If you don’t have this on hand, try using Velcro!
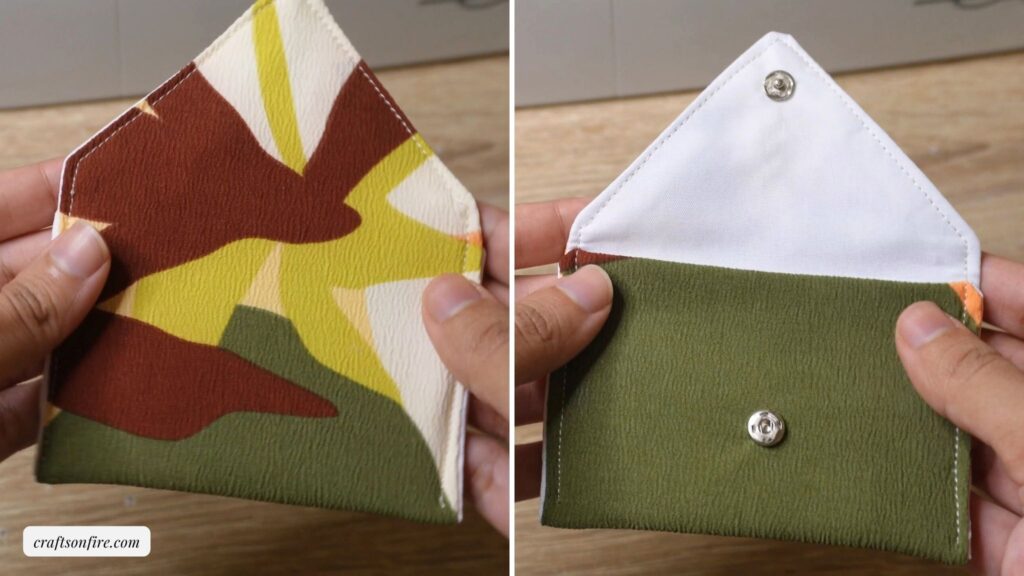
Here’s what the completed envelope coin pouch looks like:
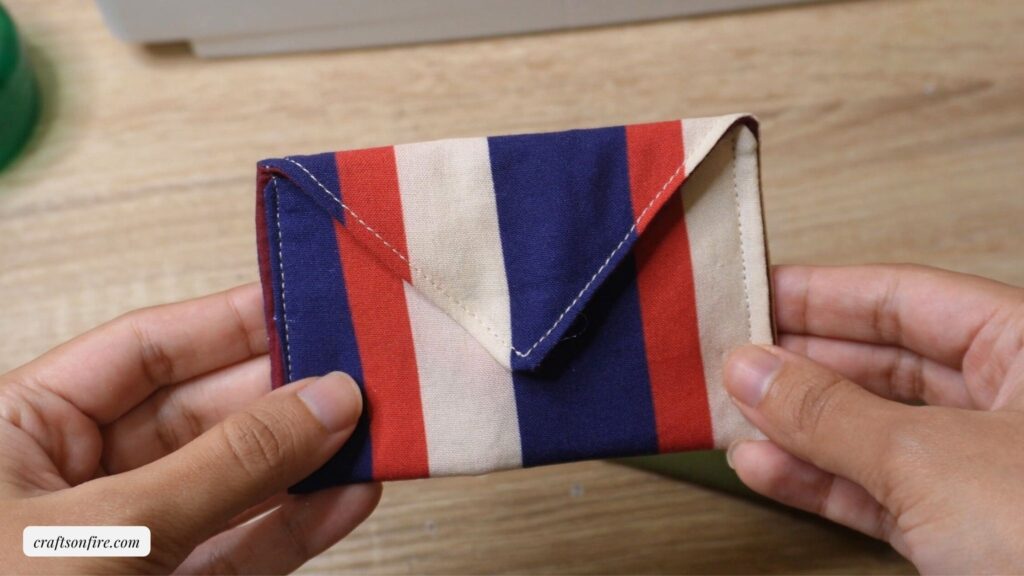
I also went ahead and sewed another pouch! Here’s what a stripped fabric pouch looks like:
I’m so obsessed with sewing these coin pouches. It’s effortless to sew and I can’t wait to use them soon.
It’s the perfect size for carrying around loose change and barely takes up any space in your purse or pants pocket!
If you prefer to sew a bigger pouch, increase the size of the measurements before you cut the fabric! If you double the measurements I’ve given above, you should end up with a slightly bigger pouch.
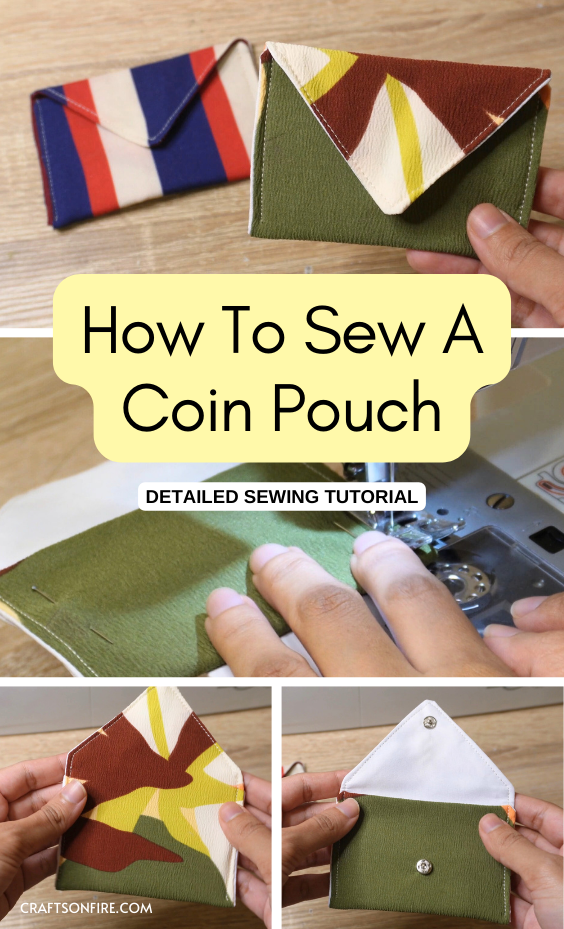
I can’t wait for you to try sewing this coin pouch. You’re honestly going to have a blast.
And when you are done and happy with your little project, do pop back here and let me know how it went.
I would love to hear your thoughts!
Other Easy Sewing Projects To Try Next:
