How To Sew A Corner Bookmark
I adore reading and it’s one of my favorite hobbies but I often find myself using pieces of paper or a sticky note to save the page I’m at and honestly, I’m kind of done with that system now. So, I took it in my stride to sew my very own corner bookmark!
I’m so glad I did!
Sewing this bookmark was so interesting and fun. I’ve already made 5 bookmarks!
The pattern is rather simple and easy to follow. Even a complete beginner can make this bookmark on day 1!
All you need is 3 squares of fabric and you’re ready to begin. This is also the perfect scrap fabric project to use up all those leftover pieces.
Without further ado, let’s get straight to the tutorial!
Table of Contents
DIY Corner Bookmark
Supplies
- Sewing Machine
- Plain Cotton Fabric
- Printed Cotton Fabric
- Scissors
- Pins
- Iron
Measurements
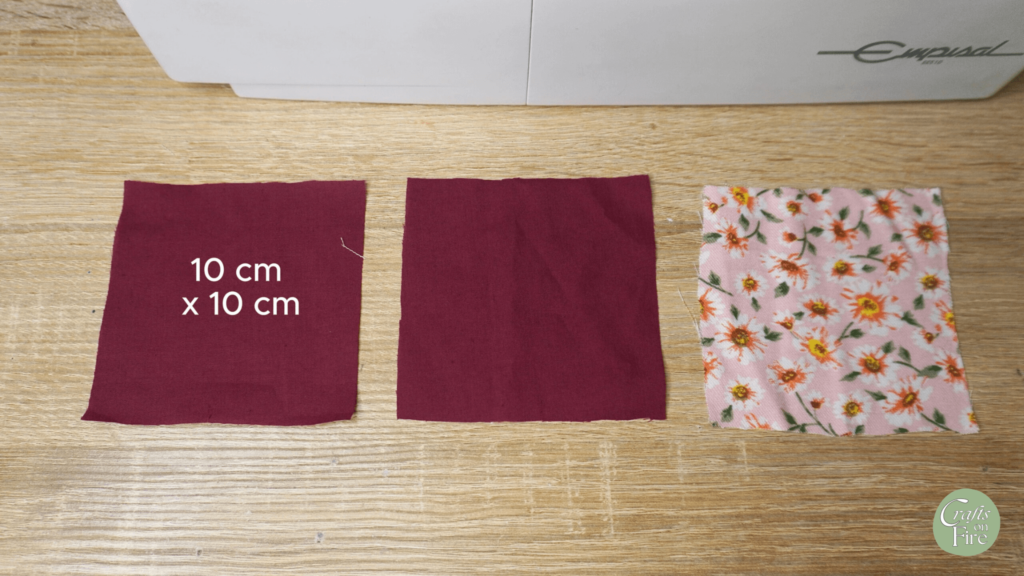
To make this corner bookmark, cut 3 squares measuring 10 cm x 10 cm (or 4 inches x 4 inches).
Video Tutorial
Printable PDF:
A quick heads up: I created a more detailed A4 Printable PDF version of this sewing guide. If you’d like to follow along without ads getting in the way, grab your copy over here!
Instructions
Step 1
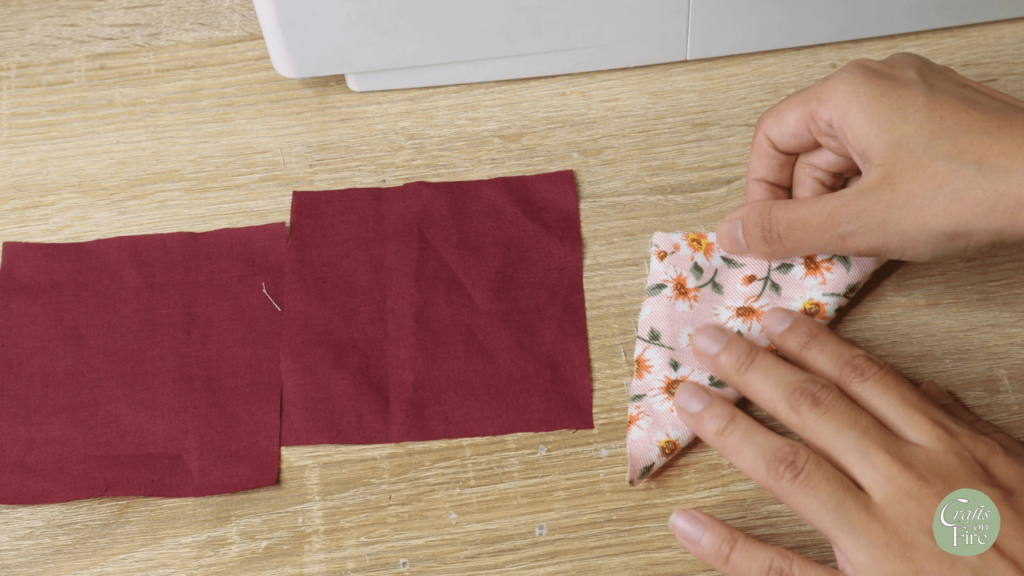
Take the floral printed square and fold the piece into this triangle shape. Then, iron the piece down so that it sits flat.
Step 2
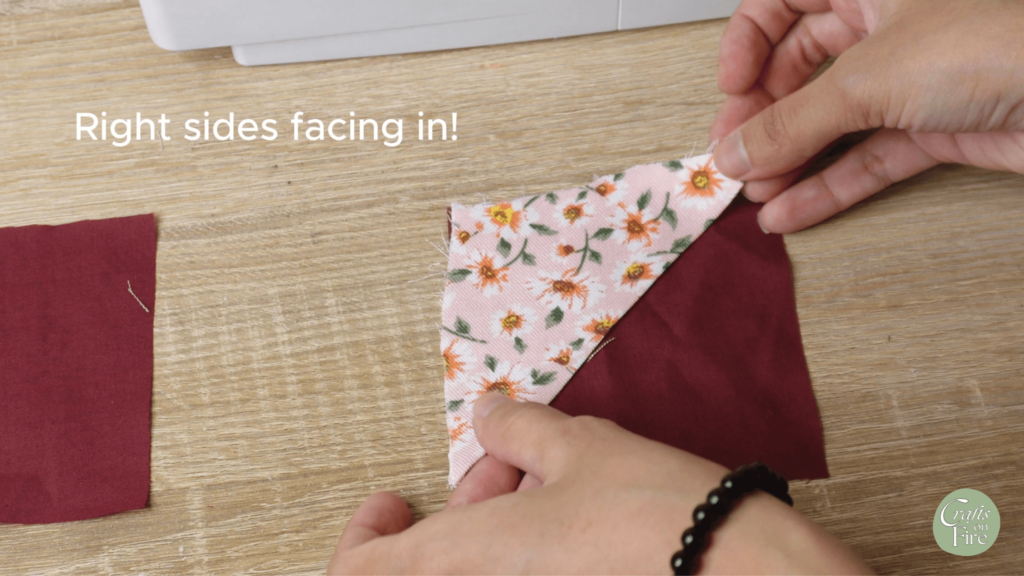
Place the printed triangle piece on one corner of the plain fabric, lining the edges up.
Step 3
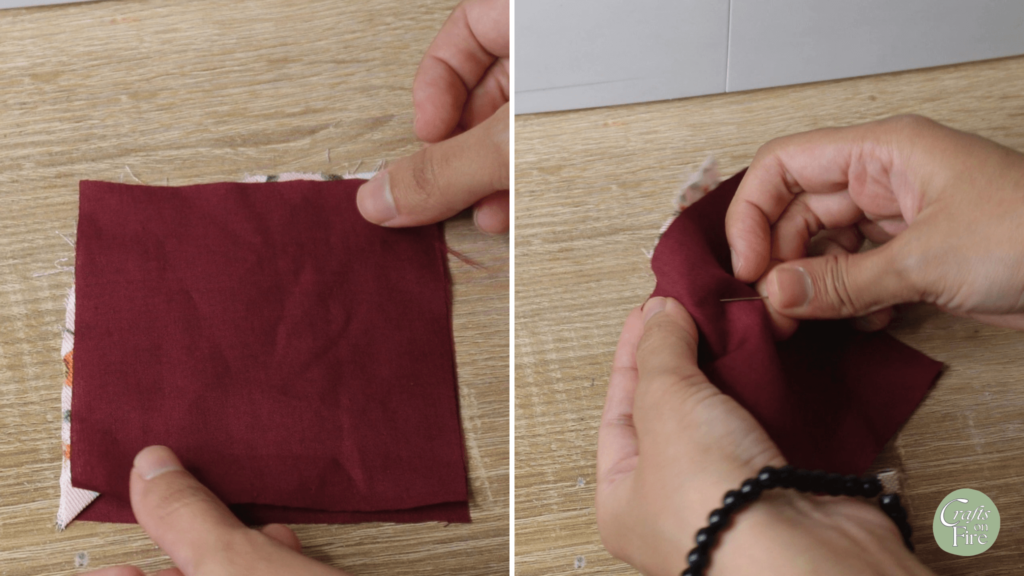
Take the other plain fabric square and place it on the previous piece. Pin all 3 pieces of fabric together. Make sure that the right sides of the fabric are facing in.
Step 4
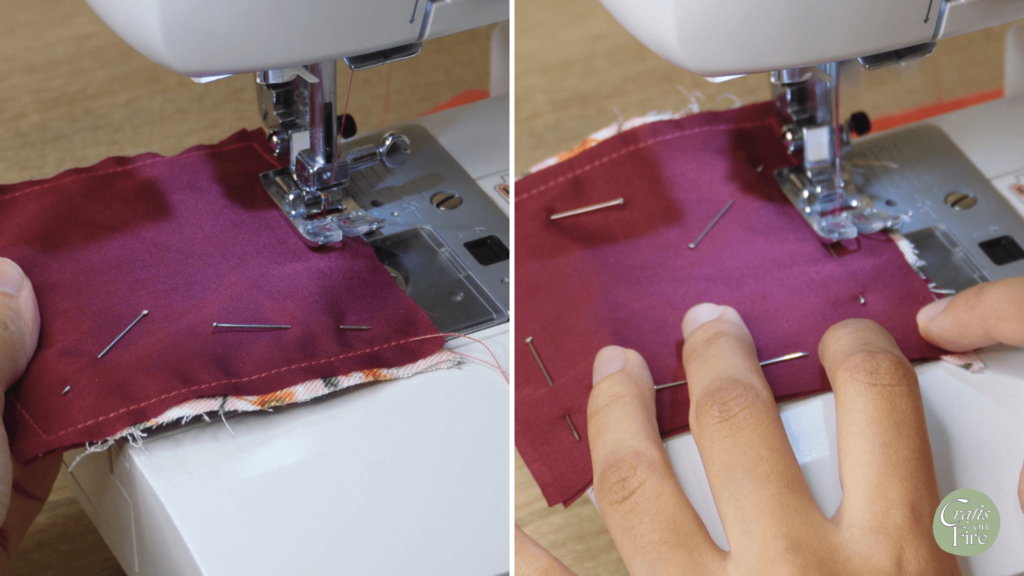
Now it’s time to sew the bookmark. Stitch all sides but don’t forget to leave a small space for the seam allowance.
Once you reach the final side, leave a small opening which we will use to turn the fabric to the right side.
Step 5
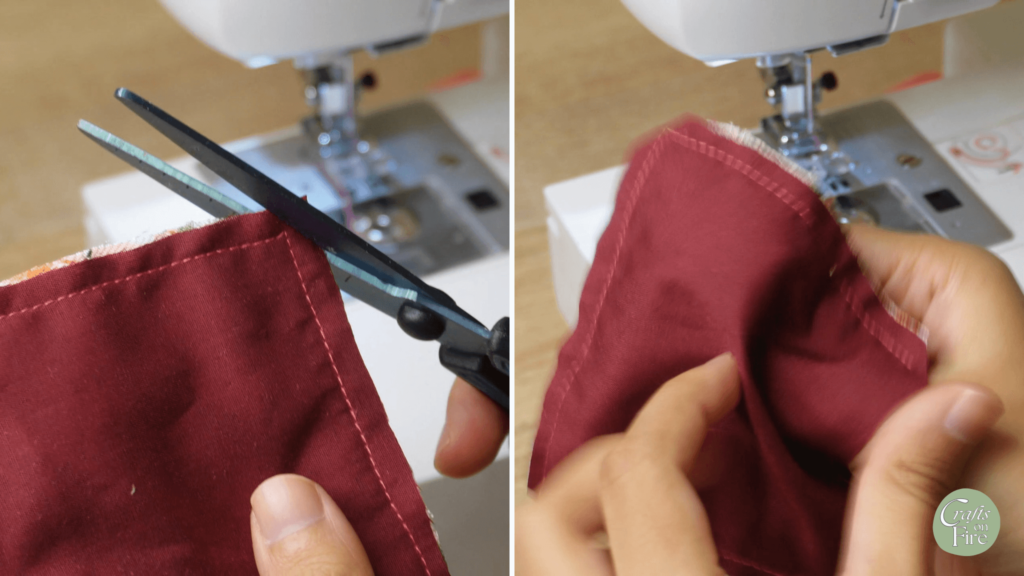
Use your scissors to cut the 4 corners. However, don’t go too close to the stitch line!
Once this step is completed, use the opening to turn the corner bookmark inside out.
Step 6
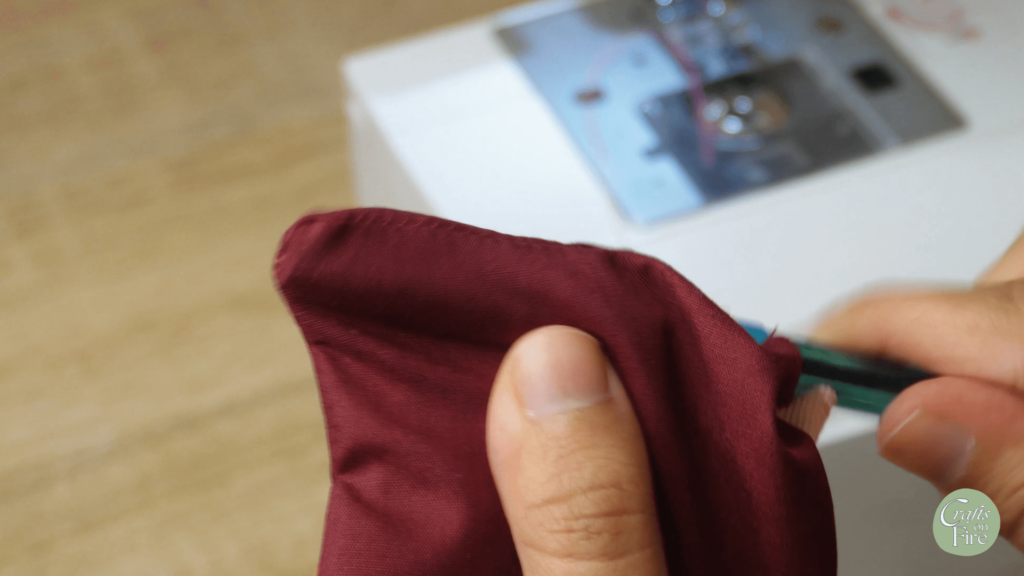
Take a pen or ruler to open the corners on all ends.
You’ll notice that we now have an opening on one side. Carefully fold the ends in and then let’s take the corner bookmark back to the machine for the final stitch.
Step 7
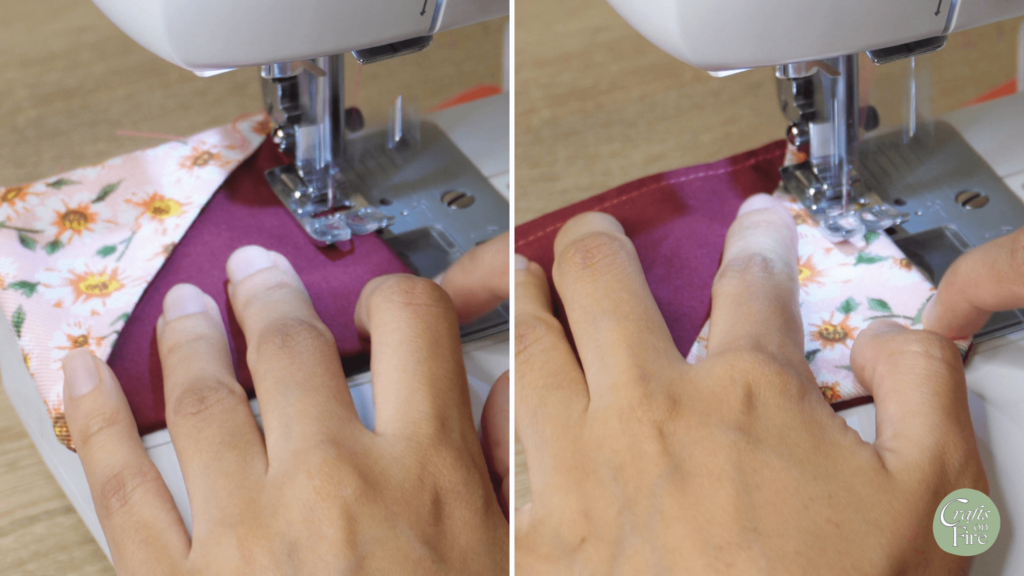
Stitch the bookmark on all sides until your corner bookmark looks like this:
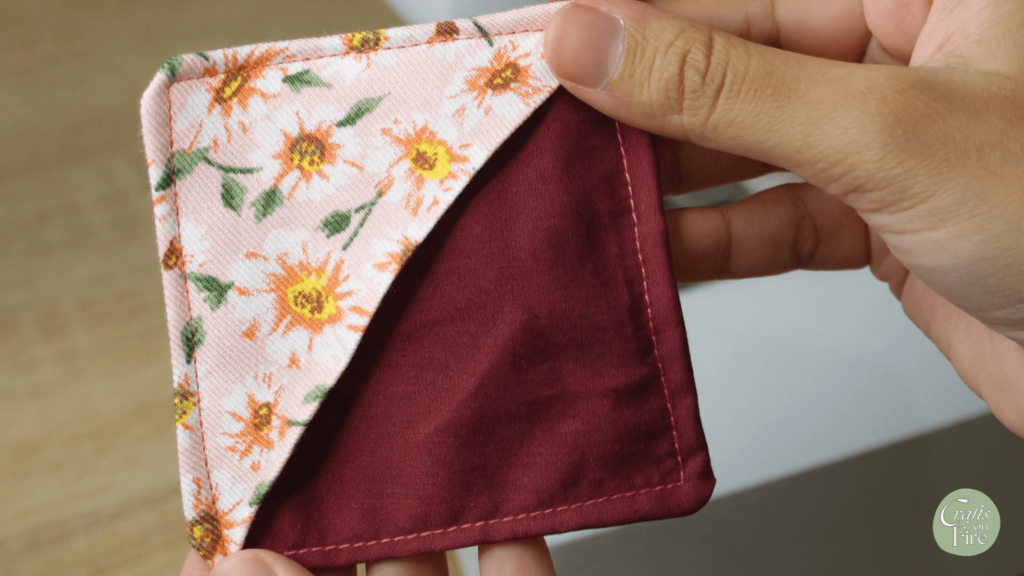
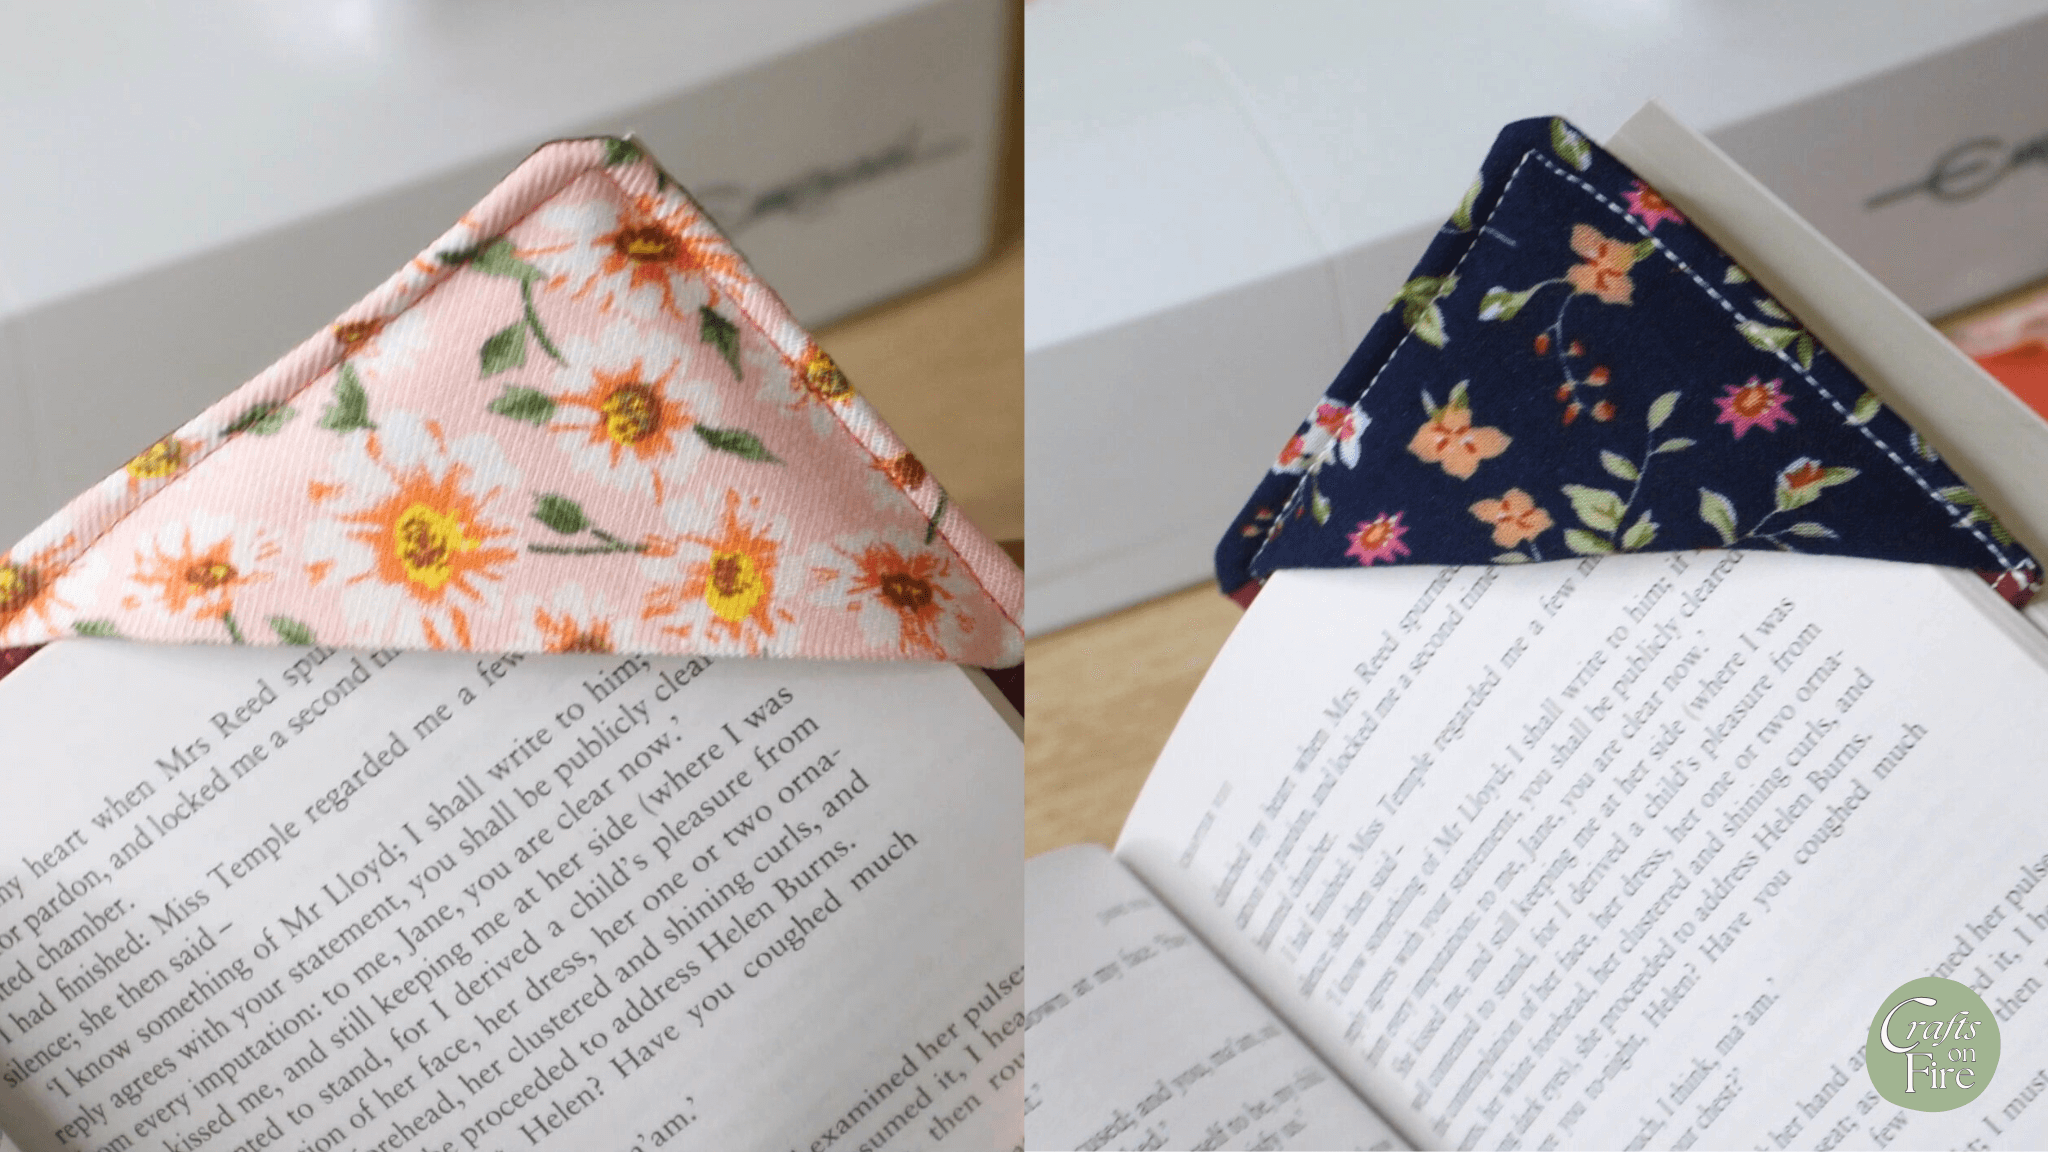
Here are a few more bookmarks I’ve created using a different patterned fabric following this method:
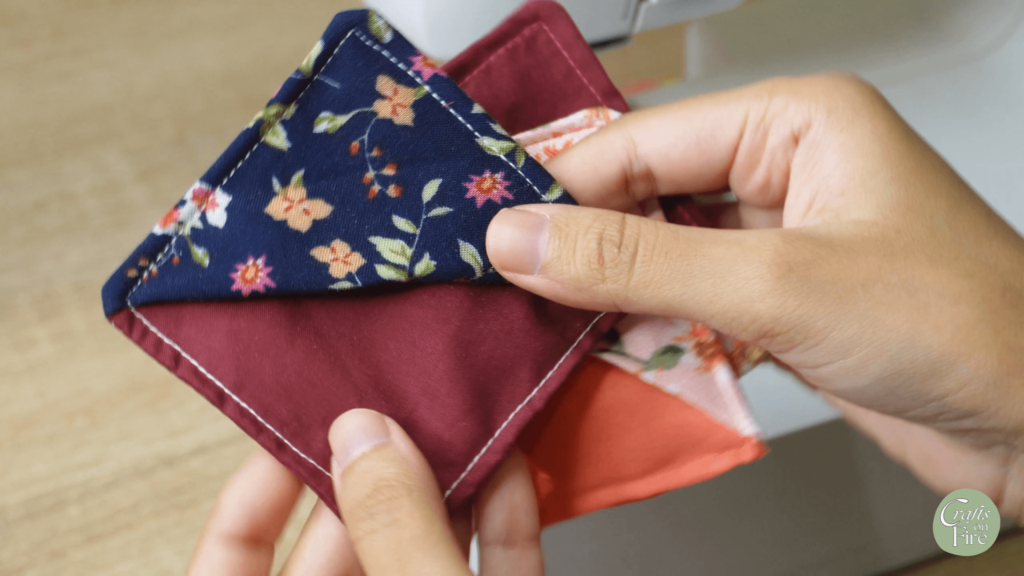
As promised, I hope you found sewing a corner bookmark easy and simple.
This bookmark is also a nice sweet little gift for a friend or fellow bookworm.
What I love the most about this fabric bookmark is the different colors and fabric combinations you can come up with are endless!
Q&A
What fabric to use for a bookmark?
Felt, cotton, linen, canvas, and denim are the best bookmark fabrics. You can also use any scrap fabrics you have lying around. If you plan to use silk, you’ll have to add a strong backing piece to make the bookmark more stiff, durable, and strong.
How do I make the fabric bookmark stiff?
I recommend using interfacing to make this bookmark stiff but you can also use a backing fabric, cardstock insert, or a few pieces of felt.
Can you make a corner bookmark without a sewing machine?
Yes, you can hand-sew this bookmark if you don’t have a sewing machine. I recommend taking your time when sewing to ensure your stitches are even. It might take longer to sew than with a sewing machine but it still works either way.
Okay, I hope that answers all your questions!
This fabric bookmark is quick and easy to sew. So, go ahead and try it! I’m sure certain you’ll enjoy it.
When you’re done, come back and let me know in the comments below how your bookmark turned out.
