How To Draw A Tulip For Beginners
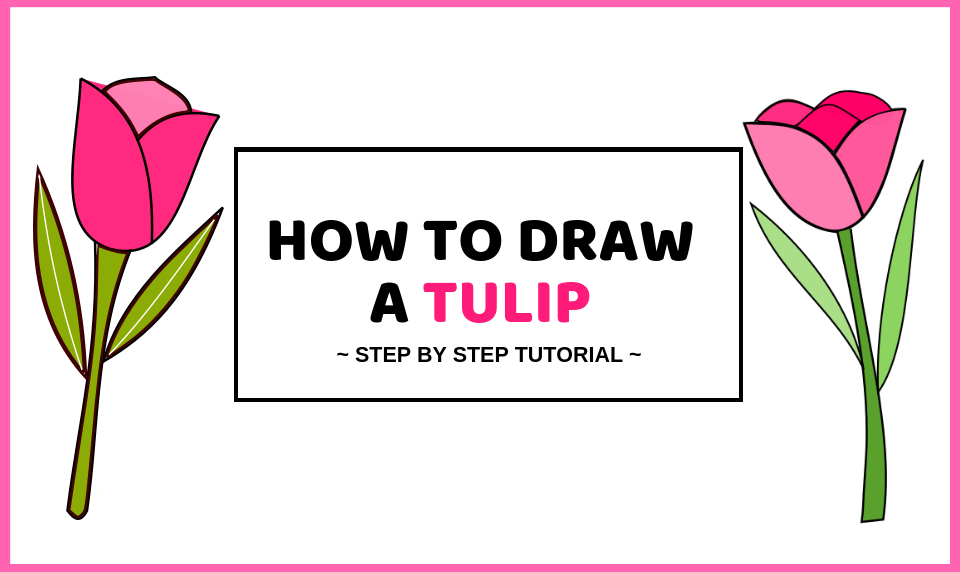
Would you like to learn how to draw a tulip? If you’re looking for a quick and easy way to decorate a greeting card or to simply just decorate pages with these pretty flowers, then drawing tulips is a great way to do so. In just a few quick and easy steps, you’ll become a pro at drawing these tulips.
We’ve put together two slightly different versions of tulips but you’re bound to love both of them. One of them is more on the simple side but the other one just needs a few more petals drawn.
However, just note that these tulips aren’t quite realistic but rather more like a cute cartoon version. If you’d like to draw a realistic tulip, we’ll show you how in a bit.
Let’s start with the first tulip drawing!
Table of Contents
How to Draw a Tulip (Drawing 1)
Supplies You’ll Need
- Pencil
- Paper
- Eraser
- Markers
Instructions
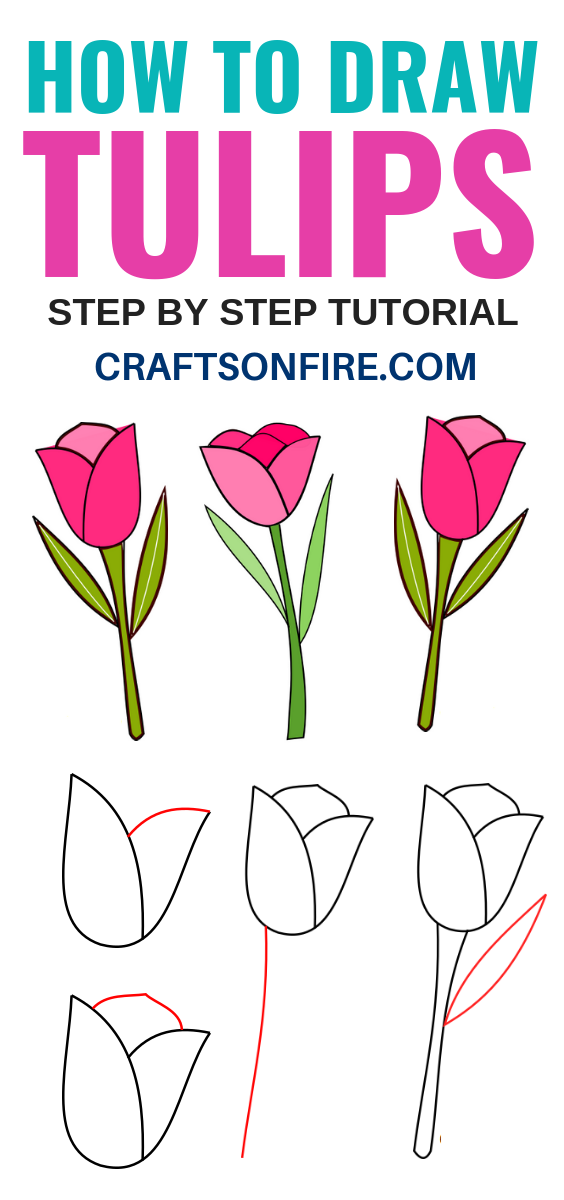
Step 1

Start by drawing a flower bud with the bottom curved and the two ends slightly curved out.
Step 2

From one end of the flower bud, you’ll need to draw a curved line from one end to the inside of the bud.
Step 3

Next up, you’ll need to join the other end of the bud to the line you just drew. Do this by drawing a curved line halfway from the flower bud line. You’ve now just drawn your two main petals for the tulip.
Step 4

To create the third petal, simply draw a curved shape from one end of the petal to the next petal, making the tip slightly pointed. And your tulip petals are now done.
Step 5
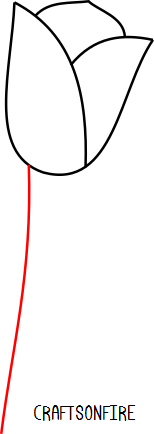
Now you’ll need to give the tulip a stem by drawing a curved long line down.
Step 6
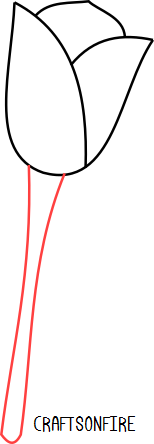
Add another line to match that line and draw a curved line at the bottom to join those two lines together.
Step 7
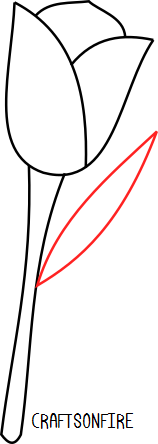
Your stem is going to need leaves. Simply draw a curved line on one side and join it with another line going back down.
Step 8
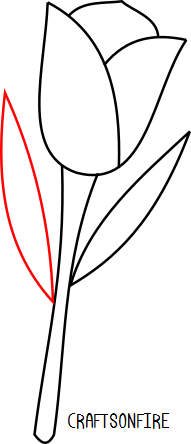
Repeat the previous step on the opposite side of the stem to finish off the tulip leaves. If you need a different design, you can try this tutorial on how to draw leaves.
Step 9
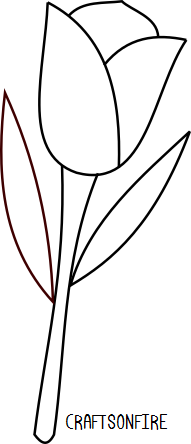
Your tulip drawing is now complete. How good was that? All that is left is to neaten your drawing by erasing mistakes and neatening certain lines.
Step 10
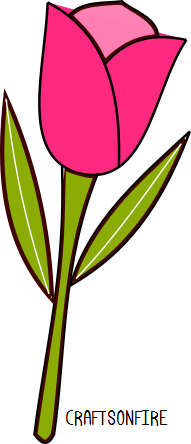
Here comes the fun part – coloring!
You can use any colors you’d like for the tulip but for this drawing tutorial, I used two shades of pink, light and dark color to make it stand out.
For the leaves, I shaded them in green and drew a white line down the leaves for extra details.
Let’s try another tulip drawing:
How to Draw a Tulip (Drawing 2)
Instructions
Step 1

Draw a curved shape like this for your tulip bud making the ends slightly pointed.
Step 2

From one end of the bud, draw a curved line to the inside of the bud.
Step 3

Join the other side of the bud to halfway of the petal you just drew, closing off the shape.
Step 4

Now add another curved line in the middle of those two petals.
Step 5

Go ahead and add another curved line joining the middle petal to the first petal on one side.
Step 6

Now all that is left is the last petal. Draw a slightly curved line from the petal you just drew to the second petal you had first drawn. Your tulip petals will look like this when you’re done.
Step 7
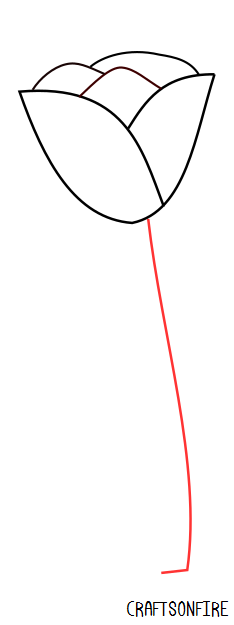
Add a stem for the tulip drawing by drawing a curvy line down. Add a smaller straight line for the bottom of the stem.
Step 8
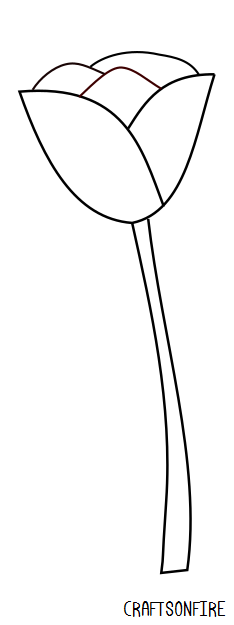
Connect one side of the tulip’s stem to the other by drawing a line that matches the shape of the other side of the stem.
Step 9
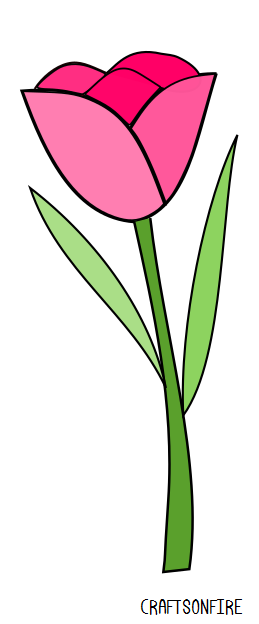
All you have to do now is color this tulip flower drawing in whichever colors you like. You can use shades of purple, yellow, red, or pink! Don’t forget to add leaves to your tulip.
There you have it! Two easy and simple ways to draw a tulip. Did you enjoy this tutorial?
SEE ALSO: How To Draw Lavender Flowers – Easy Step By Step Guide
We promised you earlier a realistic version of a tulip but this one may need a bit more advanced drawing skills if you plan to tackle this tutorial. But you’ll only learn unless you try, so do give this tutorial by Lineke a shot.
If you’re looking for more ideas like this, make sure you see how to draw flowers. You’ll love it just as much if you like drawing tulips.
One last thing, be sure to save this tutorial for later by pinning it below.
