How To Draw A Bow In 5 Steps – Easy Drawing Tutorial
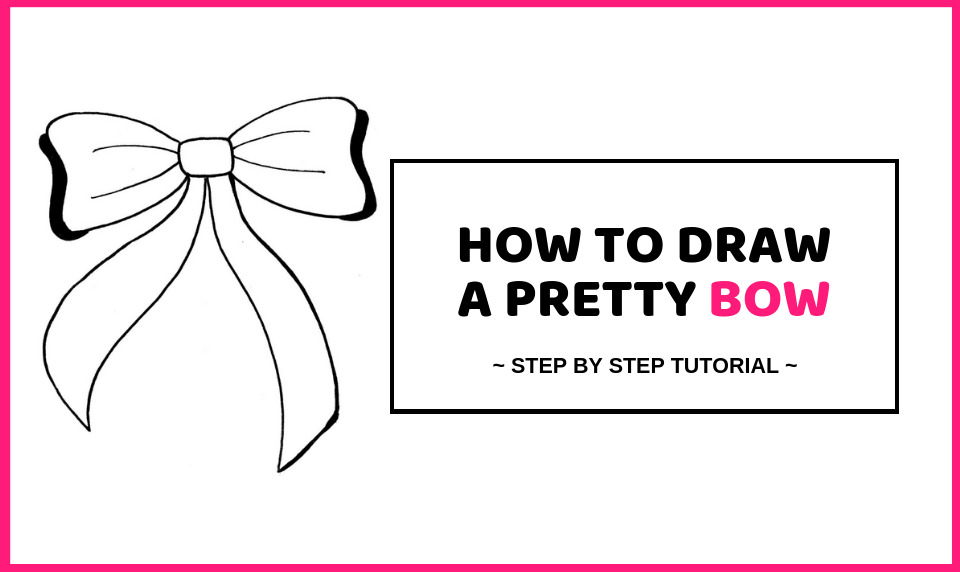
Would you like to learn how to draw a bow? Maybe you want to decorate a birthday card or greeting card with a special message and a pretty bow to go with your handmade gift. Then you will find exactly what you’ve been looking for.
We’ve put together a simple and easy-to-understand drawing tutorial that will show you exactly how to draw a pretty bow or bow tie in just a few quick steps.
When I first tried drawing a bow, it seemed so difficult but once you have drawn the first step, the rest of it becomes so easy and fun. You’ll soon find yourself drawing bows all over your notebook (I say this from personal experience!).
Okay, before we head over to the drawing tutorial, here are a few things you might need:
How To Draw A Bow
Supplies
- Sketchbook or any blank piece of paper
- Pencil
- Micron Pen
- Color Markers
Now we’re ready! Let’s start, shall we?
Drawing Instructions
Step 1
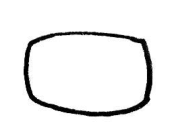
Start by drawing a rounded shape like the one above. This will be the center of the bow you’re about to draw.
Step 2
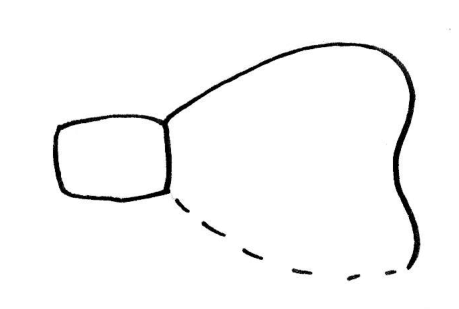
From one side of the center of the bow, begin by drawing a curved shape out by drawing a sort of heart shape like this one.
Step 3
Once you’ve completed the first side of the bow, head over to the other side of the center and draw an identical shape to the one you had just drawn previously.
Step 4
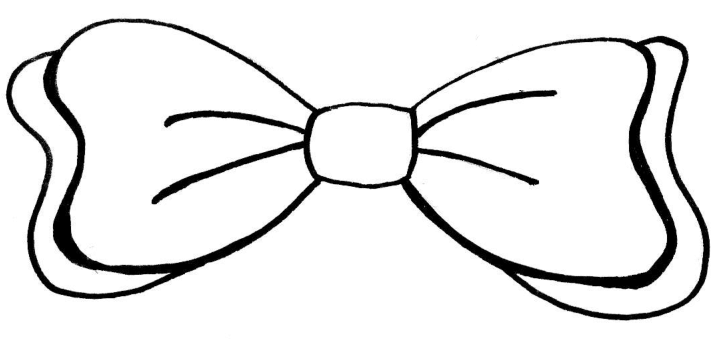
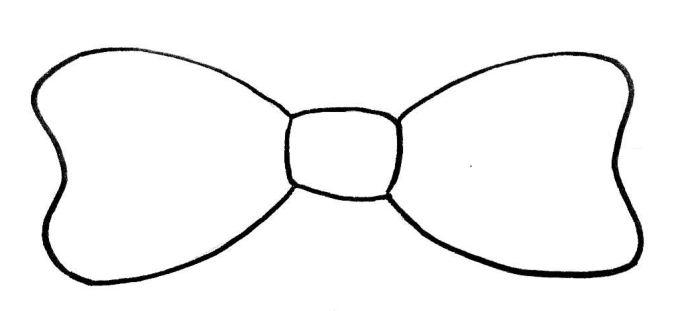
Go ahead and add a bit more detail to make your bow look pretty. You can do so by drawing two curved lines on either side of the shapes from before.
Then one side of the bow, outline the sideways heart shape by drawing another line. Then go ahead and outline the other side of the bow by doing the same thing you had just done.
You can also shade this part in or outline the first half as we did over here. And now you’ve just drawn a bow tie.
Now let’s turn this bowtie into a pretty bow!
Step 5
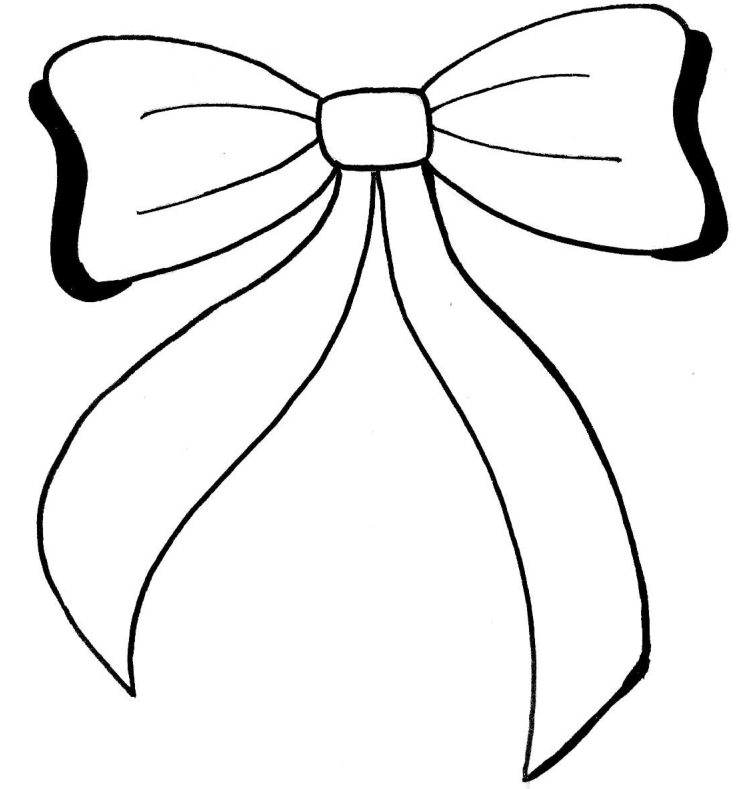
To make your bow tie look like a pretty bow, draw two shapes like this from the center of the bow. Make sure one ribbon is more curved than the other and you’ve finally finished your bow drawing.
Conclusion
Wasn’t it easy learning how to draw a bow? Did we keep our promise? We sure hope so.
When it comes to drawing, never be afraid to start somewhere. Look at an object in real life and break those down into smaller parts like how we started this bow drawing by drawing a small round shape which was the center of the bow.
Once you know which parts come together, everything becomes easier and by adding smaller details like shading or lines, it will make your drawing look even better.
There are many things you can do by drawing a bow. You can use them on a greeting or birthday card, as we mentioned before, or create a beautiful bullet journal spread like this one by Anna Almen.
It also looks incredible when you use colors (you don’t have to use red but other colors like yellow, green and pink look great) for this drawing. It can really make a boring drawing stand out.
That’s all from us but we hope to see you in our next drawing tutorial! Let us know your thoughts on learning how to draw a bow.