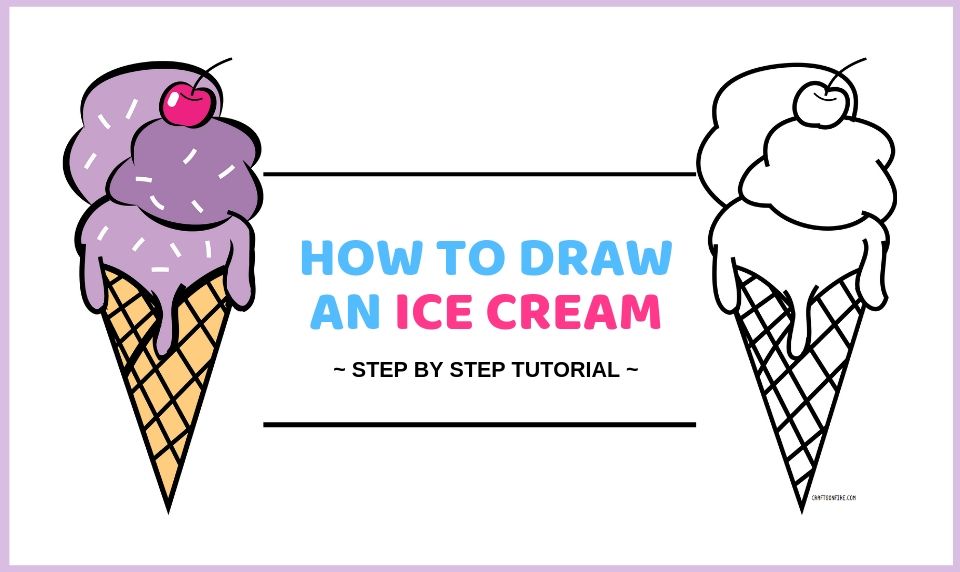
How To Draw An Ice Cream In 12 Steps – Drawing Tutorial
Over time, there have been so many new combinations of ice creams, it’s hard to keep up with the ongoing list but hey, we certainly aren’t complaining. If you’ve always been a fan of the classic chocolate chip ice cream, or the sweet and delicious soft melting caramel sundae, or perhaps the ultimate favorite cookie dough ice cream, were you ever brave enough to try some of the wild combinations like curry and mint?
Now, that’s wild! However, I know you’re not here to talk about ice cream.
Would you like to learn how to draw an ice cream in just a few easy and quick steps? We’ve put together a complete ice cream drawing tutorial we’re sure you’re bound to love and we have also included a fantastic ice cream coloring page for you to print out!
What’s great about this particular ice cream drawing is that you can choose to add as many scoops of ice cream as you want it to have and give them different flavors by using different colors or stick to one flavor such as Raspberry ice cream with sprinkles as we did in this tutorial.
But we’ll get into that in a little bit.
Are you ready to draw? Let’s get started.
Ways To Draw An Ice Cream
Materials You Might Need:
- Sketchbook, bullet journal, or any blank piece of paper
- Pencil, eraser, and a ruler.
- Micron Pens
- Color markers or crayons
Instructions
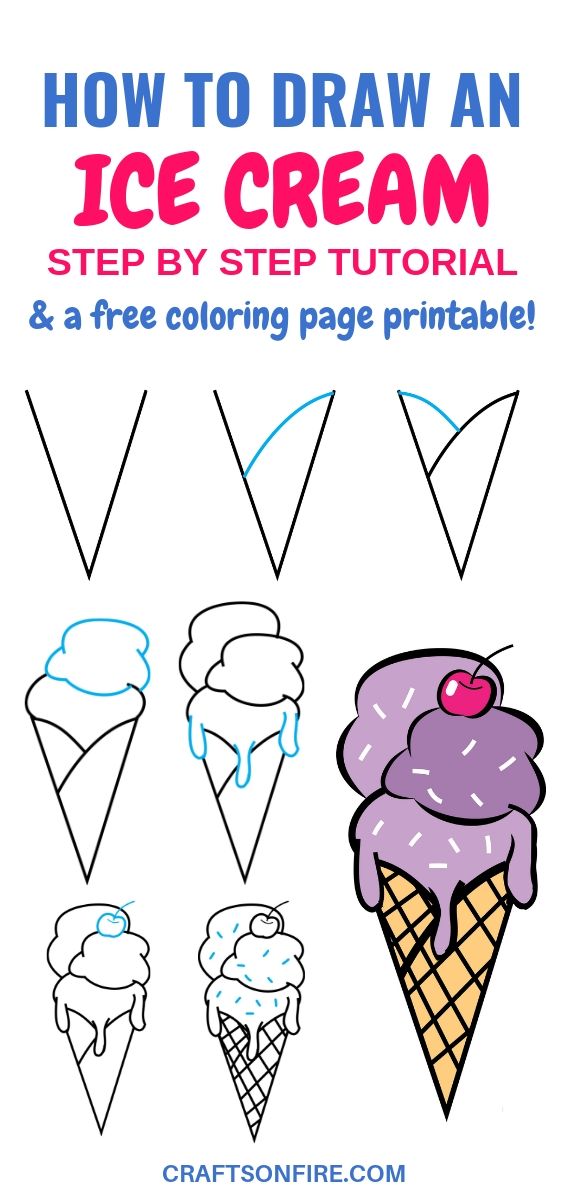
Step 1: Draw the cone

To begin this ice cream drawing, you’ll first want to start drawing a V shape. You can do this by drawing two straight lines at an angle that connects at the bottom.
If you’d like your ice cream cone to be rounded at the bottom, leave a bit of space between the lines and connect them with a small curve.
Step 2: Draw a curved line

Next up, draw a curved line from one side of the cone to halfway the other side.
Step 3: Draw a curved line on the opposite side

Now finish off by joining another curve on the opposite line of the cone to close off this part of the drawing. We’ll add more details in a while.
Step 4: Draw the first scoop

Now it’s time to start adding scoops of delicious ice cream to the cone.
Draw a curved line on either side of the cone, ensuring one side of the curve is slightly smaller than the other.
Step 5: Add the other scoop

Now join those previous two lines by drawing two more curves and drawing two more curved shapes, joining all those lines together as we have done here.
Step 6: Draw another scoop

Add a final scoop of ice cream by drawing a curved line on the first scoop and drawing another curved line to join the top of the second scoop.
Step 7: Add the dripping lines

Ice cream tends to melt pretty fast during summer so make sure to add these dripping droplets on your cone.
You can add as many or as little as you’d like. Once you’ve drawn these, make sure to erase the lines of the cones where they intersect.
Step 8: Draw a cute cherry
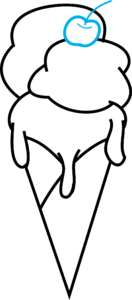
This step is completely optional but I always like to add a cherry to my drawings to make it look more real and give it some character, plus it looks cute.
If you remember the cherry drawing we did before, you can use those same steps to draw it on this ice cream.
Step 9: Add details to the cone
Our ice cream drawing is almost complete but we’ll need to add a few more details before we can start coloring it in.
All you need to do for this step is to add criss-cross lines to your cone to make it look like the real thing.
Step 10: Add sprinkles

You’ll now want to add a few sprinkles to your ice cream and scatter them on each scoop.
Step 11: Finished drawing
And you’ve finished drawing an ice cream! How fun was that? Let’s head over to the next part.
Step 12: Color it in

All that needs to be done now is to go ahead and color the ice cream. You can use different colors like red, pink, blue, or green, or leave it white and color the cone cream or brown.
Don’t forget to color the cherry in a bright shade of pink or red and leave a small white circle to show a reflection and you’re done!
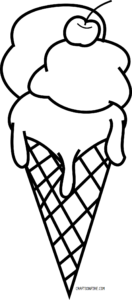
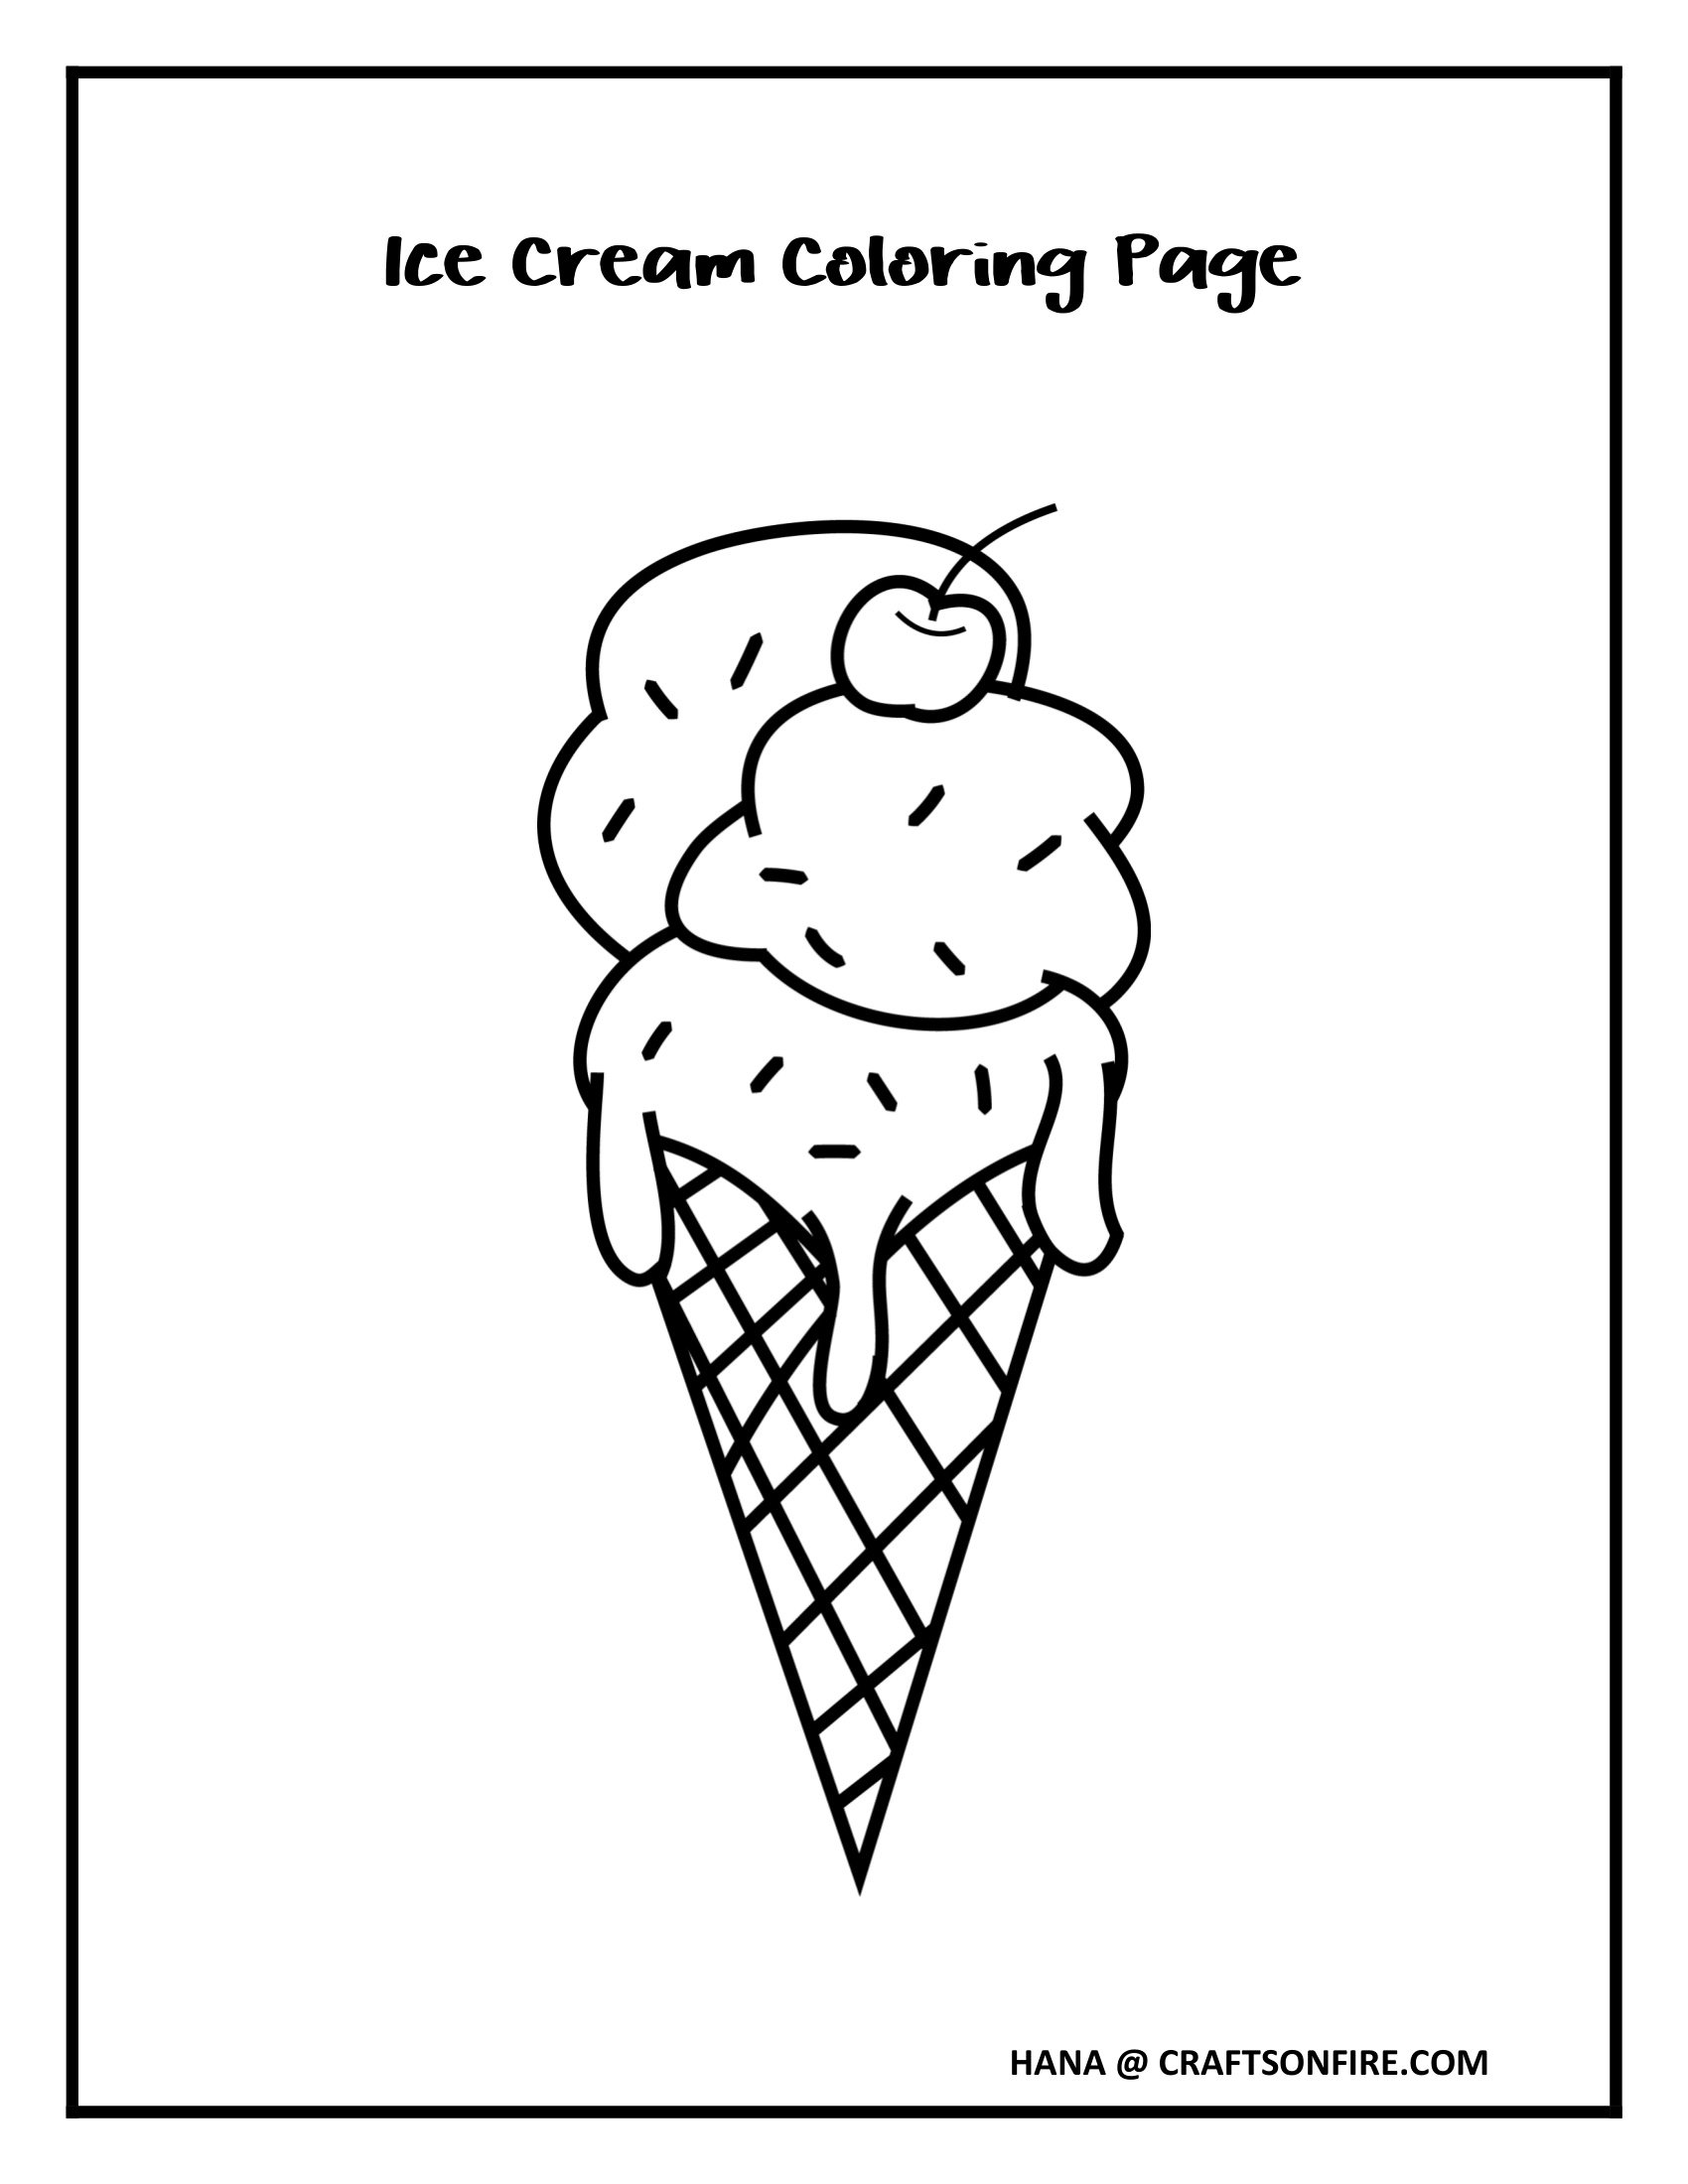
Ice Cream Coloring Page Printable
As promised, here’s a free Ice Cream Coloring Page of this tutorial you can color in or just use as a reference every time you want to draw ice cream.
So, now it’s your turn to let us know your thoughts on learning how to draw an ice cream with our step-by-step tutorial. Did you have fun drawing this ice cream doodle and did you find this tutorial useful?
We always love hearing from you guys so do let us know if you liked this one!
Before you head off, you might want to also check out this watermelon drawing.
It’s easy to draw and loads of fun, especially if you’re a beginner at drawing.
Full Step-By-Step Ice Cream Drawing Tutorial