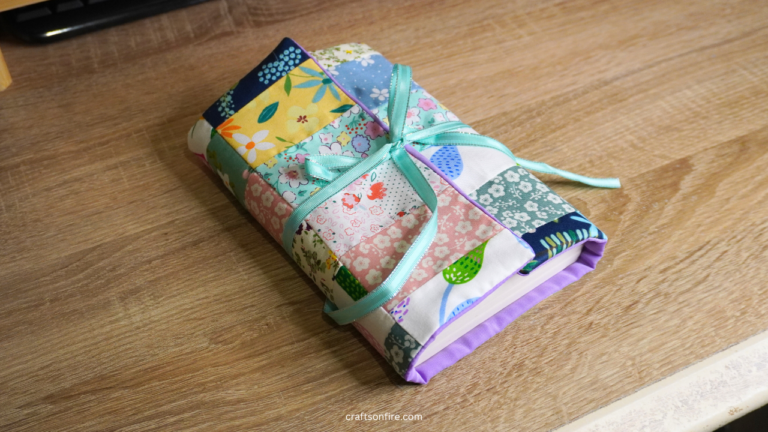
How To Sew A Pen Holder Bookmark For Any Journal

In this easy and simple sewing tutorial, I’ll show you how to sew a pen holder bookmark in just a few steps. This accessory will ensure you always have a pen on hand whenever you need to jot something down in your journal.
You don’t need to go digging through your stuff for a pen again!
Simply slide your journal through the elastic band and you’ll have a pen holder to accompany your journal whenever you go.

This project is ideal for beginners—it’s quick, easy, and fun to make. You’ll love how simple it is!
In this guide, you’ll discover detailed step-by-step instructions with pictures to recreate this pen holder bookmark.
If you’re ready to get started, grab your sewing supplies, and let’s dive in!
DIY pen Holder Bookmark
Supplies & Tools
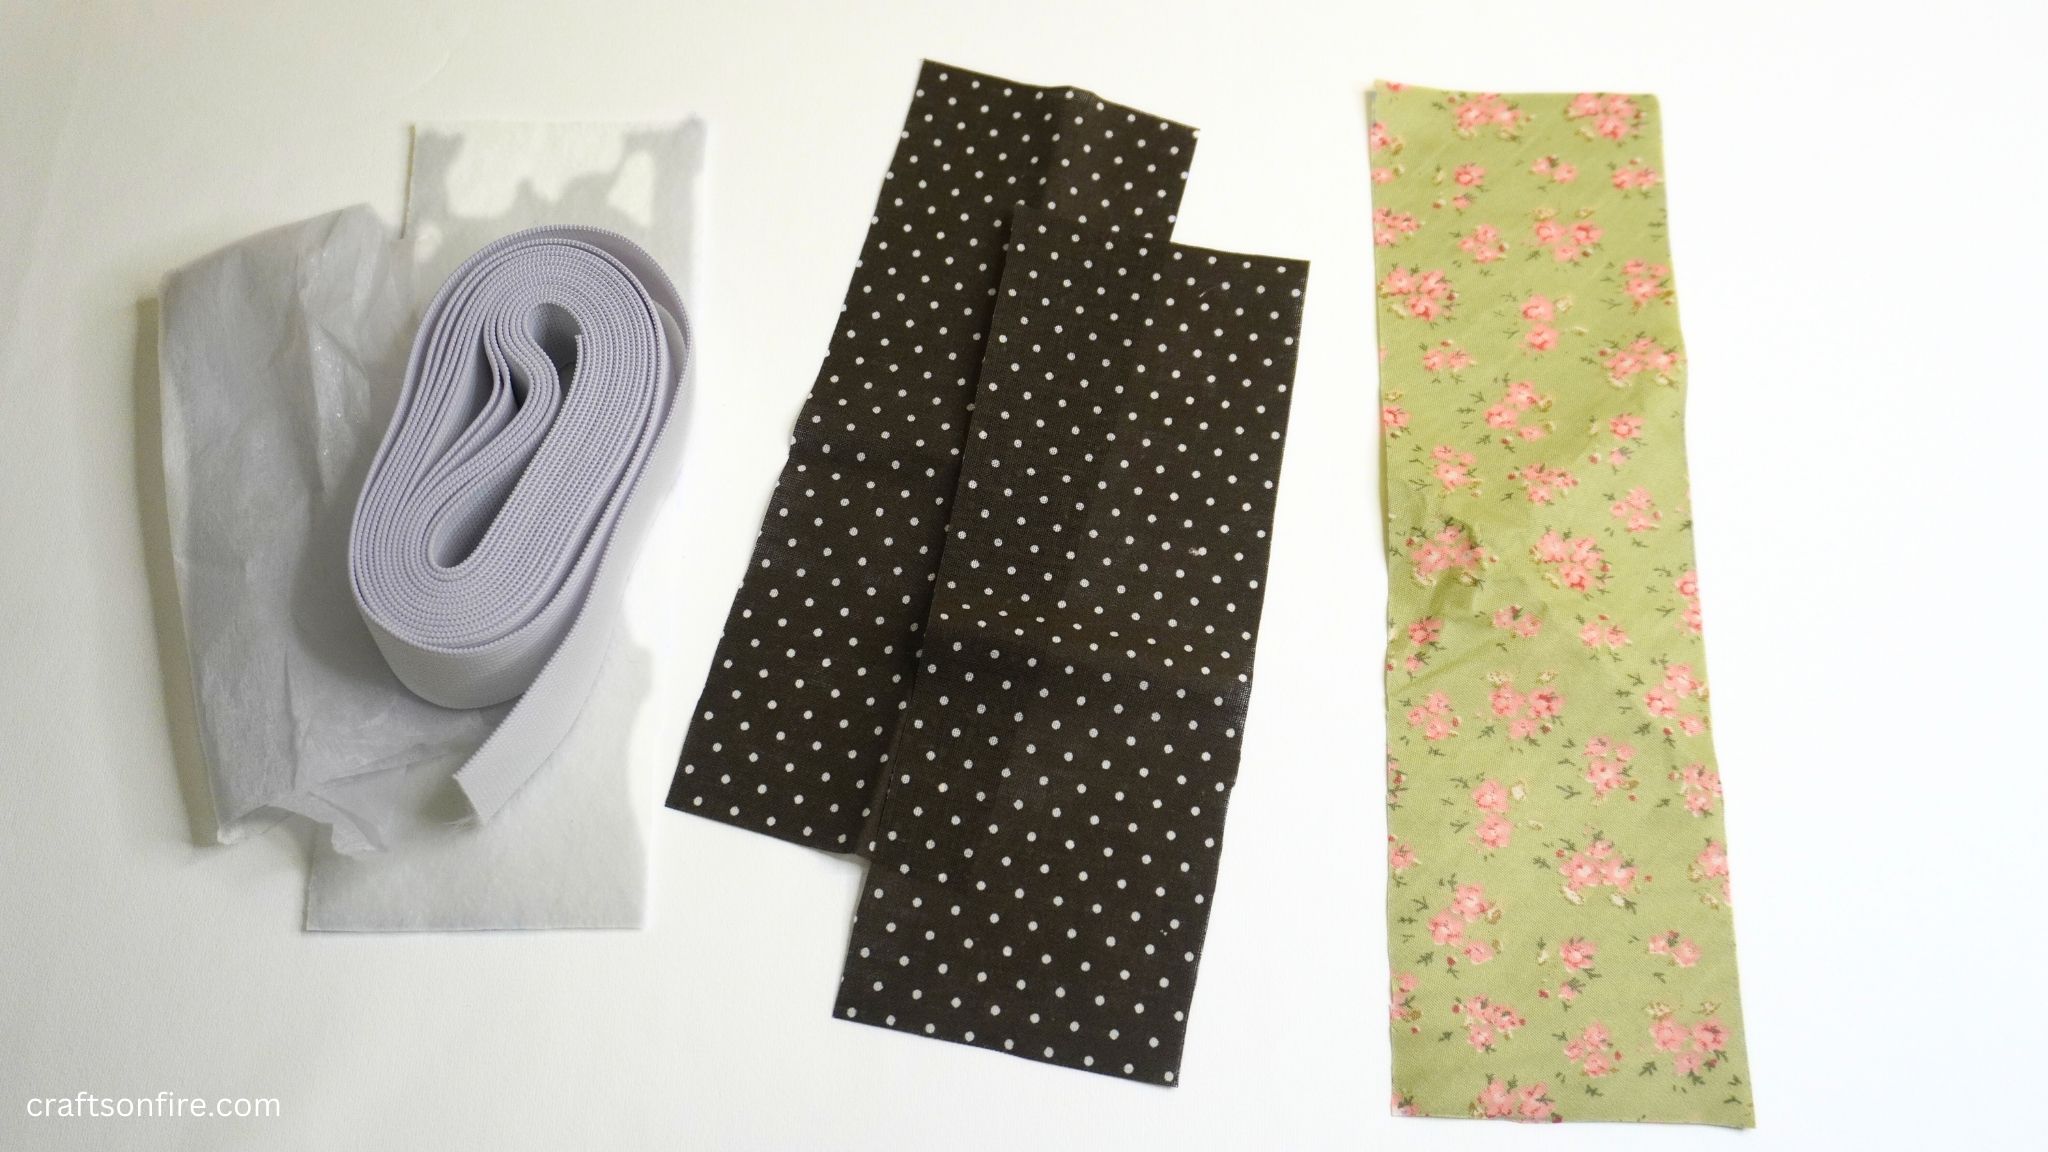
- 2 x Patterned Fabric Strips – 20 cm x 7 cm (7.87 inches x 2.75 inches)
- 1 x Pocket Strip – 25 cm x 7 cm (9.84 inches x 2.75 inches)
- 1 x Fabric Batting – 20 cm x 7 cm (7.87 inches x 2.75 inches)
- 1 x Vilene – 25 cm x 7 cm (9.84 inches x 2.75 inches)
- Elastic – 25 cm (9.84 inches)
- Sewing Clips/Pins
- Scissors
- Tailors Chalk/Fabric Pencil
This pen holder is designed to fit A5 journals.
Printable PDF:
A quick heads up: I also created an A4 Printable PDF version of this sewing guide. If you’d like to follow along without ads getting in the way, grab your copy over here!
Video Tutorial
If you’d prefer to watch the process, here’s my full step-by-step video guide to making this pen holder bookmark from start to finish:
Instructions
Step 1
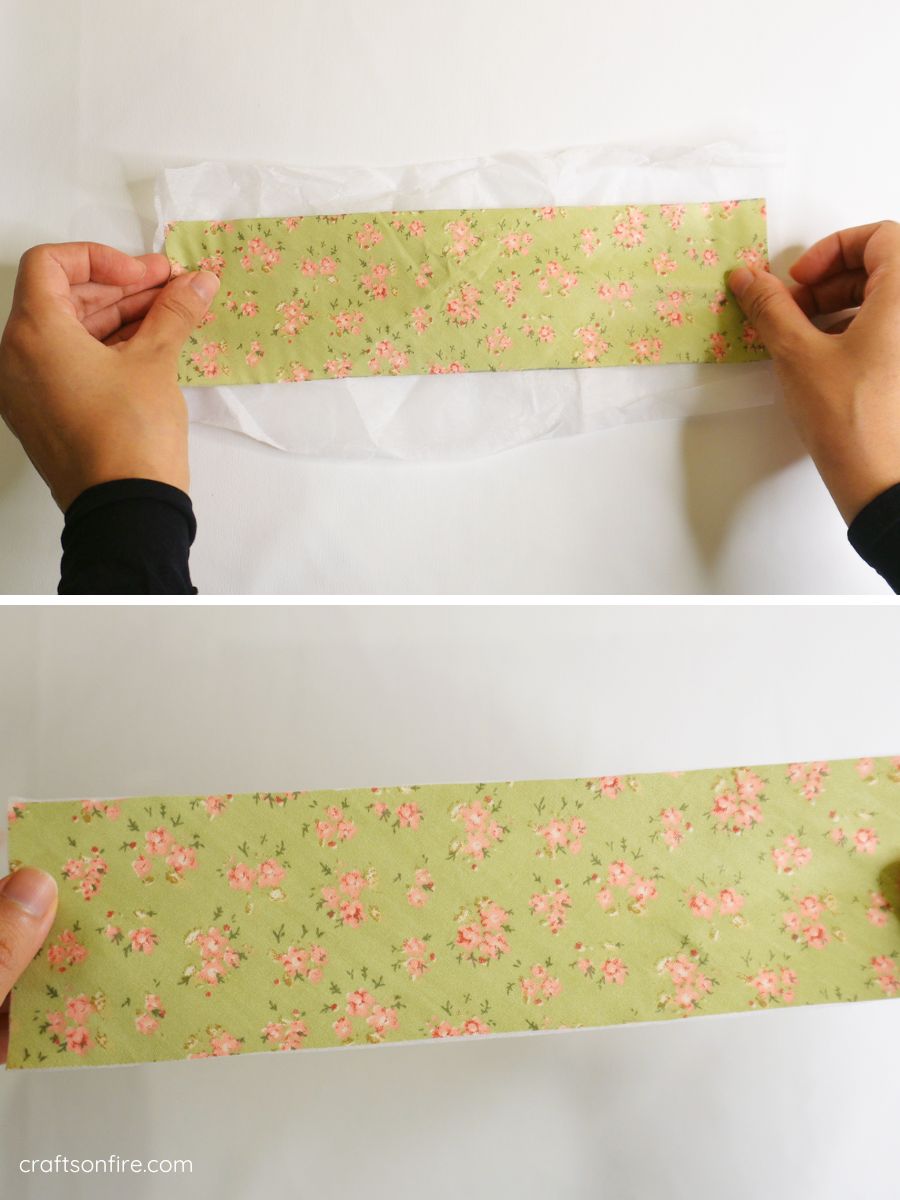
Start by ironing the fabric batting onto the first patterned fabric strip.
Step 2
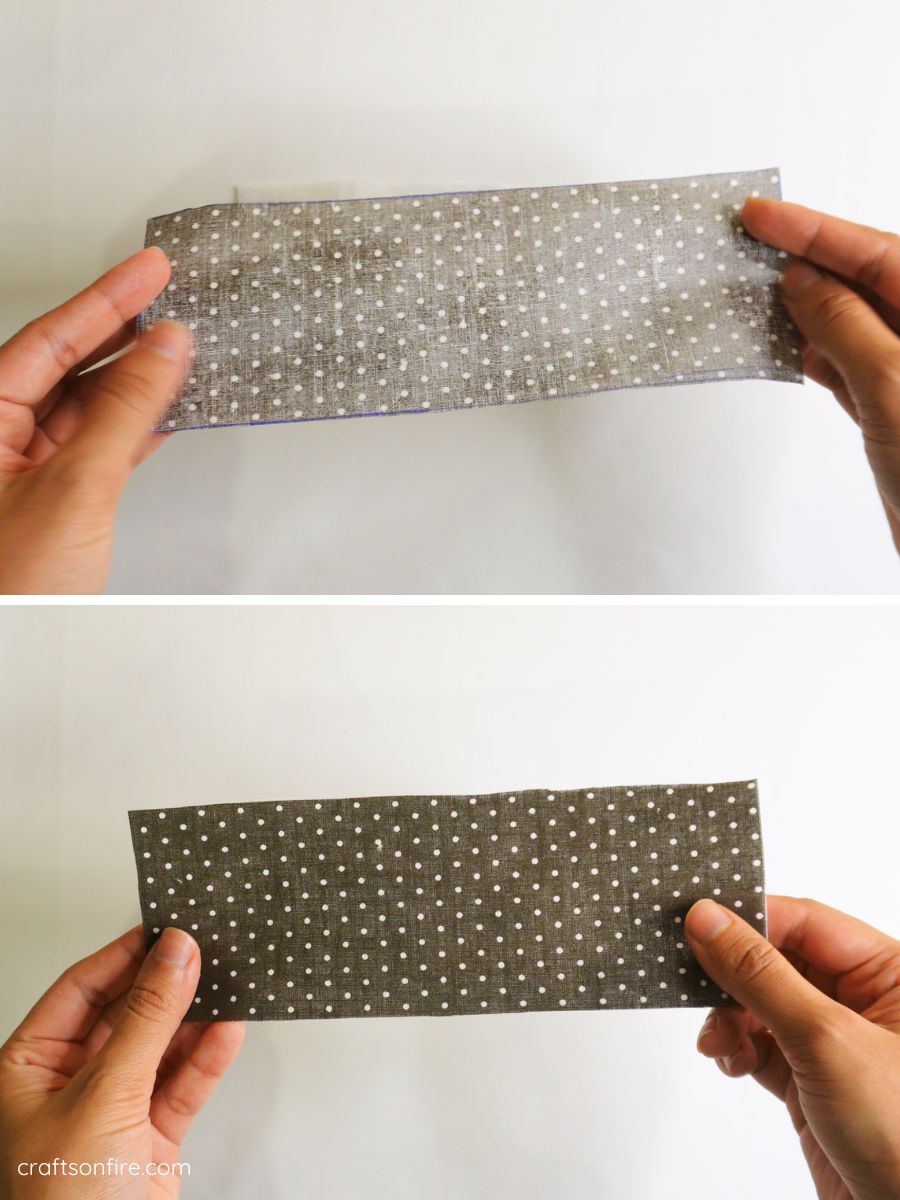
Next, place the pocket fabric strip onto the Vilene. Then, iron the interfacing to the fabric strip.
Once the interfacing is attached to the fabric, trim the interfacing to match the size of the pocket strip.
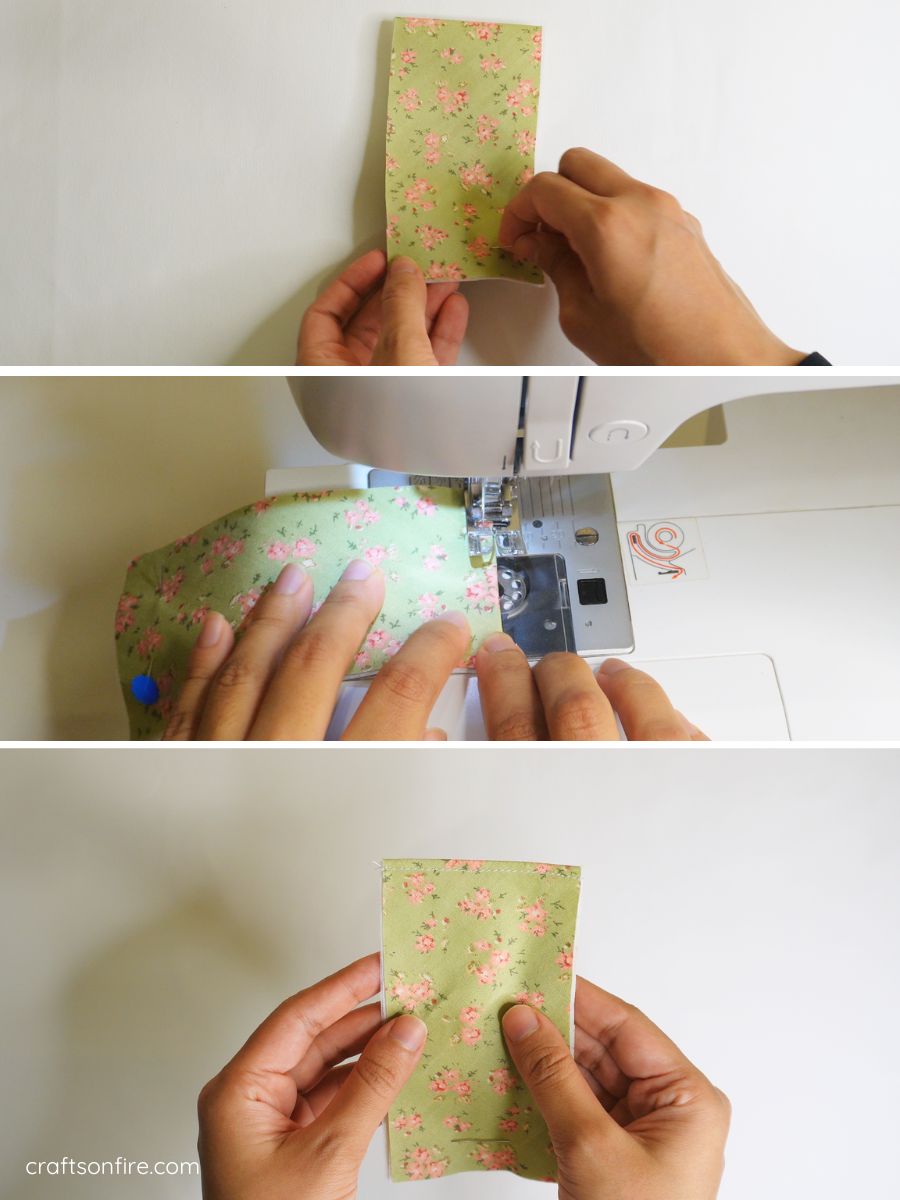
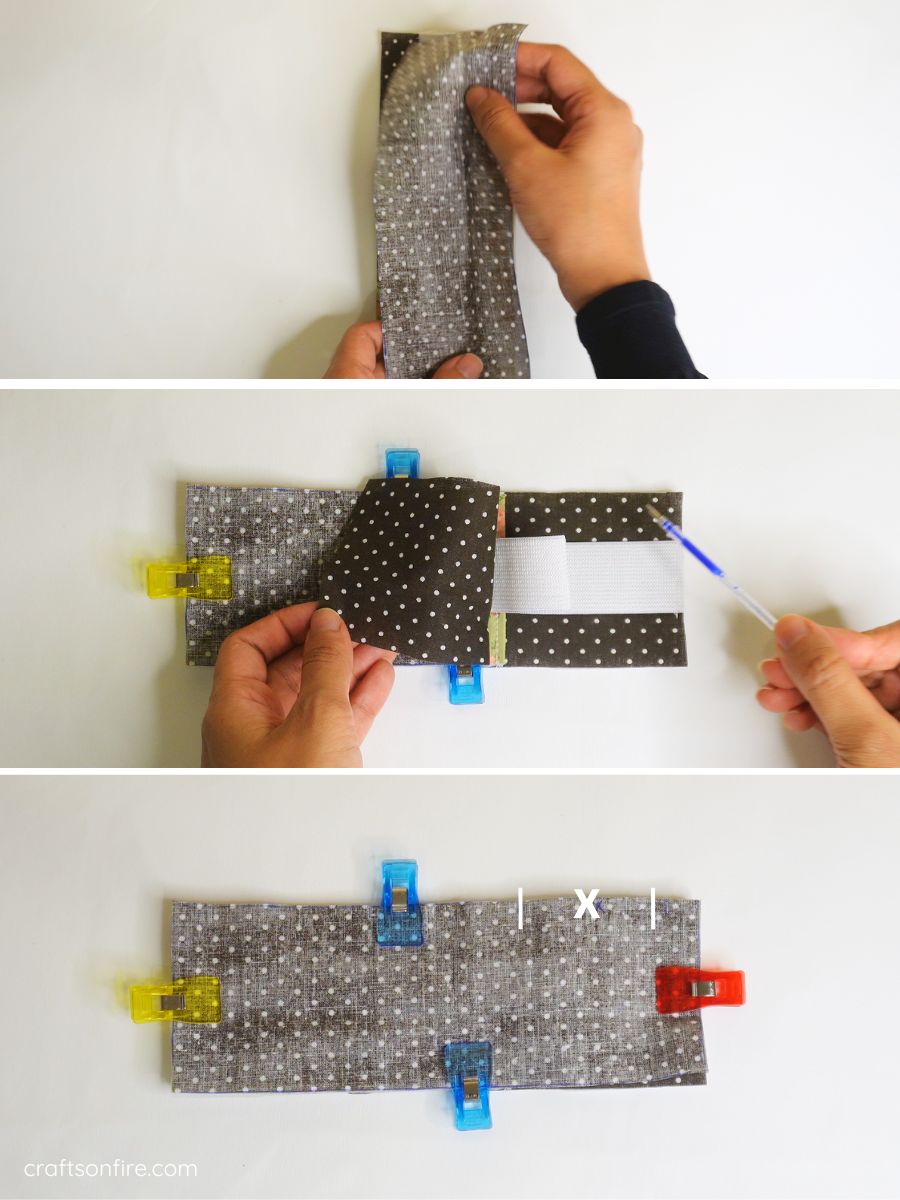
Step 3
Fold the pocket strip in half, then sew along the folded edge.
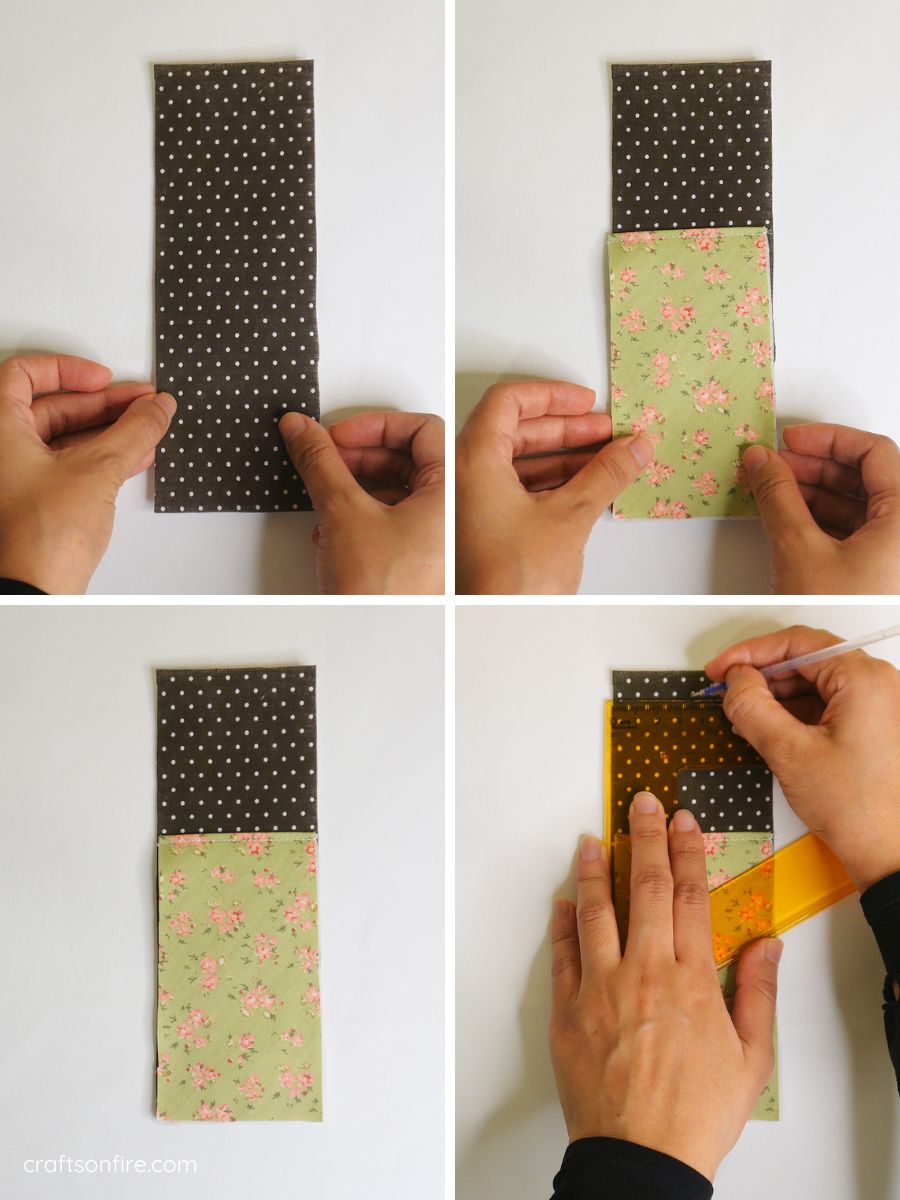
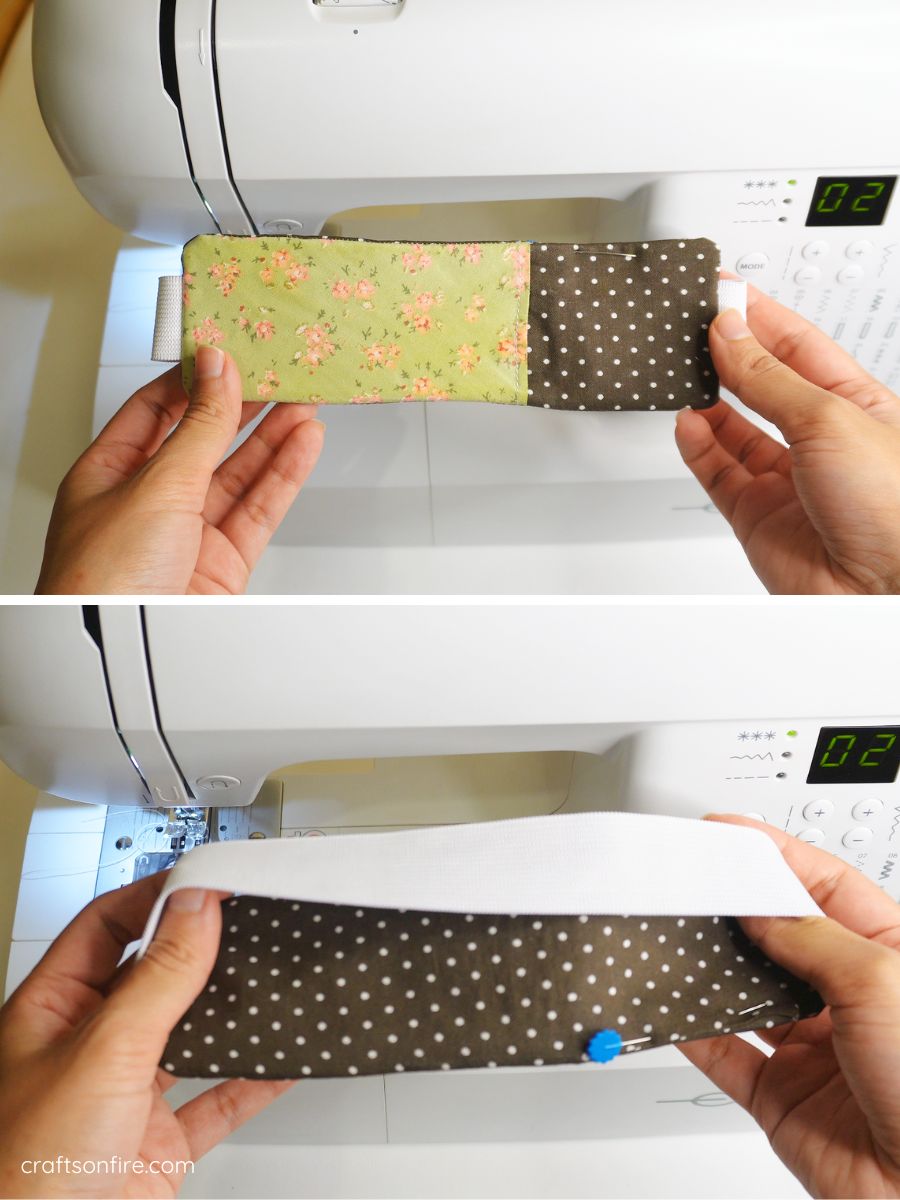
Step 4
Place the pocket strip on top of the first fabric strip. Find and mark the center points for the top and bottom edges of the back strip.
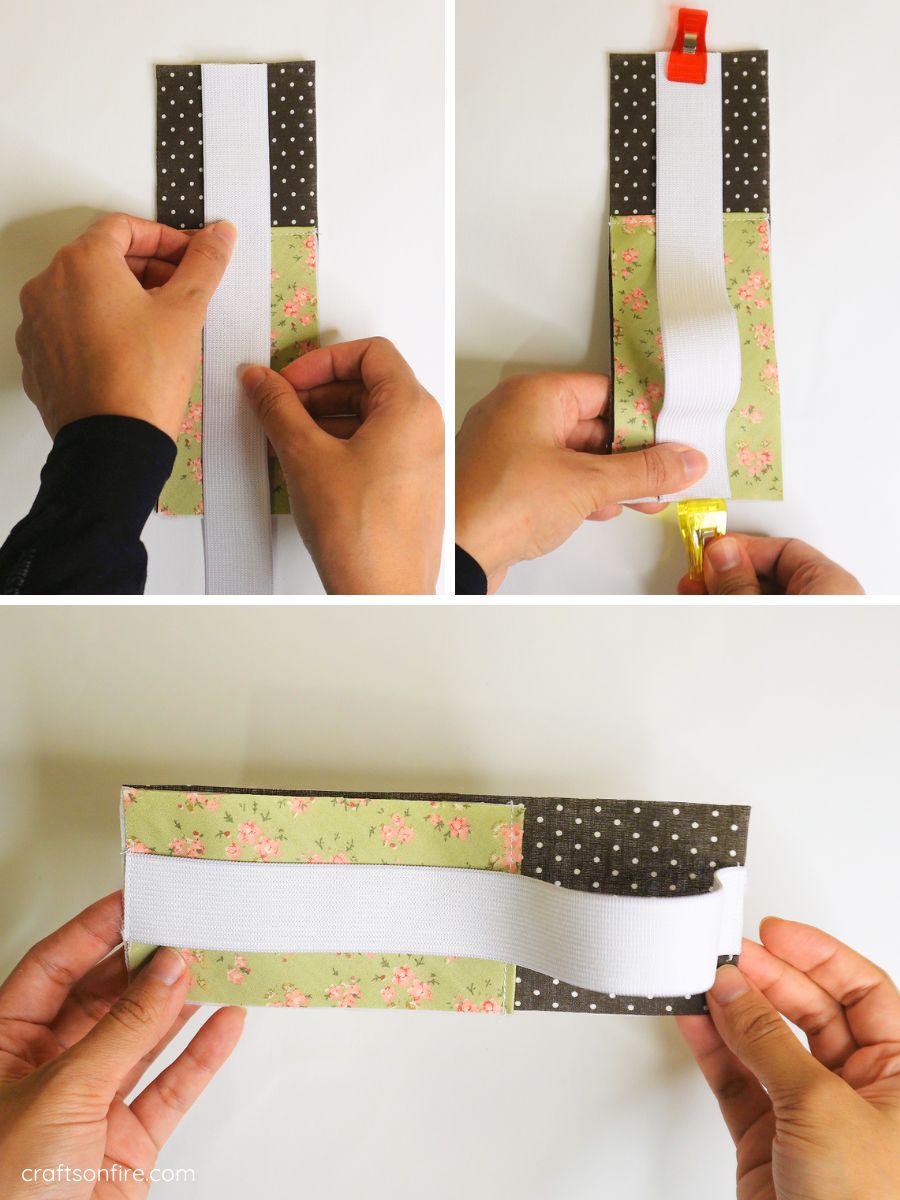
Step 5
Attach the elastic (25 cm/9.84 inches) to the center points using sewing clips or pins and then sew the edge of the elastic at the top and bottom.
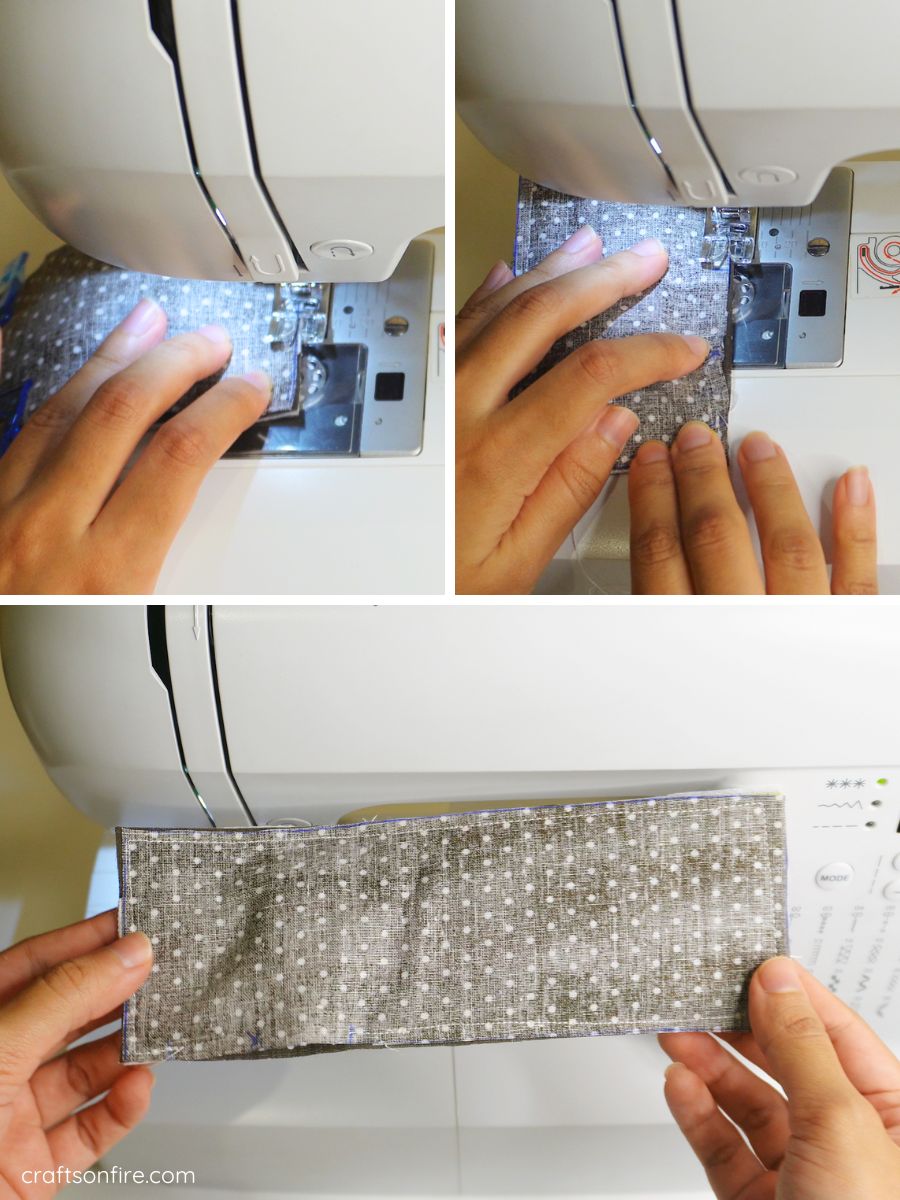
Step 6
Place the second patterned fabric strip on top of the first, with the right sides facing each other.
Sew around the rectangle, leaving a small gap so you can turn it right-side out later.
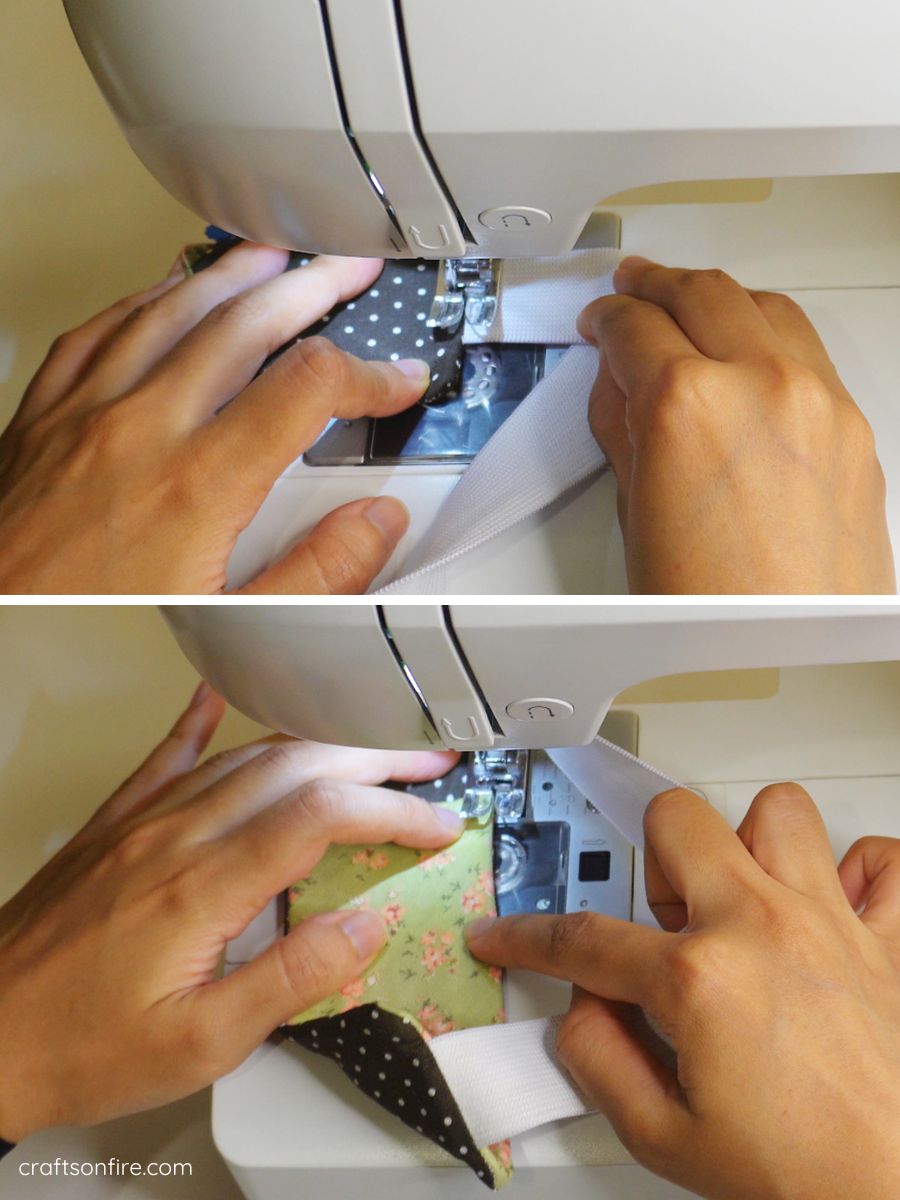
Step 7
Head over to the machine and sew around the bookmark. Don’t forget to leave a small section unstitched!
Step 8
Snip off the corners, then carefully pull the elastic and the right side of the fabric through the opening.
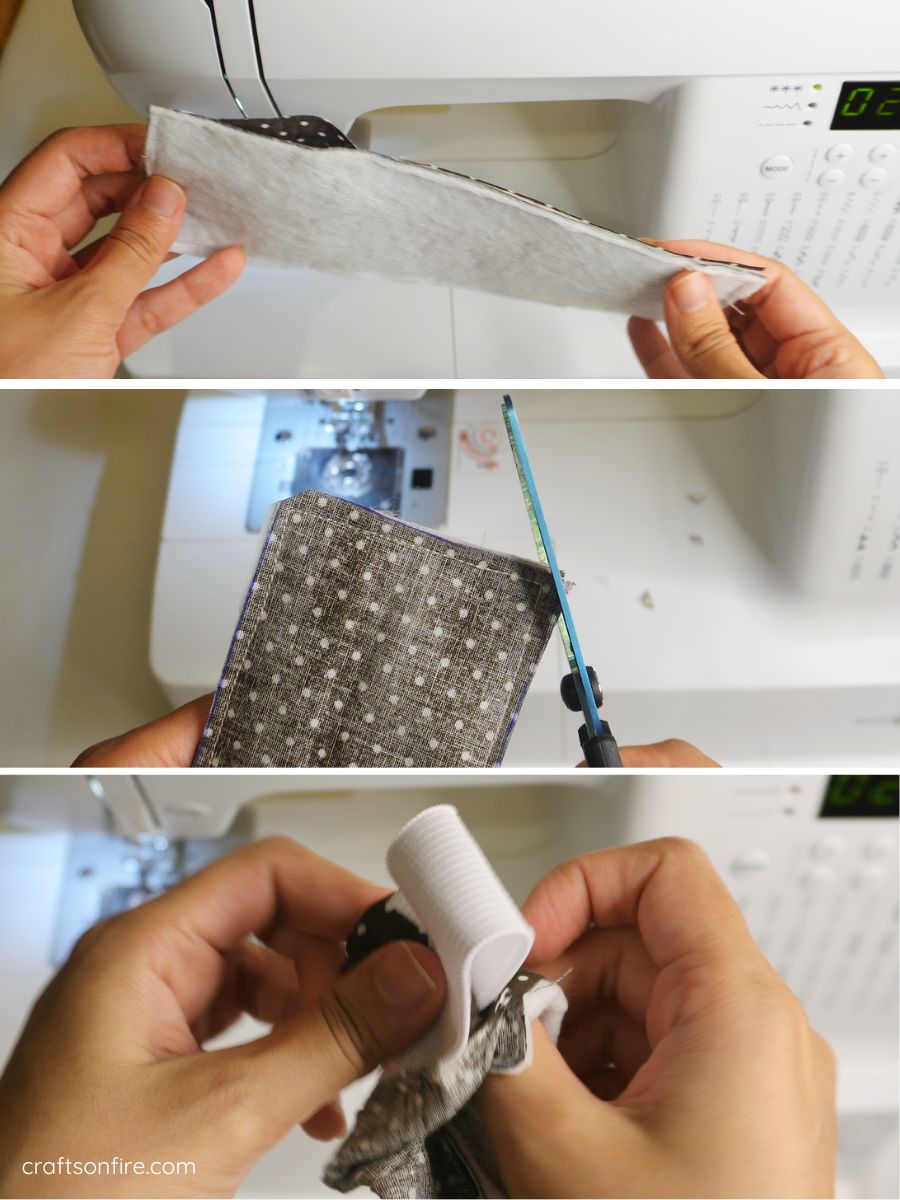
Step 9
Use a pen or your finger to gently push out the corners and adjust the fabric.
Next, tuck in the raw edges of the opening, fold the fabric closed, and pin it in place.
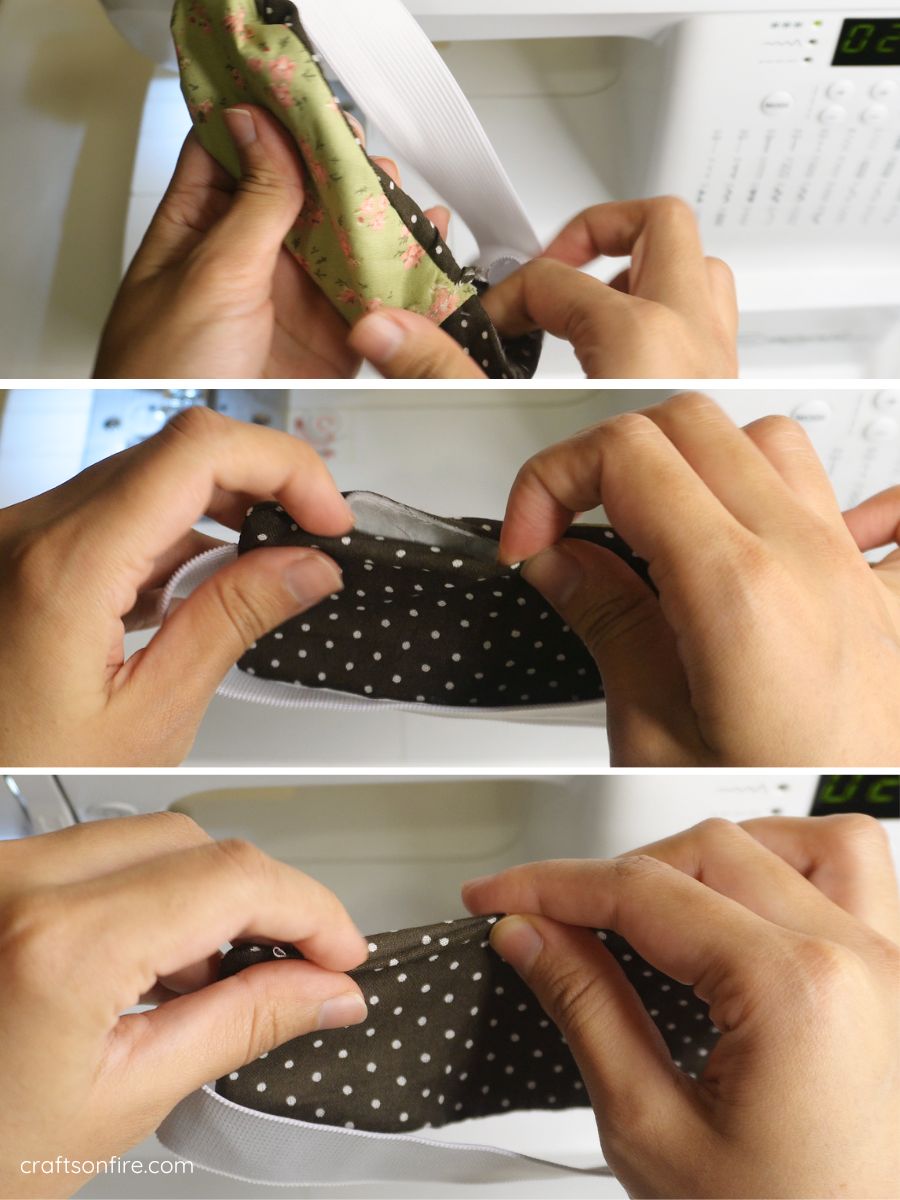
Step 10
Give your pen holder a quick press with the iron to smooth out any wrinkles and ensure it’s flat.
Step 11
To finish off the pen holder, add a topstitch around the edge of the bookmark.
Final Result
And that’s it — your pen holder bookmark is complete!
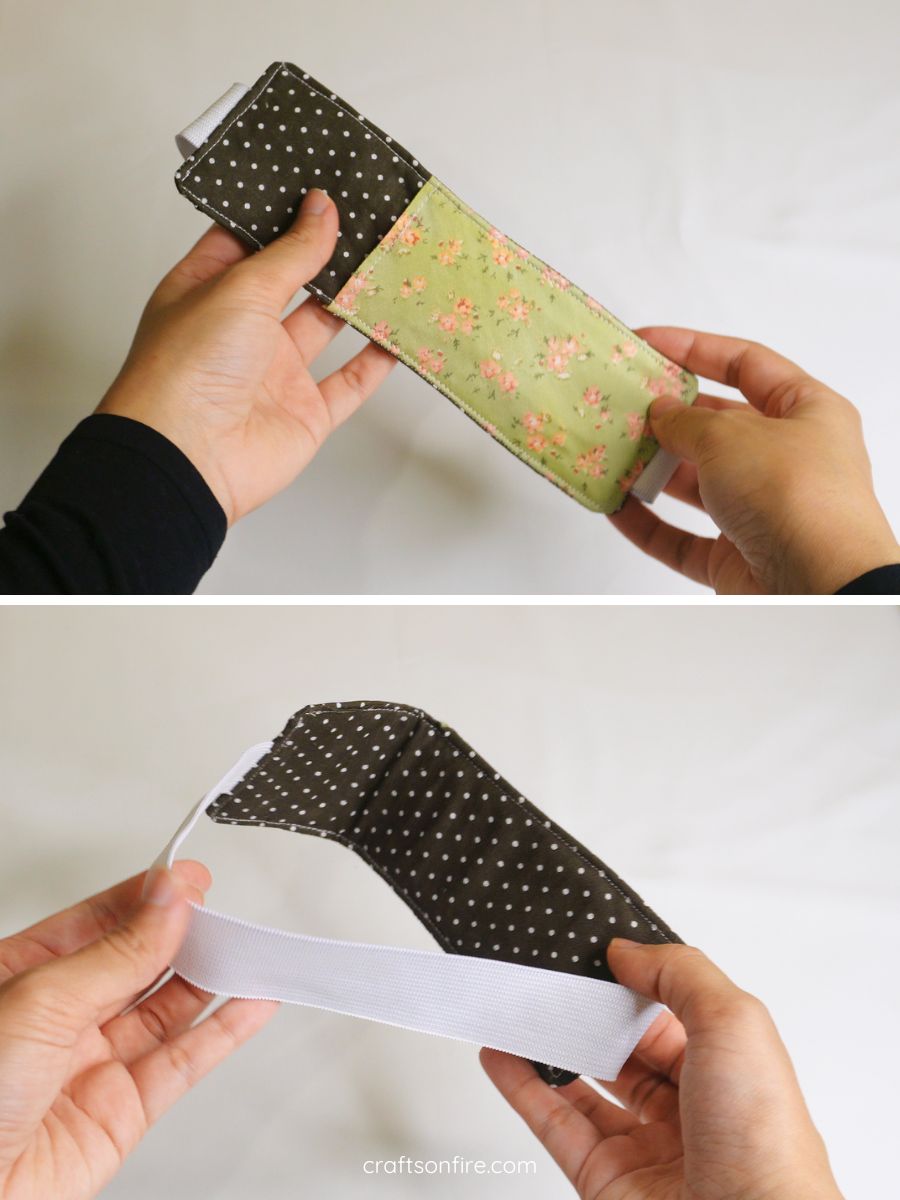
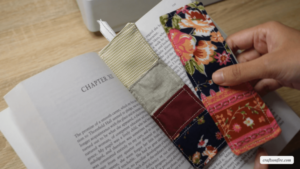
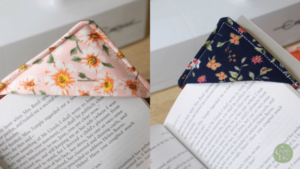
This pen holder bookmark can be customized in any way! If you prefer a more classic look, you don’t have to use two different fabrics, but this adds a unique touch.
I also sewed one more bookmark featuring a patterned fabric pocket with a plain cream-colored back.
Feel free to experiment with different fabric combinations to find what works best for you.
You can also change the elastic color to match the fabric you choose.
With that said, I hope you had fun making this pen holder bookmark.
If you’re interested, I do have a few other bookmark tutorials you can check out.
You can find them here:
How To Sew A Tassel Bookmark (Step-By-Step)