How To Sew A Tassel Bookmark (Step-By-Step)
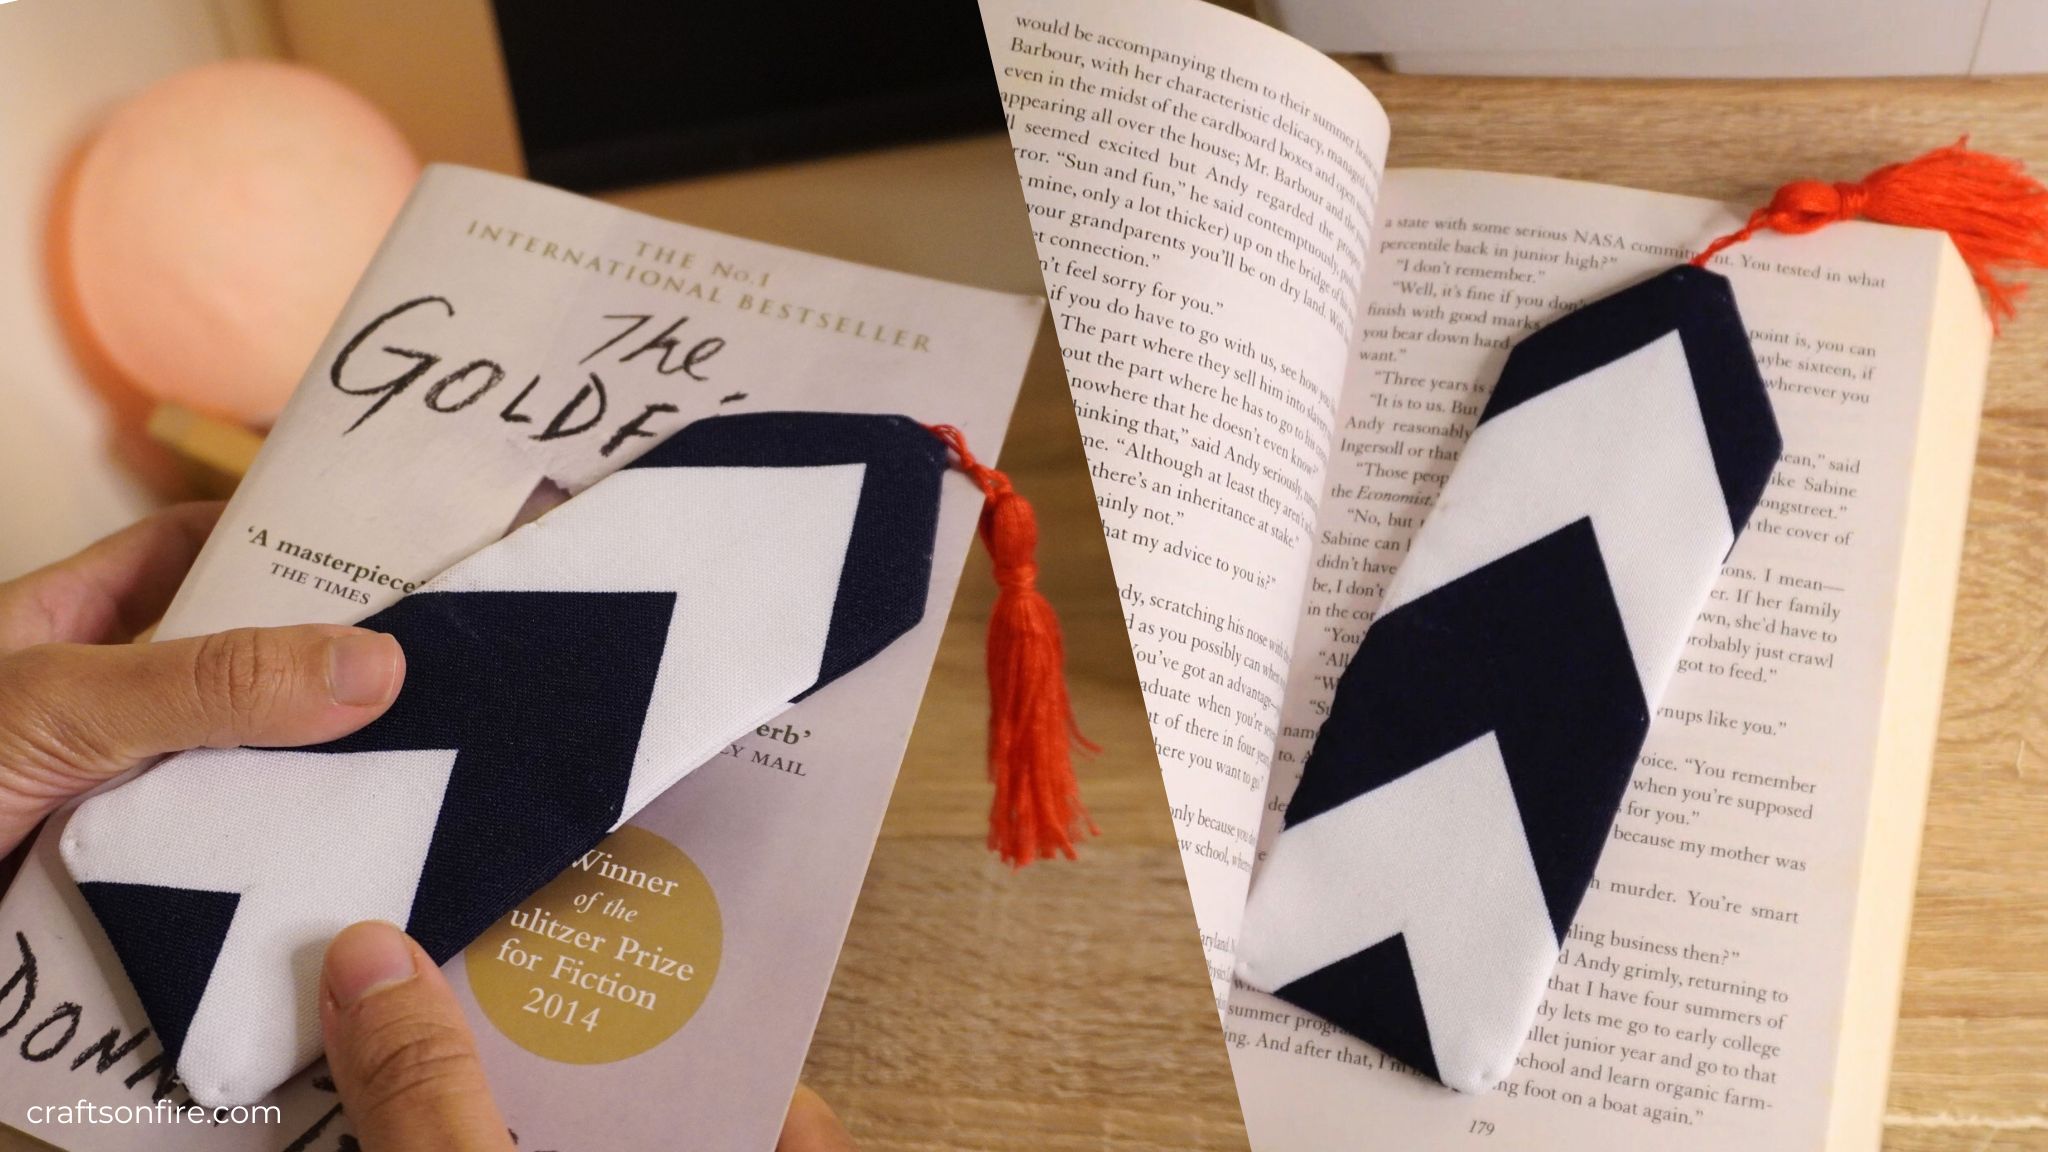
This tassel bookmark is one of the best bookmarks I’ve made so far. It was so fun and easy to sew that I can’t wait to make a few more in this style and they look amazing when placed inside a book.
I love custom-made bookmarks. There’s nothing more special than adding a handmade feature that reflects your personality and charm. It just makes the whole reading experience so much better for me.
If you’ve been an avid reader, I’m sure you can agree that collecting bookmarks becomes a hobby in itself.
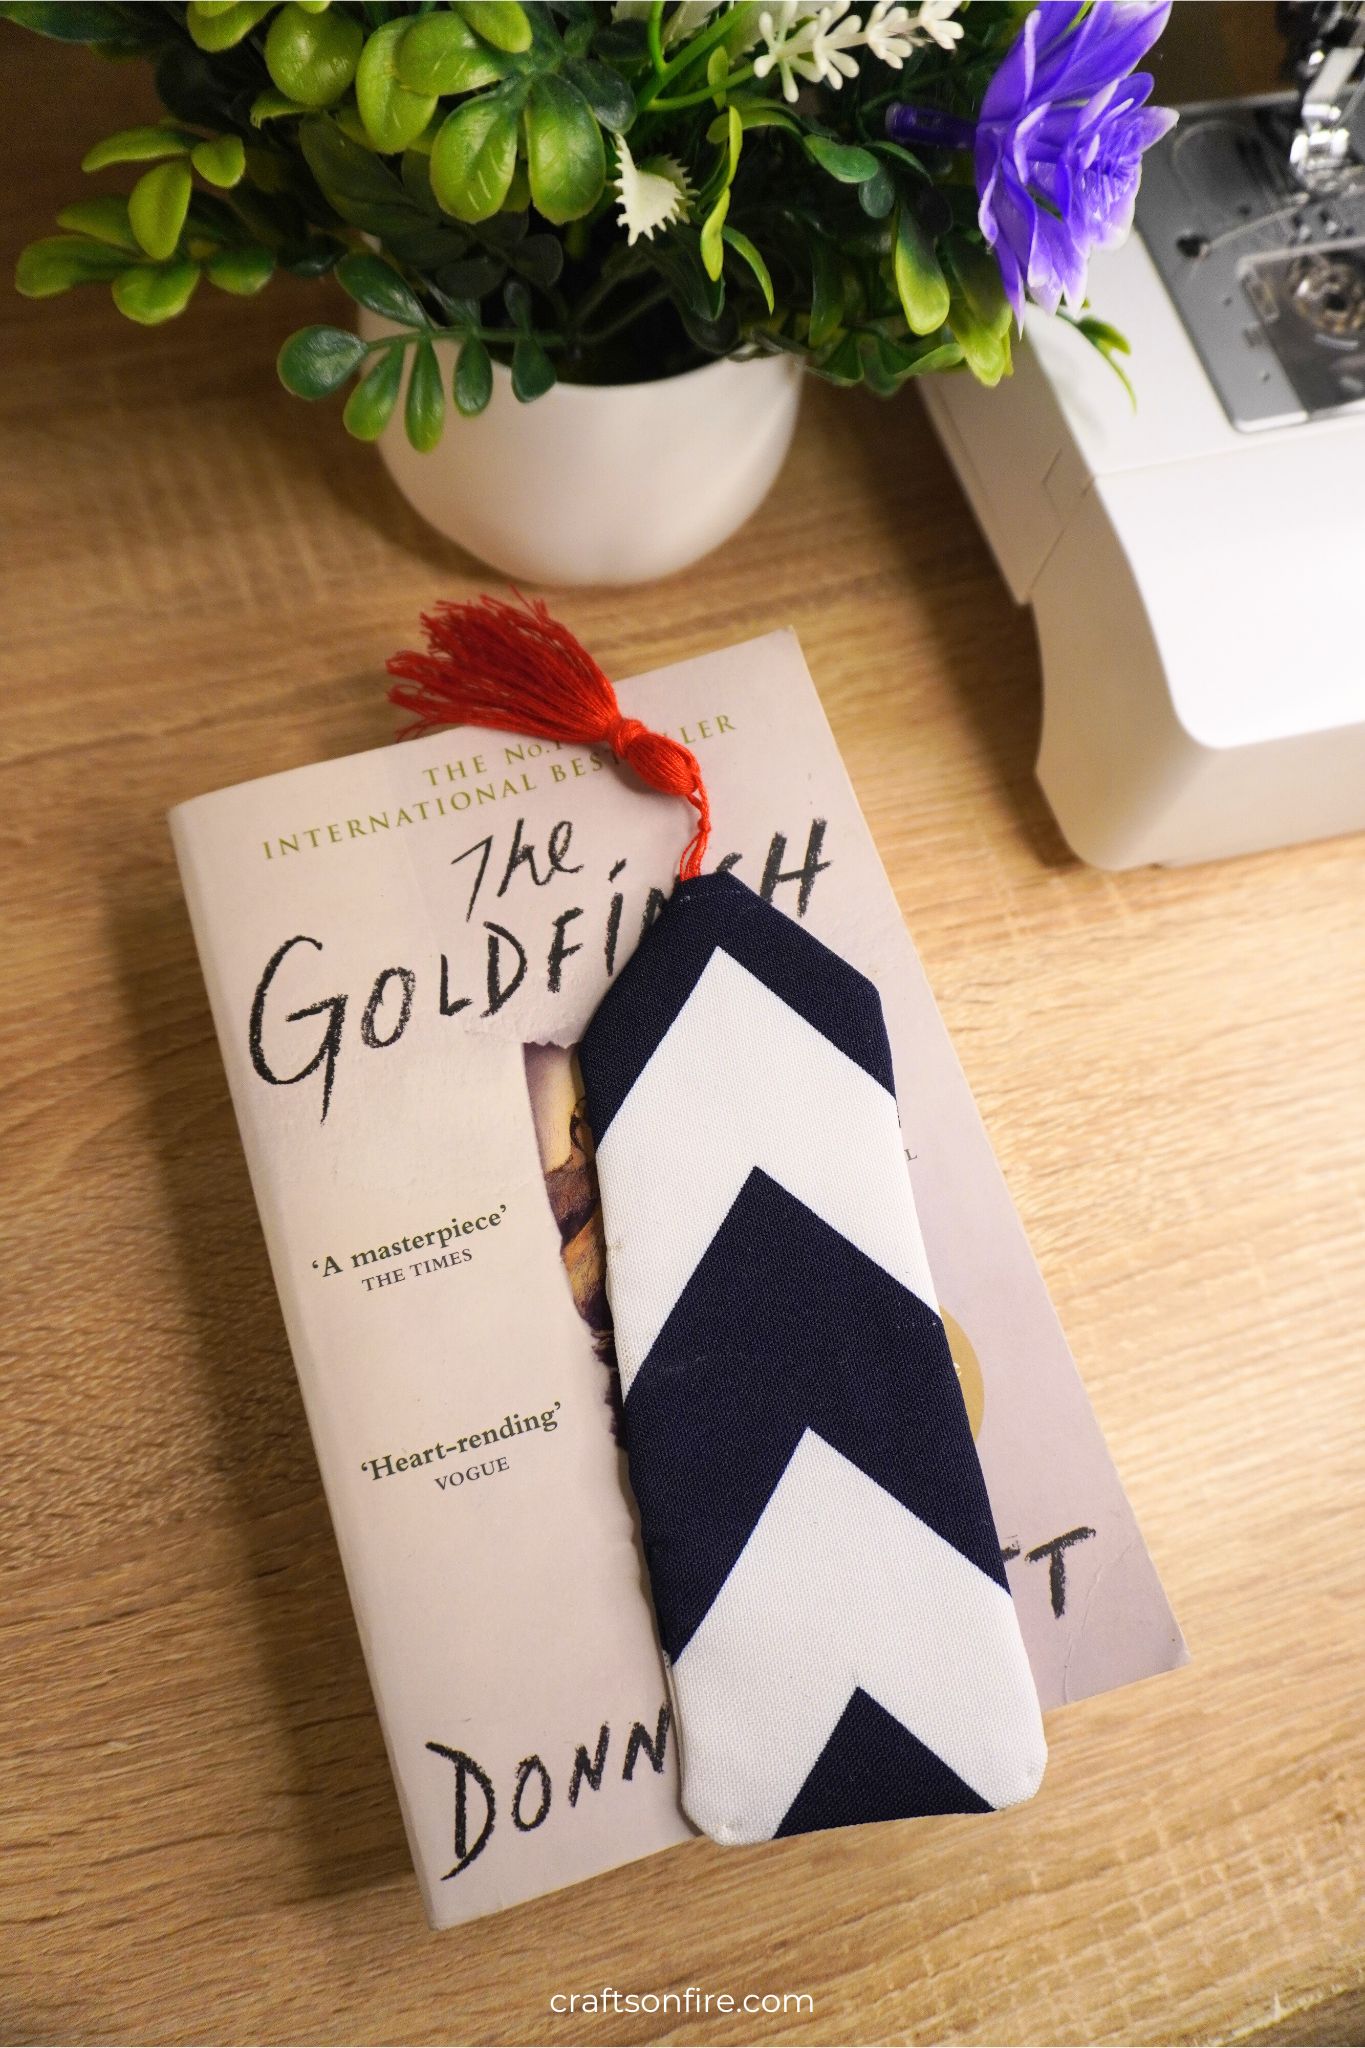
In this simple, quick, and easy tutorial, I’ll show you how to sew this tassel bookmark in just a few minutes. By the end of the guide, you’ll be digging through your fabric stash, eager to get started!
I filmed this tassel bookmark a month ago but didn’t get the chance to share the written instructions until now.
So this is why I’m so excited to show you how to make this coaster. I’m sure you’re going to love it.
Grab your sewing machine and fabric, and let’s begin.
Table of Contents
Tassel Bookmark Tutorial
Supplies
- Fabric
- Vilene/Batting
- Sewing Machine
- Pins
- Ruler/Tape Measure
Video Tutorial
Measurements & Pattern
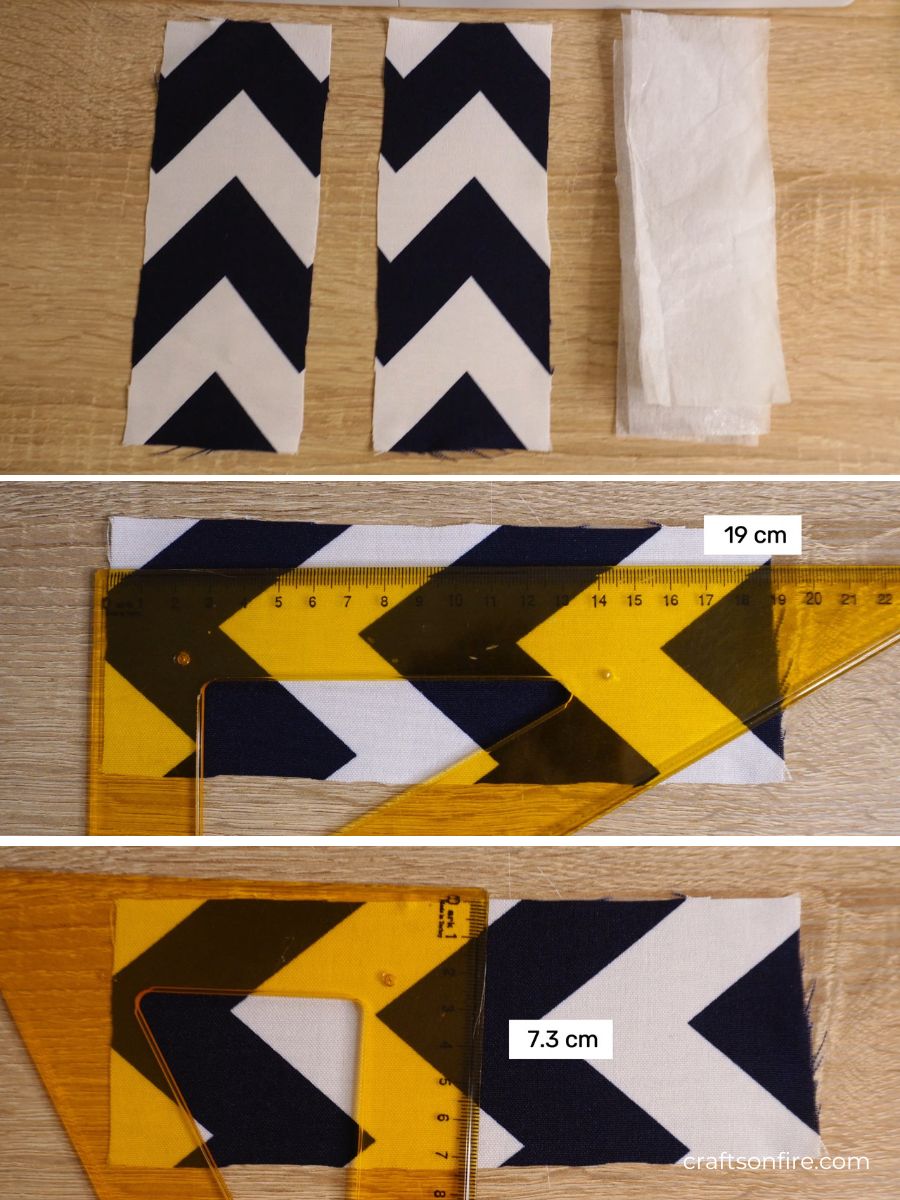
To make the tassel bookmark, cut out two pieces of fabric measuring 7.3 cm x 19 cm. Then, cut the fabric batting or Vilene which will be used as the insert for added stiffness.
Instructions
Measure the V-shape
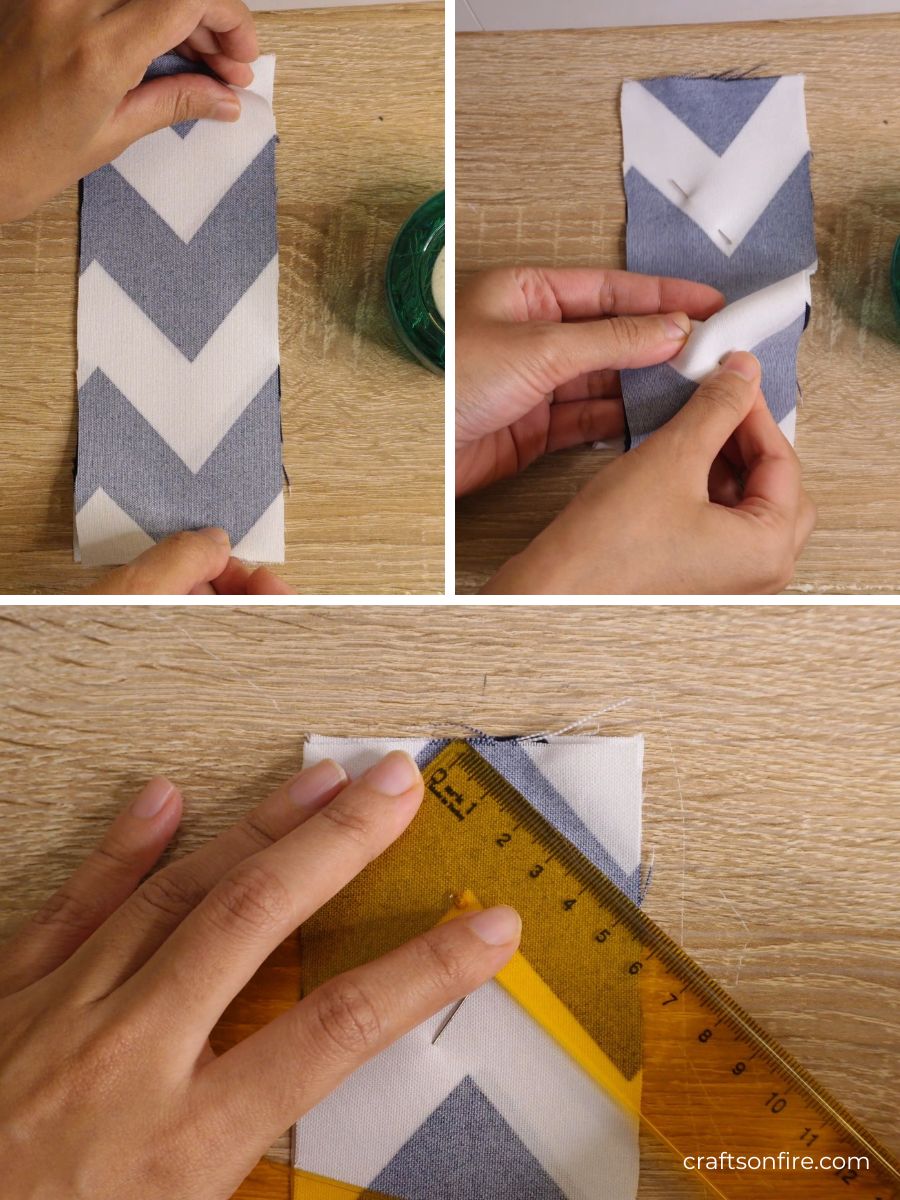
Place the two fabric pieces together with the right sides facing in, pin the fabric to keep the layers in place, find the center point, and mark a 5 cm slant. Repeat this on the other side.
Cut The V-shape
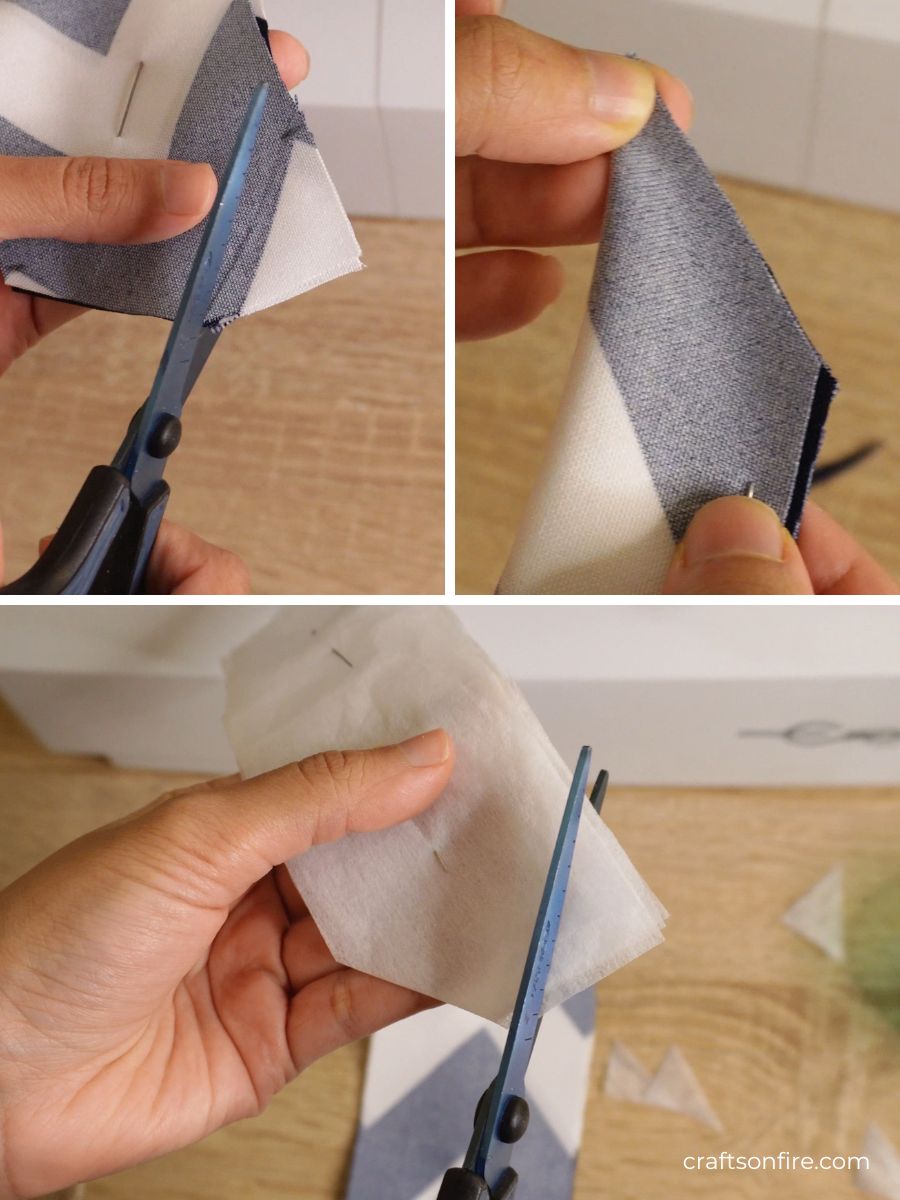
Now cut the V shape you’ve just marked out. If your V point is uneven, fold the fabric in half and cut off the excess. Then, repeat this step for the fabric batting/vilene.
Add The Insert and Stitch
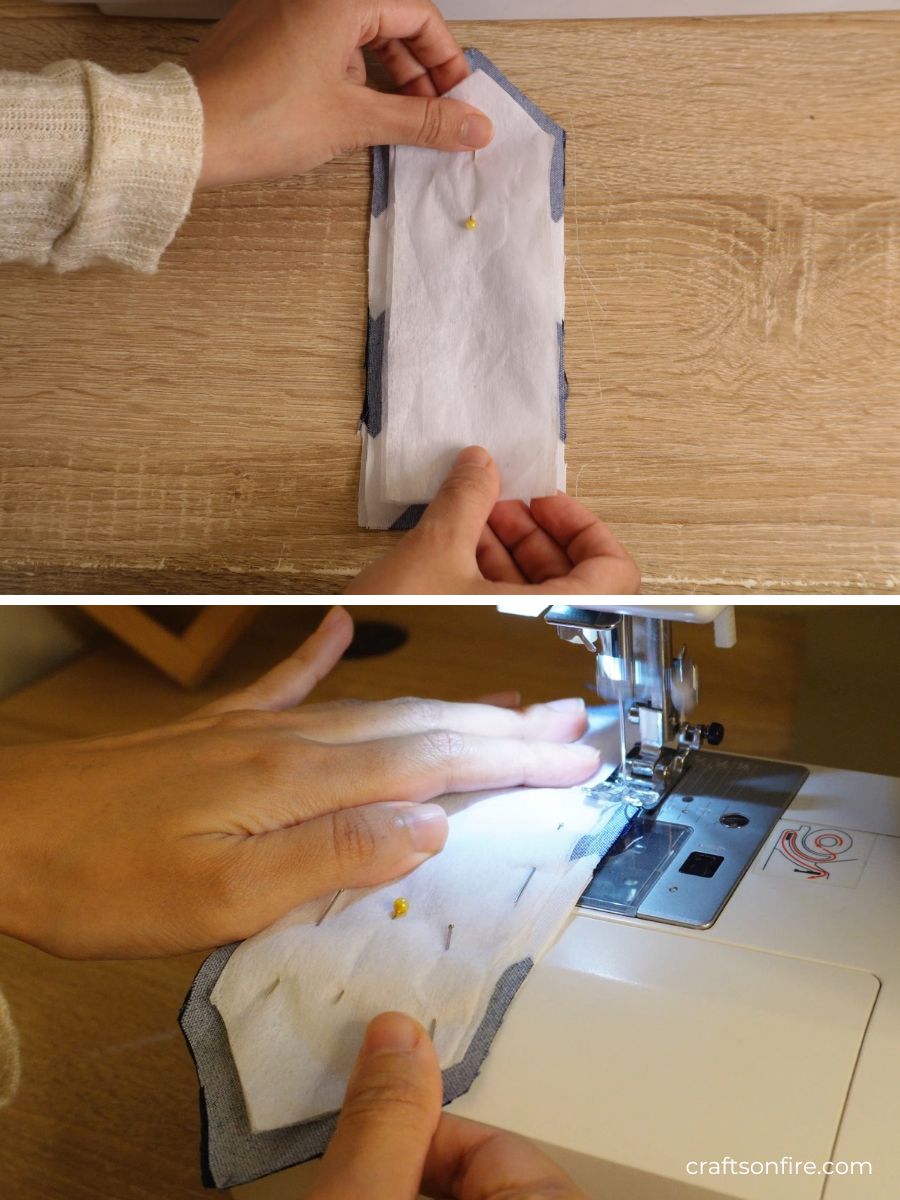
With the right sides still facing in, grab your insert and place it on top of the patterned fabric. Then pin those layers together and stitch the one side.
Place The Tassel
Remove the bookmark from the machine and open the fabric. Grab your tassel and position the end of the string at the pointed top with the tassel inside the bookmark. Close the layers and then continue stitching.
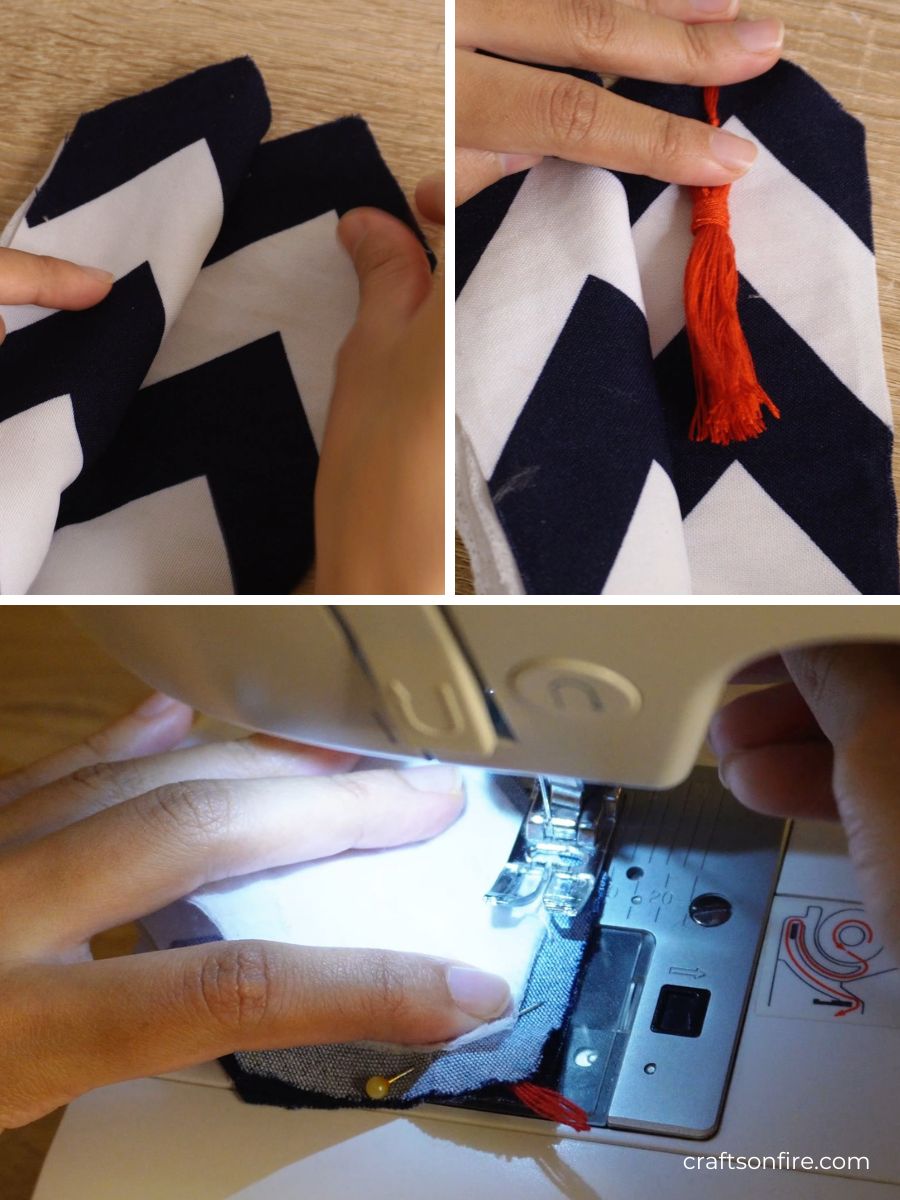
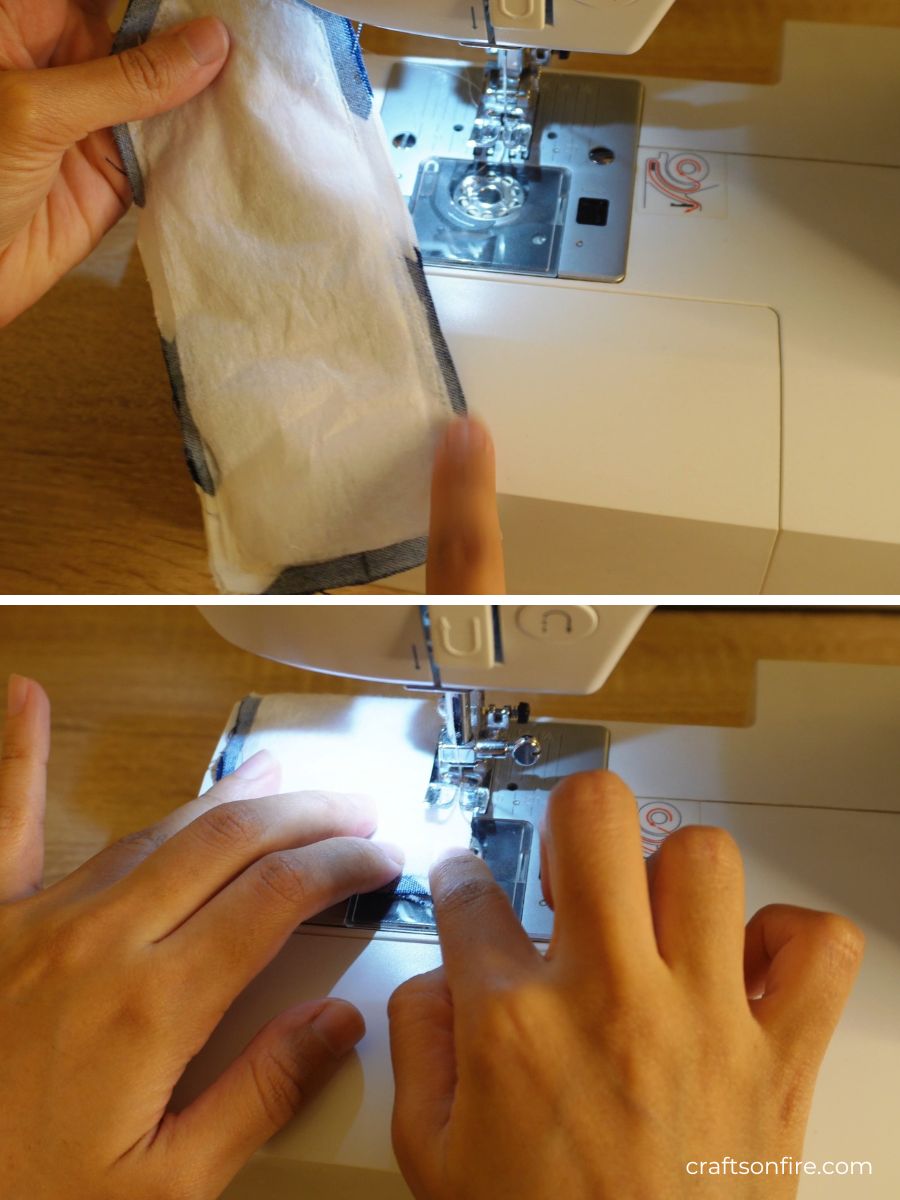
Leave One End Open
Do not stitch one side of the bookmark as this will be used to open the bookmark and turn it to the right side.
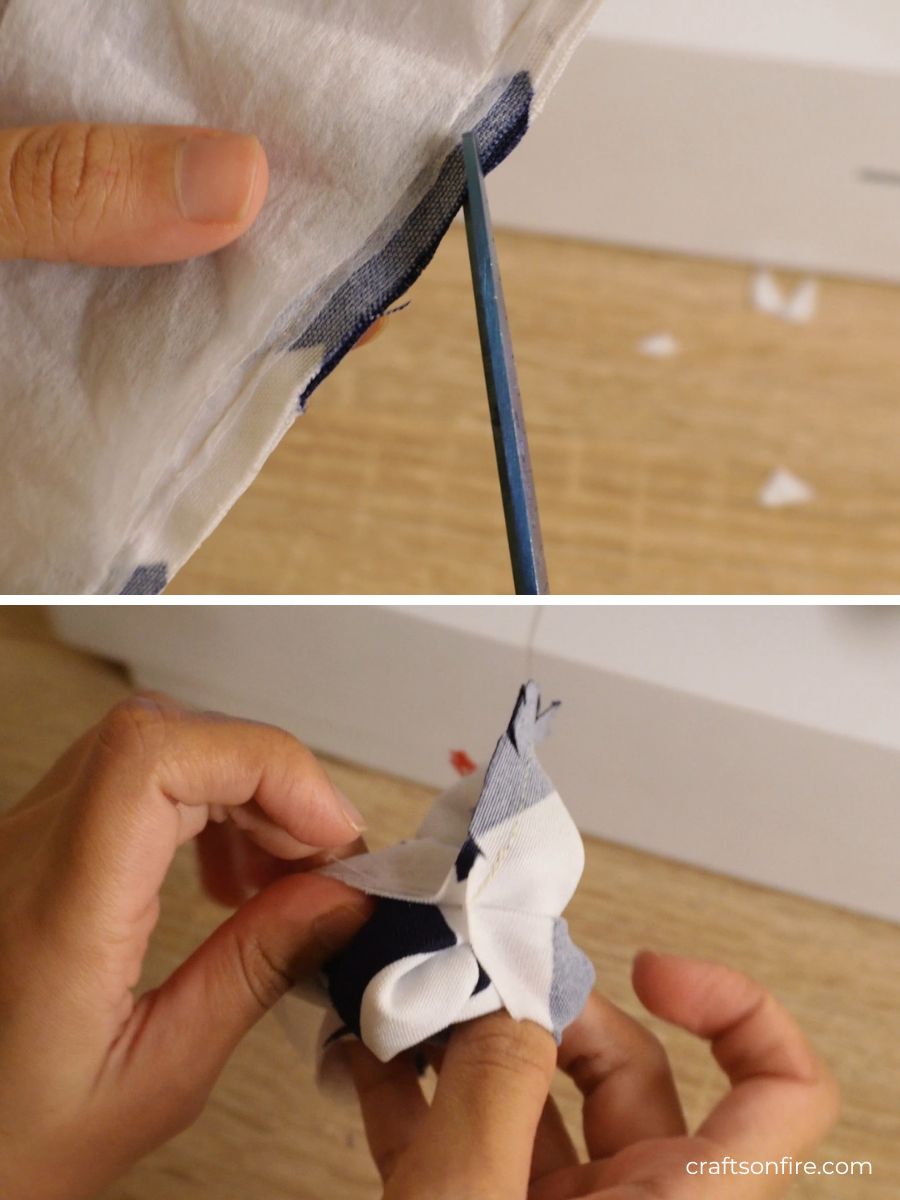
Snip The Sides & Turn Inside Out
Make a few small snips on the sides of the bookmark as shown below. Then use the opening to pull out the right side of the fabric.
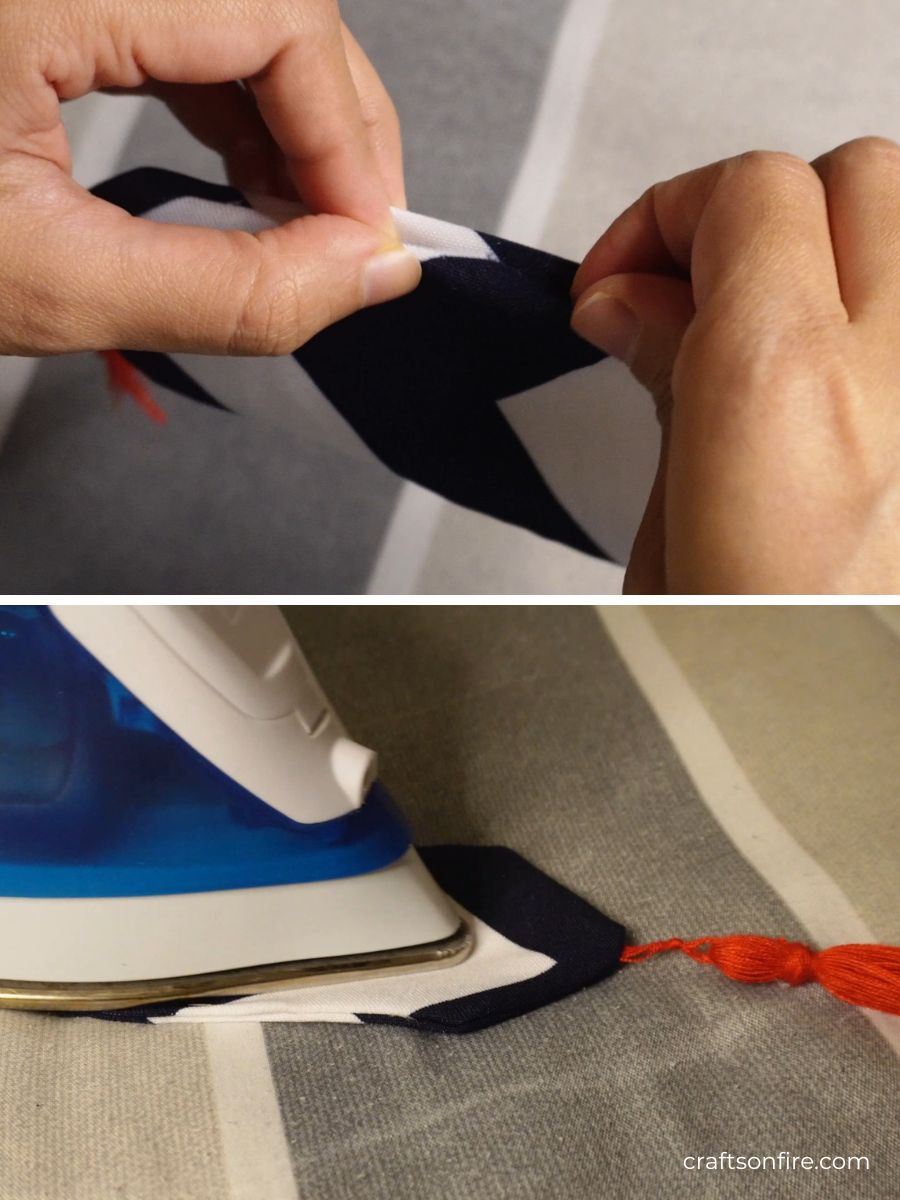
Iron The Bookmark
Carefully turn the opening in and pin it. We’ll stitch this in just a second but before that, let’s lightly press the bookmark.
Stitch The Opening
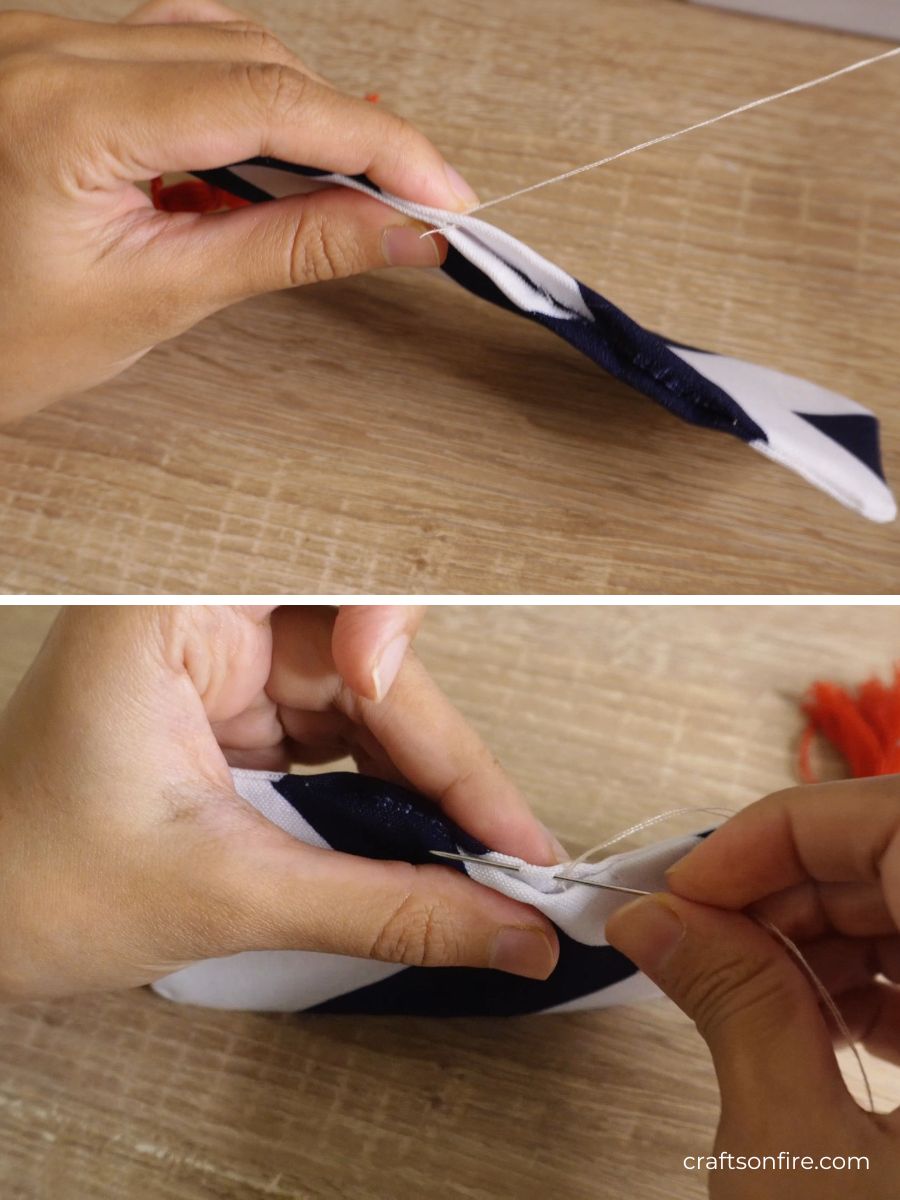
Once your bookmark has been pressed, grab a needle and thread and stitch the opening seam. When you’re done stitching the opening, tie off the thread and cut any stray threads.
Now you can enjoy your tassel bookmark!
Finished Product
And here’s the completed tassel bookmark:
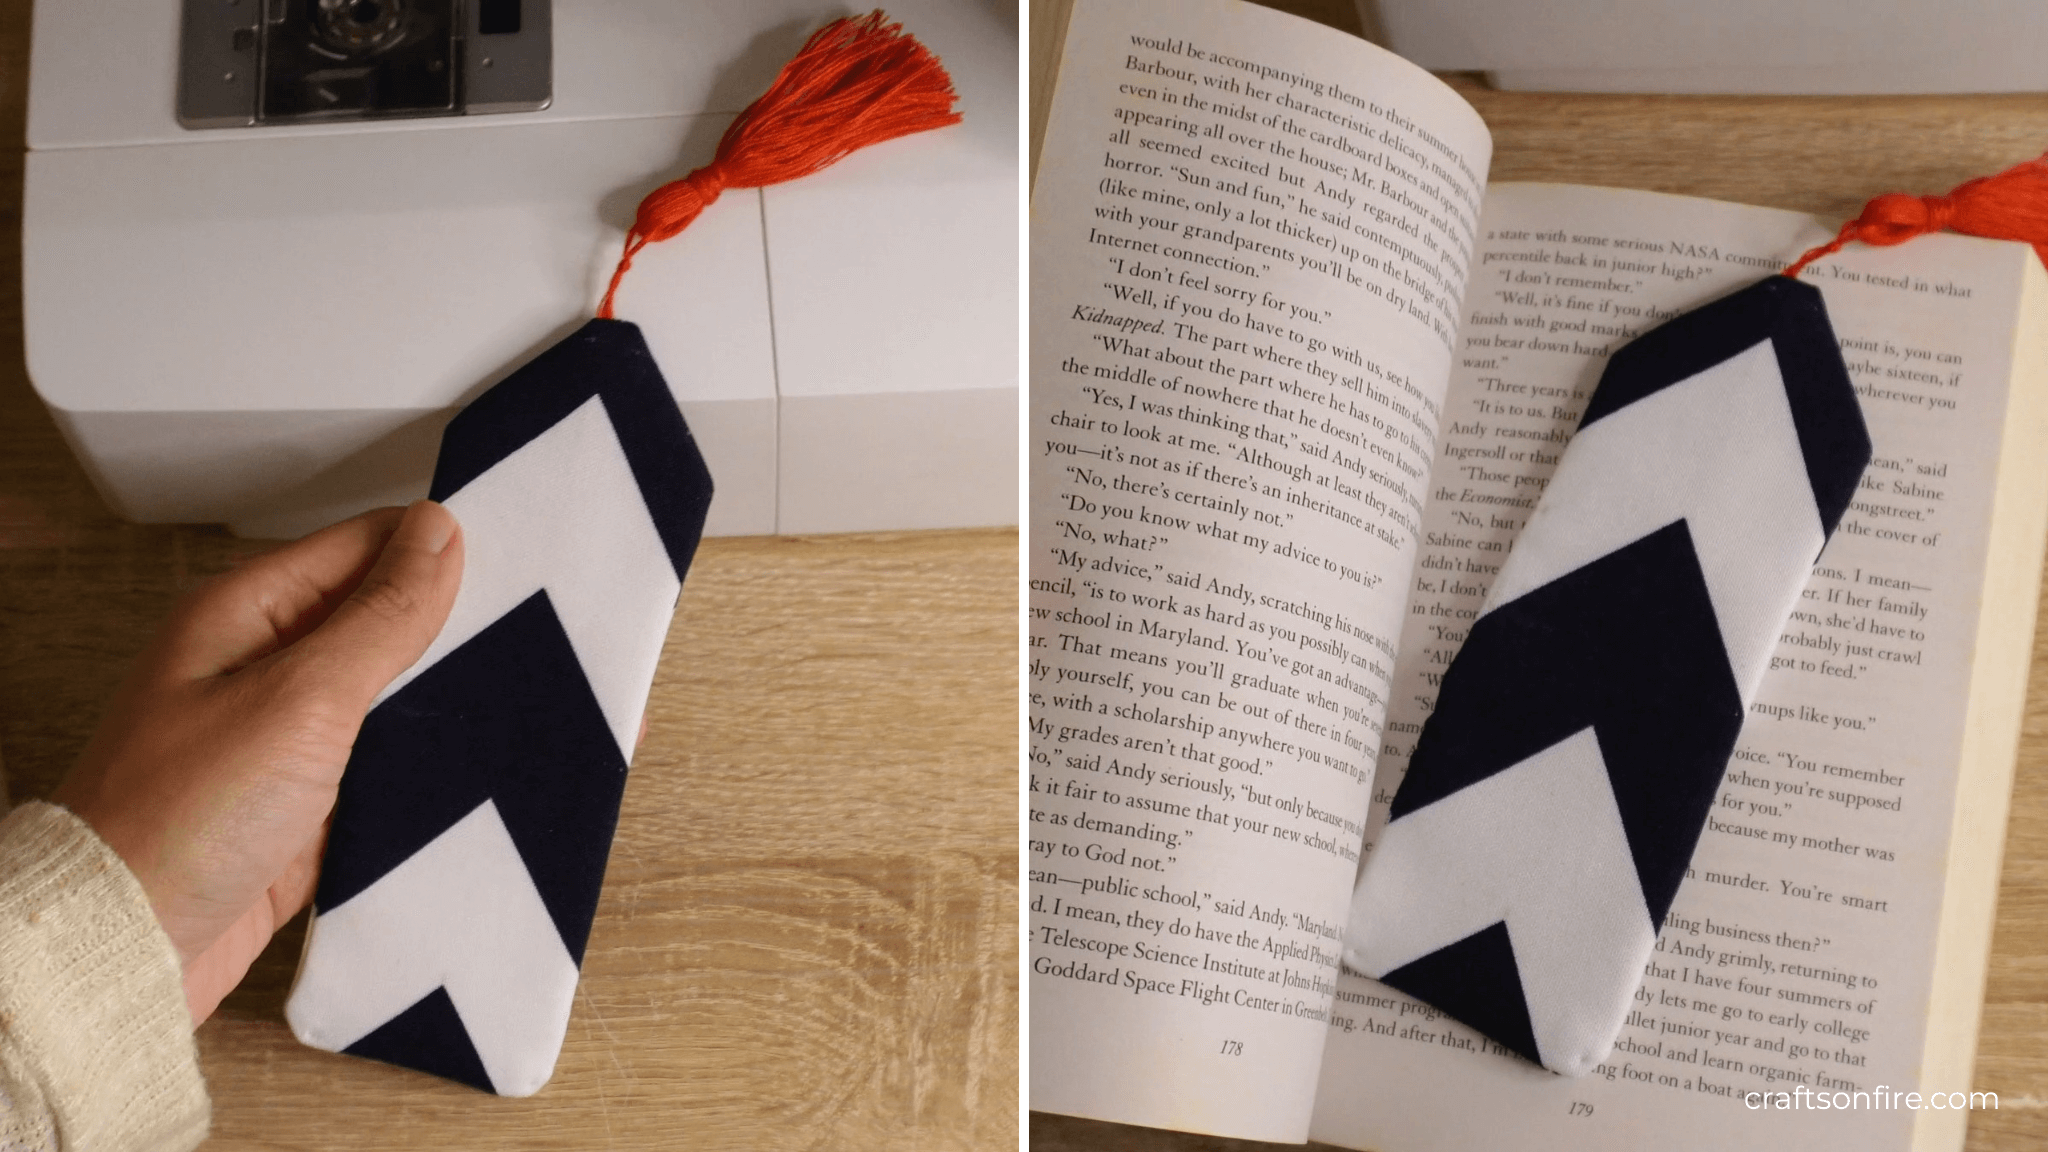
Wasn’t that easy and quick? I’ve made a scrap fabric bookmark before and a corner bookmark but I think this one might be my favorite so far.
I plan to sew more bookmarks in the future, but I’m pretty happy with this one for now.
I highly recommend playing around with different patterned fabrics and colors to see which one will look best. You can also color-coordinate the tassels!
FAQ
How to make a fabric bookmark stiff?
Cotton Fabric Batting will work best to make a bookmark stiff. You might want to use a few layers depending on the thickness of the batting.
What fabric to use for bookmarks?
Cotton and linen fabrics are great for fabric bookmarks. You could also use scrap fabric to make these bookmarks.
Can you hand-sew a bookmark?
Yes! However, it might take you double the time. Just follow the same steps as shown above.
Okay, that’s it from me. Don’t forget to leave a comment or share your work with me. You can tag me on Instagram or send me a quick message.
Also, if you found this bookmark tutorial helpful, please share it with your friends and family!
More Easy Sewing Projects
