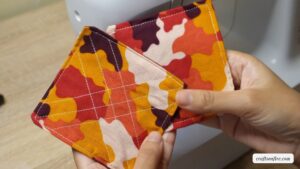
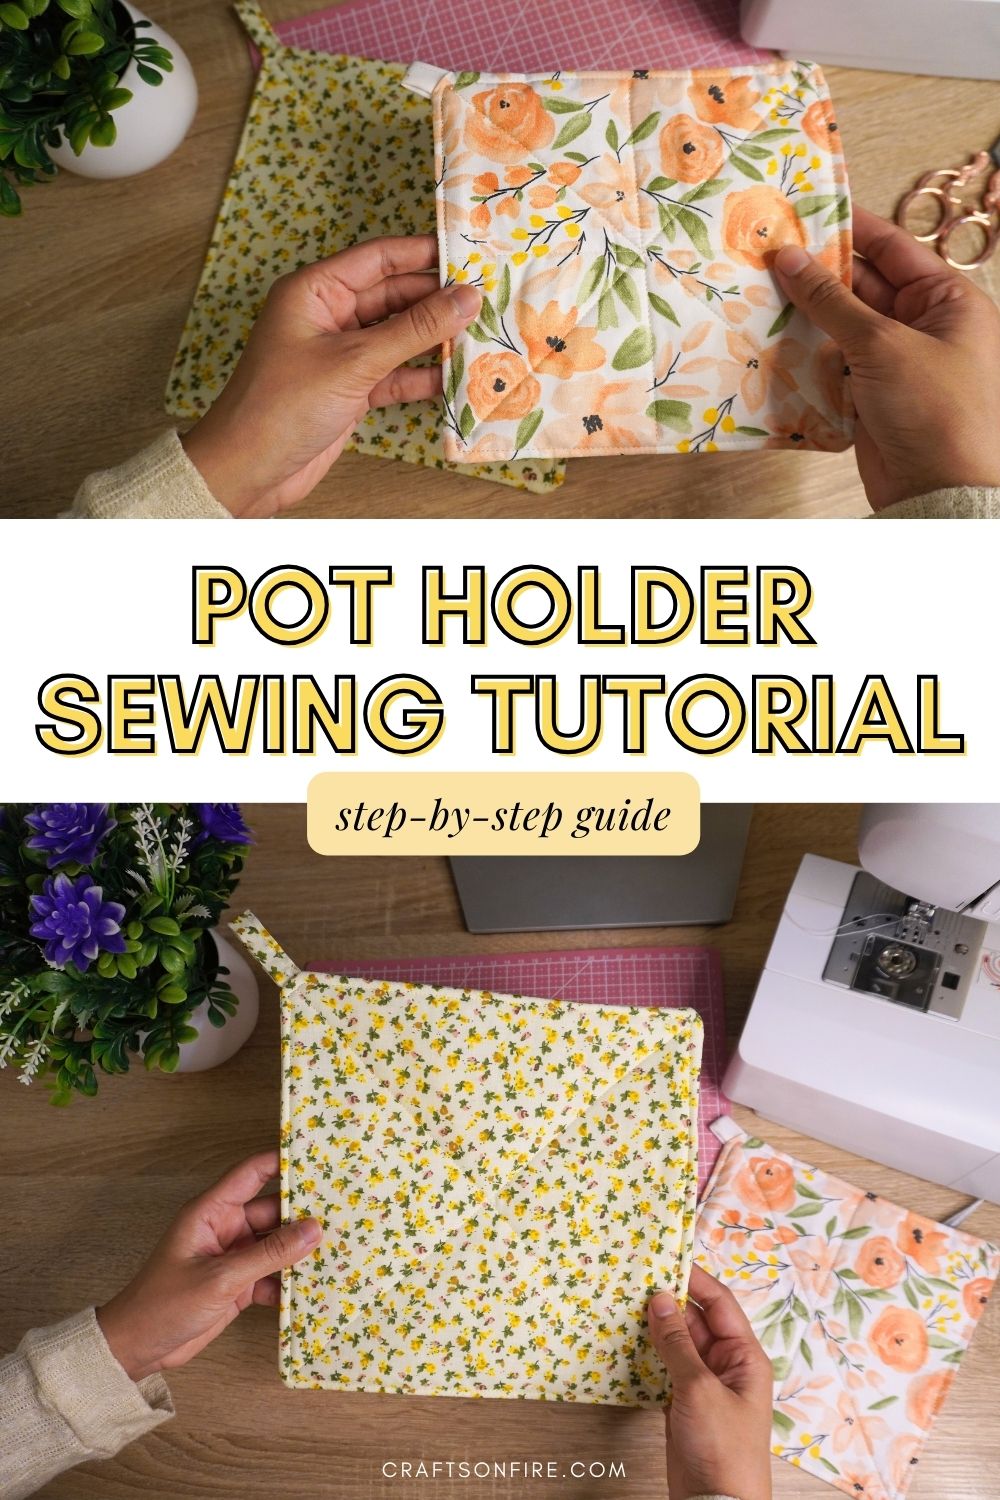
Pot Holder Sewing Tutorial
Would you like to learn how to sew pot holders that actually look cute and aesthetically pretty? If so, then you should attempt this pot holder tutorial because it’s quick, easy, and the perfect project for beginners.
I love to recreate and design my own accessories. I can always add my personal design choices and preferences which is what inspired me to take up sewing in the first place.
Whatever sewing projects I share will always be underpinned by my desire to be creative and to inspire people to explore their own creativity.
That said, this potholder is very affordable to make, despite its fancy and professional appearance.
Let’s get on with it, shall we?
*A quick, important note: Craftsonfire is not responsible for any issues if you use this pattern and tutorial to create your pot holder. I highly recommend using 100% cotton fabric and heat-resistant batting. Use this item at your own risk.
How To Sew A Pot Holder
Supplies
- Fabric batting (100% cotton fabric and heat-resistant batting)
- Material
- Cotton
- Pins
- Iron (optional)
- Scissor
- Sewing machine
Measurements
You can use this tutorial to make pot holders of any size, large or small!

You’ll first need to cut the patterned fabric into 2 pieces – 10 inches x 10 inches.
Then, cut a square of fabric batting approximately the same size.
Lastly, cut one small rectangle piece that is 6 inches in length and 2 inches in width.
Video Tutorial
Instructions
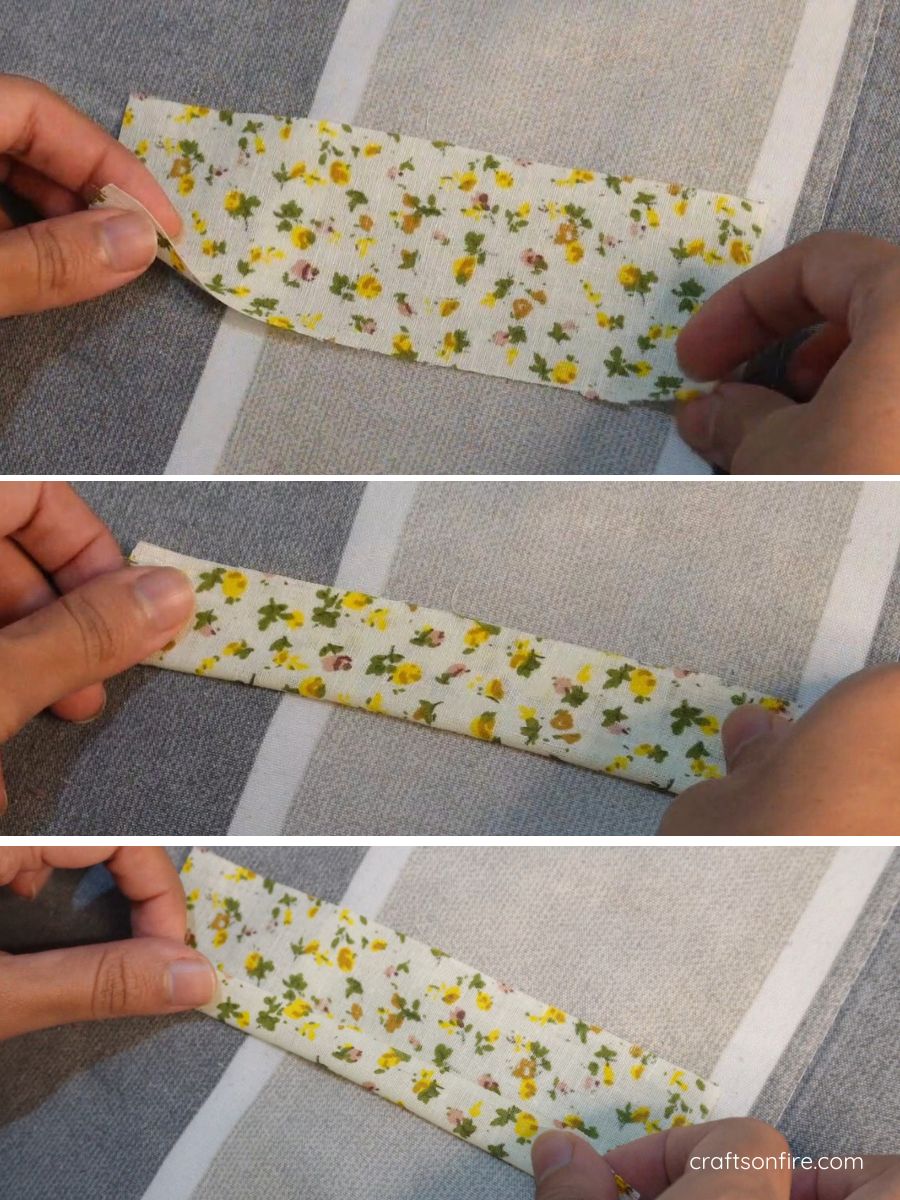
Step 1: Create The Band
After cutting the material, take the rectangle piece of fabric (the wrong side should face up) and fold it in half to create a guideline for the center point.
Then, bring the two sides together until they meet in the center (the RIGHT side of the fabric should be facing up now).
This will create the band attached to one end of the pot holder.
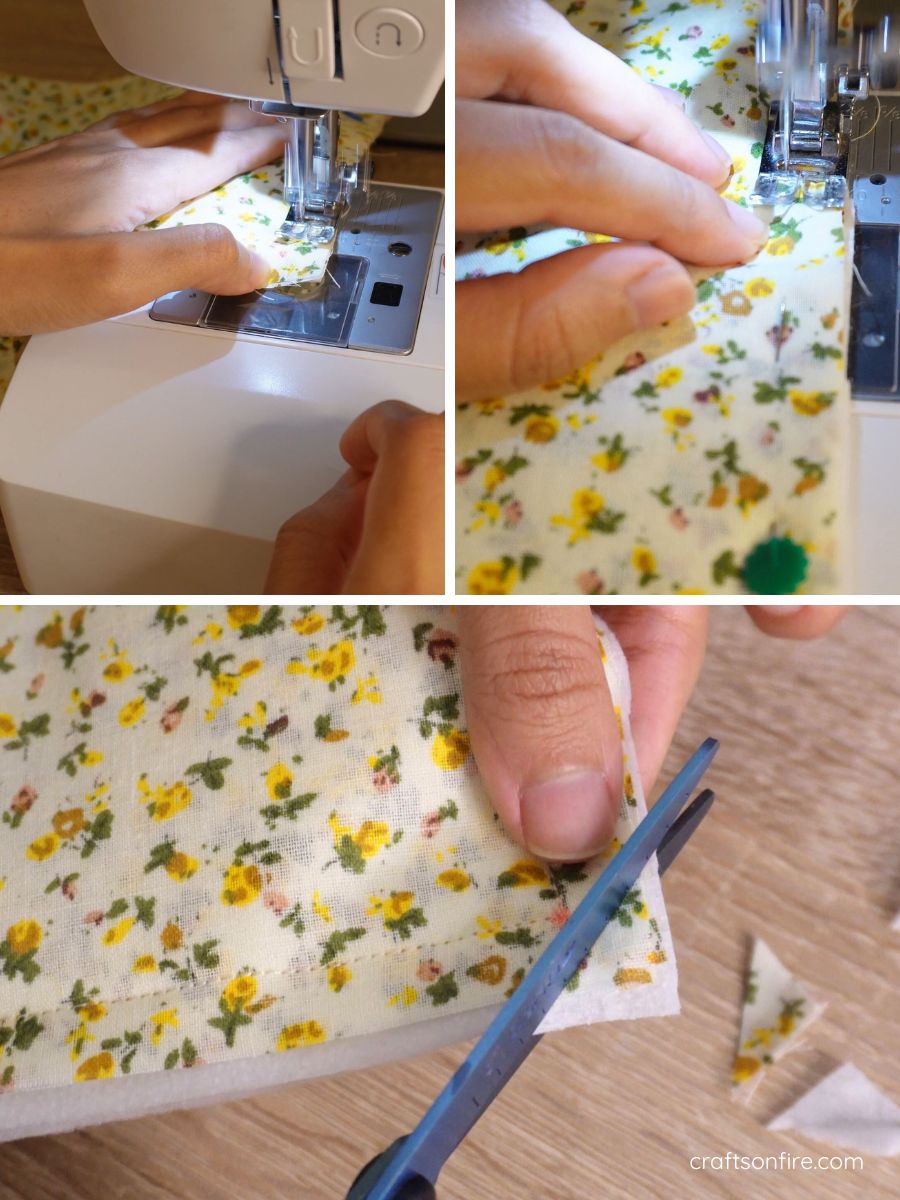
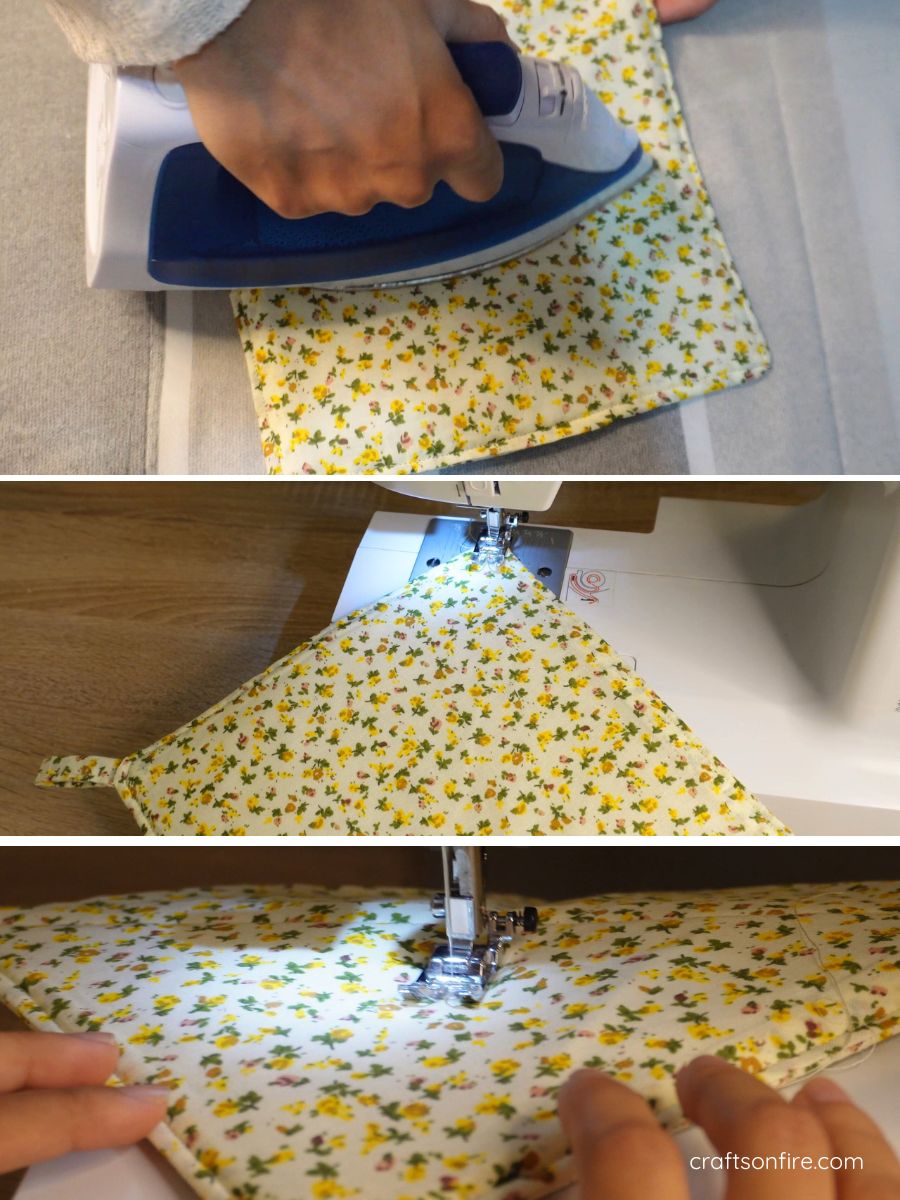
Step 2: Iron And Sew The Band
Fold them over once more until you have a thick band. Press down and then use an iron to flatten the fold or pin the piece.
Then, head over to the sewing machine and stitch the folded side using a straight stitch.

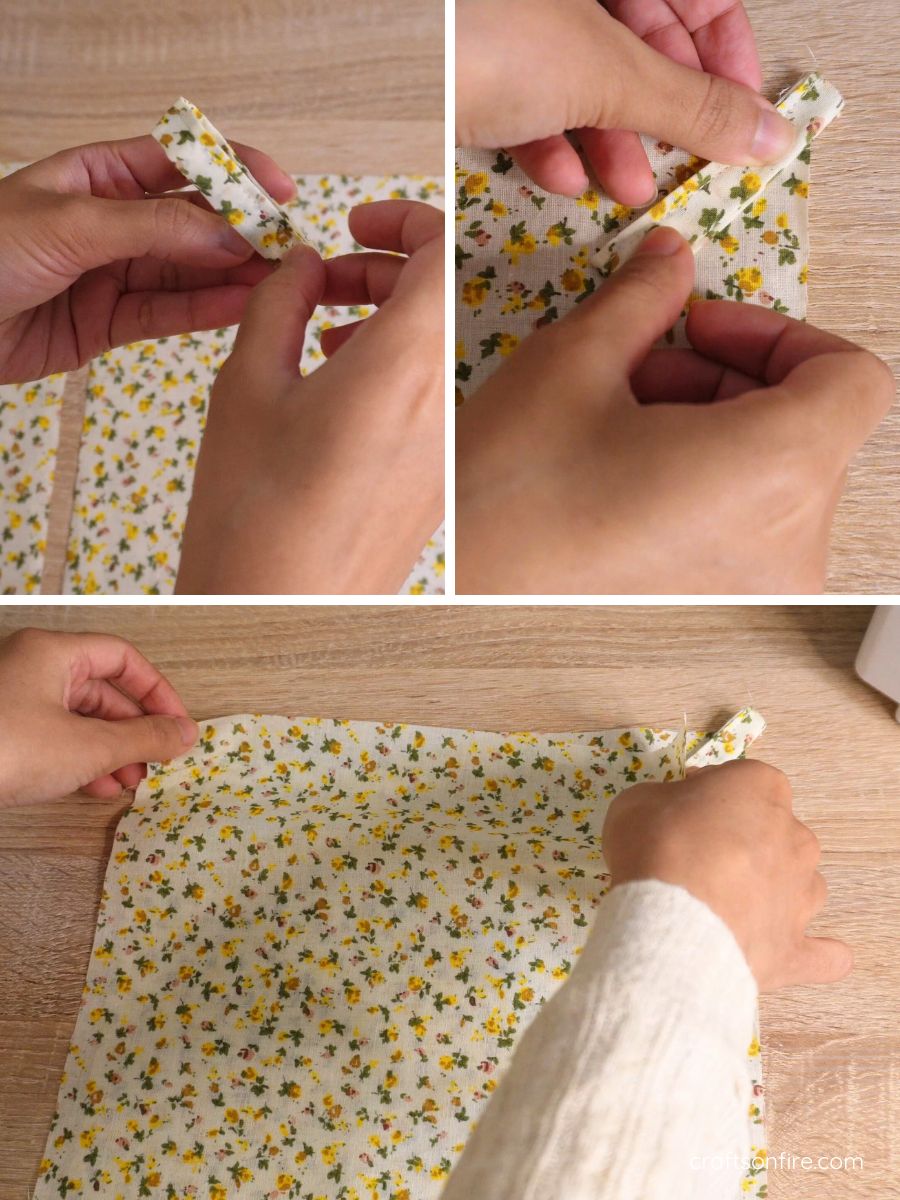
Step 3: Insert The Loop Between The Material
Once the band is sewn, fold it in half to create a loop and place it at an angle between the two pieces of material (right sides facing in) on one corner of the fabric.
The loop should be facing inside.
Step 4: Position And Pin
Place the fabric batting on top of the pieces, flip it over, and then use pins to secure all three pieces together.
Leave a small section at the top or side of the fabric and do not sew here. This opening will be used to turn the fabric inside out.
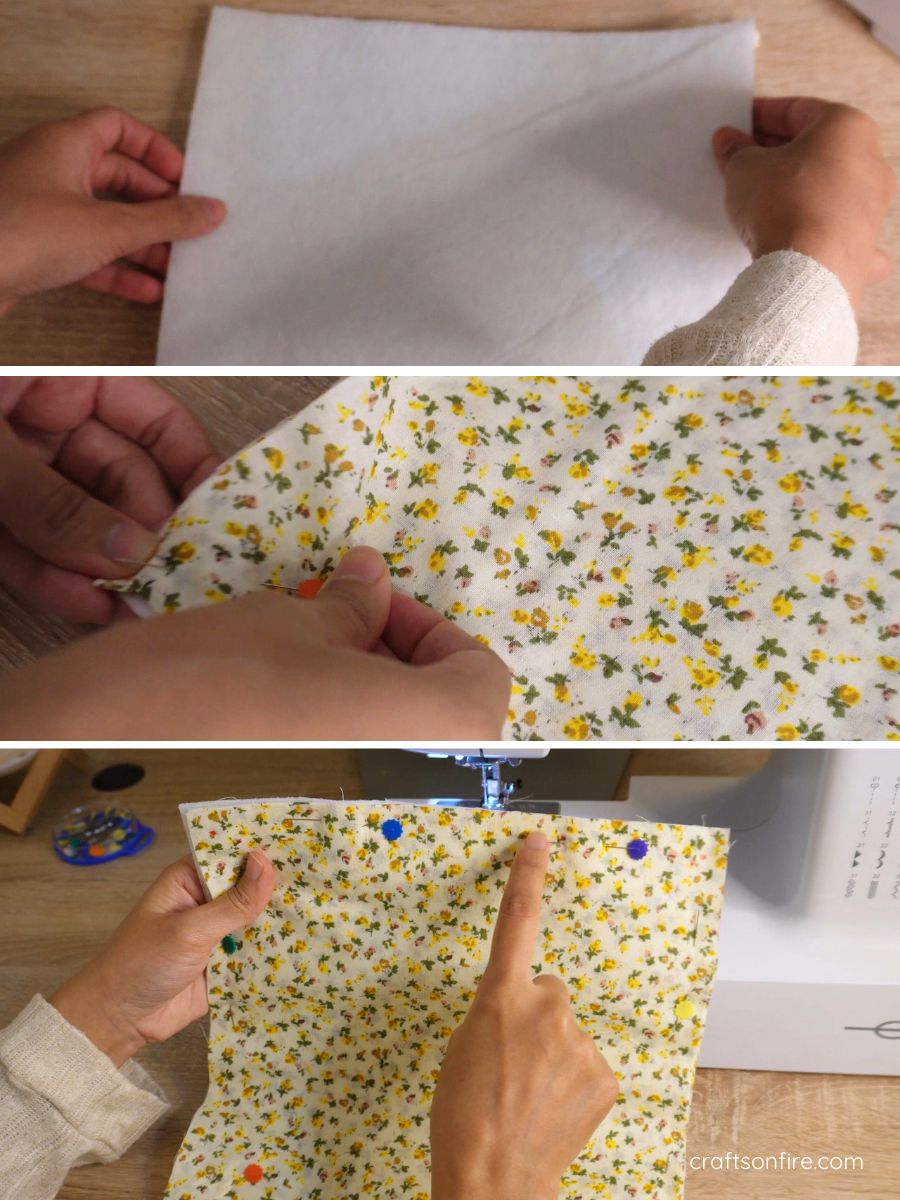
Step 5: Stitch
Head to the sewing machine and use a straight stitch to sew all four corners using a 1 cm seam allowance.
Don’t forget to leave an opening (at least 5 cm or 8 cm / 1.96 inches or 3.14 inches) gap on one side of the opening.
Once all four sides are stitched, go ahead and snip off the corners.
Step 6: Flip The Pot Holder Inside-Out
Use the opening to pull the right side of the fabric out. As you do, the batting will fold inward, and the right side of the fabric will be on the outside
Next, use the eraser end of a pencil or a thin ruler to gently push out the folded corners through the opening.
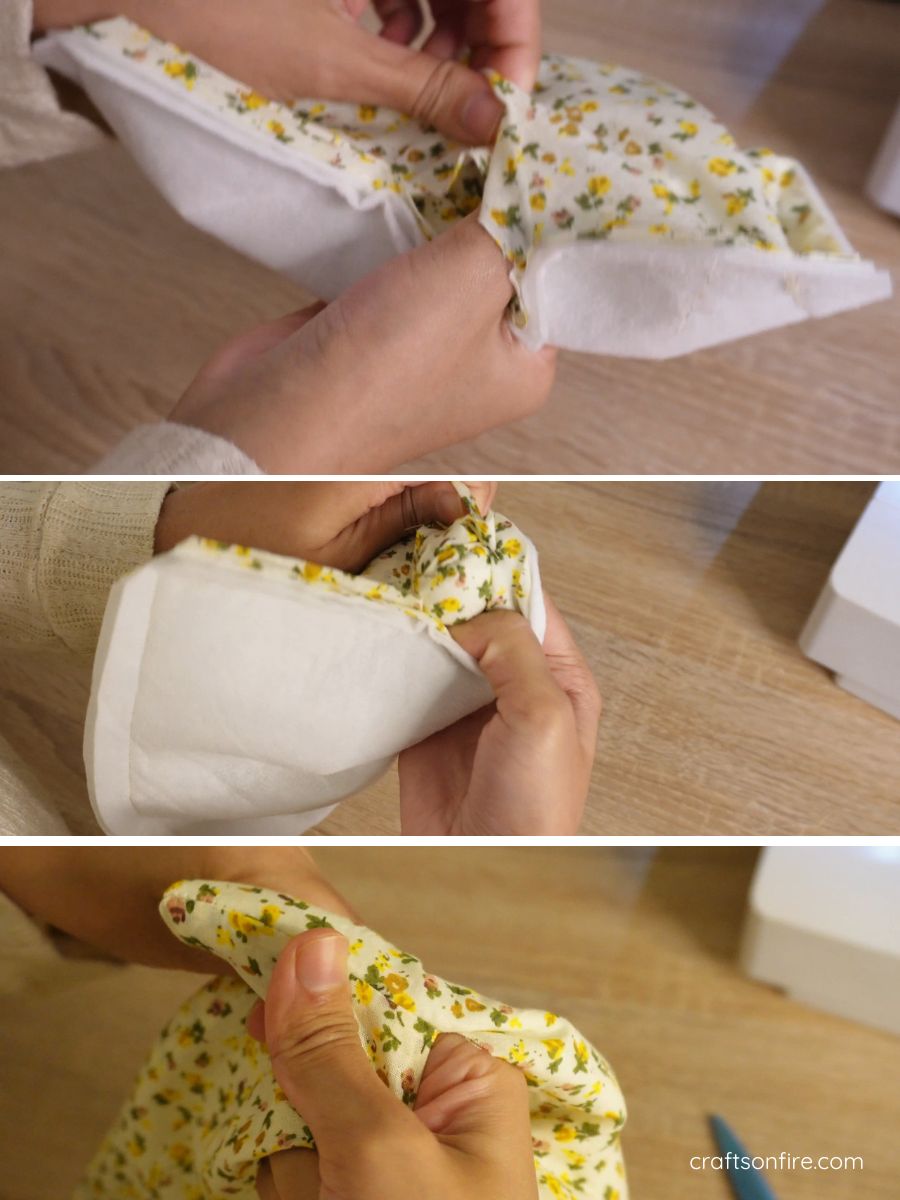
Step 7: Fold And Sew The Gap
We’ll now close the opening. Fold the edges of the opening together and use a pin to secure it in place.
Head over to the machine and add a top stitch to the entire pot holder.
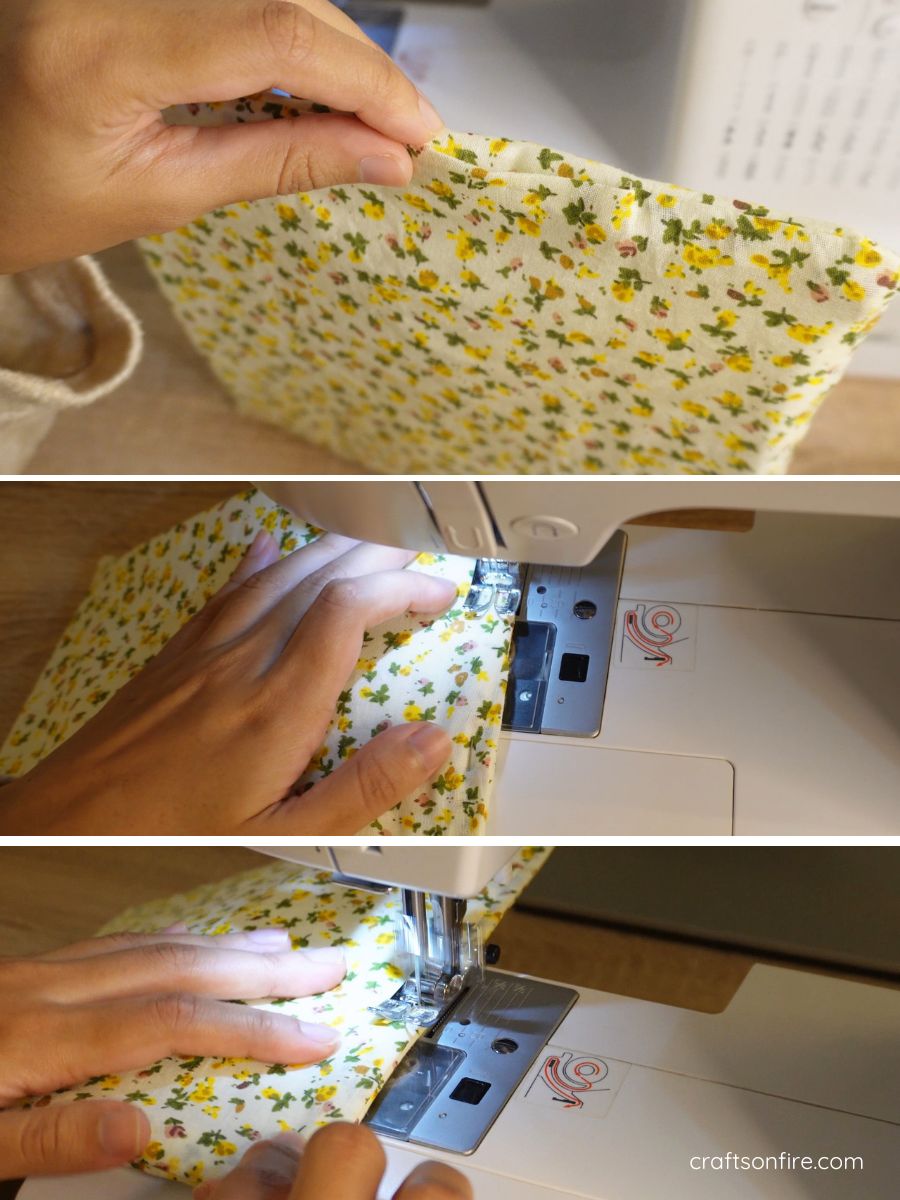
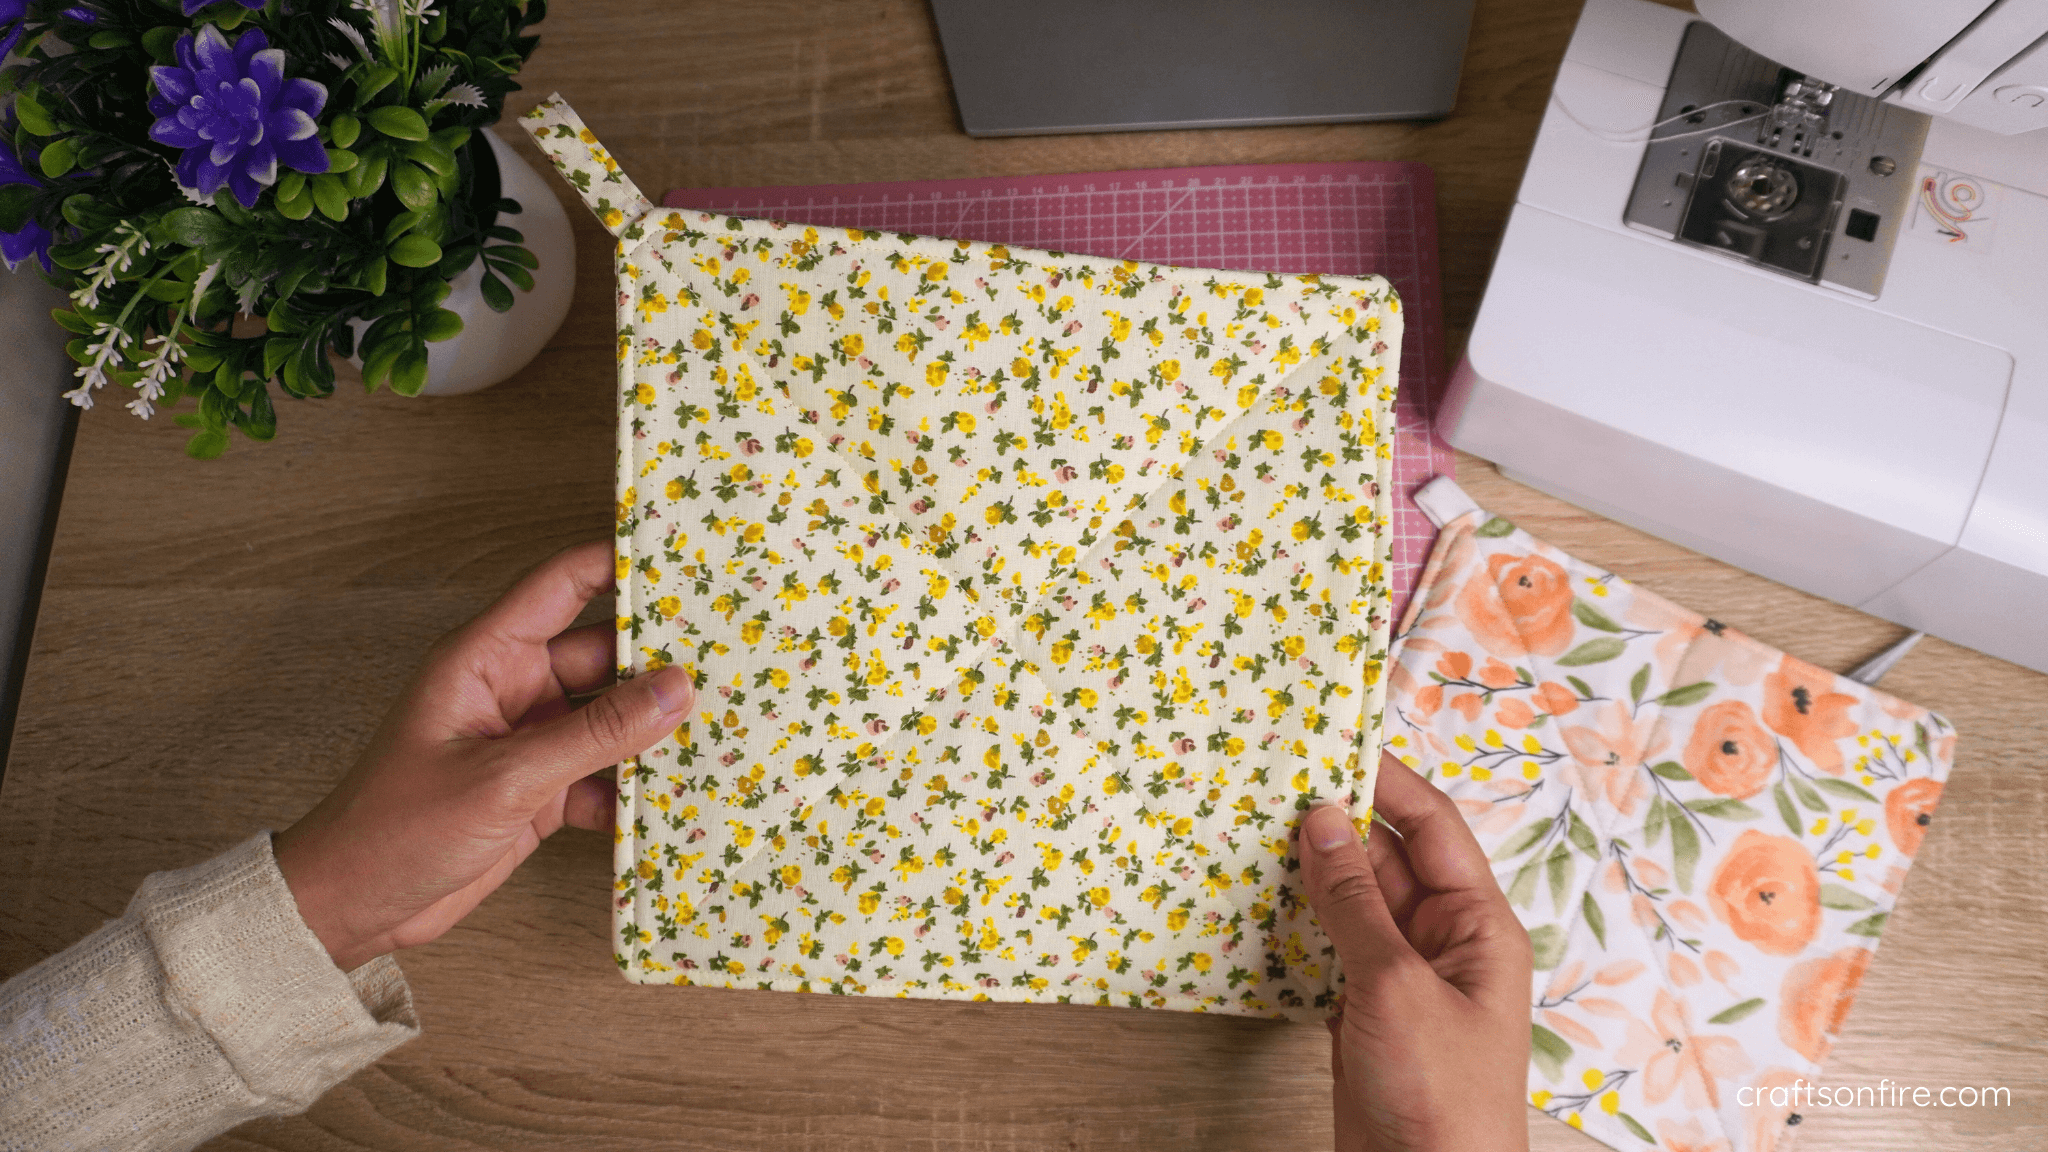
Step 8: Iron And Stitch Across The Center
Iron your pot holder on both sides. Then, head back to the machine and quilt as desired.
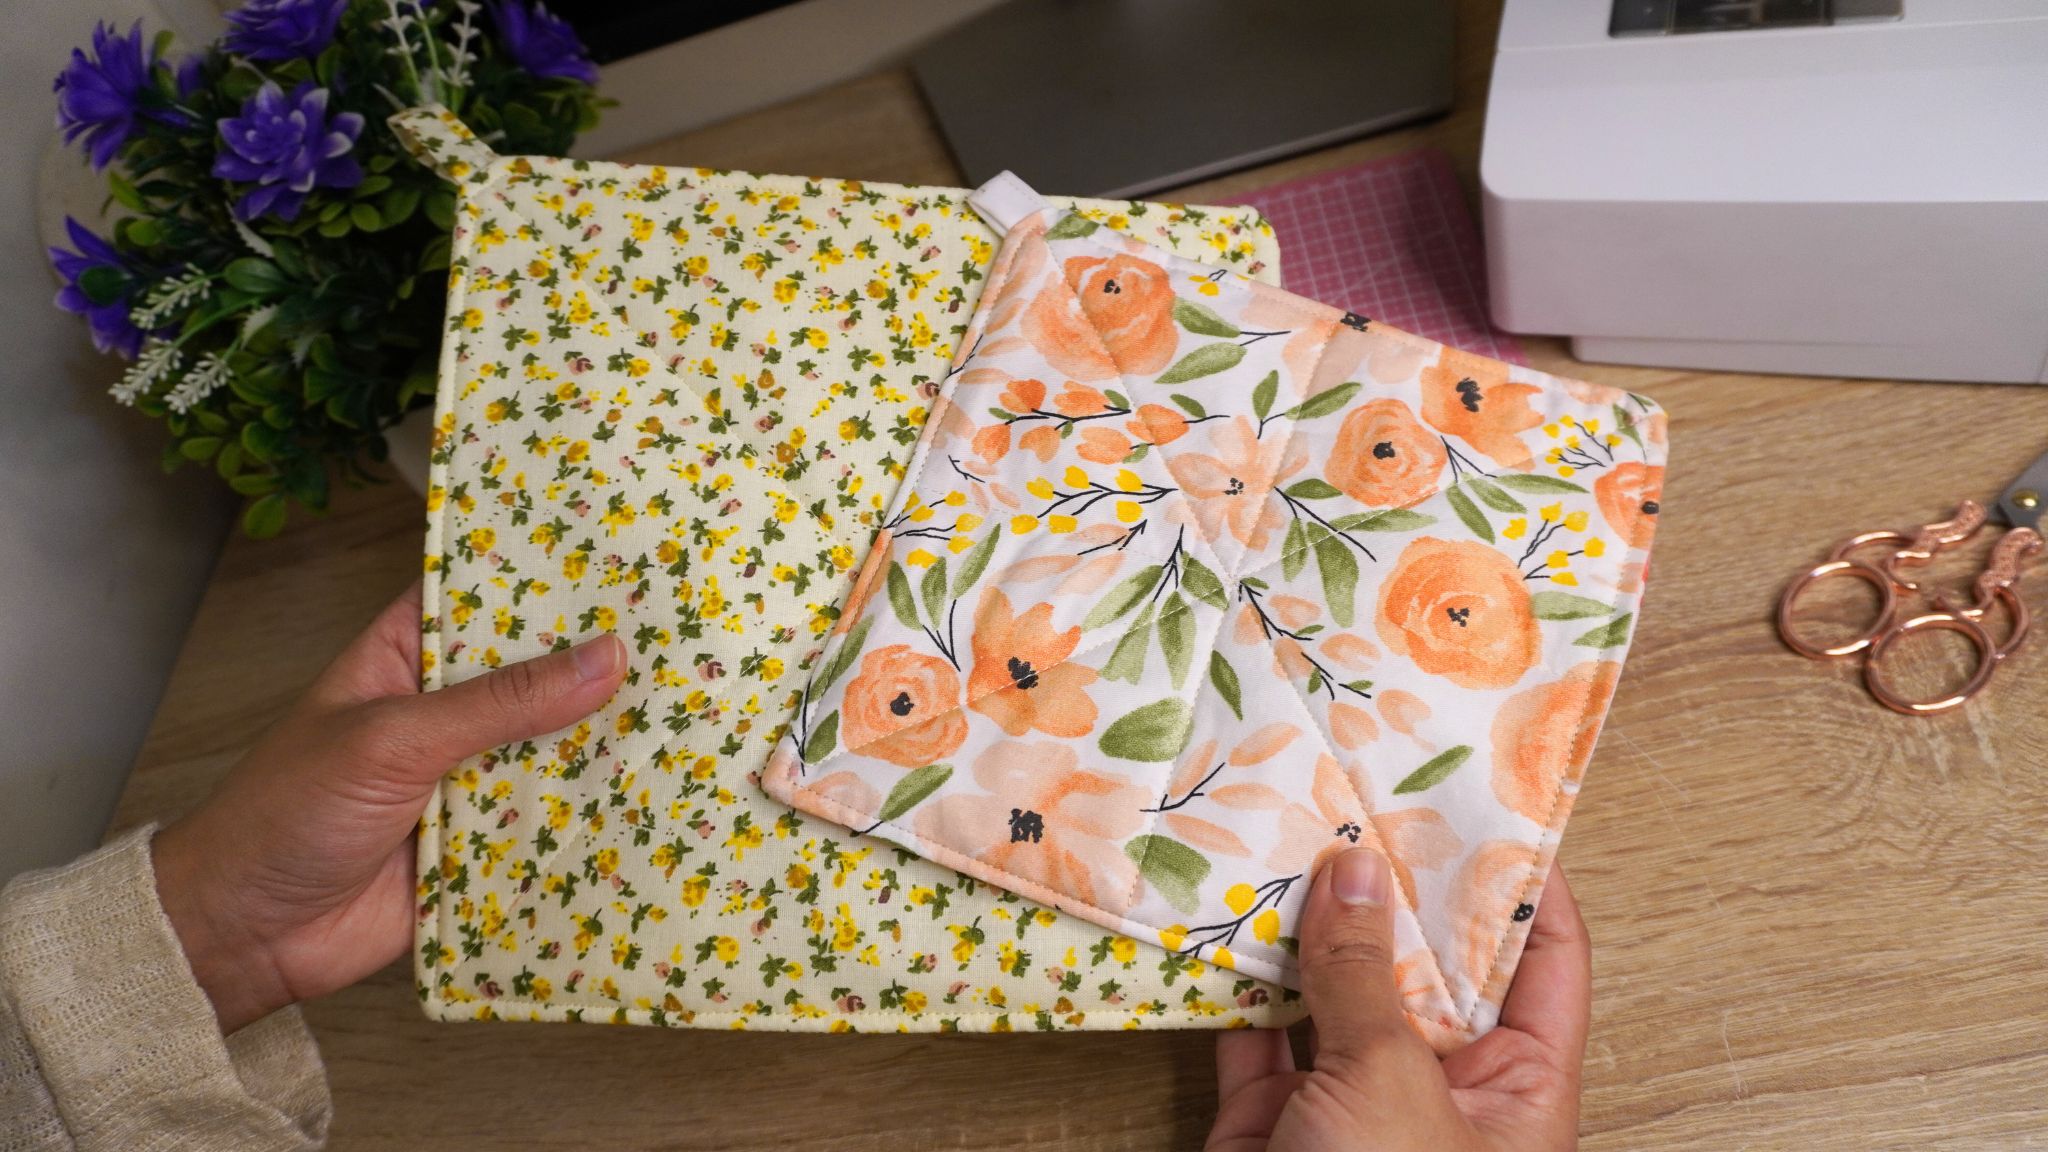
I did a simple X pattern.
If you want to do the same, start from one corner and stitch a straight line towards the other side. Repeat this step for the other end until you have created an X pattern.
Final Product
Congratulations! You have reached the end of this pot holder sewing tutorial. This is such a great project to try over the weekend.
I hope you found this sewing tutorial easy and fun!
Please share this with your friends and family and don’t forget to check out and subscribe to my youtube channel.

FAQ
What is the use of a potholder?
A potholder is used to prevent and protect your hands and surfaces from heat damage when transferring or handling a hot pot or other cookware.
What is the difference between a pot holder and an oven mitt?
A potholder has a larger surface area to protect surfaces from heat or spills, while an oven mitt is designed to protect your hands when handling items.
How many layers of batting are in a potholder?
Two layers of batting can be used but you can get away with just one layer of insul bright batting or any other heat-resistant material.
What size should a potholder be?
Generally, a potholder should be between 6 inches – 10 inches. However, 10 inches tends to be the ideal size for most pots.