DIY Apple Coaster (Sewing Guide)
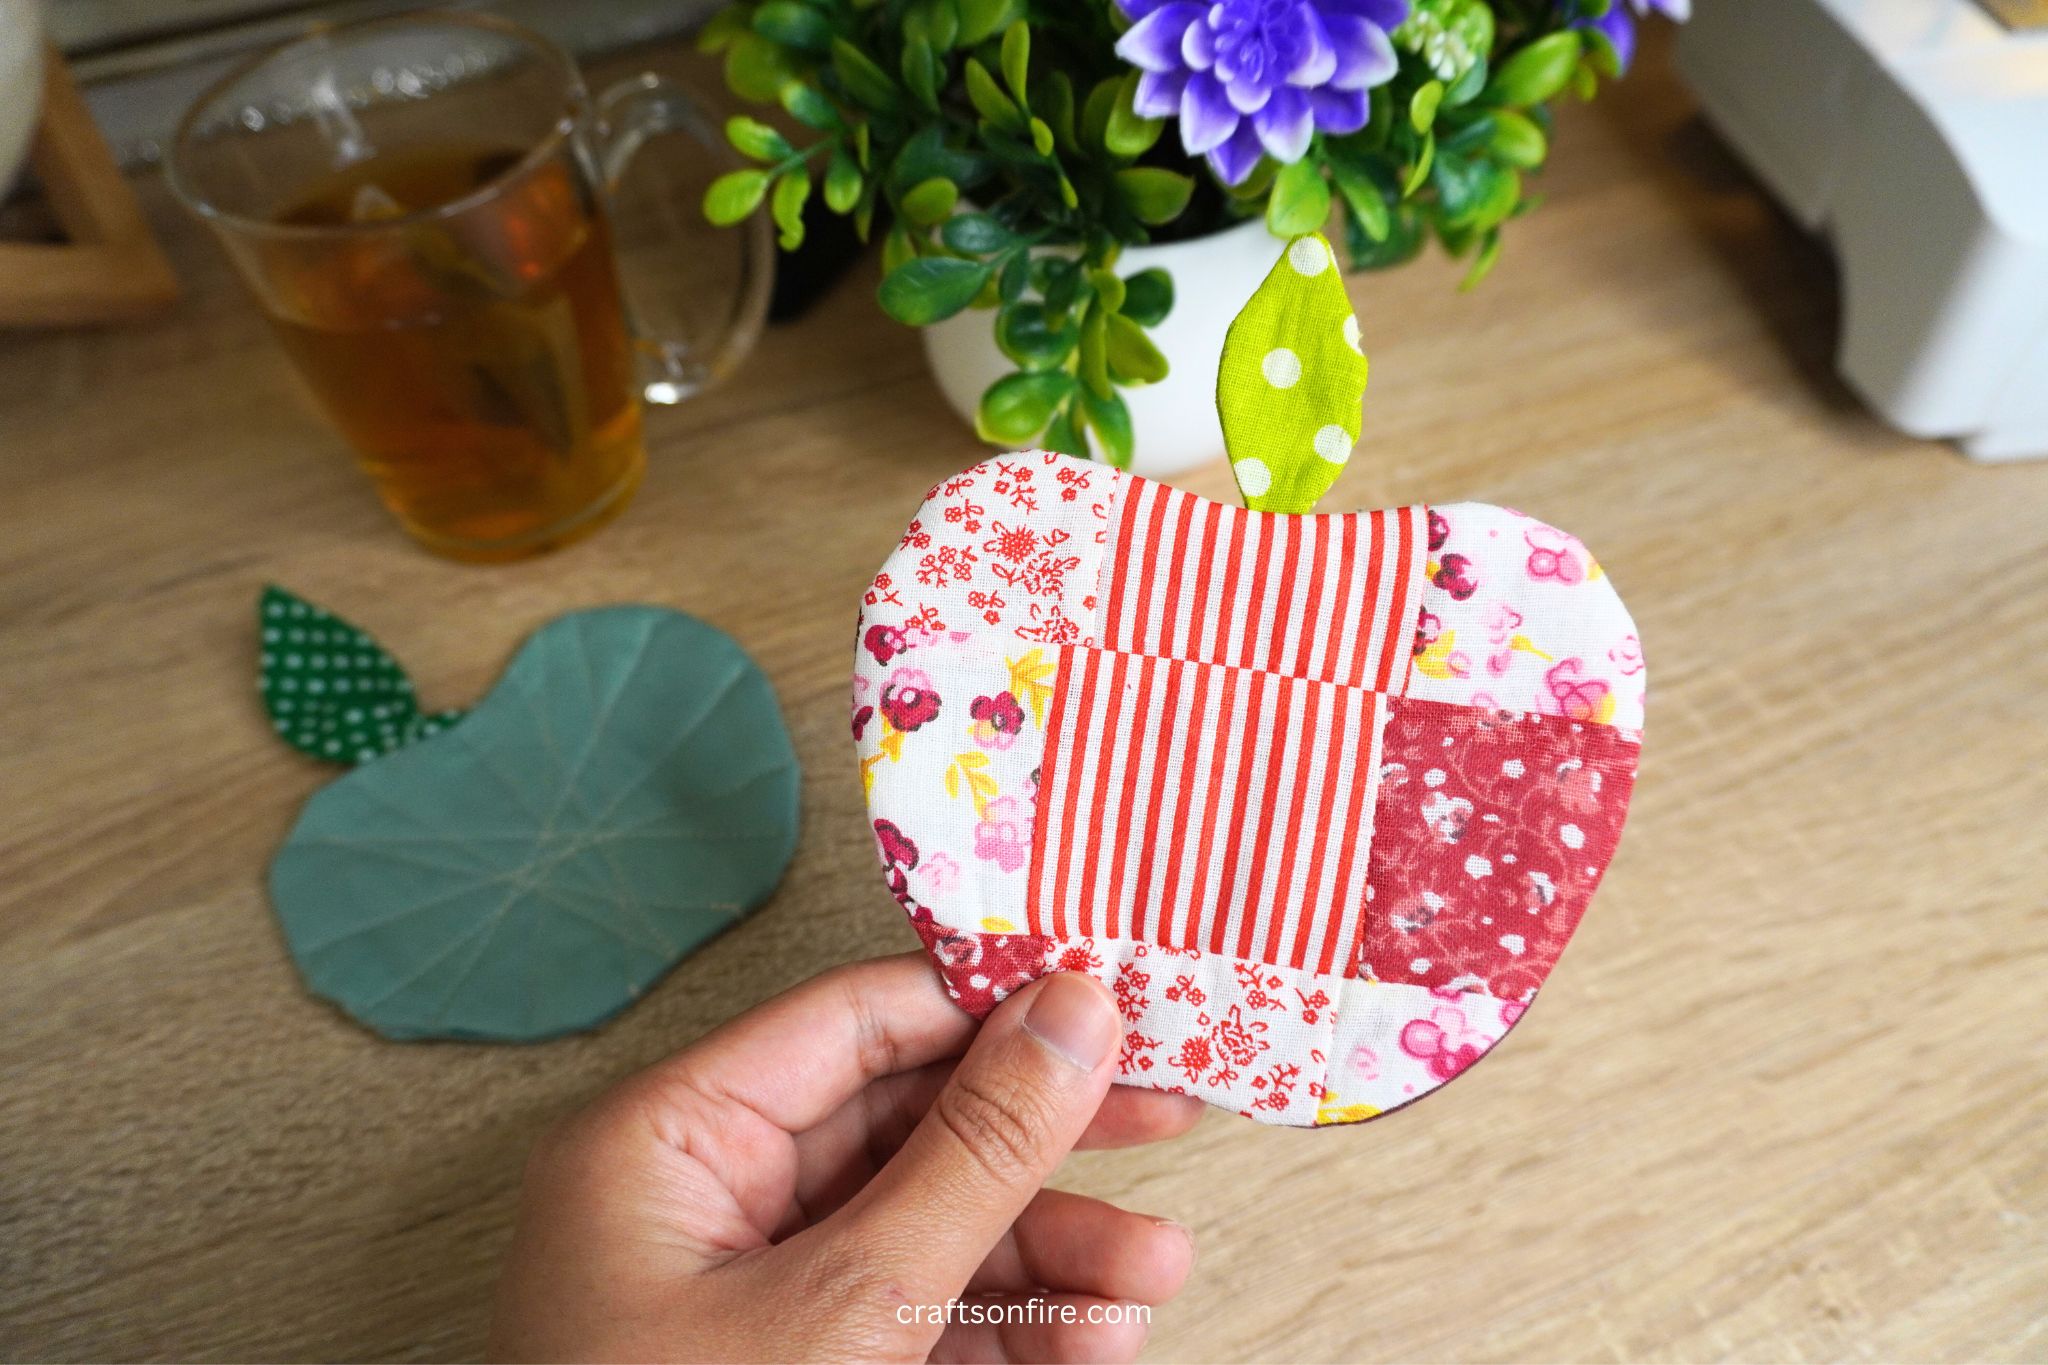
Brighten up your space with these adorable apple coasters. These coasters will add a cute charm to your morning coffee experience and they’re so easy to sew and a great way to use up scrap fabric. It’s the perfect accessory to have!
If you love sewing coasters, you’ll probably love sewing this apple coaster too. We’ll first sew the leaf, join the squares, sew the lining and batting, and then use a cutout to create the apple shape.
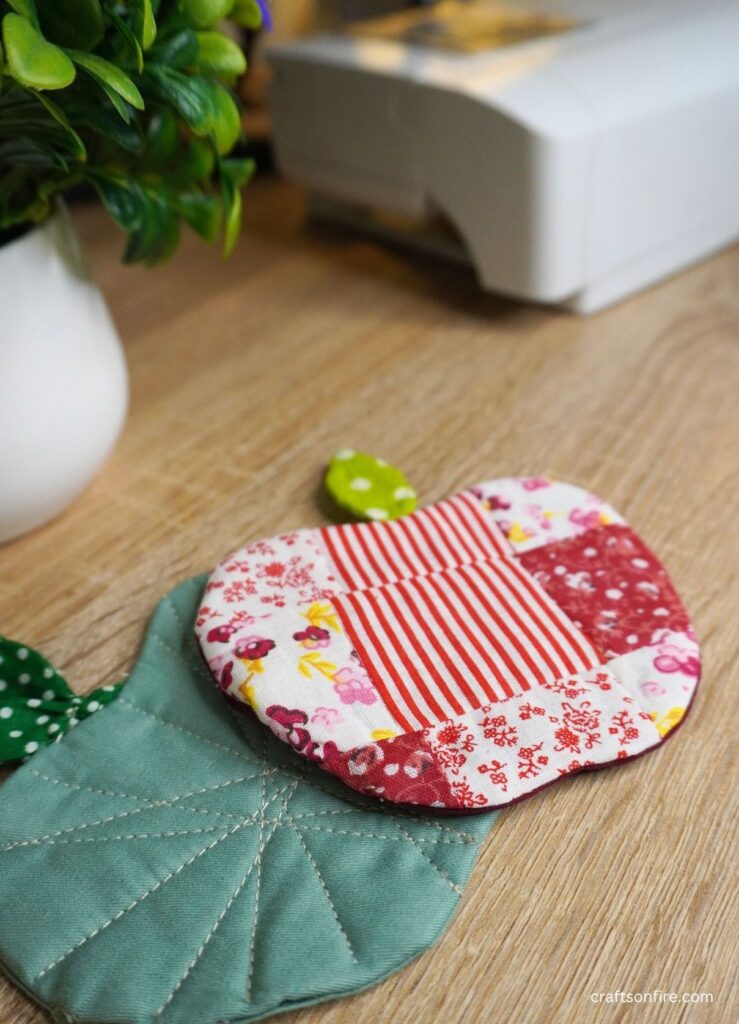
You can totally make a bunch of these apple coasters since it’s a quick and easy project.
I do recommend sticking with a patchwork theme for this coaster. I have made a plain green apple coaster before this and it didn’t turn out exactly how I wanted it to.
The patchwork apple coaster looks way more interesting and creative!
This tutorial has everything you need to get started. Let’s begin.
Table of Contents
Apple coaster tutorial
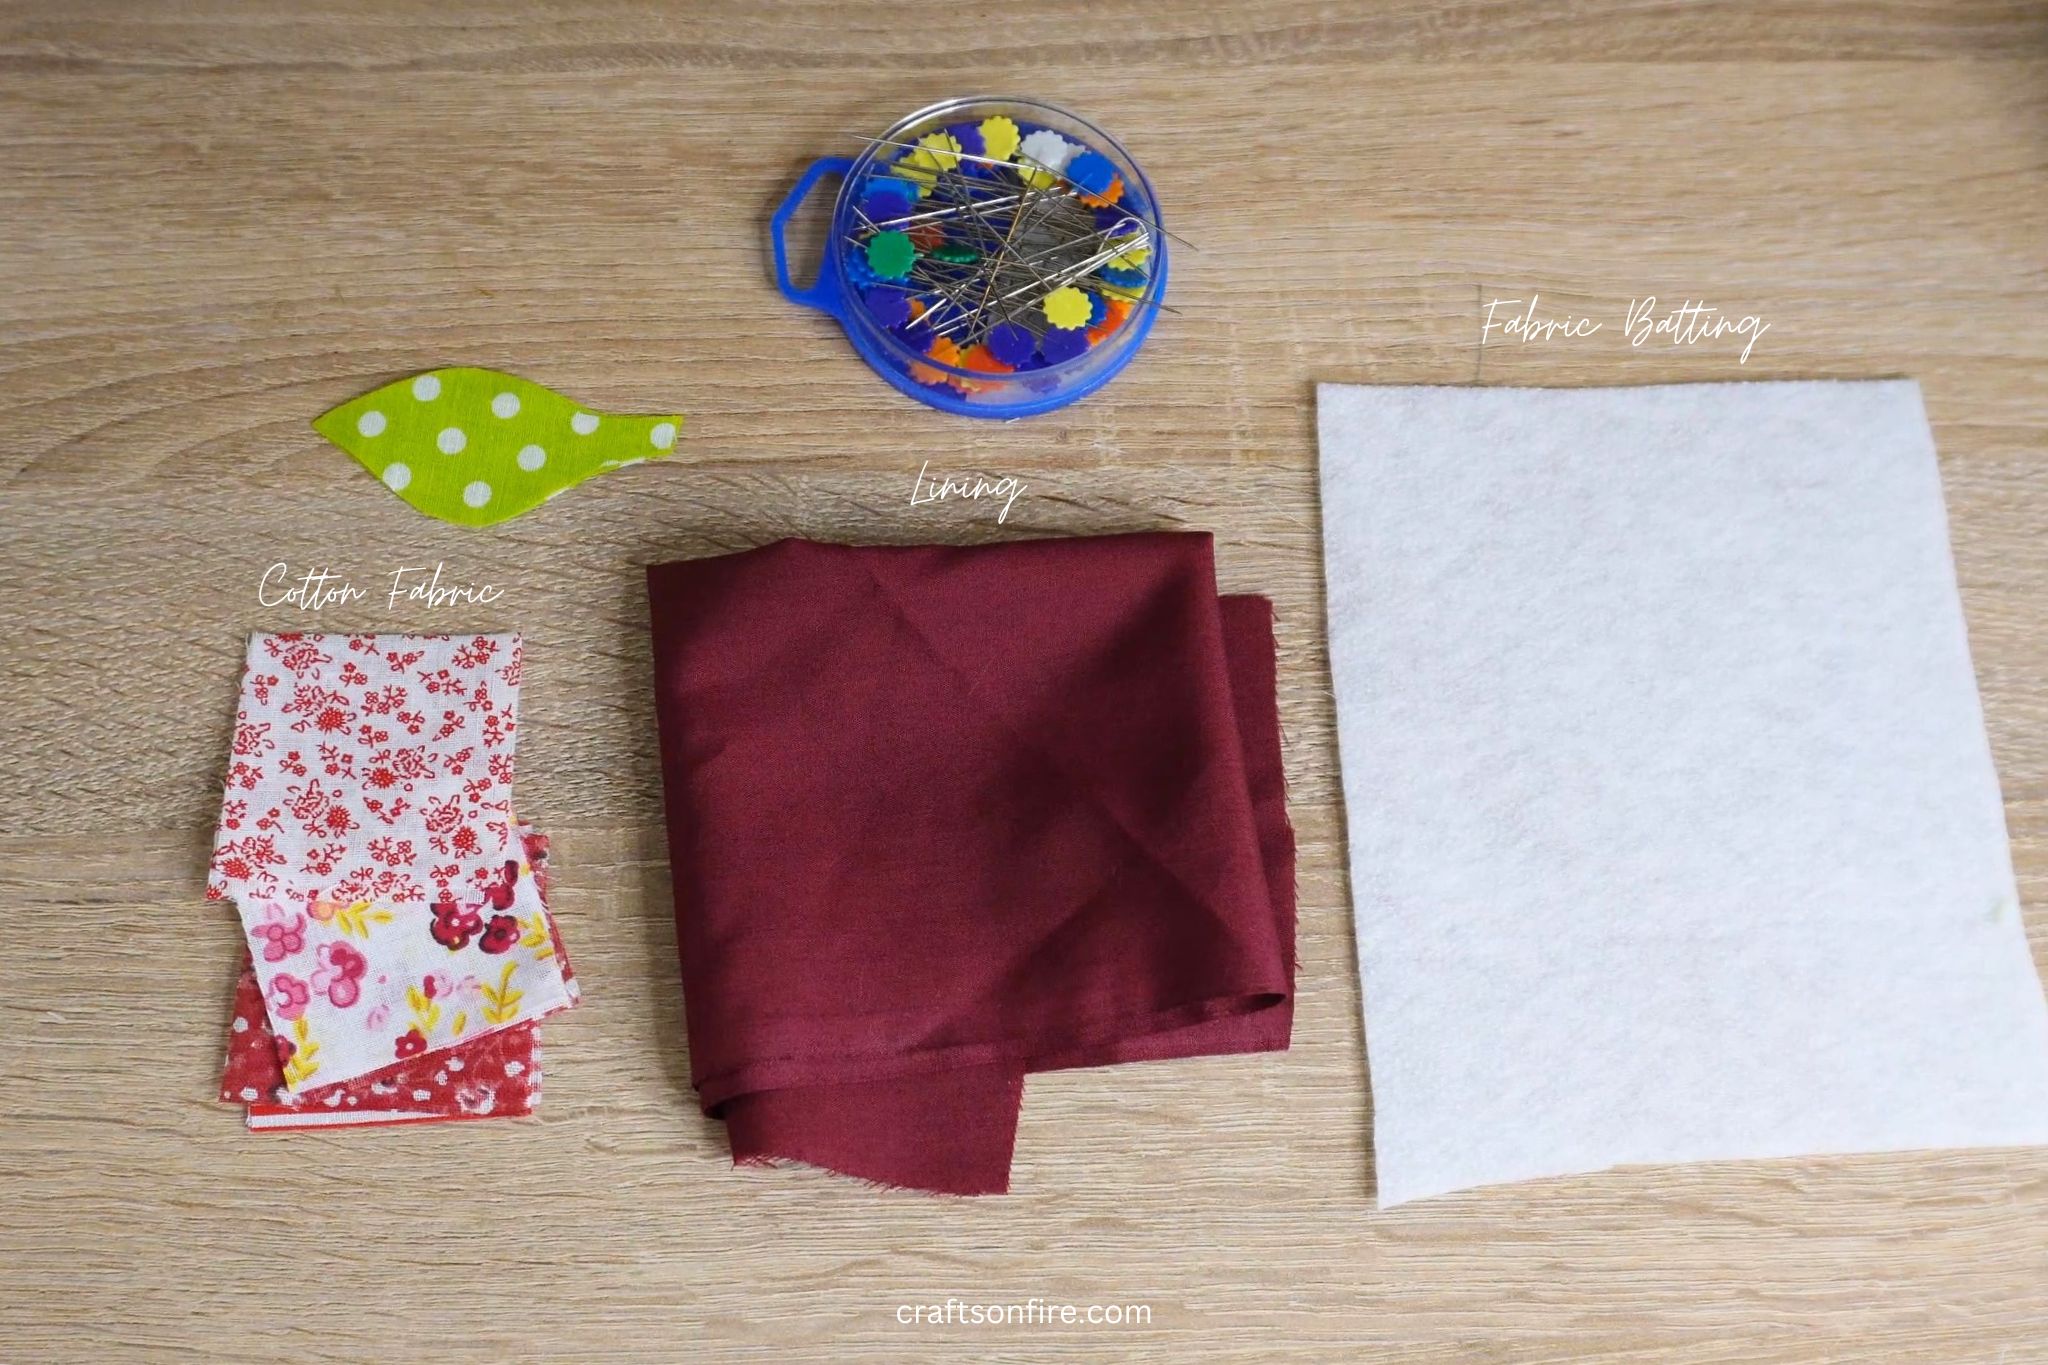
Supplies
- Fabric Squares (5 cm x 5 cm)
- Lining
- Fabric Batting
- Pins
- Needle & Thread
- Tailors Chalk or Fabric Pencil
- Sewing Machine
- Apple Cutout
Video Tutorial
Instructions
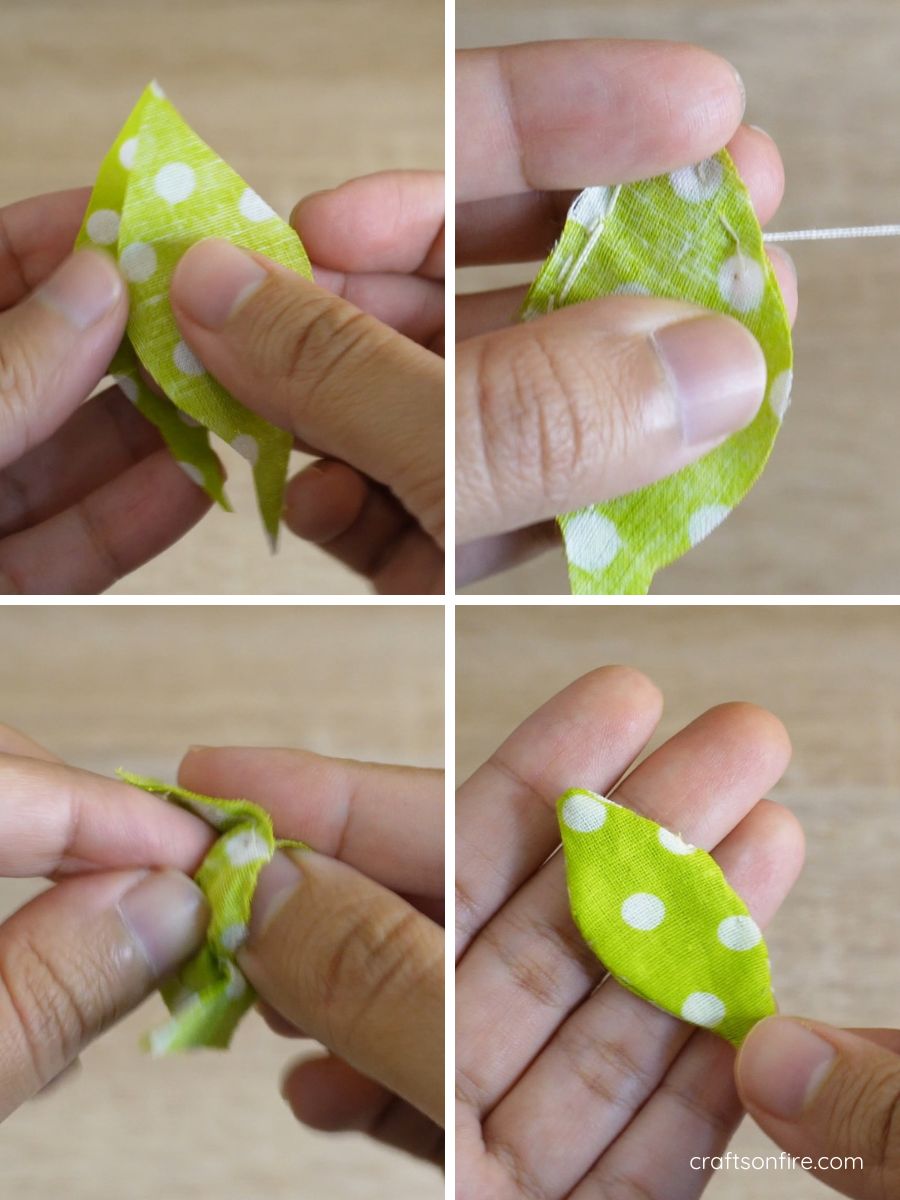
Begin by cutting out a small leaf shape in a green fabric. Place the fabric with the right sides facing in and hand stitch the leaf while leaving a small opening.
Use the opening to turn the fabric to the right side. Then, grab your needle and thread to close the opening. The leaf is now complete.
Cut out the patterned fabric into 5 cm squares. Place two squares together with the right sides facing in and join.
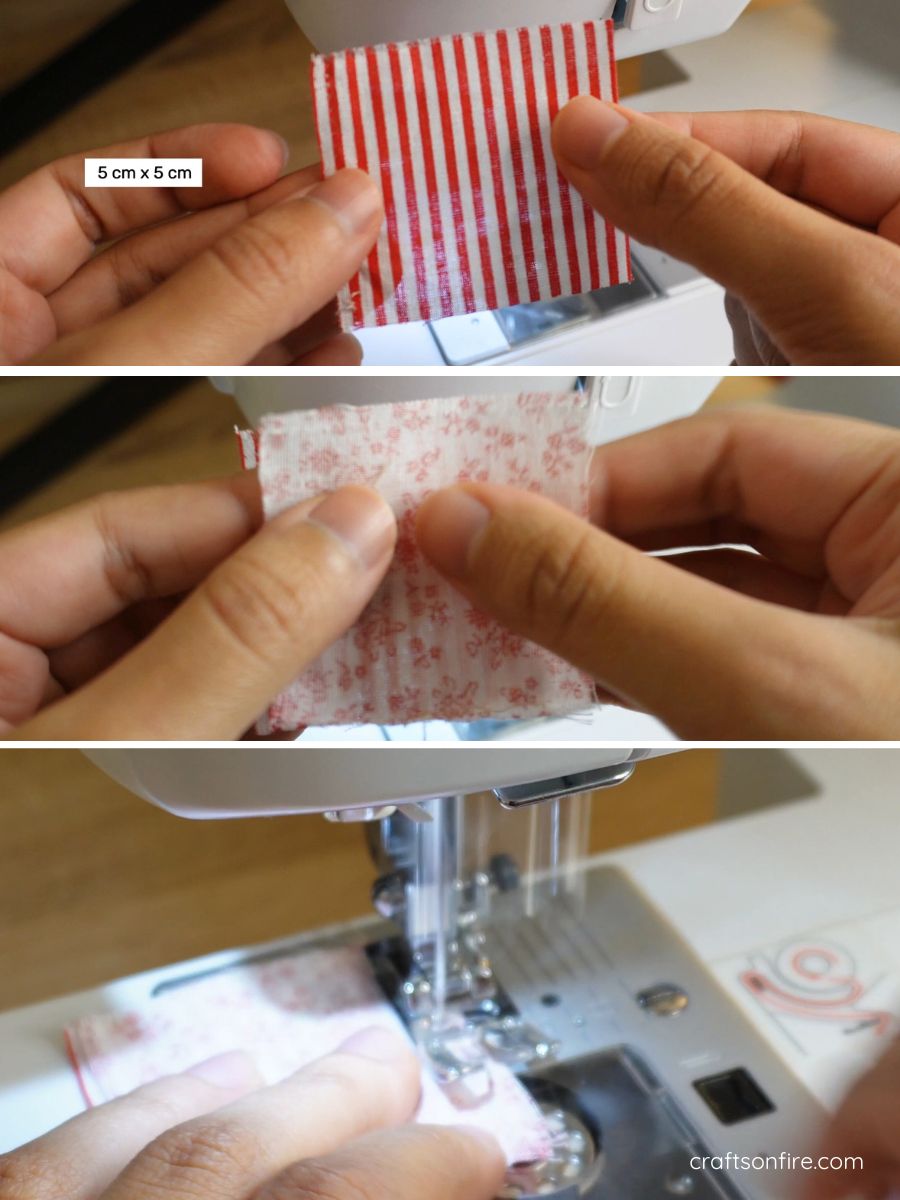
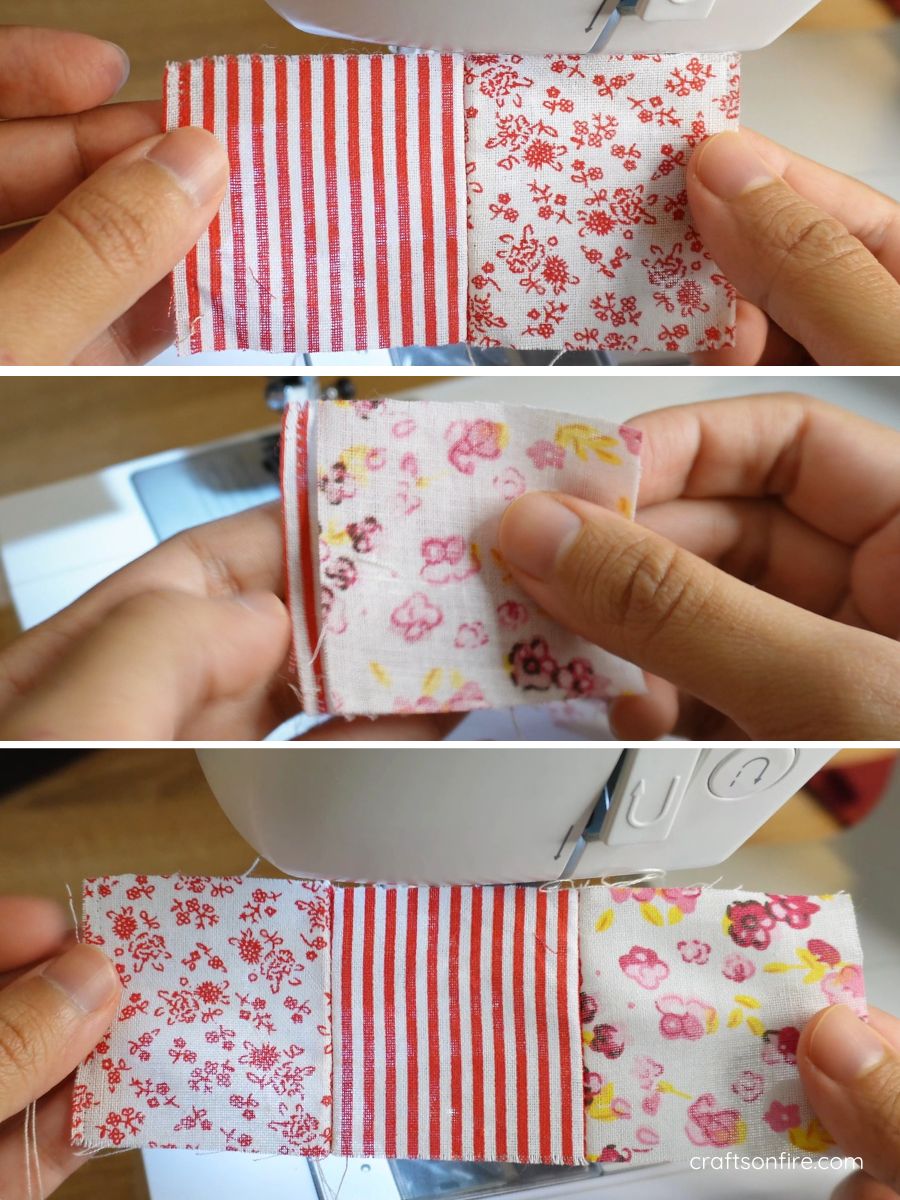
Open the piece and you’ll see a beautiful joined patchwork piece. Grab another square and lay it on the flower square with the right sides facing in.
Stitch those two pieces together and open it out again. You should have 3 squares joined.
Go ahead and sew 2 more strips with the remaining squares.
Grab your first strip and place it down on the fabric batting. Grab another square, place it on the first strip with the right sides facing in, and sew.
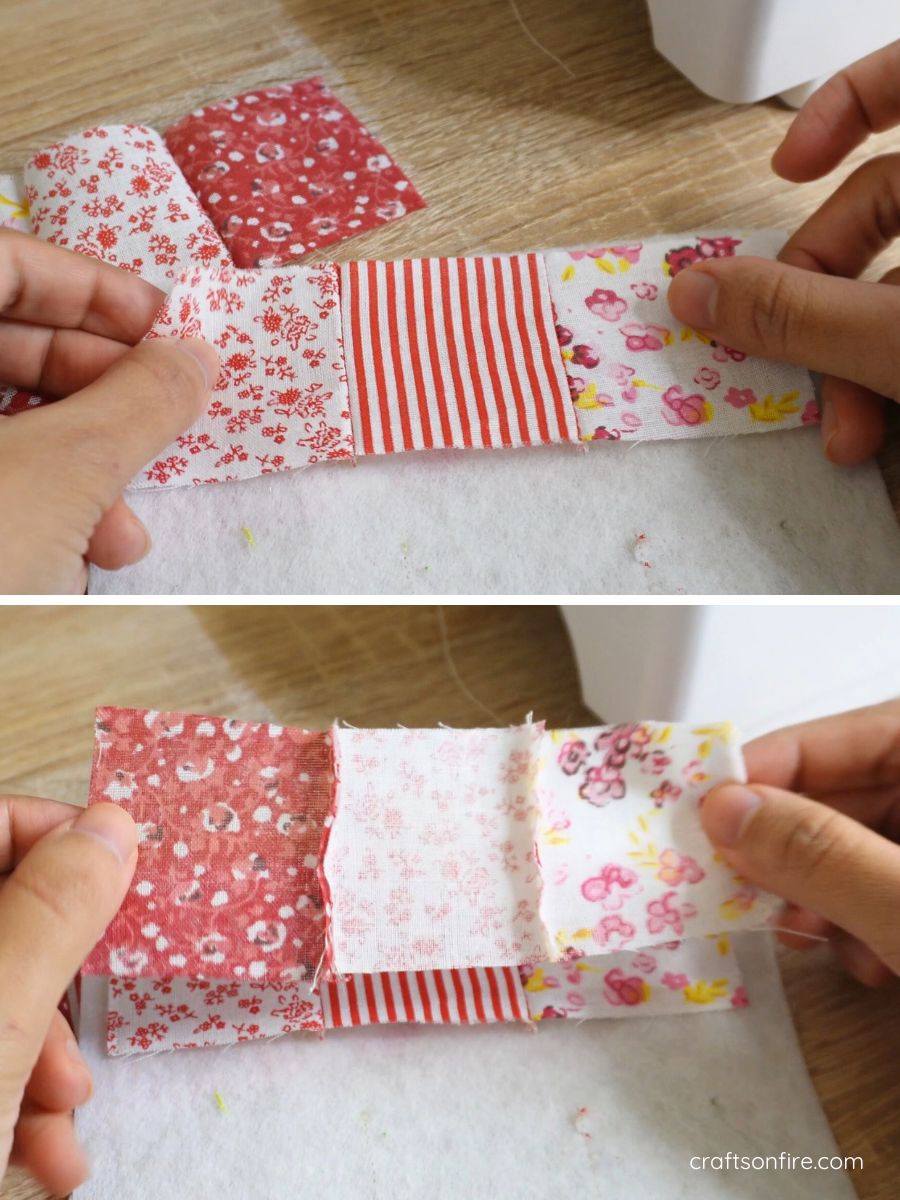
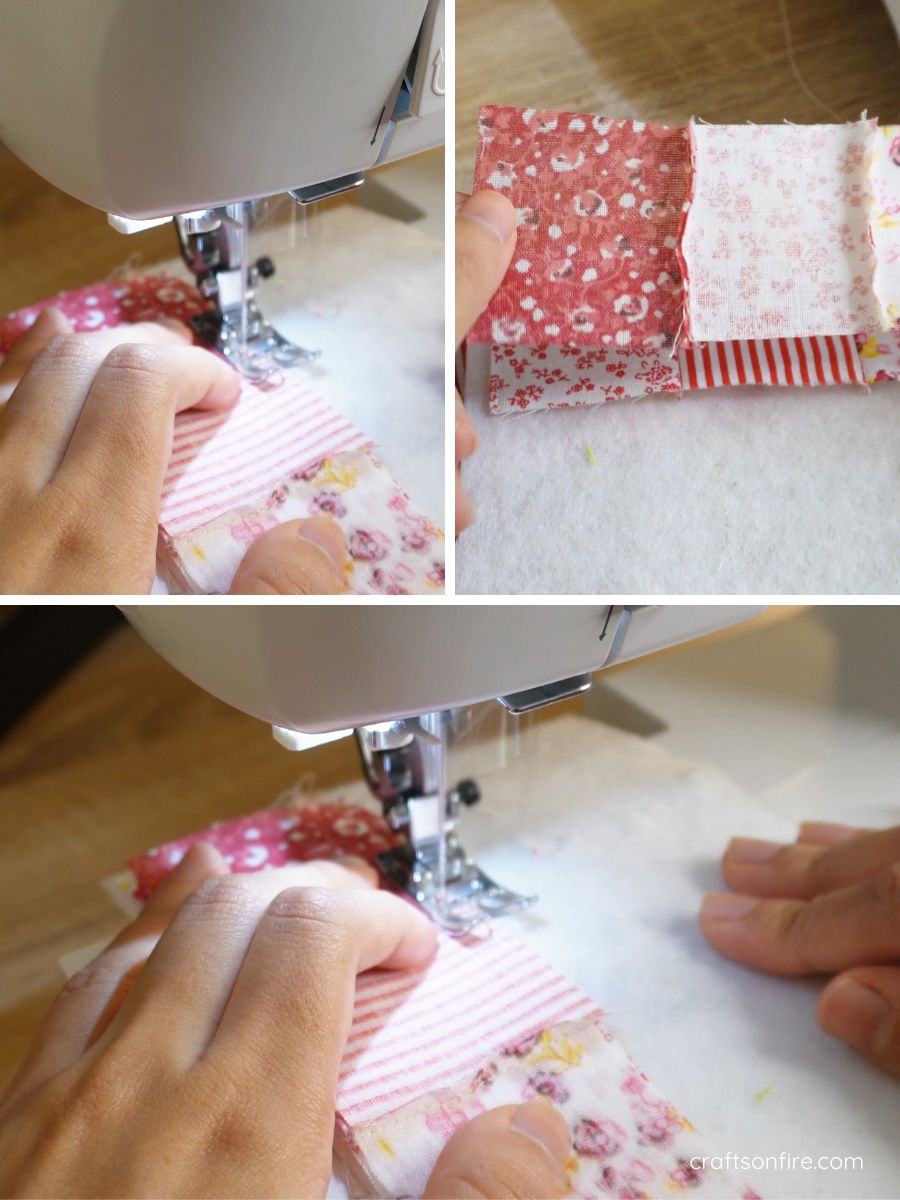
Then open out the two strips, grab the last strip, place it on the second strip with the right sides facing in, and then sew these two strips together.
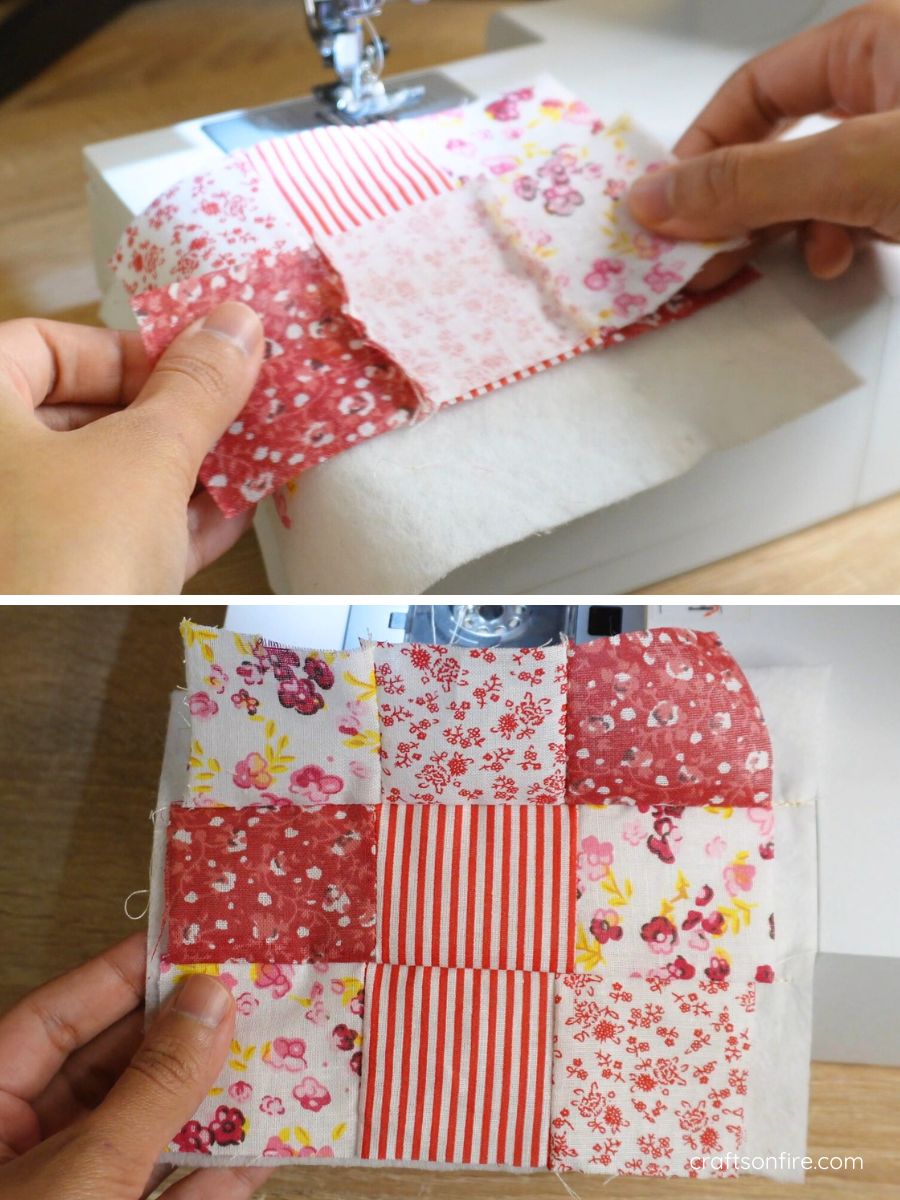
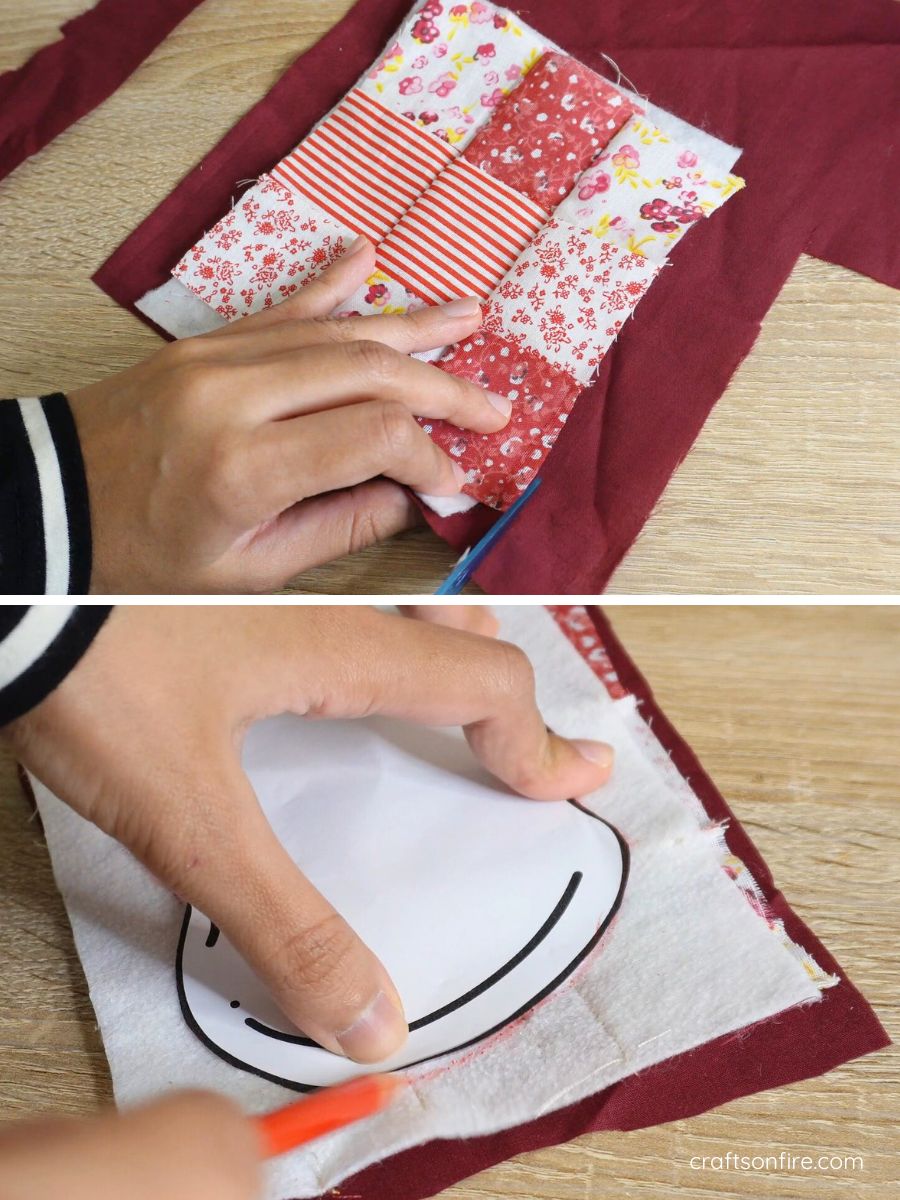
Take this patchwork piece and use it as the measurement to cut out the lining.
Arrange the lining on top of the patchwork piece with the right sides facing in. Then, grab your apple cut out and use a marker or tailor chalk to draw out the shape of the apple.
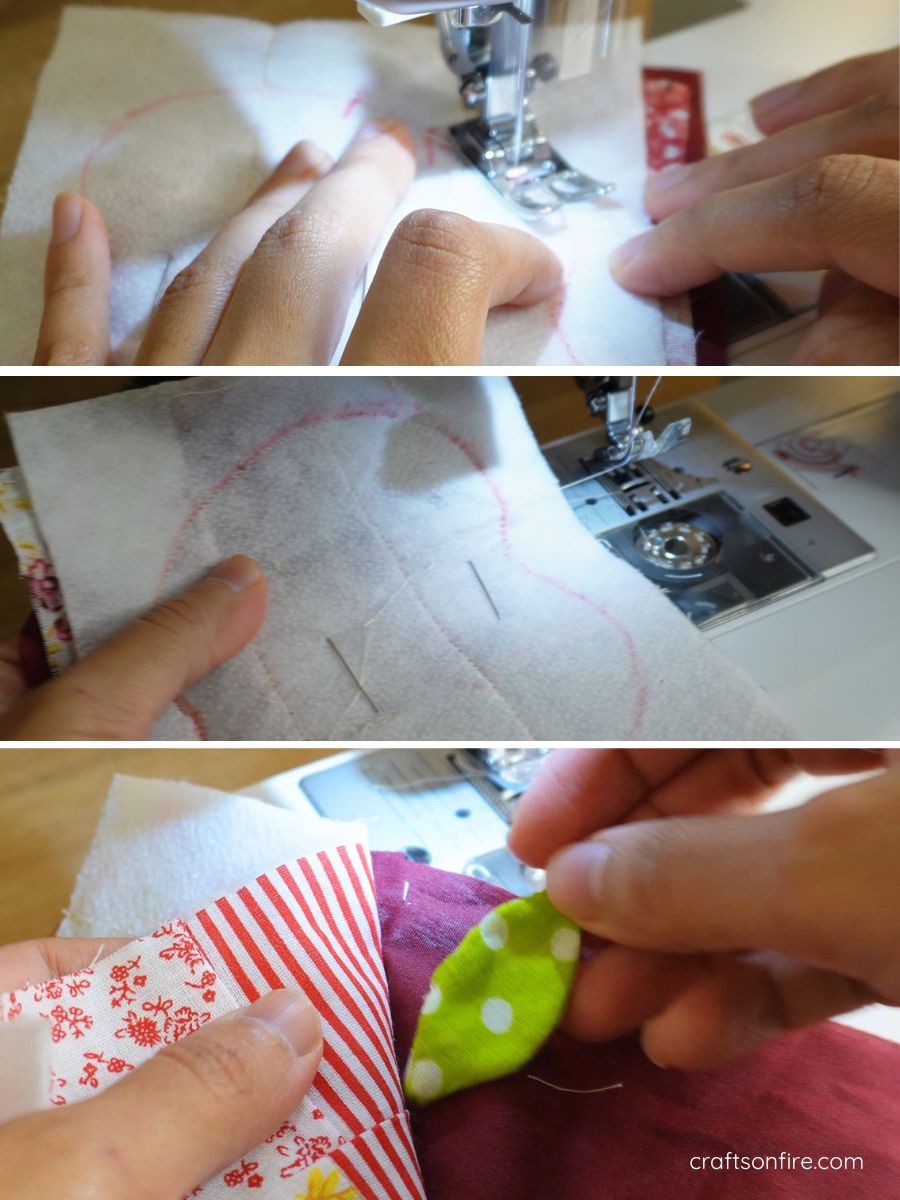
Head to the machine again and begin stitching one side of the apple. When you come towards the top of the apple, remove the fabric from the machine, open out the fabric, and place your leaf inside.
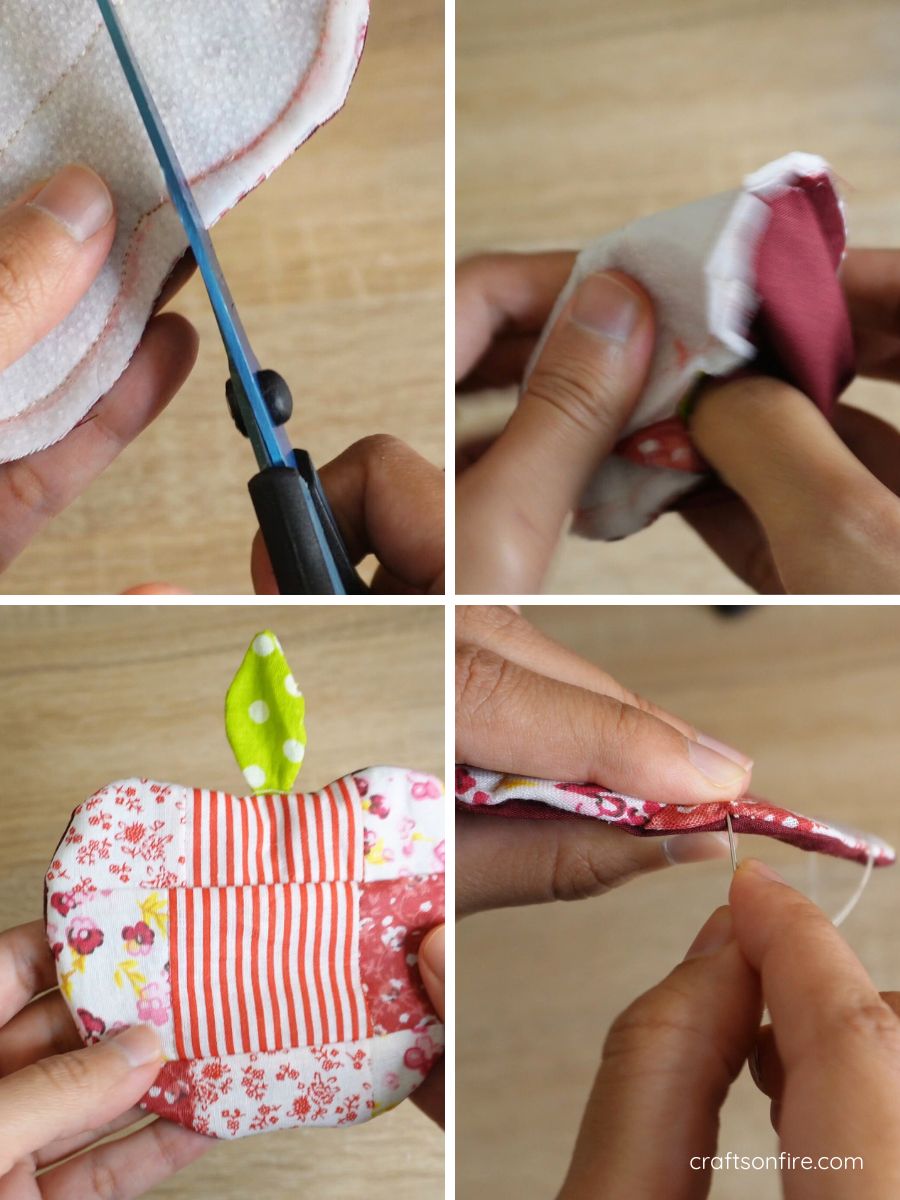
Continue sewing until you reach the end of the piece but leave a small portion of the fabric open to turn the coaster inside out. Then, grab your scissors and remove the excess fabric.
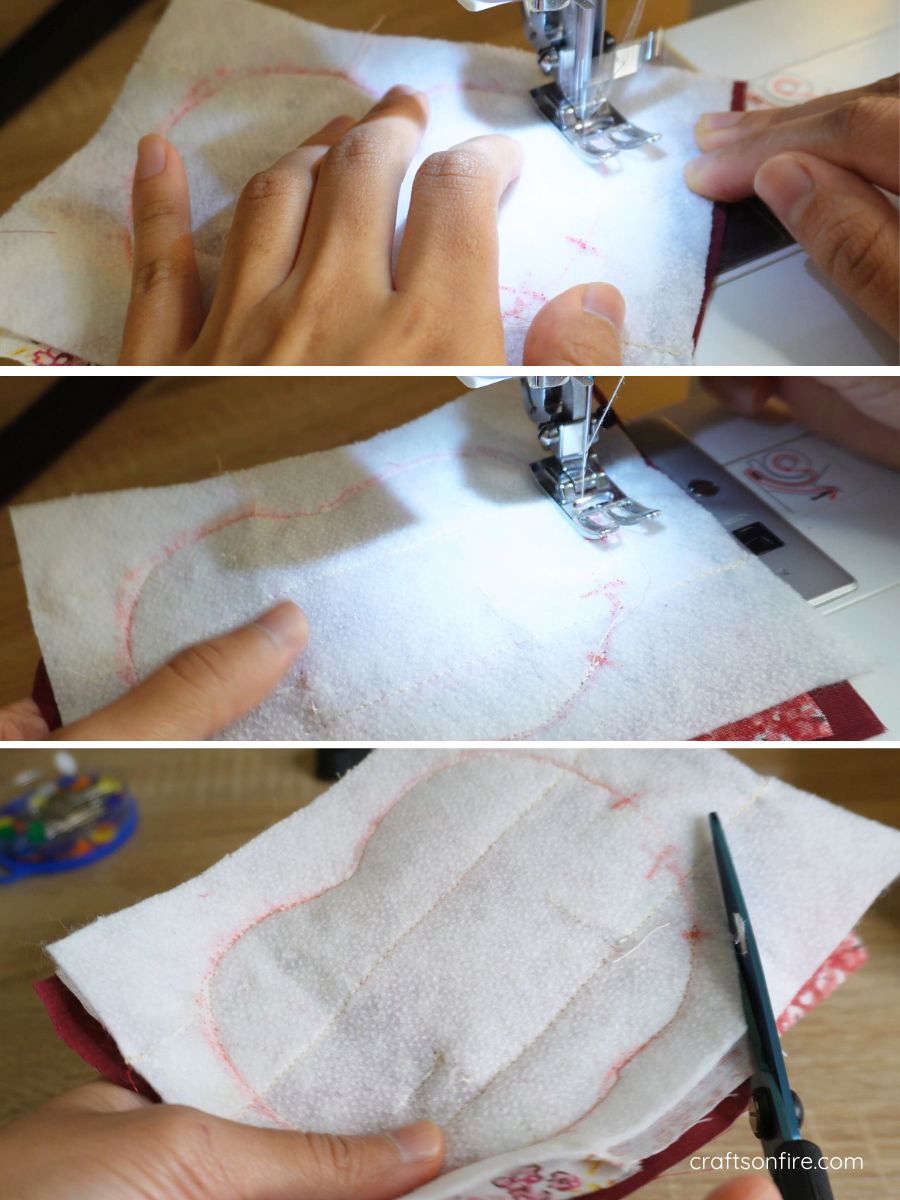
Make tiny snips around the coaster and then use the opening to pull the right side of the coaster through.
Smooth out the apple coaster and grab your needle and thread to stitch the opening using an invisible stitch.
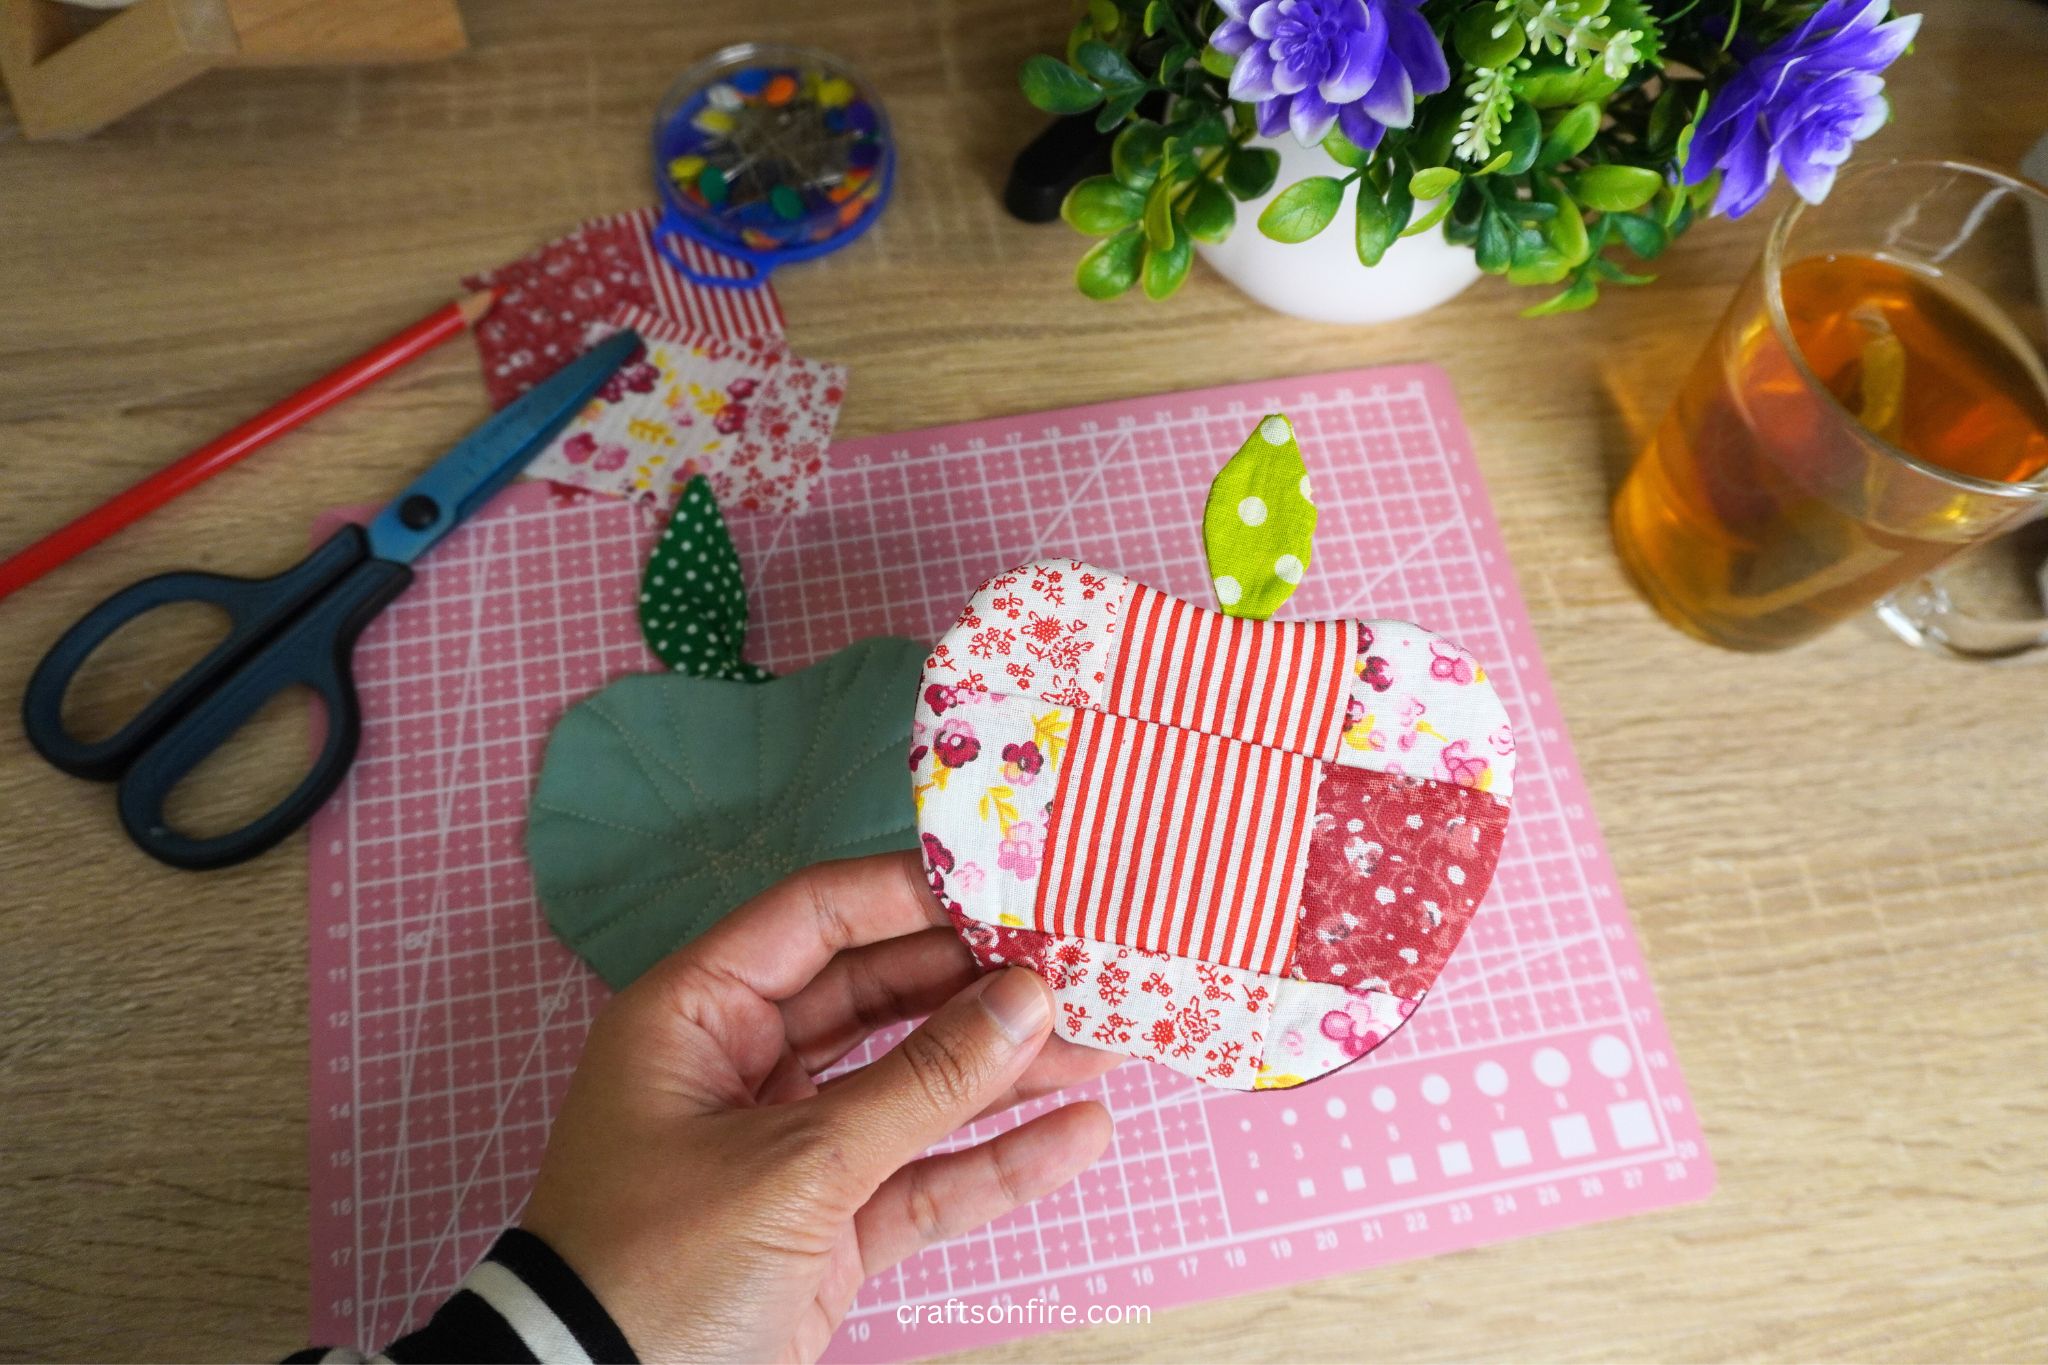
Here’s what the final coaster looks like:
Wrapping Up
So there you have it! I love how these patchwork apple coasters turned out. It looks so cute and pretty.
It’s the perfect little item to add a pop of color and detail to your kitchen counter or coffee table.
You can also do any patchwork design if you like and I’m sure they’ll turn out just as great.
This coaster uses a thick fabric batting, but if you want to make sure it’s completely absorbent, add a few more layers of batting.
I hope that you found this tutorial easy to understand and follow.
If you have any further questions, please drop them below.
More Fabric Coaster Tutorials
How To Sew A Bowl Cozy (Easiest Method!)
