How To Sew A Zipper Pouch
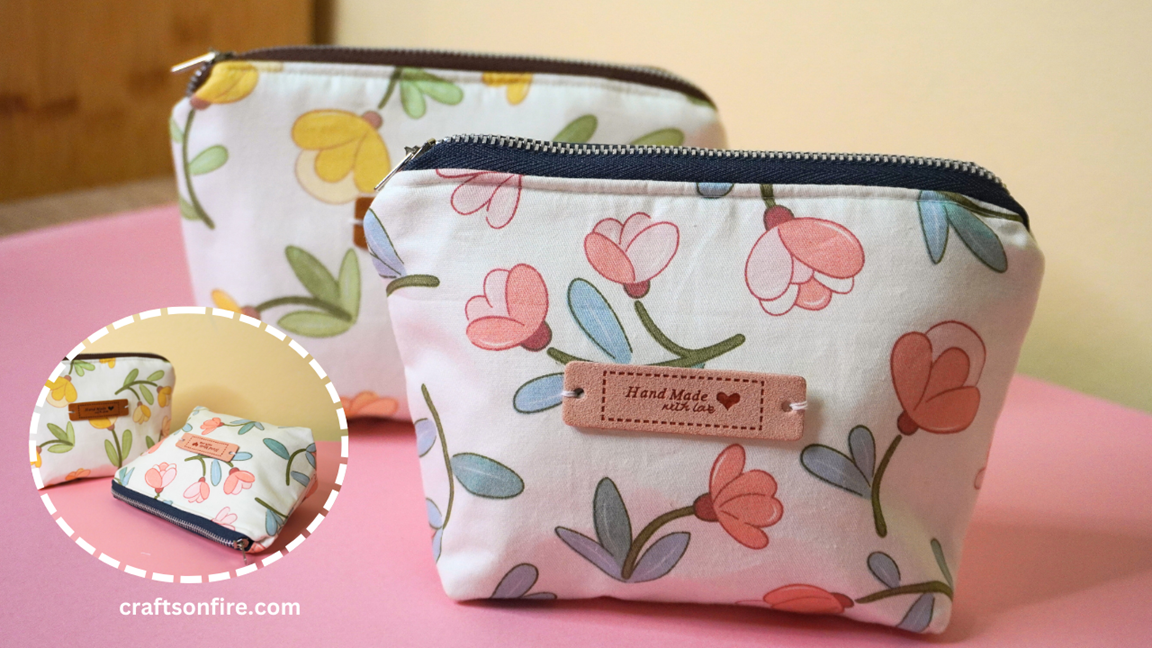
Would you like to sew a zipper pouch that you can carry just about anywhere? How about a pouch that looks both delicate and stylish? Or a pouch you can easily slip into your daily tote bag? This project offers a simple and easy method to help you learn how to sew a zipper pouch on your first try!
I’ve included every single step you need to recreate and sew this zipper pouch in this guide.
I love this pouch so much that I made two in one go and loved every second of it! Since this is a quick sewing project, you can make a few for family and friends in an hour.
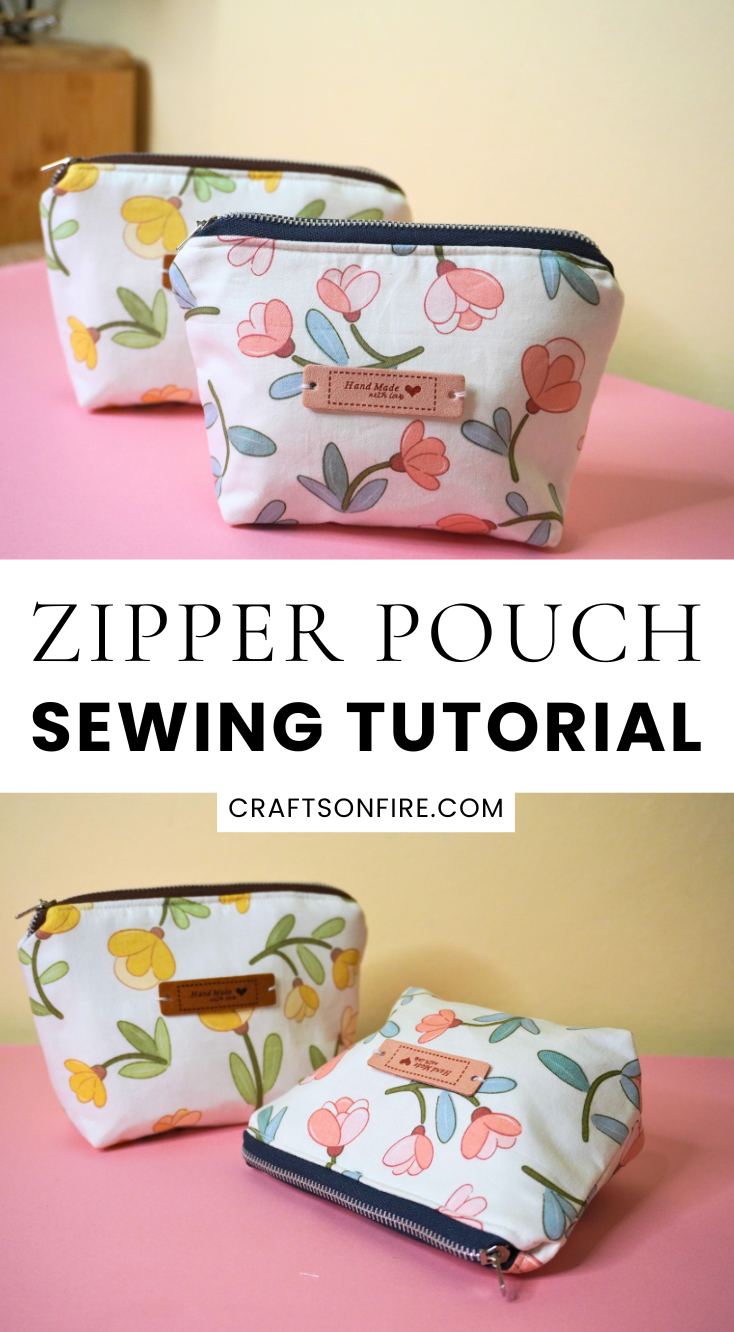
If you are interested in sewing bags and pouches, this zipper pouch sewing tutorial is perfect for beginners. You can use this method to sew any pouch or bag you want – it’s that easy!
Also, if you’ve never even attached a zip before, you’ve come to the right place. I’ll show you an easy method that works every time.
If you’re ready, check out the complete list of materials below and then we can start sewing.
Table of Contents
Zipper Pouch Sewing Tutorial
Measurements
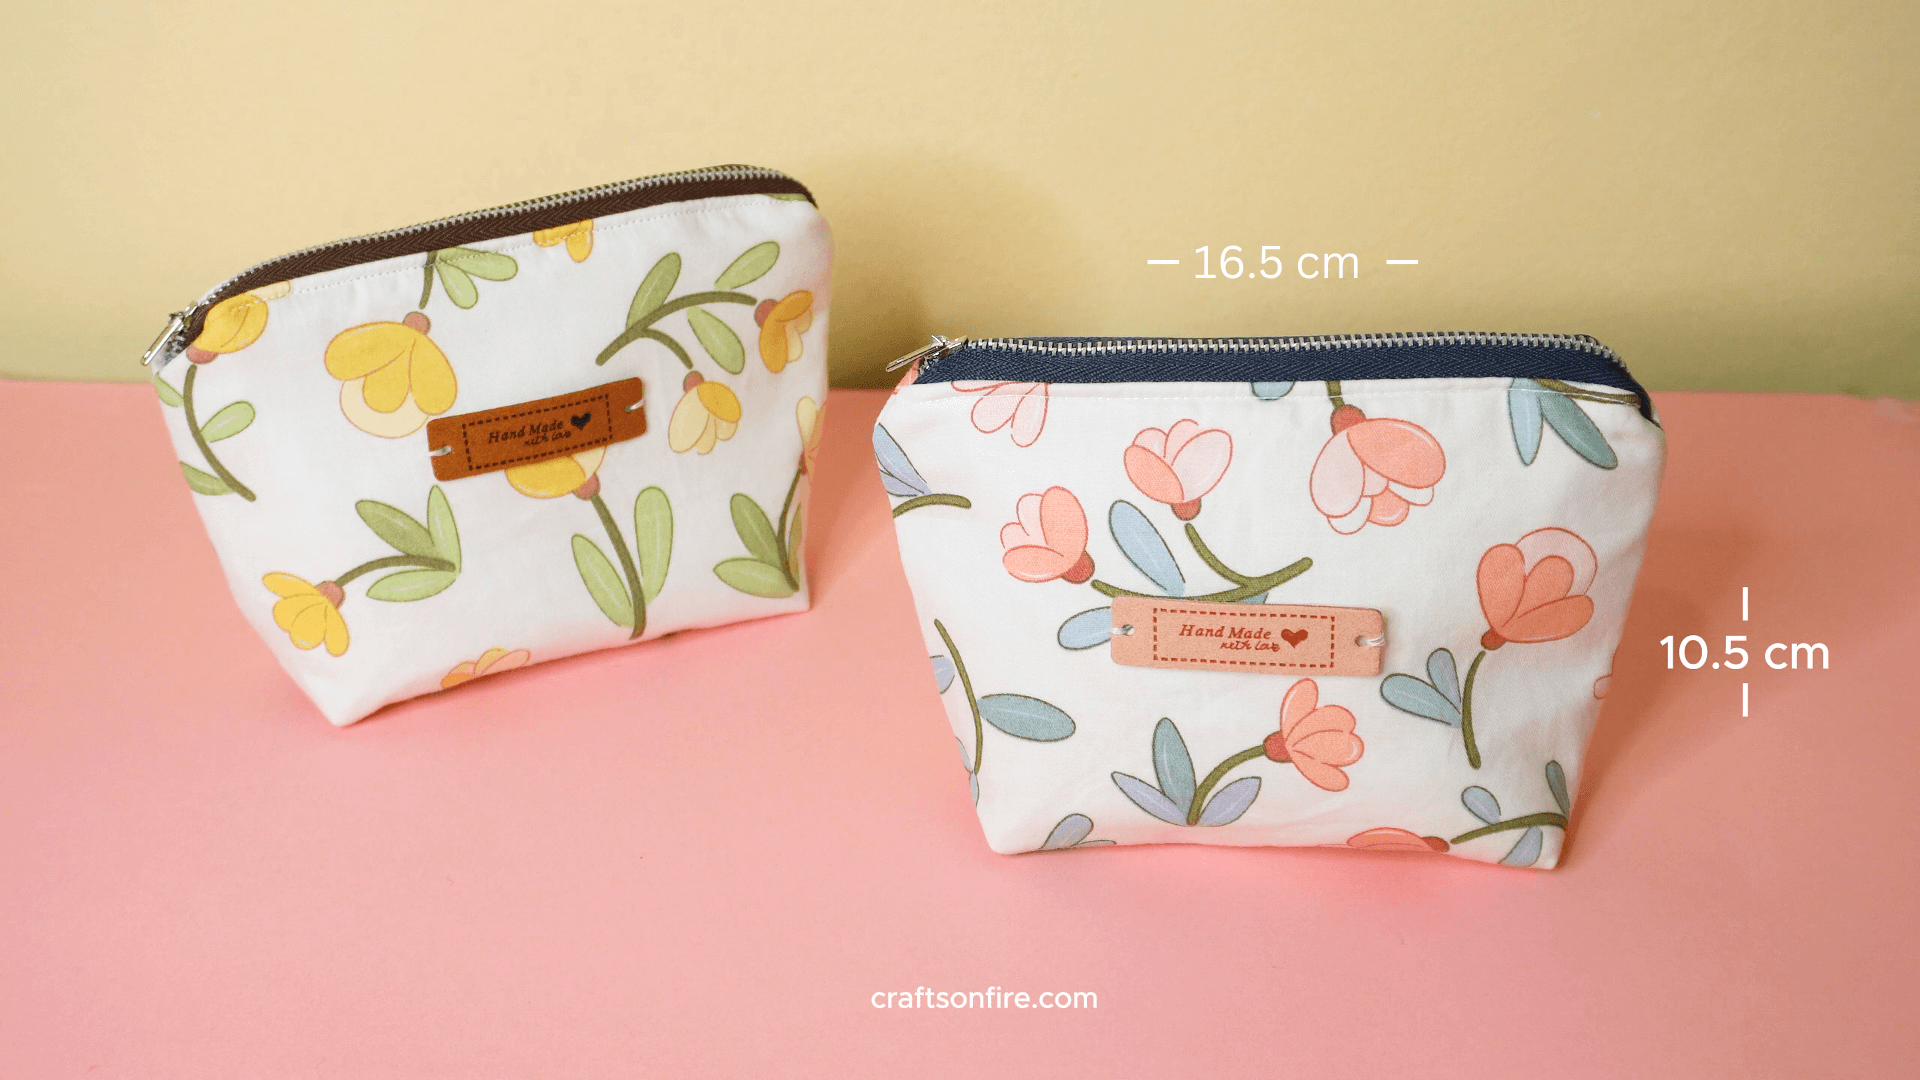
Final Measurements of Pouch – 16.5 cm x 10.5 cm x 5.5 cm (6.49″ x 4.13″ x 2.16″)
Supplies
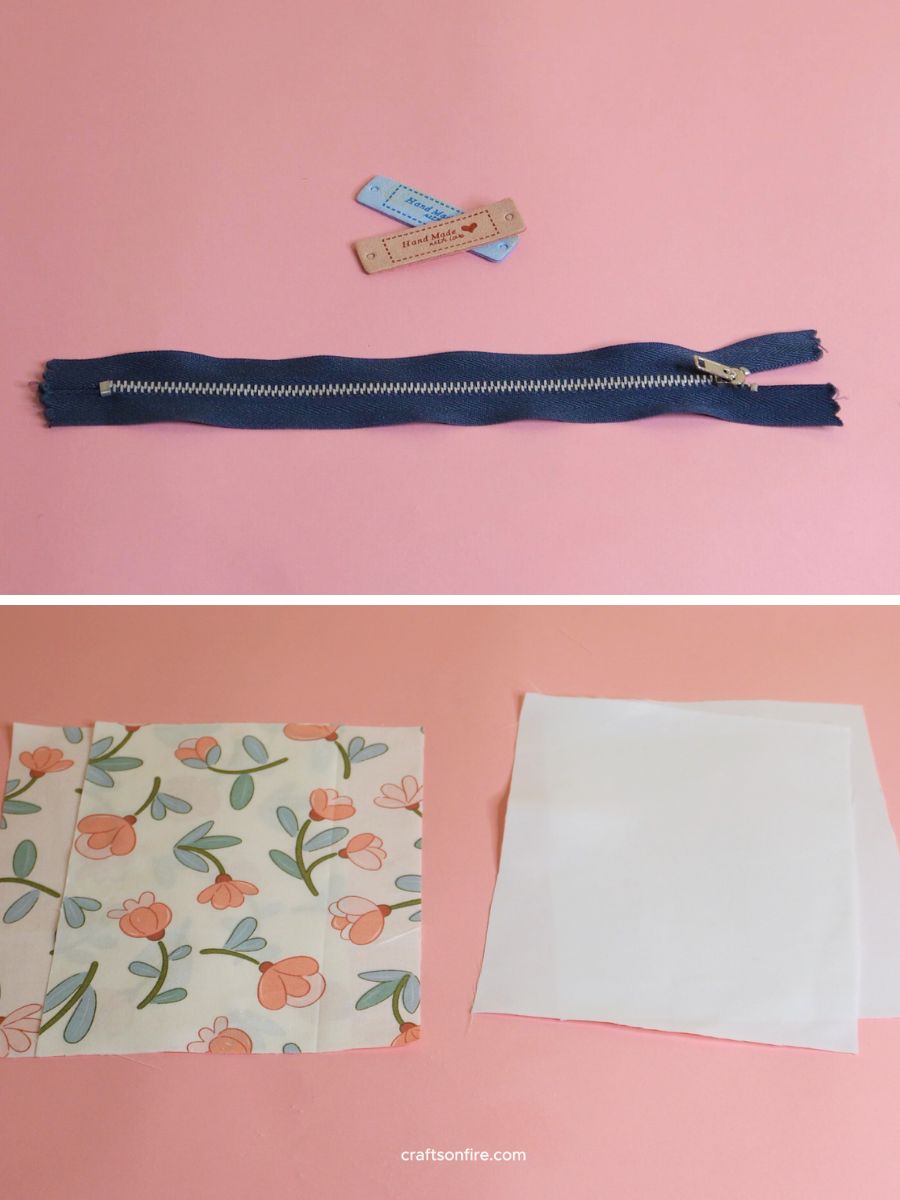
- 2x Floral Patterned Fabric – 19 cm x 15 cm (7.48 inches x 5.90 inches)
- 2x Lining – 19 cm x 15 cm (7.48 inches x 5.90 inches)
- Fabric Batting – 20 cm x 25 cm (7.87 inches x 9.84 inches)
- Zip – 23 – 25 cm (9.05 inches or 9.84 inches)
- Label
- Sewing Machine
- Pins
- Scissors
- Tape Measure/Ruler
- Fabric Pencil/Maker or Tailor’s Chalk
Video Tutorial
I have filmed a complete step-by-step sewing guide for this pouch. If you’re interested, you can watch the process here:
Instructions
Step 1
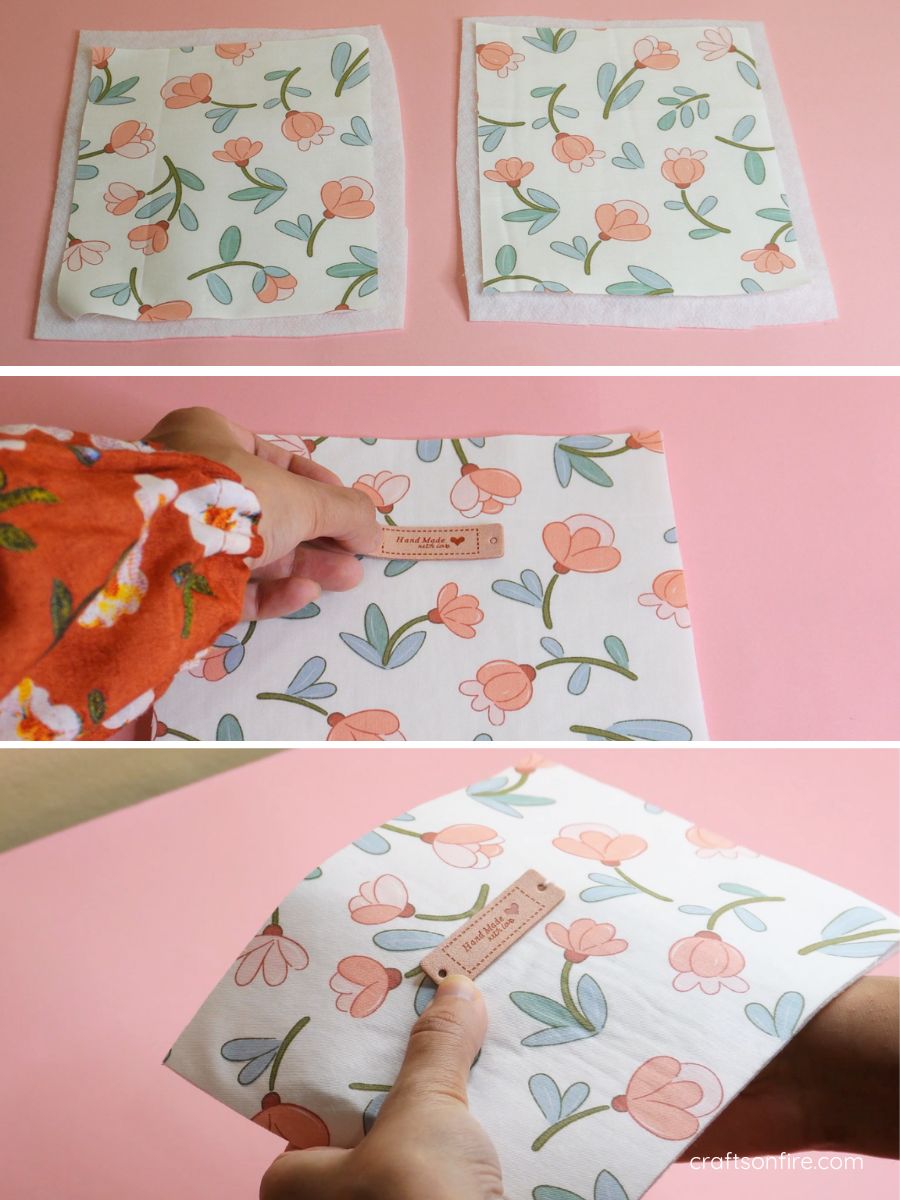
Place the floral-patterned fabric on top of the batting. Gently press the fabric with an iron to help it adhere to the batting.
Once pressed, trim the excess batting around the edges to match the patterned fabric.
Next, we’ll add a cute label to one of the pieces.
Although this step is optional, adding a label gives it a professional look. To do this, position the label in the center of the fabric and then hand-stitch the label to the fabric.
Step 2
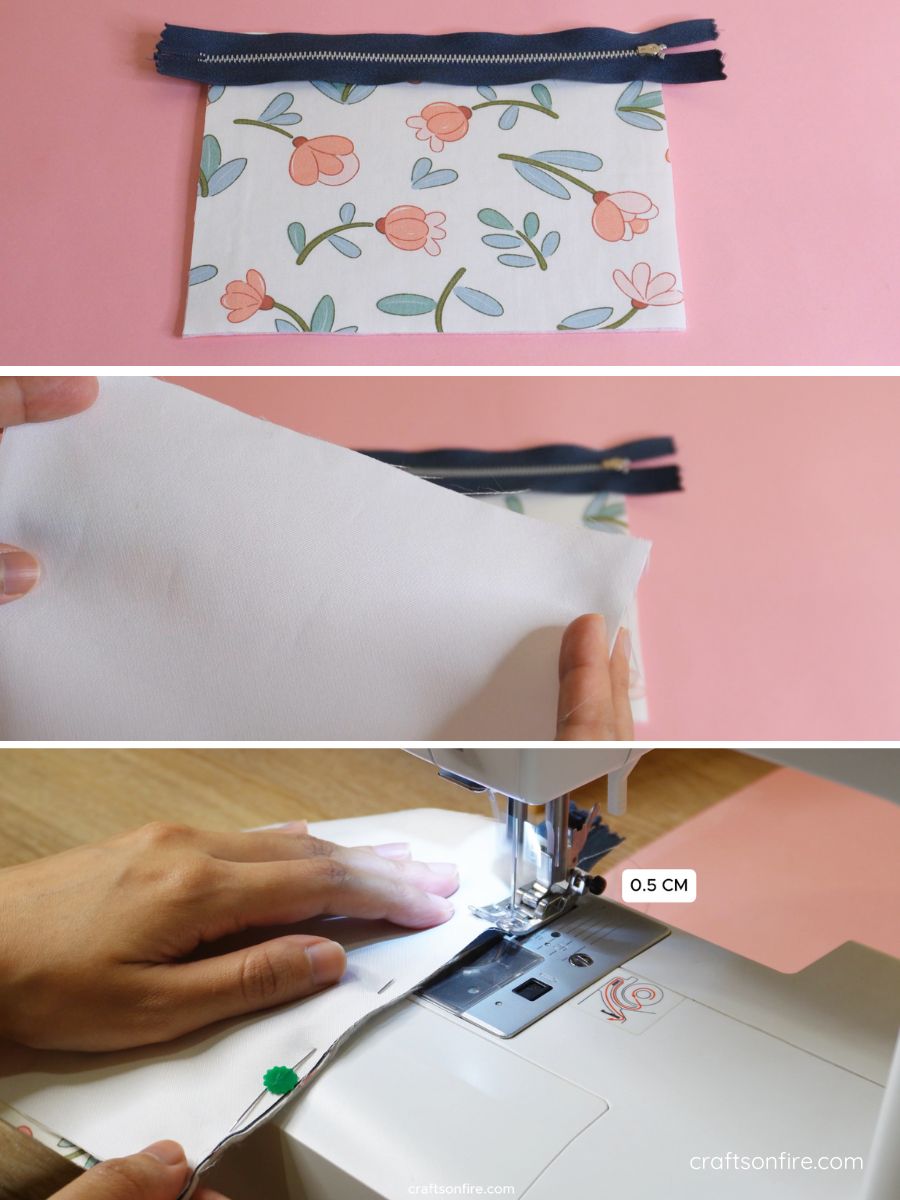
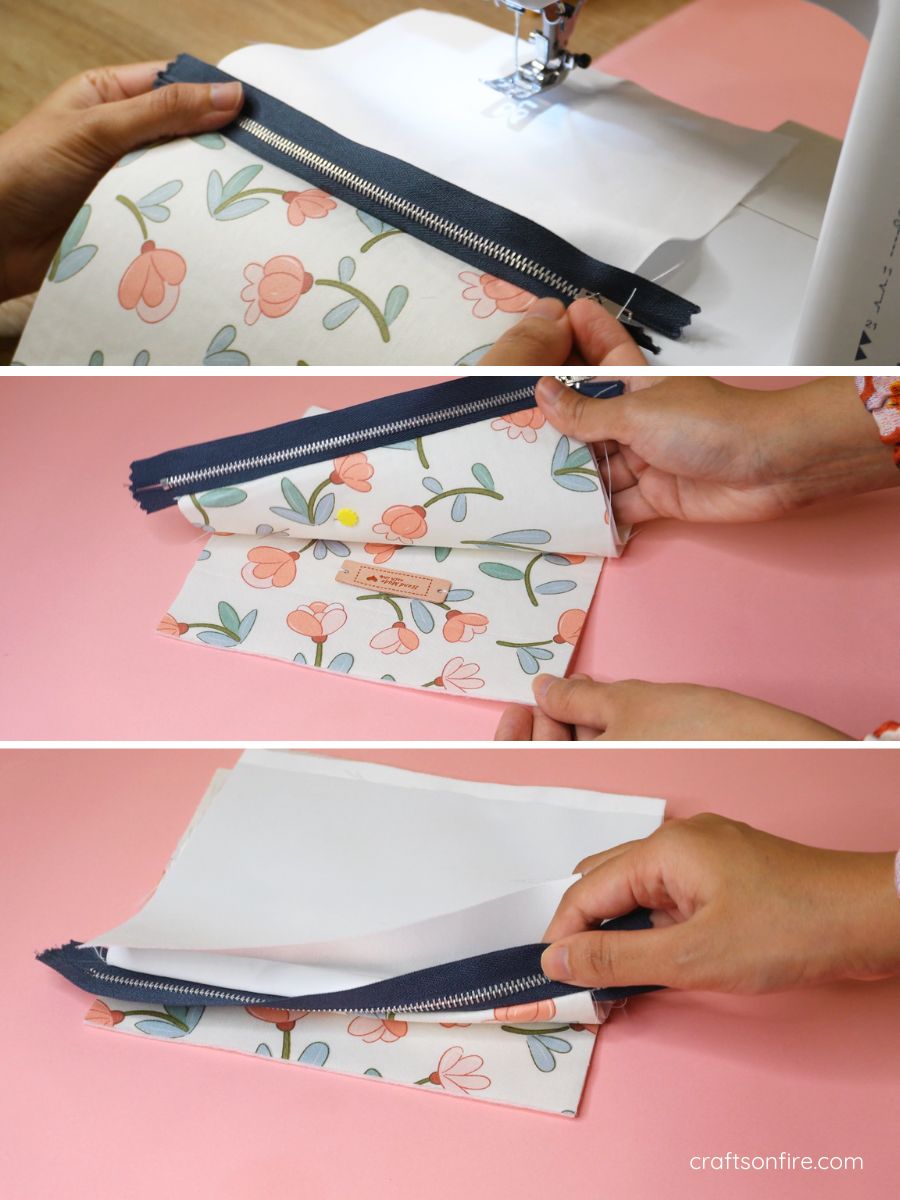
Position the zipper along the top edge of the patterned fabric with the zipper’s right side facing inward, aligning it with the edge of the fabric.
Next, place the lining piece on top of the zipper, with the right side facing inward.
The zipper should be sandwiched between the fabric and the lining piece.
Carefully stitch all three layers (fabric, zipper, and lining) together along the top edge using a 0.5 cm seam.
Step 3
Turn the fabric to the right side (the floral print should be facing up) and fold the lining piece down.
Grab your second piece (the one with the label) and place it underneath the first piece.
Then, place the second lining piece on top of the first lining piece, ensuring the right side is facing in, as shown below.
Align the fabric and lining to the top edge of the zipper.
Step 4
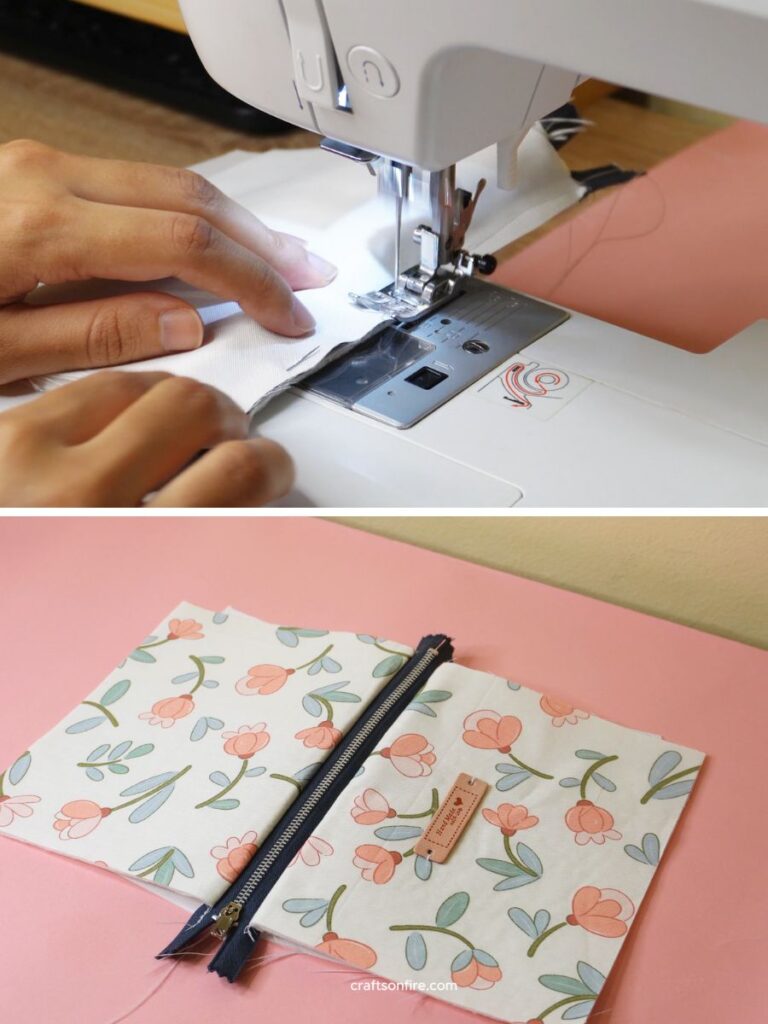
Head to the sewing machine and sew these pieces together (fabric + zipper + lining).
Once these pieces are stitched, open out the fabric as shown below. The right sides should be facing up.
Step 5
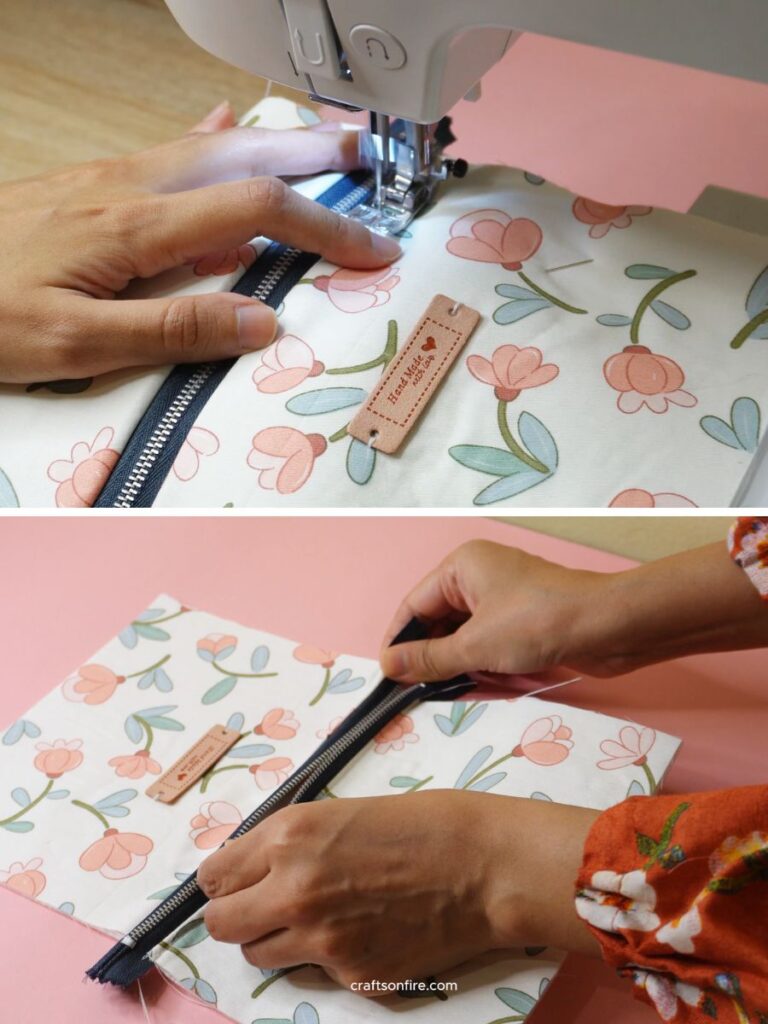
Carefully add a topstitch along both sides of the zipper, ensuring it’s even and secure. Once the topstitching is done, gently pull the zipper open to the halfway point. This will make it easier to turn the pouch right side out later.
Step 6
Fold the patterned fabric pieces together and then the lining pieces. The wrong side should be facing up now.
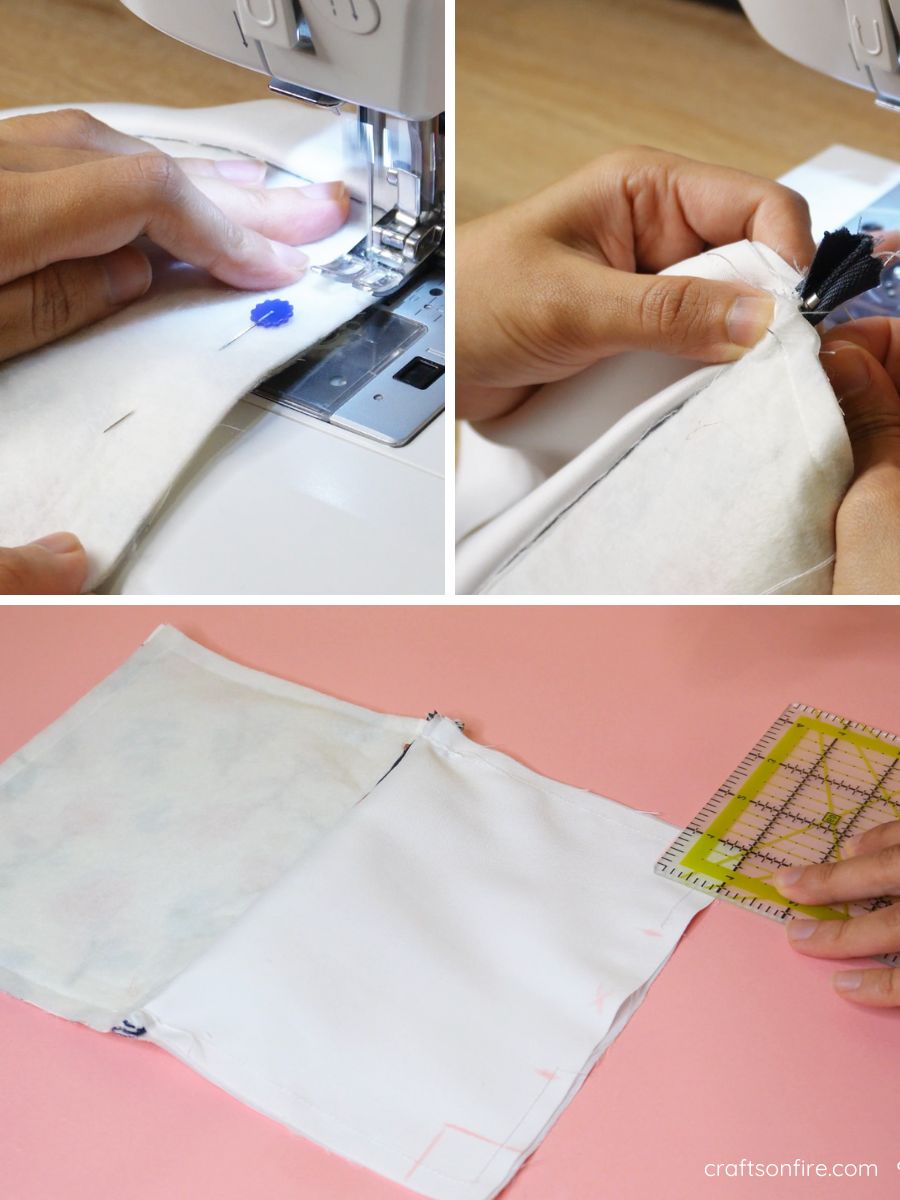
Then, at the bottom of the lining piece, mark a small opening (7 – 8 cm/ 2.75″ – 3.14″) using a fabric pencil or tailor’s chalk. This section will be used to turn the pouch to the right side.
Then, pin the fabric and get ready to sew.
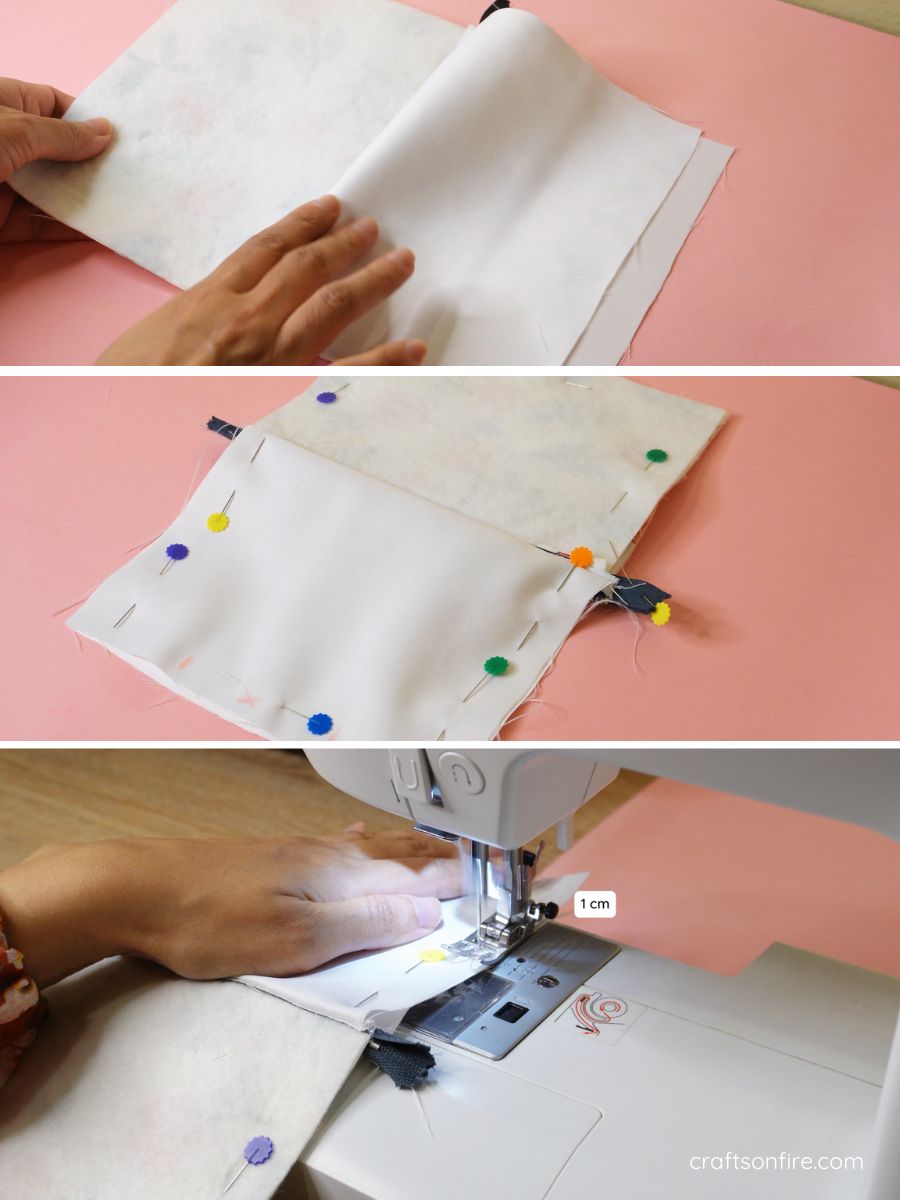
Note: If you’re using a zipper with metal teeth, be cautious, as this can break a needle. To avoid any issues, I recommend hand-stitching the zipper sections.
Step 7
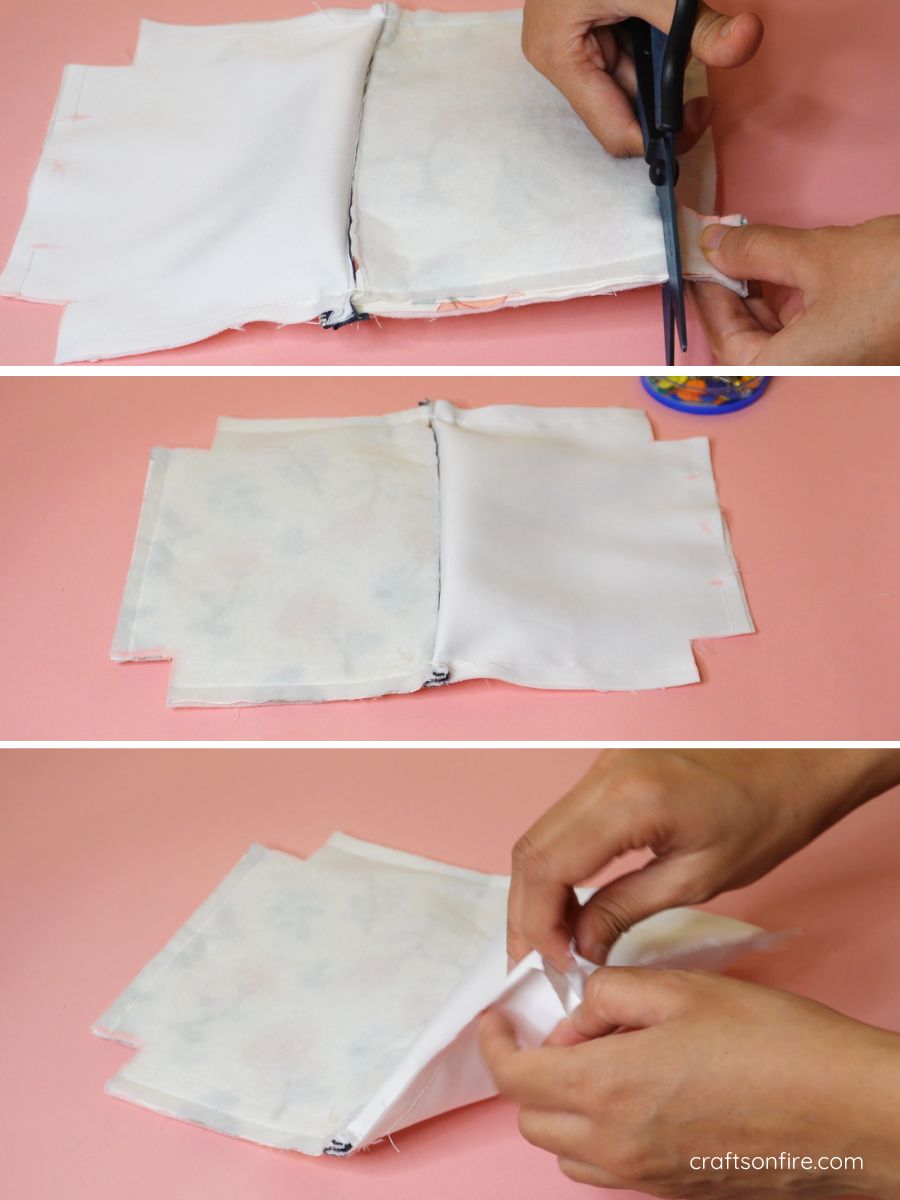
Once you’ve finished sewing all sides of the fabric, head over to the bottom of the lining piece and mark a 5 cm x 5 cm square on both ends. Repeat this step for the batting (patterned fabric) piece.
Step 8
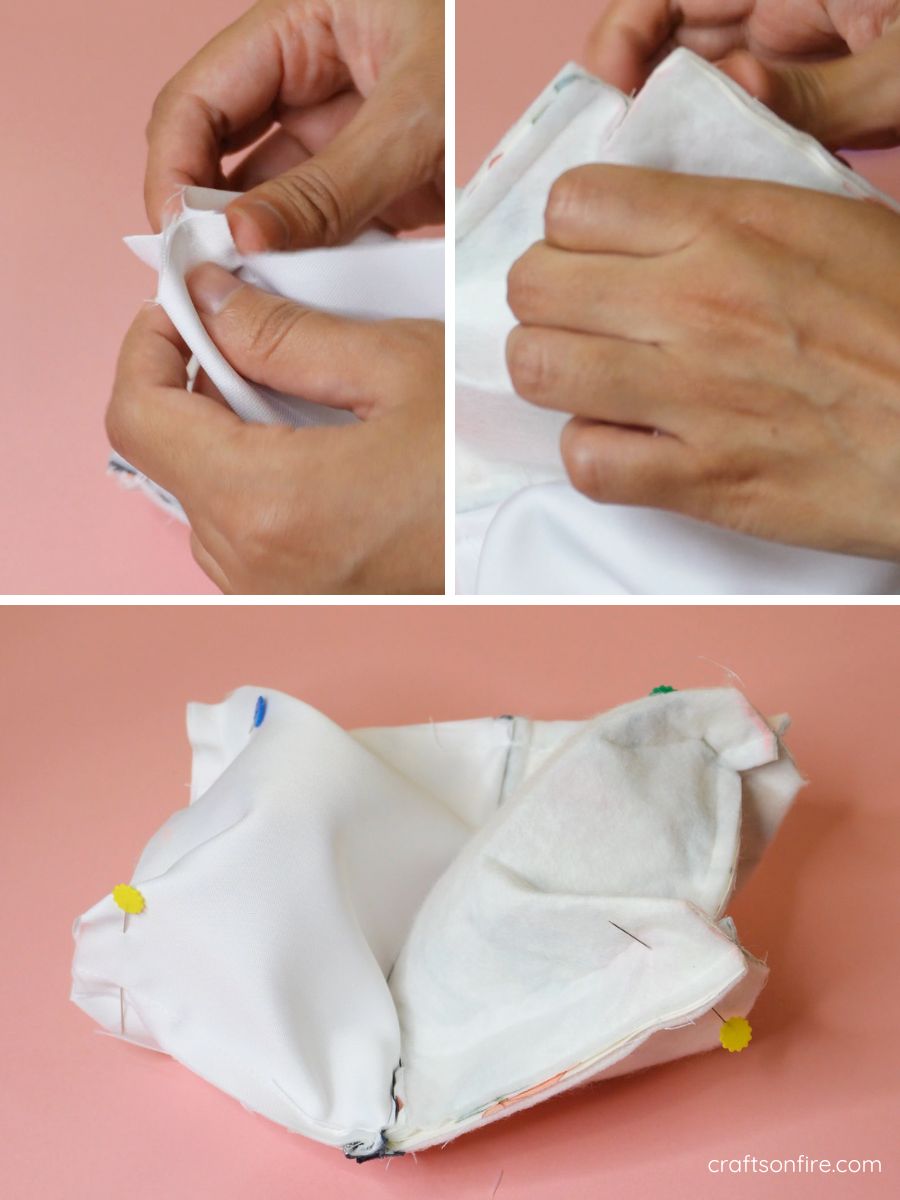
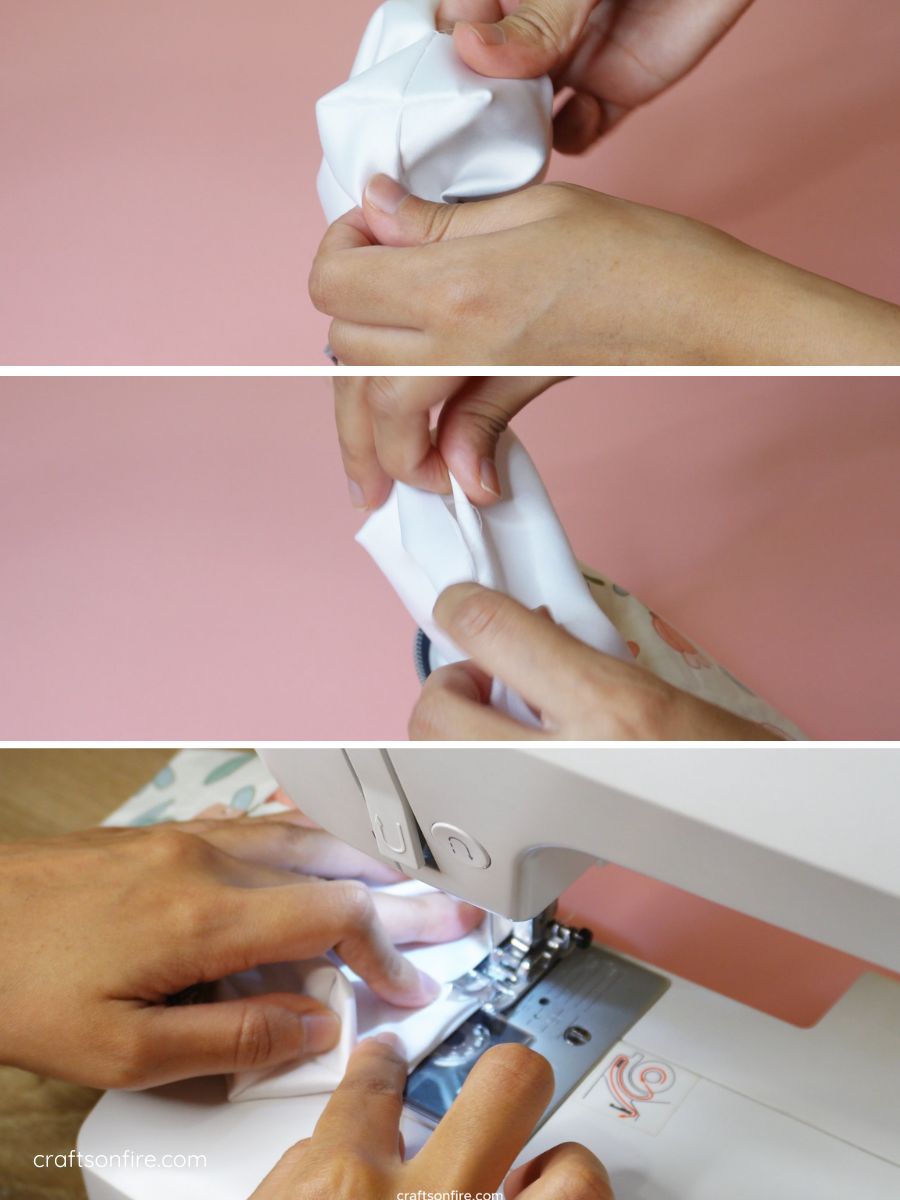
Cut out the marked corners. Then, grab one corner and fold the fabric together. This is known as boxing the corners.
Pin the fold in place and repeat for the remaining three sides.
Step 9
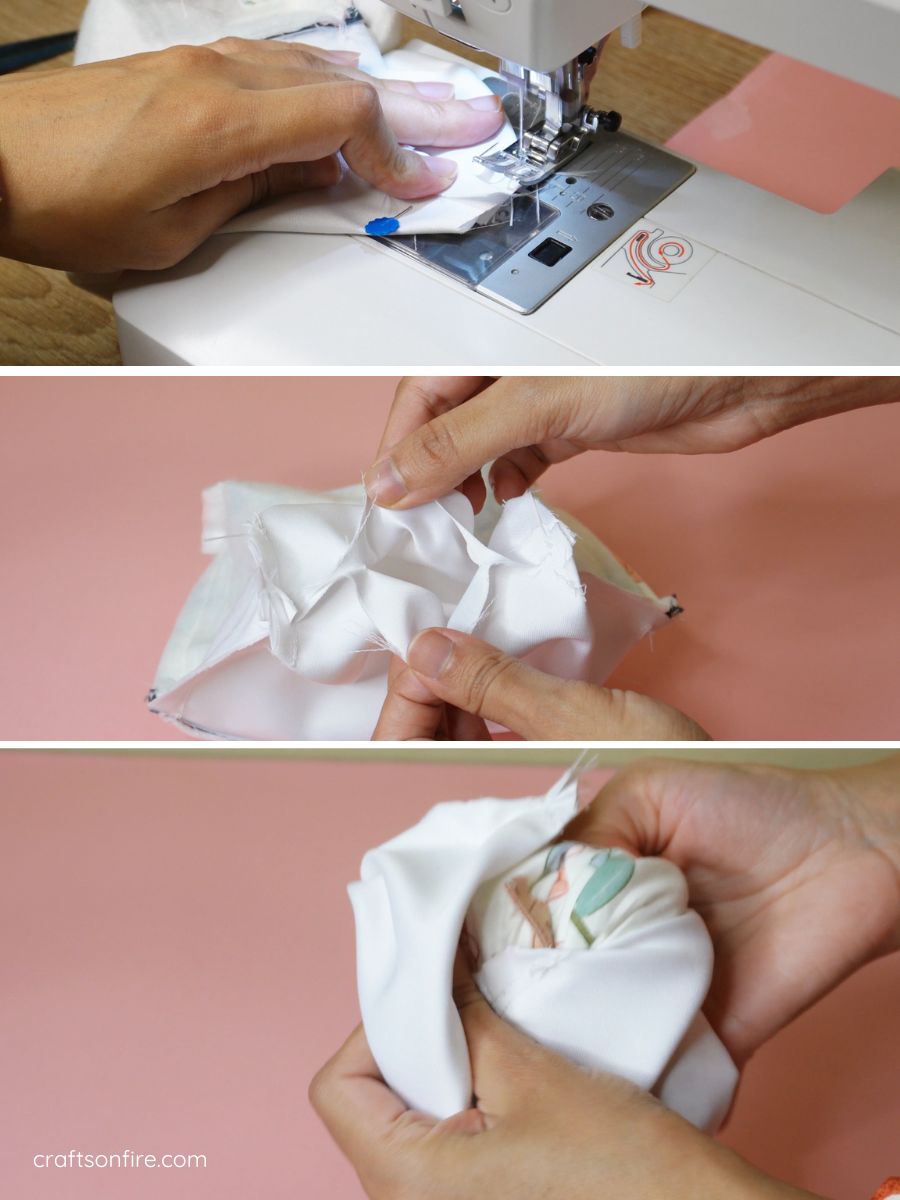
Head to the machine again and sew each corner using a 0.5 cm seam.
Then, peel open the unstitched section of the lining and carefully pull the fabric through it.
Step 10
Next, unfold each corner using your finger or a pen.
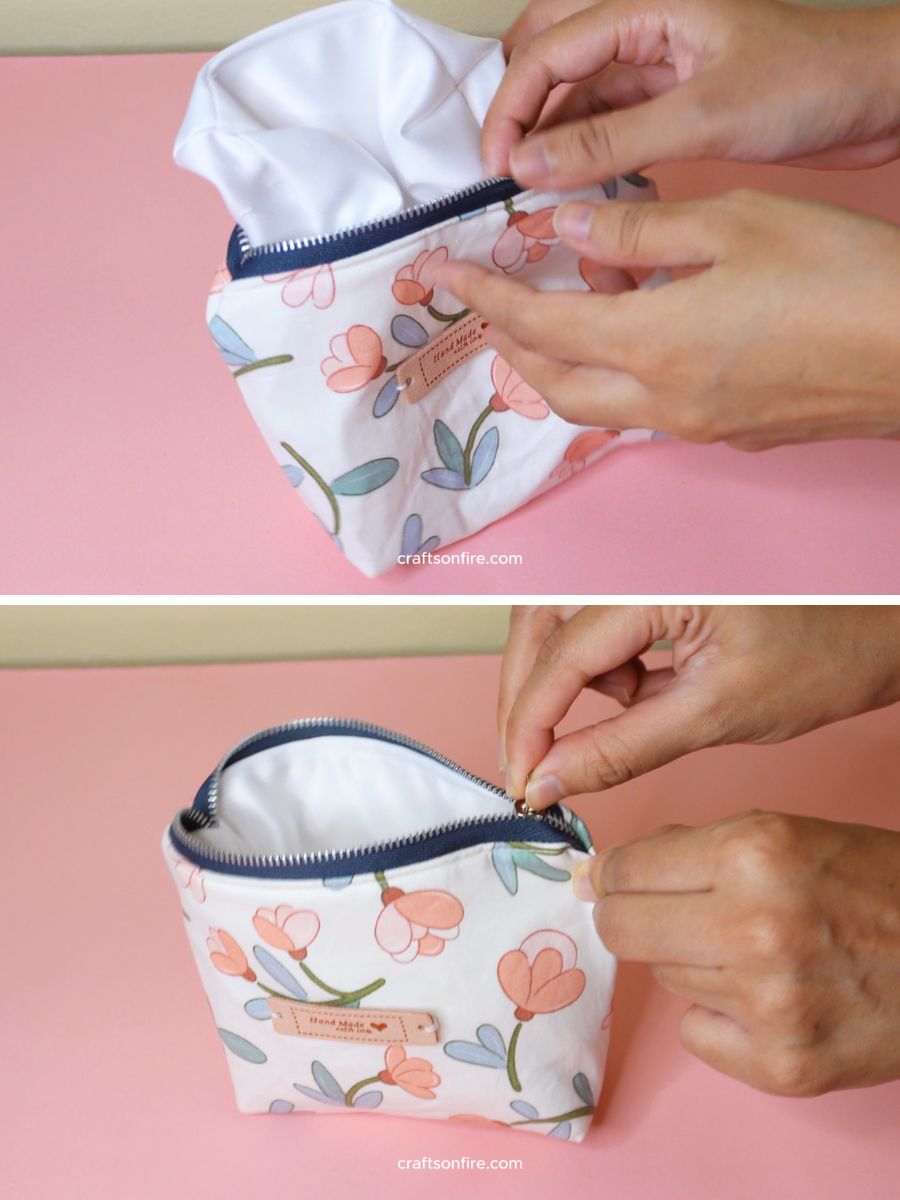
Then, find the opening again, fold the fabric edges inward, and stitch it closed with a straight stitch.
Step 11
Place the lining inside the bag and you’re done. Now you can zip the bag up and enjoy!
Final Thoughts
That’s it! Your zipper pouch is now complete.
I’m quite happy with how this zipper pouch turned out. The slightly rounded corners and the boxed bottom give the pouch an interesting and unique charm.
I can’t stop admiring it!
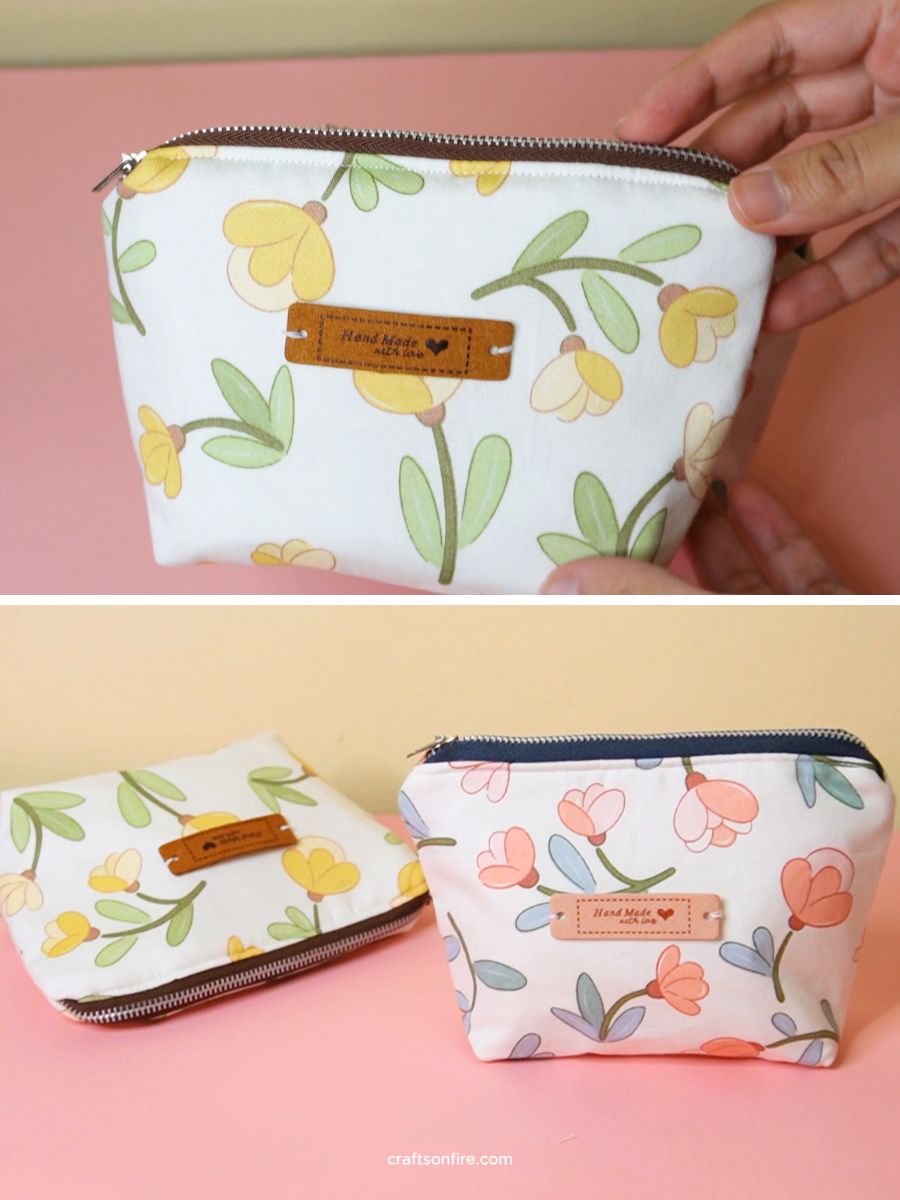
You can fill the pouch with makeup, sewing, craft supplies, or anything else you need. There’s quite a bit of space in these pouches!
As a side note, you don’t need to use a floral fabric if you don’t want to. Any type of fabric will work for making this zipper pouch, and I’m sure it will still turn out just as cute and stylish!
With that said, I hope you found this tutorial easy to follow. If you have any further questions or need further assistance, drop a comment below and I’ll do my best to help.
Also, if you sewed this pouch, please do share your finished product! You can tag me on Instagram or Pinterest. I’d love to know how your pouch turned out.
Before you go, here are a few more easy and quick sewing tutorials you can try next:
