How To Sew A Fabric Tissue Holder
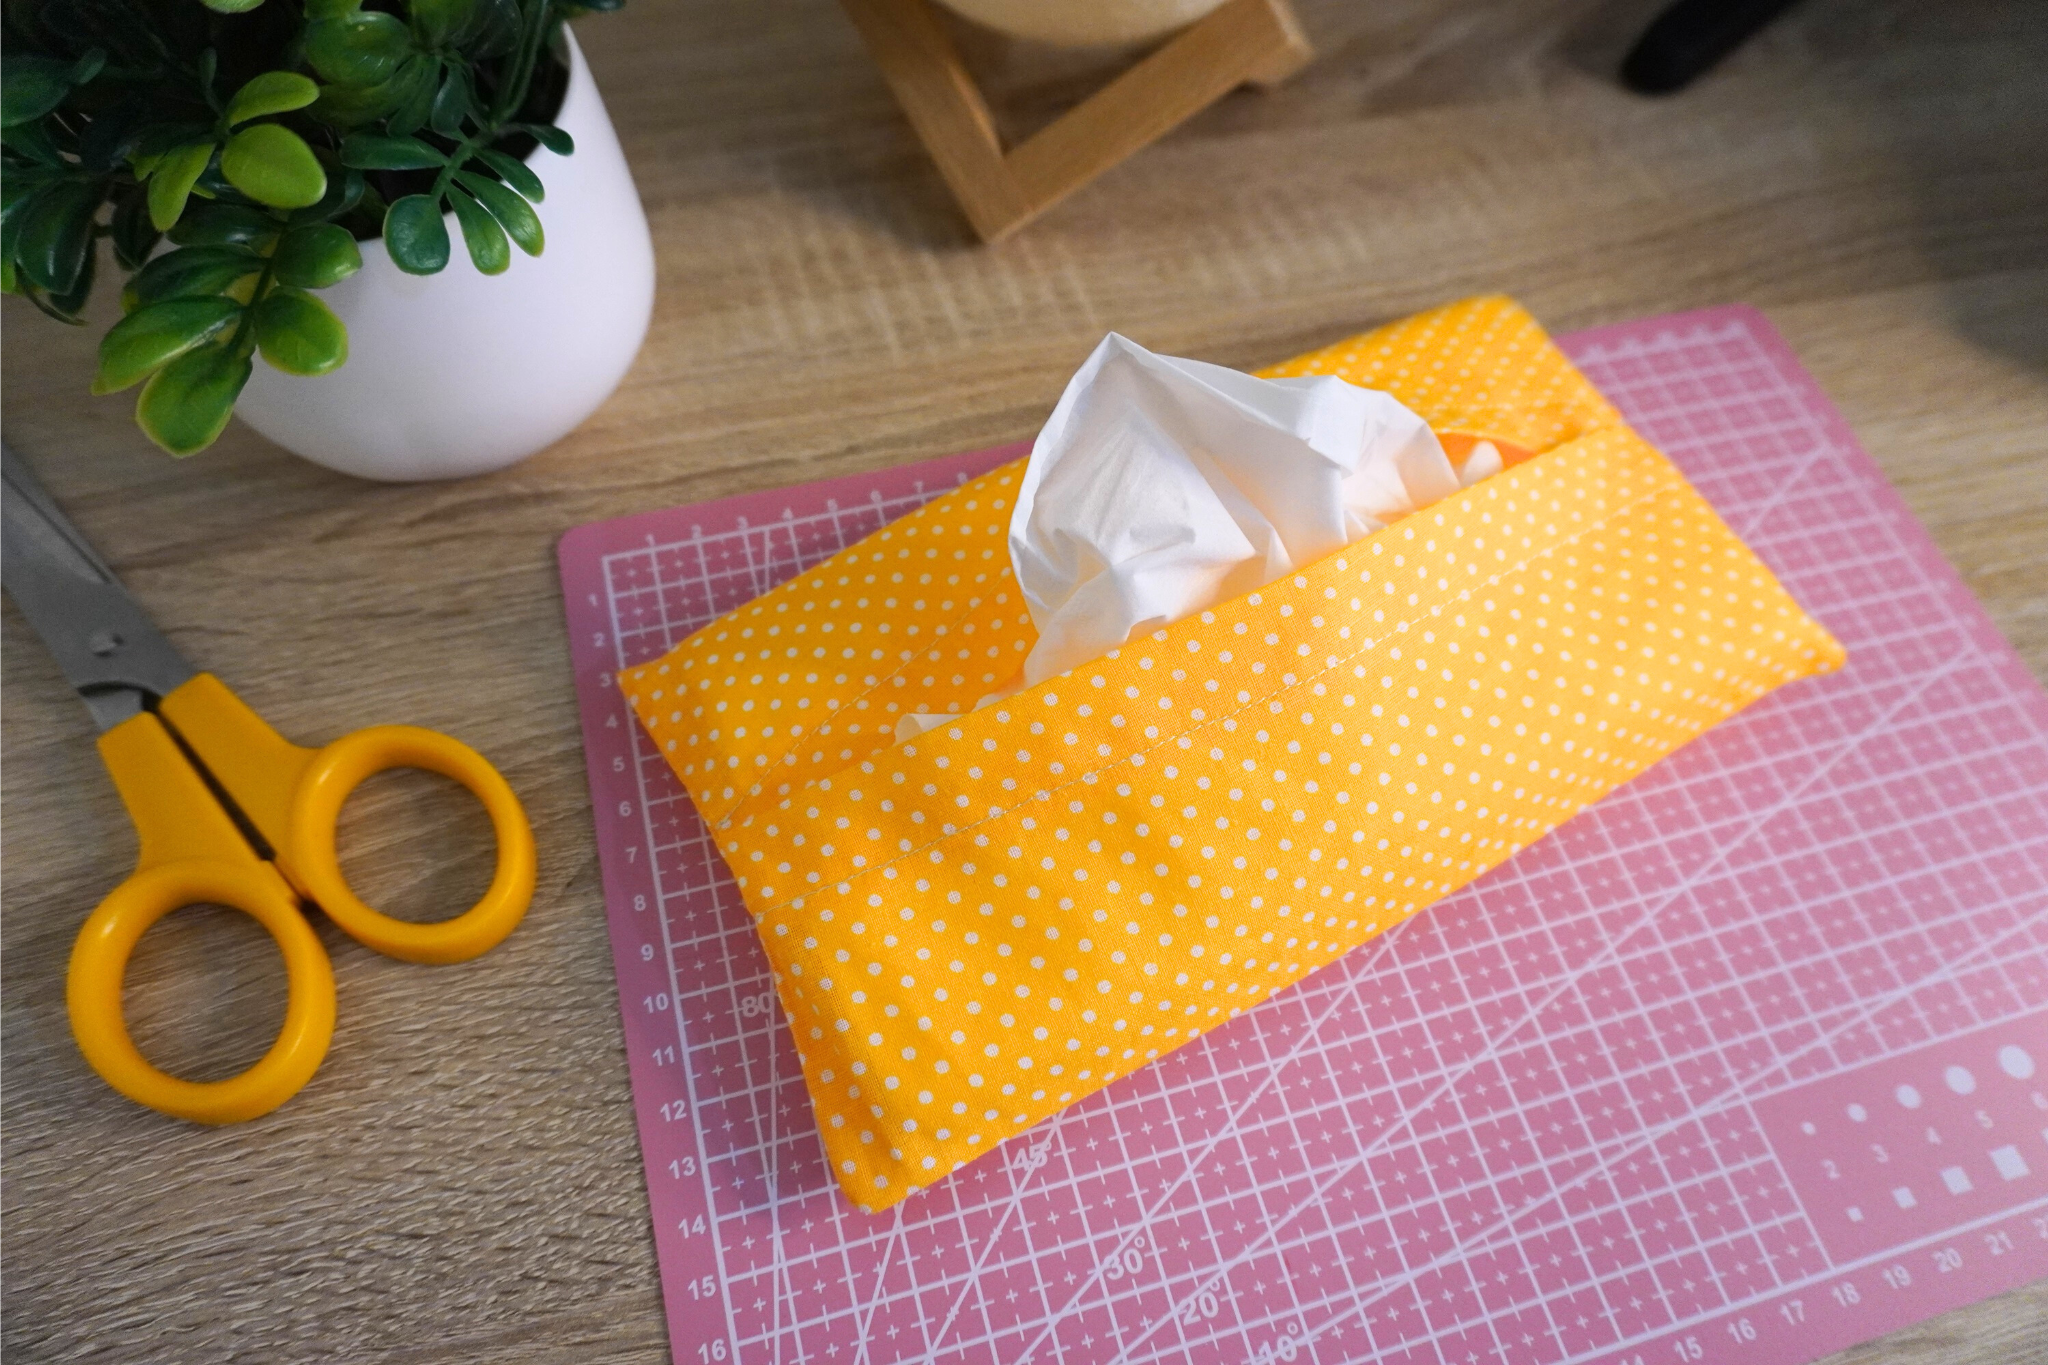
Ditch those cardboard tissue boxes and sew this awesome fabric tissue holder which you can easily carry around wherever you are – at home, work, or in the car! These fabric tissue holders are so easy and quick to sew. It’ll take you less than 10 minutes and it looks so good.
This is also a wonderful little gift you can sew in any material you like for friends and family. You can bust out a couple of them in less than an hour. It’s quite a practical and handy item, especially if you sew a smaller pocket-size version instead.
In this step-by-step sewing guide, I’ll show you exactly how to measure, pin, stitch, and assemble this fabric tissue holder. You won’t miss out on a single step. I even have a video tutorial if you’d prefer to watch me sew the holder.
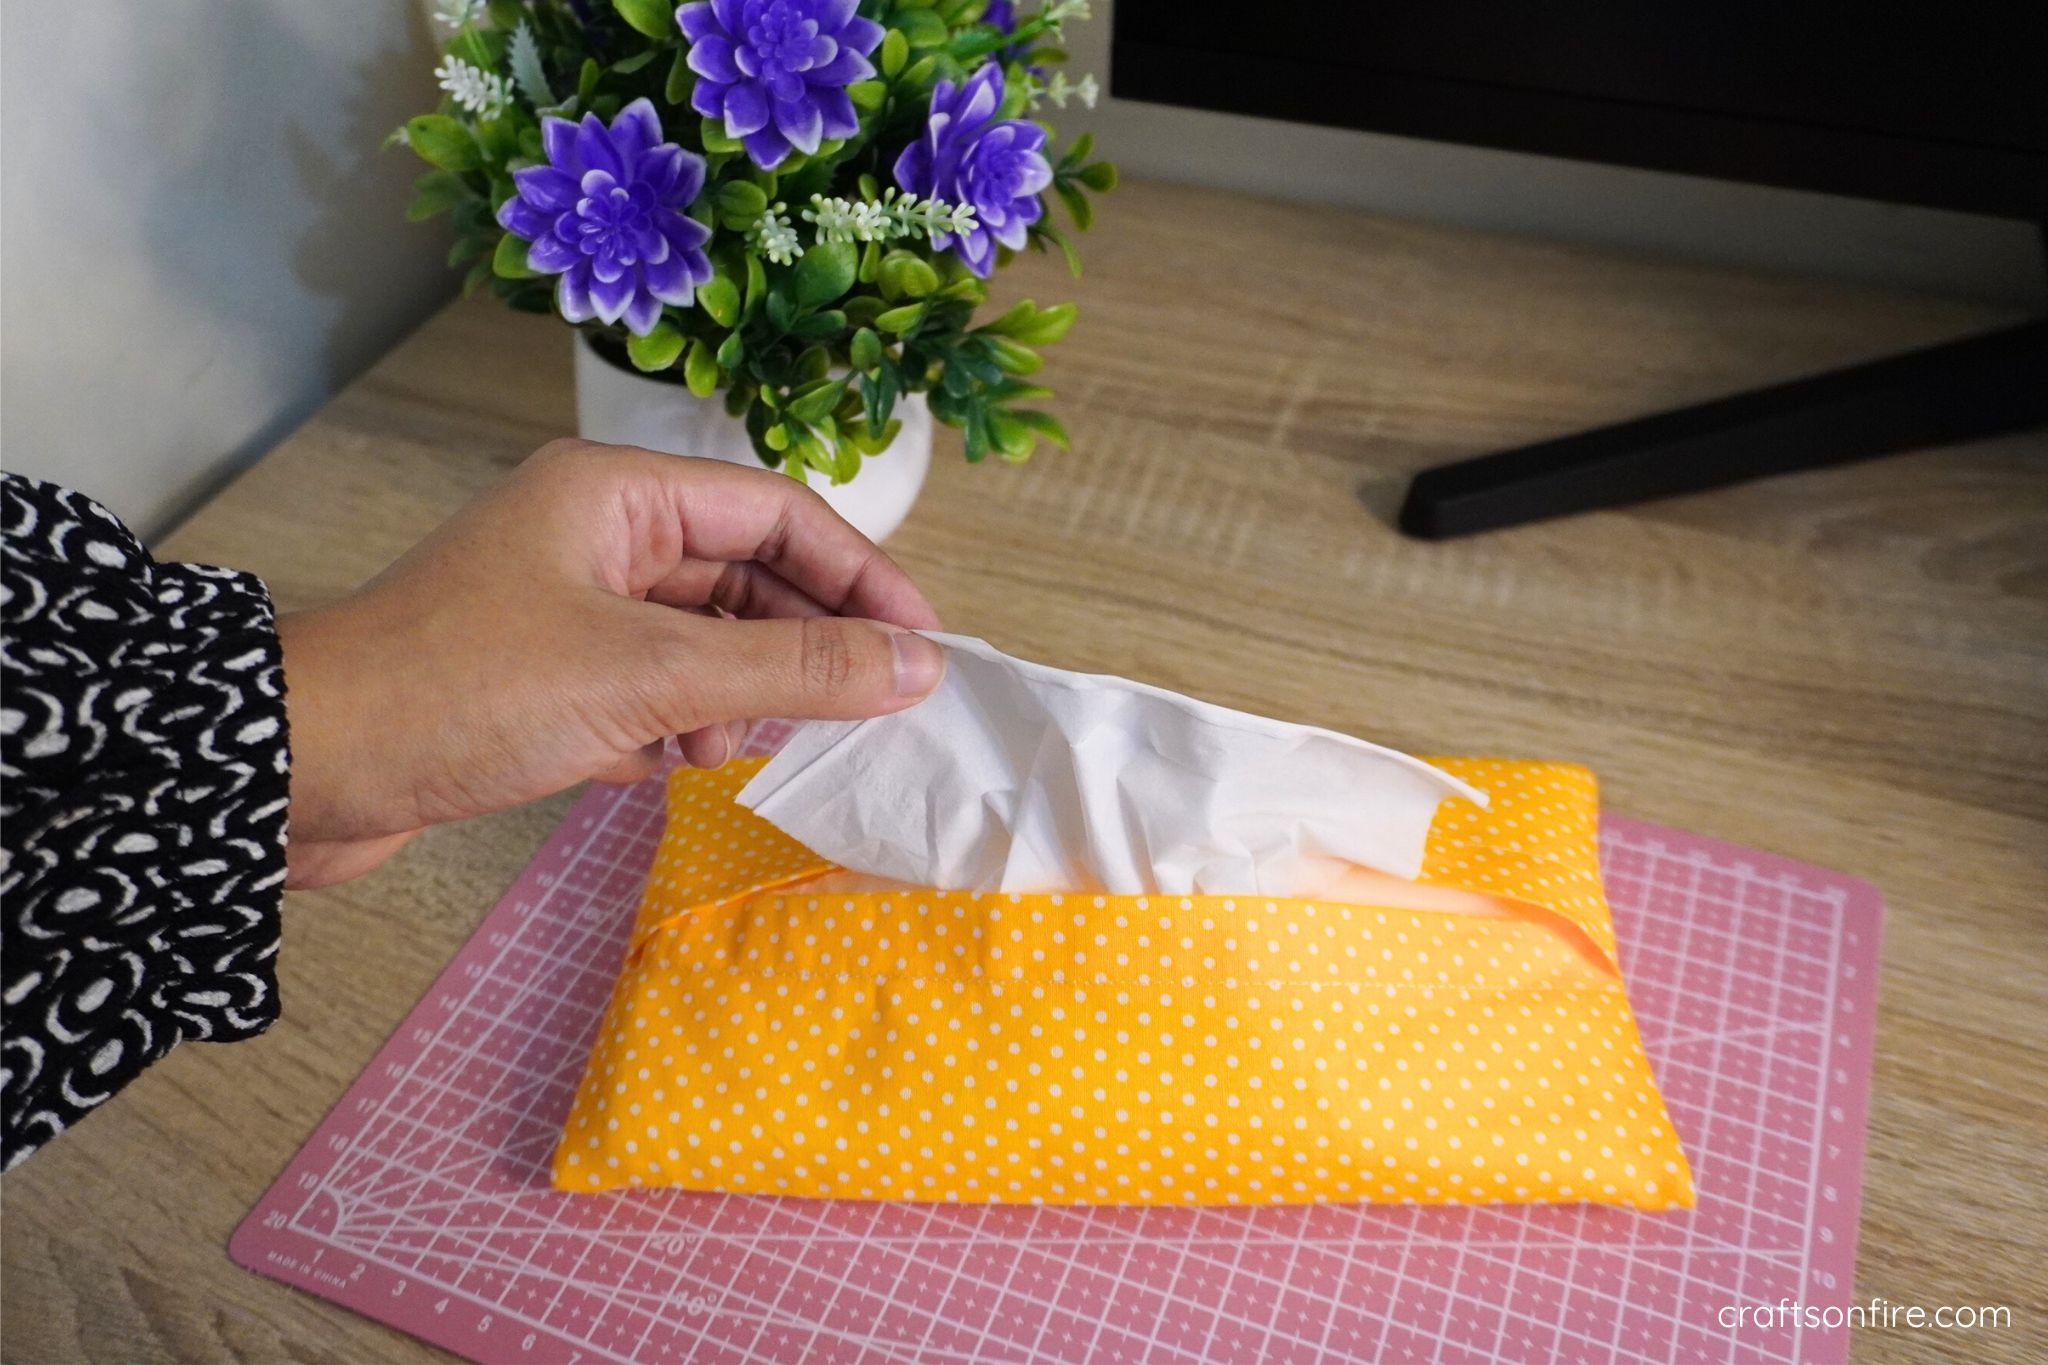
As I was sewing this tissue holder, I knew this would make a fantastic tutorial for anyone who is looking to learn how to sew but also create beautiful items for their home. I believe this is one of the best sewing projects any beginner should start with.
I know you’re probably excited to get started, so let’s get straight to the tutorial.
Table of Contents
Easy Fabric Tissue Holder Tutorial
Supplies
- Patterned Fabric
- Sewing Clips or Pins
- Measuring Tape or Ruler
- Sewing Machine
Measurements
Fabric Length: 33 cm x 25 cm
The finished fabric tissue holder measures
If you want to sew a pocket-size tissue pouch, grab the tissue and measure the fabric to how much you think you will need. Then follow the exact steps written below.
Printable PDF:
A quick heads up: I created a more detailed A4 Printable PDF version of this sewing guide. If you’d like to follow along without ads getting in the way, grab your copy over here!
Video Tutorial
Instructions
Step 1: Fold Sides
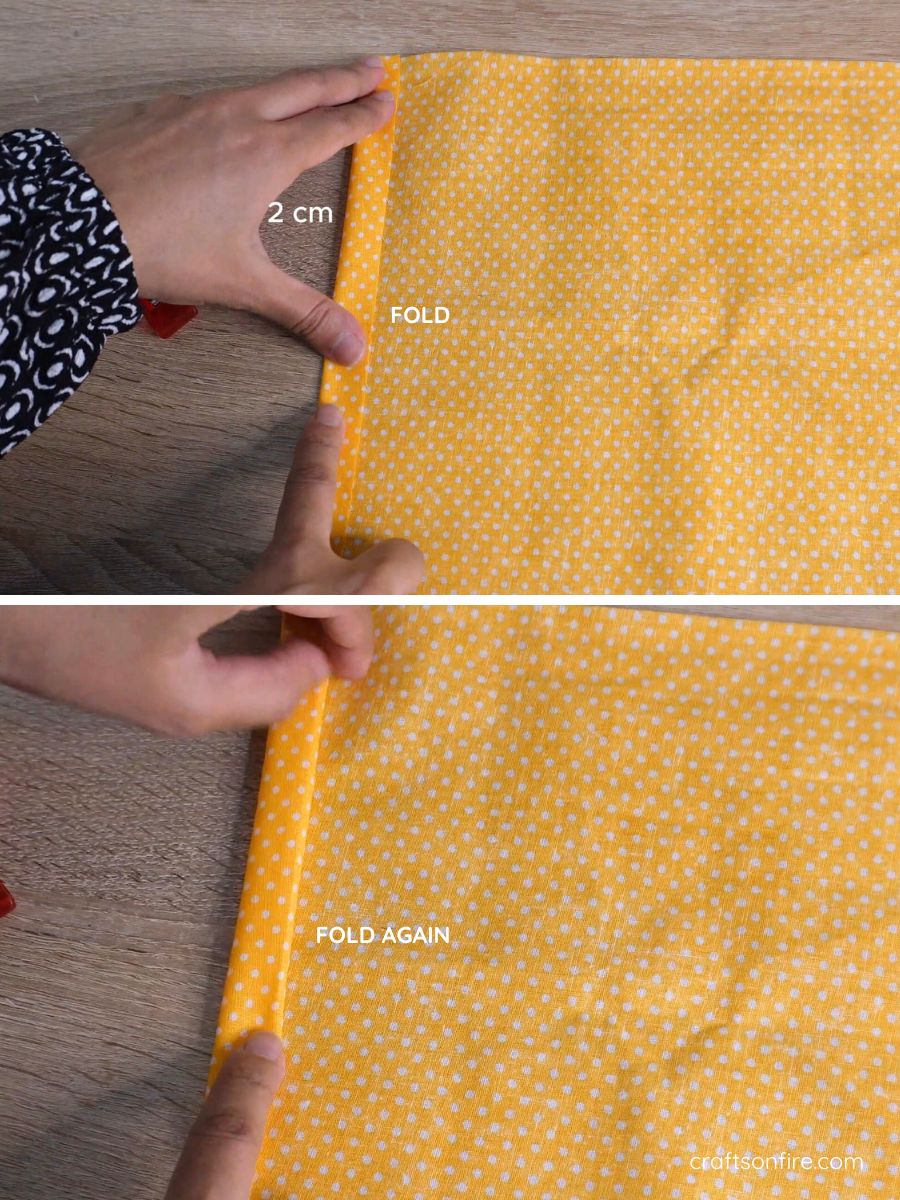
Turn the fabric over to the wrong side and fold the side of the fabric 2 cm in. Then fold it over one more time to create a nice fold. Repeat this step for the other side.
Step 2: Secure & Stitch The Seam
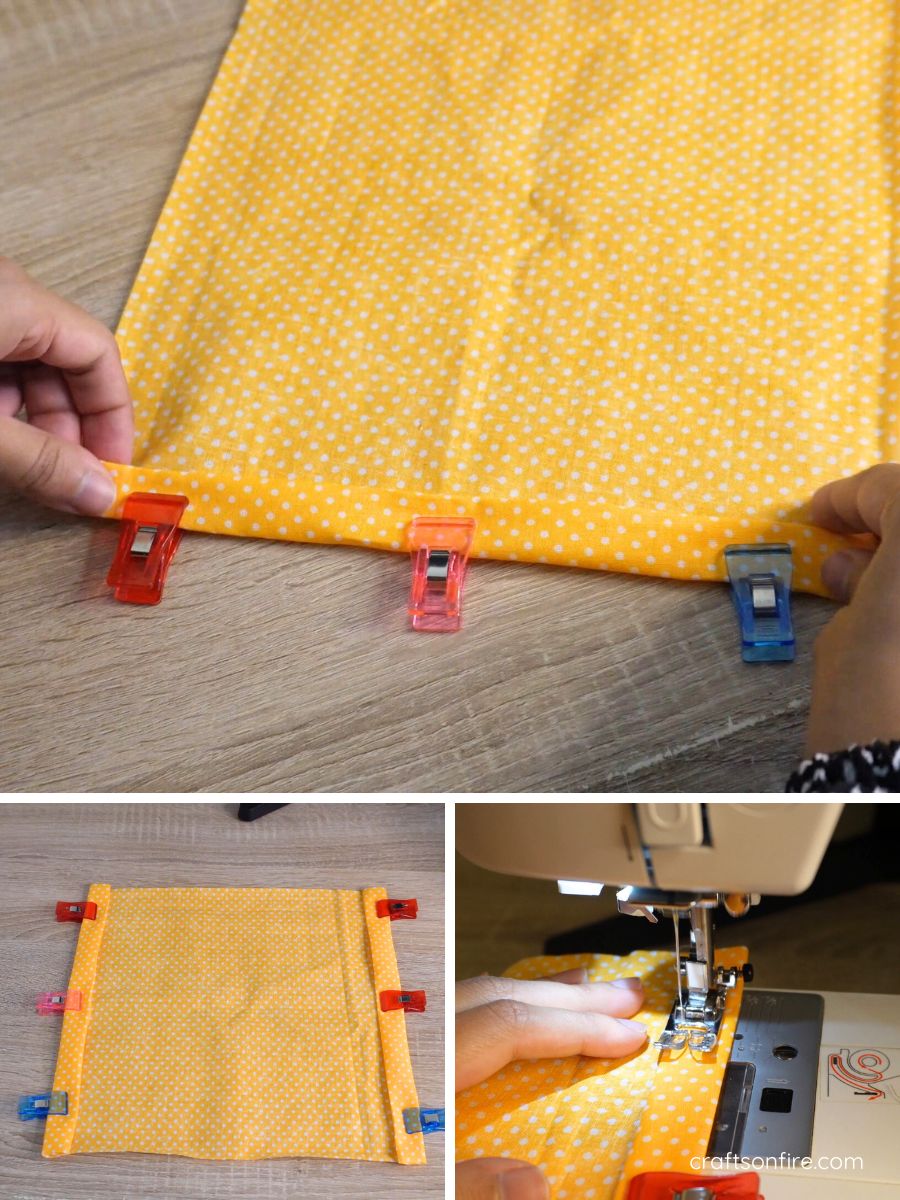
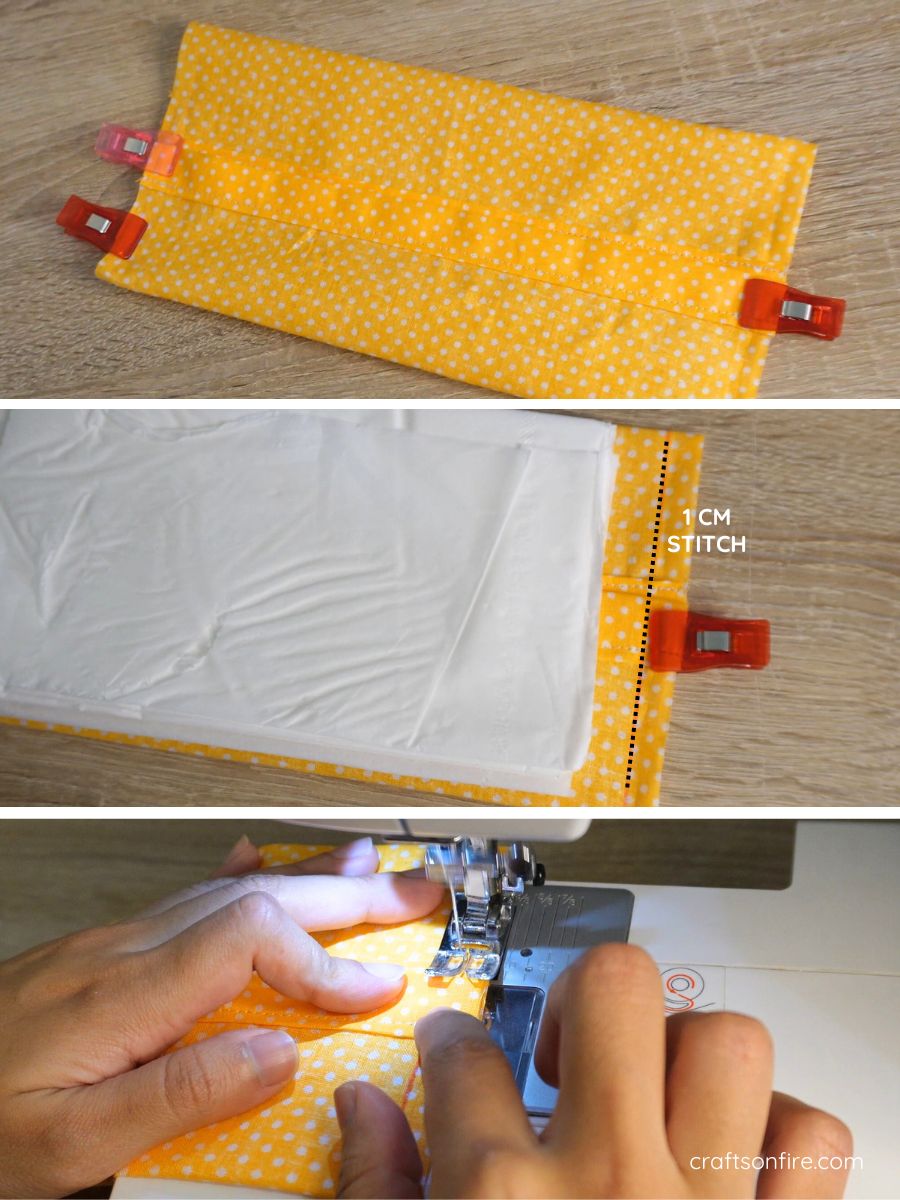
Pin the fold in place using small clips and then stitch both sides.
Step 3: Measure The Fold
Turn the fabric to the right side and place your tissue in the middle. You can use the tissue as a measurement for the fold.
Take one side and fold it over the tissue. Then, grab the other side of the fabric and fold it over the first fold.
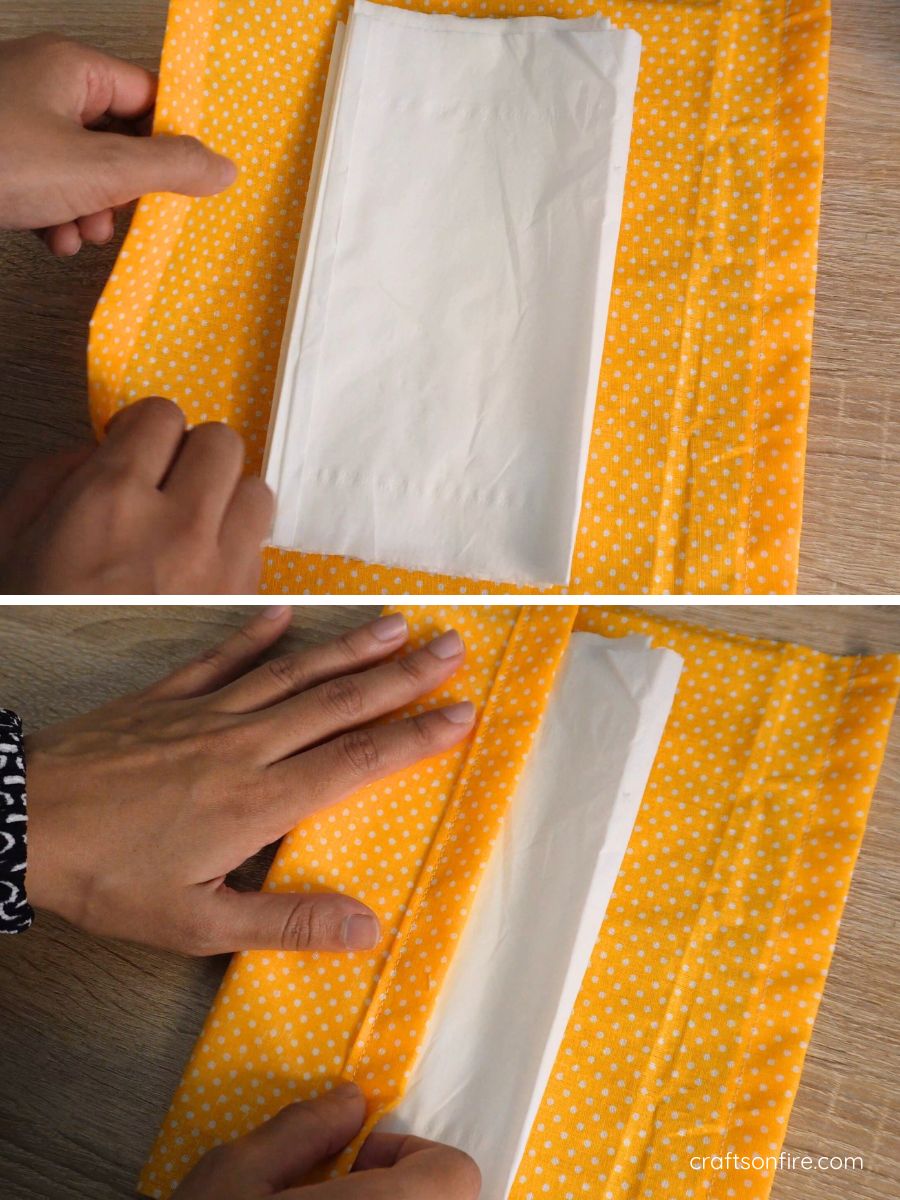
Ensure that the fold overlaps the other! This step is essential to creating the opening of the tissue holder.
Step 4: Stitch The Two Ends
Remove the tissue and clip the two ends. Then do a 1 cm stitch on each side. Once you’ve completed this step, you can overlock the ends or leave it as is.
Step 5: Turn To the Right Side & Open the Corners
Now it’s time to turn this tissue holder inside out. Carefully open it out and use your hands or a pen to open out the corners.
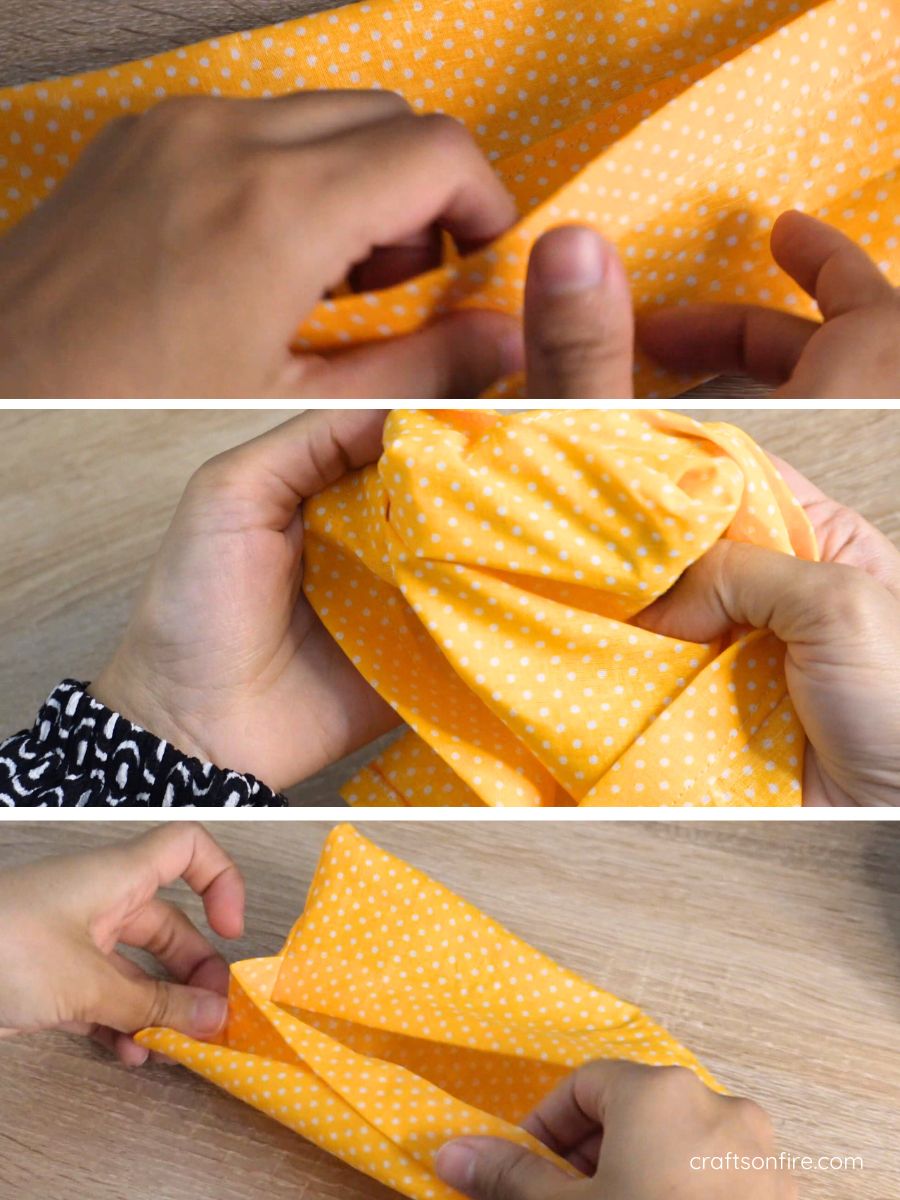
Slip your tissues in through the opening and you’re done. You’ve now completed sewing your very first fabric tissue holder!
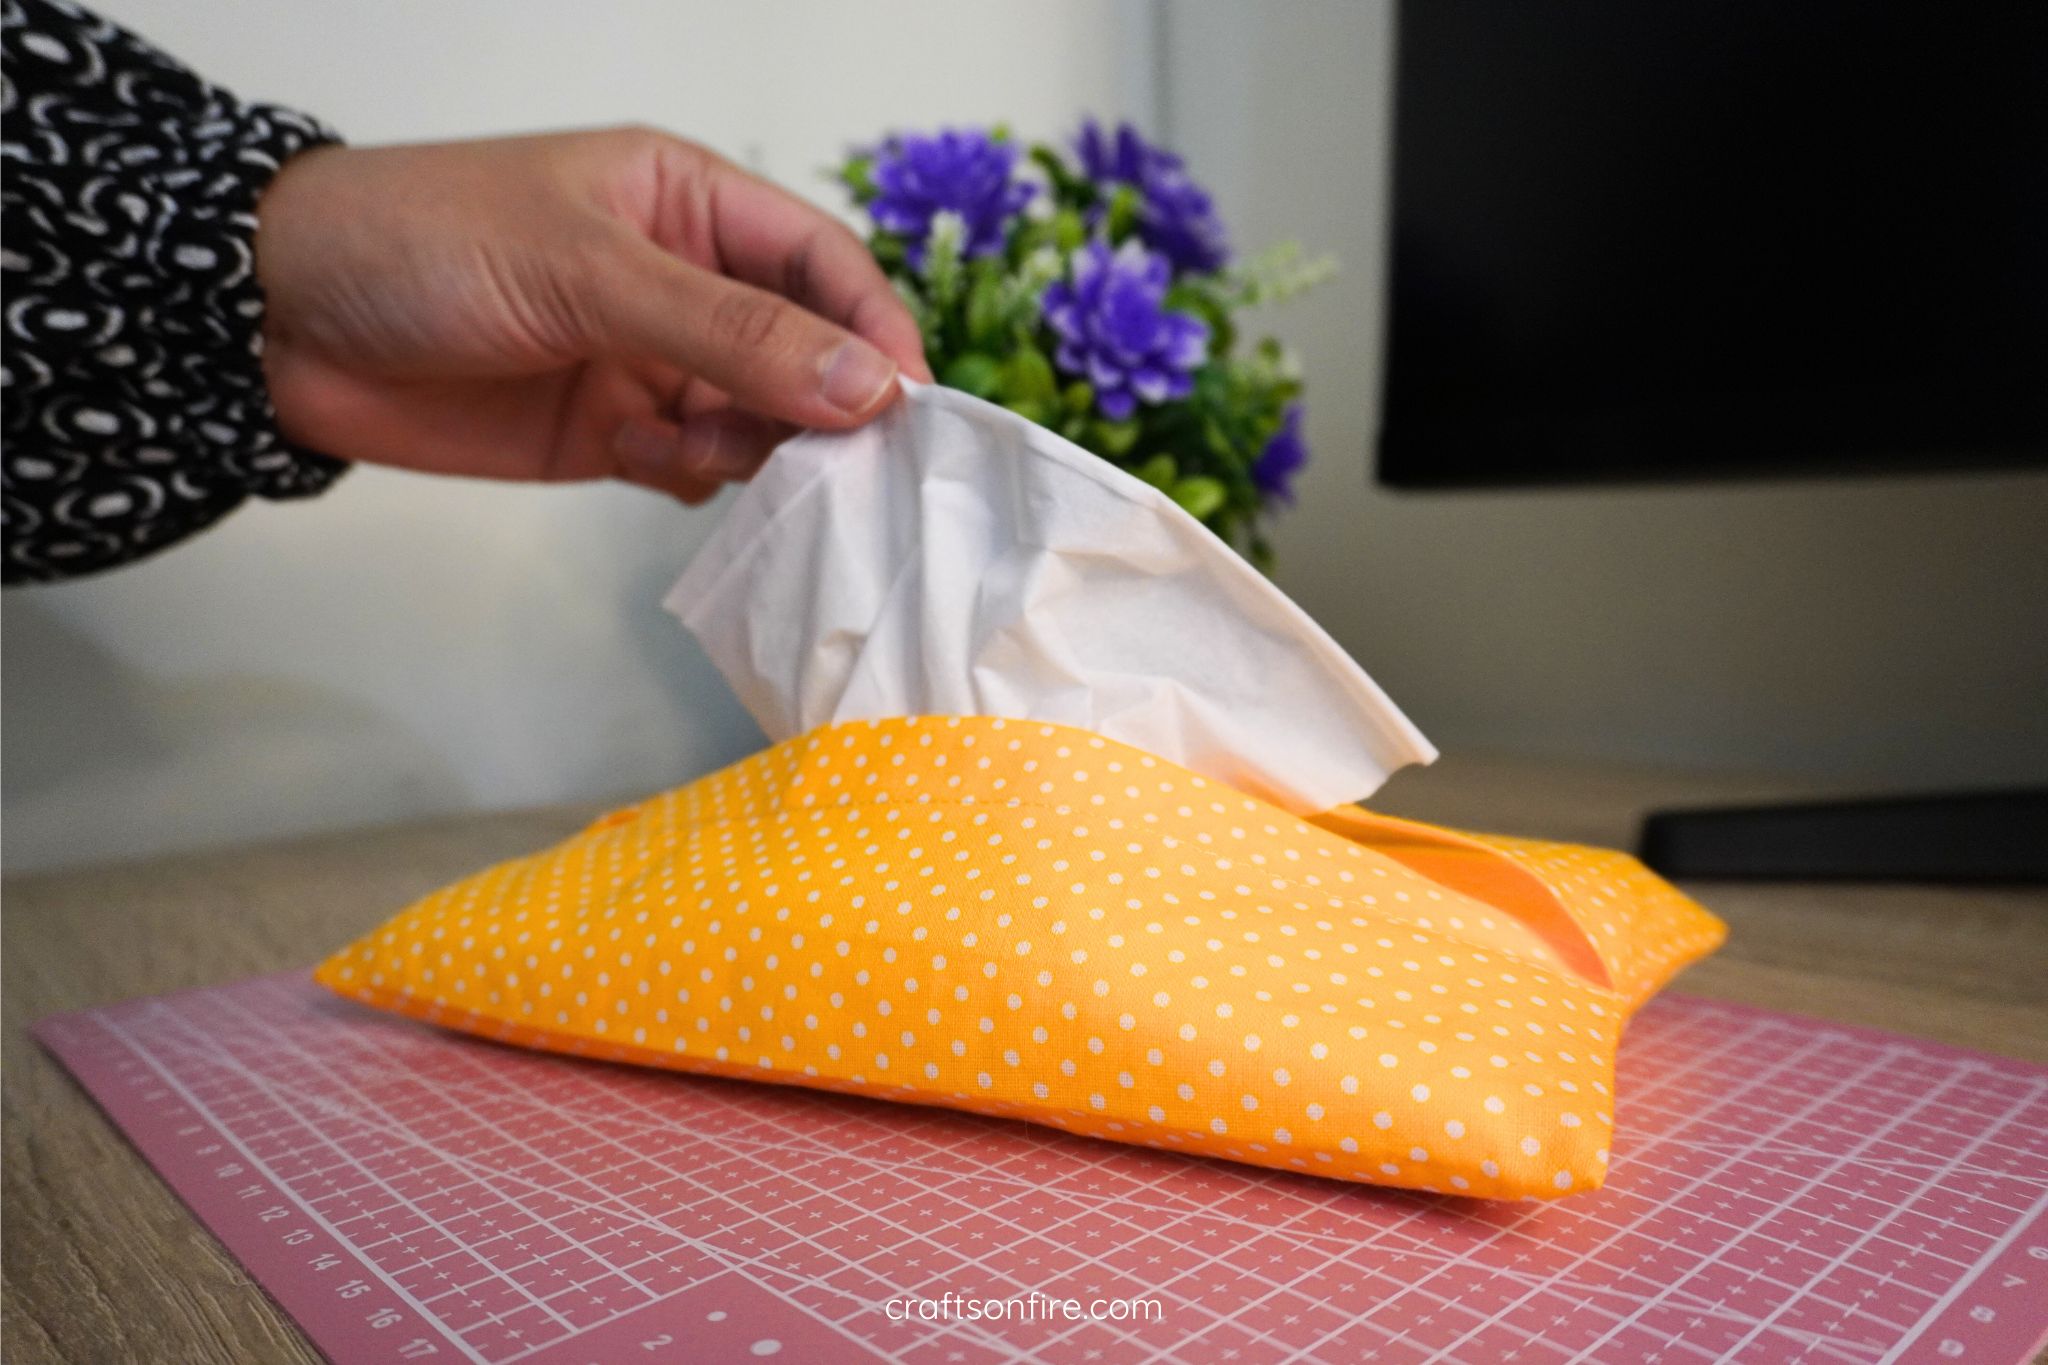
Here’s how mine turned out:
I know it seems like every project is my favorite but with the more projects I do, I can’t help but feel so excited and pleased with the finished products.
This fabric tissue holder was such a breeze to make and I loved every second of it. I’m confident that you’re going to enjoy sewing this holder.
Now that it’s finished, I would love to create a patchwork tissue holder soon using the same sewing process.
If you’re interested in learning and seeing the process of that one, leave a note in the comments below!
Before you head off, here are a few more free sewing patterns you can try:
