Sewing A Cute Drawstring Bag With Leftover Fabric
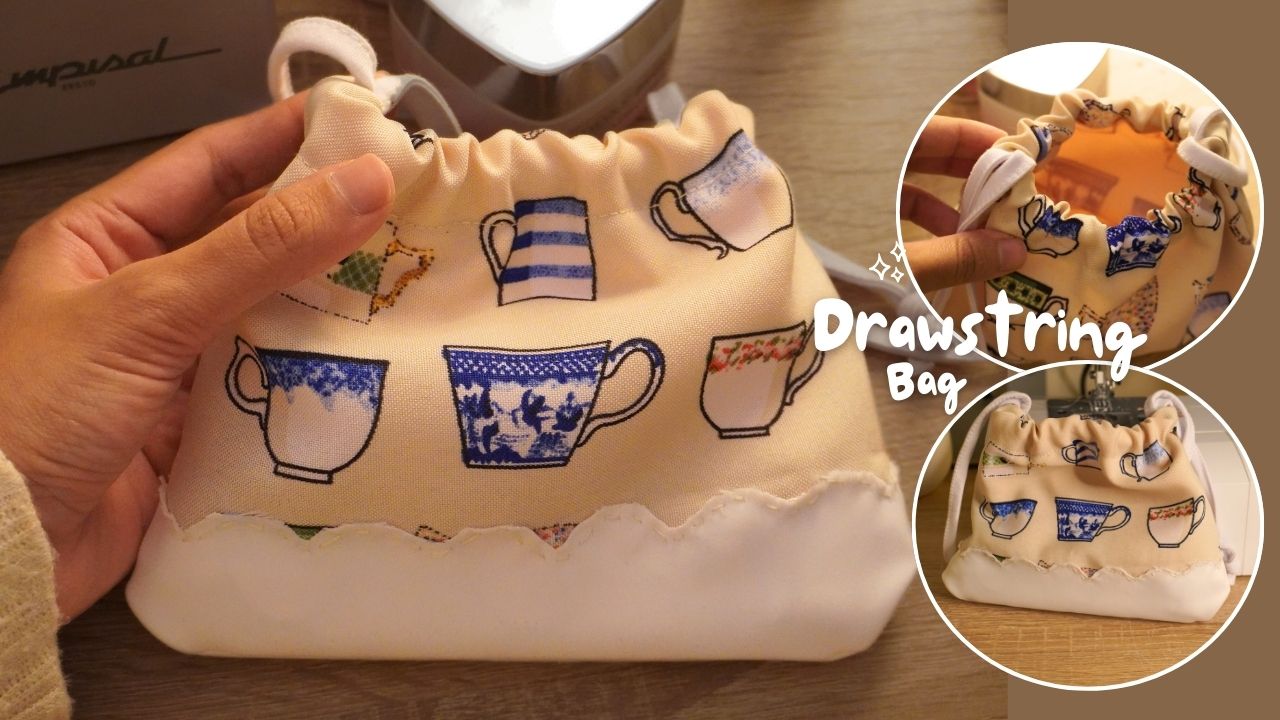
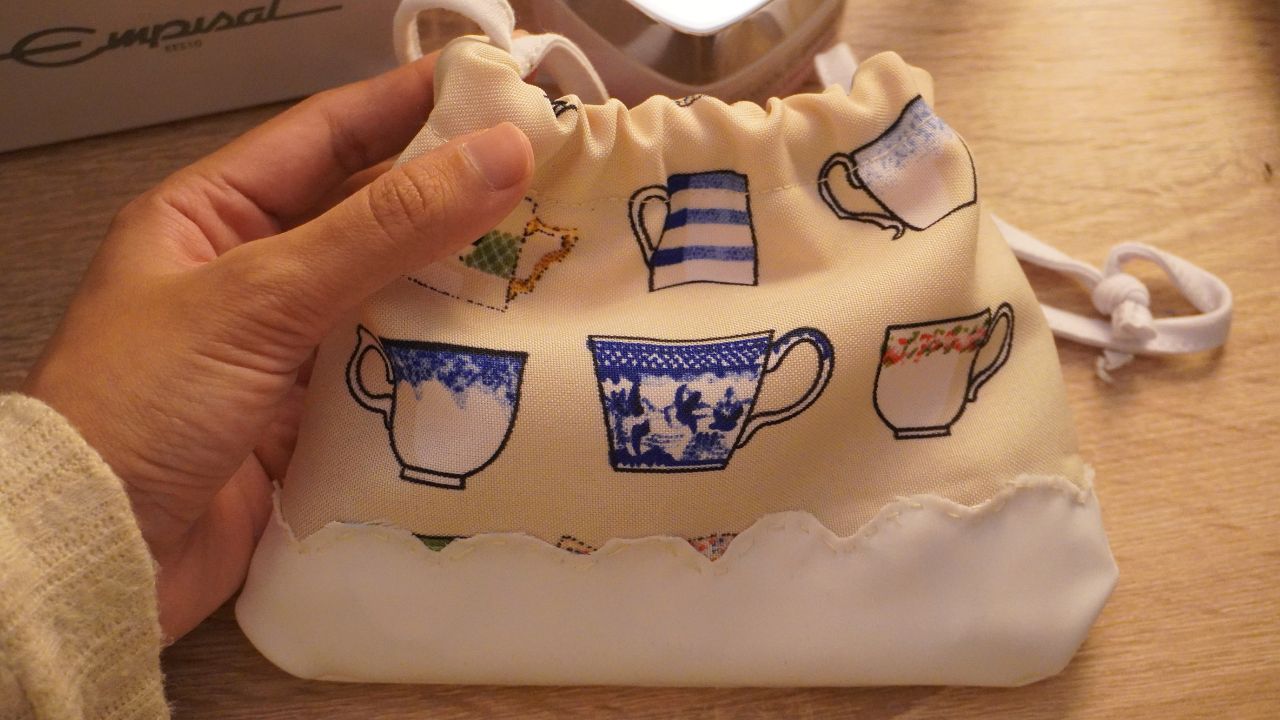
I had some leftover fabric of the cutest patterned fabric ever and I knew this would be the perfect choice for a cute drawstring bag but I didn’t just stop there. I wanted to sew a drawstring bag that combined two different fabric pieces for a more unique design.
And despite the challenges and a few silly mistakes, I still managed to sew a cute drawstring bag I can say that I’m proud of.
Honestly, this bag is adorable and I’ve already used it to store a few small sewing supplies (pins, needles, clips, tape measure) but I think you can also store a few makeup or facial products if you want.
Although I didn’t intend to make this a tutorial, I did outline every step if you want to follow along and sew this drawstring bag with me.
It’s not difficult to sew but if you’re a pure beginner at sewing, you might want to sit this one out until you feel ready to tackle a big project like this.
Alright, with that said, let’s get to it.
Table of Contents
Cute Drawstring Bag Sewing Process
Supplies
- Patterned Fabric (Here’s another teacup-themed fabric you can opt for)
- Lining
- Plain White Fabric
- Needle & Thread
- Sewing Machine
- Sewing Pins
Pattern
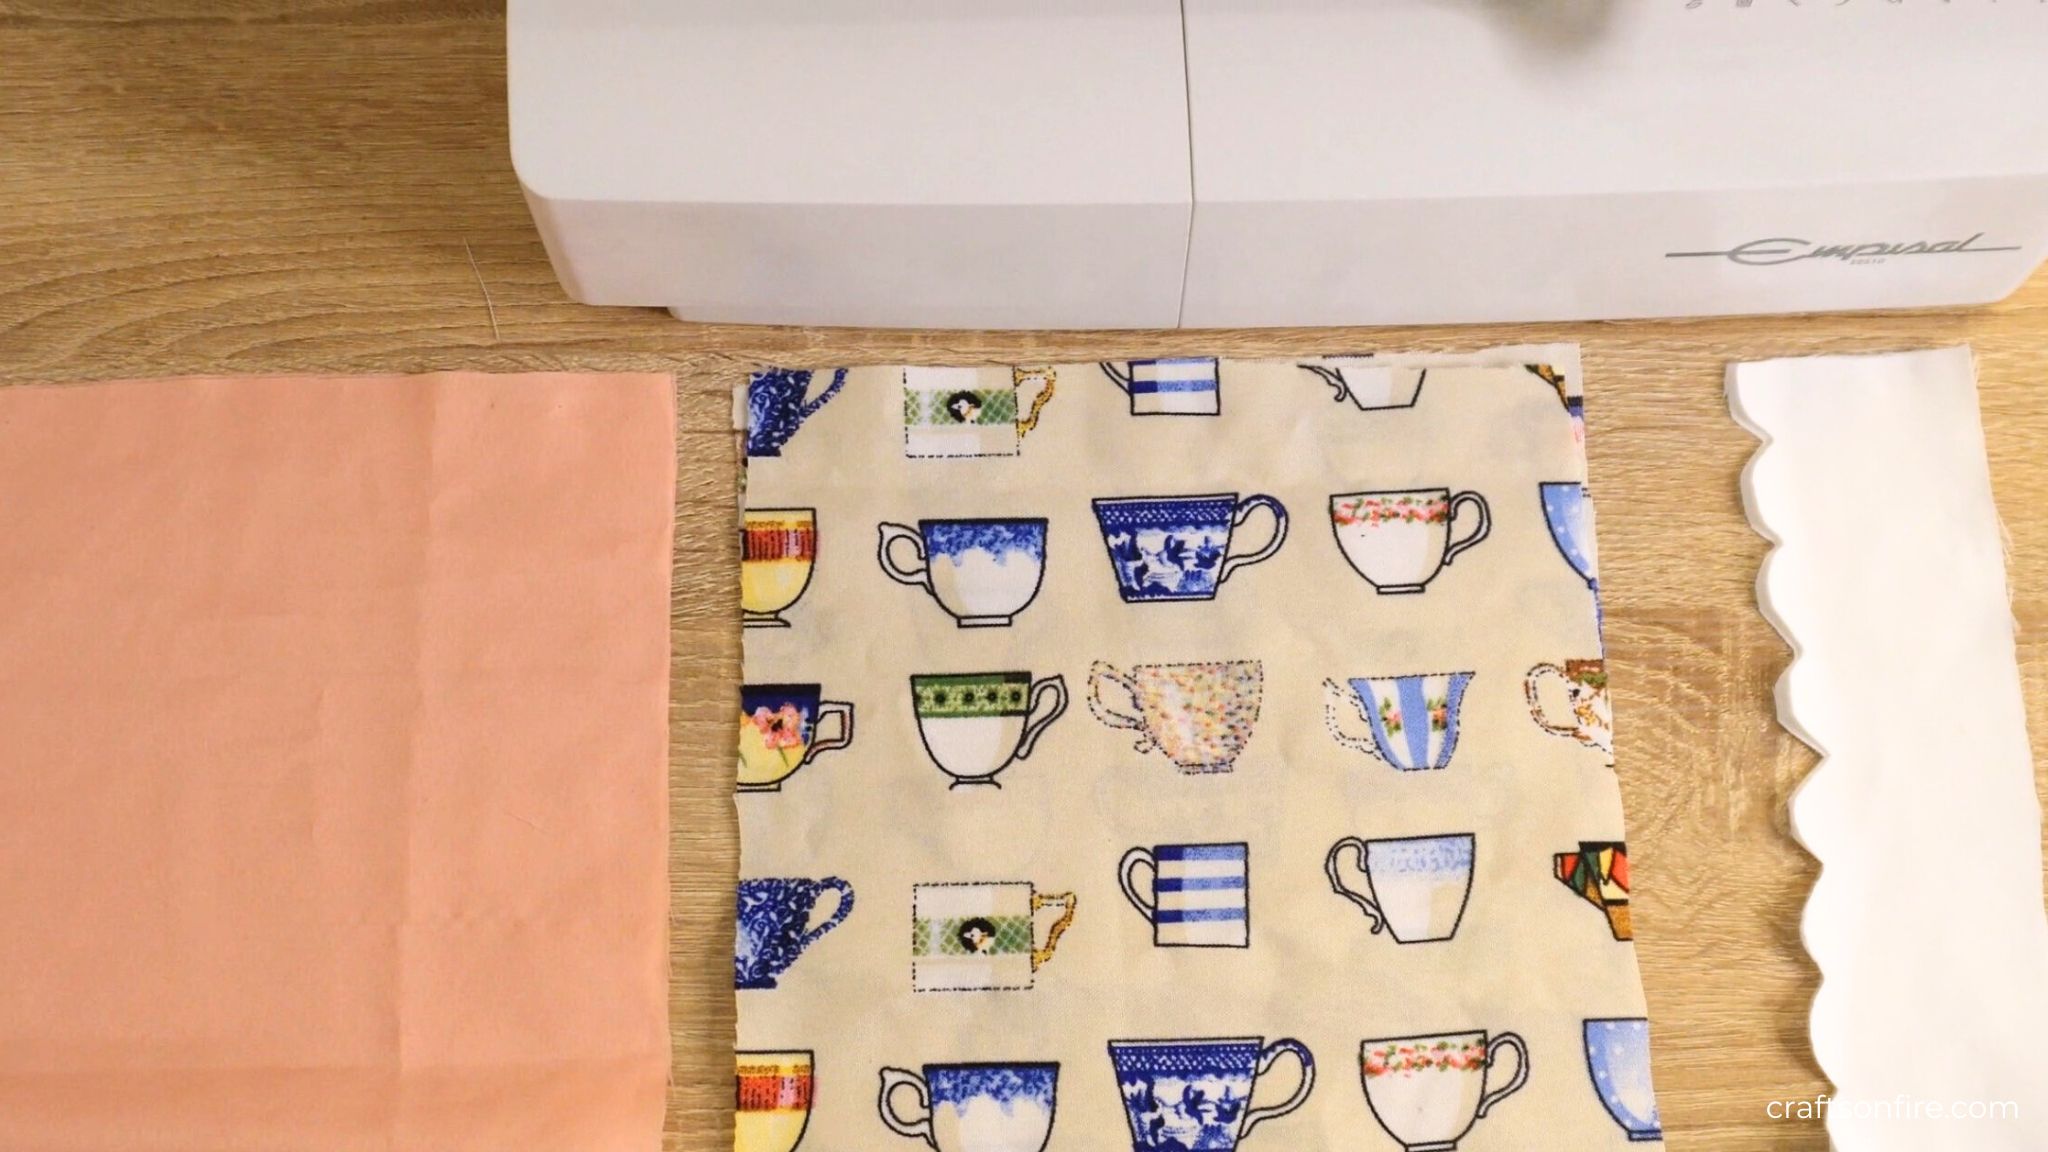
I first cut out 4 squares (2 for the lining and 2 for the tea cut fabric). Then I cut out two rectangles that measure according to the bottom end of the square fabric. Finally, I cut out the curved pattern.
Video Guide
Just a heads up! I do have a cozy video vlog of the entire process. So, if you prefer to watch this instead, here you go:
The Overall process
Once my fabric pieces were ready, I grabbed both the teacup pieces + the 2 white border pieces and arranged them at the bottom of the fabric.
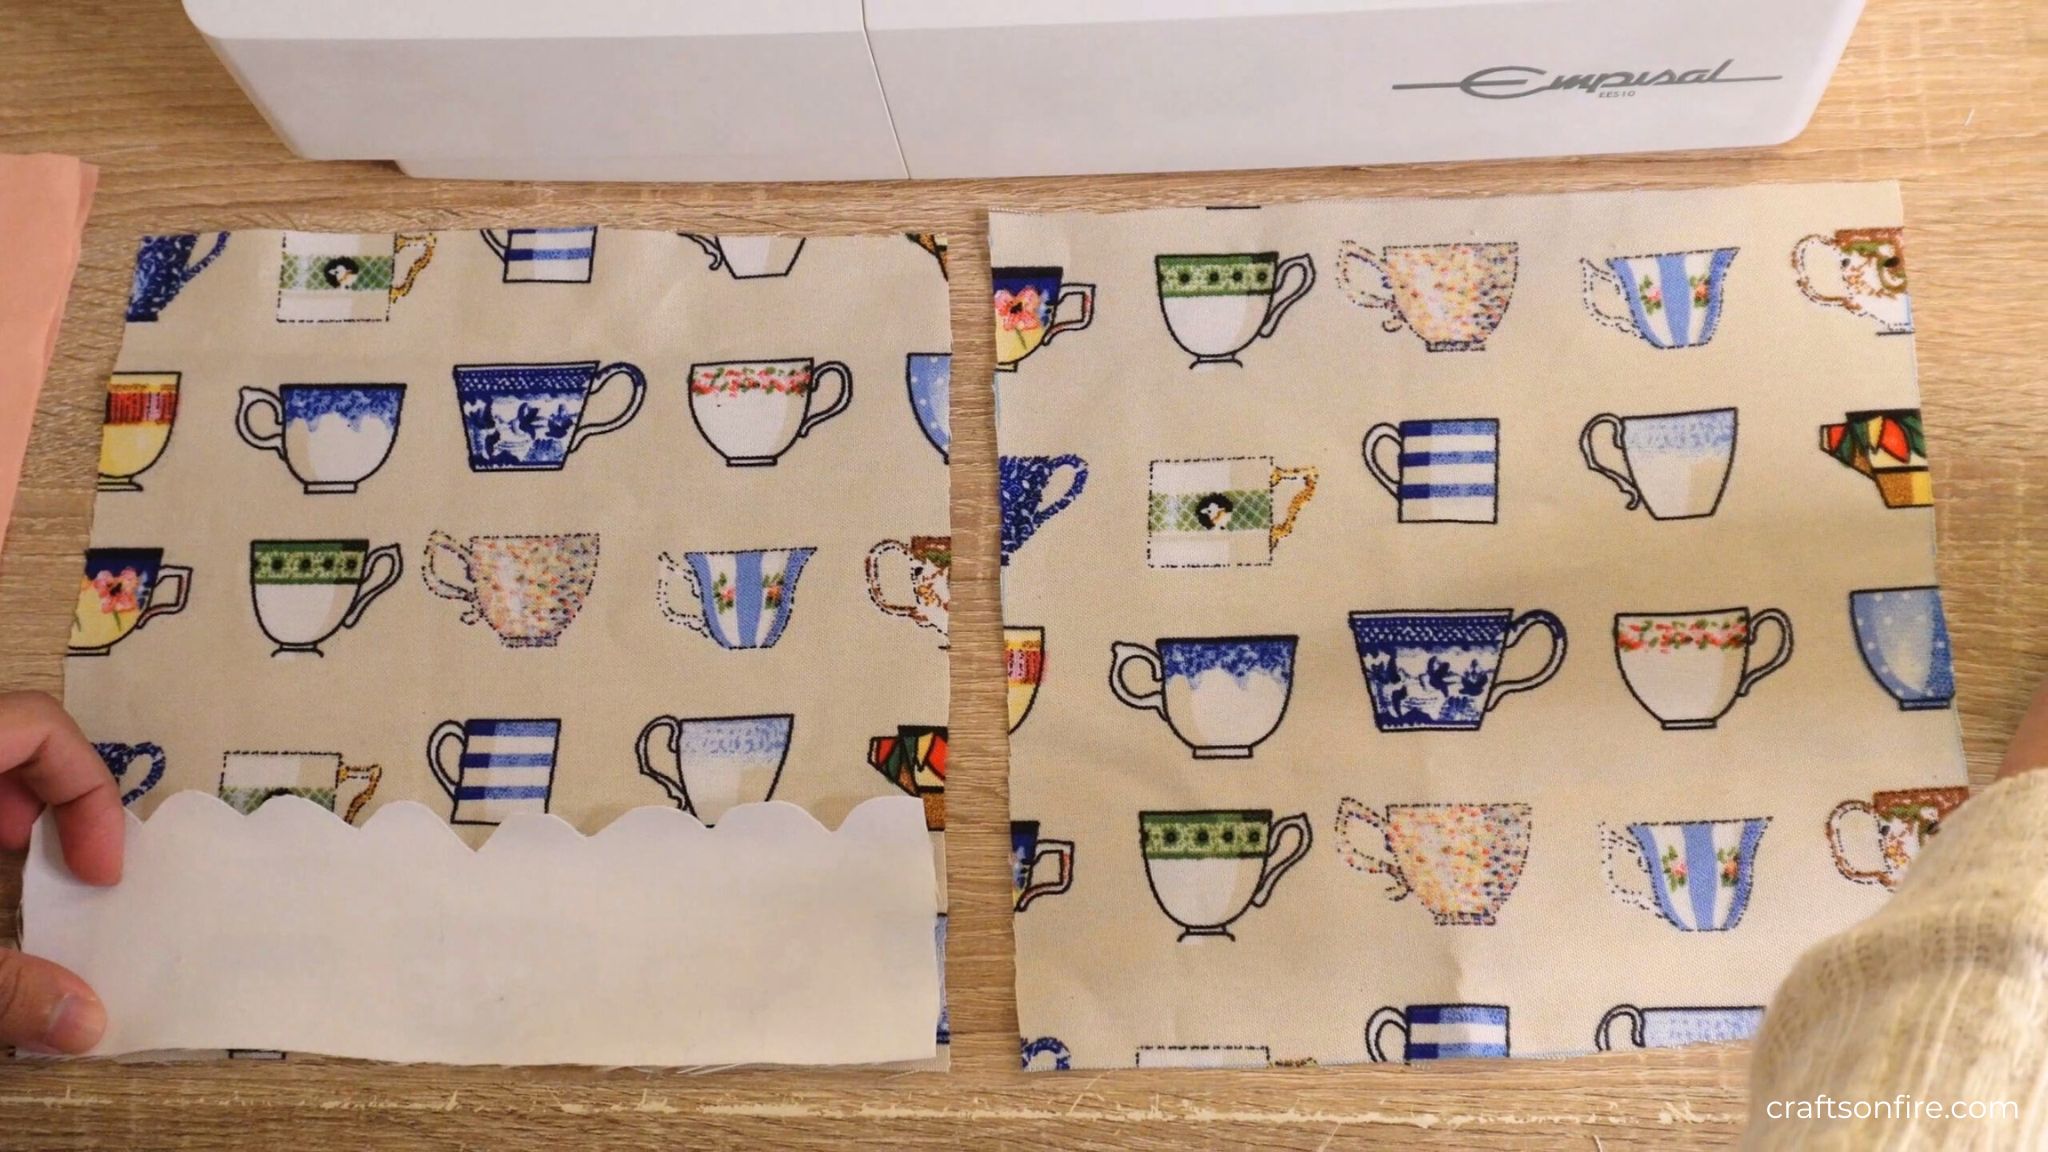
Then I pinned the fabric on both pieces and stitched the top of the border following the curved pattern using a needle and cream thread.
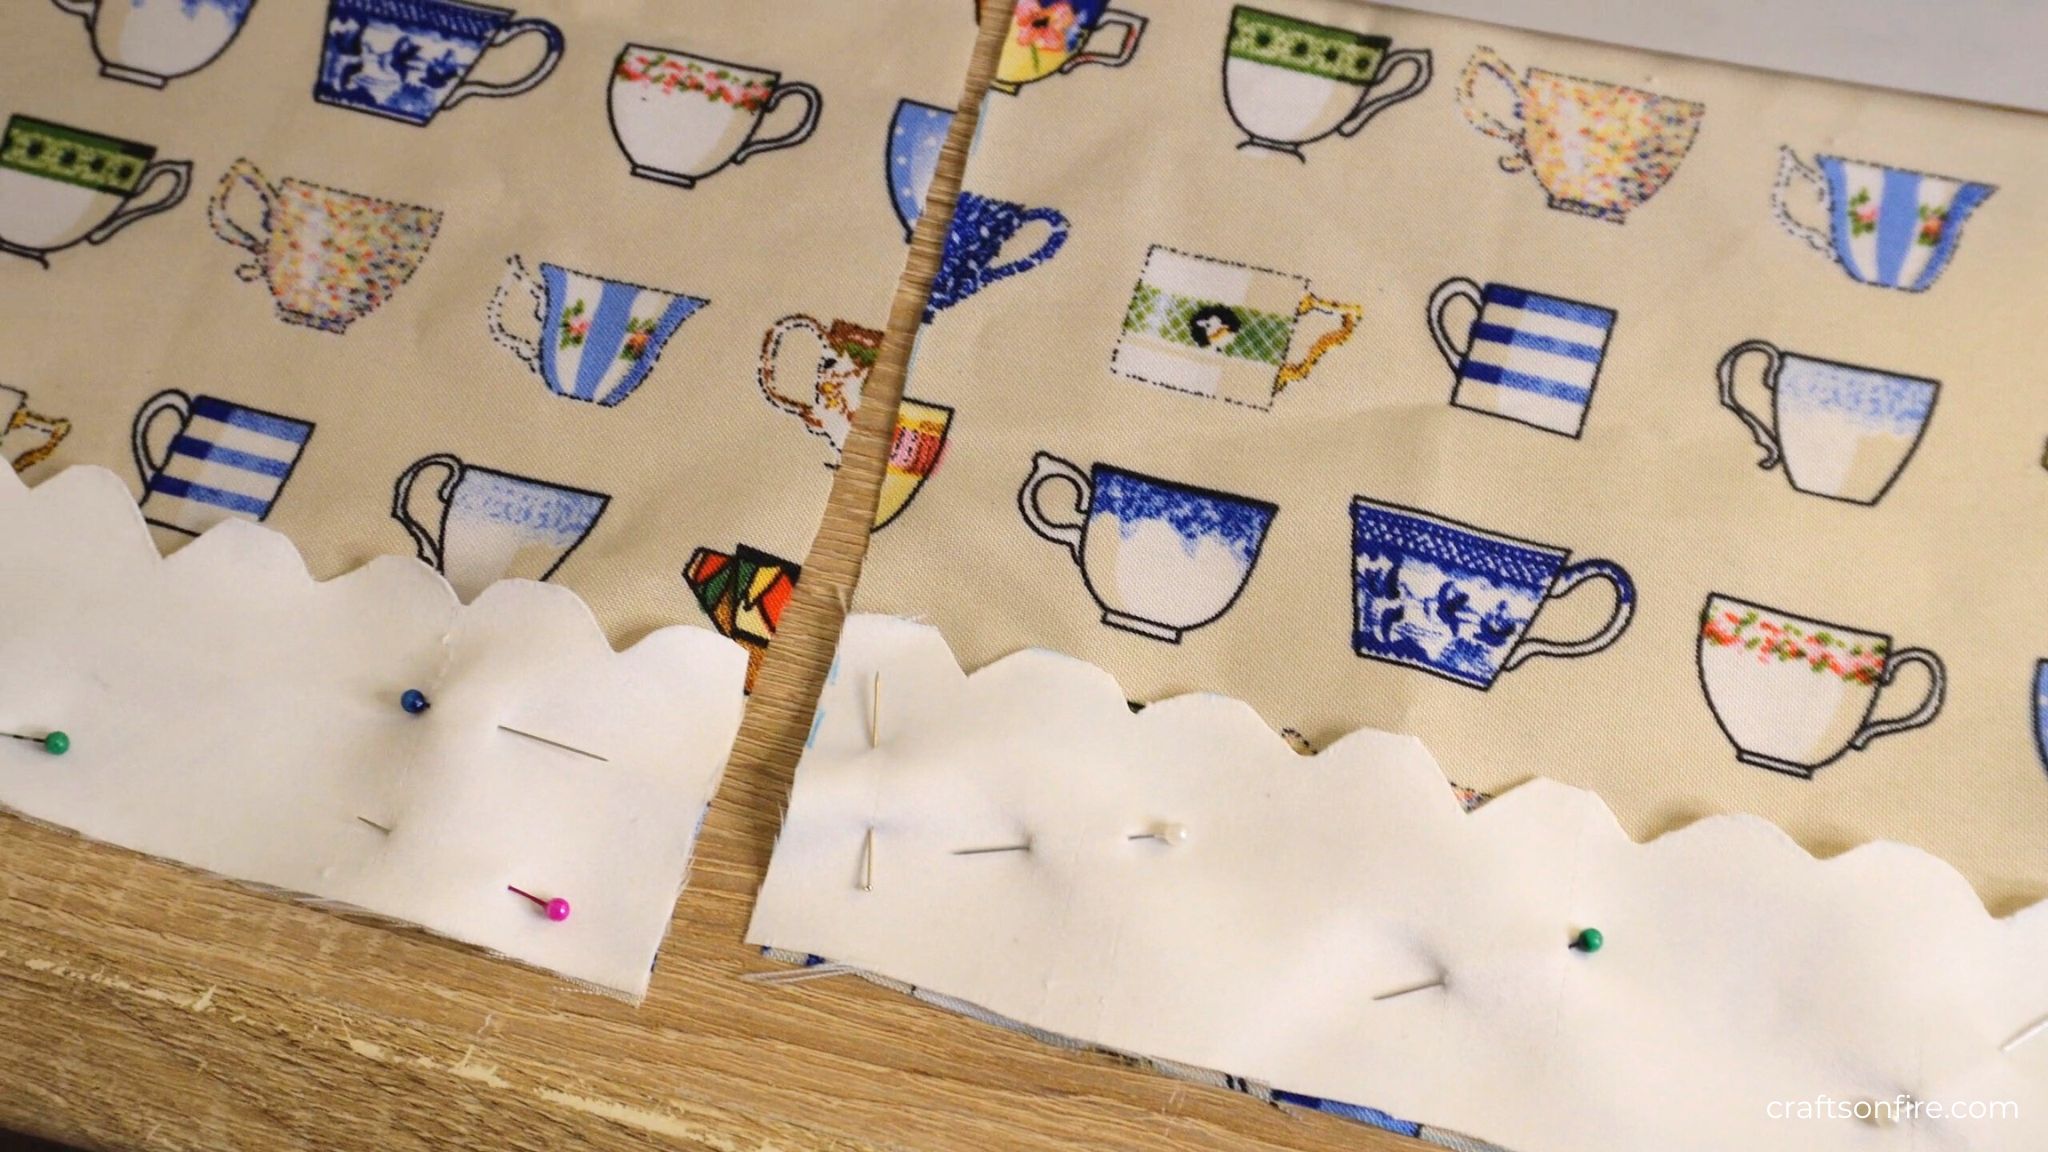
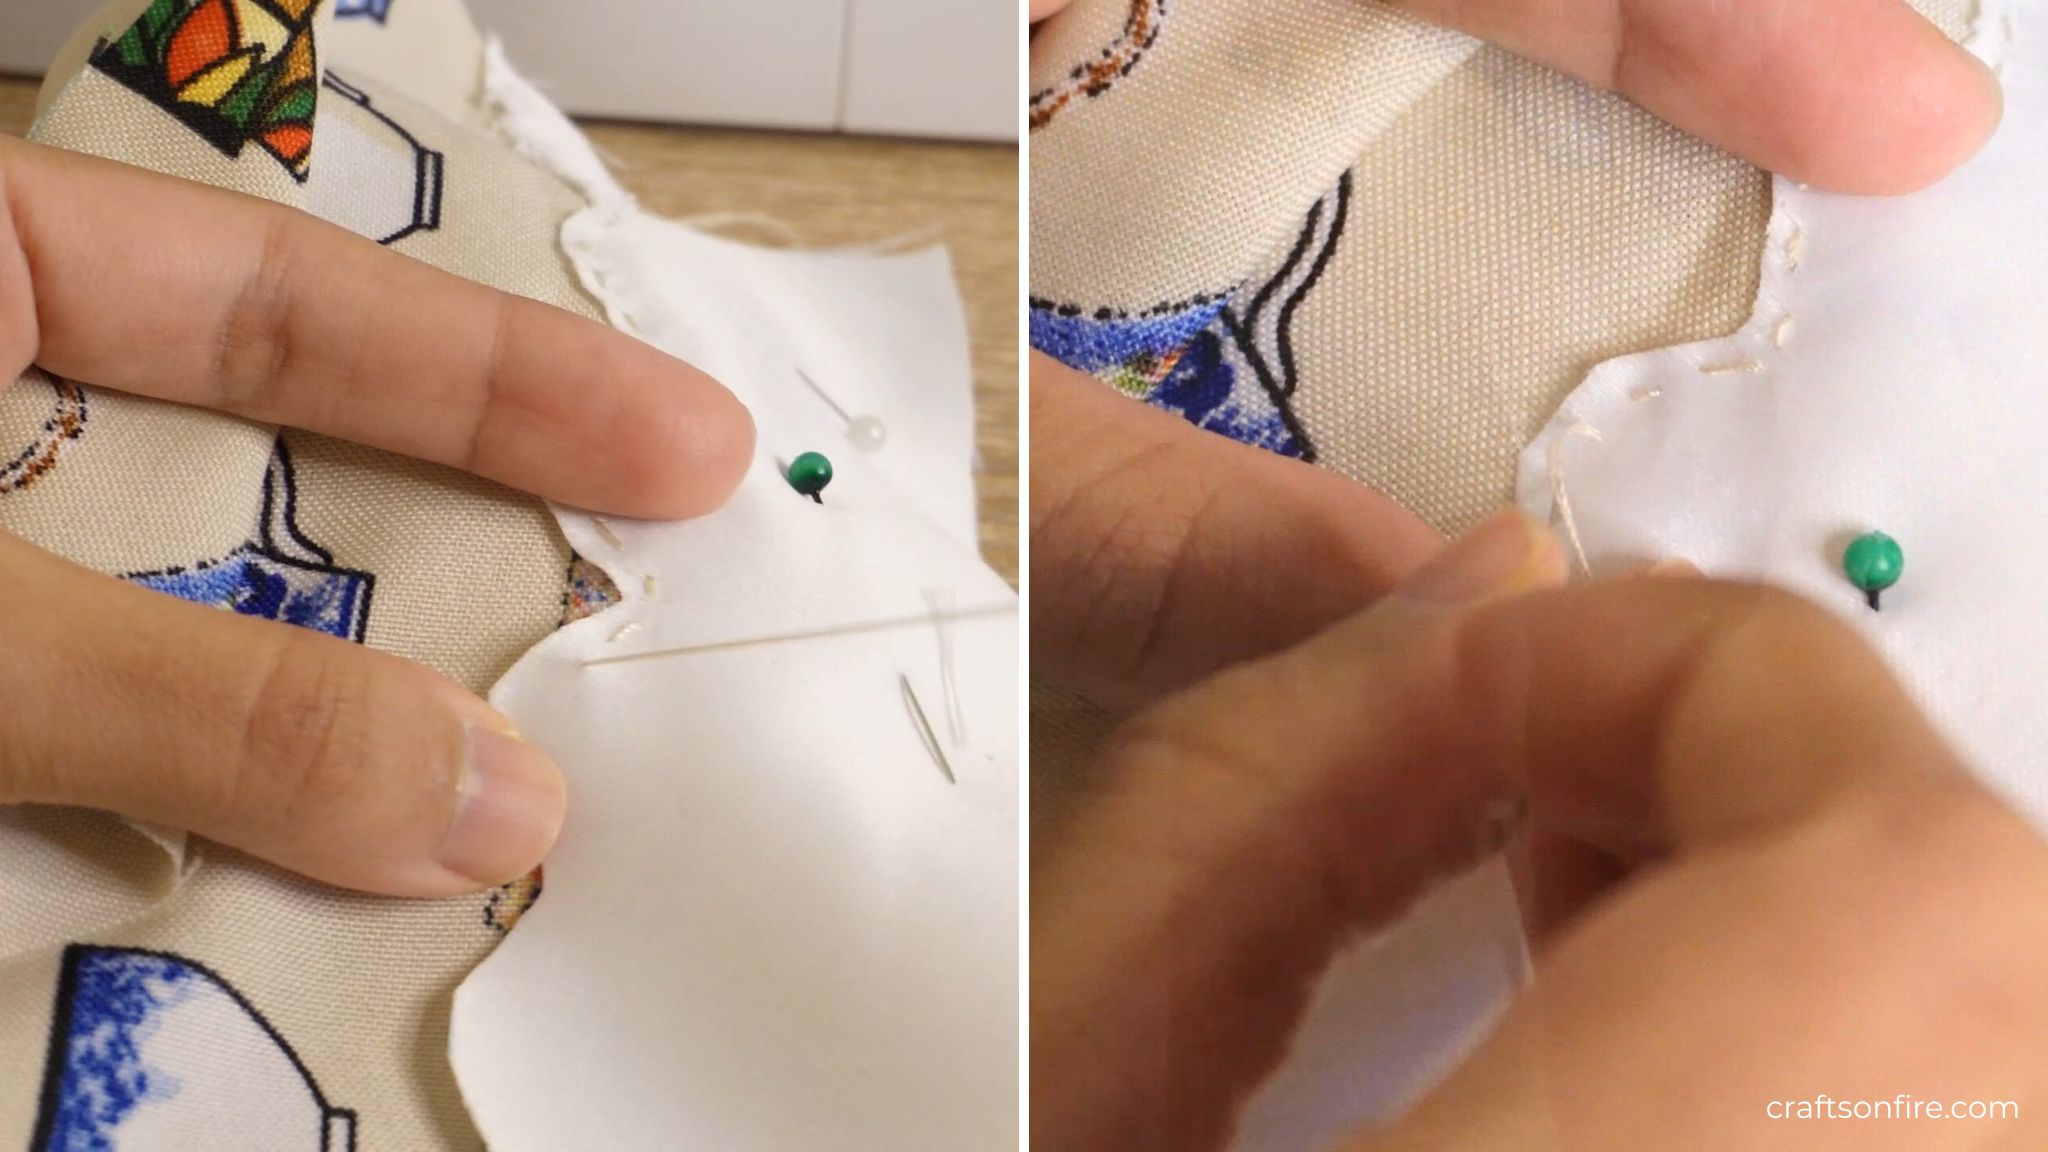
This was slightly time-consuming but it was much harder trying to follow the shape with the machine so I thought this was a better way of doing it.
However, hand stitching is just as enjoyable so I didn’t mind.
I then placed the two pieces together with the right sides facing in and the borders matching and headed over to the machine to stitch the bottom of the bag together.
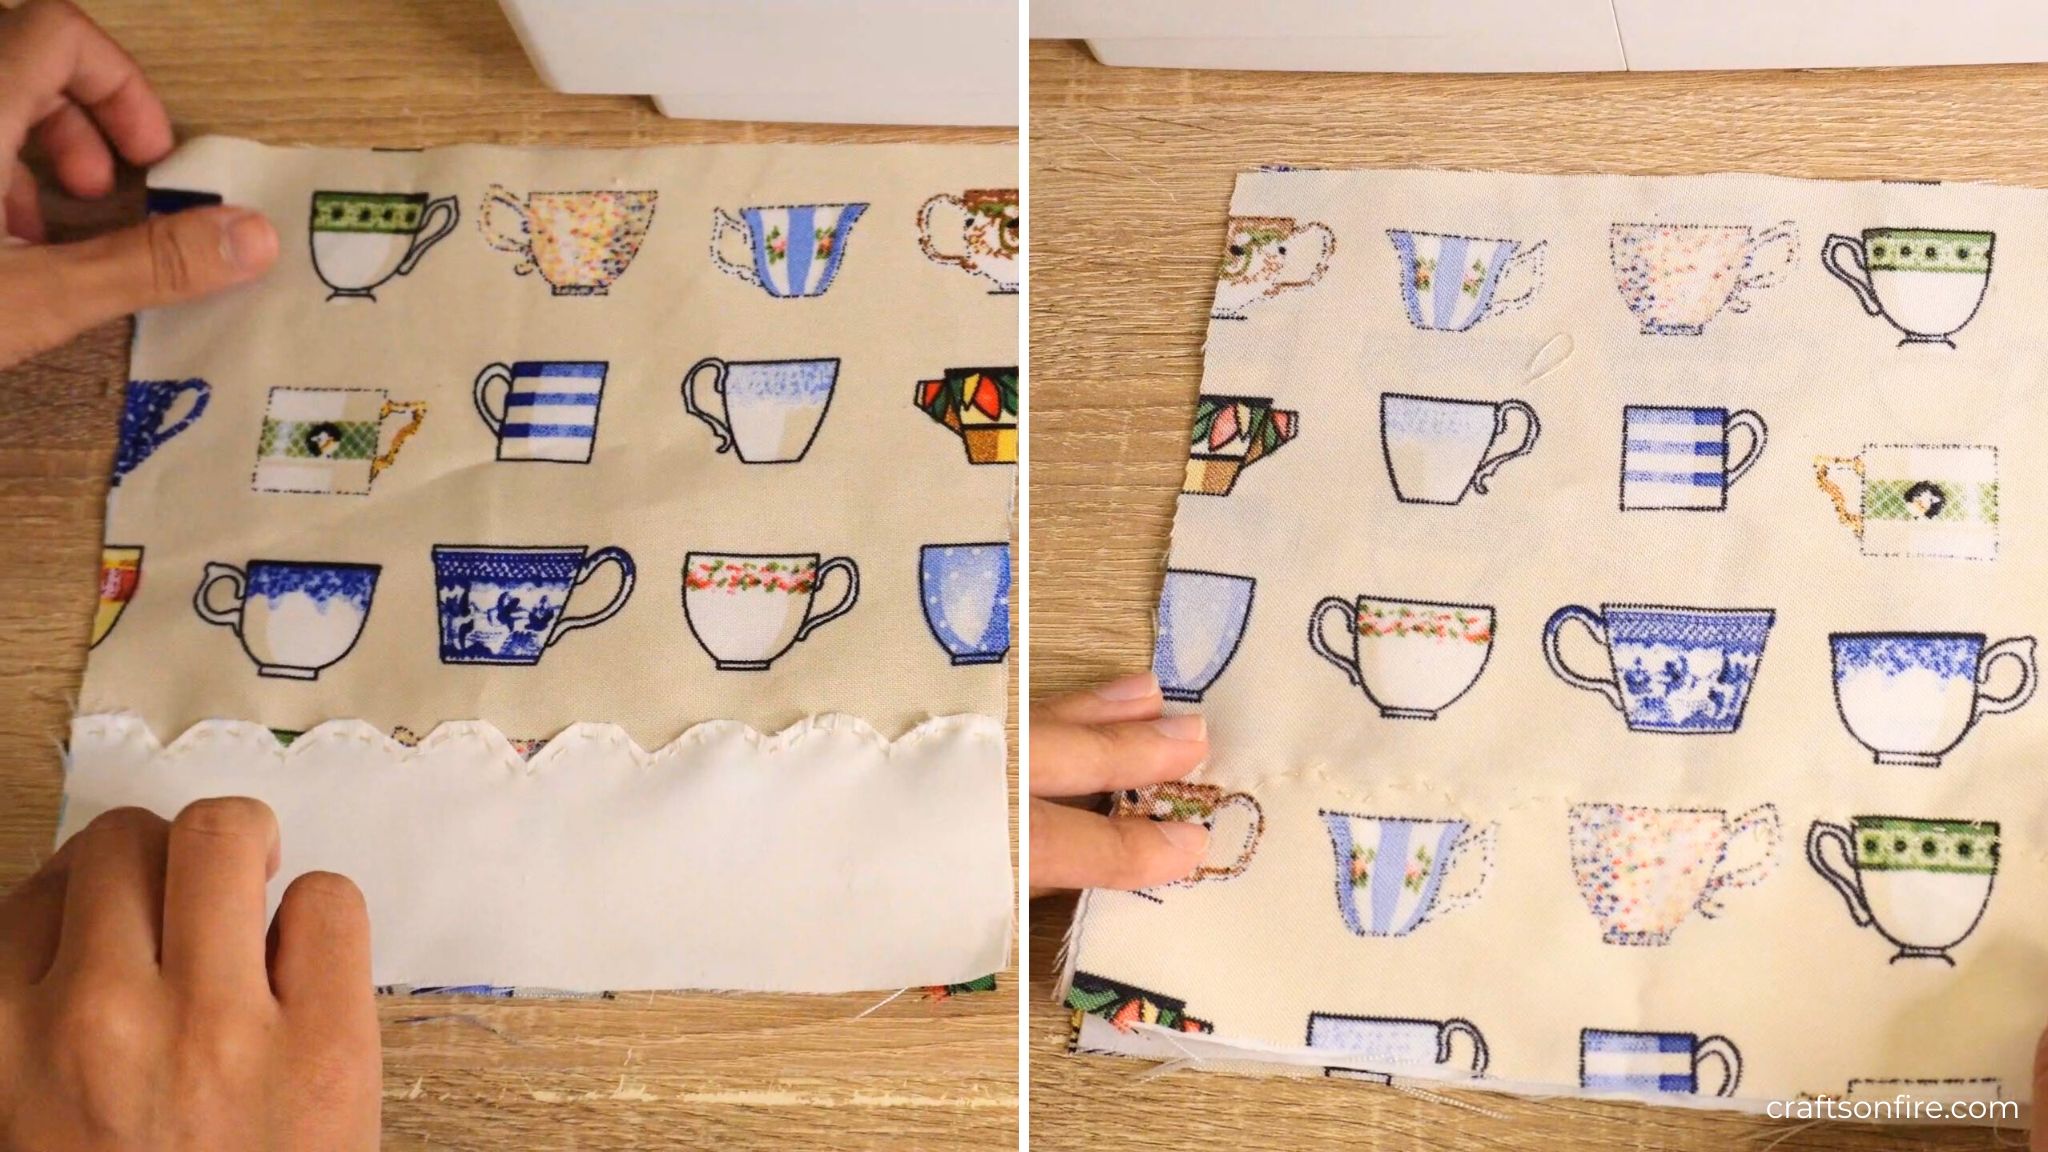
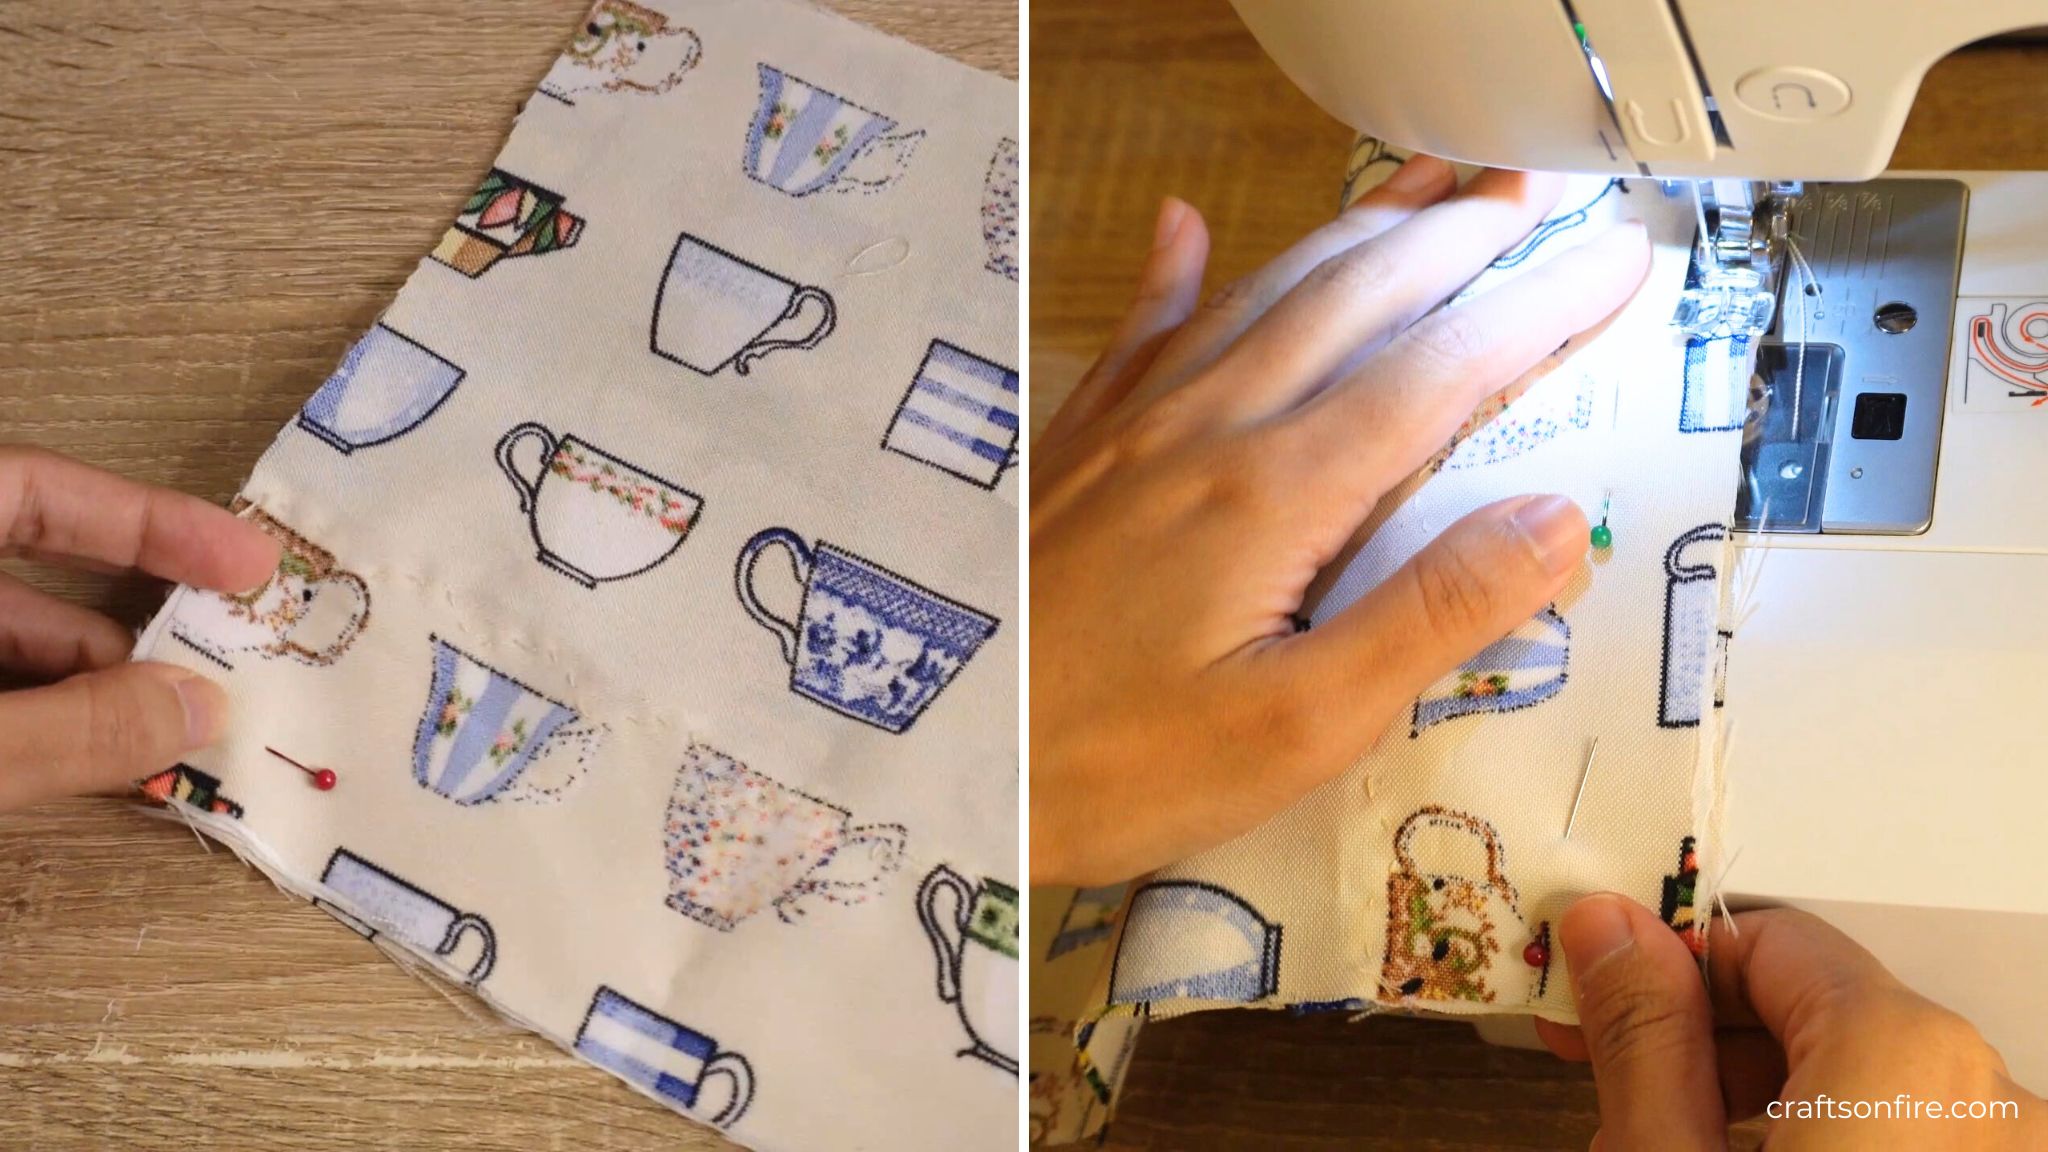
Here’s how it looks when both pieces are joined:
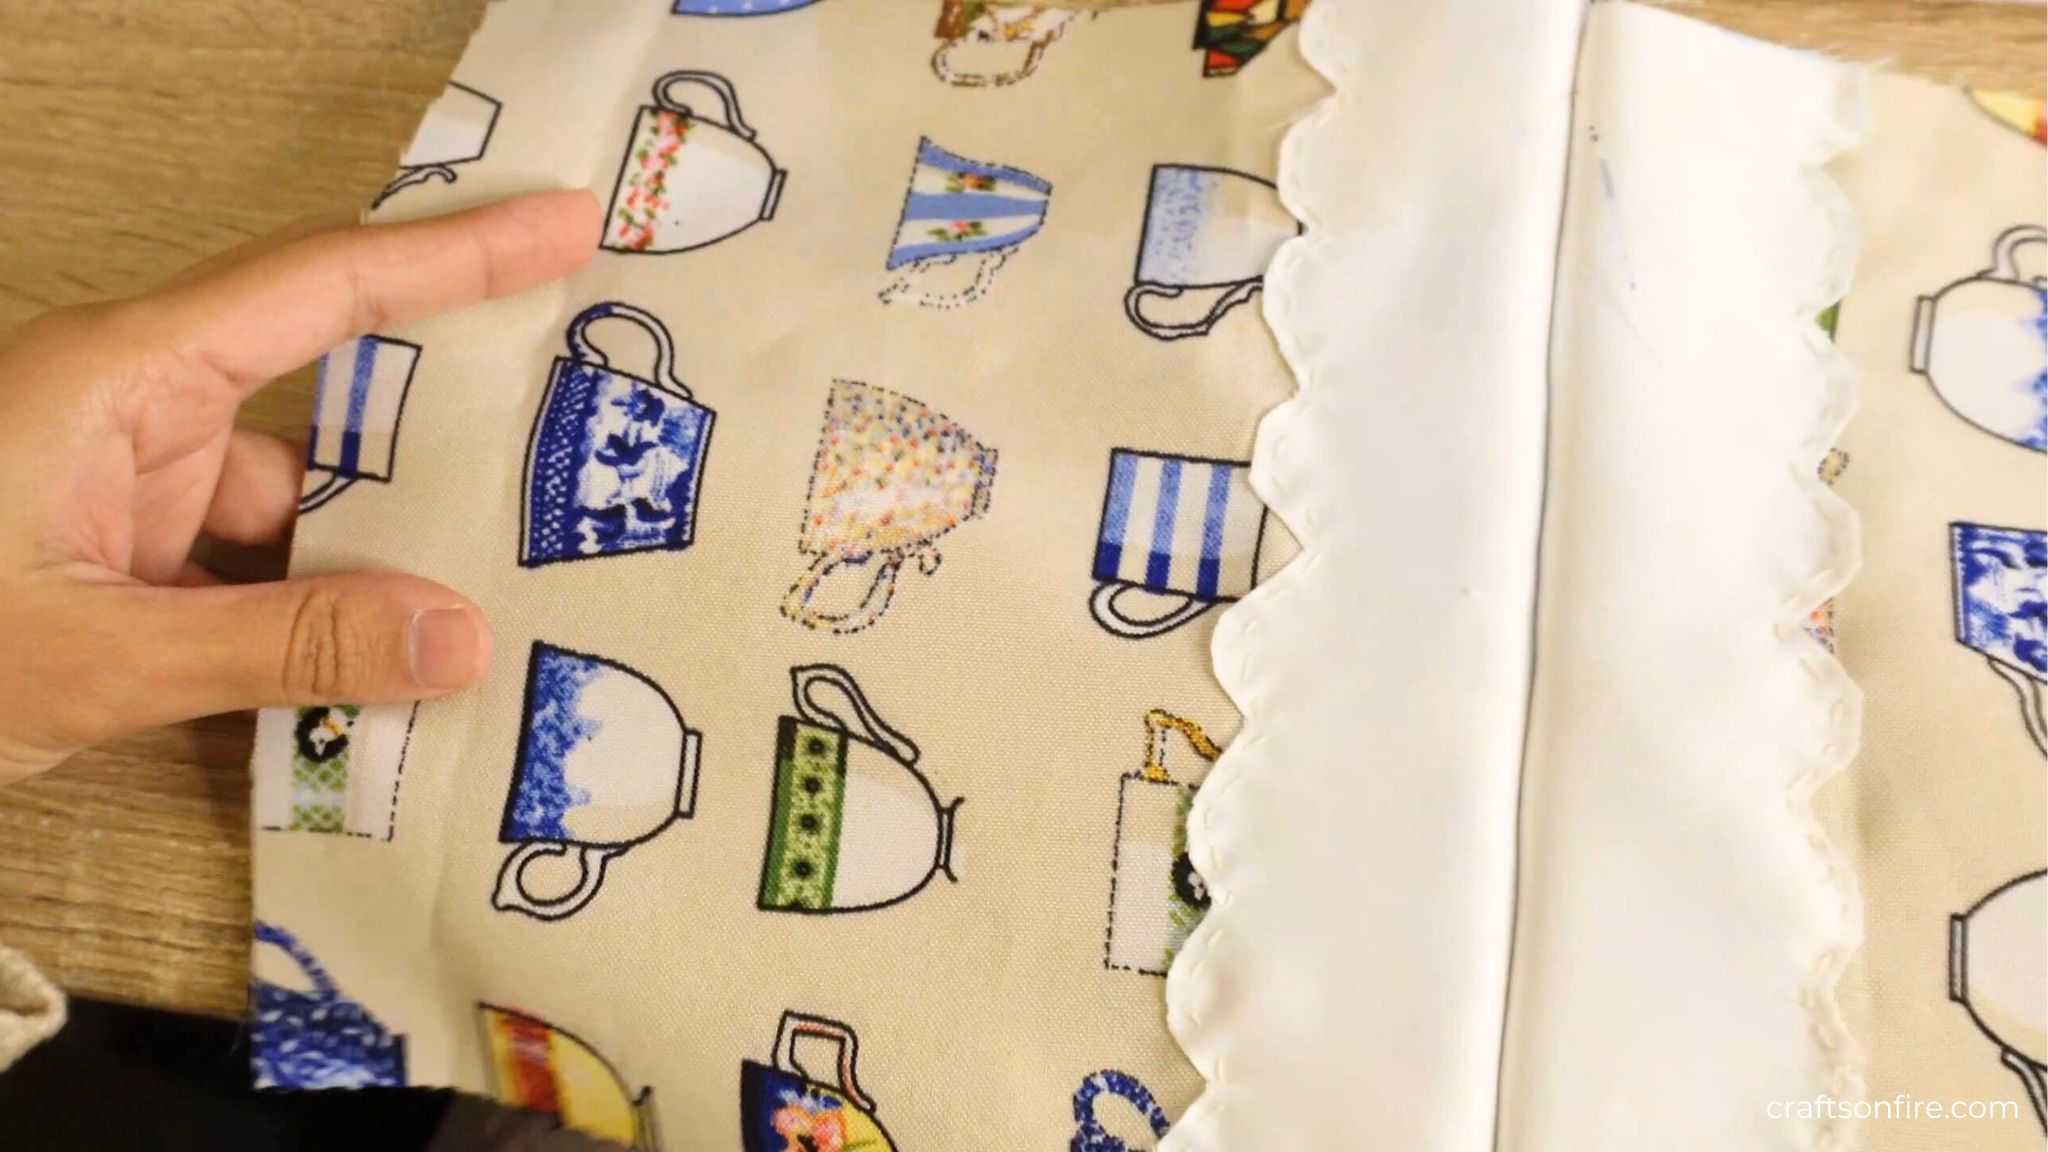
The next thing I worked on was stitching the lining of the drawstring bag. I joined the bottom of the two pieces together, the sides, and then I left a small opening at the very top on either side.
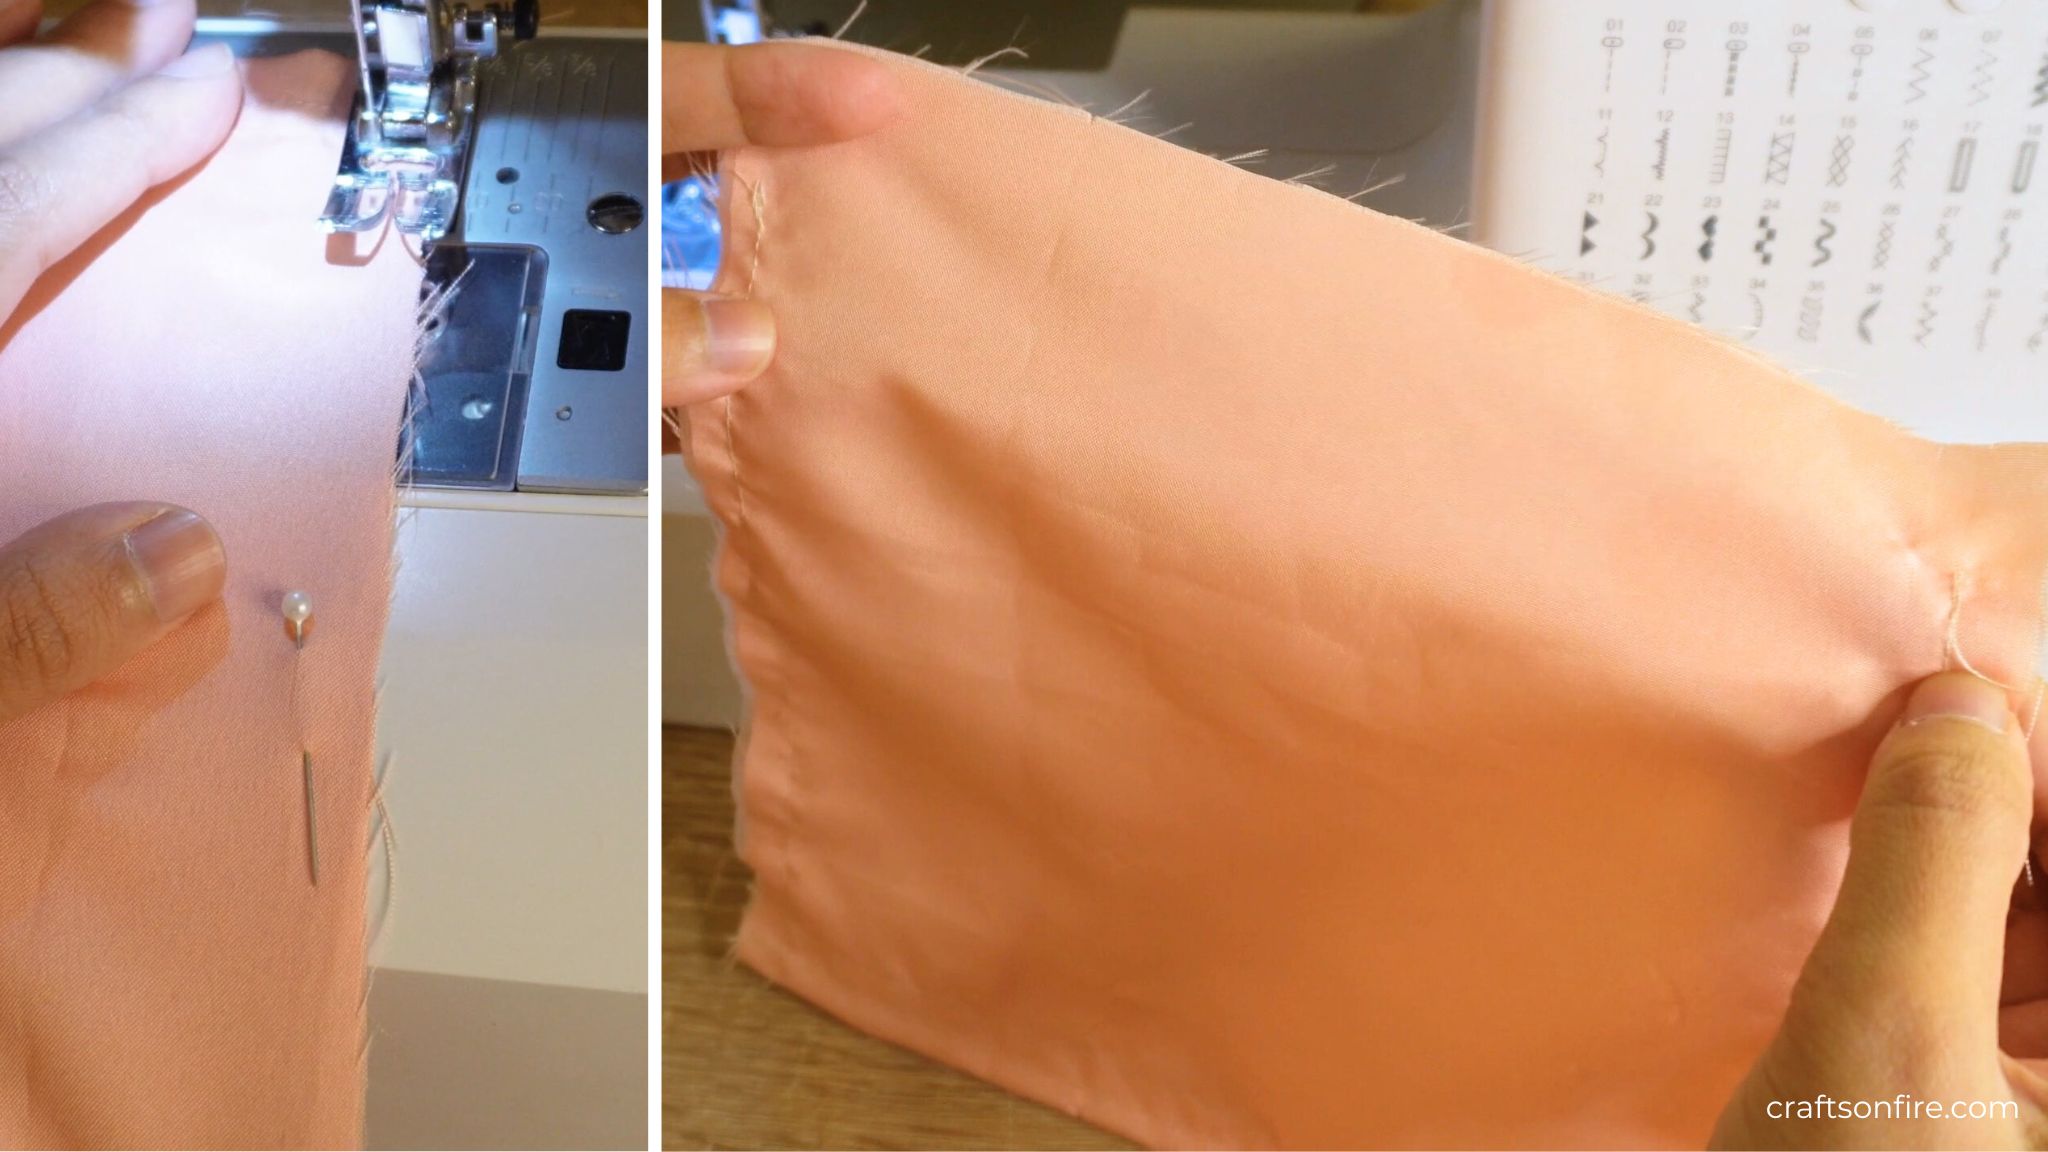
I then placed the lining on the teacup piece and stitched the bottom together.
Now I should have done this step while stitching the teacup piece but oh well, I guess some mistakes happen.
I also stitched the sides of the bag together with the lining.
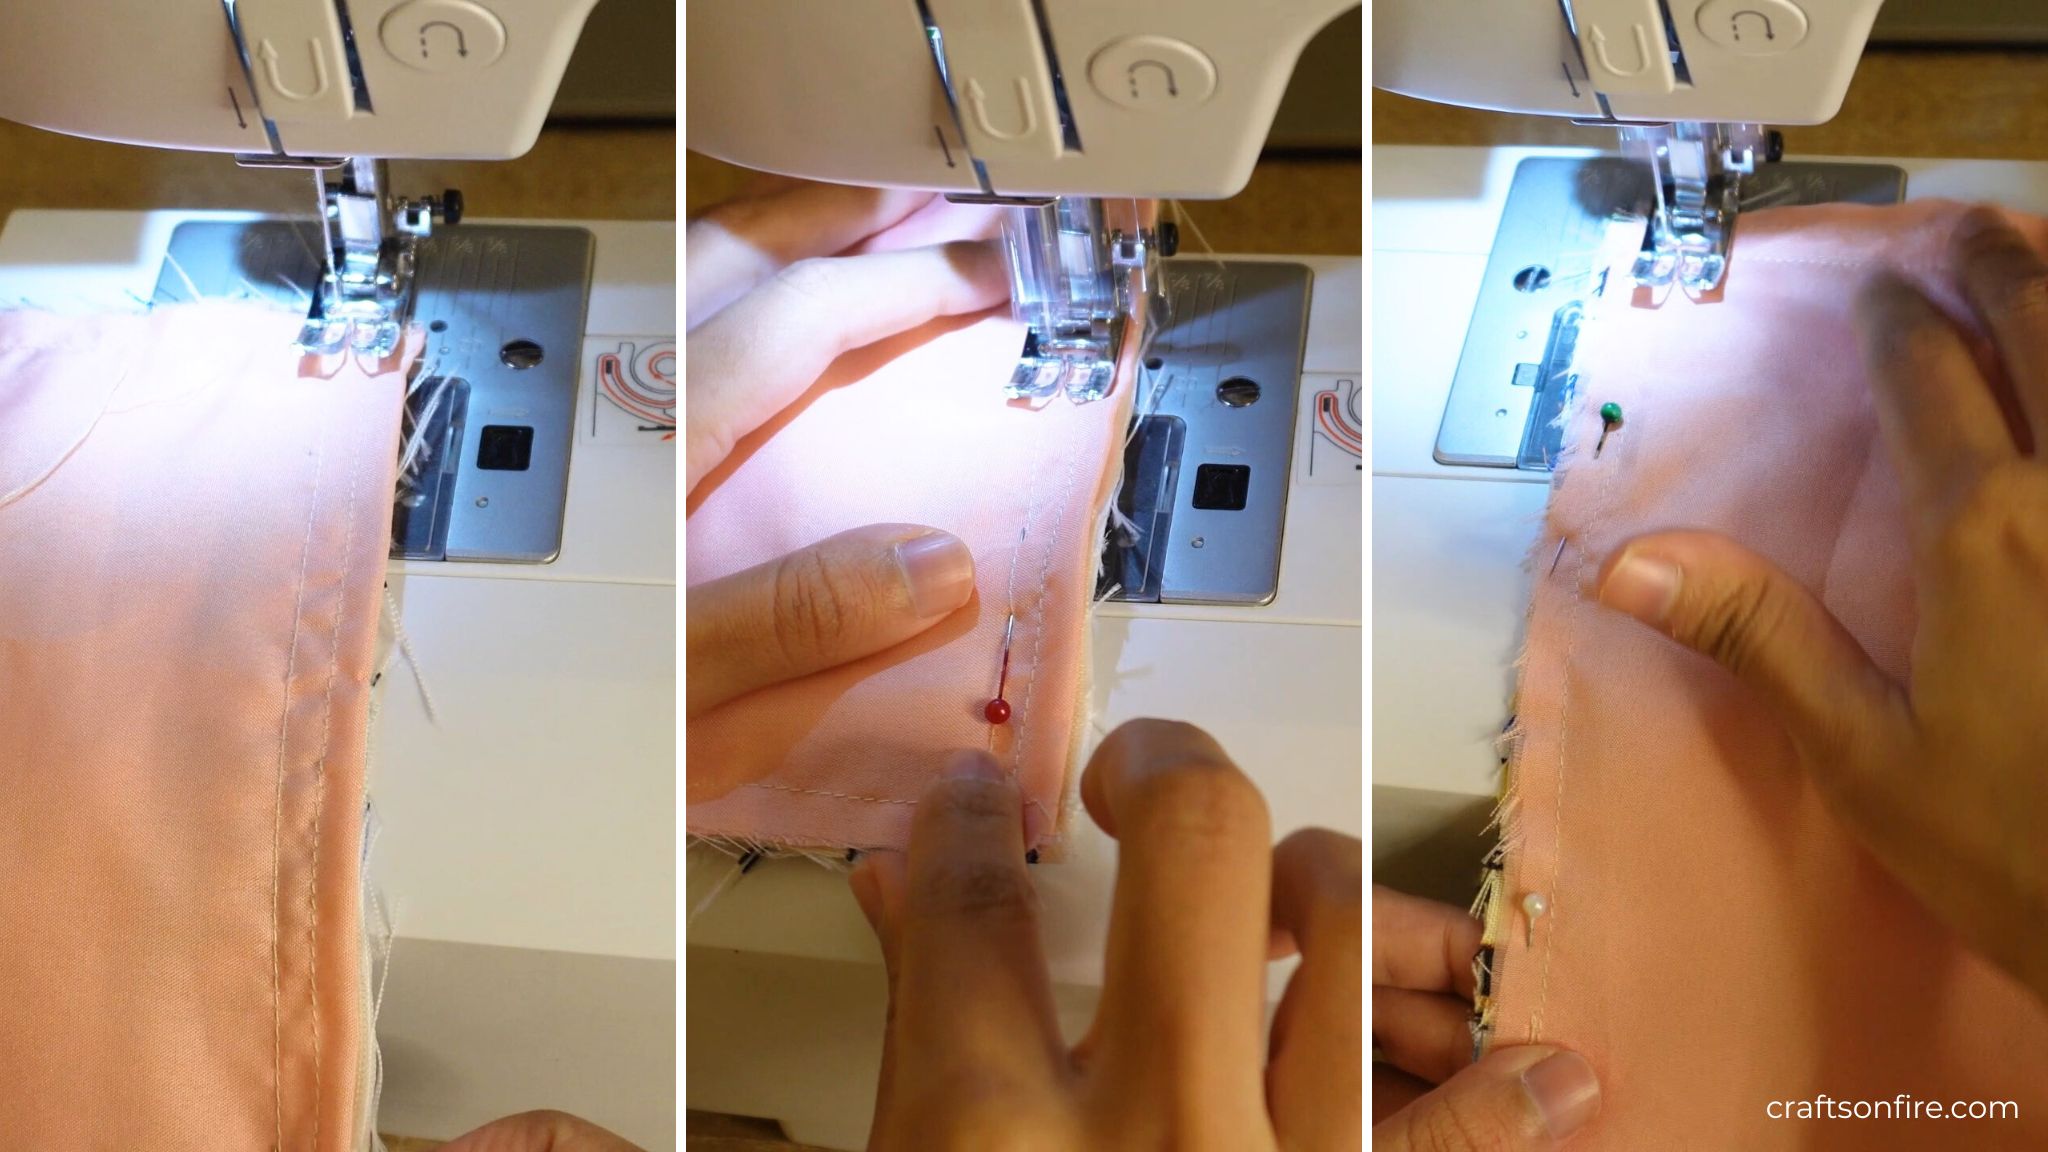
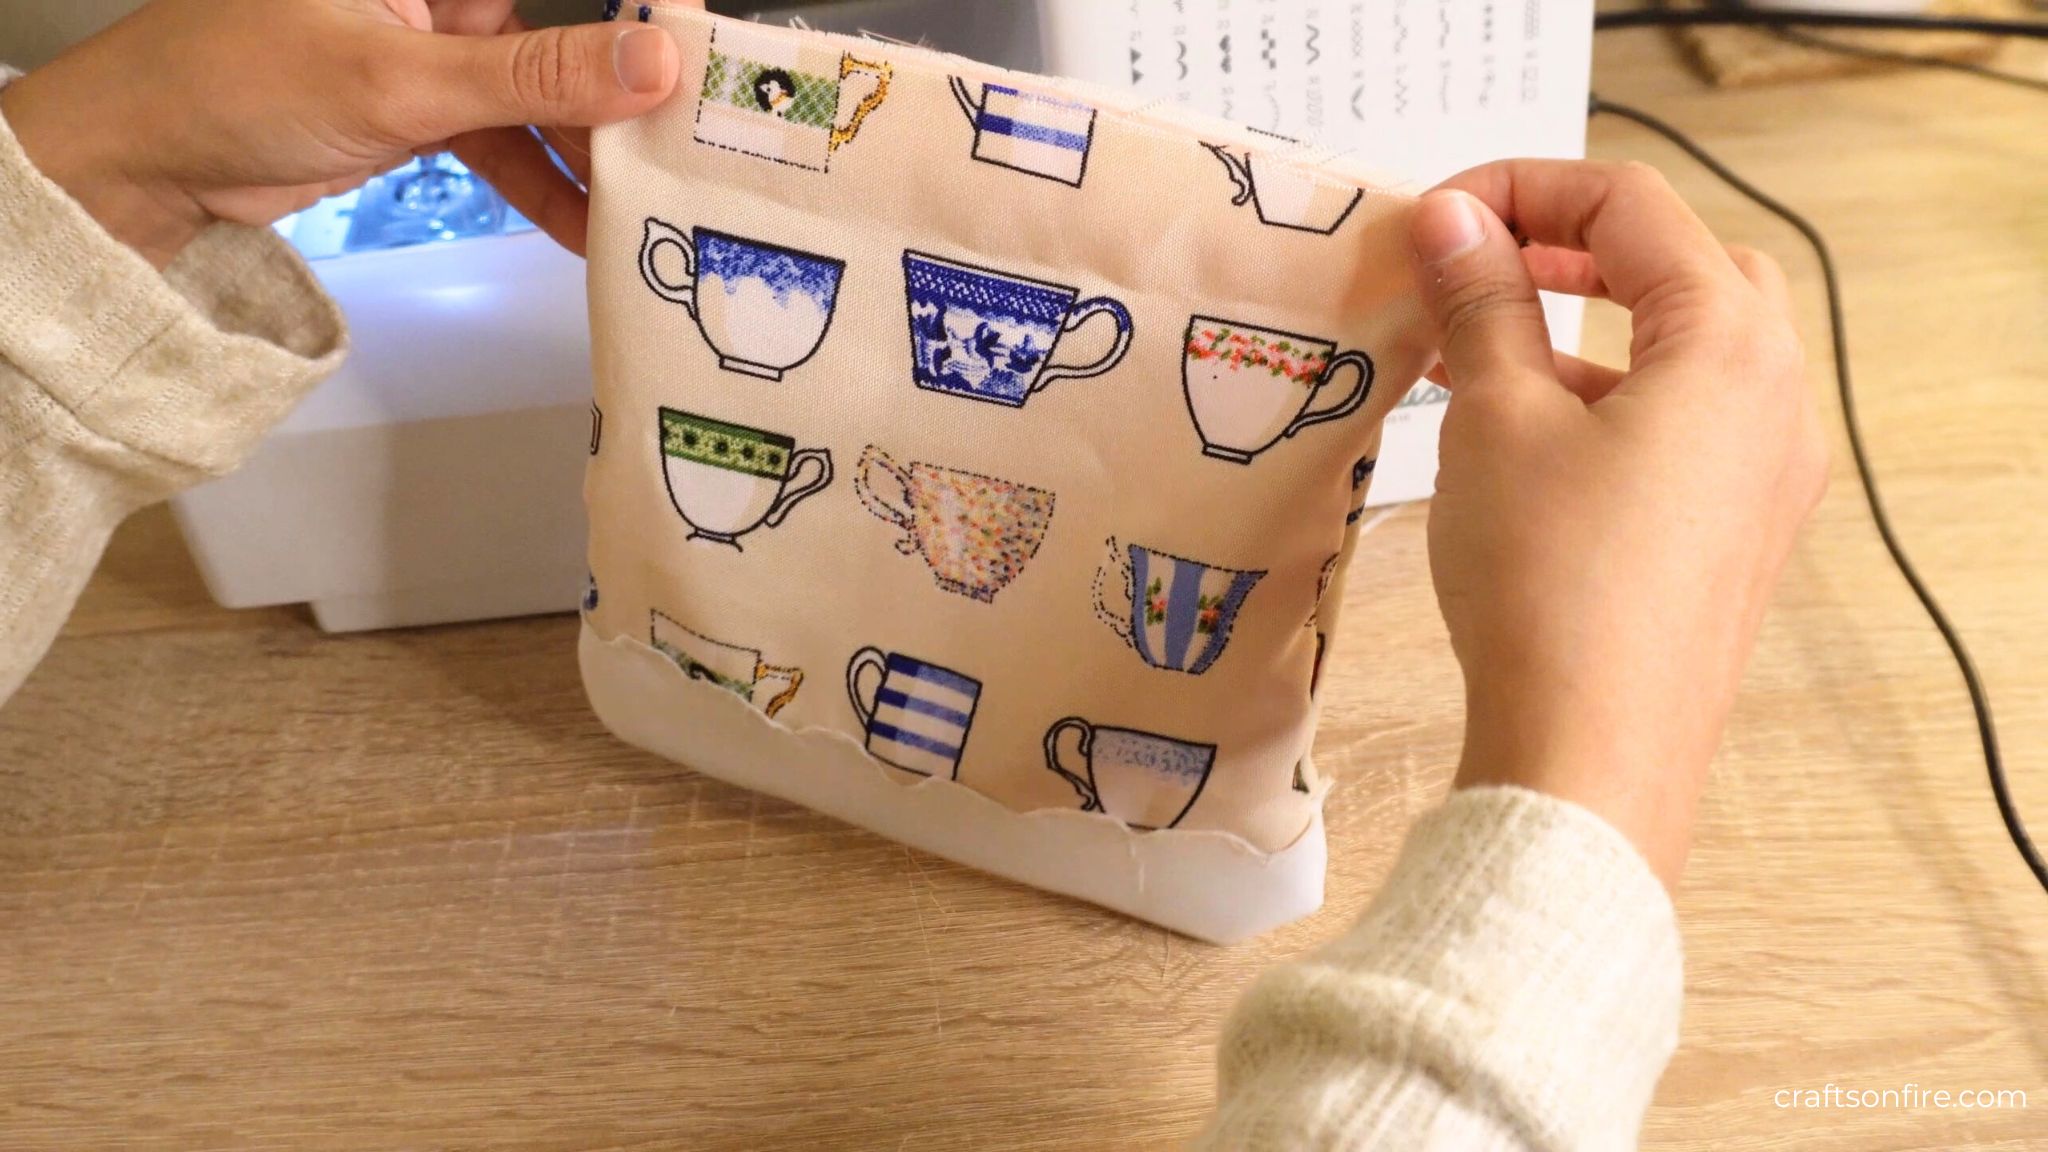
Since I completed the stitching of the bag, it was time to turn the bag inside out, and here’s what it looks like so far:
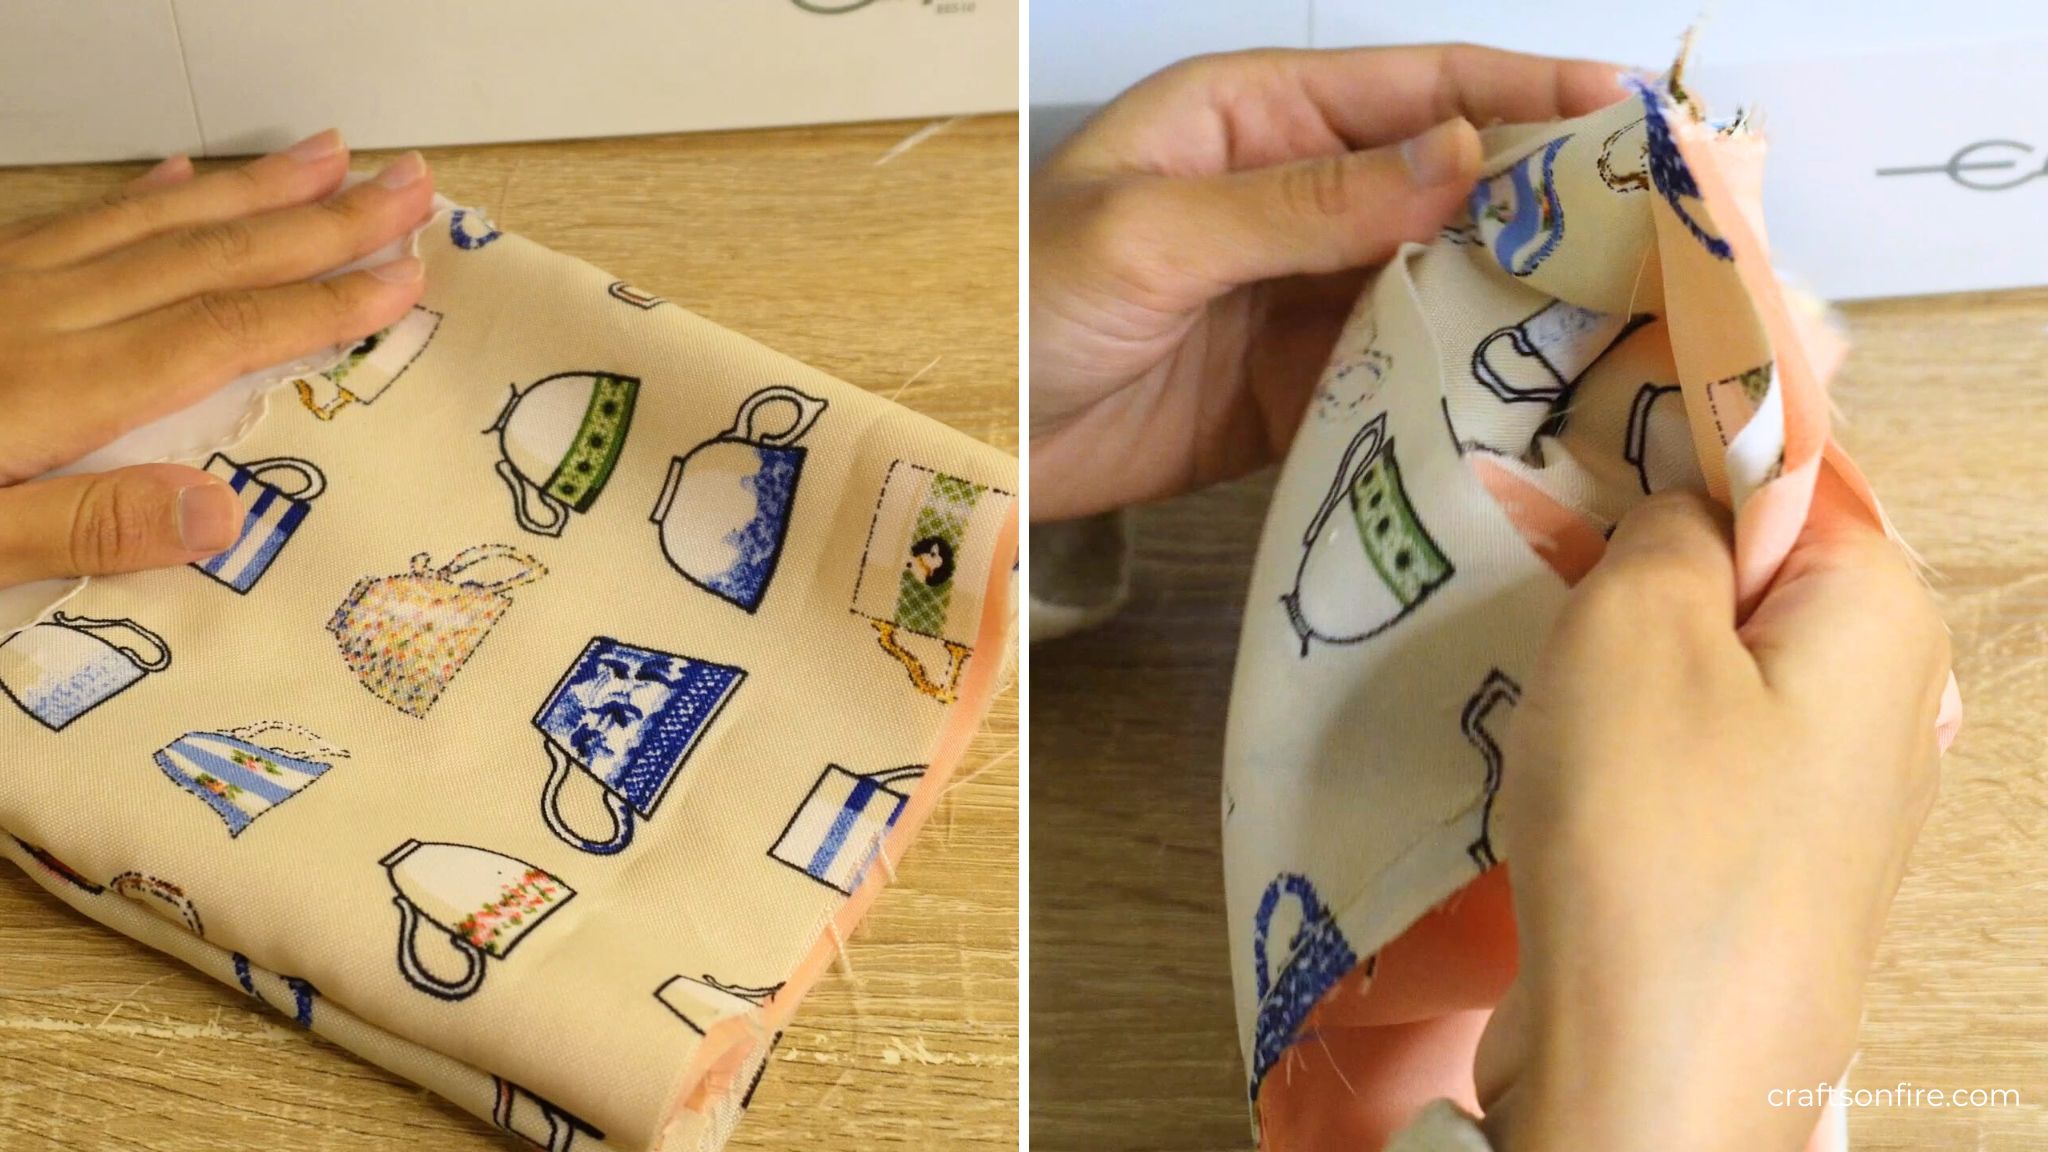
It does look kind of messy with all the frayed ends but it does come together soon!
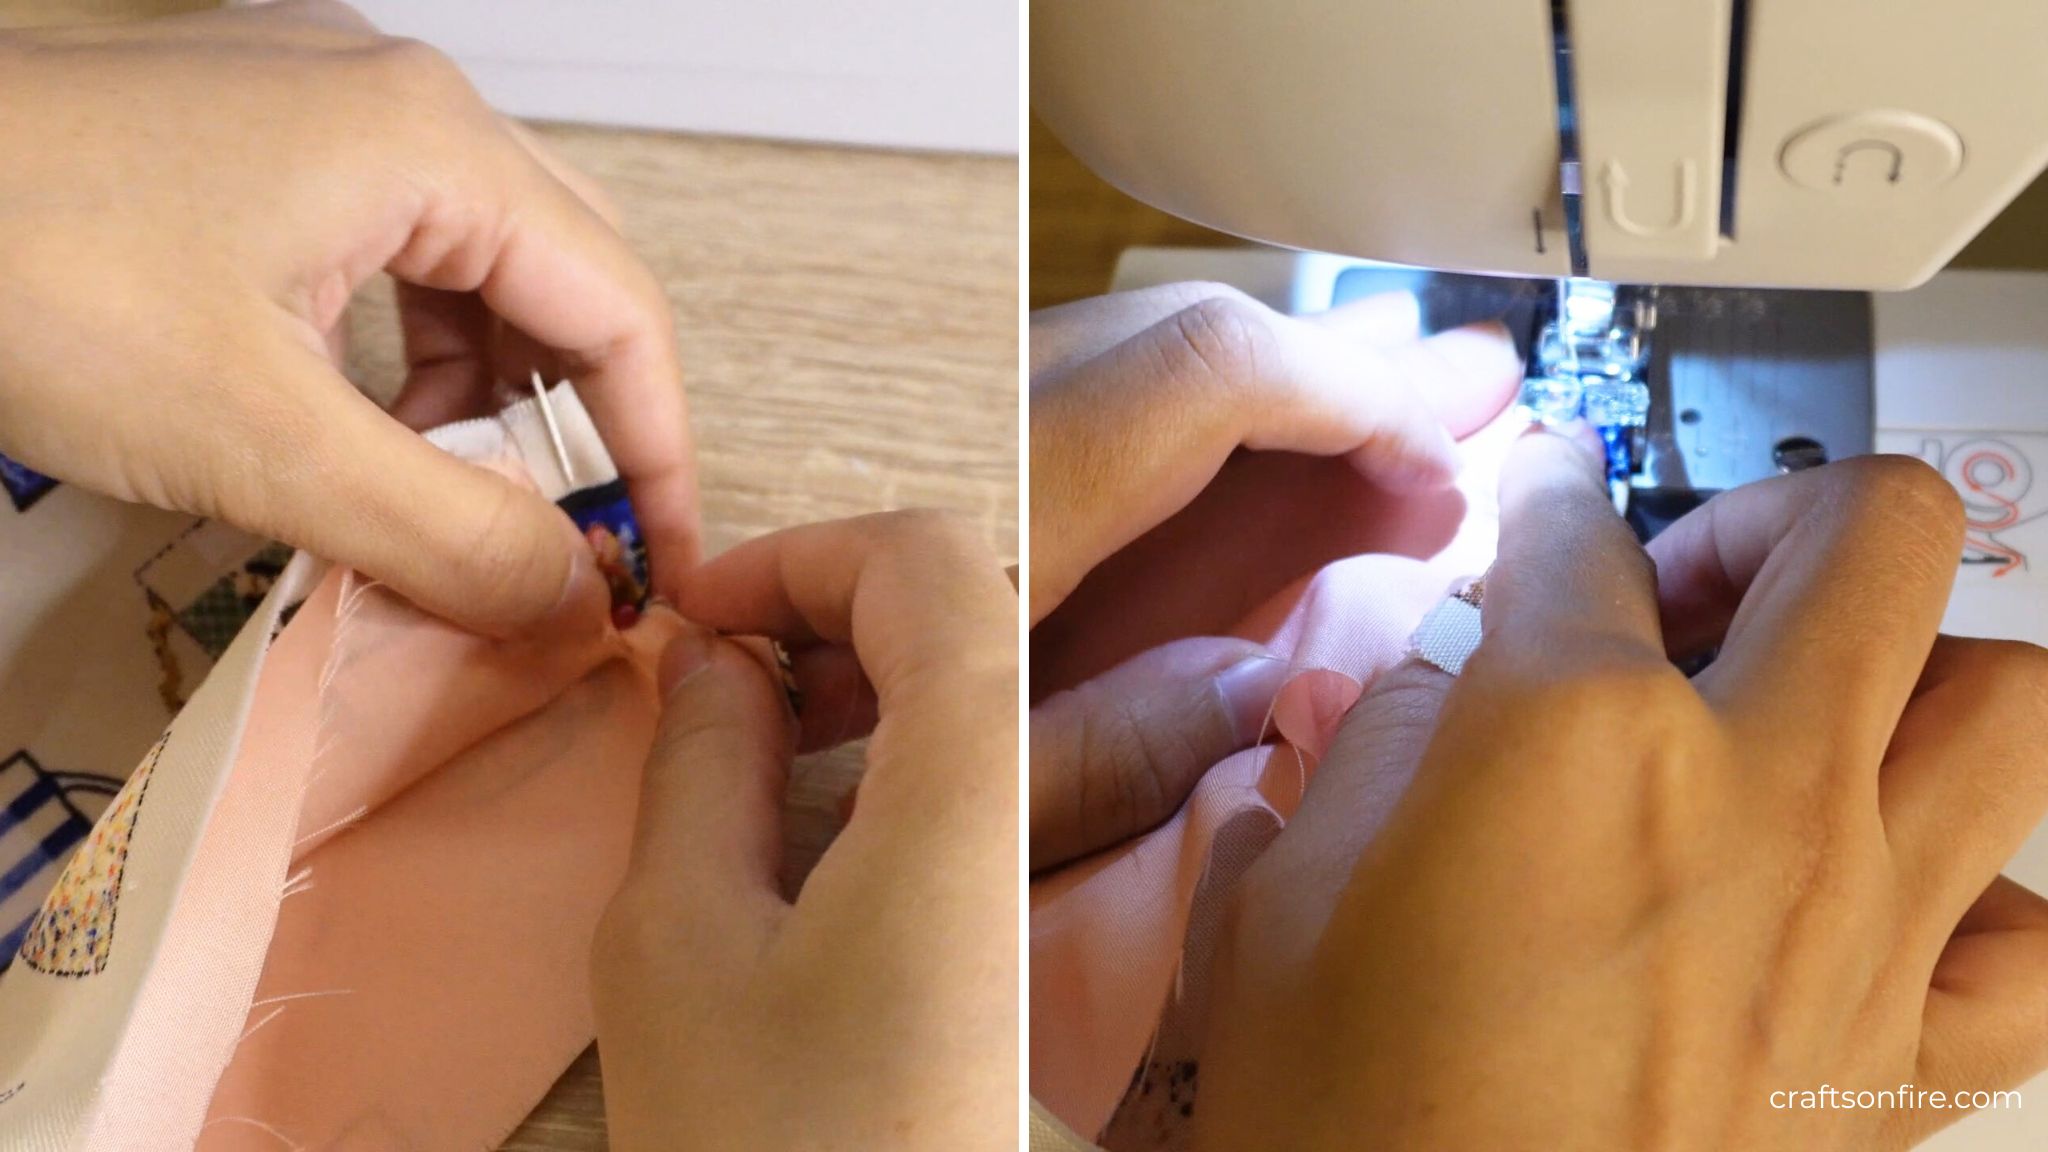
Then I folded the sides of the bag in and stitched all four ends.
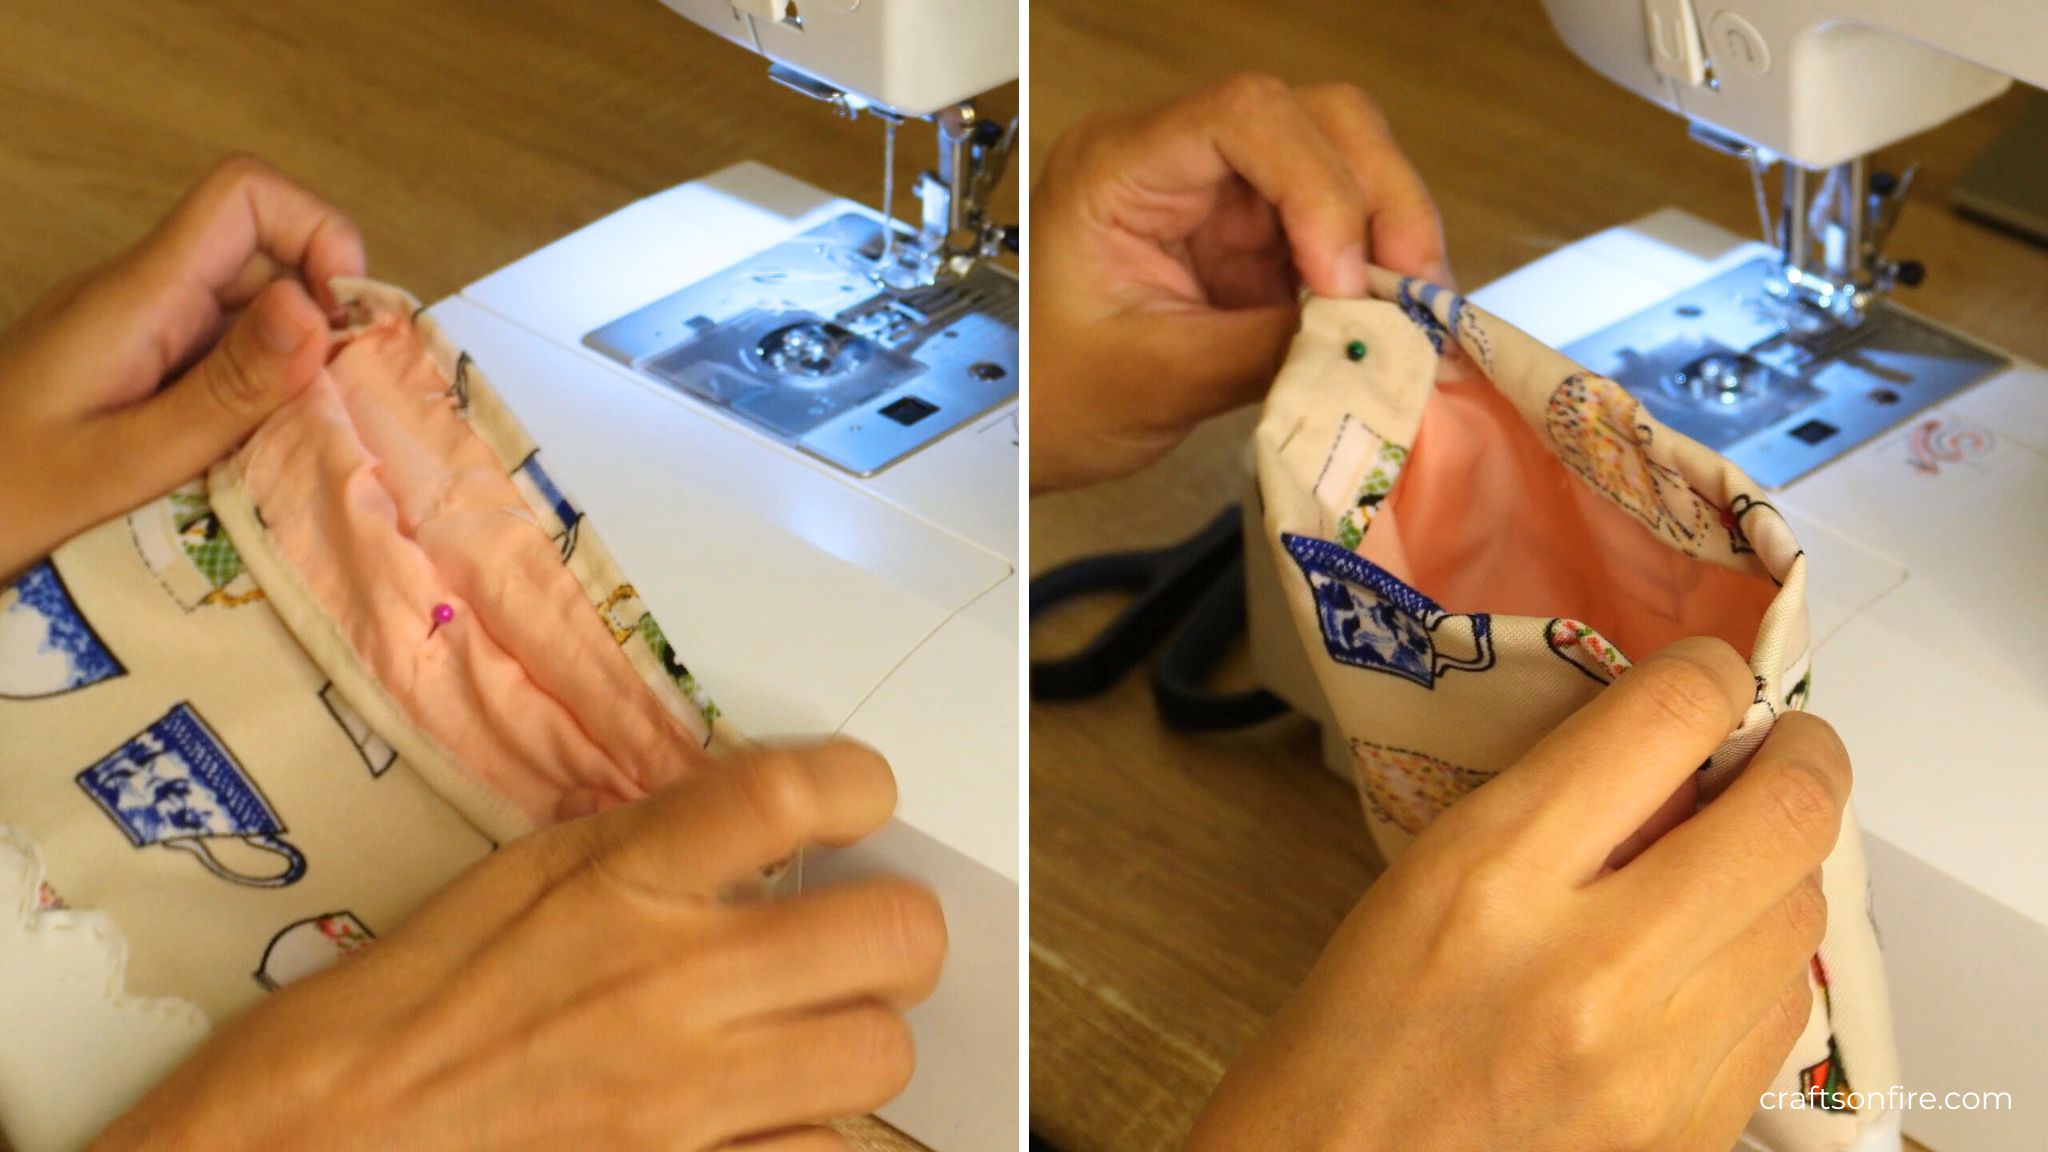
I also turned the top of the bag down to create a fold on both sides and then stitched it down for a neater finish.
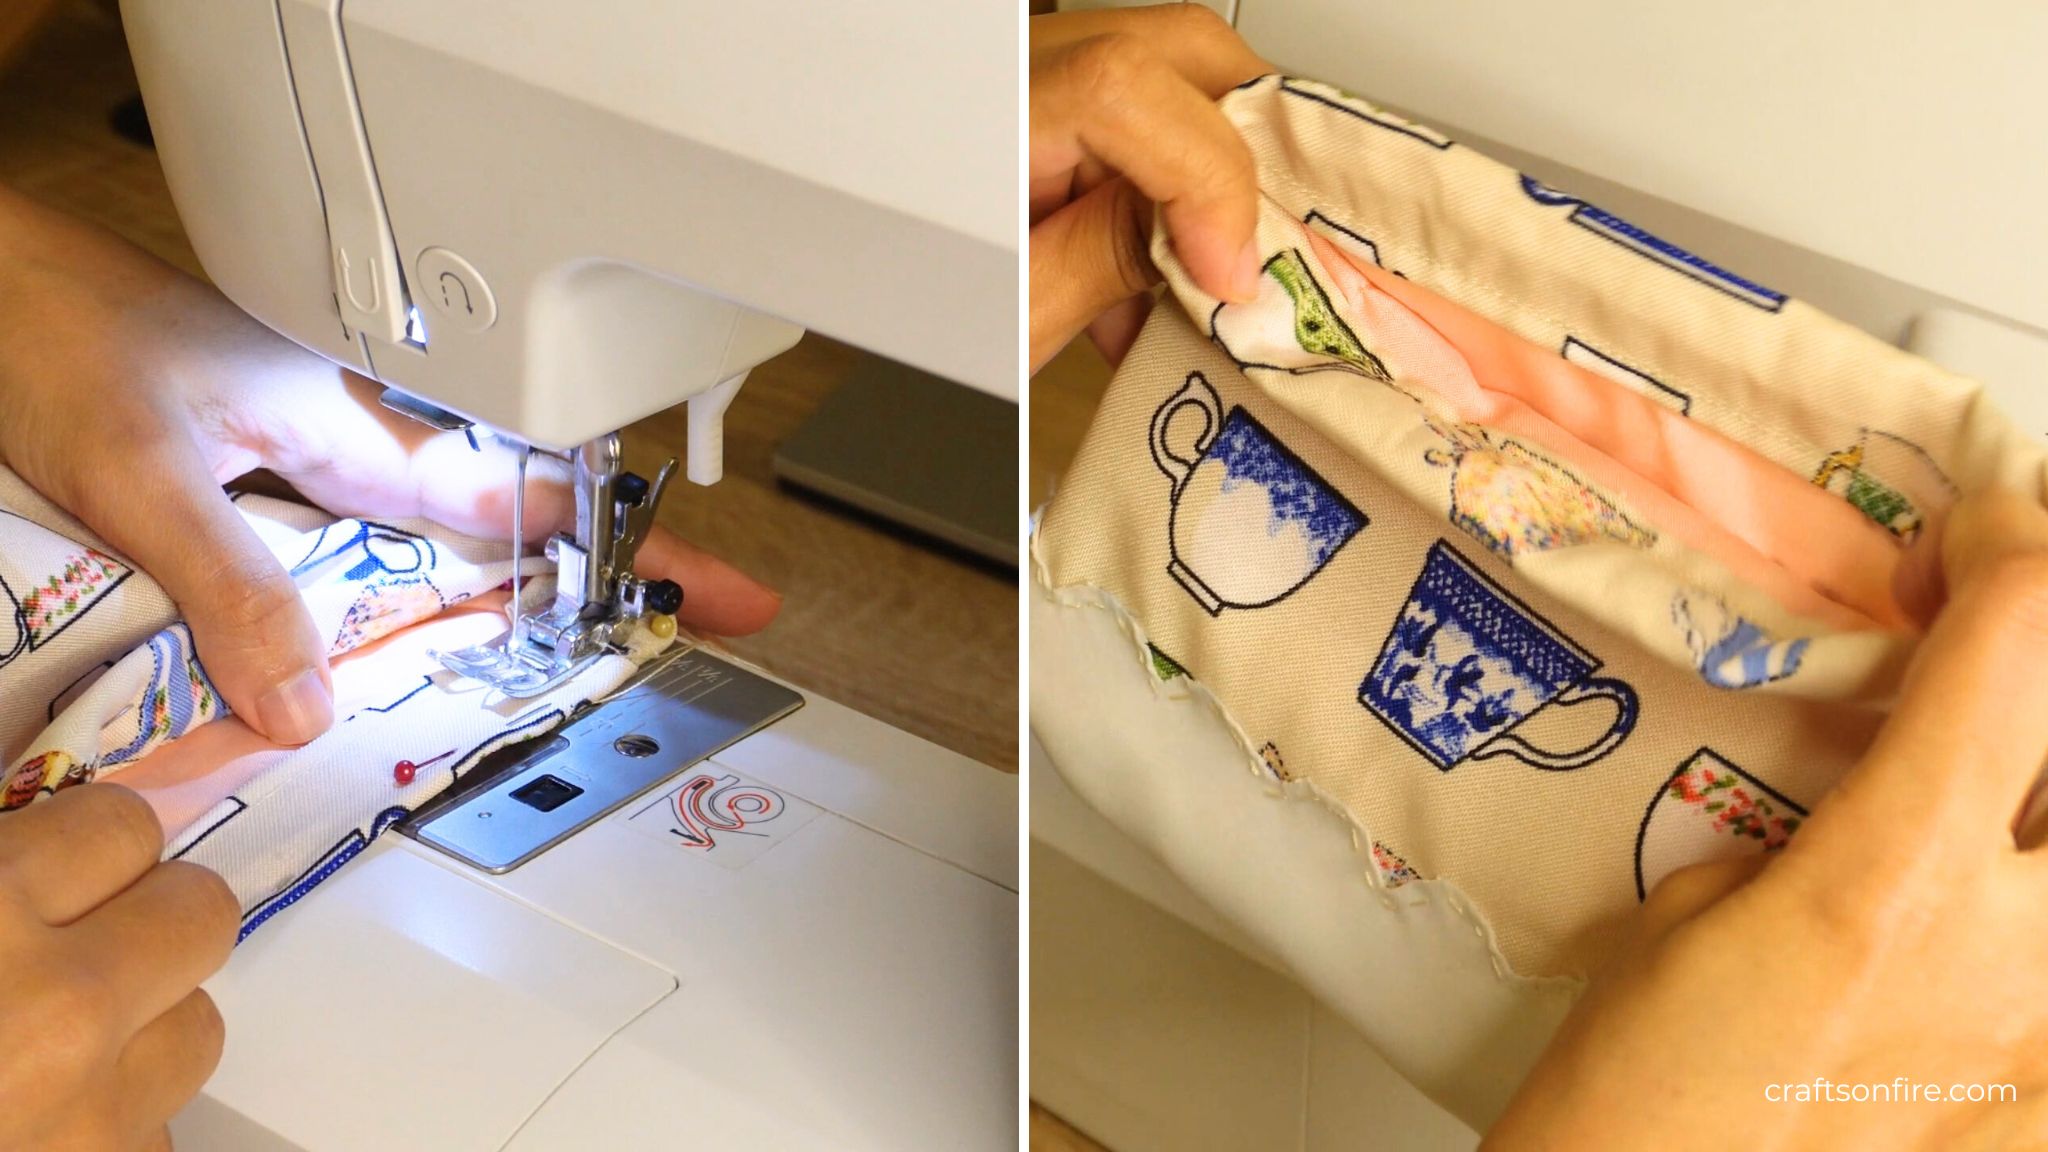
With the drawstring bag complete, I cut a piece of white string into two pieces and used a safety pin to thread it through the opening of the bag on both sides.
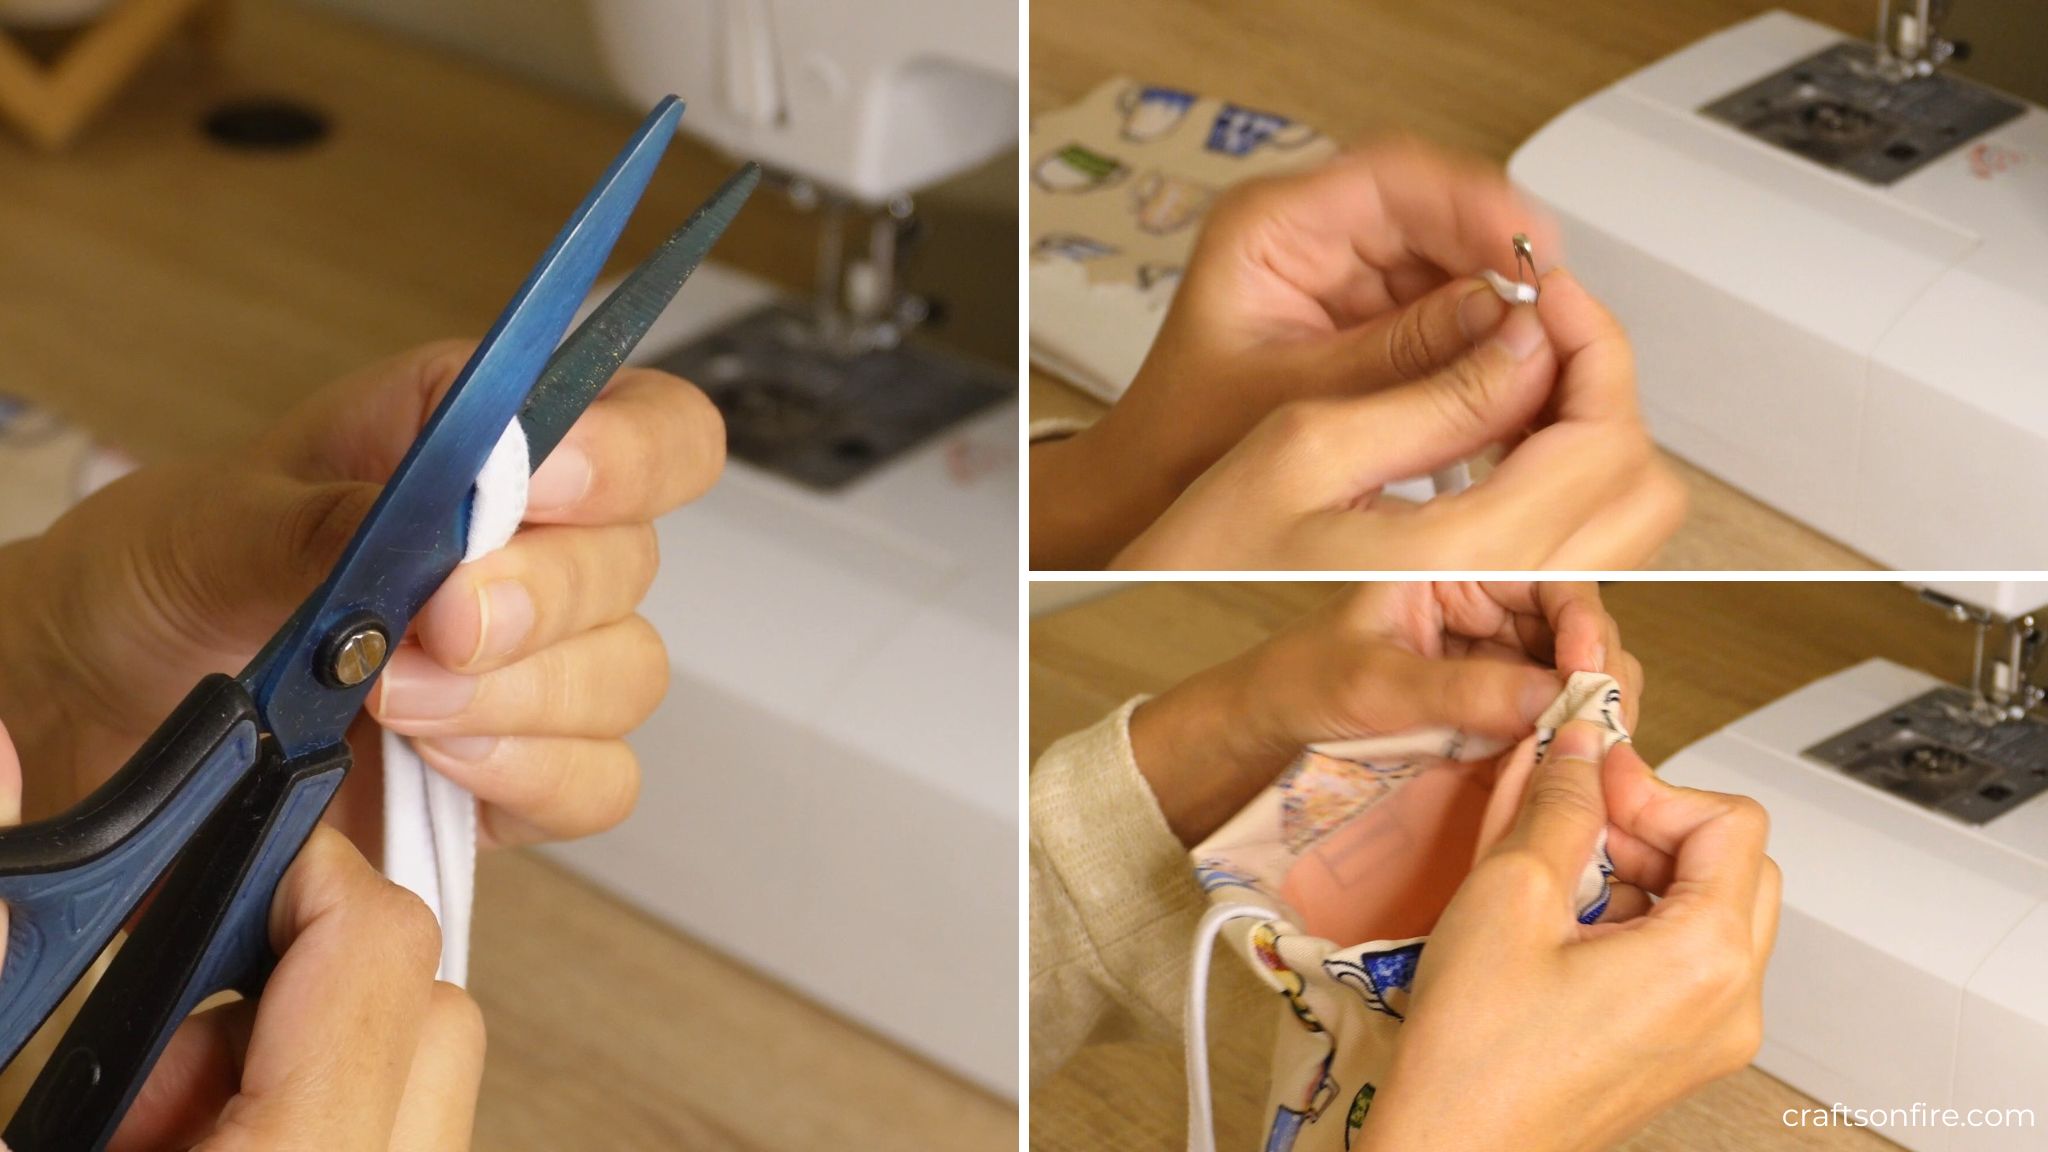
Once the string is threaded through, the bag is then complete.
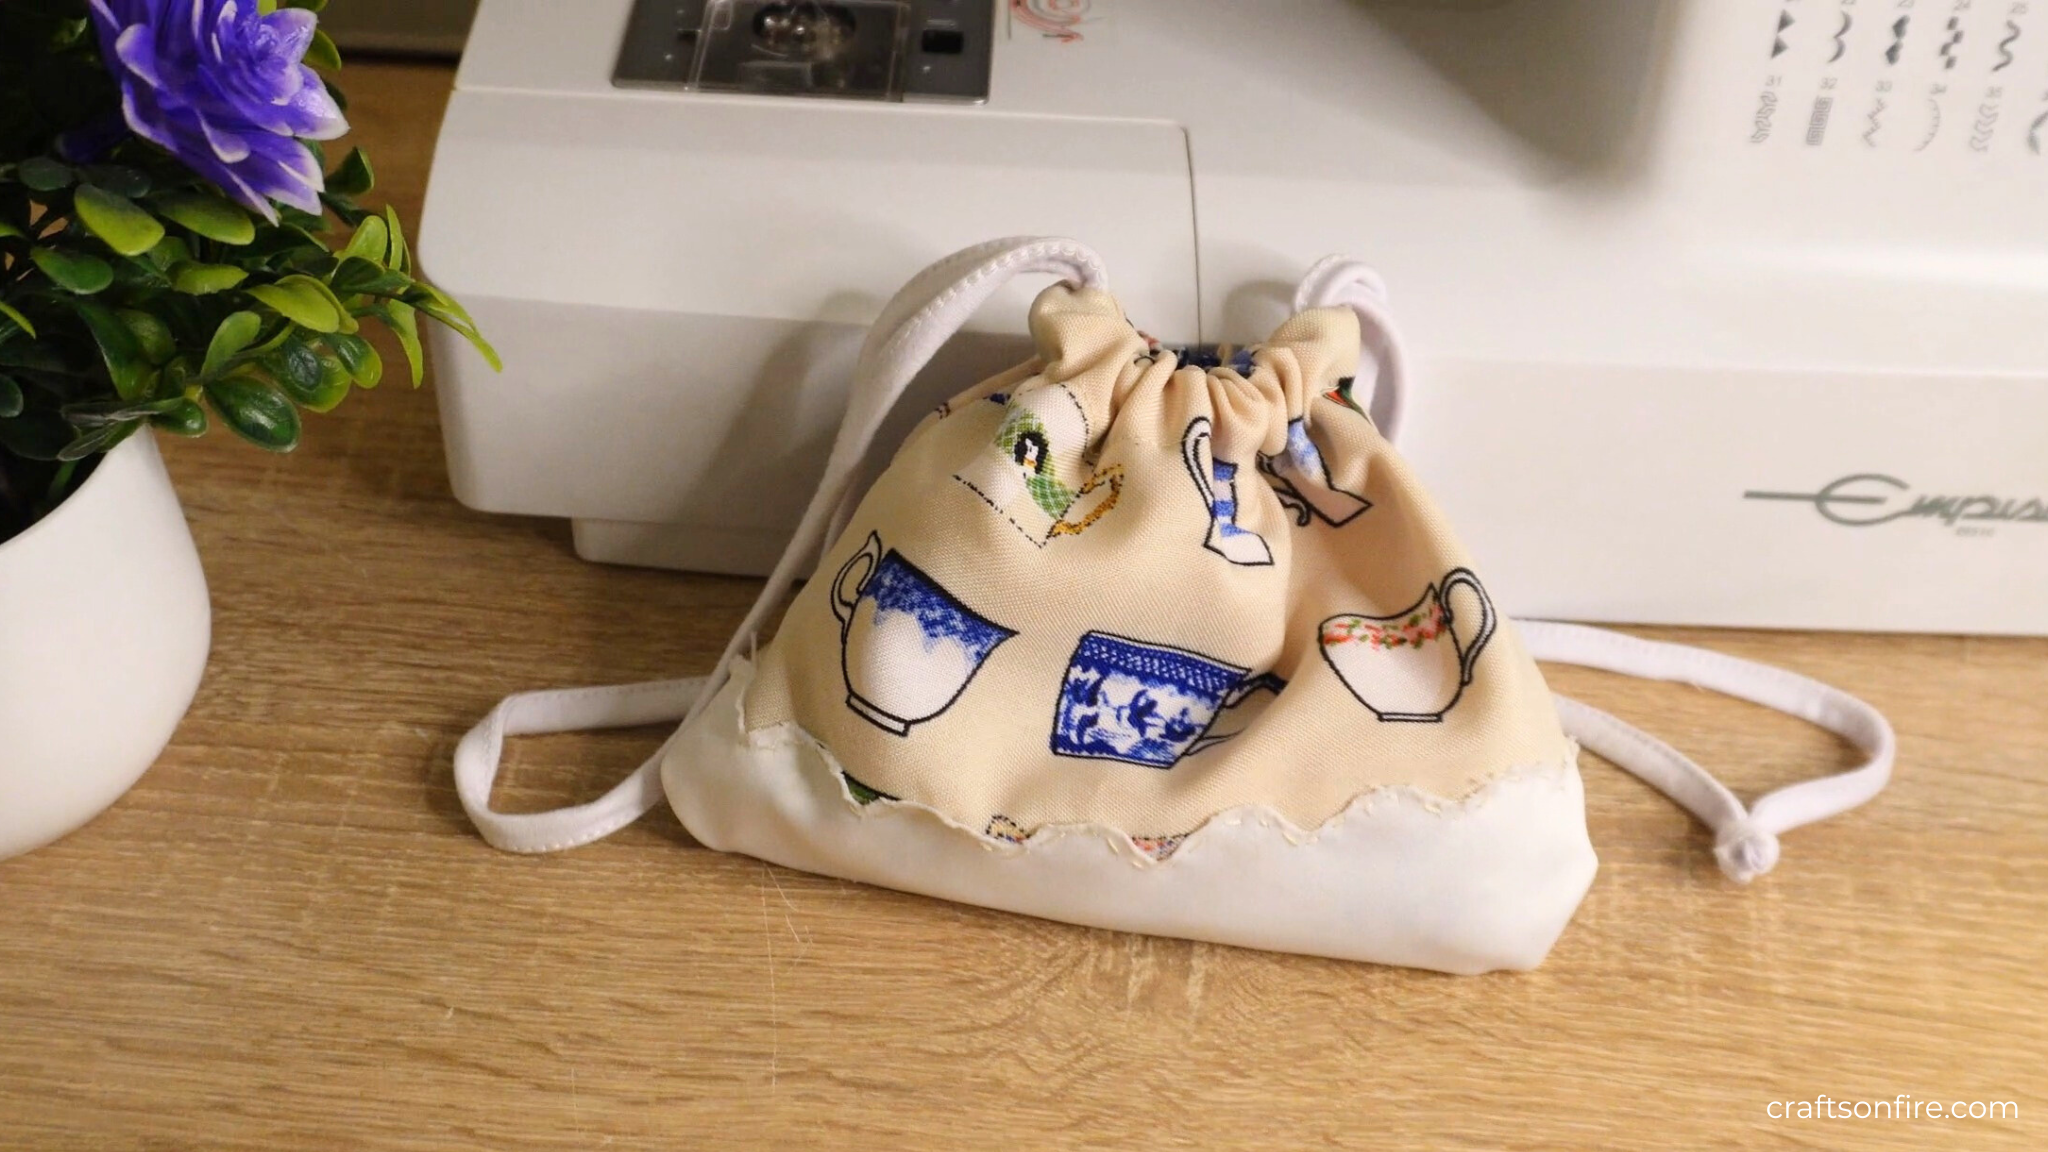
I love how cute the design turned out. However, I hated the white fabric I used for the border. It was a sort of silky shiny fabric and it frayed so much. It was hard to control.
That’s why I suggest using something like cotton or linen. This will sit better than a fabric that frays too much.
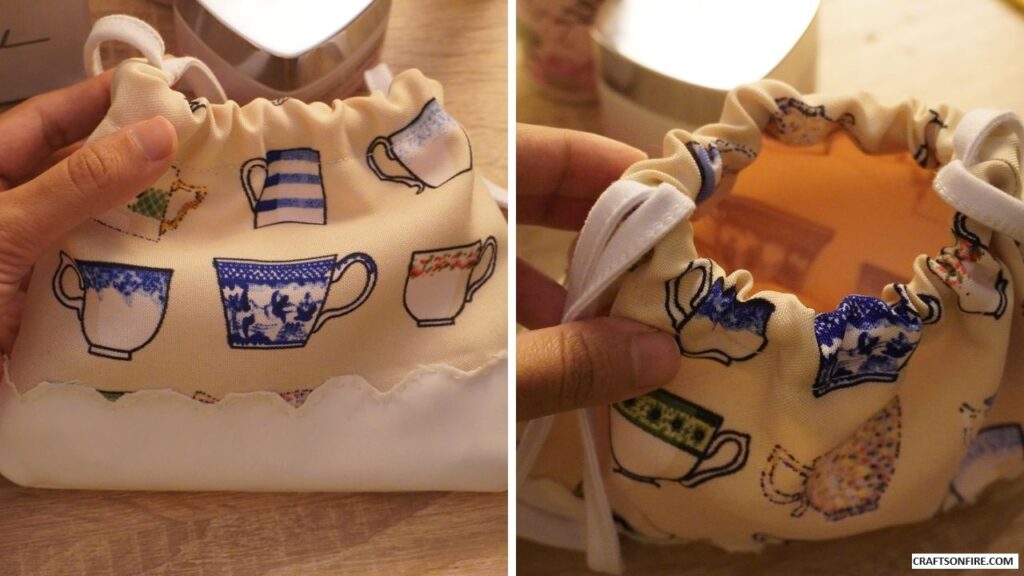
Regardless, I did enjoy creating and sewing this cute drawstring bag. It’s fun to design and sew something that looks good even with the small challenges along the way.
More Sewing Projects
DIY Kindle Cover Using Old Jeans
How To Sew A Tassel Bookmark (Step-By-Step)
