How To Waterproof Painted Rocks For Beginners
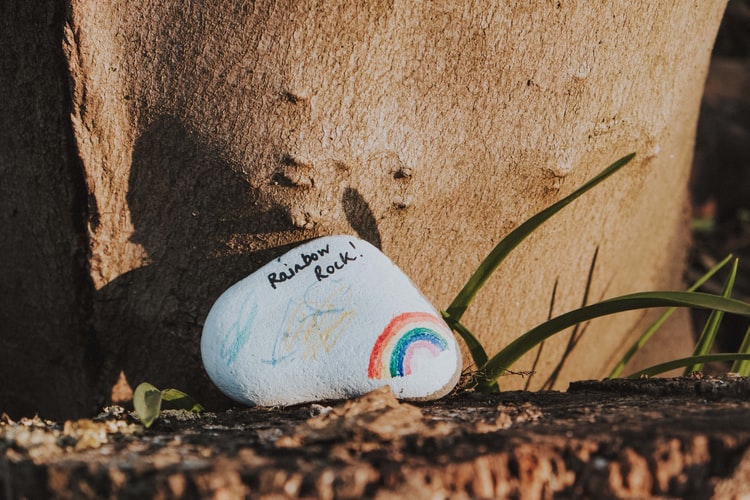
Rock painting is one of my favorite hobbies and passion projects for the weekend. It’s such a fun activity that doesn’t demand much money to do. One of the popular questions I get is how to waterproof painted rocks. Here’s the answer.
You need a good sealant that has the durability to endure the harshness of stormy days and nights because water from different sources like rain can absolutely destroy your rock paintings over time.
We’ll get more into the details of how to waterproof painted rocks with a sealant in a bit.
Right now I just want to mention that the type and quality of paint are just as important as the sealant.
The different types of paint like acrylic, water, oil and gouache all have a unique makeup and react differently to the exposure of water.
Unfortunately, all of these common paints thin with water. Obviously, some more than others. Water-based paint is obviously the least suitable for rock painting.
Acrylic paint is actually a very durable, strong, versatile and easy to obtain paint for rock painting. Its consistency is also quite suitable for a stone surface. But, it’s not water-resistant. The same could be said for oil and gouache paint. They’re all viable options with varying degrees of durability.
I think acrylic is your best option in general. It’s very easy to obtain, it’s cost-effective and dries beautifully.
I would have recommended oil paint but it’s relatively more pricey than acrylic. If you have the choice of oil paint, jump at it. Arteza is one good brand that offers both kinds, but there are plenty of other quality options that would work for this.
Okay, with that being said, I think we should talk about some of the tips for how to waterproof painted rocks with a sealant.
Related post: What kind of paint do you use on rocks
Table of Contents
1. Choose between spray or brush sealers
The choice is yours. Spray based sealers are super easy to use and fast for application. Brush/liquid-based sealers require more of an effort and materials for the application. Both are evenly priced when you factor in the cost of a brush with the liquid-based sealers compared to just a spray can.
2. Wait for the paint to completely dry
Paint takes between an hour to three hours to dry completely depending on the environment and temperature. You don’t want to run the risk of ruining your rock painting by applying the sealer to the wet paint. You can speed up the drying process by using a fan or hairdryer.
3. Apply multiple coats
Anything above a single coat is going to significantly improve the waterproofing of your rock paintings. I’d say 3 coats are the best number to hit but you can completely get away with 2 good coats, especially if you use a liquid-based sealer.
4. Spray from a distance or brush in even strokes
To avoid clumps of bubbles from forming on your paintings or uneven coats, hold you can’t at least 5-8 inches away. When using a brush, use light strokes in one direction until the entire rock is coated.
5. Allow it to dry in the sun
Give your painted rocks ample time to dry so as to avoid any smudges or damage. As far as possible, avoid leaving your rocks to dry outside during a windy day to avoid dust and dirt from getting stuck in the sealer.
Additional tips for preserving painted rocks
Look, even if you use a good sealer, with time and exposure to the different elements, you will experience some fading and damage, especially if you didn’t use quality paint as well. This is why I tend to be generous when I’m painting and using a thick coat of paint.
Also, you want to ensure that the type of paint and consistency of it is very deep in color. Pastel based colors tend to stay vibrant longer than light and neutral tones.
Related post: How to display painted rocks
With that being said, I hope you found this article on how to waterproof painted rocks to be informative and easy to follow. Please share your thoughts and questions in the comment section below and I’ll be sure to answer them.
