DIY Kindle Cover Using Old Jeans
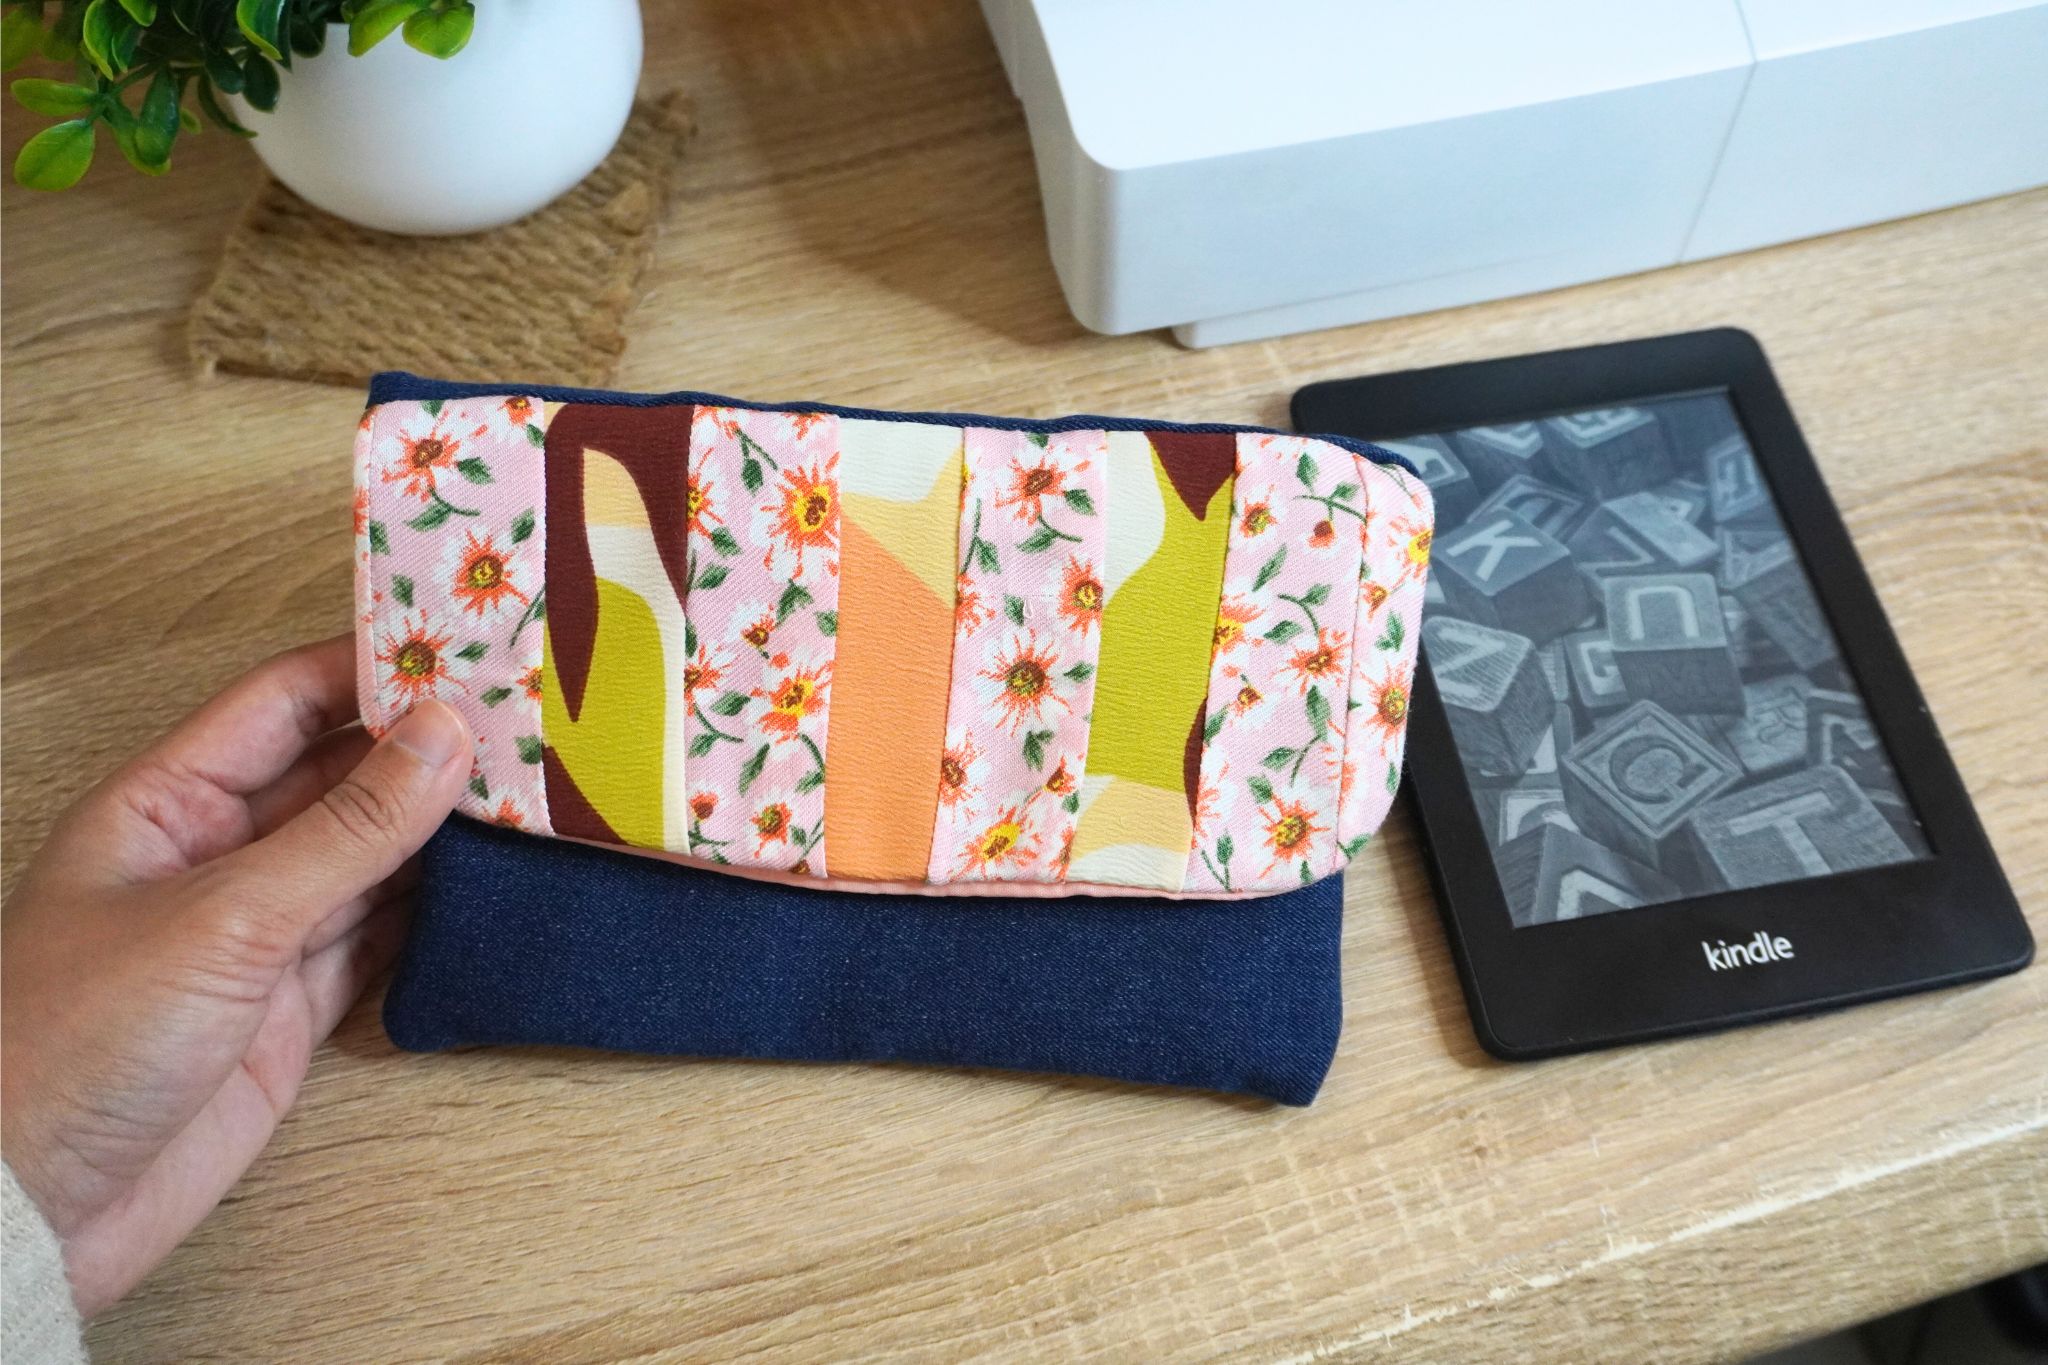
I love my Kindle but after the poor thing has been sitting around exposed to dust and scratches, I just had to take the initiative and make a cover for it which is how this pretty Kindle cover has come to life!
If you have a pair of jeans, some scrap fabric, and lining, you can create a stylish and functional Kindle cover to store your device.
The finished size of this cover is approximately 19 cm wide and 14 cm tall. It’s great for small Kindles and tablets too.
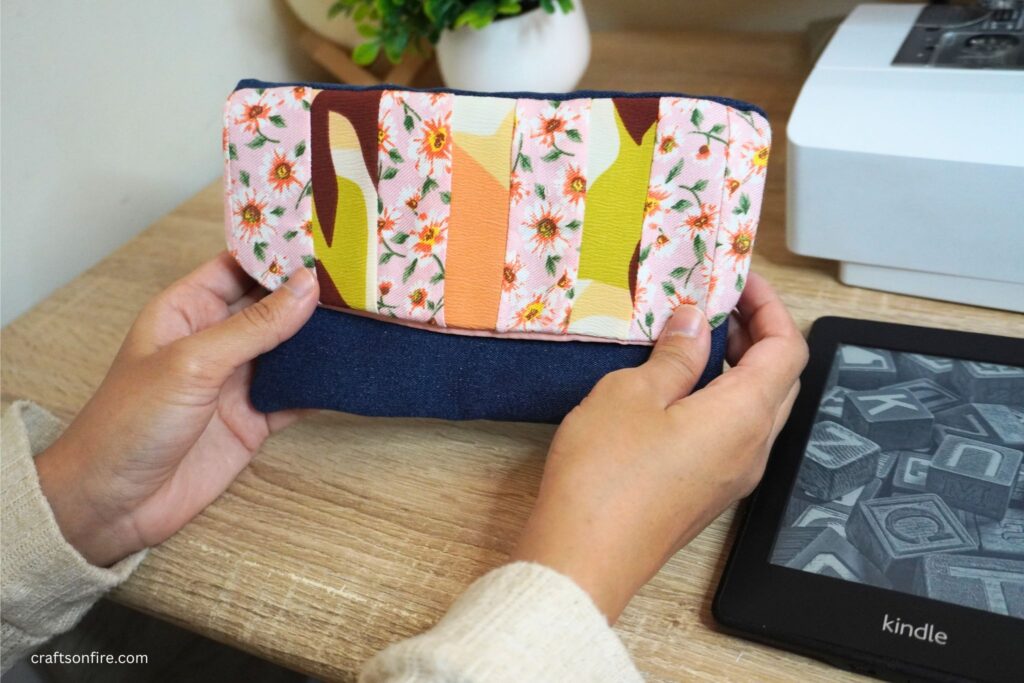
To give you a quick breakdown of the overall process of sewing this Kindle cover, here’s what we’re going to do:
- First, we’ll cut the pieces and create the patchwork pattern by sewing the strip.
- Then, we’ll attach the 2 jean pieces and sew the flap and the patchwork fabric together.
- Next, we’ll cut the lining and the fabric batting to match the bag shape.
- Then we’ll stitch the entire thing together and turn it over.
Pretty simple, right?
Let’s get started.
Table of Contents
DIY Kindle Jeans Cover
Supplies
- Jeans Fabric
- Lining
- Patterned Strips
- Fabric Batting
- Clasp
- Sewing Machine
- Thread
- Scissors
- Pins
Pattern/Measurements
The first thing you’ll need to do is cut and assemble your fabric. Begin by cutting the following pieces. You’ll want to cut the jeans into 3 pieces.
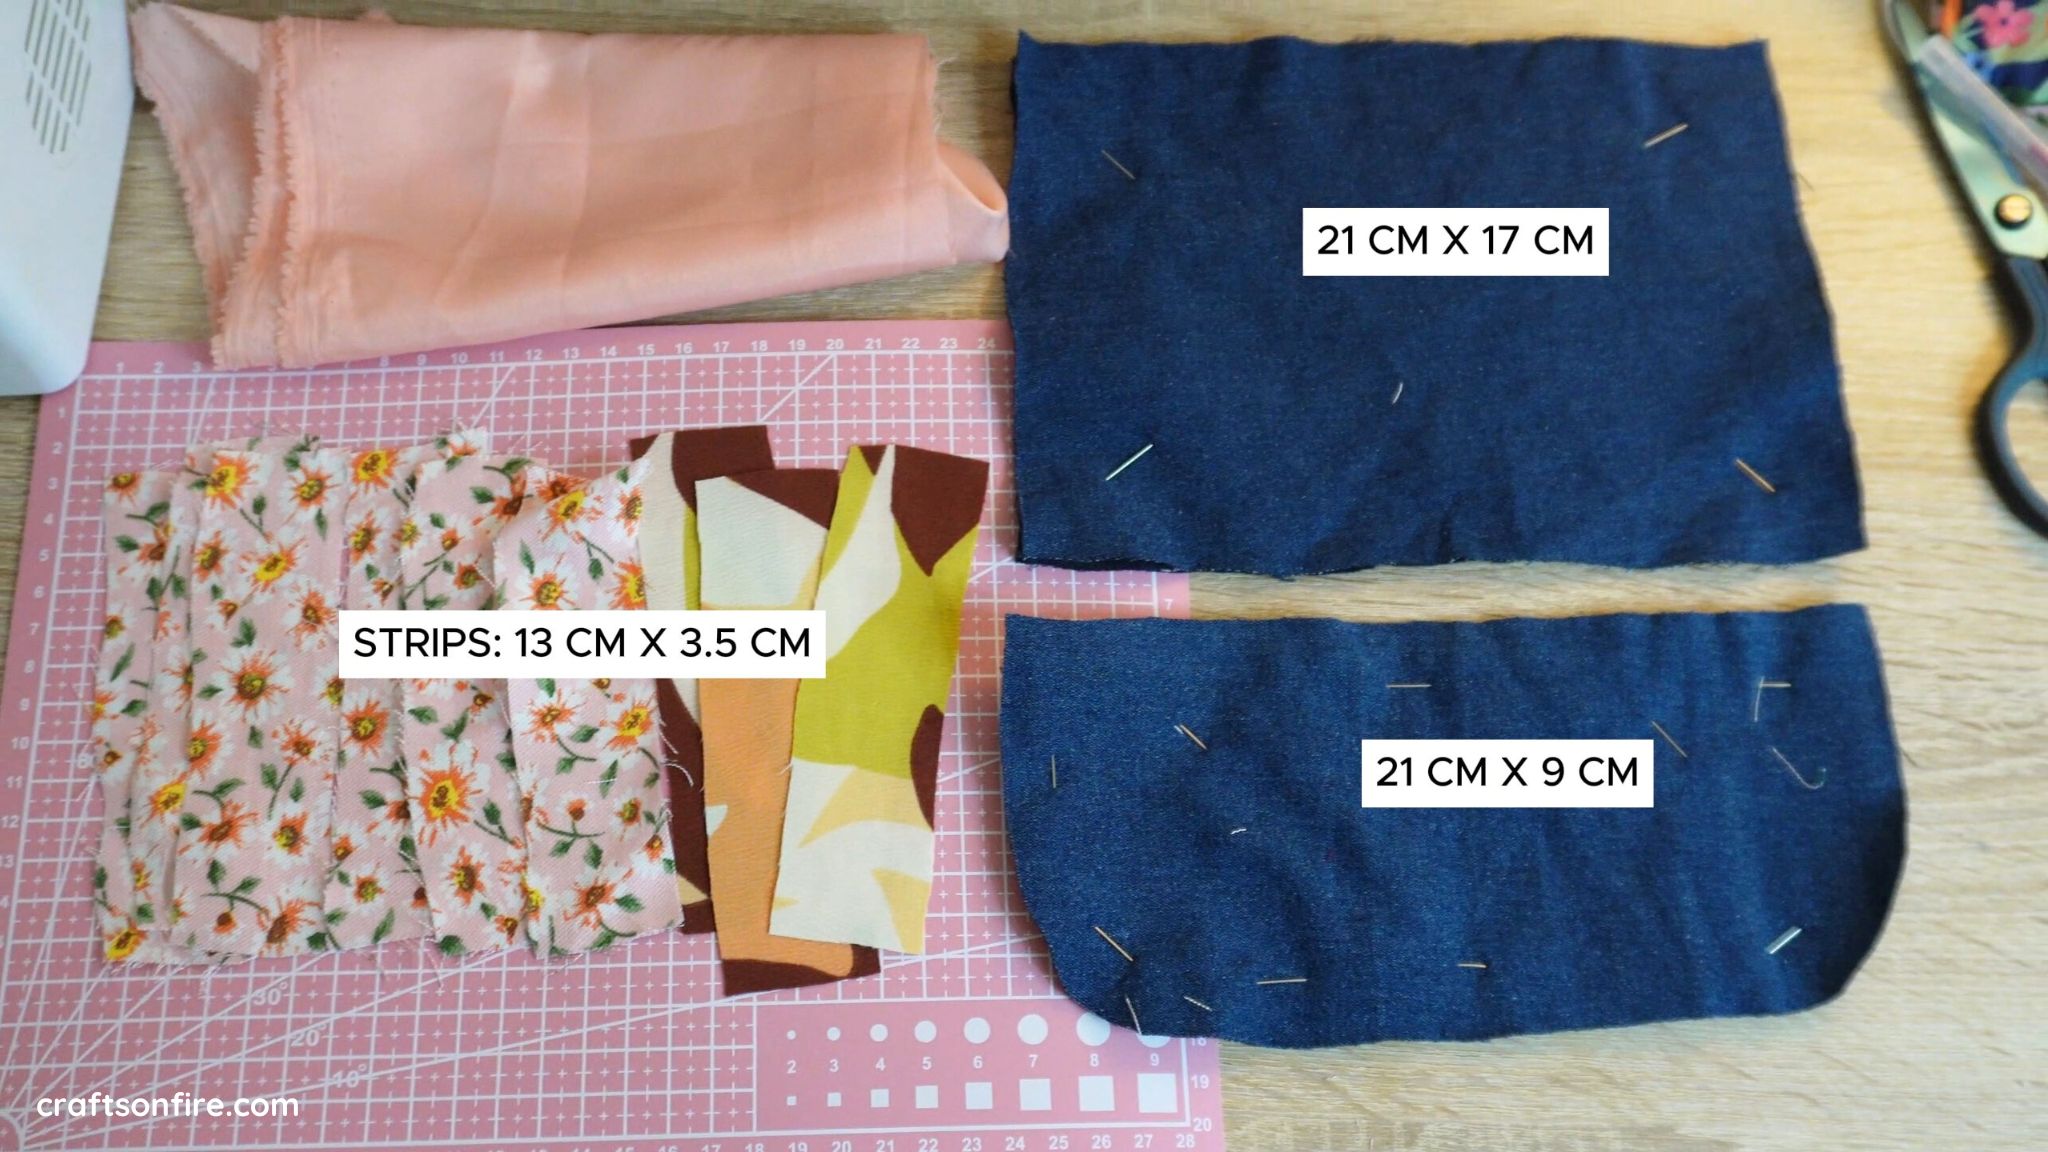
Piece A – 21 cm x 17 cm (cut 2 pieces of this)
Piece B – 21 cm x 9 cm (This one has a curved edge)
Then cut about 9 strips measuring 13 cm x 3.5 cm
You don’t have to cut the lining as yet. This will be done later on in the tutorial.
Once all your fabric pieces are ready, we can then begin.
Video Tutorial
Instructions
Create The Patchwork
Take the first two strips (pink) and place them together with the right sides facing in. Align them so that the ends match. Sew this end of the strip and then open out the strip to the patterned side.
Grab your next patterned strip (green) and place it on the second (pink) strip with the right sides facing in and then sew.
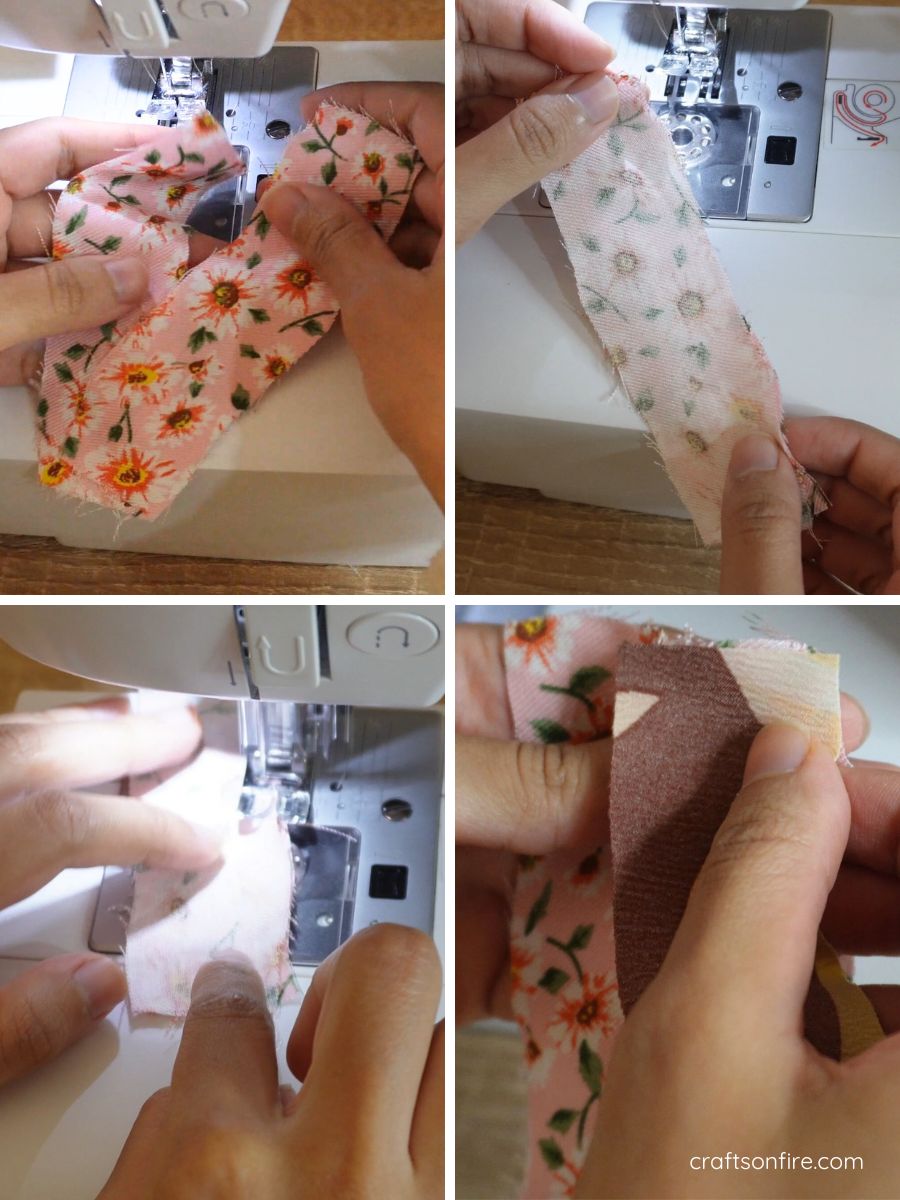
Continue this pattern until all your strips are stitched together.
Here’s how my strips turned out:
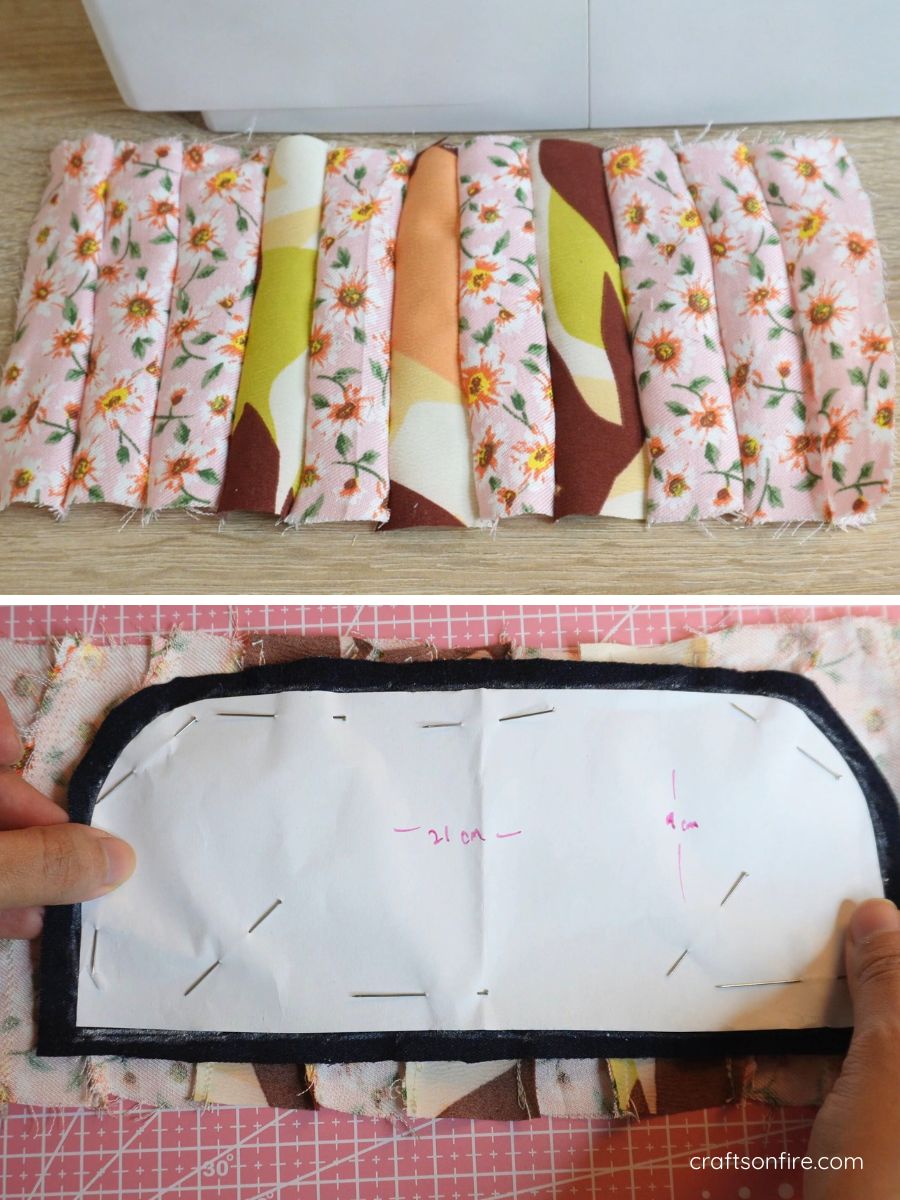
You can give the fabric a light press so that the fabric sits flat. Then grab Piece B and place it on the patchwork fabric and pin.
Join The Jeans Fabric
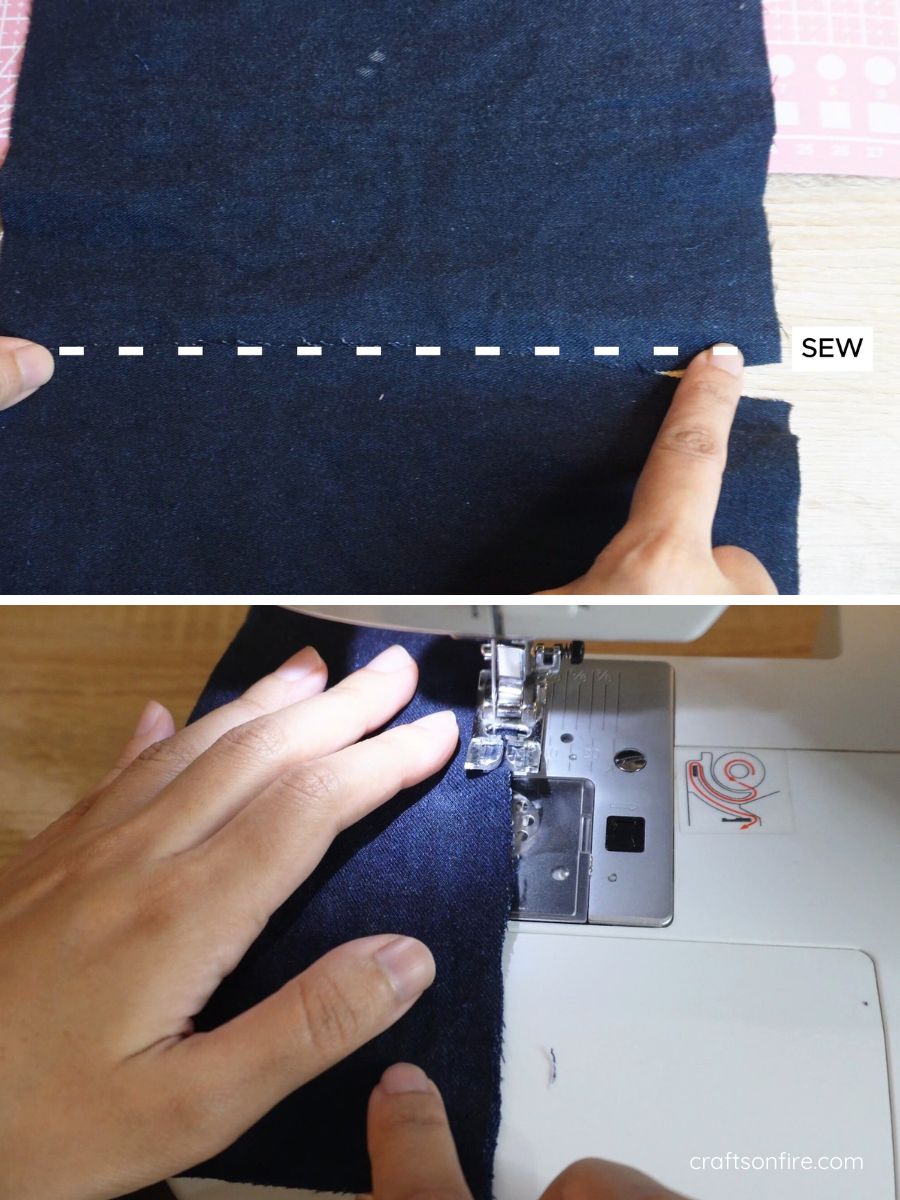
Grab Piece A and sew along the edge to join both pieces together.
Stitch The Body
Open out Piece A and fold it over to create the bag shape. The right side should be facing out.
Grab Piece B with the patchwork fabric and lay it on Piece A as shown below:
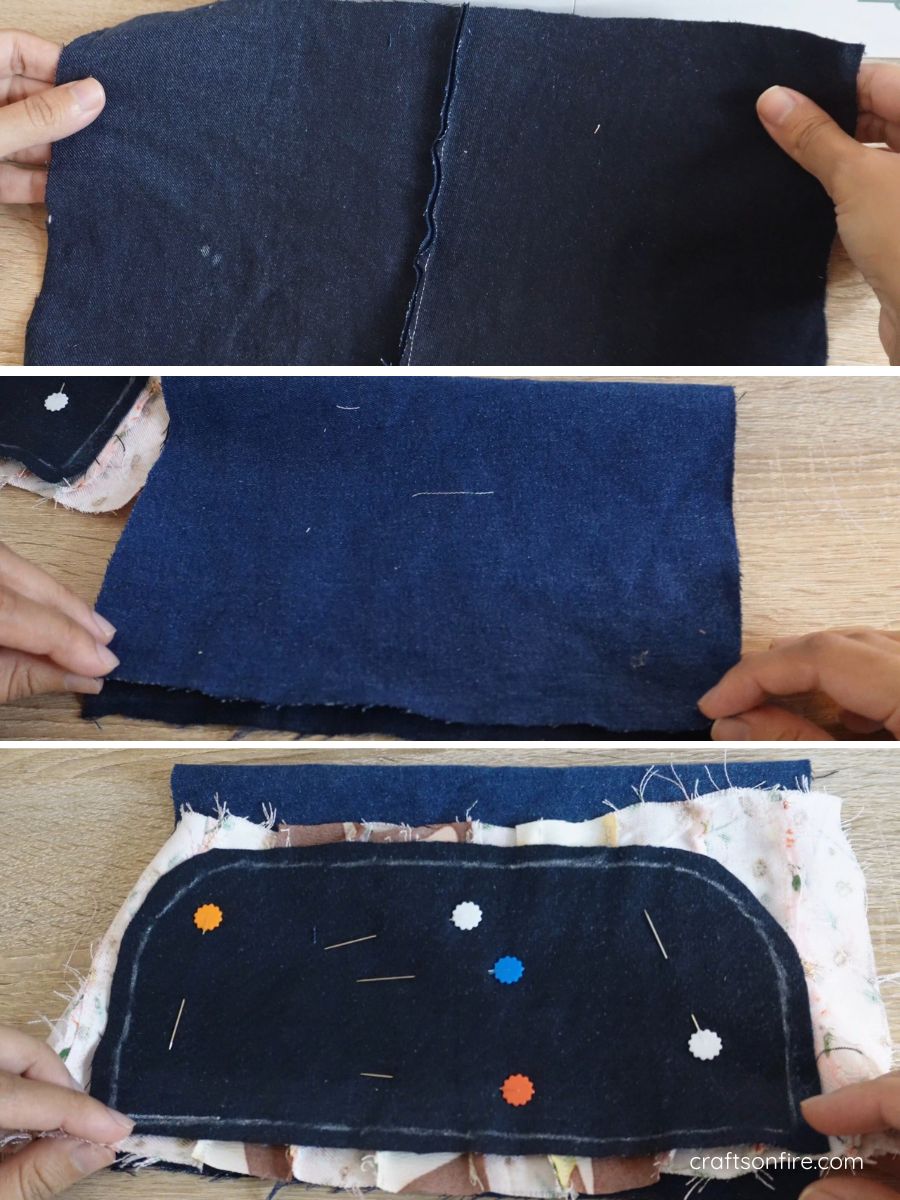
Pin these pieces together.
Attach The Flap To Jeans
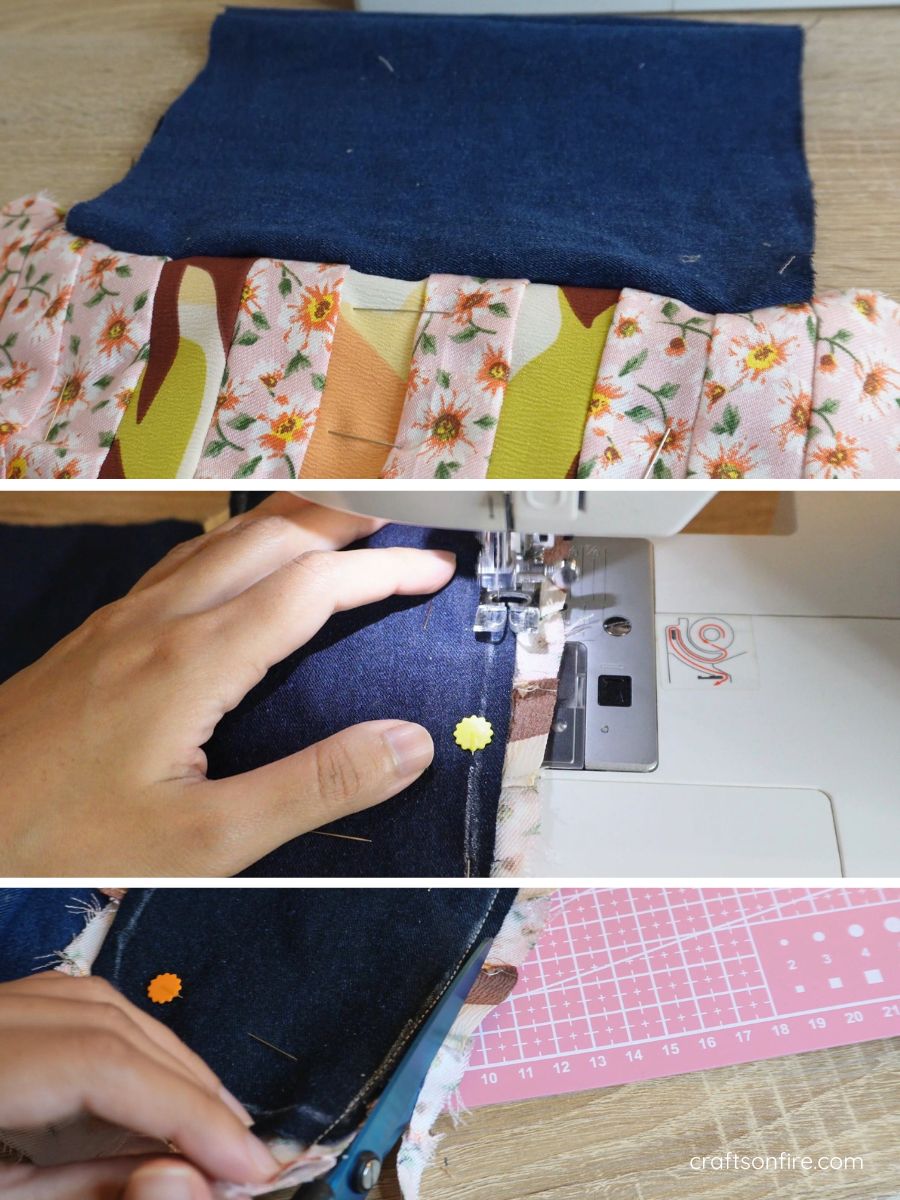
Now stitch along the indicated line to join the flap (Piece B) and the bag together (Piece A). Then cut the excess fabric off.
Cutting The Batting & Lining
Continue tidying up the fabric by removing the excess. Then we’ll cut the fabric batting to make the pouch slightly stiffer.
Open out the entire piece and place it on the fabric batting. Go ahead and cut around the batting to get the shape of the complete piece.
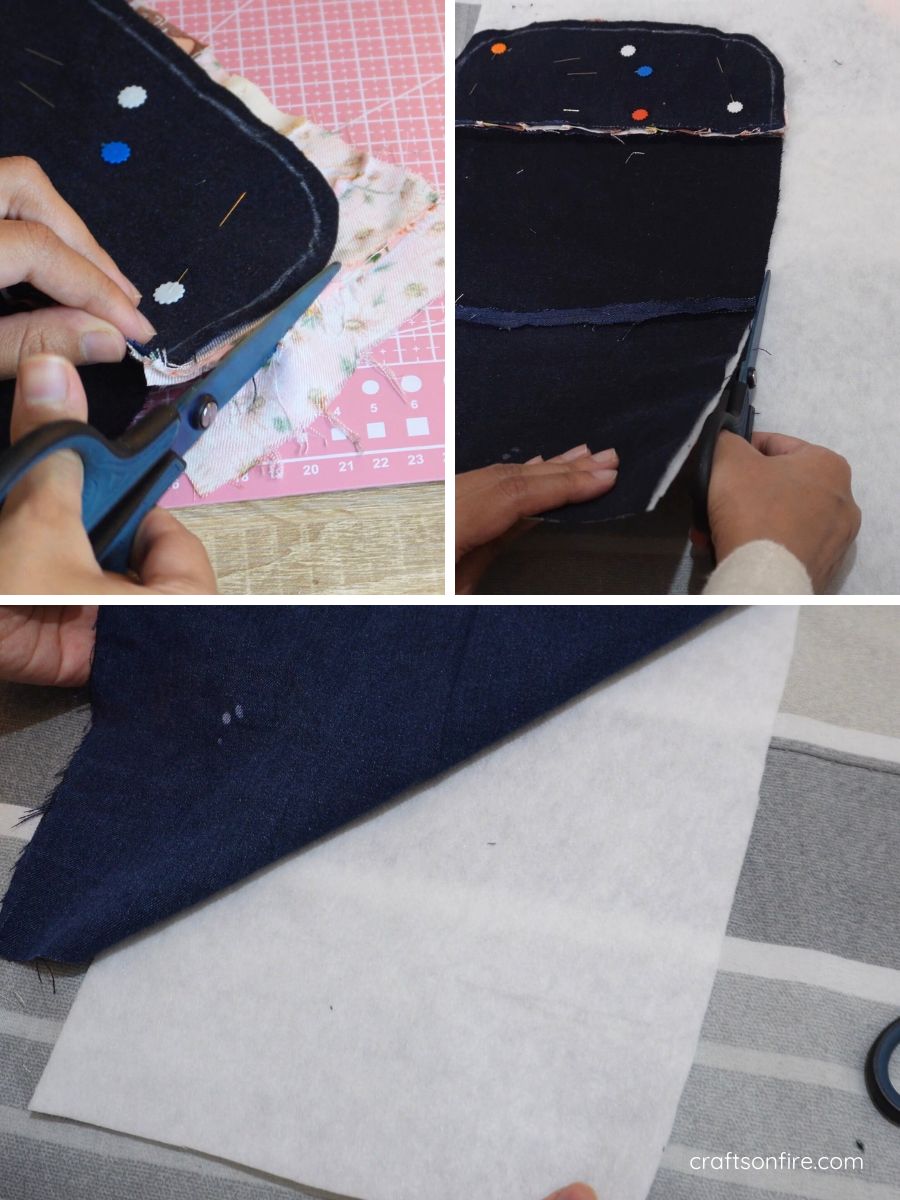
Now repeat the steps and cut out the lining for the bag.
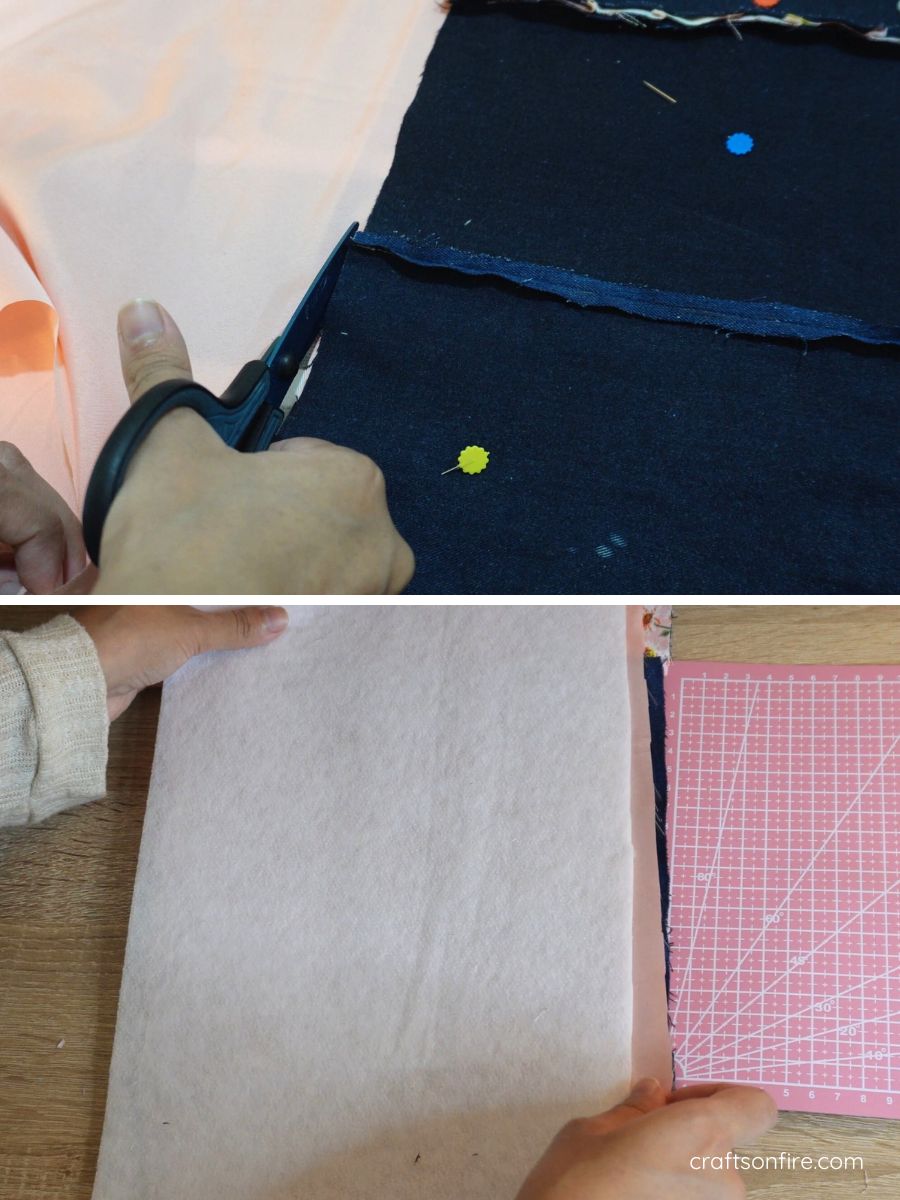
Pin The Batting & Lining
Grab the lining and place it on the right side of the bag. Then place the fabric batting on the lining and pin it in place.
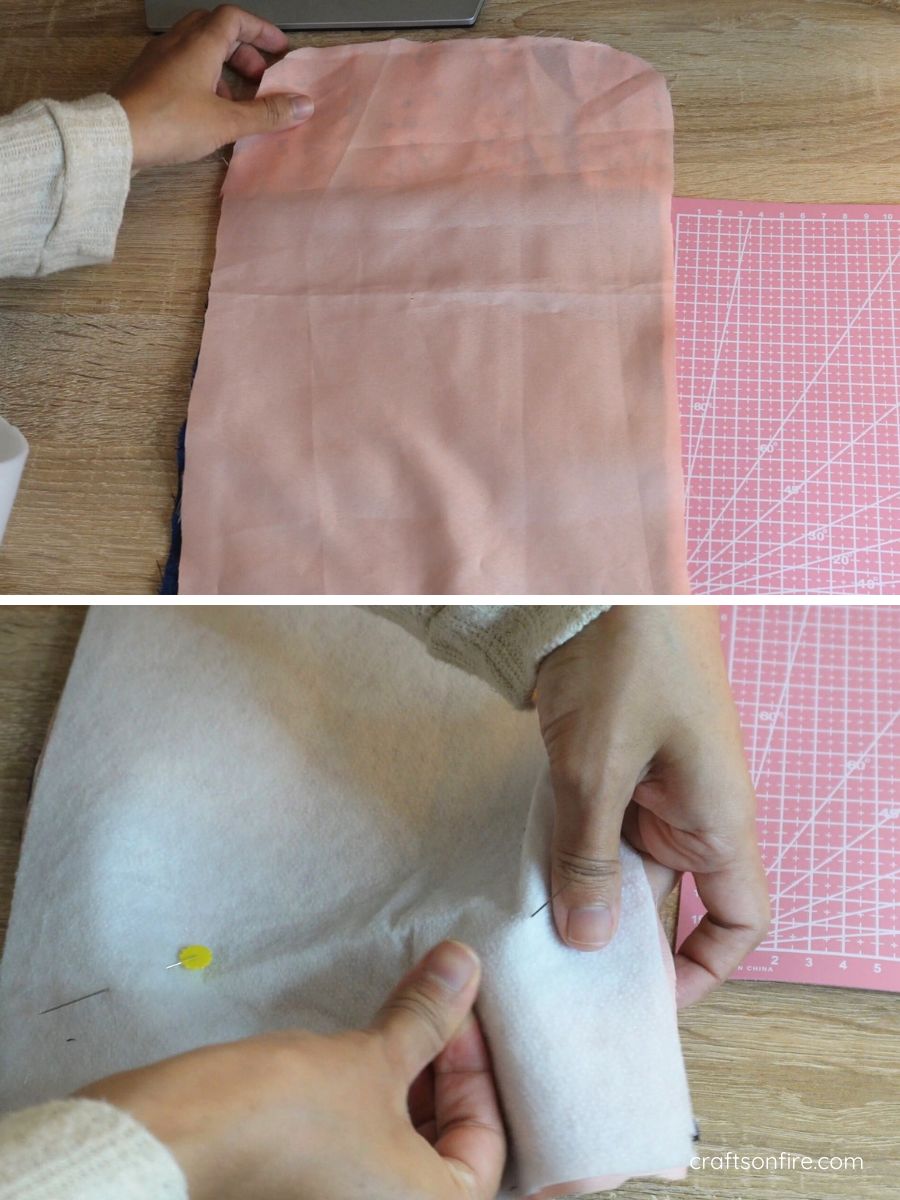
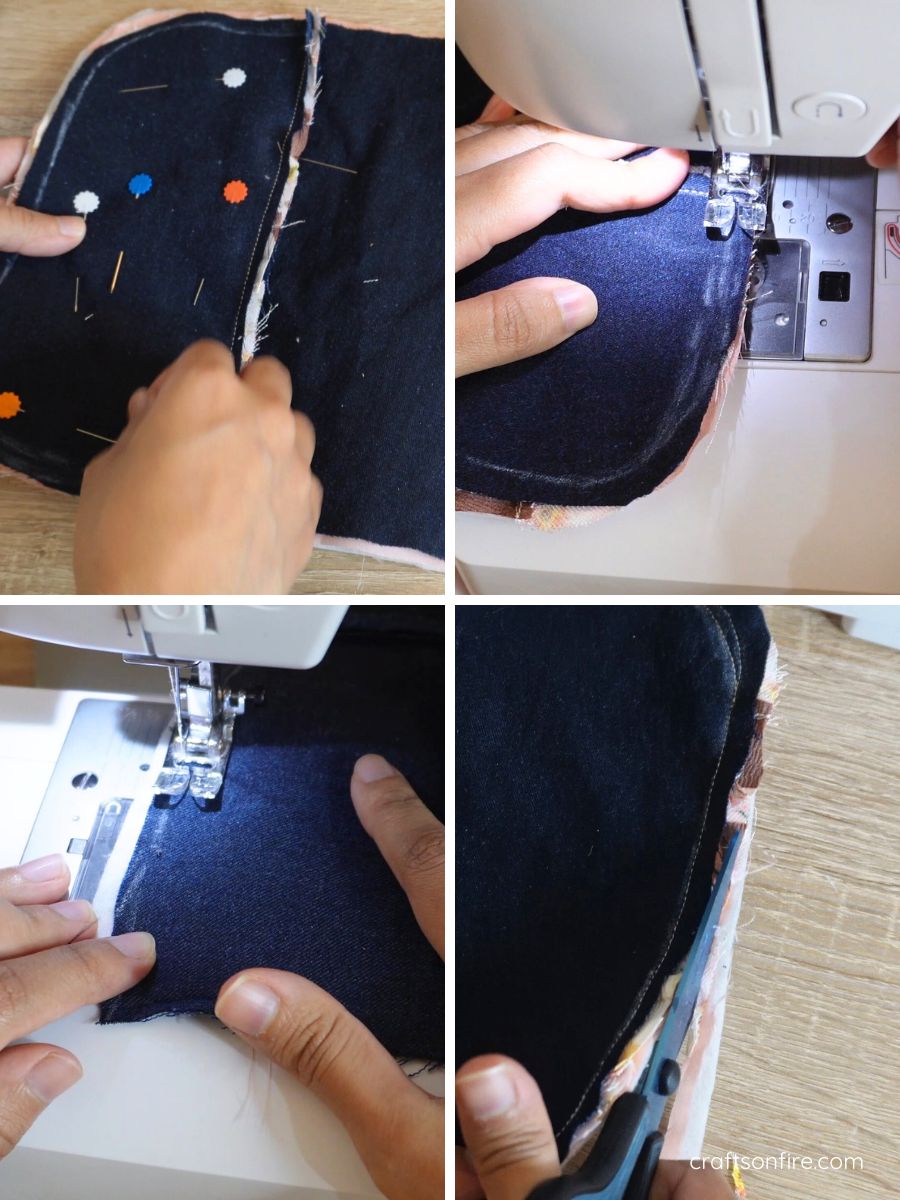
Stitch The Jeans, Batting & Lining
Start stitching from one end of the bag to the other side. However, do not stitch the bottom of the bag as we’ll use this to turn the bag inside out.
Once completed, use scissors to remove any excess fabric.
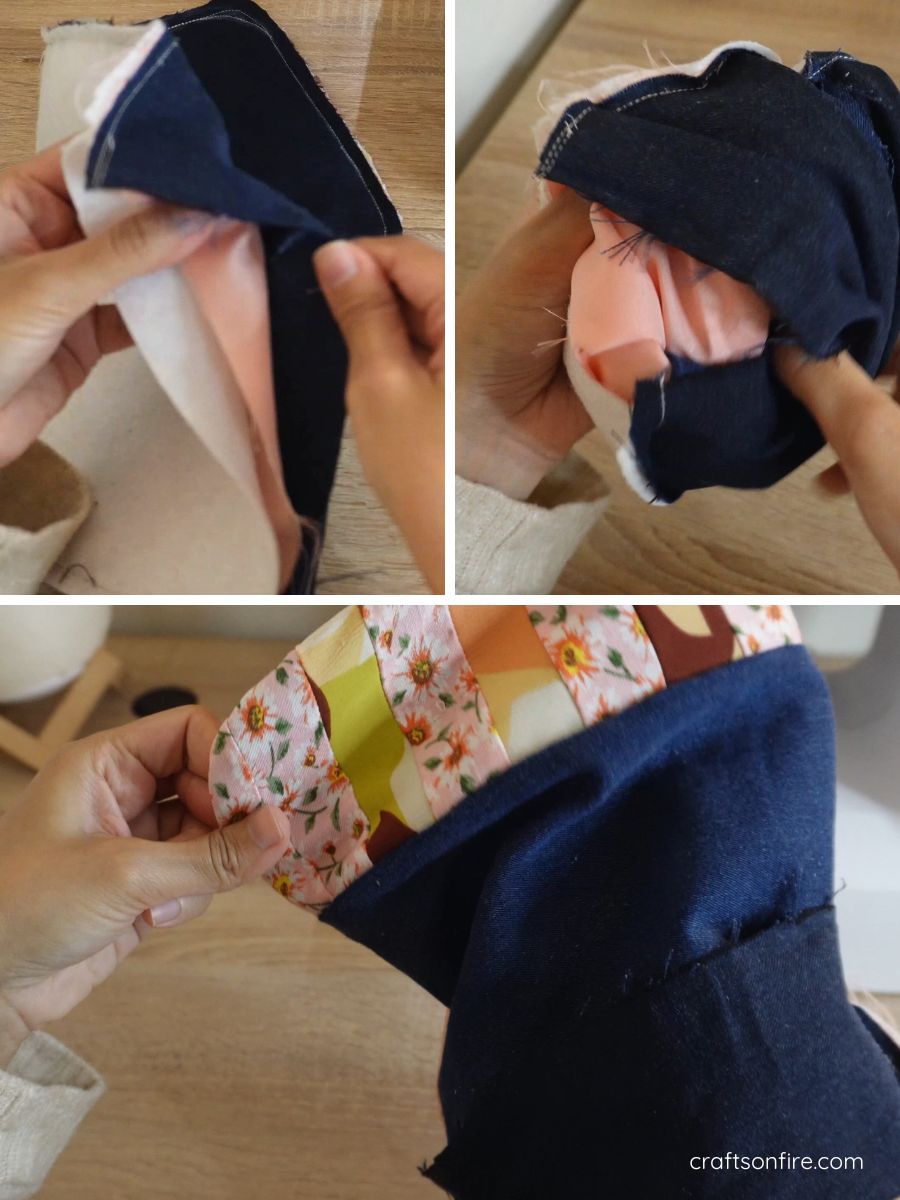
Turn The Bag Inside Out
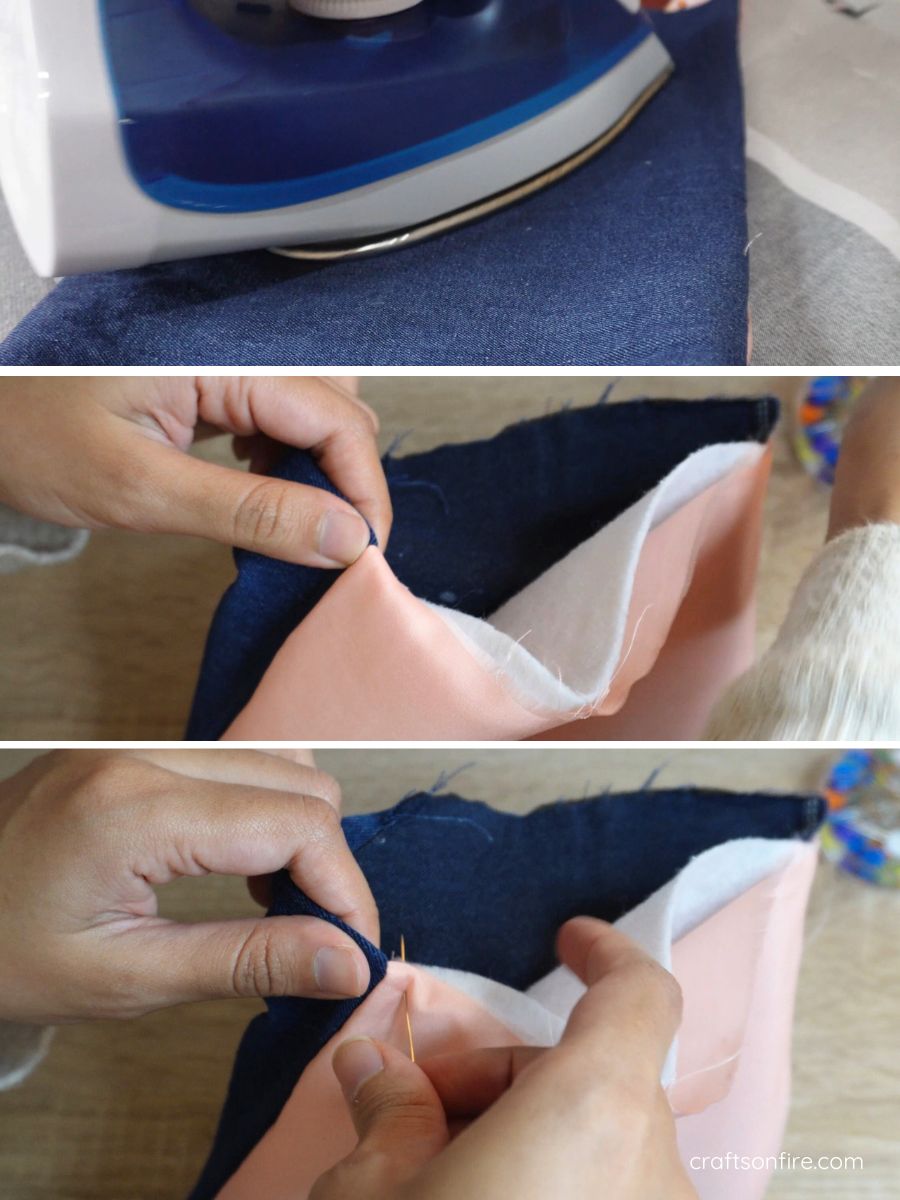
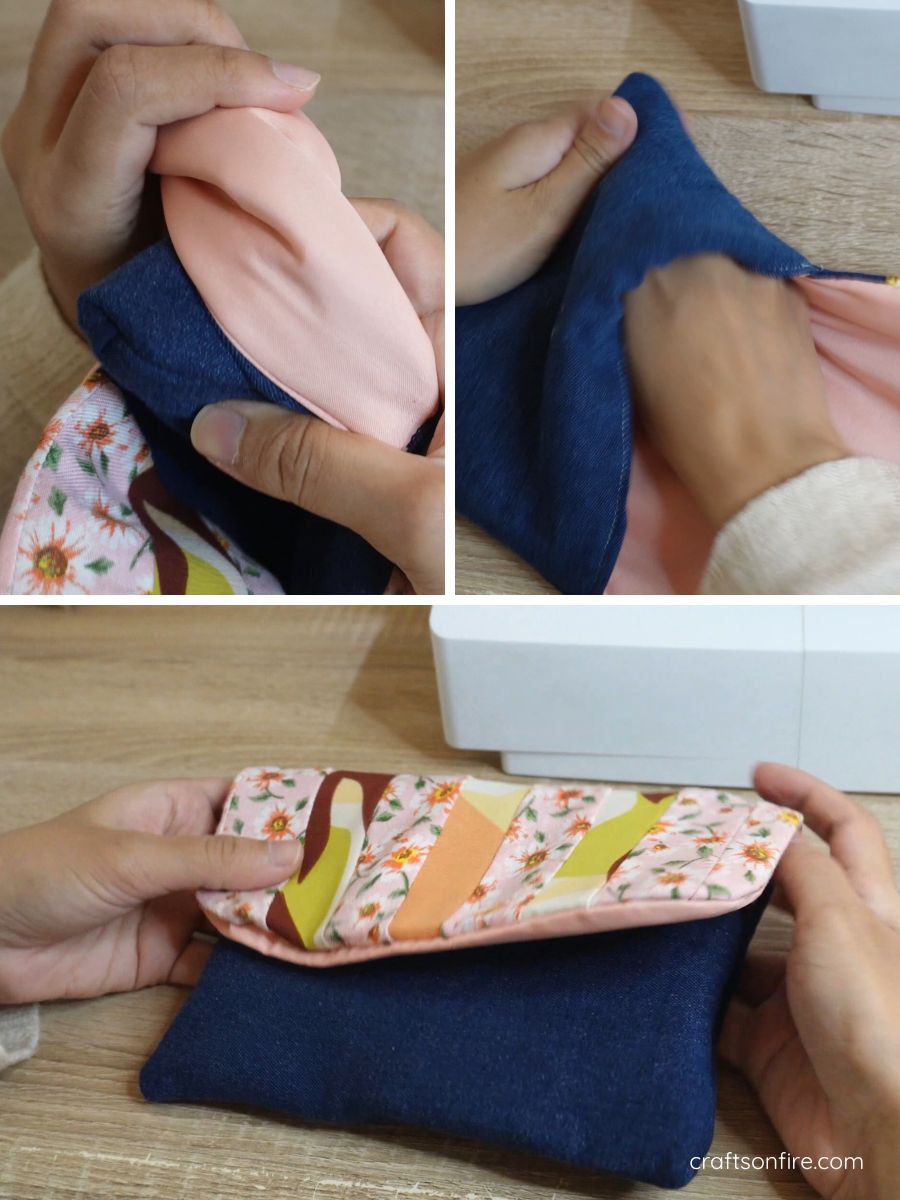
Use the opening at the bottom of the bag to turn the bag to the right side. You can also use a ruler, scissors, or your hand to open out the curved points of the flap.
Iron Bag & Turn-Up Opening
Next, iron the bag so that everything sits better. Then, fold the opening of the bag in and pin the two ends.
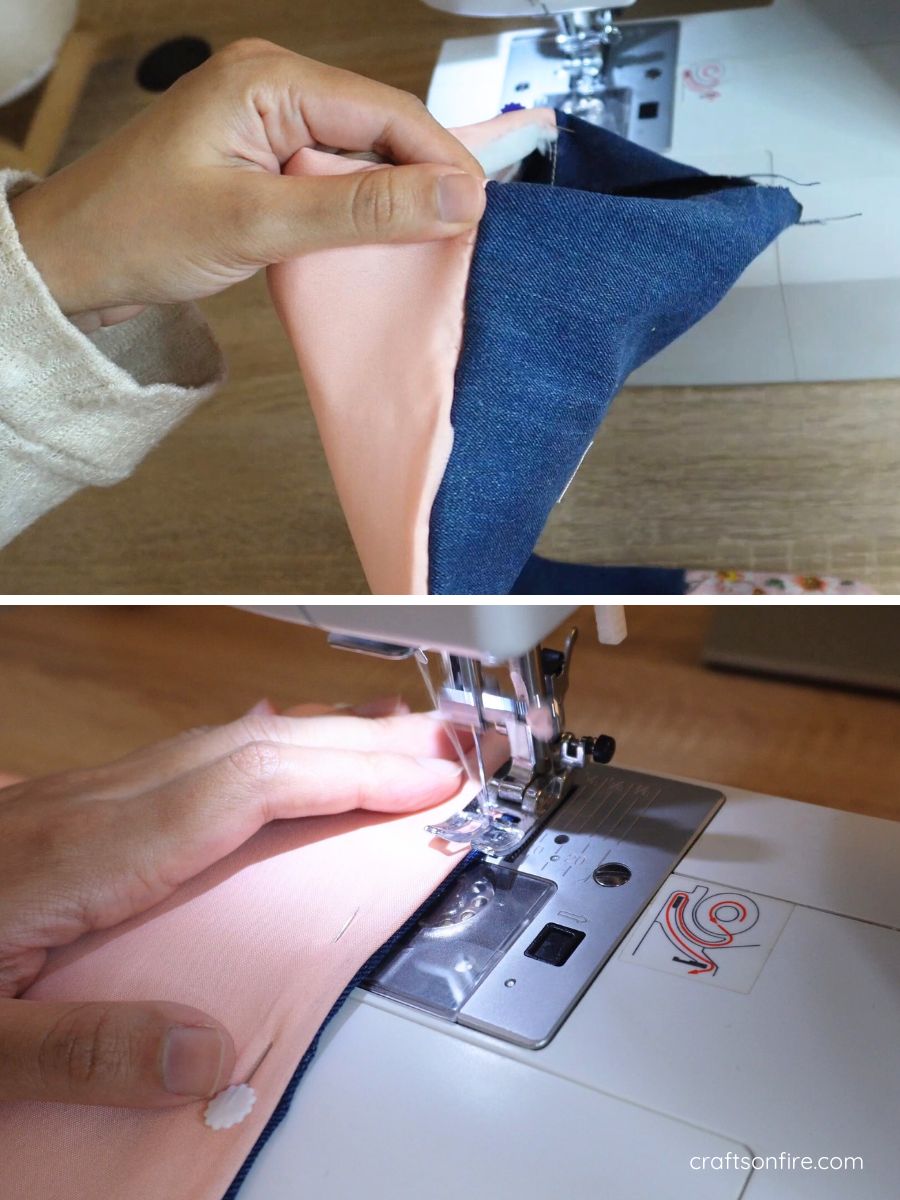
Stitch The Opening
Now sew that seam in to close off the opening.
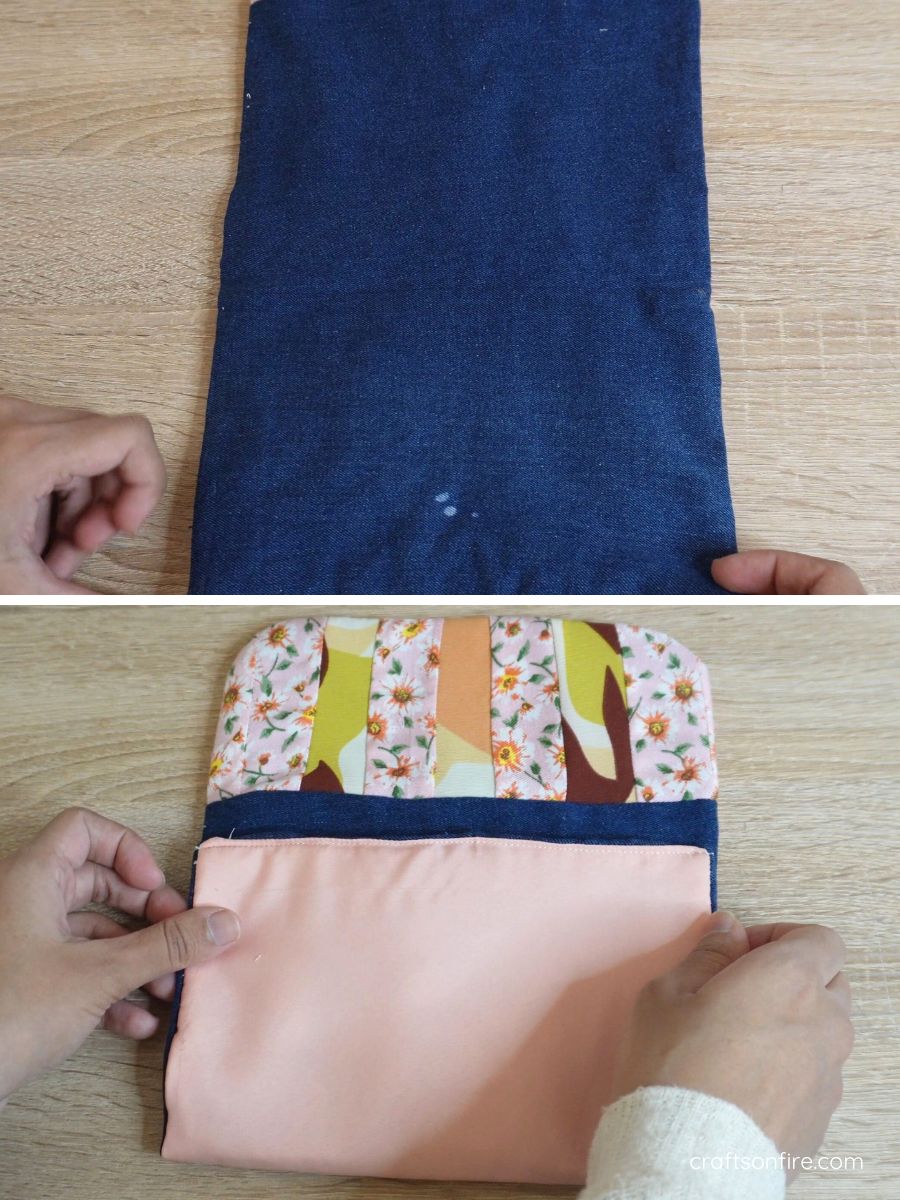
Fold the Bottom piece Halfway Up
Turn the bag over to the right side facing up. Then, fold the one end over in half. It should look like this:
Pin Sides & Stitch
Pin the two ends and stitch both sides.
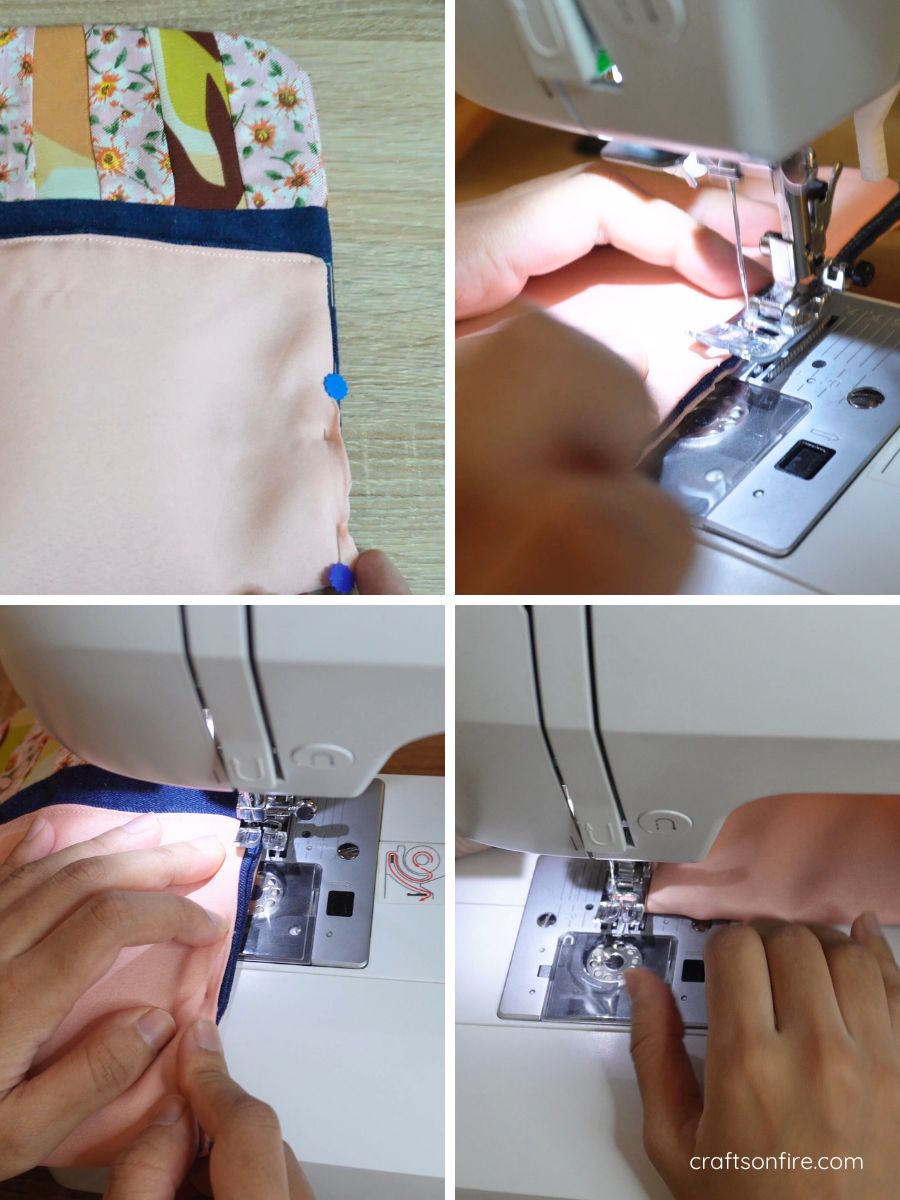
Remove the bag from the machine and turn the bag inside out. Make sure you open out the inside points.
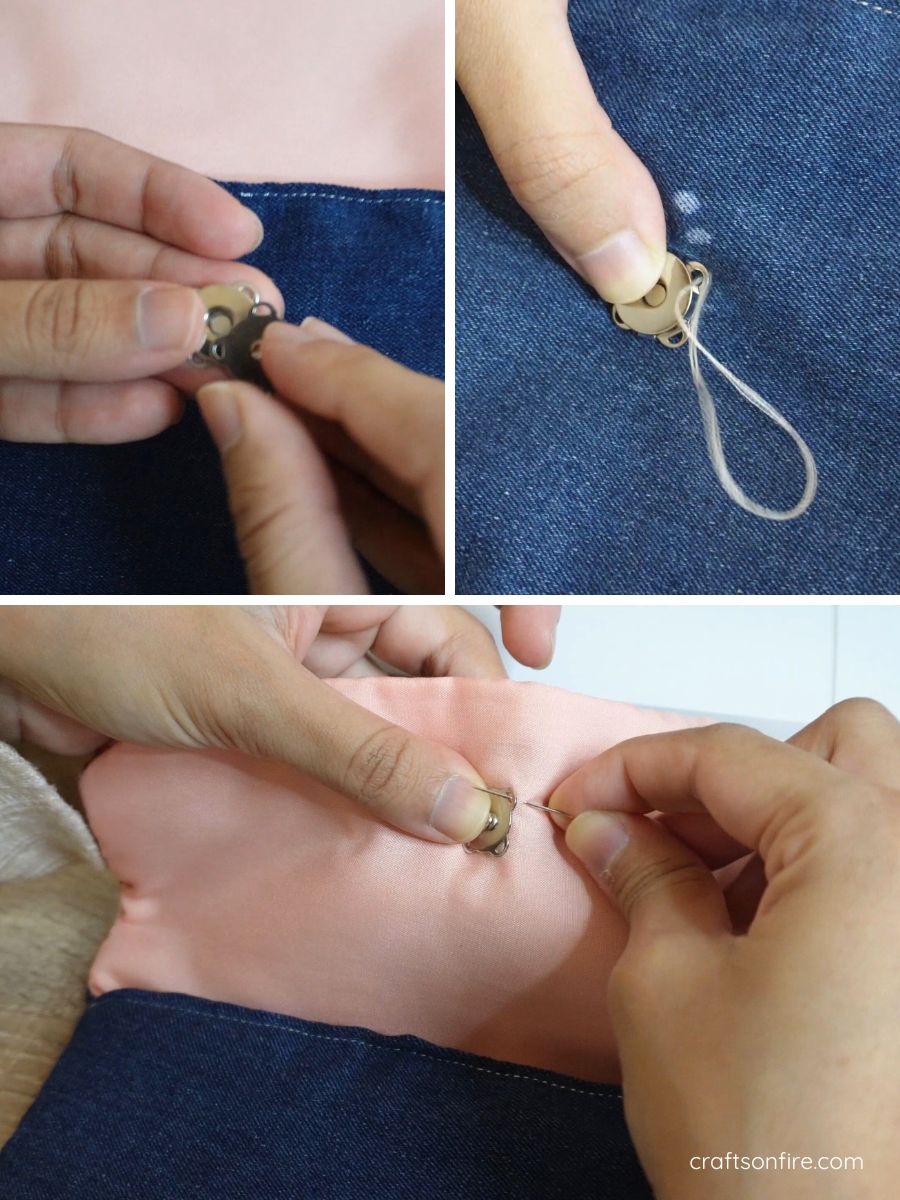
Handstitch The Clasp
Now let’s stitch the clasp to the bag. If you don’t have this clasp, use a piece of velcro or opt for a button option.
And the Kindle cover is done.
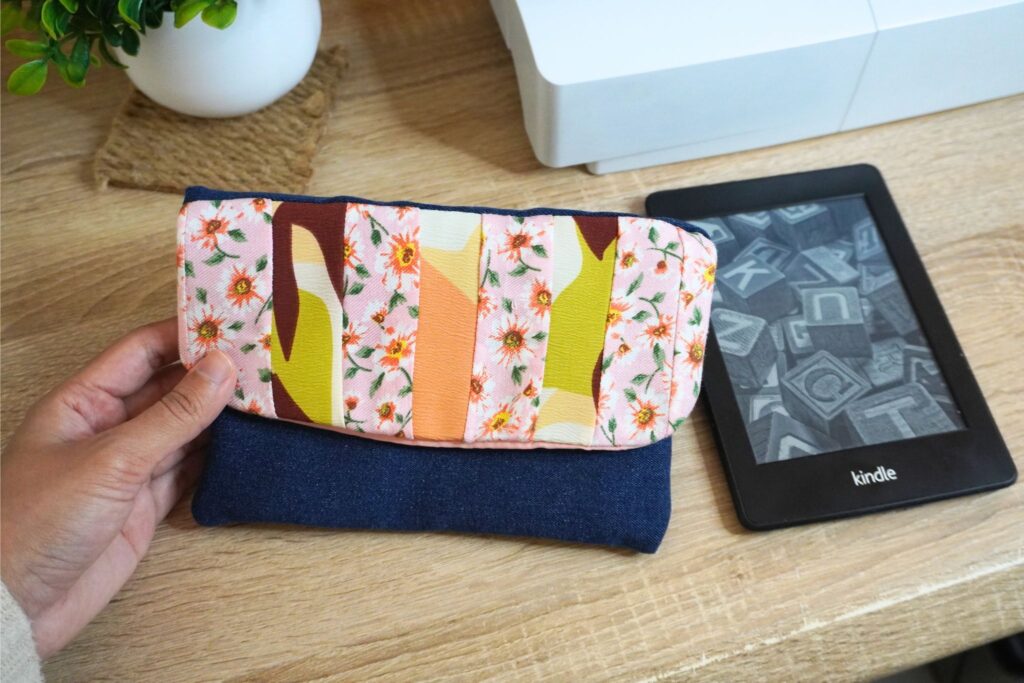
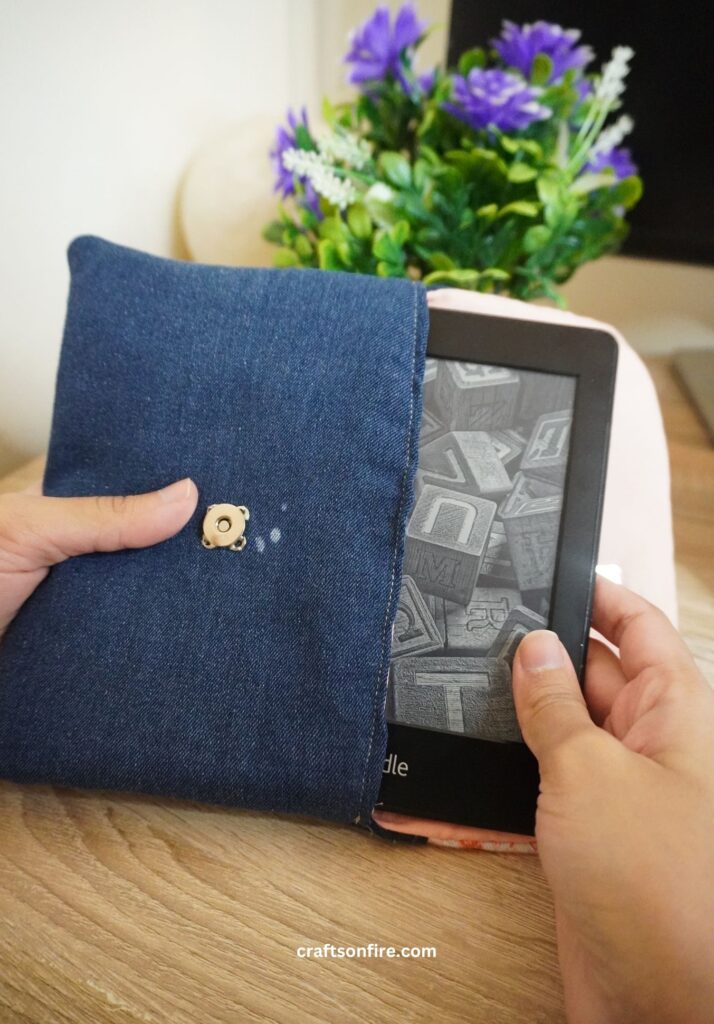
I don’t mind that my lining shows at the flap. I like how the pink pairs with the patchwork flap.
This sewing project was enjoyable and I’m glad I made it. I like how it fits my Kindle and I can now carry it around anyway which is perfect for what I need. I love that the patterned strips give a more interesting style to the Kindle pouch rather than just having a plain jeans cover.
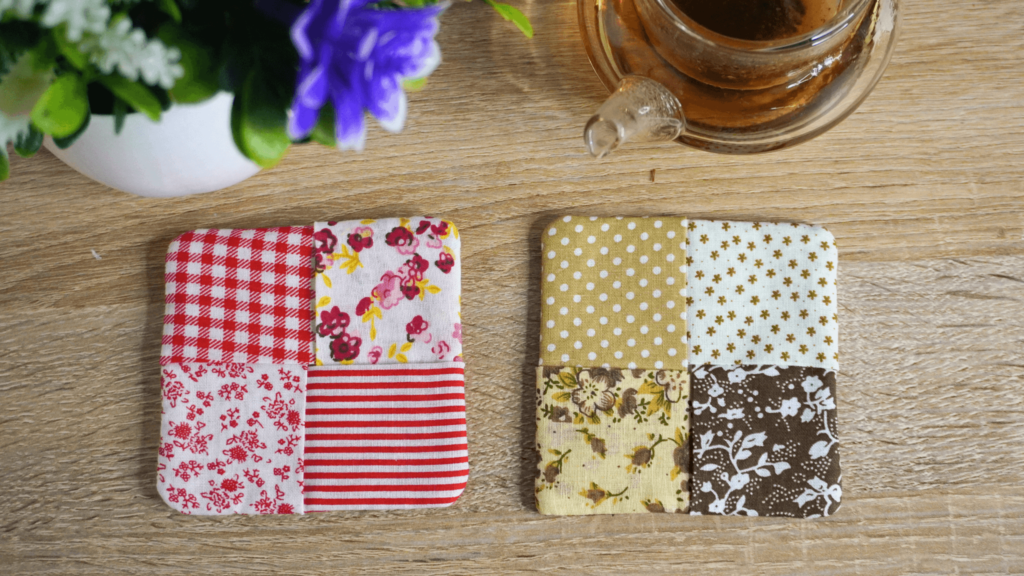
This project was slightly time-consuming and not as simple as sewing a coaster but I think it’s worth trying even if you’re a beginner.
I hope you enjoyed my step-by-step DIY Kindle Cover Using Old Jeans tutorial.
If you’d like to see more step-by-step sewing tutorials, check out the following:
