DIY Clay Flower Framed Artwork
If you love making creative items for your home, then this DIY clay flower framed artwork should be at the top of your to-do list.
I had a few leftover clay flowers from a previous art project that I wanted to use up and I thought this would be a fantastic way to do so.
It’s a small, creative, and abstract project you can do in one sitting but it’s also the type of project to play around with different textures and colors which is so fun and satisfying.
This project turns out really pretty so you can place this framed artwork on your desk, the kitchen table, or mount it onto a wall. Whatever works for you.
I enjoyed every minute of making this art piece and I’m certain you will too!
Without further ado, let’s get crafting!
Supplies
- Air Dry Clay
- Picture Frame
- Glue
- Beads
Instructions
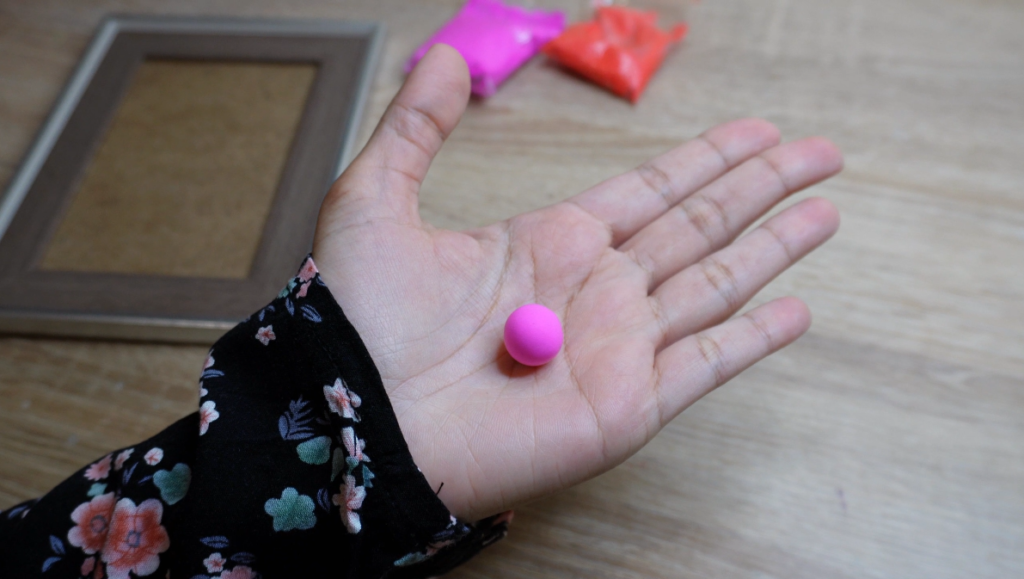
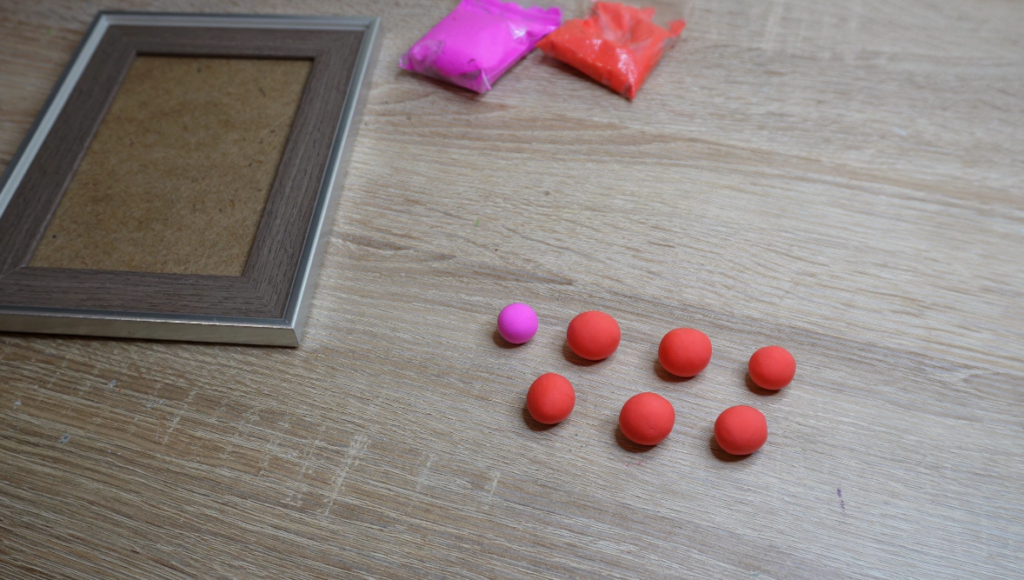
To begin this tutorial, take a small piece of clay and knead well with your fingers until soft. Then roll each piece into a small ball with the palm of your hands until you have at least 6 pieces.
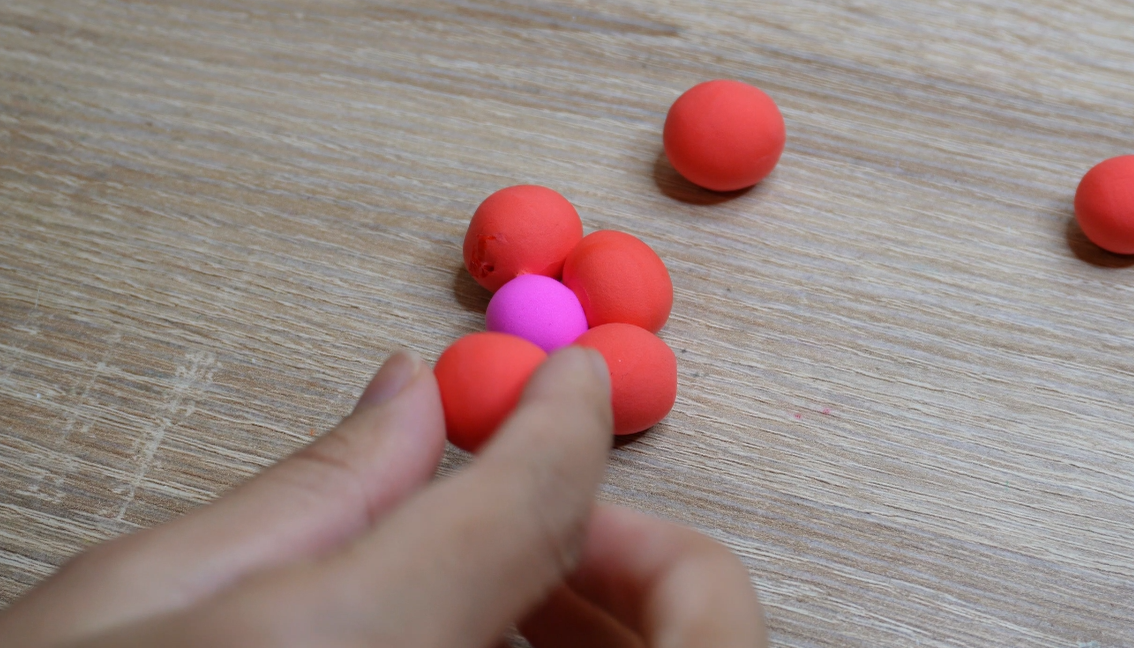
Arrange the 5-6 red clay pieces around the pink ball to create your very first clay flower.
Please note that the size of your flower will depend on how big or small the balls are.
You’ll then want to give the clay some time to dry fully before you continue the next steps.
However, I have experimented with using the flowers before they dry and it still seems to work well.
Just be sure to handle the flowers gently to ensure it does not lose their form.
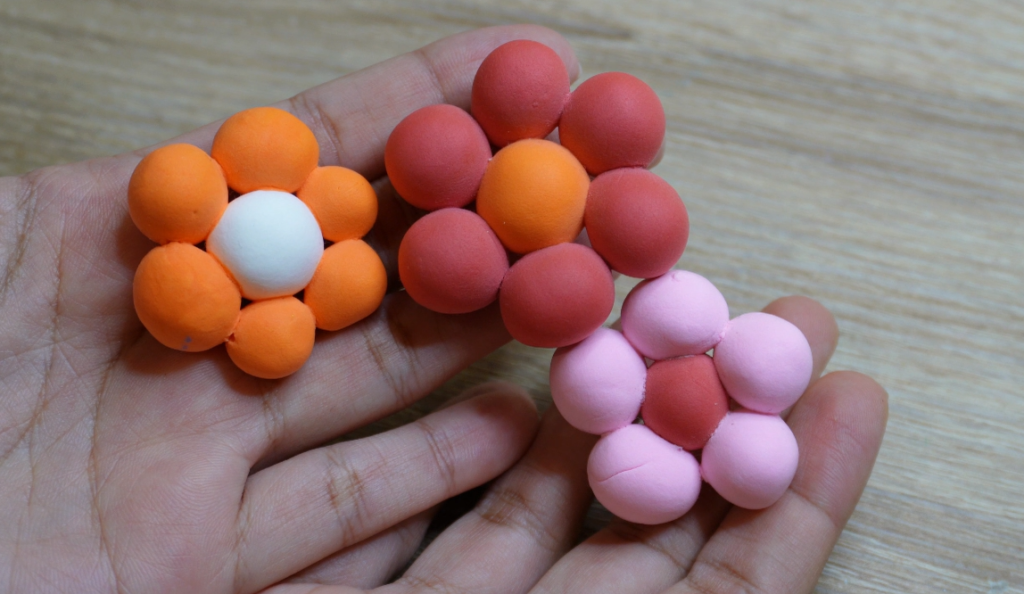
For this tutorial, you’ll need to make at least 5 clay flowers depending on the size of your picture frame.

Now it’s time to glue the clay flowers onto the frame board. For this step, you can use clear glue or white glue.
Apply a small amount of glue to the back of the clay flower.
A quick note:
The only mistake I made was using this Bostik clear glue. It’s a great glue however you need ventilation to use this glue and it does have a strong odor that could ruin your experience.
I also noticed that this glue takes quite a long time to dry so I suggest opting for a different glue!

Place the clay flower towards the bottom half of the board or play around with different arrangements to create a pattern you like before gluing the flowers.
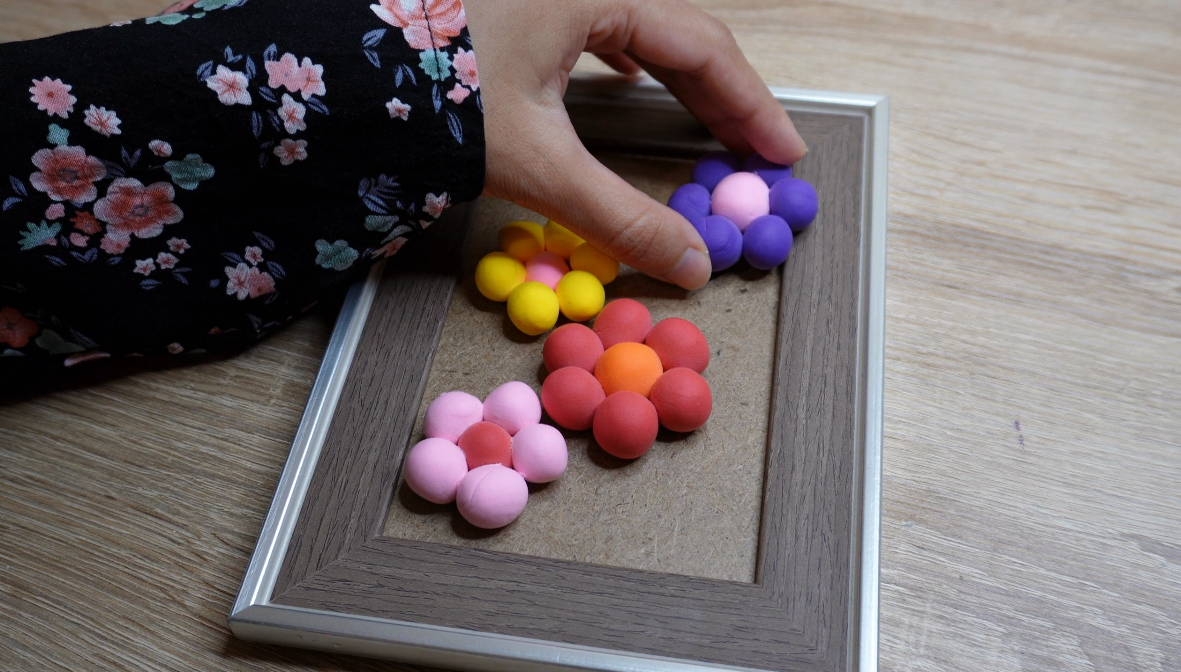
I’ve now glued all the flowers to the board in this creative arrangement. If the glue is still wet, you might be able to move the flowers around to find your perfect layout.
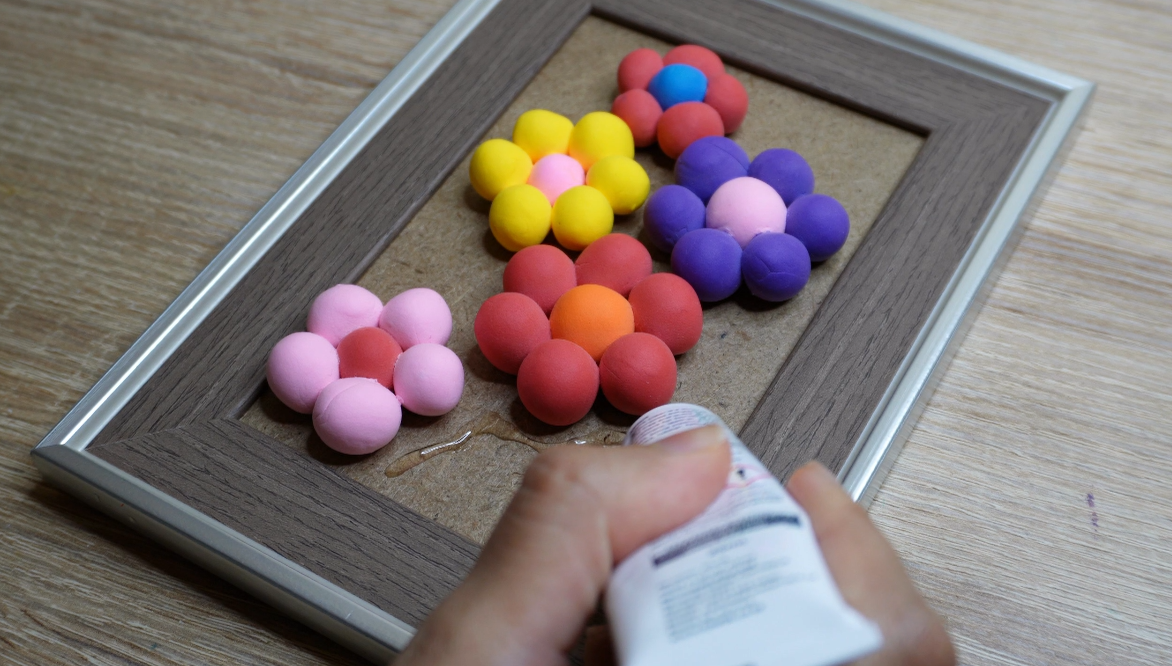
Once all your flowers are glued, apply a line of clear glue in the largest space on the board.
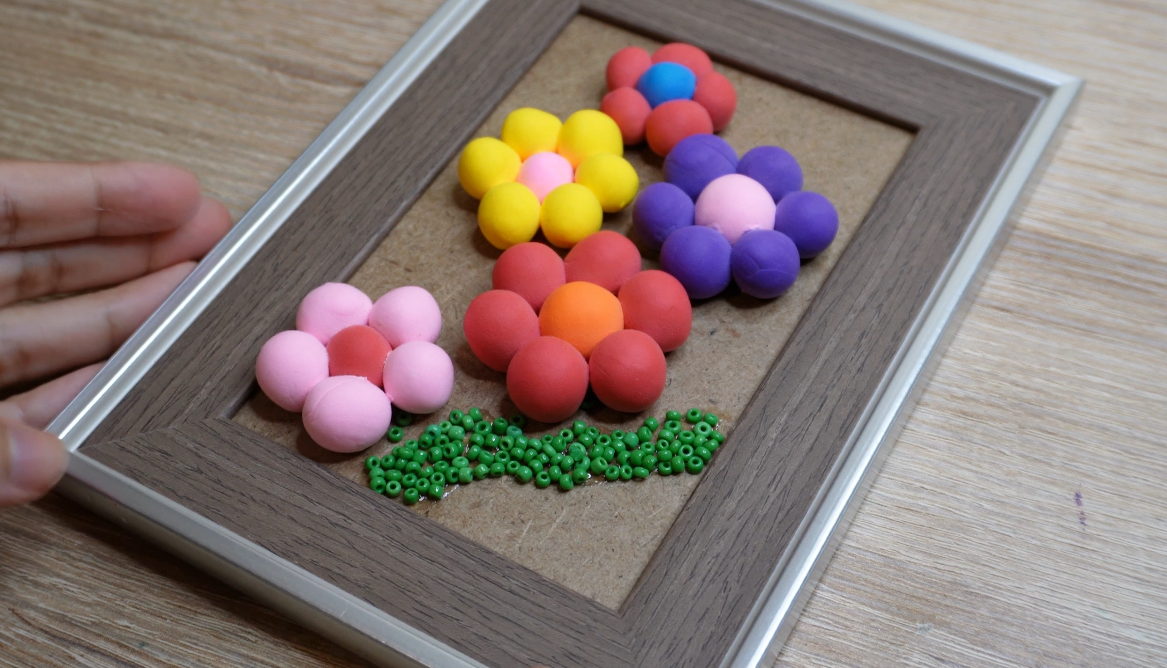
Then fill the glued area with small dark green seed beads to create this pattern.
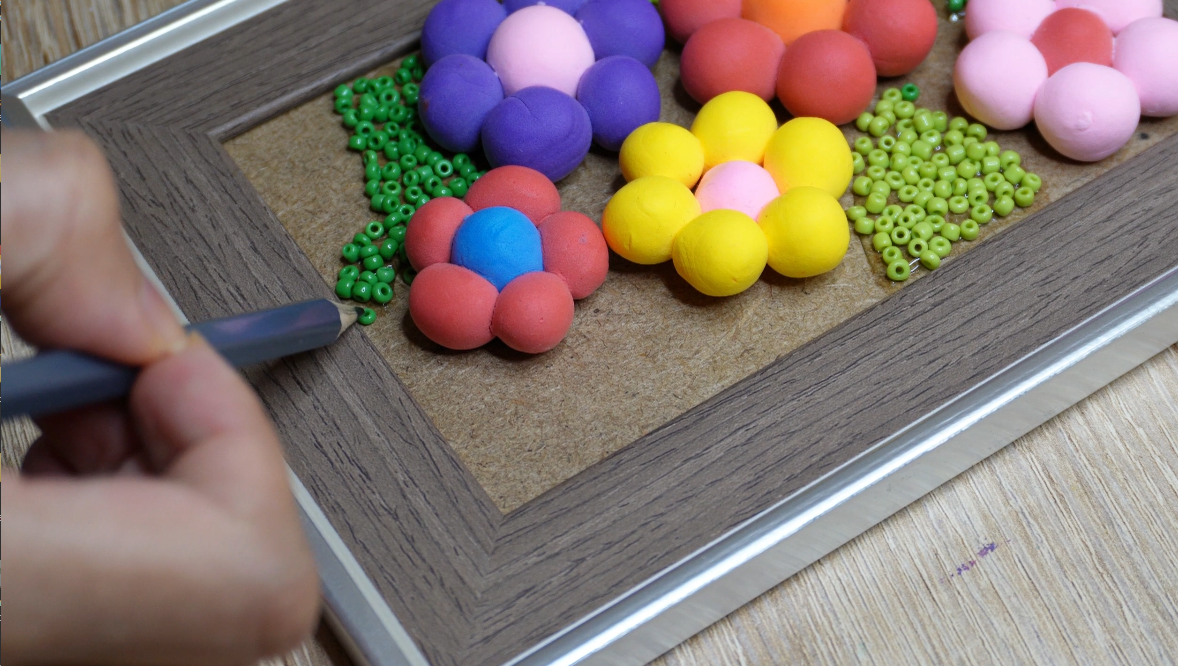
Continue filling the other empty spaces with dark green and light green seed beads. You can fill the entire board or just a few spaces if you like.
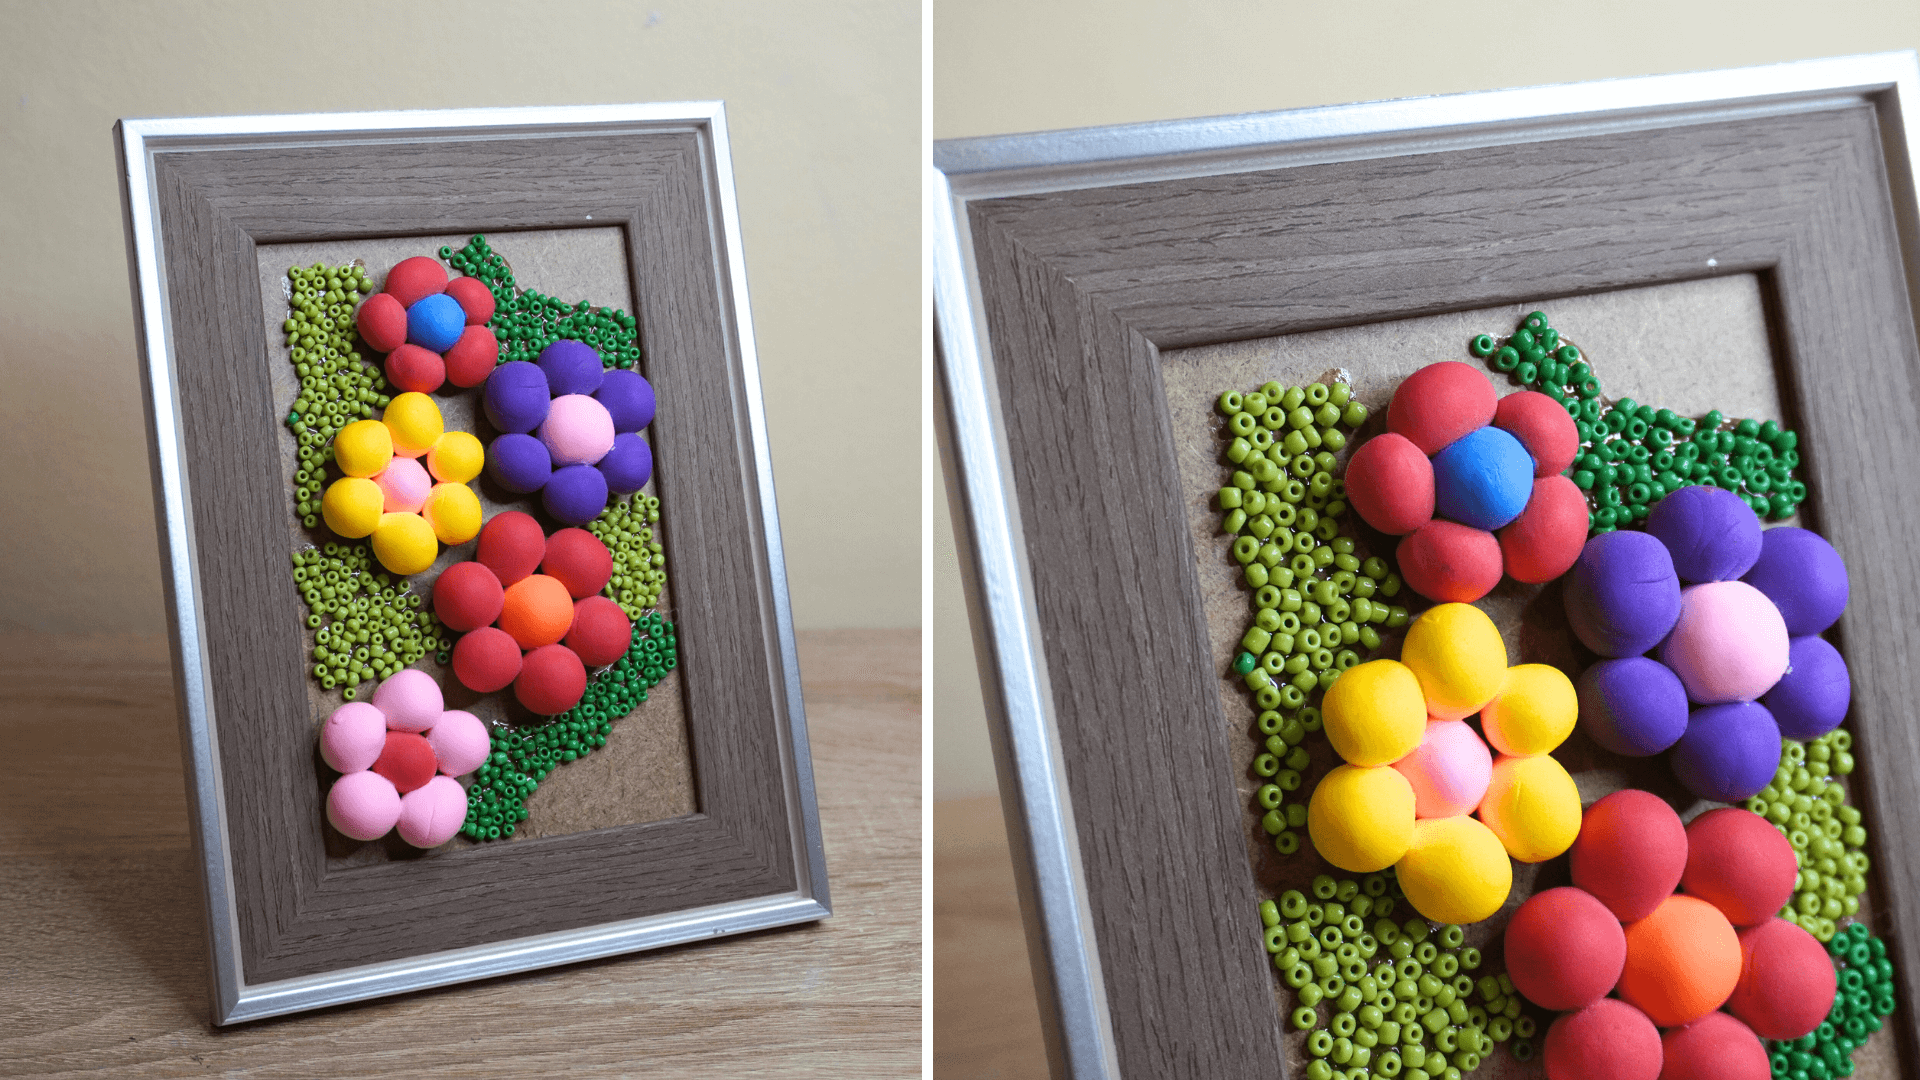
Final Result
Here’s how my framed artwork turned out:
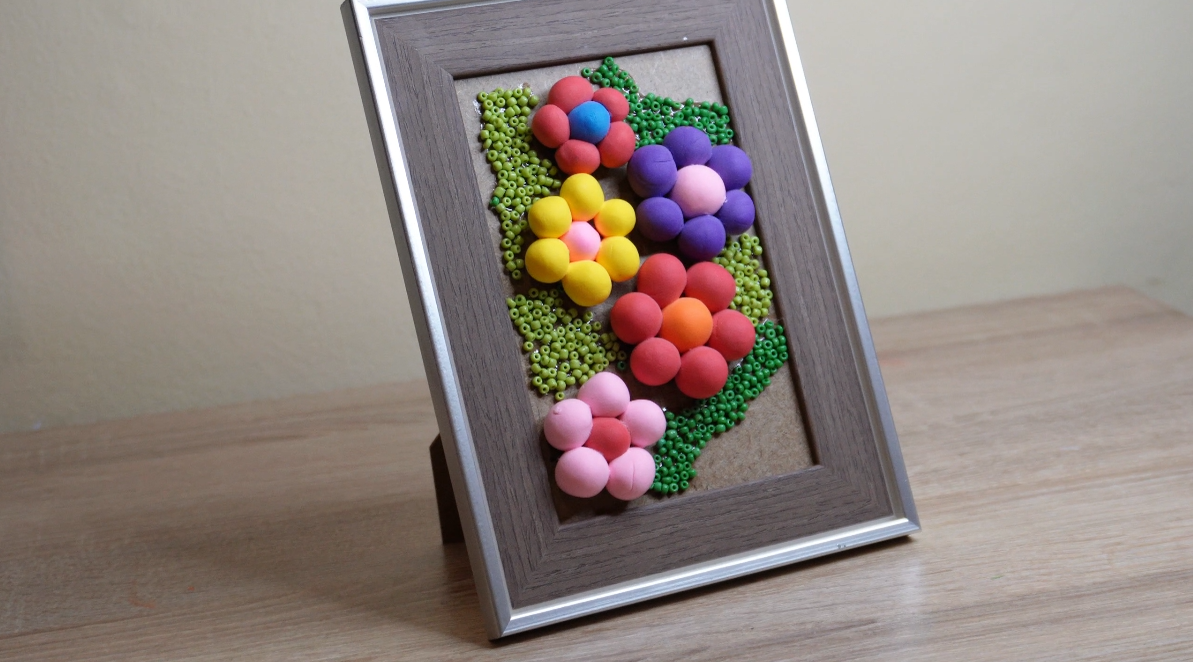
If you’re bothered by the empty brown spaces, I suggest filling the entire board with the beads and maybe including a line of yellow beads somewhere to add a pop of color to the rest of the seed beads.
But I think this is a good way to represent flowers and grass in an abstract/creative way.
If you’re looking for similar clay craft projects, here’s another cute and fun tutorial you should try: