Decorating A Glass Jar With Clay: A Colorful Project To Try

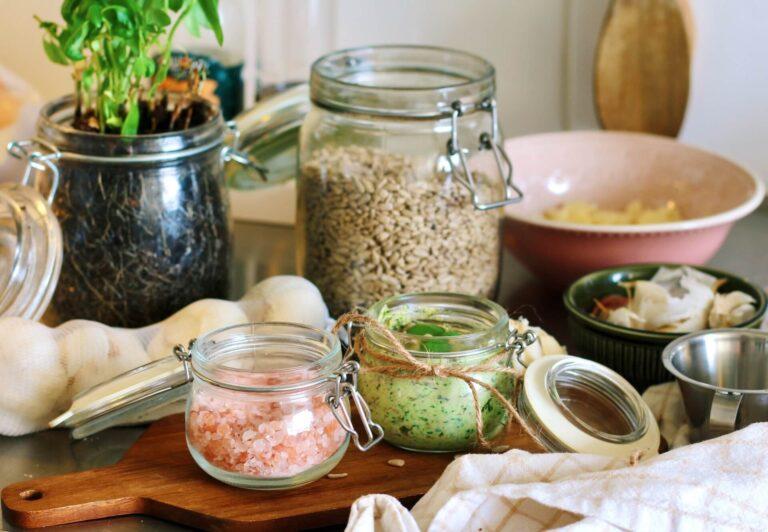
I’d like to share this fun, creative, and colorful way to decorate any old glass jar and turn it into a beautiful storage or decorative piece for your home.
This is a quick and easy project anyone can do at any time. It only takes a few minutes to create but you’ll have loads of fun!
So, here’s what we’ll be doing. We’ll begin by creating cute and colorful logs that are slightly curved. Then, we’ll decorate the rest of the jar with bright yellow clay balls to complete the finish.

Each step is easy to follow along and goes quite nicely.
You can pop on your headphones and listen to a podcast or a song while decorating this glass jar with clay.
With that said, grab your supplies, and let’s get started.
Supplies

Here’s what you need to get started on this project:
- Glass Jar
- Air Dry Clay
- Glue
Video Tutorial
Instructions
Take a piece of yellow clay and knead it well until the clay feels soft. Then, roll out a thin log on a clean desk or table.

You can use your fingers to shape and lengthen the log.

Roll out another two pieces in red and green. They should be the same length and size as the first log.
Connect each of these 3 pieces to form the shape above.

Cut the log into smaller pieces. You should have at least 5 pieces or more.
Once all the pieces are cut, hold a piece in between your fingers and gently curve each piece.
At this point in the tutorial, you can either allow the clay pieces to dry or continue with the tutorial.
If you plan to go ahead with the rest of the steps while the pieces have not dried yet, ensure that each piece is handled carefully so that it does not lose its shape.

Now grab some glue and apply it to the back of the piece.

Glue your first clay piece onto the glass as I have done above.
Proceed to glue all the pieces leaving sufficient space between each clay piece.

With the last log piece, curve and shape both ends of the piece until you have a rainbow shape as shown above.
Then apply a thin layer of glue to the bottom of the piece and stick it in the center of the glass jar lid.

Next, roll out small clay balls to decorate the rest of the jar.

Glue the balls between the clay pieces and press the clay balls down lightly as shown above.
And you’re done!
Here’s what the final piece looks like:

Decorating any glass jar with clay was so fun and it turned out really cute.
You can also customize it further or create a whole new collection of these clay glass jars by opting for a different color combination (pink, purple, and blue?) and maybe change the shape up a bit.
It’s a charming DIY project for you (or your kids) to undertake on a rainy day or a boring afternoon, and the best part is that you’ll be recycling and repurposing old glass jars that would otherwise be discarded!
Air dry clay is also pretty versatile and can be used to decorate just about anything.

This isn’t my first clay project. I also decorated a glass jar with clay flowers a while ago which turned out beautifully.
I highly recommend giving that project a try too.
With that said, I hope you found this project as enjoyable as I did.
If you’re interested in a few more air clay projects, check out the following: