How To Make A Cute Pet Sign
If you’re a proud pet owner or just an animal lover, I have a super adorable DIY project to share with you that I’m certain you’ll enjoy making!
This small and cute pet sign is a wonderful craft idea if you want something fun to create for your home or workspace.
It adds a cute and delightful charm to any space and you get to explore your creative side a bit more using cheap and affordable items to make this DIY pet sign.
It’s a simple and quick project so if you have 5-10 minutes to spare, let’s begin.
Supplies
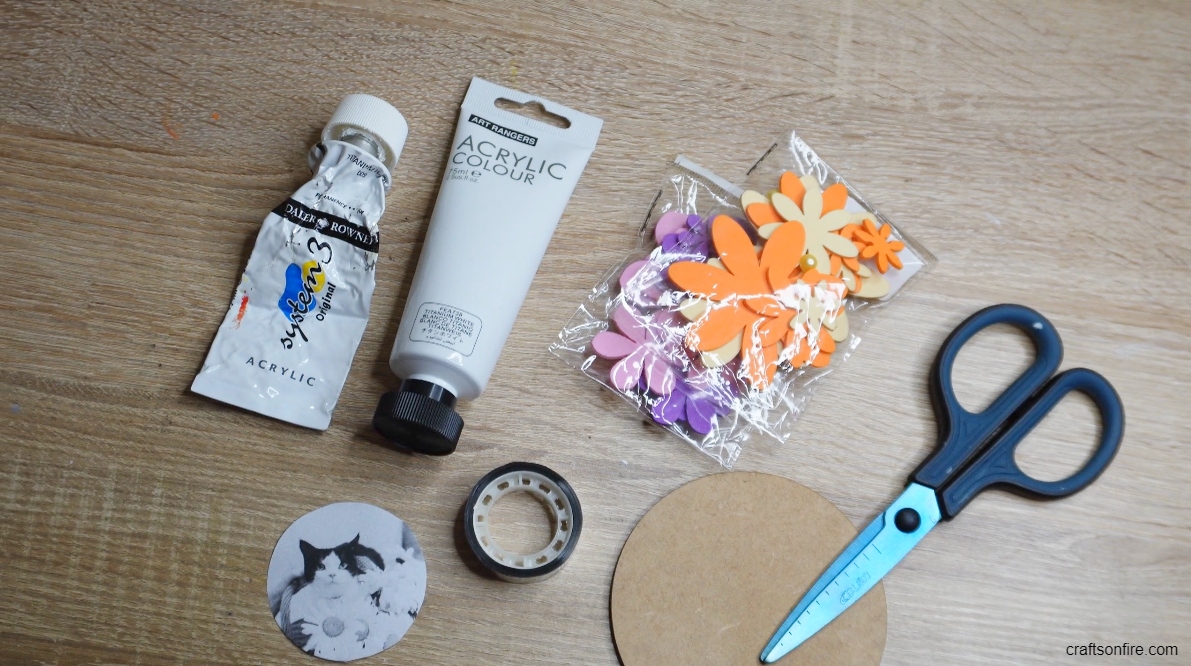
- Round Board
- Silver Tape
- Acrylic Paint
- Foam Flowers
- Pet Portrait
- Scissors
Instructions
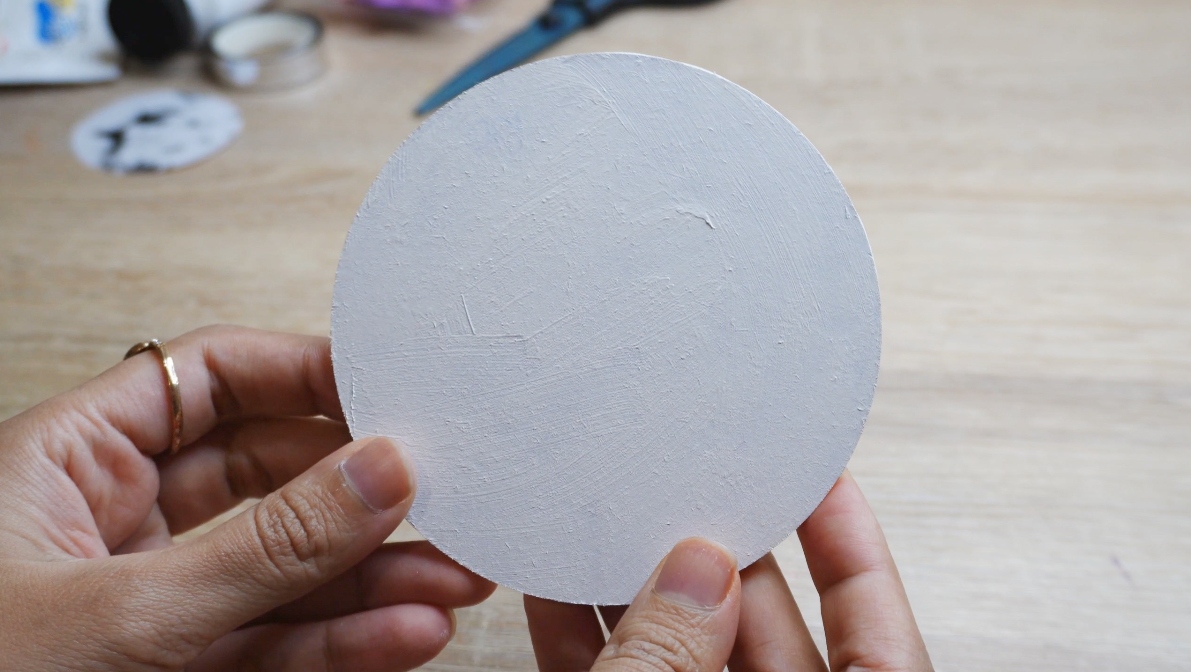
Paint the round board with white acrylic paint. I recommend giving this board a few layers of paint so that the brown background is completely covered.
Once you’re done painting, set the board aside to fully dry.
A side note: If you’d like to make this sign pop out a bit more, you could opt for a brighter and more colorful background instead such as yellow or light pink acrylic paint.
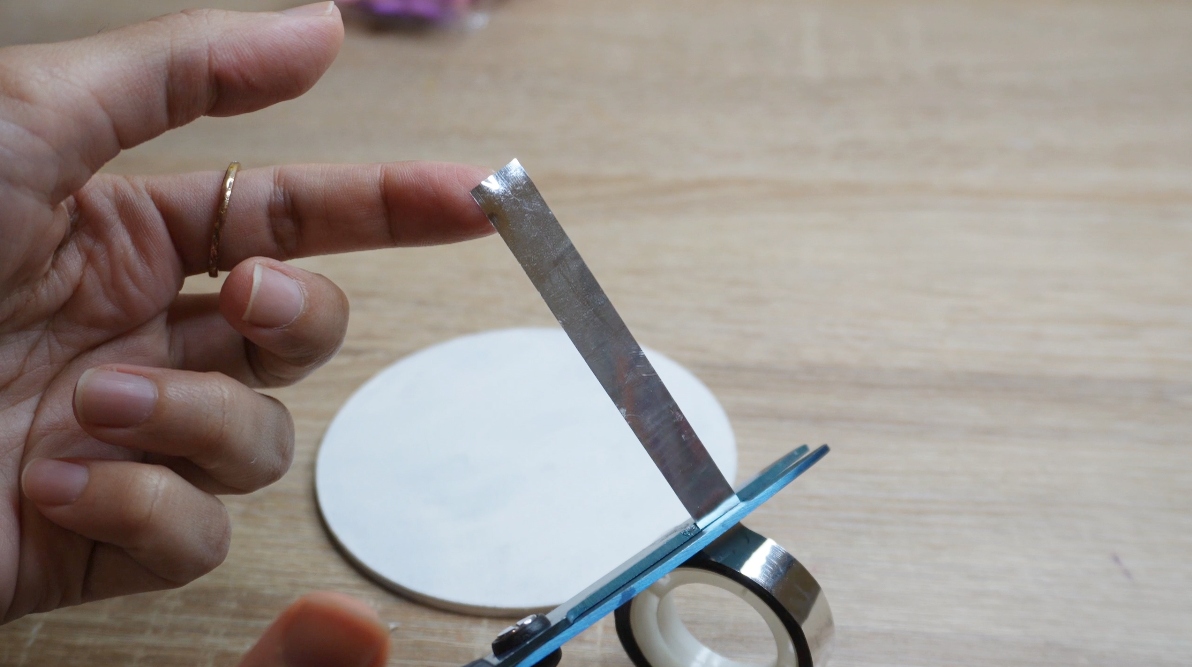
Grab a silver washi tape and cut at least 5 pieces however, this will change depending on the size of the round board you’re using.
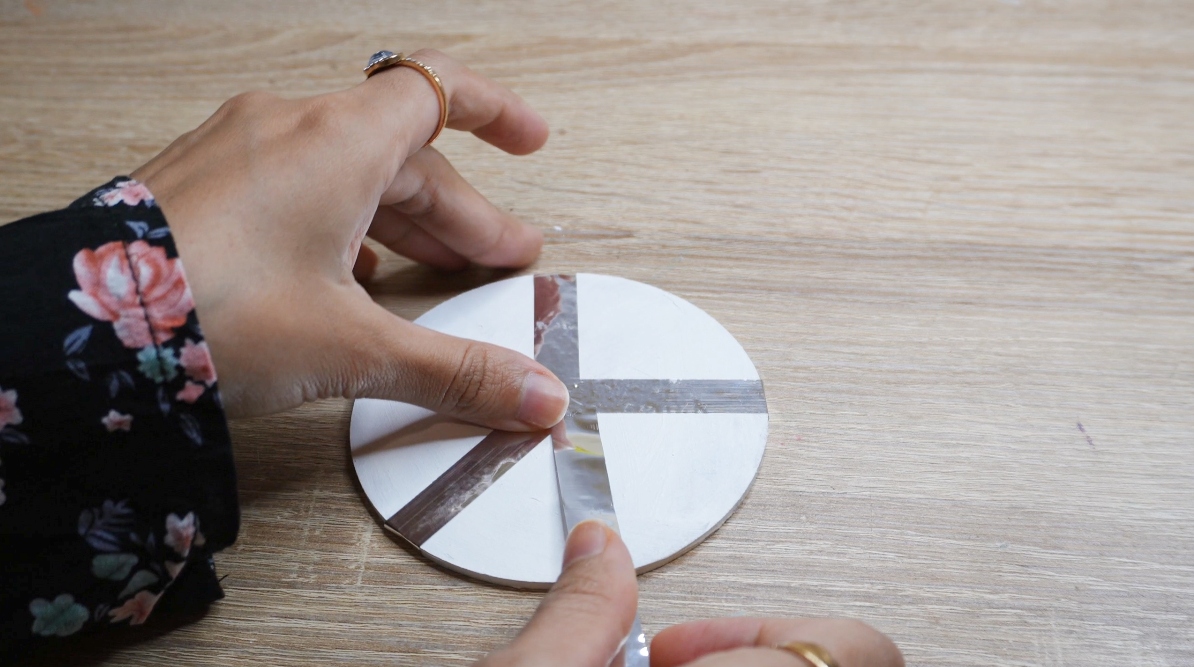
I’ll be creating this star-shaped pattern using the silver tape. If you have another pattern in mind, now will be the time to change things up.
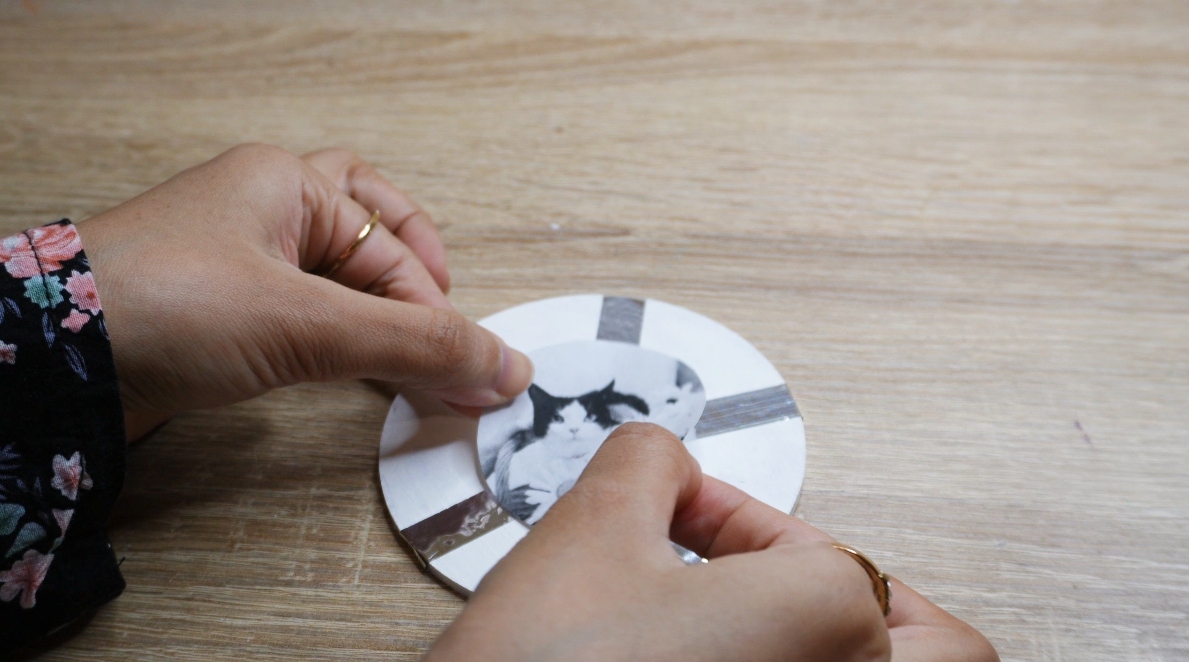
Once you’ve decorated the board with the tape, apply some glue to the back of your pet portrait.
Carefully stick the picture in the middle of the round board. If any glue leaks from the side fo the picture, simply wipe it away.
Now we’ll be decorating the pet sign with those cute and colorful flowers!
Take your craft glue, apply a small amount of glue to the back of the foam flower, and stick it in the empty white spaces.

You can decorate the sign with as many flowers as you like to fill the board.
It would also look amazing if you glued some of the foam flowers slightly over the silver tape.
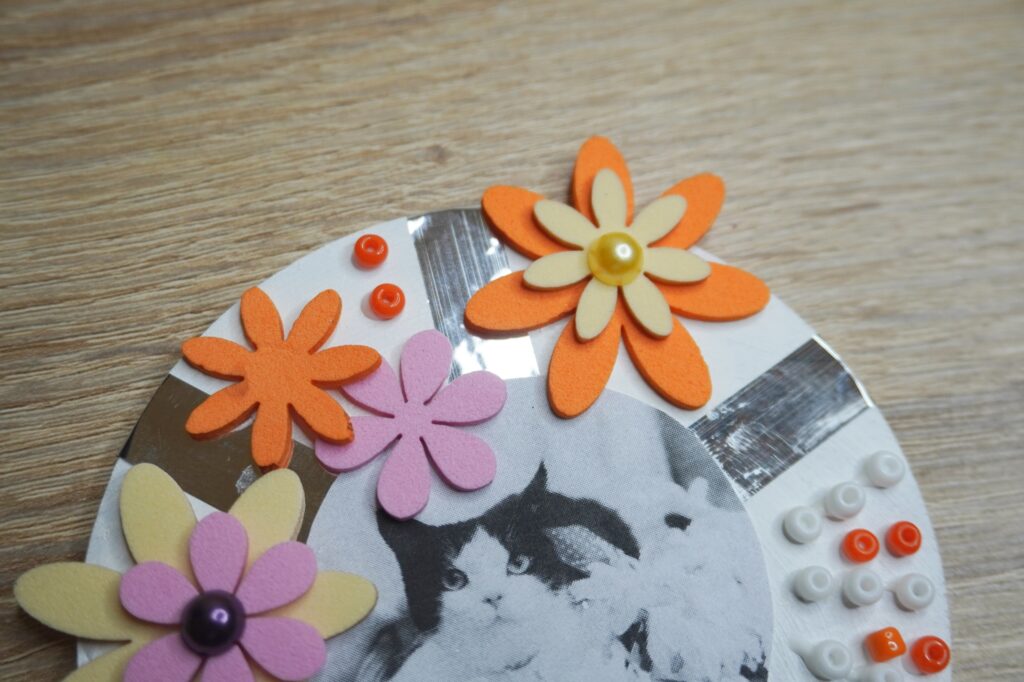
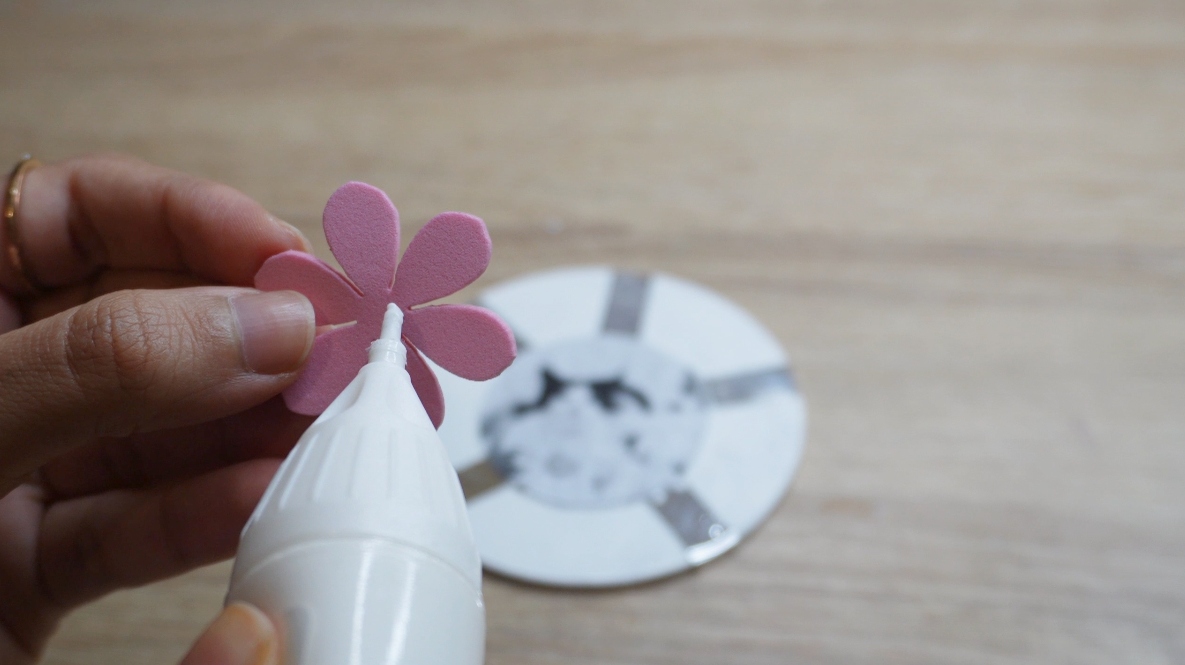
To add a cute layering 3D effect, try gluing smaller foam flowers on top of the current ones as shown above.

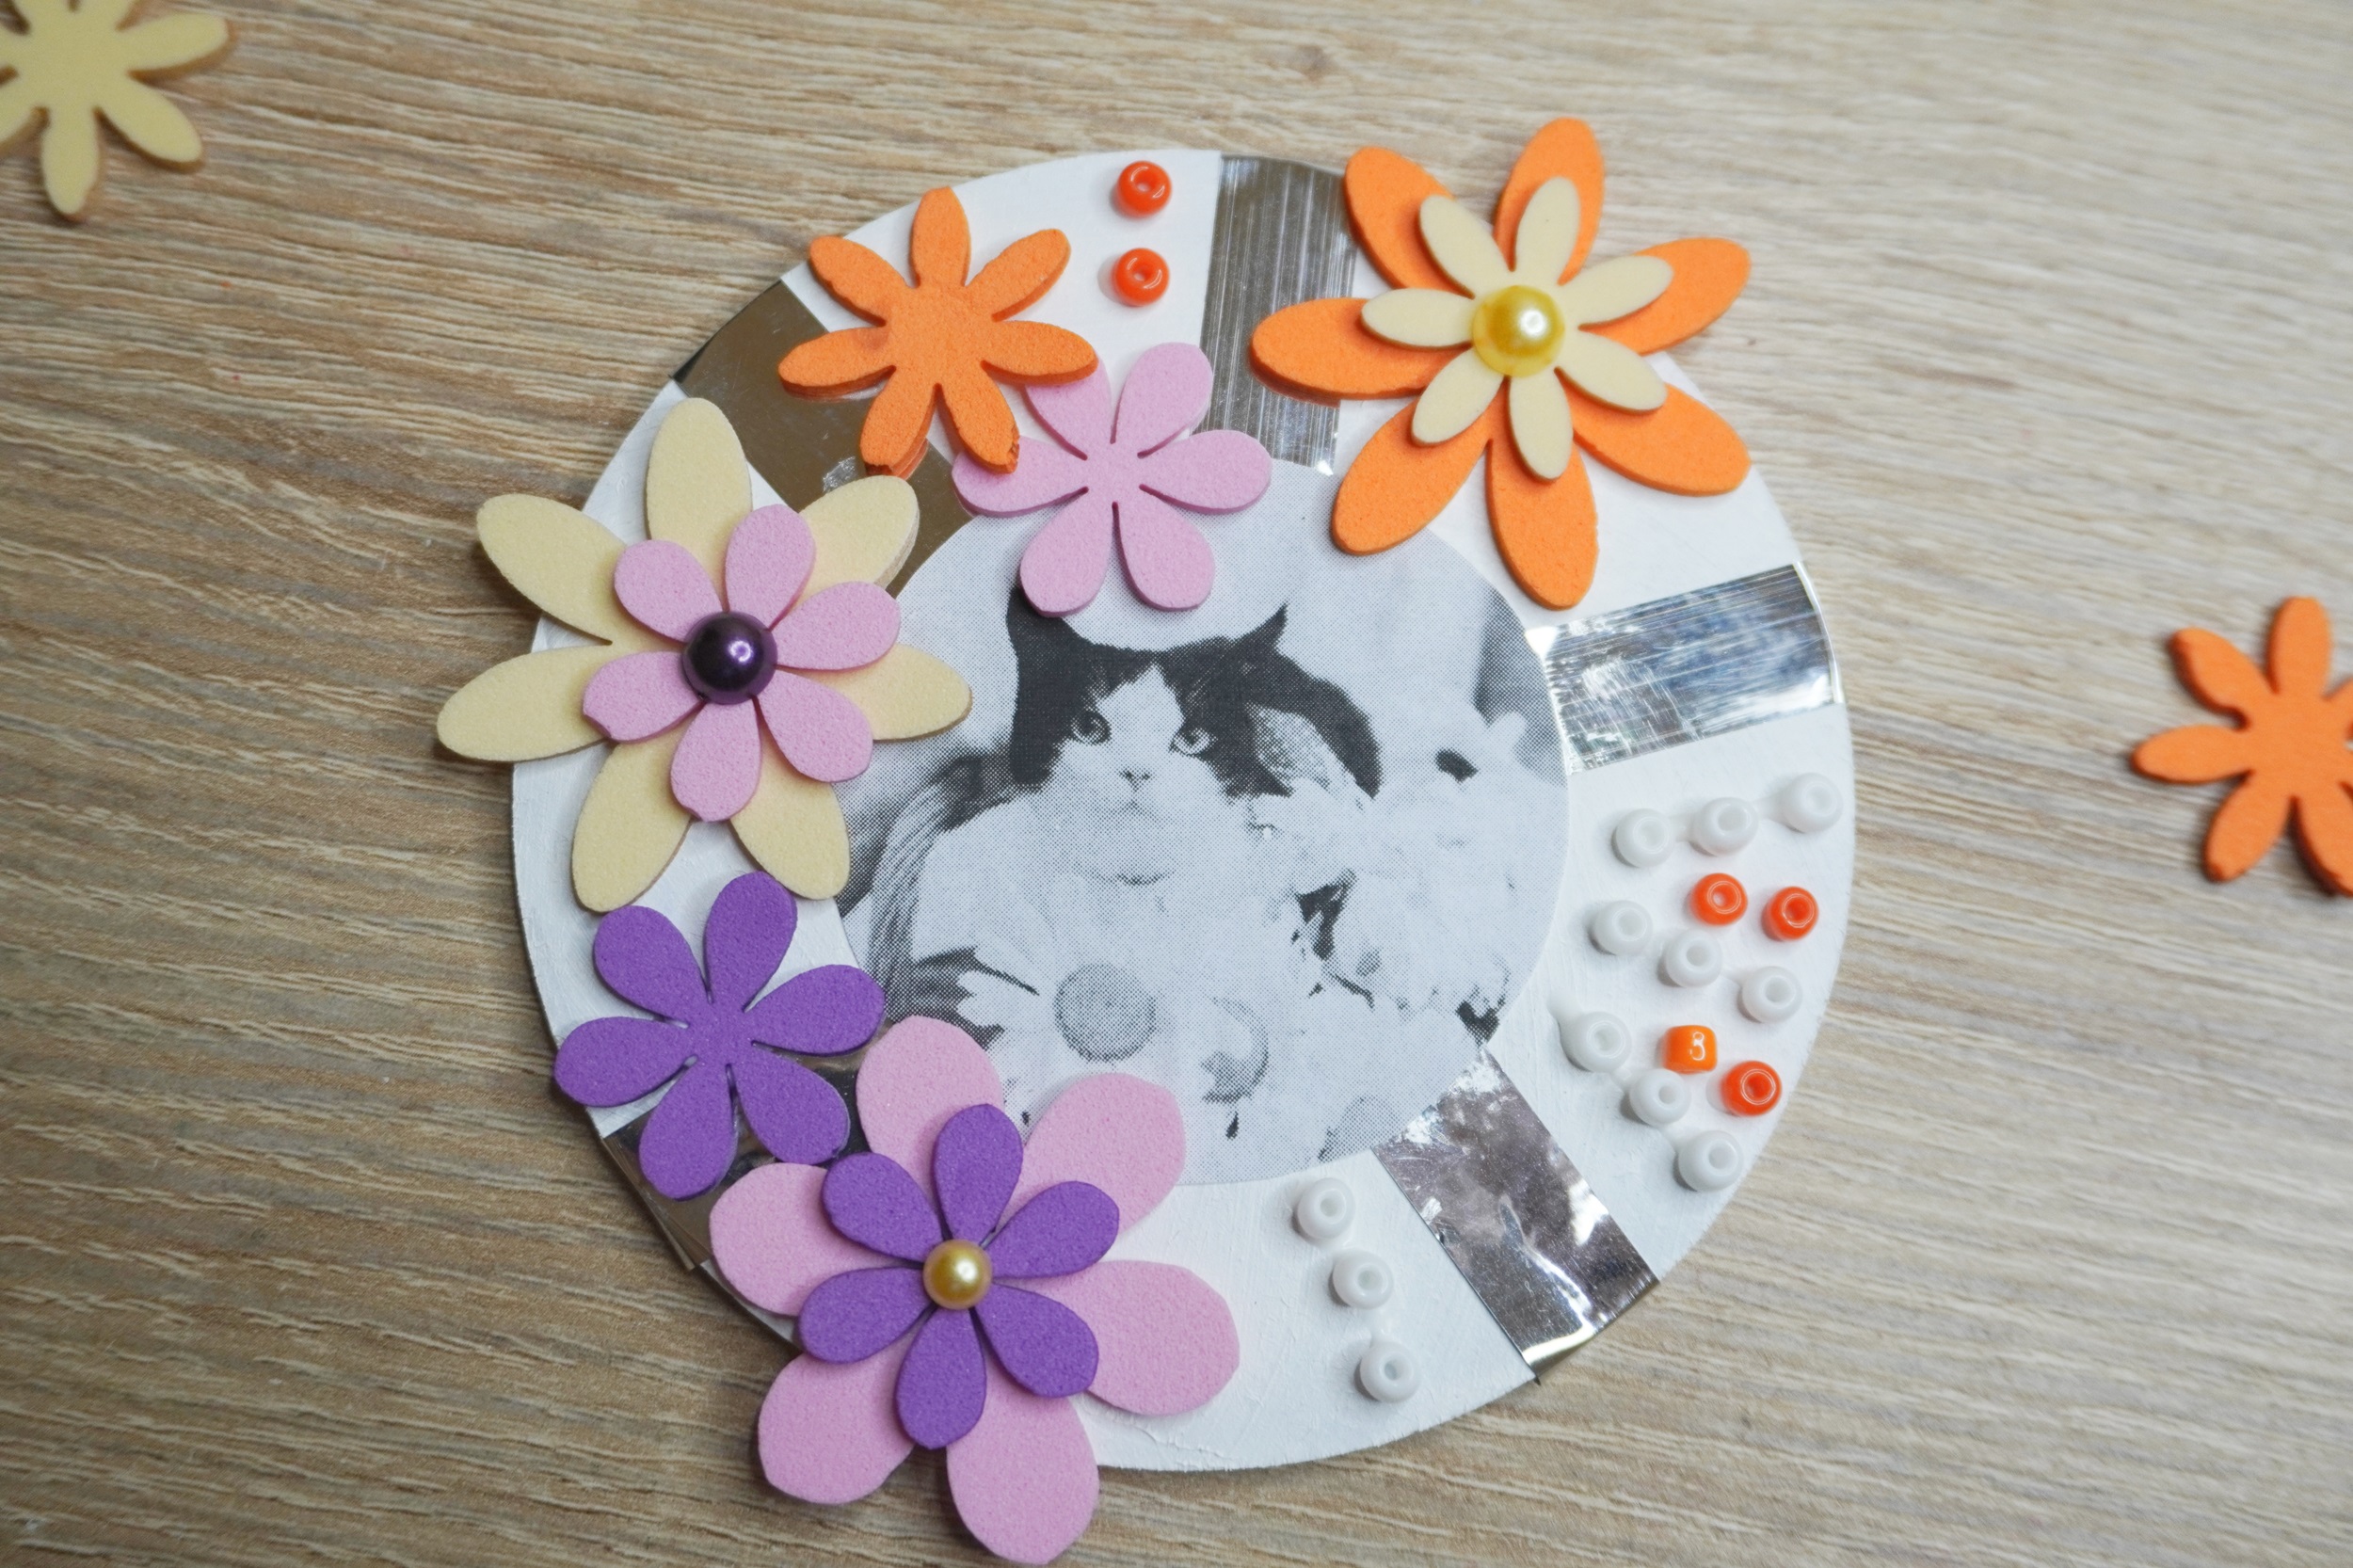
To finish off the pet sign, glue a bead to the center of the foam flowers.
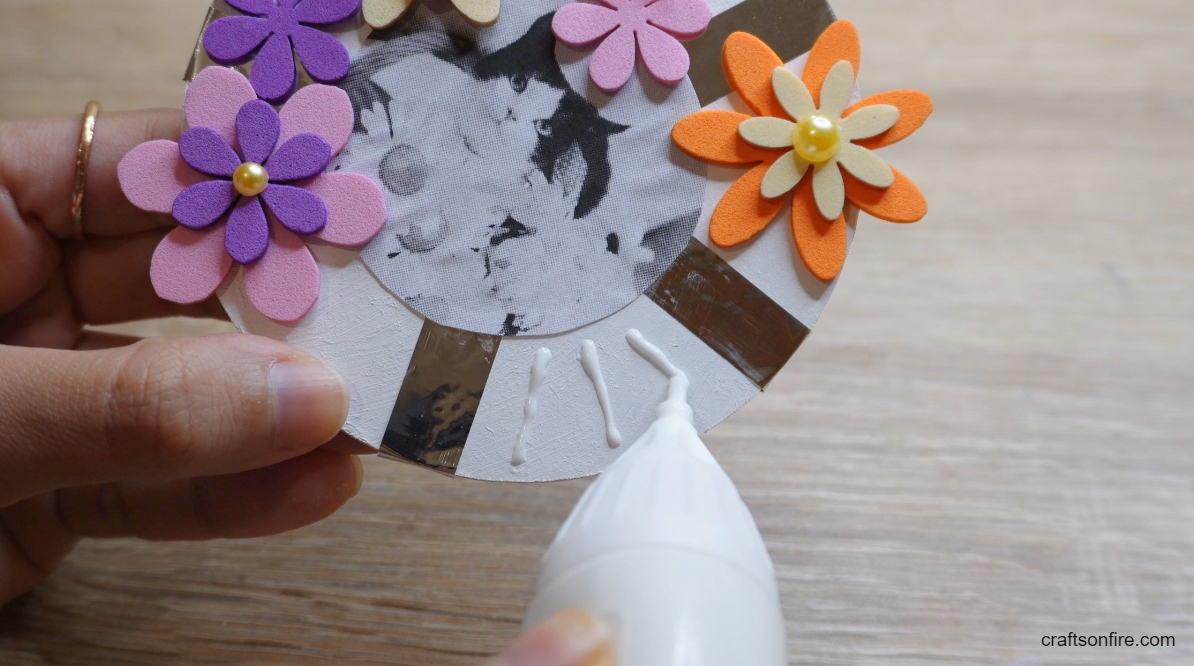
Then, apply 3 thin lines of glue to one of the empty spaces. Fill these lines up with white seed beads to complete the project.
I’ve also added 4 orange seed beads between the white rows of beads to help it stand out.
Final Result
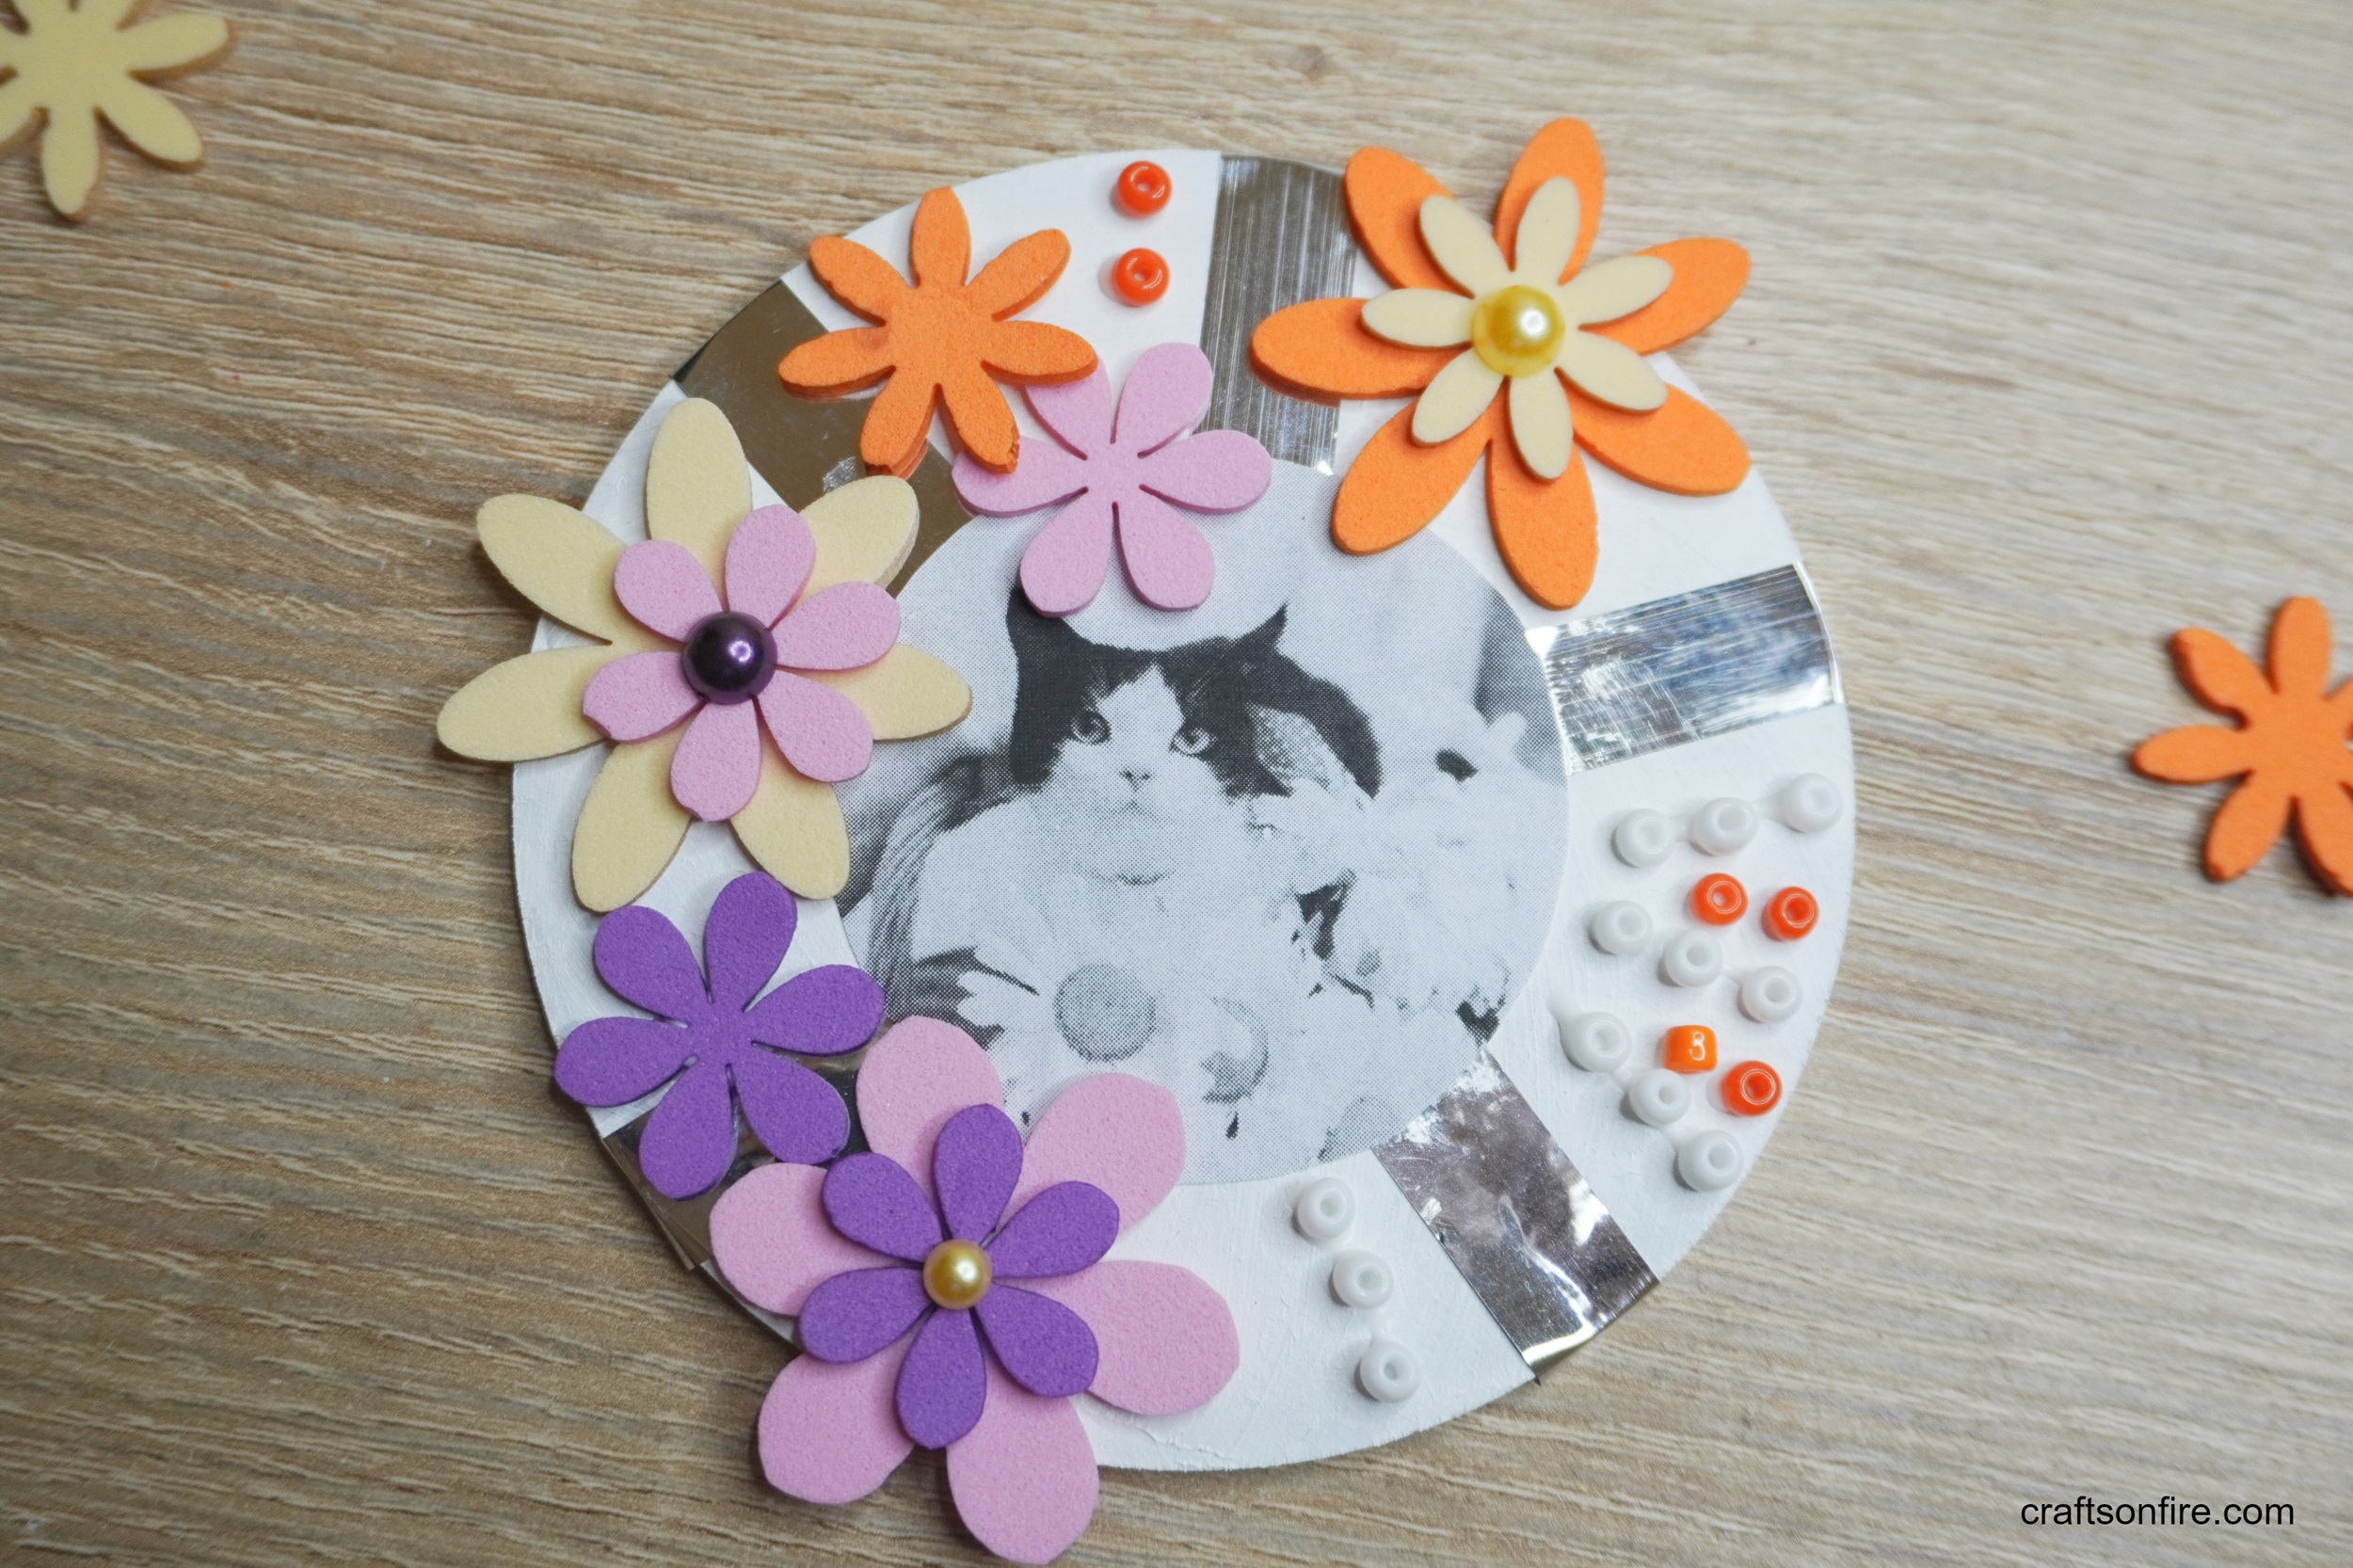
So, here’s how my pet sign turned out. Do you like it? I hope so!
This was so fun to make and I can see myself making more pet portraits like this.
I also have a video version of this tutorial if you’re interested in watching the process from start to finish:
It’s an awesome way to honor your furry friend and incorporate a cute piece into your space.
It’s definitely a rewarding experience!
I do have a few more projects coming up soon but if you’d like to make another creative item right now, here’s what I would recommend trying next: