DIY Patchwork Scrunchie (Sewing Guide)
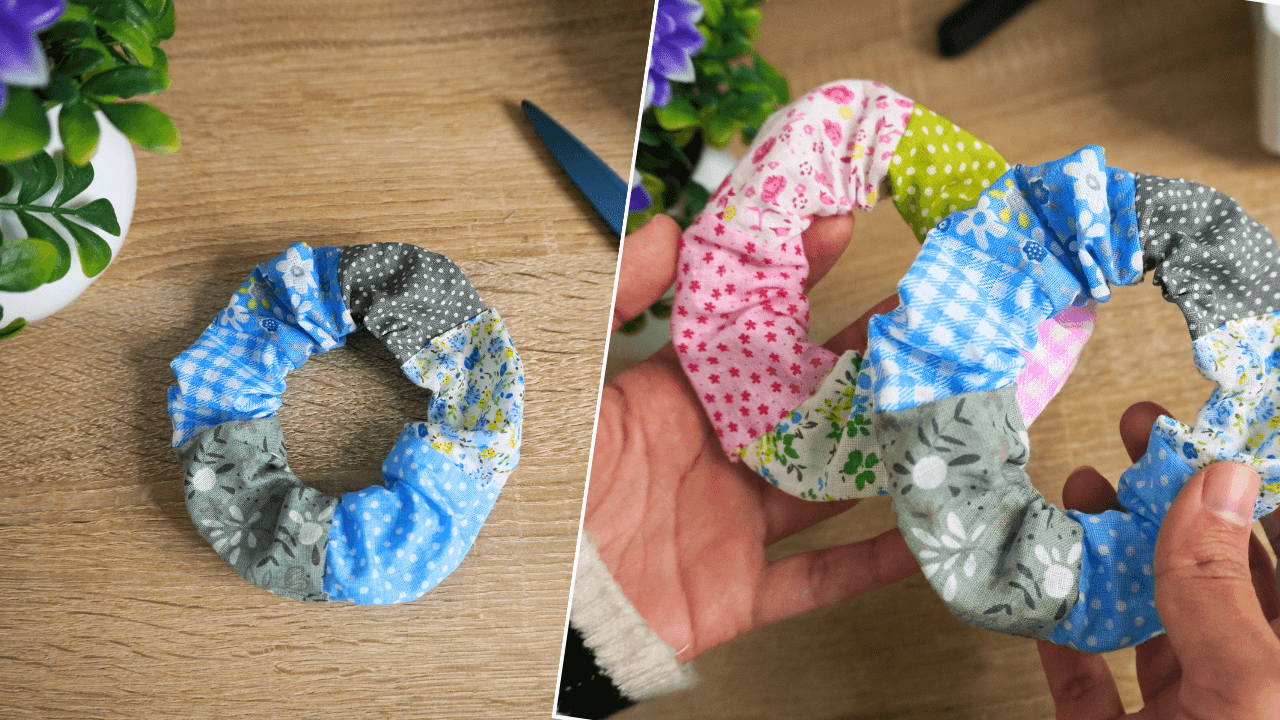
If you have a ton of scrap fabric on hand, making a patchwork scrunchie is a fantastic thing to do with them. I had so much fun picking the colors, matching the patterns, and creating these scrunchies, that I can’t recommend it enough.
This quick and easy sewing project offers a fun and creative experience. If you’re fond of joining patchwork projects, this one is just for you!
These scrunchies are so easy to sew, you can make them in 5 minutes. In this guide, I’ll show you how to join the pieces, attach the elastic, and create the scrunchie.
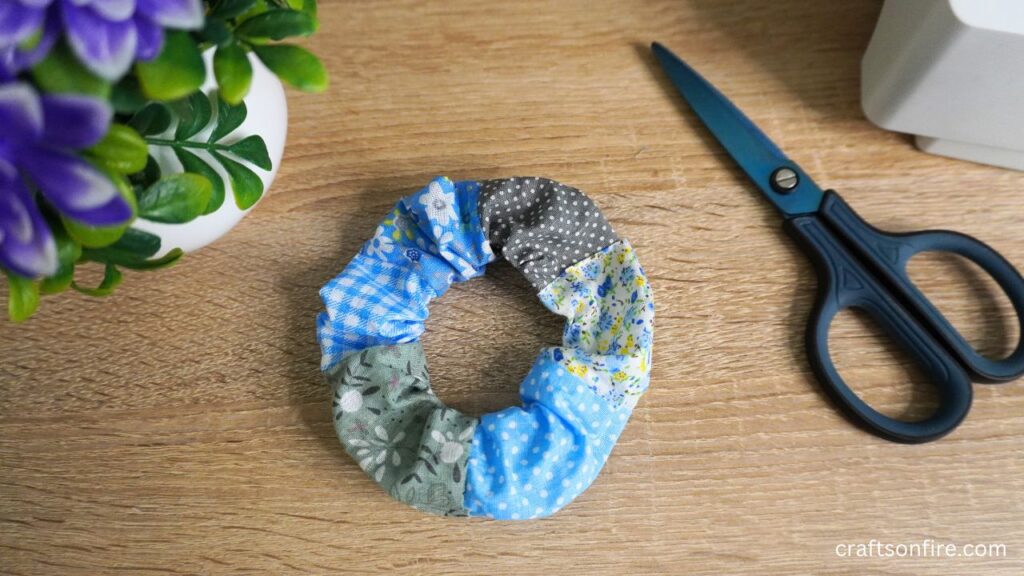
I also feel like this is the ideal project to begin with if you’re learning to sew. You’re bound to enjoy every minute of stitching.
Sounds good? I’m so excited to share this.
Let’s begin.
Table of Contents
Patchwork Scrunchie Tutorial
Supplies
- 6x Patterned Fabric
- Safety Pin
- Elastic
- Sewing Machine
Measurements
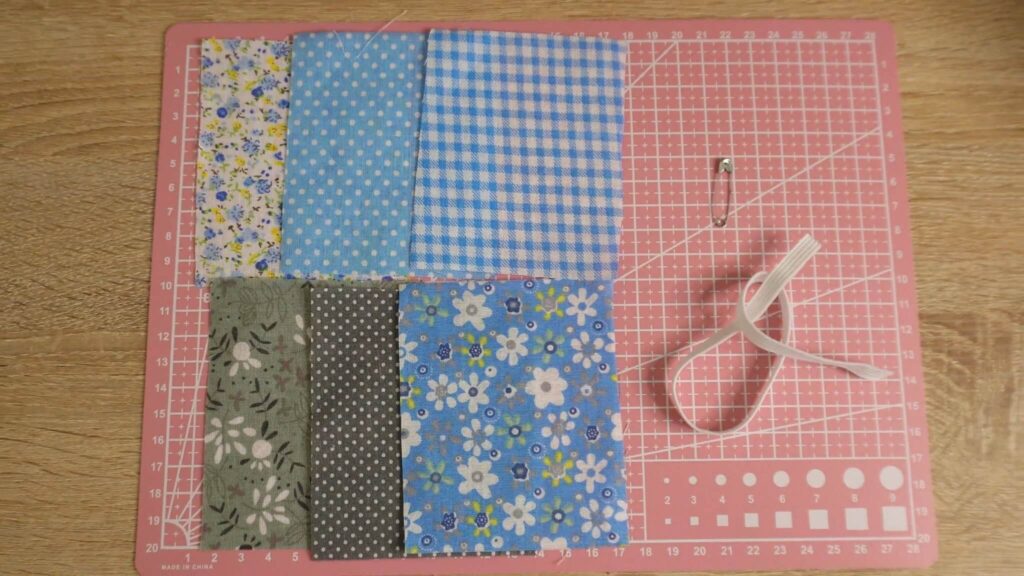
Cut 6 rectangles measuring 7 cm x 10 cm to make this scrunchie.
Video Tutorial
Before we get started, if you’re interested in watching the process of sewing the scrunchie from start to finish, here’s the full tutorial:
This is a quick 4-minute video that will help you quickly familiarize yourself with the process.
Instructions
Join The Fabric
Take two rectangles and lay them together with the right sides facing in. Head over to the sewing machine and join these two pieces together.
Open the fabric out and you’ll see a beautiful joined piece.
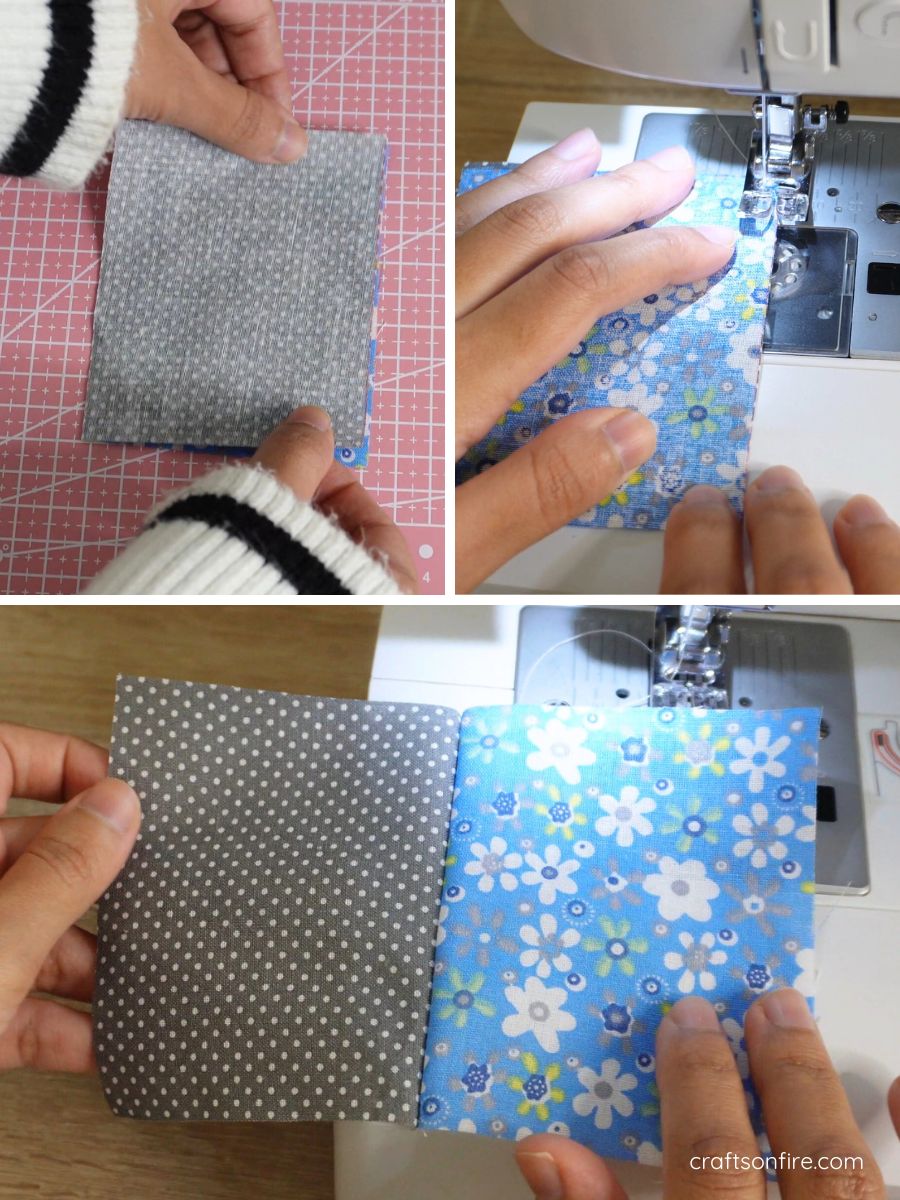
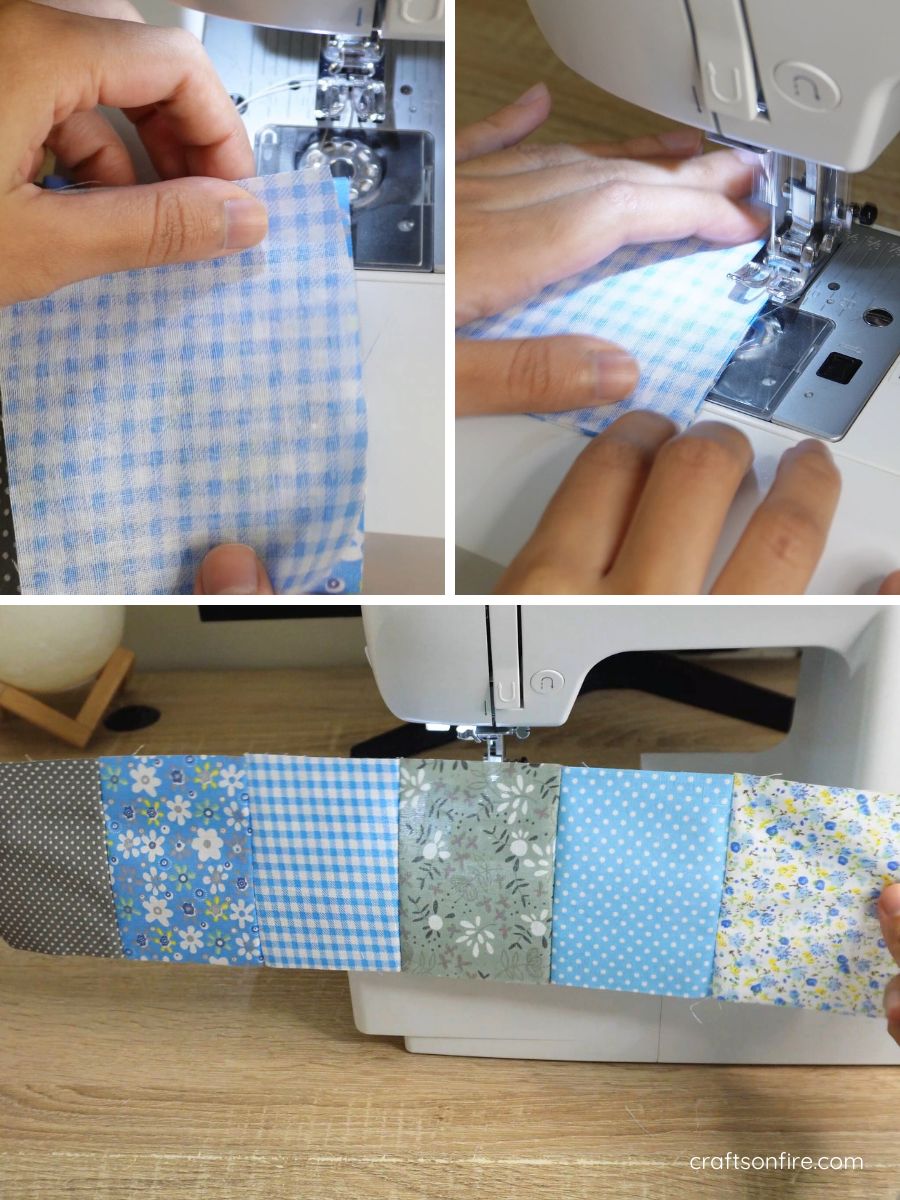
Grab another scrap fabric piece, lay it on the first piece with the right sides facing in, and stitch. Continue this pattern until you have a beautiful long strip of the patchwork pieces.
Fold & Stitch The Strip
Next, turn the patchwork strip to the wrong side and fold one end of the top over. Head over to the other side and fold the top as well. Then, fold the patchwork strip in half as shown below, and stitch the fold together.
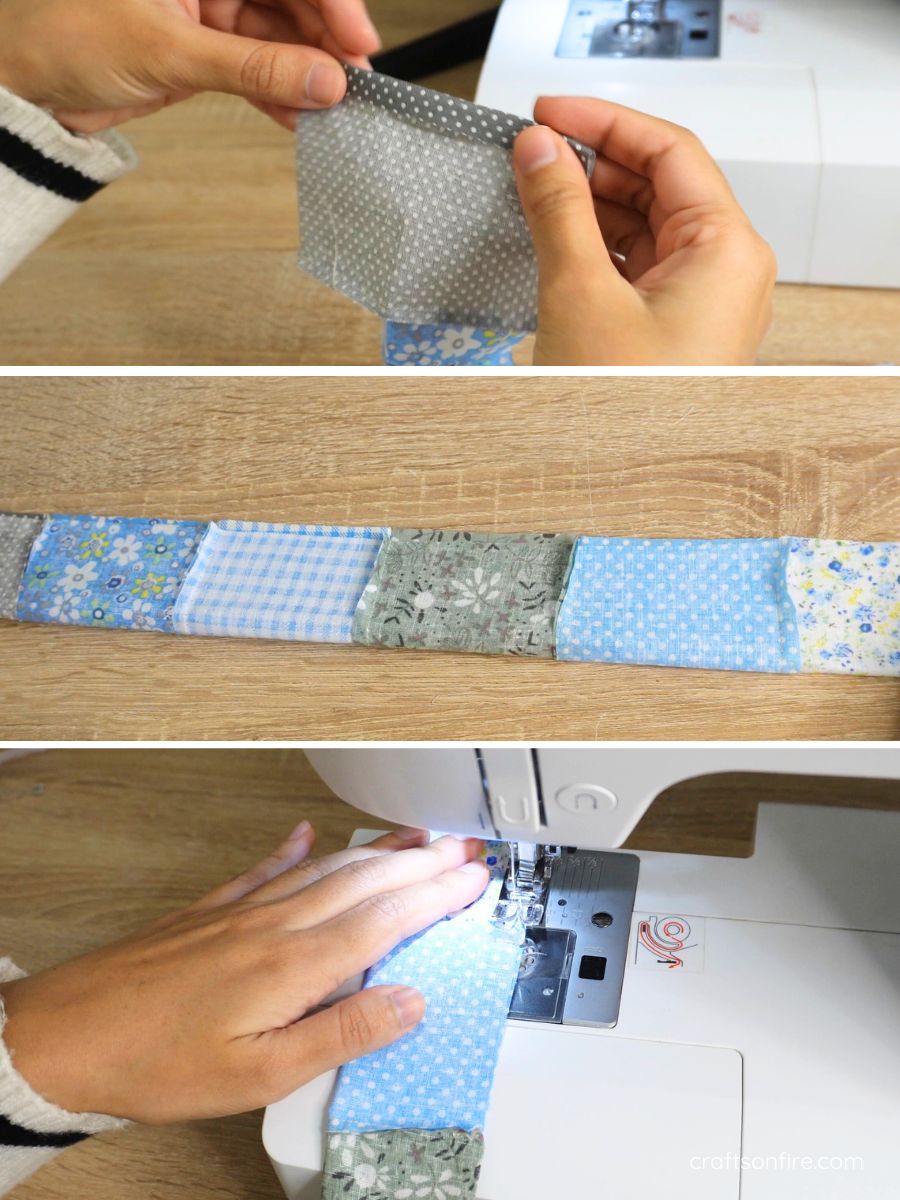
Turn Strip Inside Out
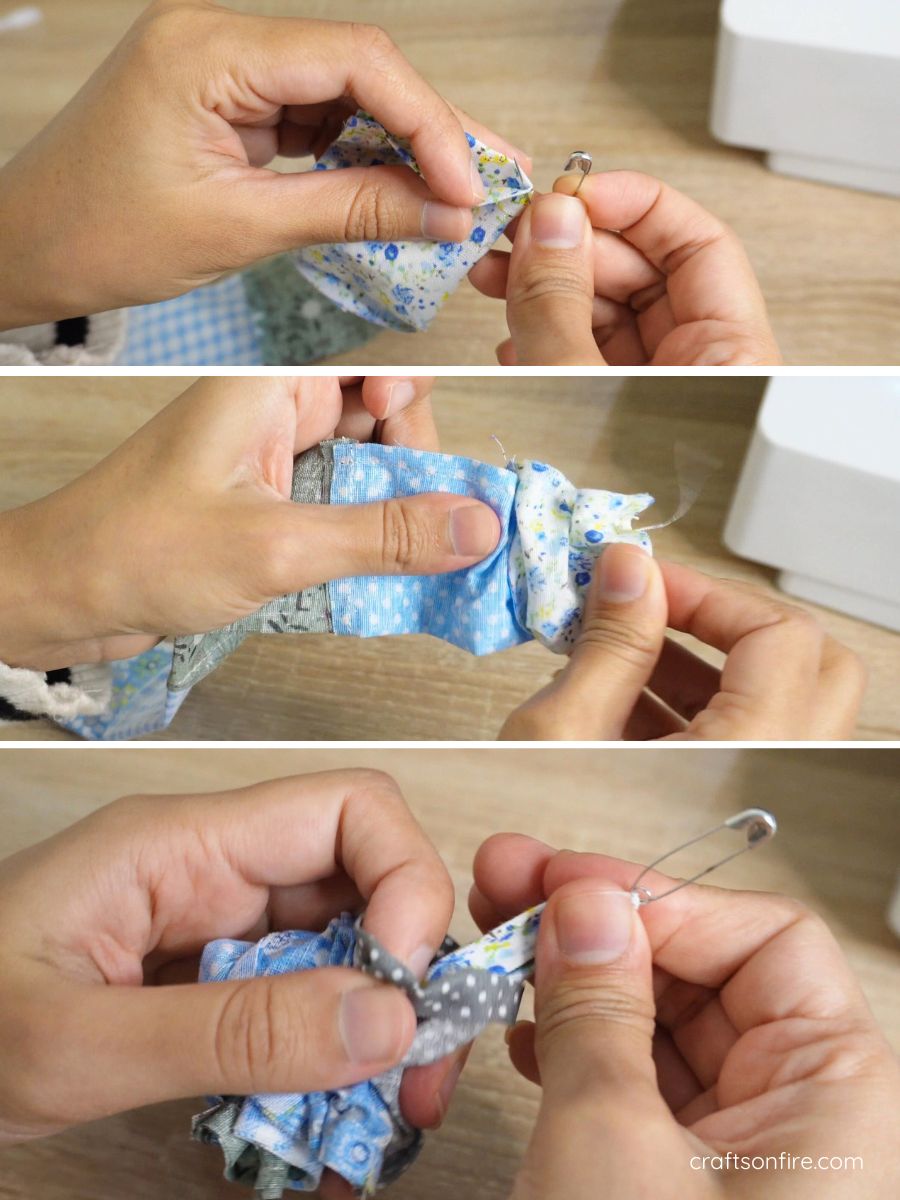
Grab a safety pin and poke it through the fabric as shown below. Thread the pin through the strip until it comes out through the other end and then pull the fabric out to right side.
Measure, Cut & Thread Elastic
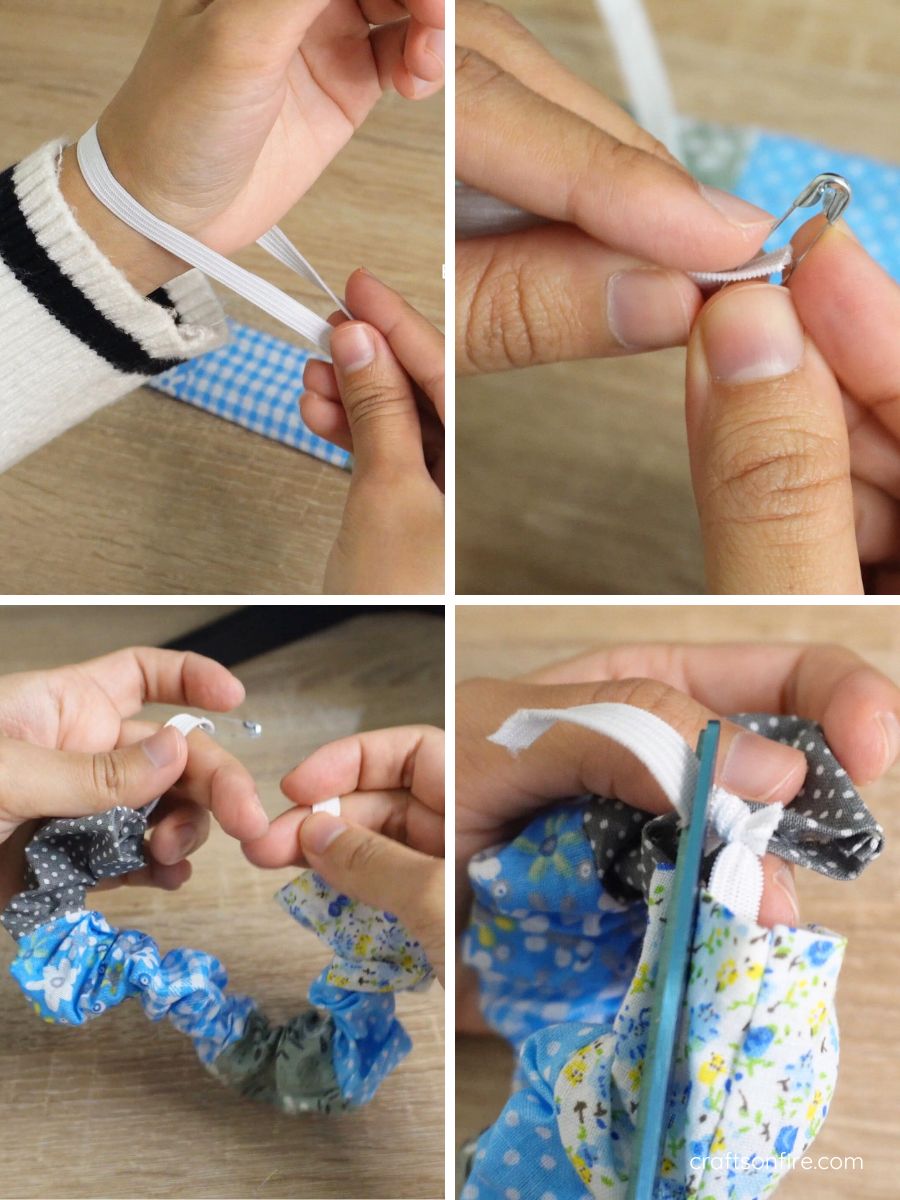
I used my wrist as the measurement for how big I wanted the scrunchie to be and mine came to around 27 cm of elastic. You can decide whether you want your scrunchie to be smaller or bigger before you cut the elastic.
Take the safety pin and poke it through one end of the elastic. Thread it through the patchwork strip to create a nice gather and pull it through the other end. Tie a small knot to close it off and remove any excess elastic.
Complete The Scrunchie
Maneuver the elastic knot inside of the fabric by pulling one end of the fabric over the other. Head over to the machine and stitch this part to close it off.
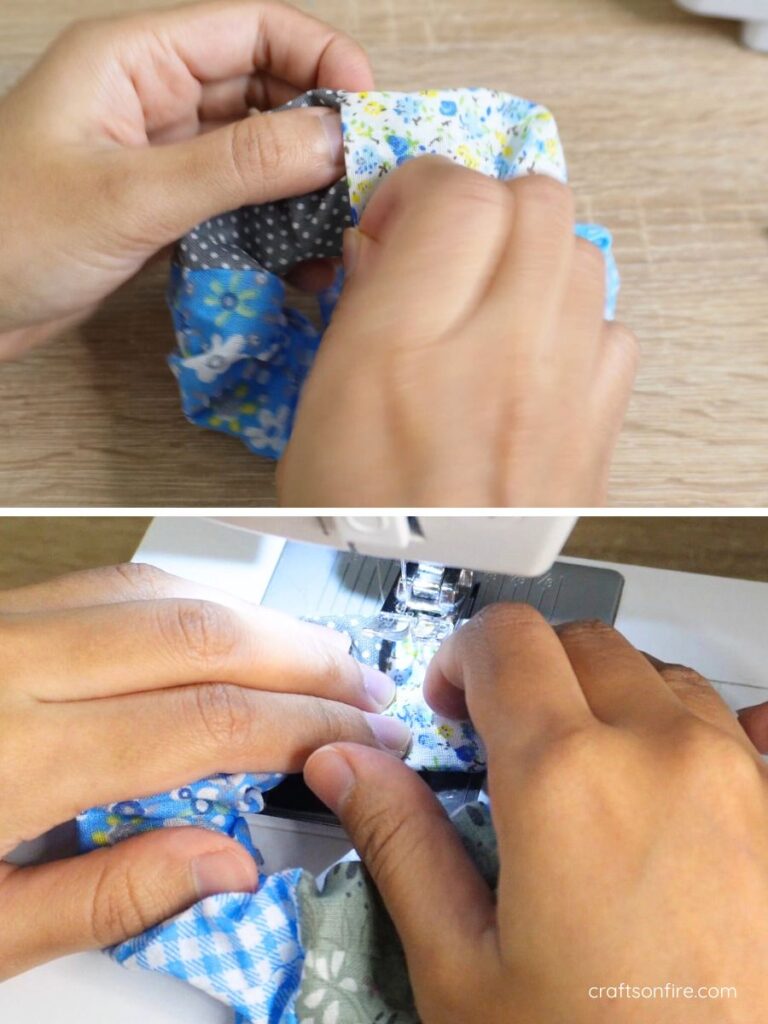
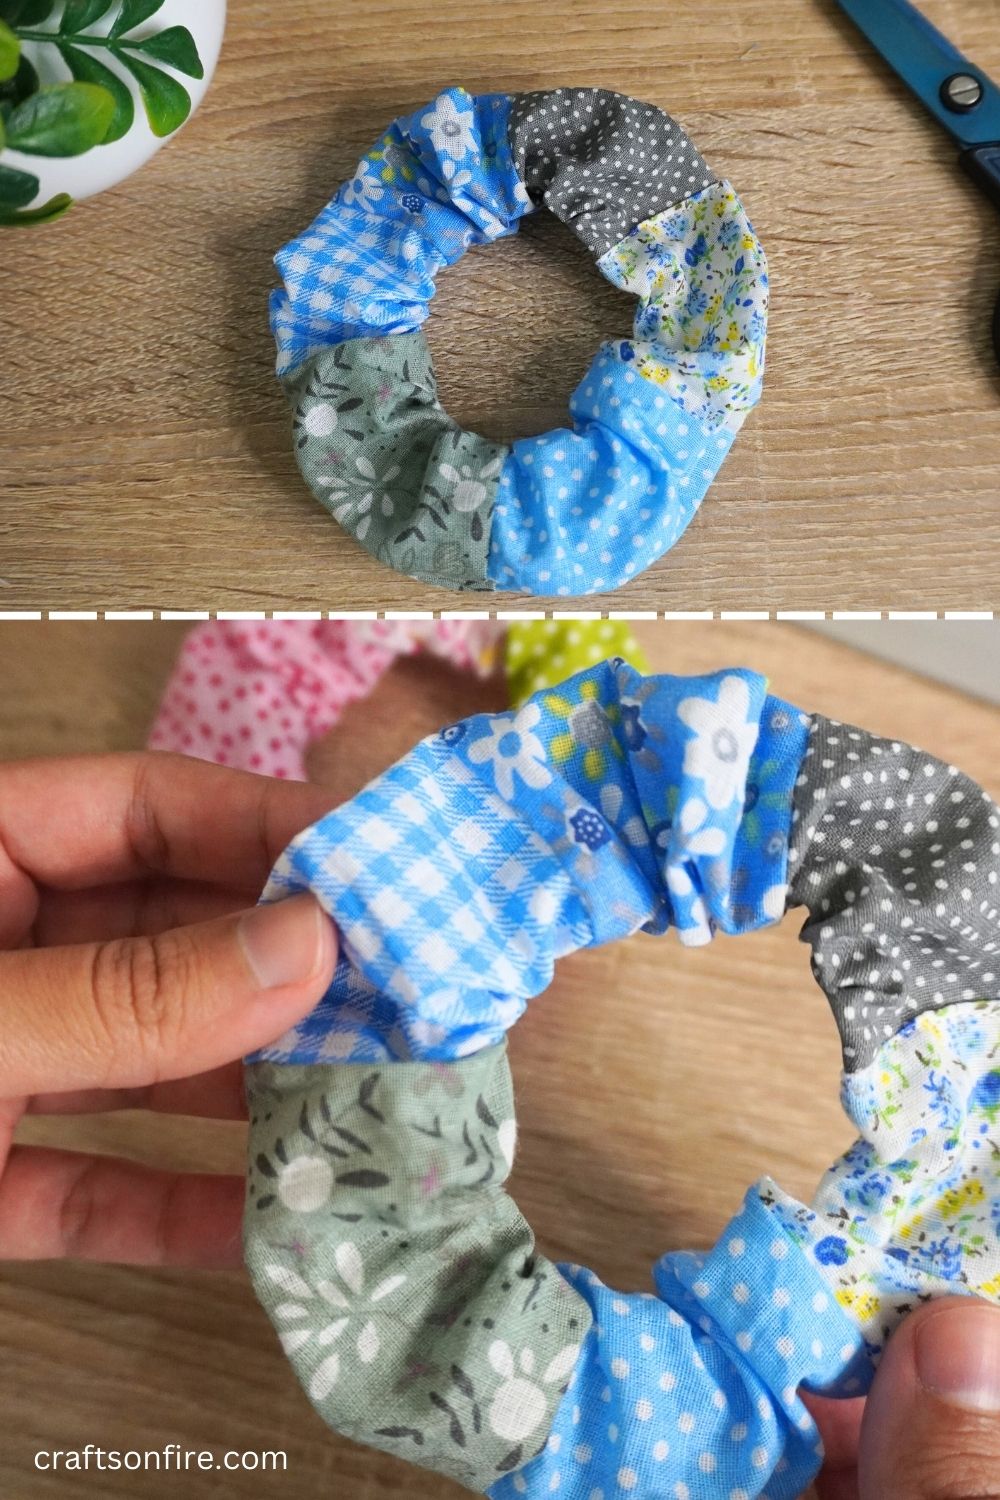
Once your closure is finished, adjust the fabric of the scrunchie and it’s ready to wear!
Final Result
FAQ
Do you need a sewing machine to make a scrunchie?
Not at all! You can absolutely sew this by hand. Just grab a needle and thread and follow the exact steps in this guide. However, sewing a scrunchie by hand will take much longer but if you have the time, go ahead!
What is the best material to make scrunchies out of?
You can use any material to make a scrunchie but cotton and linen will give you a classic look whereas velvet or silk is best for a luxurious and elegant appeal. Silk is a great option if you want something gentle for your hair. This will reduce friction and hair breakage.
How long should the elastic be for a scrunchie?
I like to use my wrist as the measurement as this helps to determine the fit better but the typical measurement is around 20 cm – 27 cm (8 inches to 11 inches). For a snug fit, you might want to go with a length slightly less than 20 cm (8 inches).
What size should a scrunchie be?
Scrunchie sizes vary but a small is around 10 cm (4″) – 15 cm (6″) while a large scrunchie is around 17 cm (7″) or more.
Wrapping Up
I told you it was super easy to sew a scrunchie and what’s awesome about this idea is that you can use up all those leftover fabric scraps.
This diy patchwork scrunchie looks cute in your hair or as a wrist accessory.
I did make a pink and green scrunchie before sewing this one and it looks just as great.
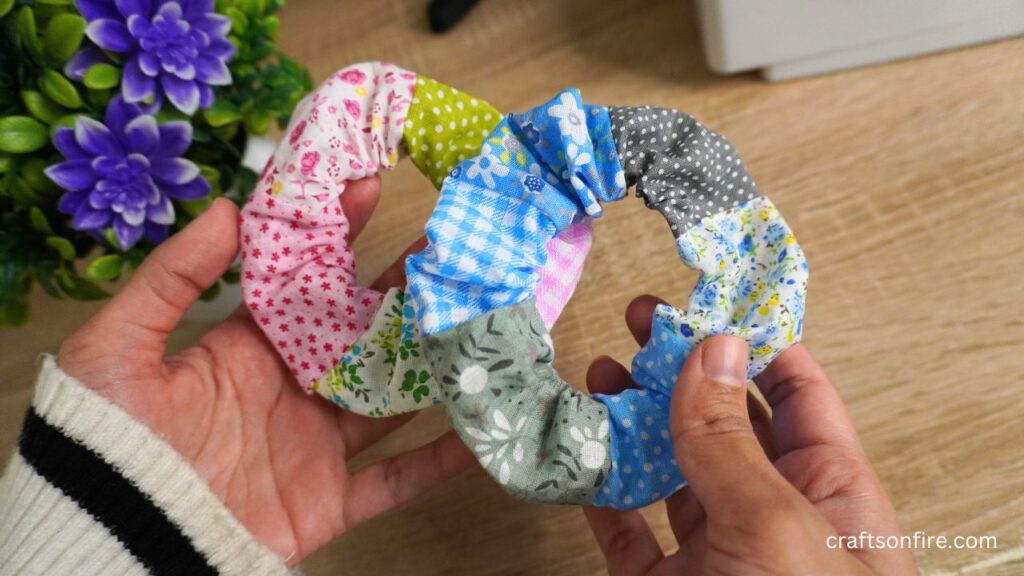
I love the different colors of blue and grey and with this idea, you can create any color combination you want.
Before you go, I have another beautiful scrunchie you can learn to sew if you’re interested.
This bow scrunchie looks delicate and feminine! It’s also another easy sewing project you can try after this!
So, what do you think? Do you like how this patchwork scrunchie turned out? I’d love to hear your thoughts.
More Patchwork Sewing Projects:
