How To Decorate Flower Pots Using Air Dry Clay
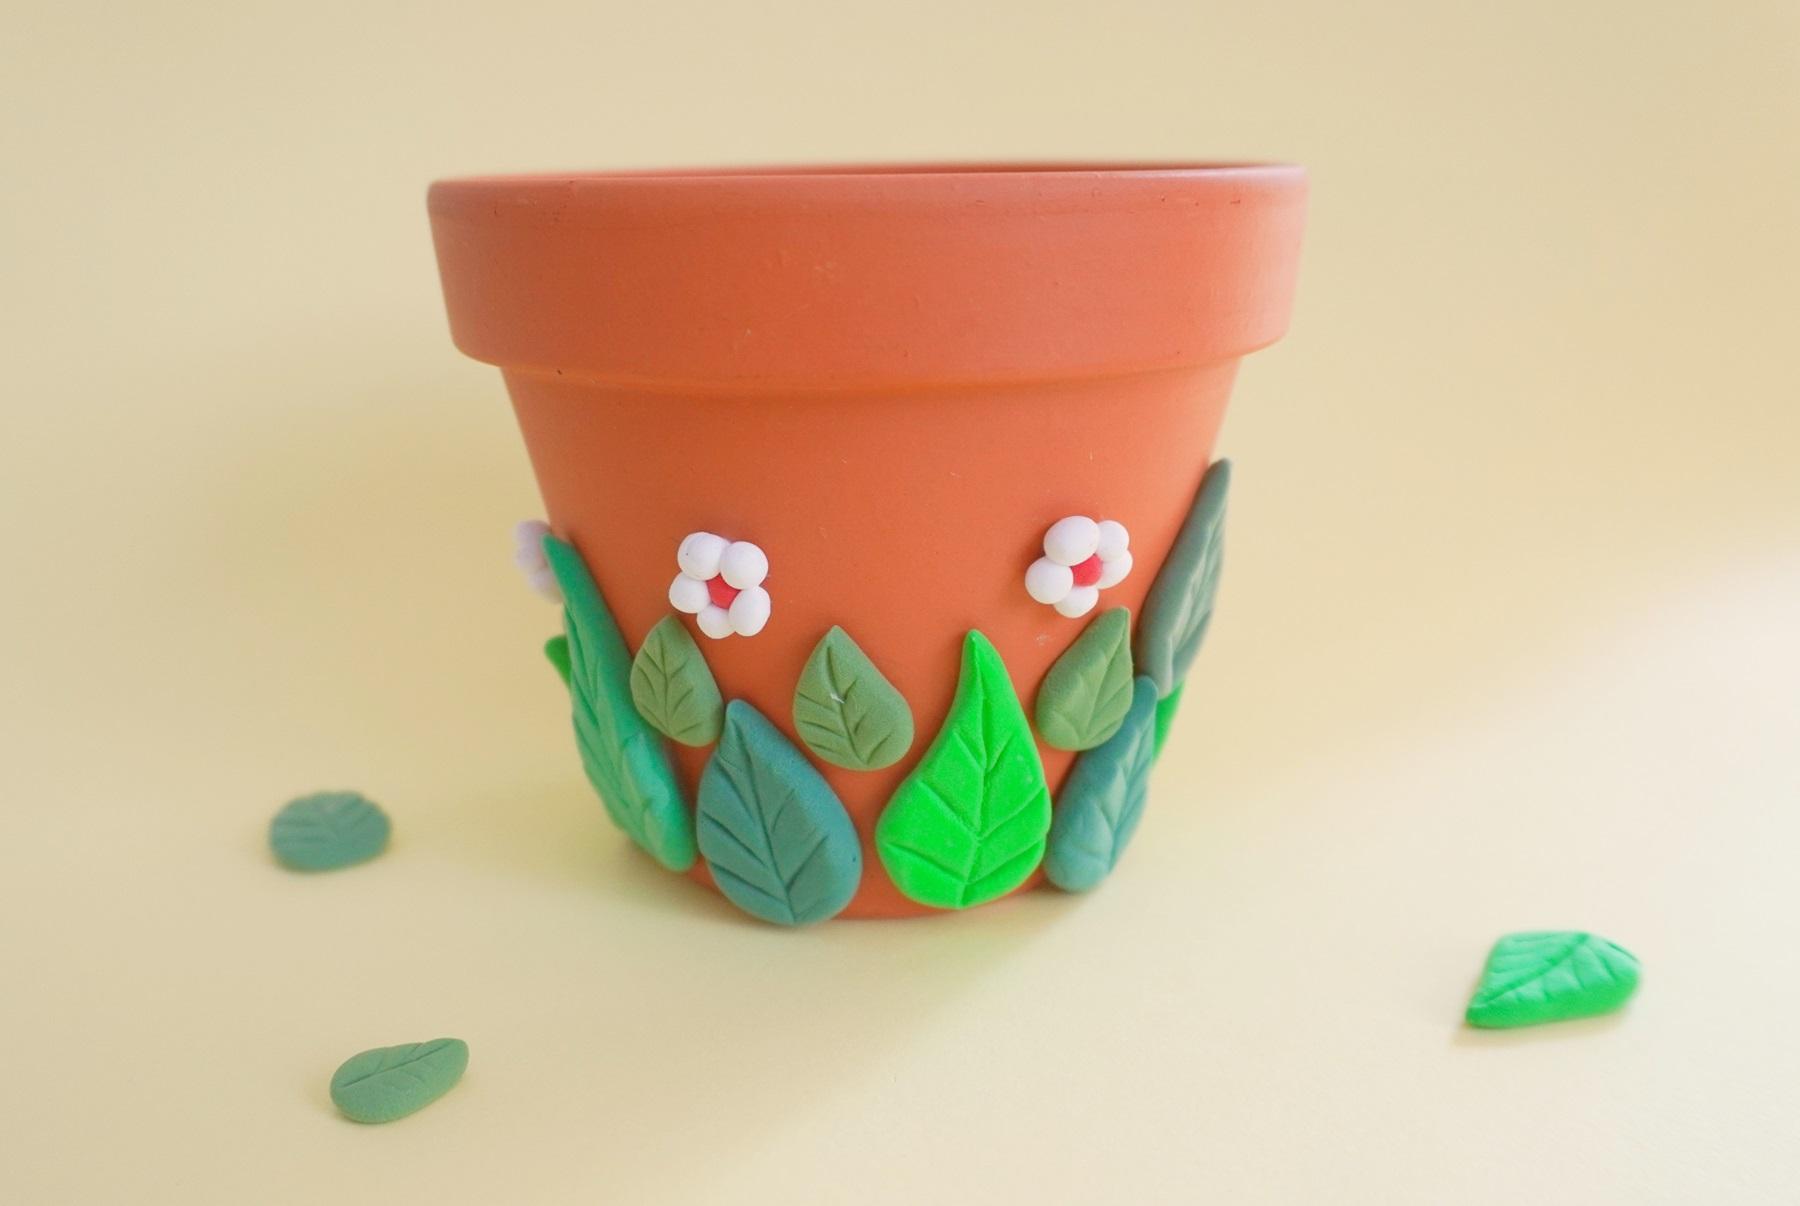
This might be my absolute favorite way to decorate flower pots or any plain terracotta pot with a beautiful leaf border.
I had a few bags of leftover air dry clay and I decided this is the best way to use it.
If you love playing around with air dry clay and molding beautiful pieces, this project will keep you occupied for a while!
It’s a simple, easy, and enjoyable project you can do on the weekend or on a relaxed afternoon to add a creative piece to your home.
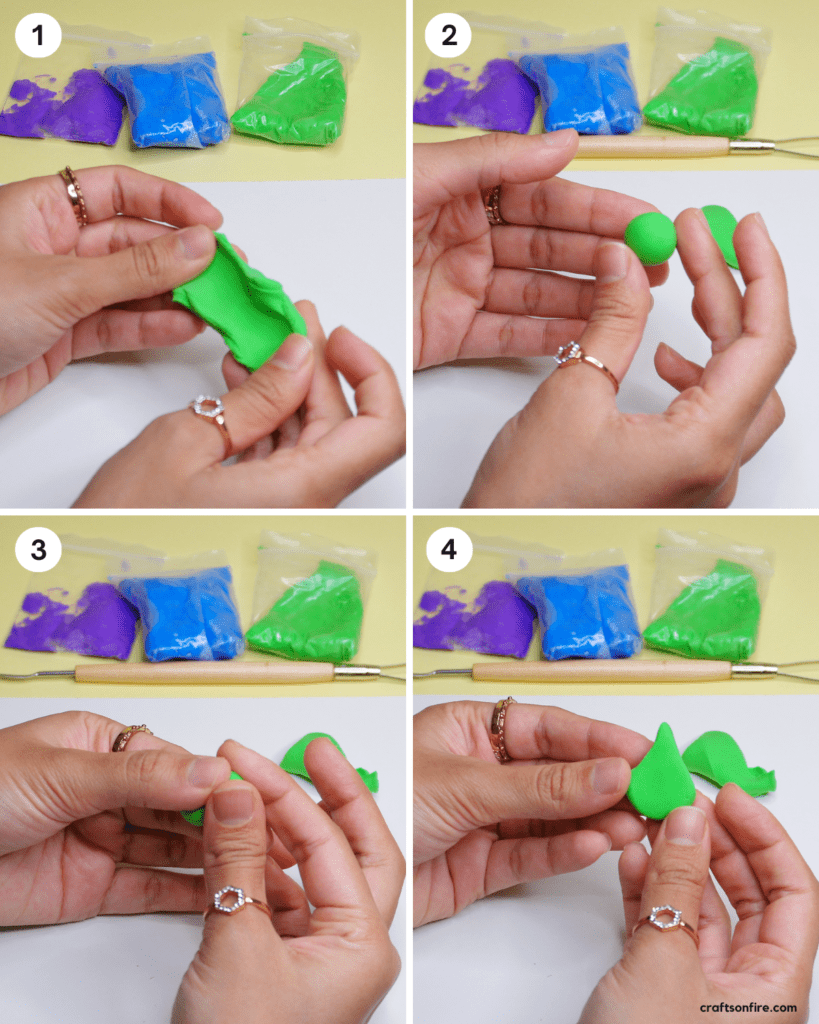
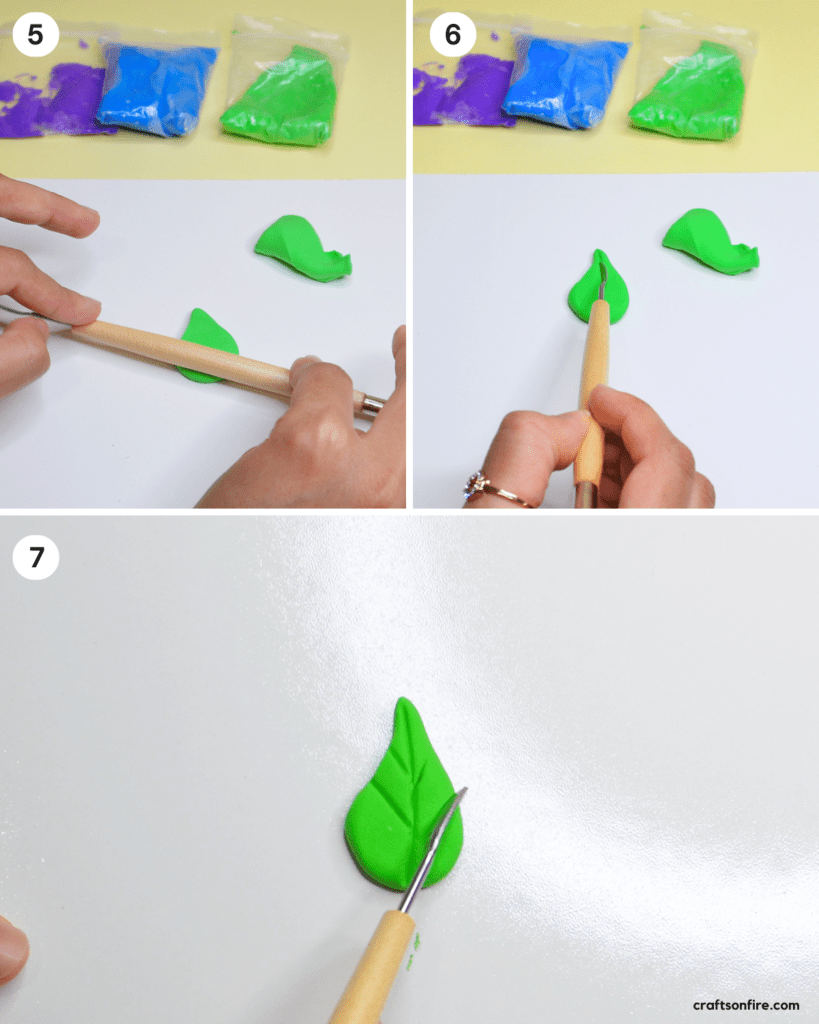
With that said, here’s my easy step-by-step process on how to decorate a flower pot with clay leaves and flowers:
Supplies
Here are the key materials you’ll need to get started:
- Small Terracotta Pot
- Air Dry Clay: Green, Purple, Blue
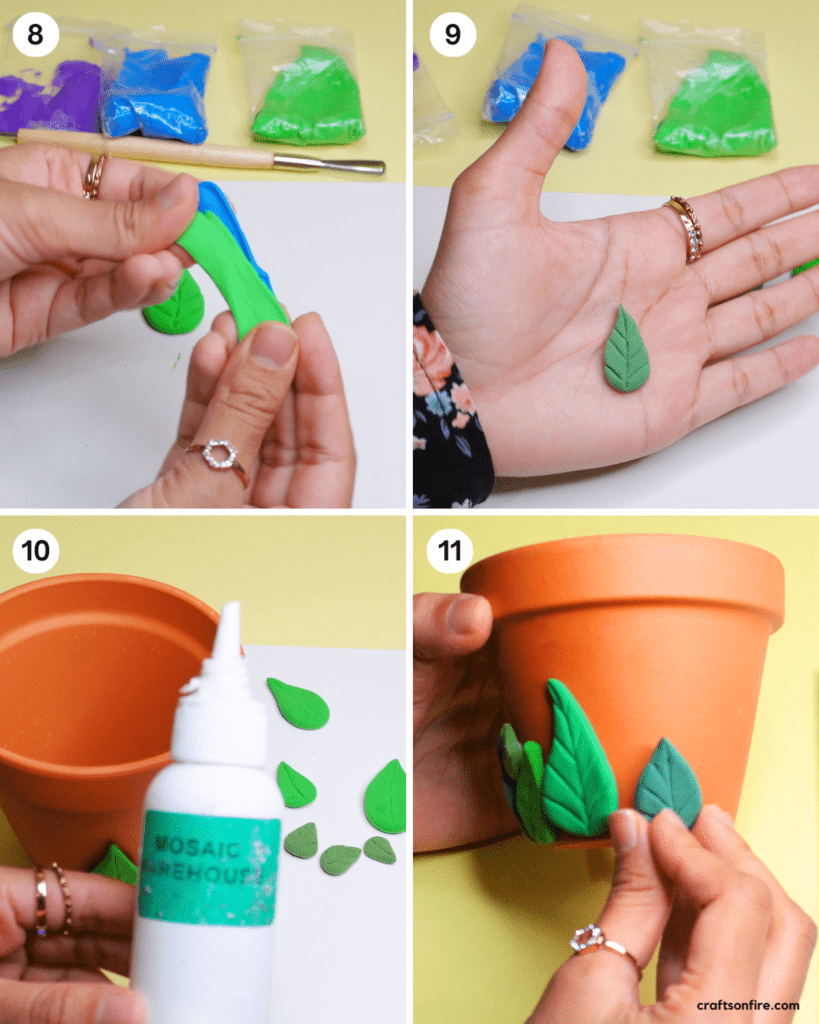
- Clay Tool
- Glue
- Clean board/surface
How To Decorate A Flower Pot With Clay
Here’s the final piece:
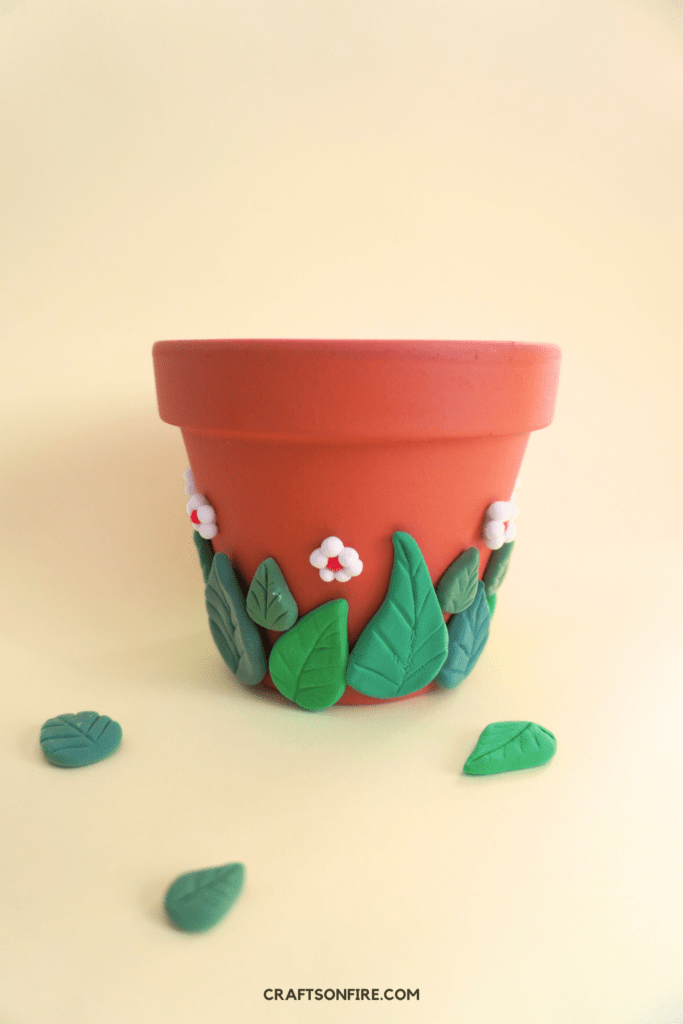
You can always switch up the colors if you want a brighter leaf design or try painting the entire flower pot first with white acrylic paint as this will help make the green leaves pop.
If you’d like to see a video version of this tutorial, here you go:
Additional Tips
FAQ
What can I use to decorate clay pots?
You can use just about anything to decorate clay pots: acrylic paint, spray paint, air dry clay, polymer clay, nail polish, and even chalk paint are a few popular items that make any pot look great!
Is air dry clay waterproof?
No, air dry clay is not waterproof. You might have to use a sealant such as liquid epoxy resin, varnish, or acrylic paint to waterproof it if these pots will be exposed to outside elements.
What can I put on air dry clay to make it shiny?
To make any air dry clay piece look shiny and beautiful, I recommend using Mod Podge, epoxy resin, or any high gloss clay varnish. Always test a small area or clay piece first to see if it adheres well.
Related Posts: 5 Beginner DIY Projects I Highly Recommend Starting With