DIY Pen Holder Using Air Dry Clay
If you’re looking to make a whimsical and fun DIY pen holder that has a stunning range of colors, textures, and designs, I have something special in store for you.
I created this amazing and easy pen holder using a wooden holder, air-dry clay, and a clay tool.
This holder will instantly brighten up your space and add a quirky, creative charm. You can place it on your bedside table, on your desk, or even on the side table in the living room!
What I love the most about projects like this is how you can transform a boring, ordinary item into a designer piece and that is what I’m hoping to show you in this guide.
Here’s how you can create this pretty pen holder with air-dry clay.
Let’s begin.
How To Make An Air Dry Clay Pen Holder
Supplies

To make this holder, here’s what you need:
- Wooden pen holder
- Clay Tool
- Air Dry Clay (Orange, Yellow, Pink, Light Pink)
- Glue
Instructions
Step 1
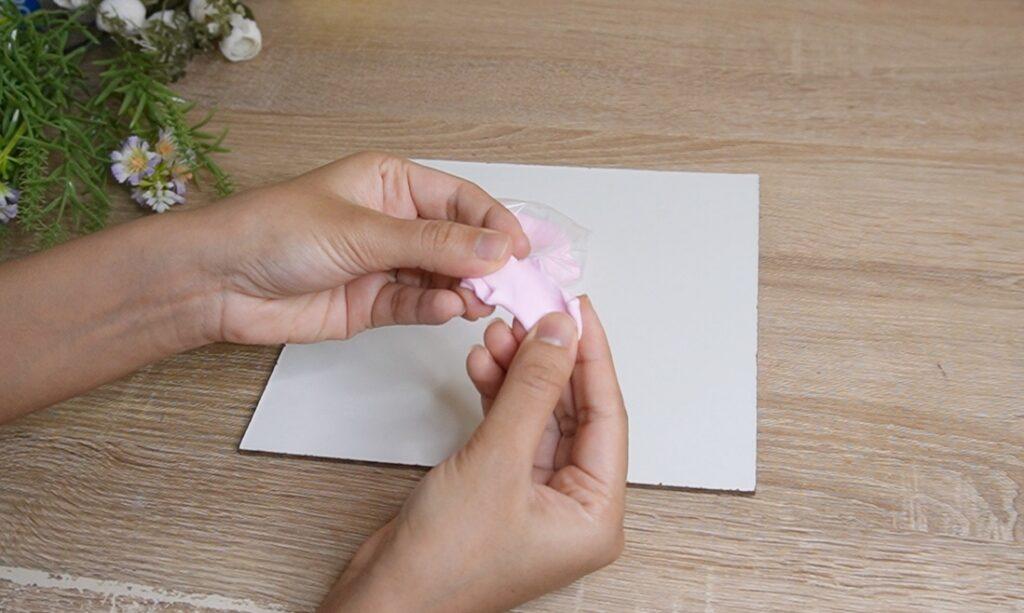
Grab a small piece of air-dry clay in any color and knead it well so that the clay softens out.
Step 2
Roll the piece of clay into a ball with the palm of your hands.
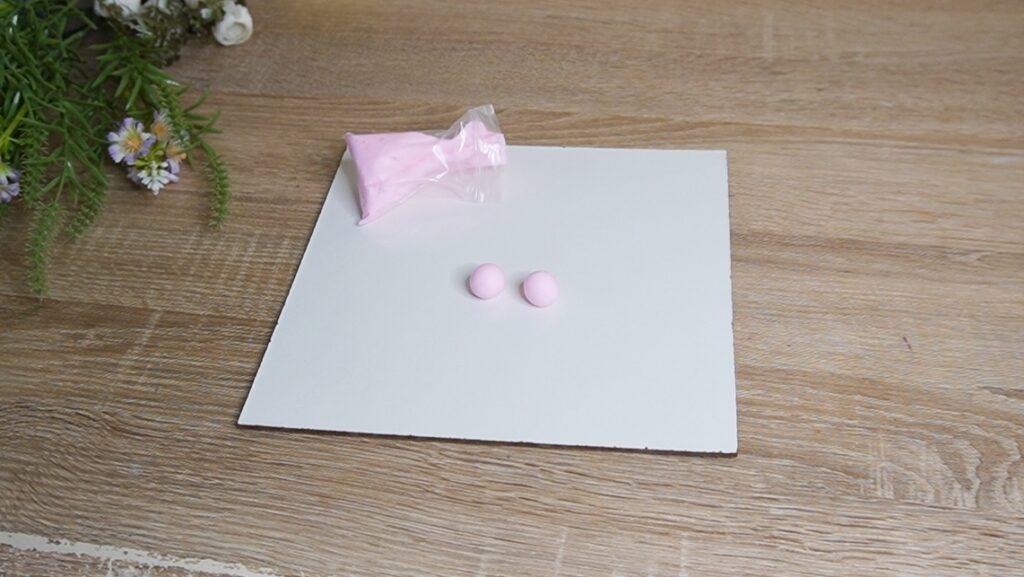
Step 3
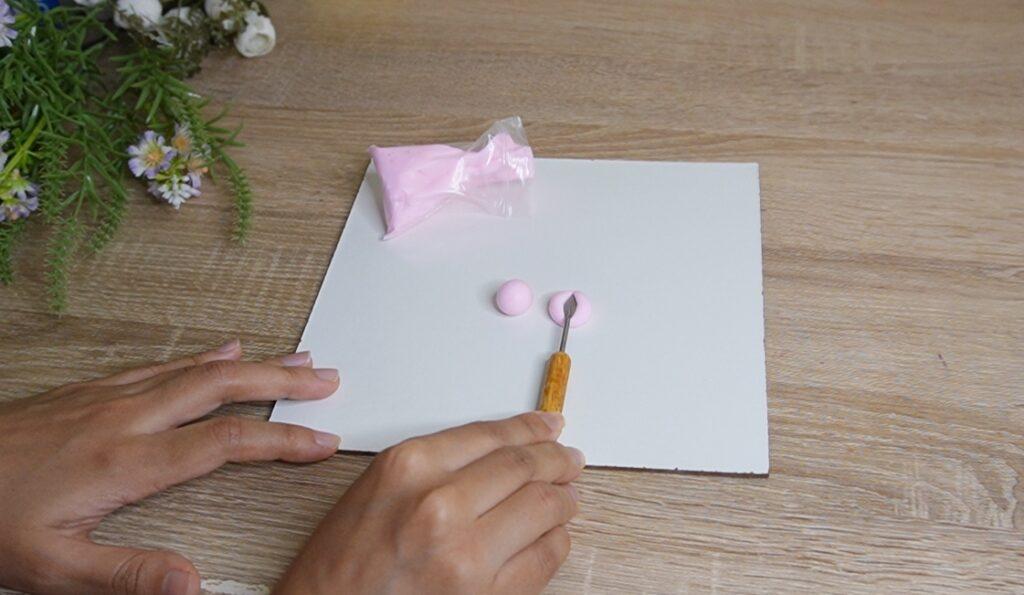
You’ll now want to use the clay tool with an arrow-shaped head and place it down firmly on the ball.
It should smush down a bit and leave a beautiful imprint.
Continue doing this until you have a full range of pieces to fit your holder.

I’ve demonstrated 2 pieces, but you’ll have to make many more pieces with each color.
I calculated that this holder would require about 4 pieces of each row on each side, but the exact number will depend on your holder size.
Allow all the clay pieces to dry overnight. They should feel firmer by the morning but if you find the clay is still soft, it might need additional time to dry.
Step 4
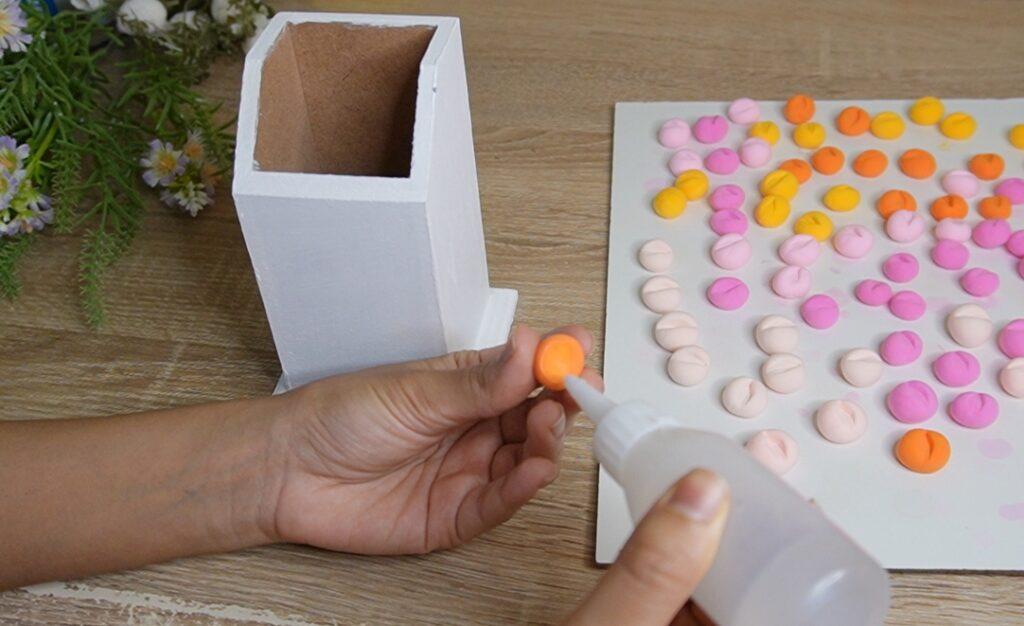
We can now glue the pieces to the holder. Grab a piece and apply a small amount of clear glue to the back of the piece.
Step 5
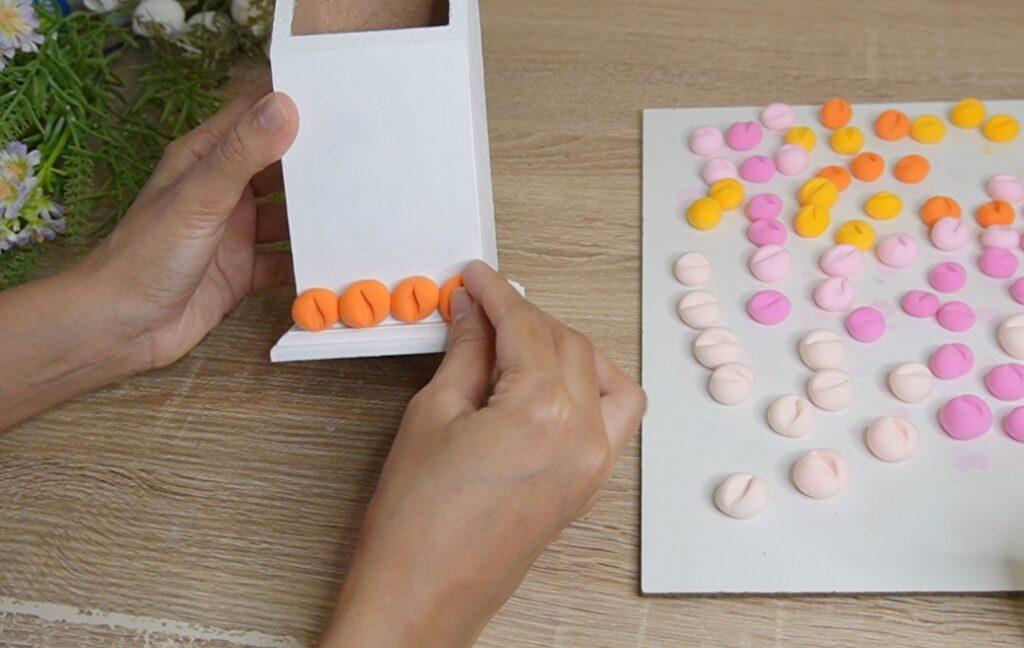
Glue the first 4 orange clay pieces onto the holder and this will complete the first row.
Step 6
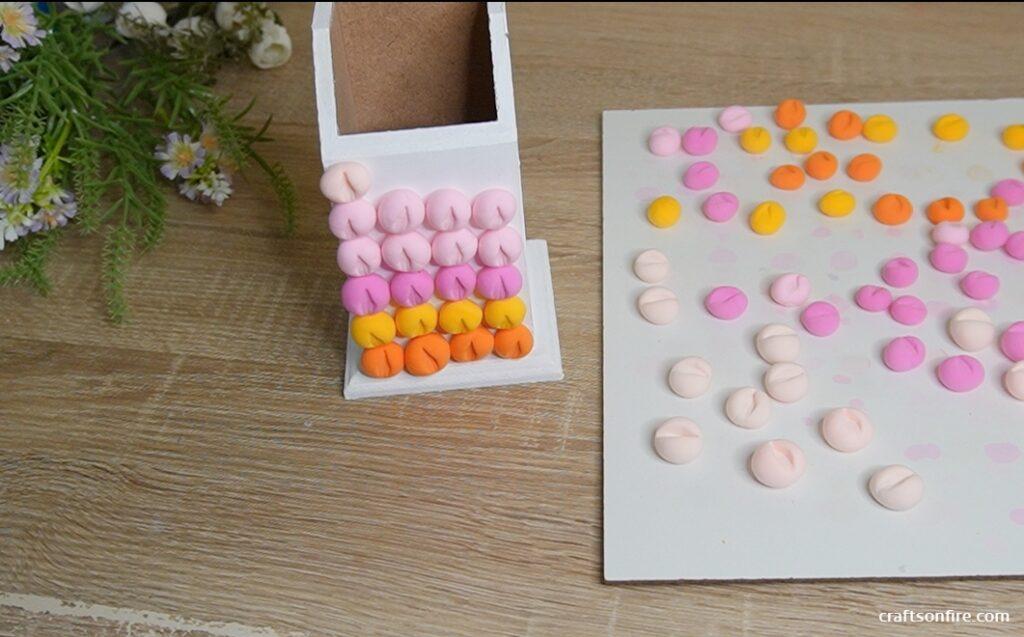
I’ve chosen to go with this color arrangement but you can do it any way you like. Continue gluing the pieces until you reach the very top of the holder.
Step 7
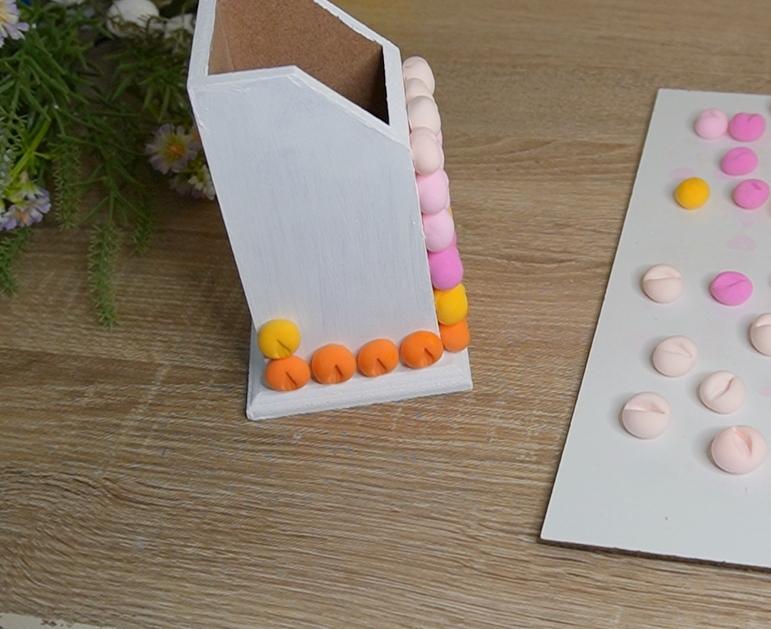
Once the front of the holder is done, proceed to glue the pieces to the sides of the holder following the same pattern as we have done before.
I noticed that at the top of my holder, I had to reduce the number of pieces since it got narrower.
If you’re using a similar holder, play around with the arrangement to find the one that suits your holder best.
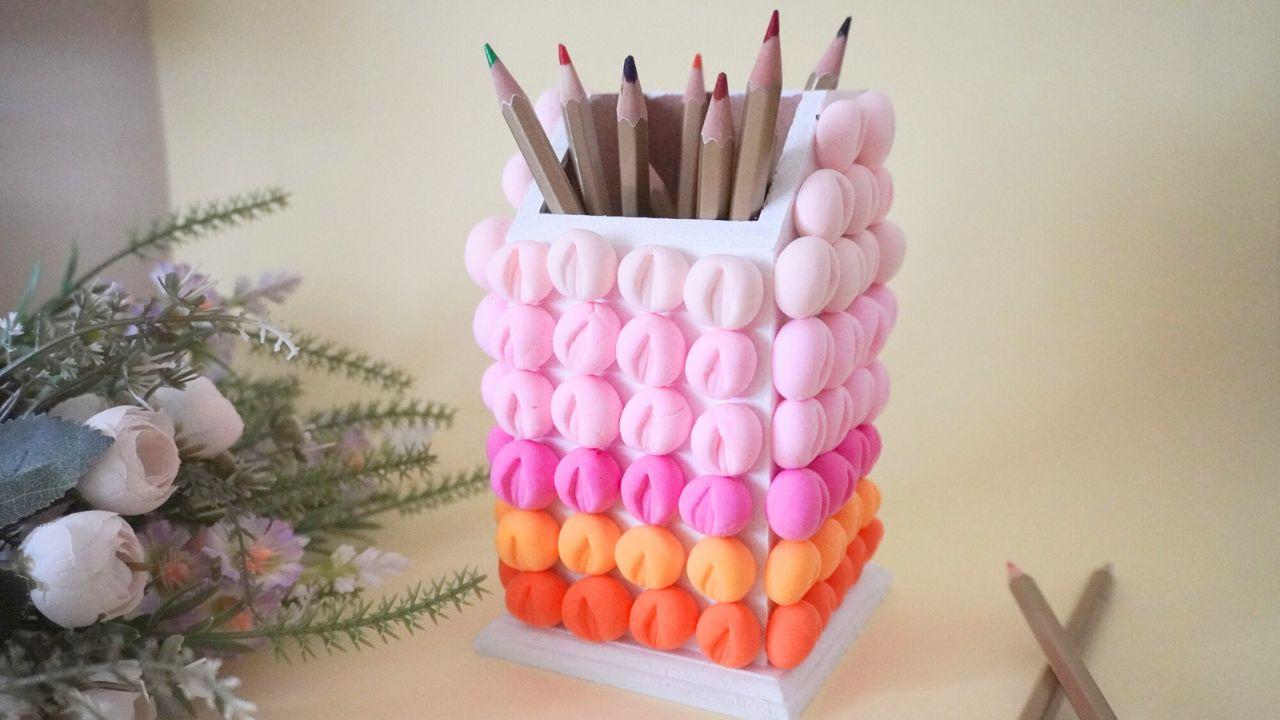
Final Result
Here’s how my DIY holder turned out:
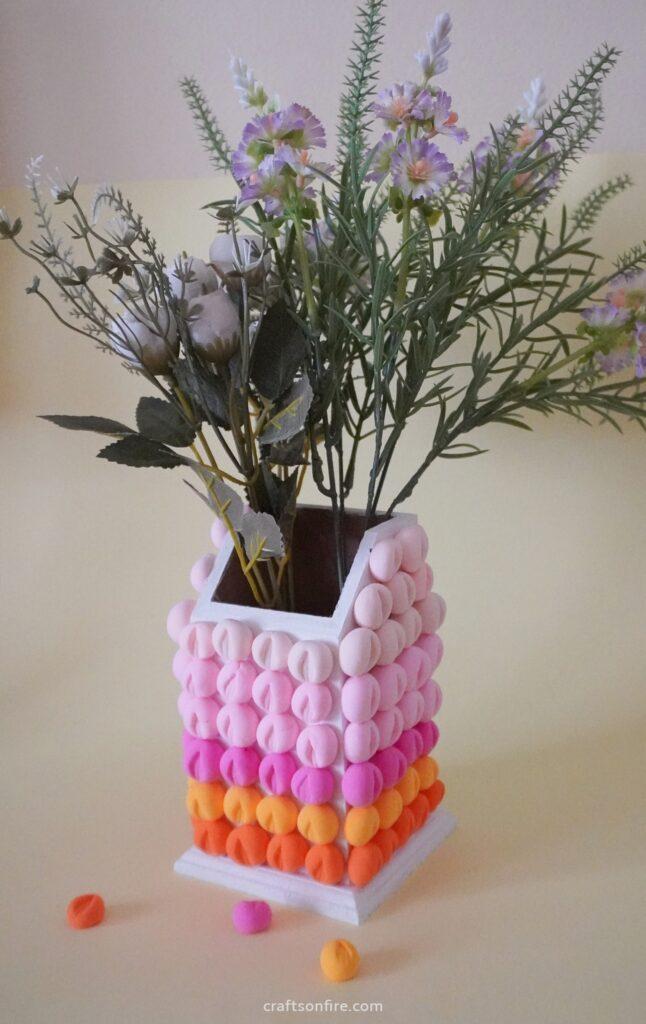
I honestly am truly happy with this piece. It’s exactly what I had in mind and I can’t wait to use it in my space.
However, one thing I’ve noticed is that this holder doesn’t necessarily need to be used as a pen holder.
As you can see, if you’re looking for a faux flower pot holder, this one works great!
FAQ
How long does it take for air-dry clay to dry?
Air-dry clay can take up to 24 – 78 hours to completely dry. It will depend on certain conditions such as brand, quality, and humidity.
How to make air-dry clay shiny?
Mod Podge, acrylic glaze, or a high gloss varnish are a few safe and easy ways to make air-dry clay shine.
And if you love this whole concept of colorful accessories, I recommend trying out my other tutorial: How To Make A Pom Pom Coaster.