How To Sew A Patchwork Envelope Pillow
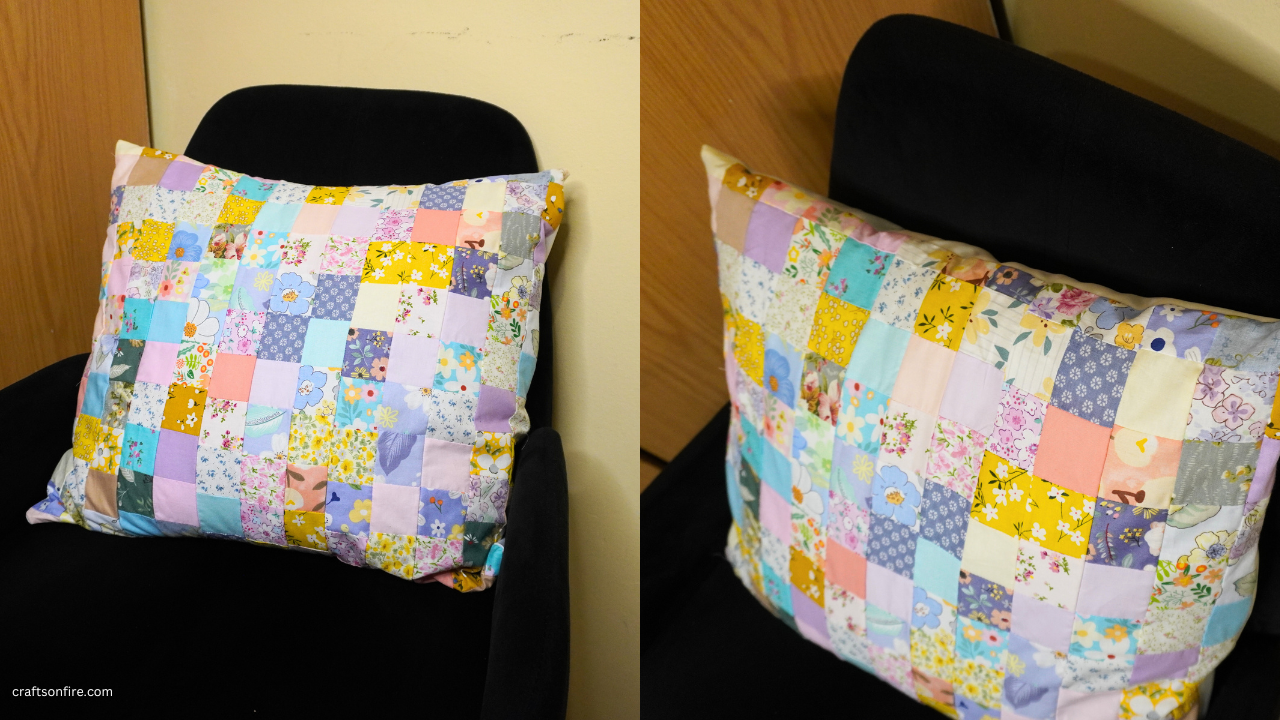
This quick and simple sewing guide will teach you how to sew a beautiful patchwork envelope pillow for your home in just a few minutes.
If you’re yearning to be crafty and sew something new and original, this tutorial is just what you need!
I’m sure you’ve already seen a few patchwork pillows like this on the internet but I’ve put together this sewing guide to help you sew one in any size.
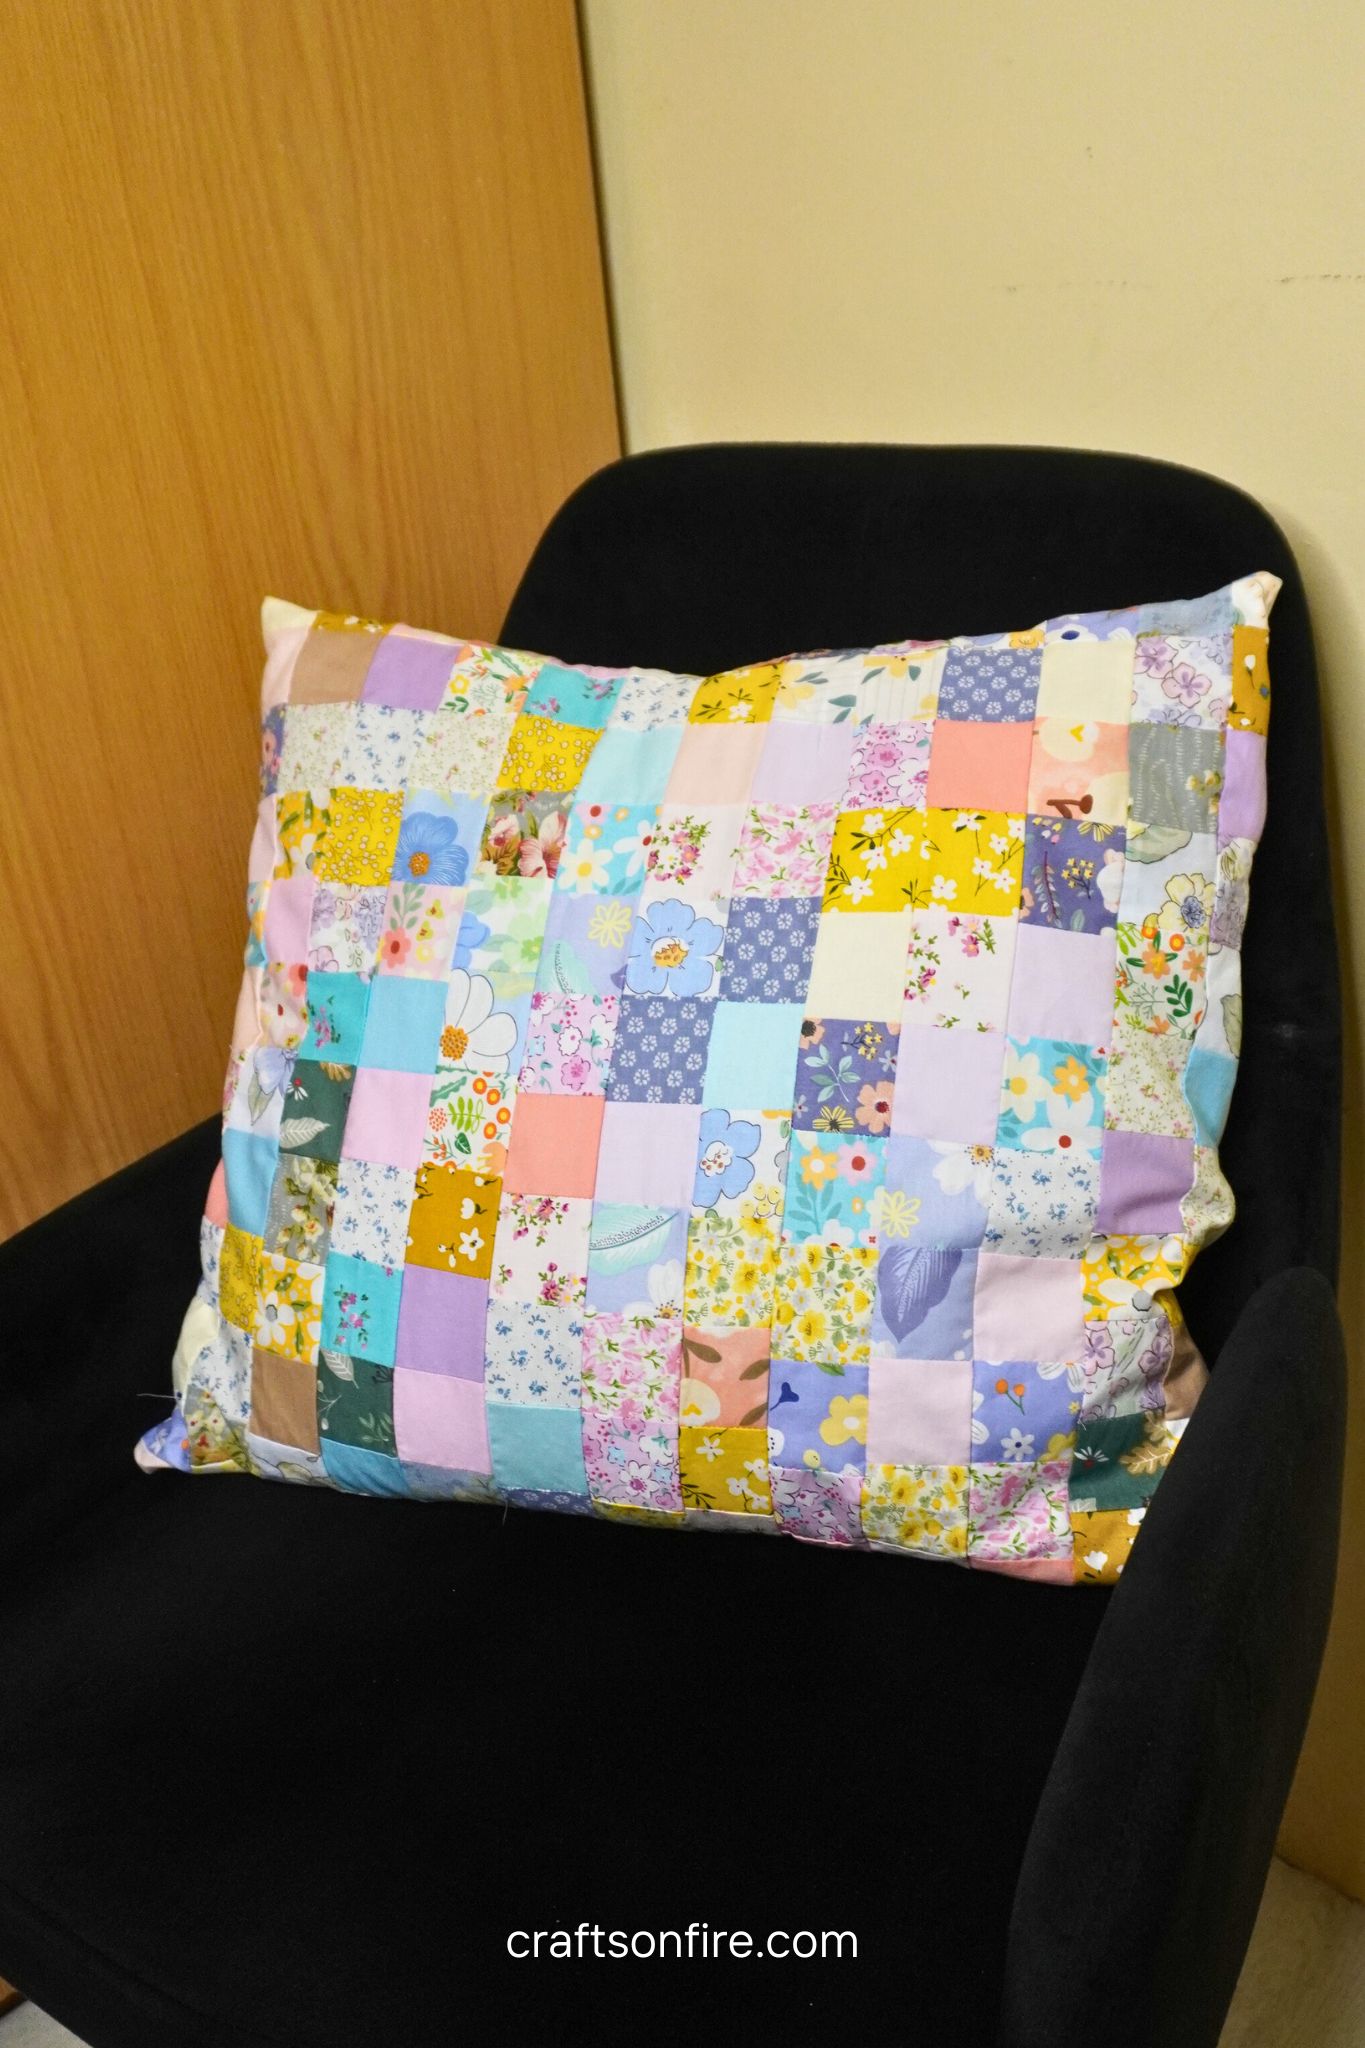
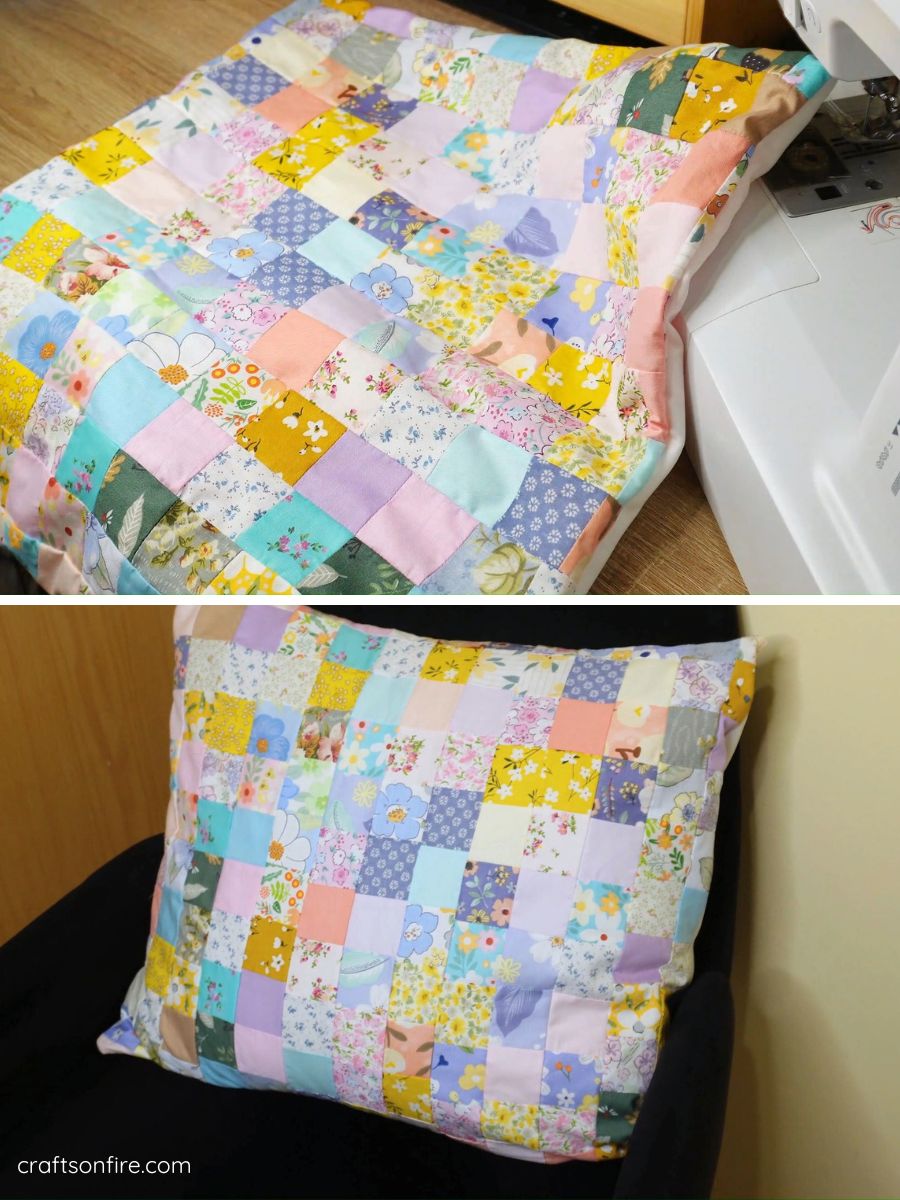
I was beyond thrilled with how my pillow case turned out once I finished sewing it!
The mismatched patterns and colors are truly worth admiring.
It’s a wonderful way to create something new from the unexpected.
If you’ve never sewn a pillowcase before, no worries. There are no zippers or buttons, which is why envelope pillowcases are so awesome!
You’ll have no issue putting this project together.
Without further ado, let’s dive straight into the tutorial!
Table of Contents
Patchwork Envelope Pillow Tutorial
Supplies & Tools
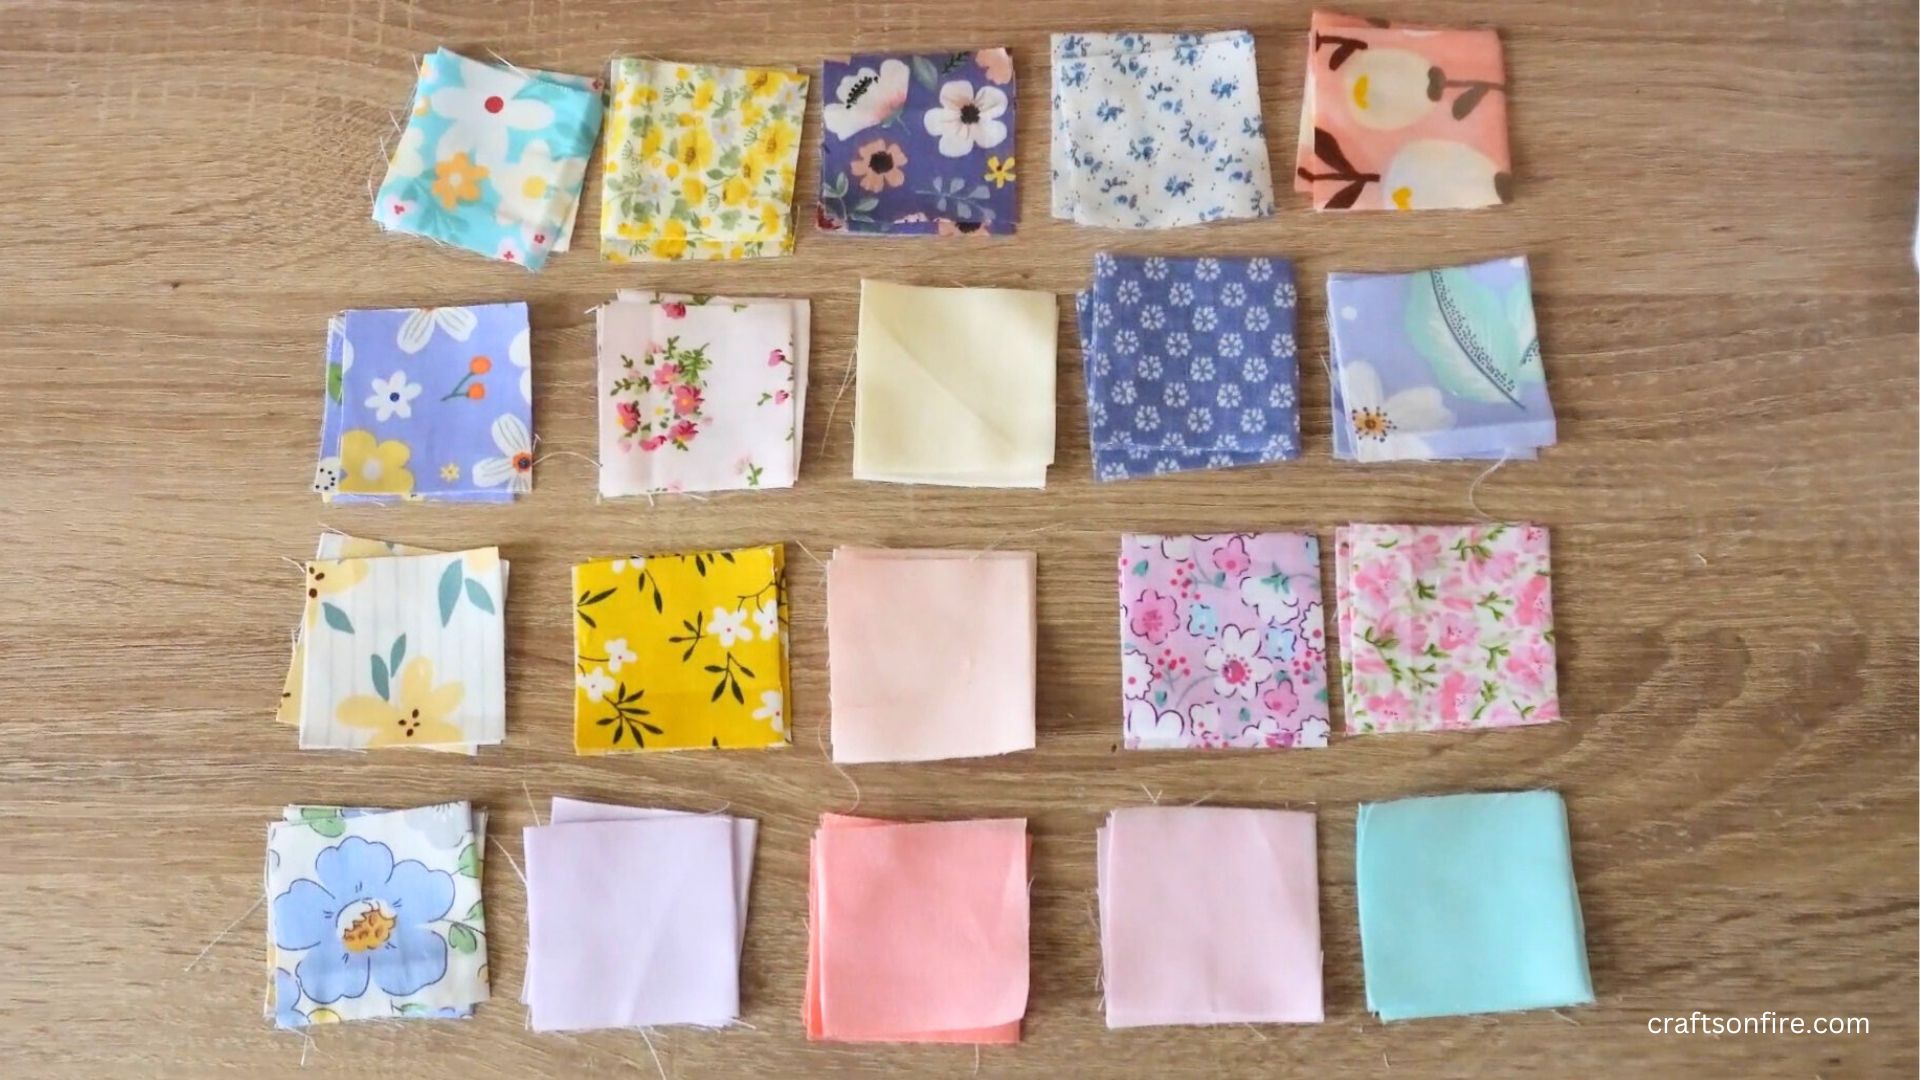
- Fabric Squares (5 cm x 5 cm) 1.96 inches x 1.96 inches
- White Fabric (Piece 1 – 48 cm x 30 cm. Piece 2 – 51 cm x 40 cm)
- Sewing Machine
- Scissors
- Pins
The final measurement for this pillow cover is 51 cm x 46 cm (20.07 inches x 18.11 inches).
Video Guide
Instructions
Step 1: Create The Patchwork Strips
Take two fabric squares and place them together with the right sides facing in. Stitch these two pieces together with a 0.5 cm seam allowance.
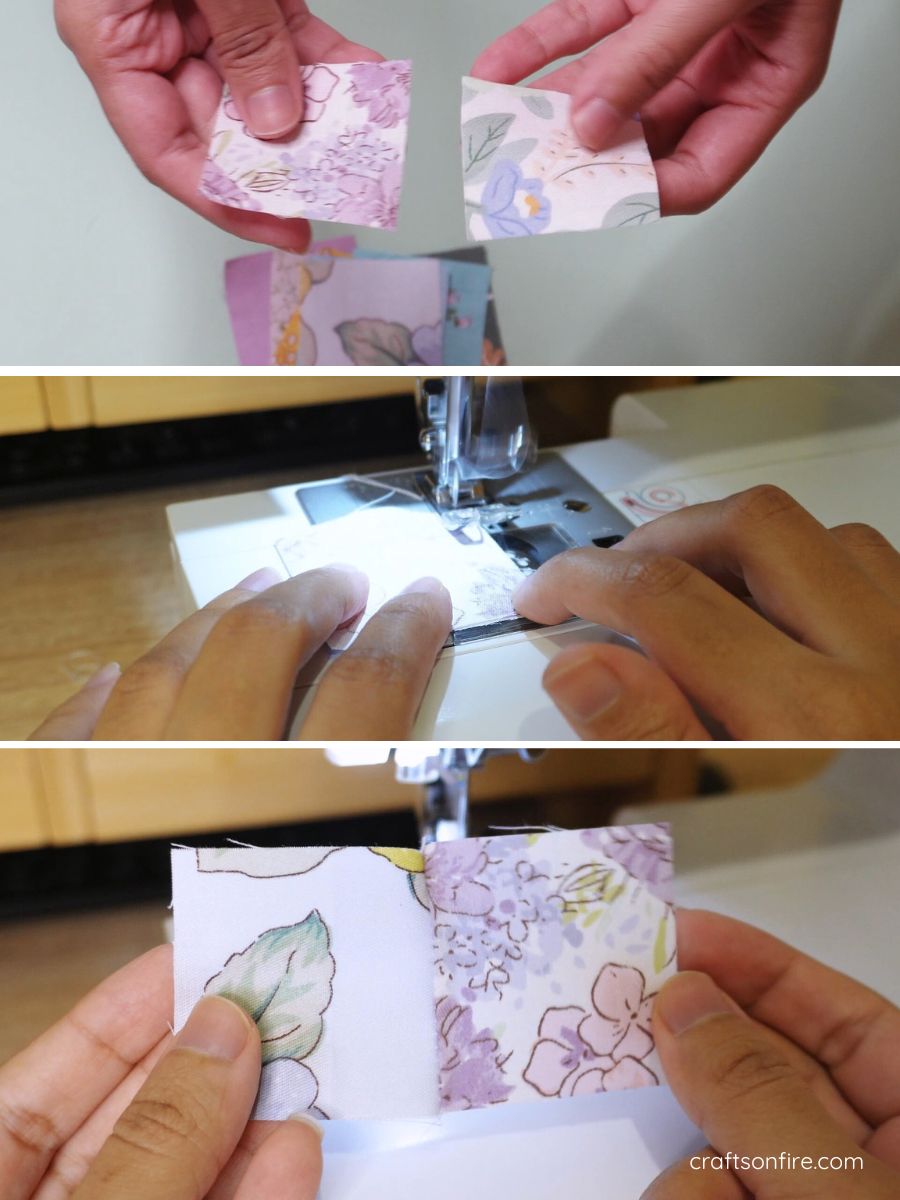
Step 2: Sew The Pieces
Open the piece to the right side, then place another square on the first piece with the right sides facing inward.
Stitch the two pieces together, and continue attaching squares until you’ve completed the first strip.
You should have 12 squares for each strip in total for a pillowcase of this size.
Please note: For a custom size, first measure your pillow insert. Then, calculate how many strips you’ll need for the correct size while leaving extra width for the seam allowance and any necessary adjustments.
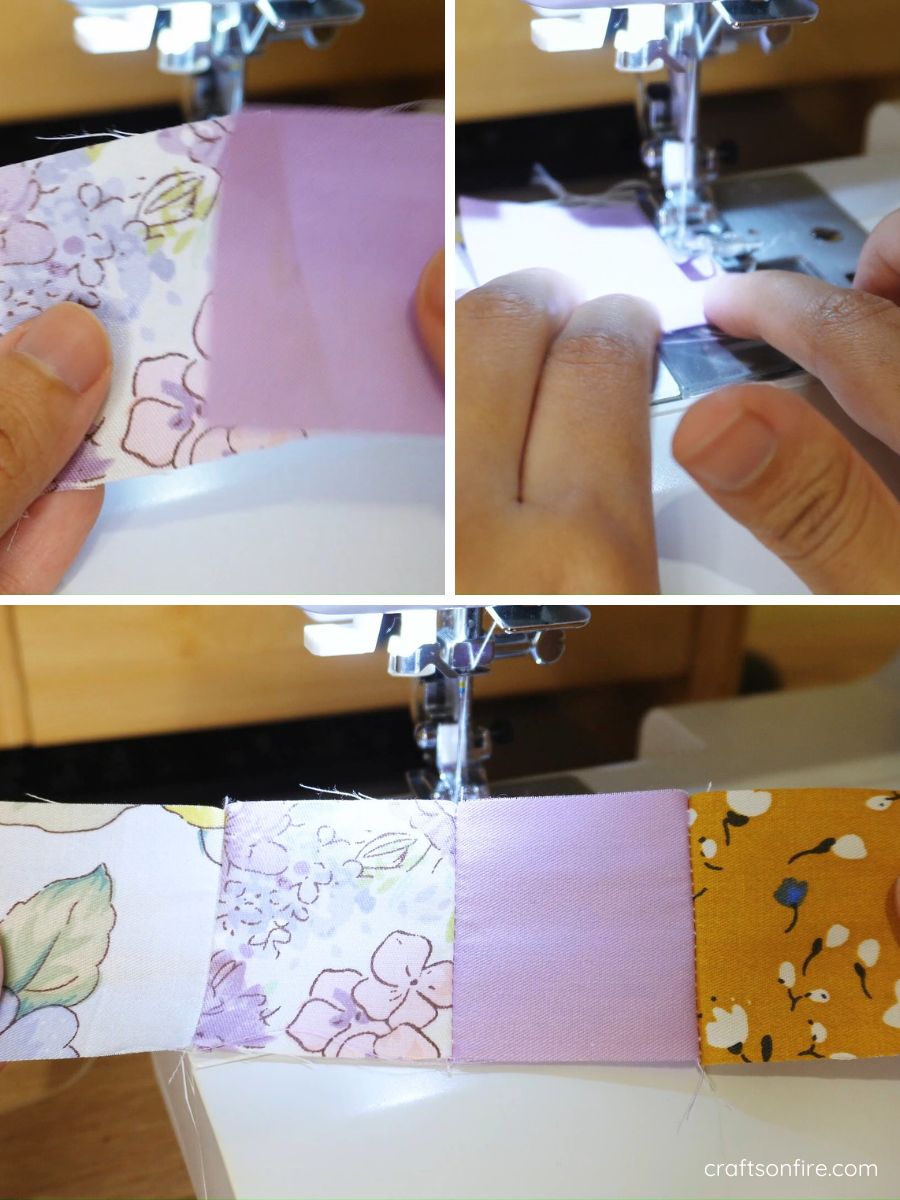
Step 3: Sew The Strips
Once all your squares and strips are complete, it’s time to join the strips together.
Take two strips and place them with the right sides facing inward.
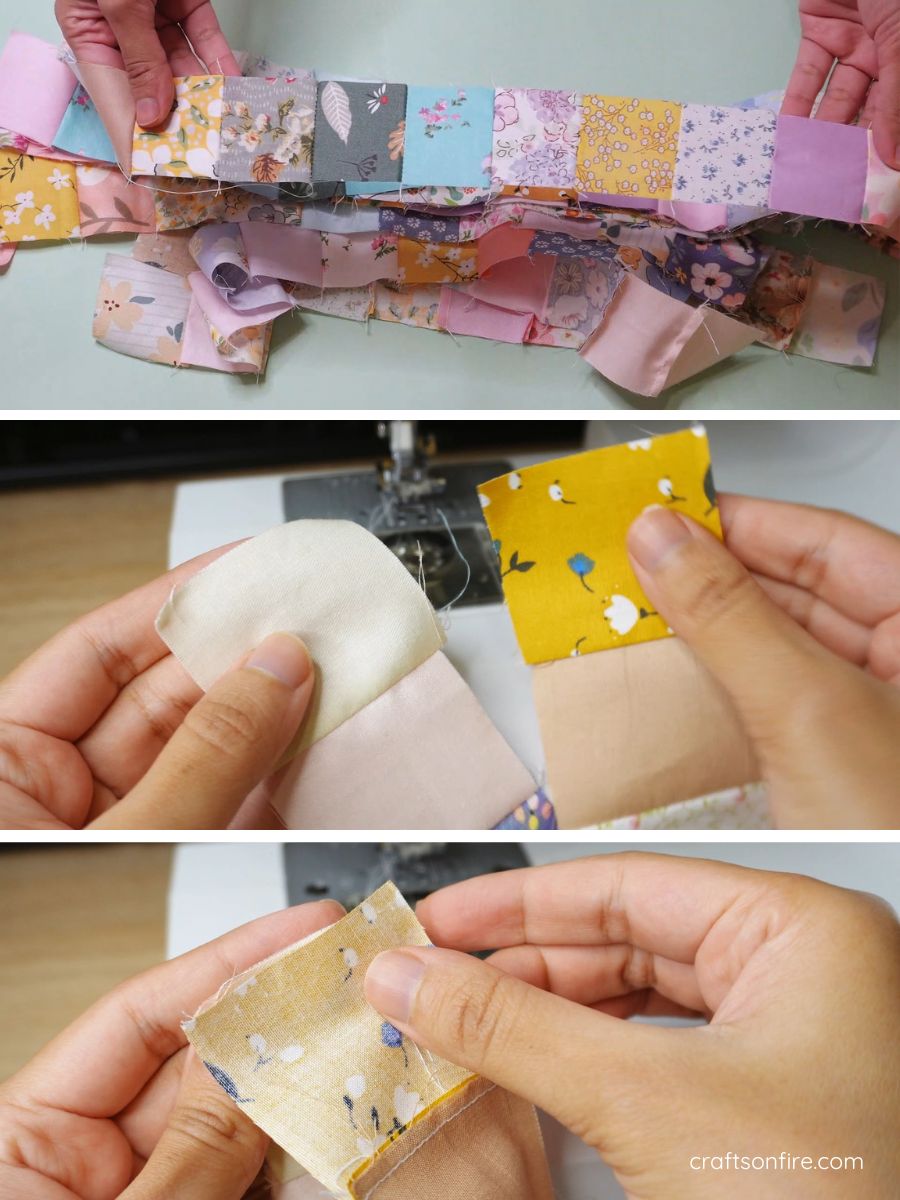
Step 4
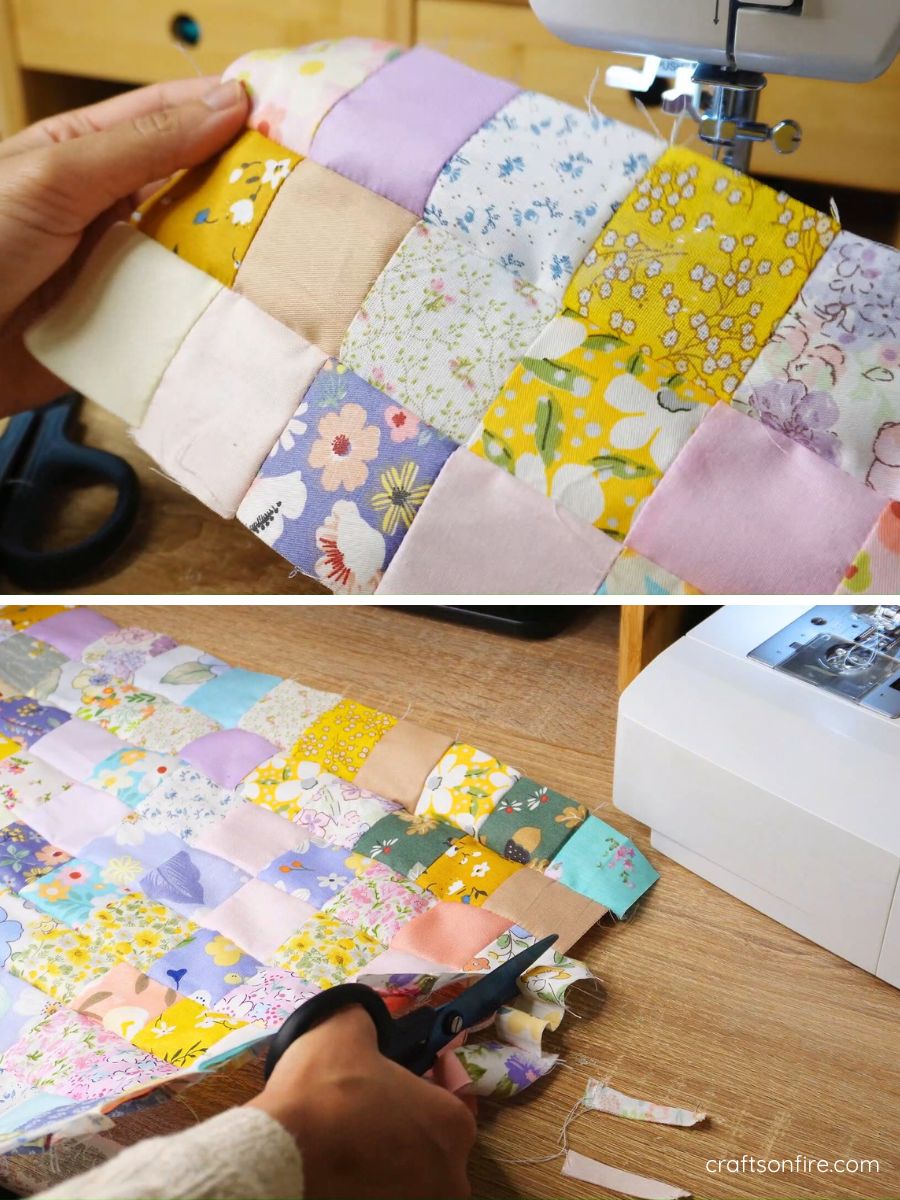
Go to the sewing machine and stitch the strips with a 0.5 cm seam allowance. Continue stitching all the strips until they are all joined to create a beautiful patchwork piece.
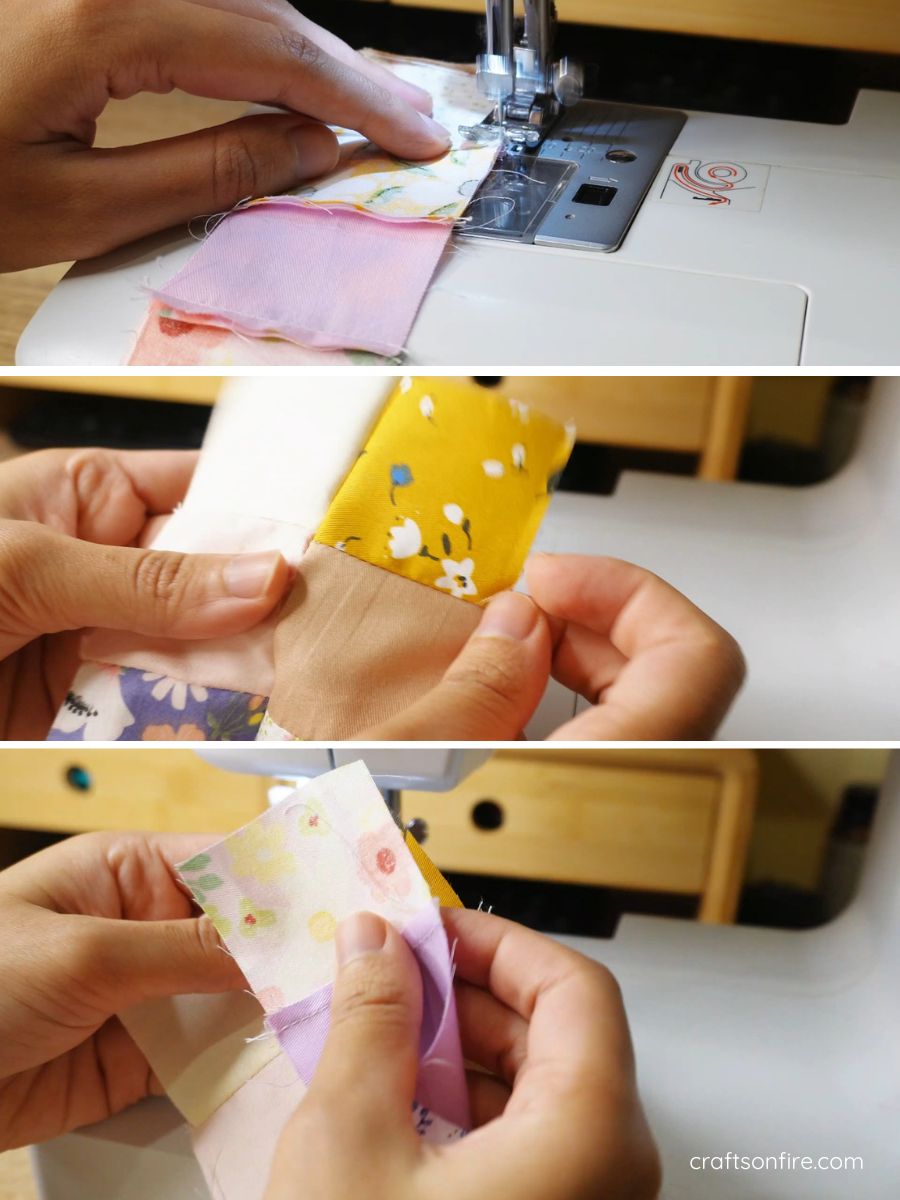
Step 5: Trim The Fabric
Trim off the excess fabric from the uneven sides.
Step 6: Fold The White Fabric Edge
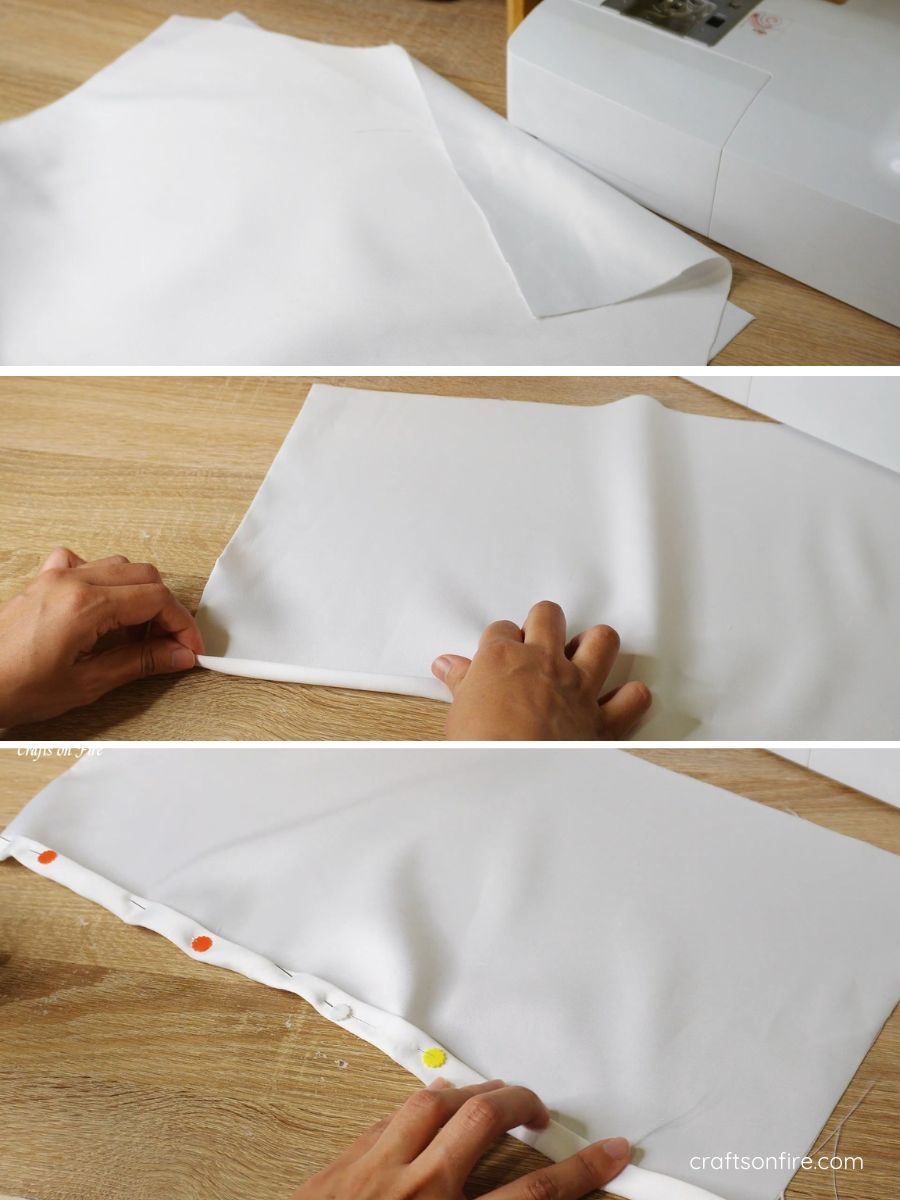
Next, cut two pieces of fabric for the envelope side, ensuring one piece is larger than the other.
- Piece 1 – 48 cm x 30 cm (18.89 inches x 11.81 inches)
- Piece 2 – 51 cm x 40 cm (20.07 inches x 15.74 inches)
Turn the fabric to the wrong side, fold the edge twice, and pin it in place. Repeat this step for the second piece.
Step 7: Sew The Edges
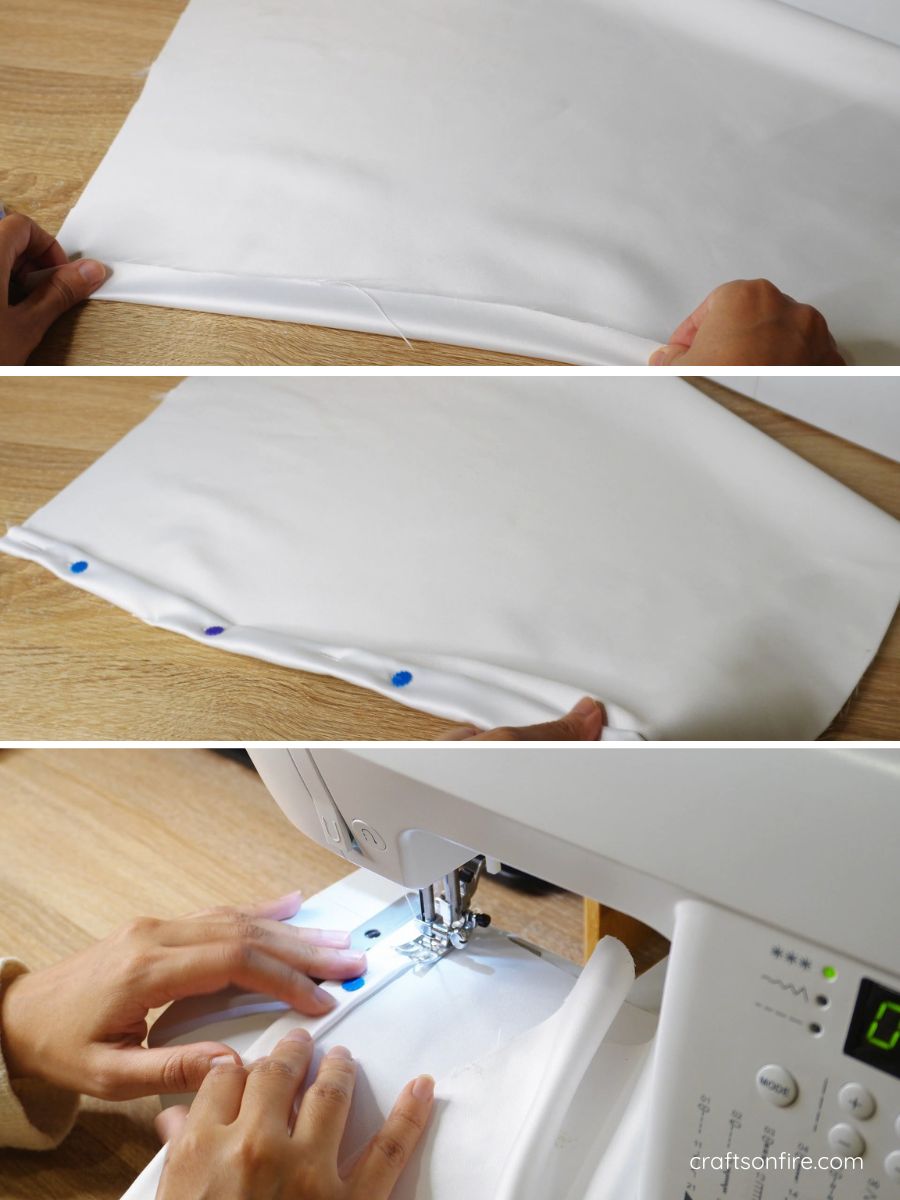
Go to the sewing machine and sew along the fold of both pieces using a straight stitch.
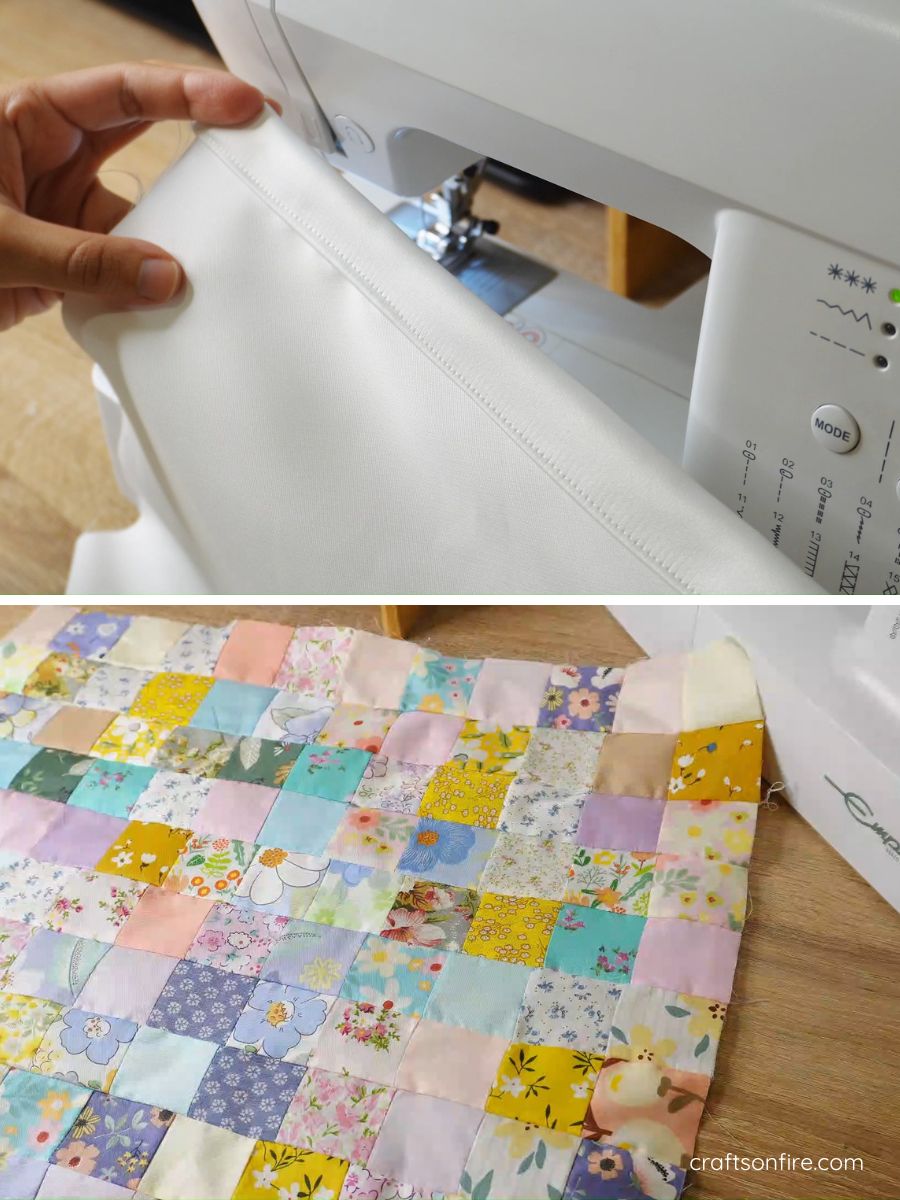
For a neater finish, you can add a lining fabric piece to your patchwork. It should be the same size as the patchwork piece.
Place the lining fabric underneath the patchwork before moving on to the next step.
Step 9: Pin The White Fabric To the Patchwork Piece
Place the first white fabric piece on top of the patchwork piece, aligning the edges. Pin the top and sides of the fabric together.
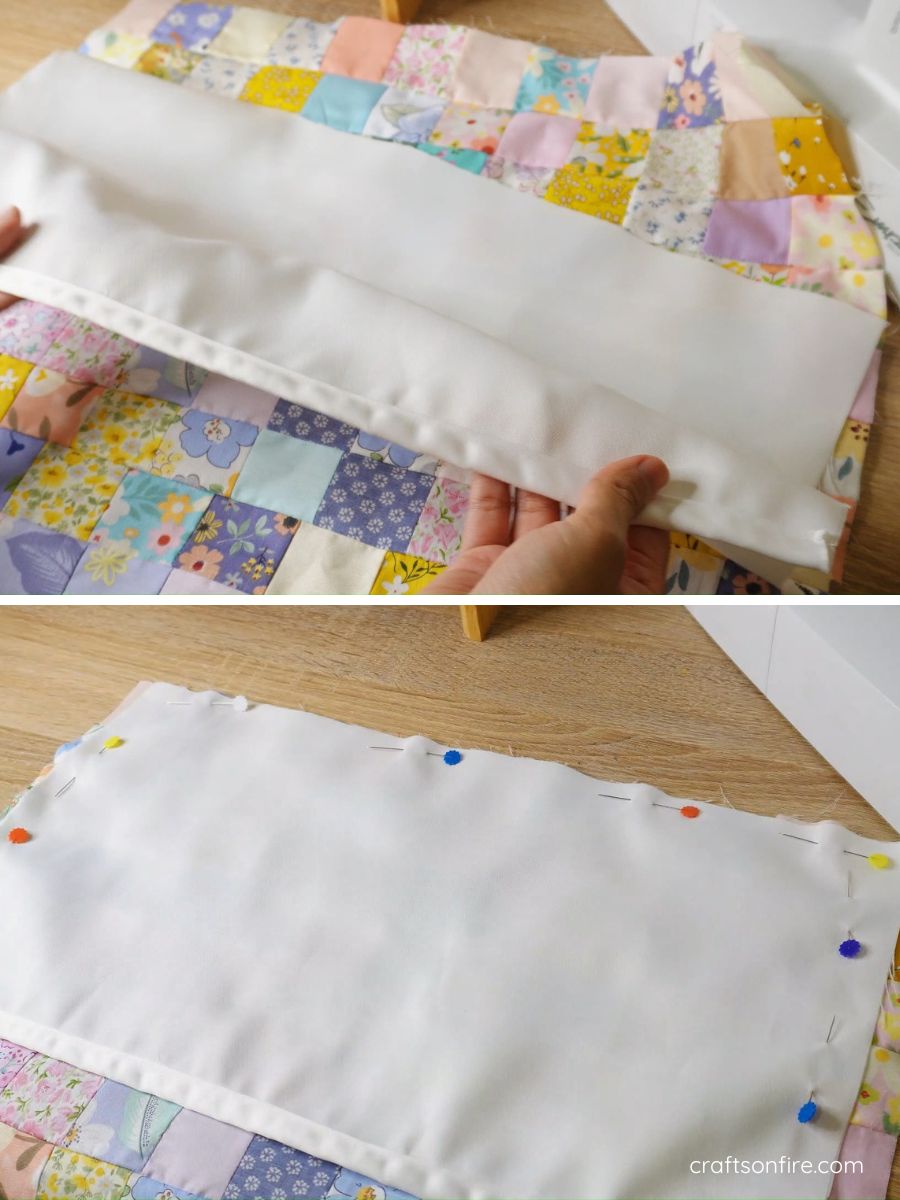
Step 10: Place The Second Piece & Sew
Lift the first piece and place the second envelope fabric piece underneath it, ensuring the right sides are facing inward.
Pin the sides and bottom of the fabric, then stitch around the entire piece to secure it.
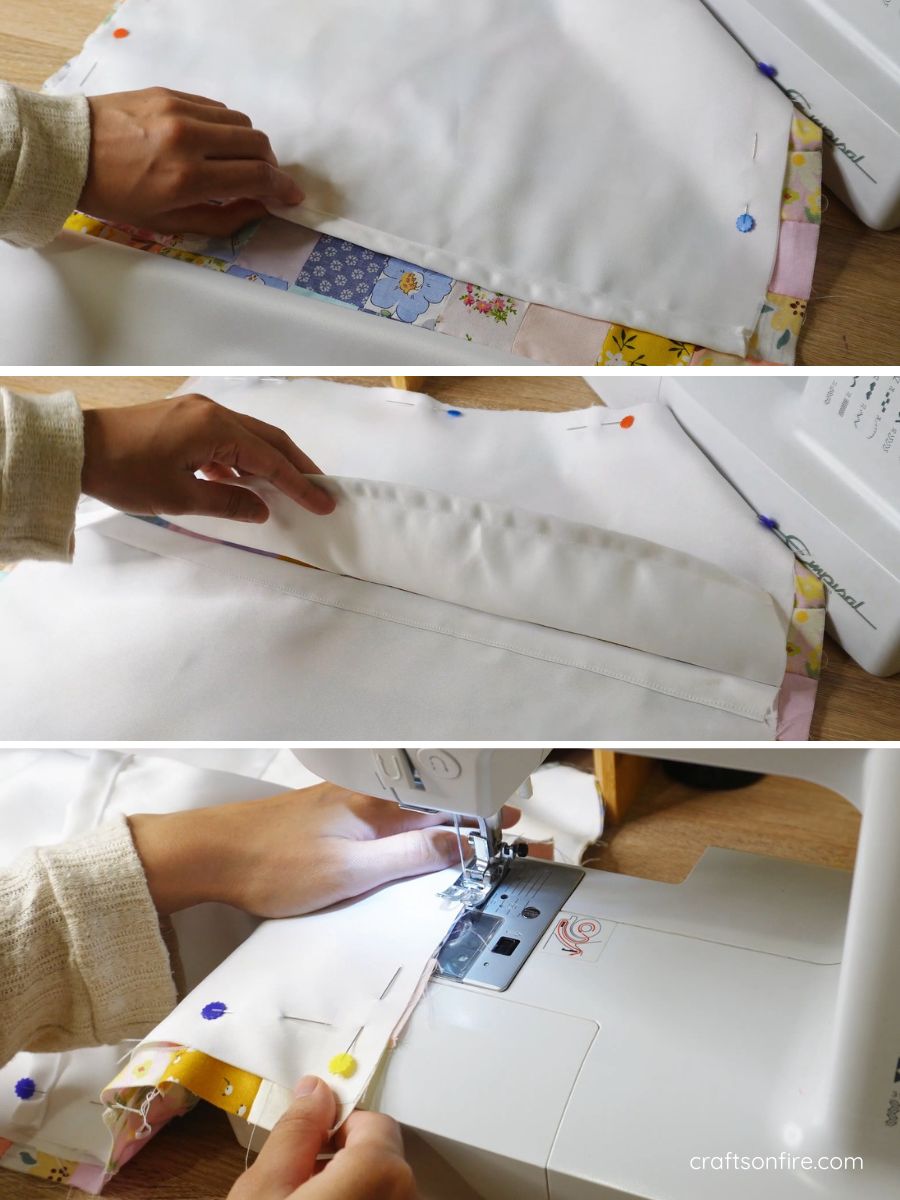
Step 11
Here’s what the piece looks like after stitching:
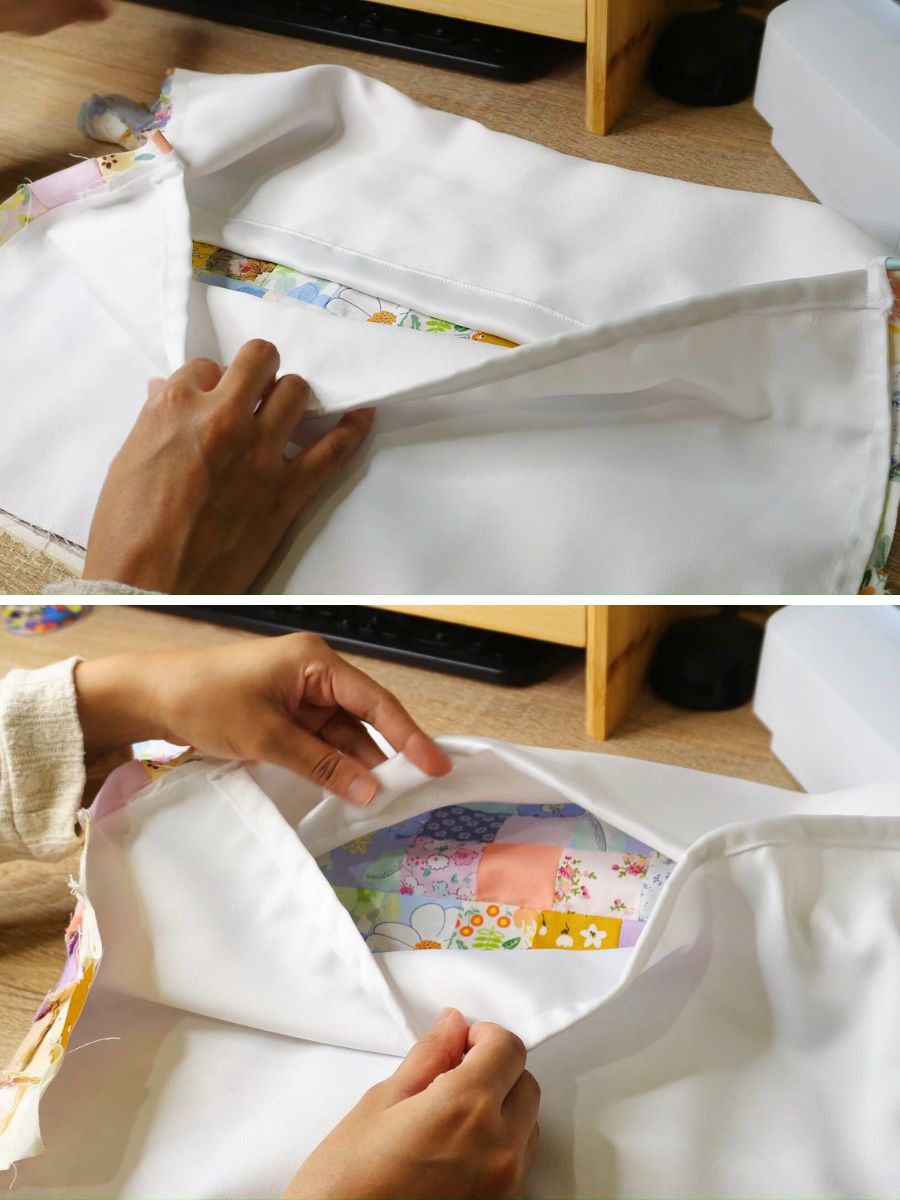
As you can see, the opening has been created.
Step 12: Trim Sides & Turn Inside Out
Trim any excess fabric from the sides, then head to the sewing machine to overlock the edges with a zigzag stitch.
Next, turn the fabric right side out and carefully open the corners using your hand or a pen.
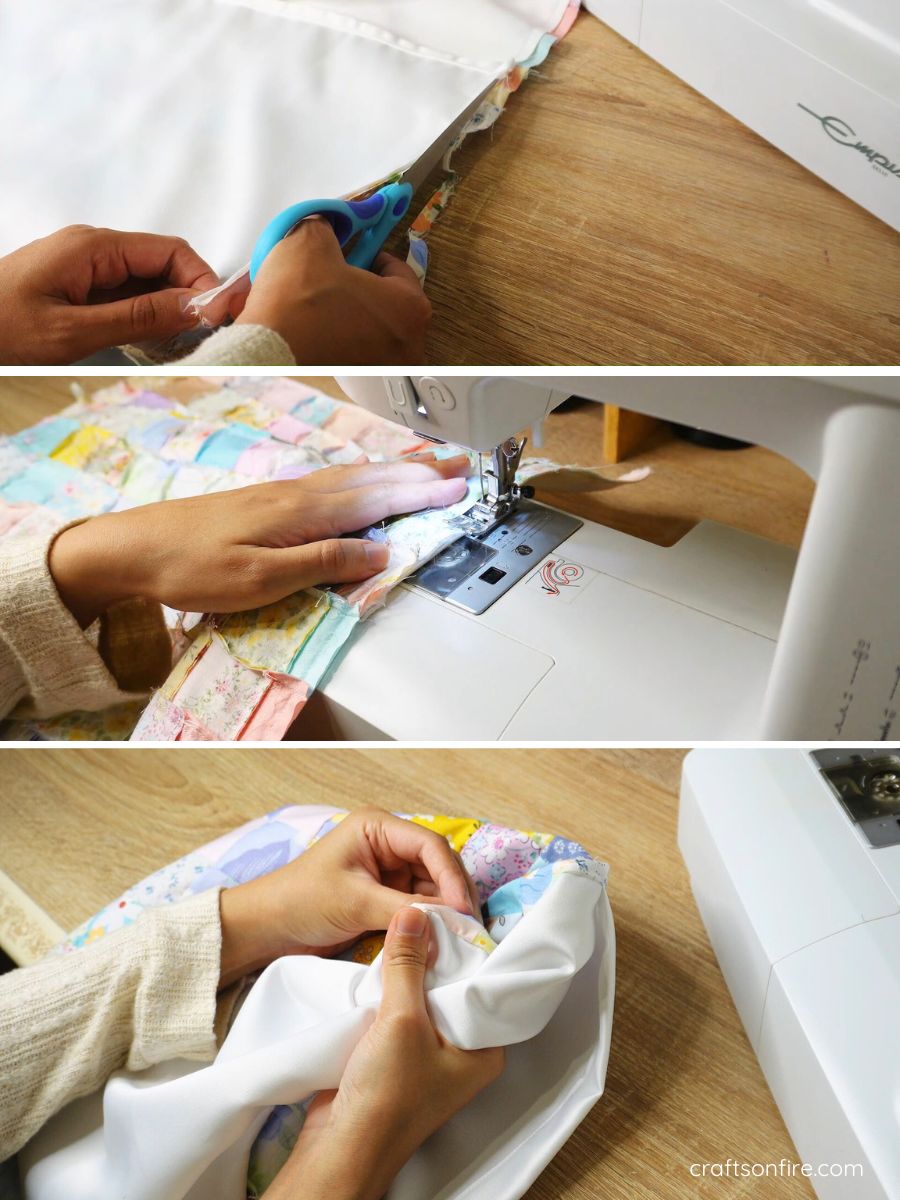
My fabric was quite creased so I gave it a light press with the iron before inserting the cushion.
When the pillow cover is ready, grab your insert and slide it through the opening at the back and you’re done.
Closing Thoughts
So, what do you think? Are you ready to create your patchwork pillowcase? I sure hope your answer is an absolute YES!
However, I must warn you: this project can be quite time-consuming. That said, it’s also incredibly addictive, satisfying, and enjoyable—especially as you join each small fabric square together.
This might take you a while but I still think it’s worth every minute of sewing.
If you need a fun weekend project to relax and stitch your stress away, you’ll love this one.
In the end, you’ll have a beautiful patchwork pillow to showcase in your home.
It doesn’t get better than that!
You’ll also feel so proud to show off your latest creation.
So, what are you waiting for? Grab those scraps of fabric and start stitching!
See you at the next sewing guide!
More Patchwork Sewing Projects
Patchwork Hot Pad Sewing Tutorial
How To Sew A Patchwork Basket (Detailed Tutorial)
