DIY Patchwork Folded Coaster (Sewing tutorial)

Make the cutest fabric folded coasters with this easy and simple sewing tutorial. I’ve put together a full sewing guide that will show you how to sew them using fabric squares.
I previously sewed these coasters in a different design and they turned out just as good. This time, we’ll be sewing them in a cross/triangle shape, and it’s so easy to put together.
If you love sewing your own fabric coasters to add a charming personal detail to your space, I think you’re going to love these patchwork coasters.
It can be simple or fancy, depending on the patterned fabric you choose. You could also create beautiful color combinations! Anything goes.
This sewing project should take you 5-10 minutes or less to complete.
It is a fast sewing project; however, by the time you’ve completed your first patchwork folded coaster, you’ll want to make tons of them.
So, first read over the guide, and then join me as I walk you through each step.
Let’s begin.
Finished coaster size: 9 cm x 9 cm / 3.54″ x 3.54″
Folded Coaster Tutorial
Supplies
- Patterned Cotton Fabric – 10 cm x 10 cm / 3.94″ x 3.94″ (5 Pieces)
- Fusible Interfacing – 10 cm x 10 cm / 3.94″ x 3.94″ (1 Piece)
- Sewing Machine
- Pins
- Scissors
If you want a high-quality, AD-FREE version of this sewing guide with step-by-step instructions included under each picture, you can find the printable PDF guide over here!
Instructions

Step 01. Start by pressing the outer patterned fabric onto the fusible interfacing, then cut the interfacing to match the size of the fabric square.
Step 02 – 03. Set this piece aside for now.
Step 04. Grab your second fabric square.
Step 05. Turn the fabric over to the wrong side and fold the fabric into a triangle as shown above. The patterned side should be facing up now.
Step 06. Repeat the previous step until you have a total of four pieces.

Step 07. Position your first folded piece on one side of the patterned square, as illustrated above. (Folded edges must face inwards)
Step 08. Place the second piece adjacent to the first. Then, place the third folded piece on top of the first two, aligning it on one side.
Step 09 – 10. Lift one side of the purple piece and place the third piece on the inside. Then, drop the purple piece over that.
Step 11. This is what it should look like so far.
Step 12 – 13. Place the final folded piece on the bottom corner. Next, lift the brown fabric piece up and then place the one side of the white piece under it.

Step 14. Arrange and set the top pieces.
Step 15. It should look like this.
Step 16. Pin the fabric together to keep it in place.
Step 17. Here’s what the other side should look like.
Step 18. Head to the sewing machine and sew all 4 sides together.

Step 19 – 20. After stitching, open the top layers in the center and fold the fabric over to the other side.
Step 21 – 23. Repeat for each corner, and then use a pointed tool to open out each corner through the gap in the middle of the coaster.
Step 24. Adjust the front layers.

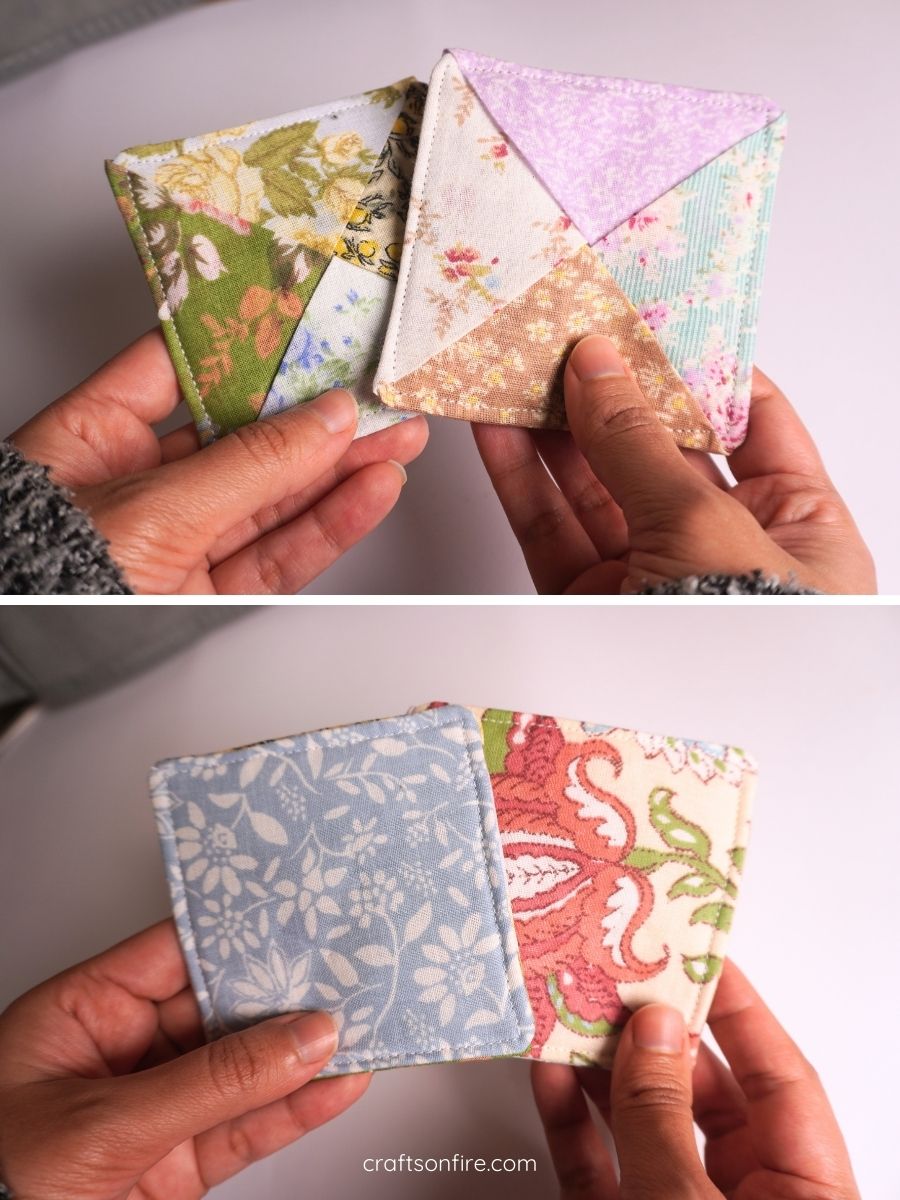
26. Here’s the reverse side of the coaster.
27. Go ahead and give the coaster a quick press with the iron. The gap should close once you’ve ironed it.
28. Finally, add a topstitch to the coaster and you’re done.

Final Thoughts
These patchwork folded coasters were super easy to sew, right? I love how they turned out, and I’ve already made a few. It’s a small project you can do, and it’s a great way to use fabric scraps.
These folded coasters are also suitable for display on their own. It’s that cute!

Okay, with that said, I’ll leave you to it.
I do hope you plan to sew these coasters if you haven’t already. You can also check out the other folded coaster design to make and add to your collection.
If you have questions or tips, feel free to drop them in the comments below!

More Sewing Tutorials To Try Next: