Easy Patchwork Book Cover Tutorial
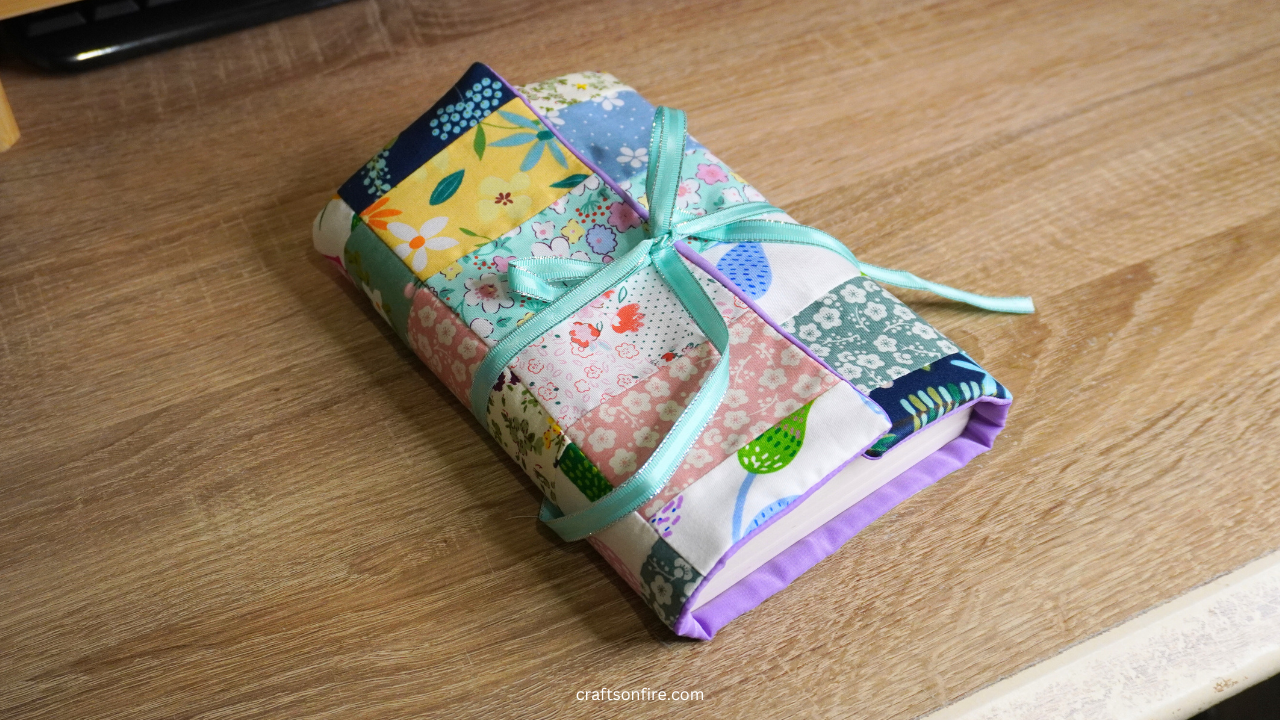
I’m back with another fun and easy sewing tutorial for all my fellow book lovers! This patchwork book cover is wonderful if you want to protect your books while you’re out and about.
The pretty floral patterned fabrics paired with a rich purple lining creates an interesting and modern combination, making this an ideal protector for your favorite books.
Pop this cover into your tote bag or carry it in your arms and you’ll never have to worry about your paperback getting damaged again.
To use this book cover, simply place your book inside, fold the ends together, and use a tie-up to close the cover.
You could also add a button or velcro and you’re good to go.
This book cover is ideal for normal paperbacks. The final size of this cover is around 33 cm x 21.5 cm.
If you’d prefer a larger size, add a few more inches/cm when cutting the lining and batting.
You may also use a hardback copy as the measurement to determine how much you’ll need to cut.
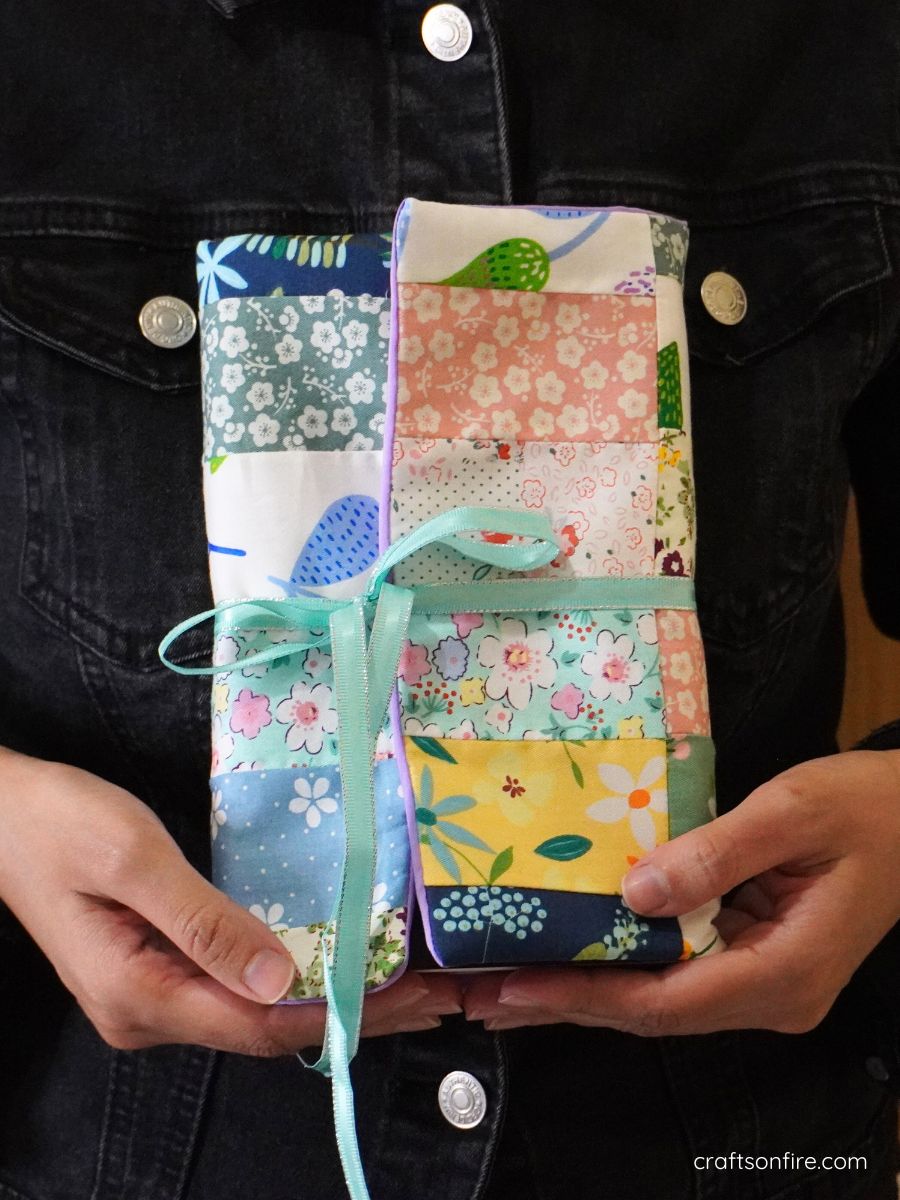
I wouldn’t say this is a difficult project at all. You can sew this book cover even if you’re a beginner.
However, this sewing project might take up a teeny bit of time.
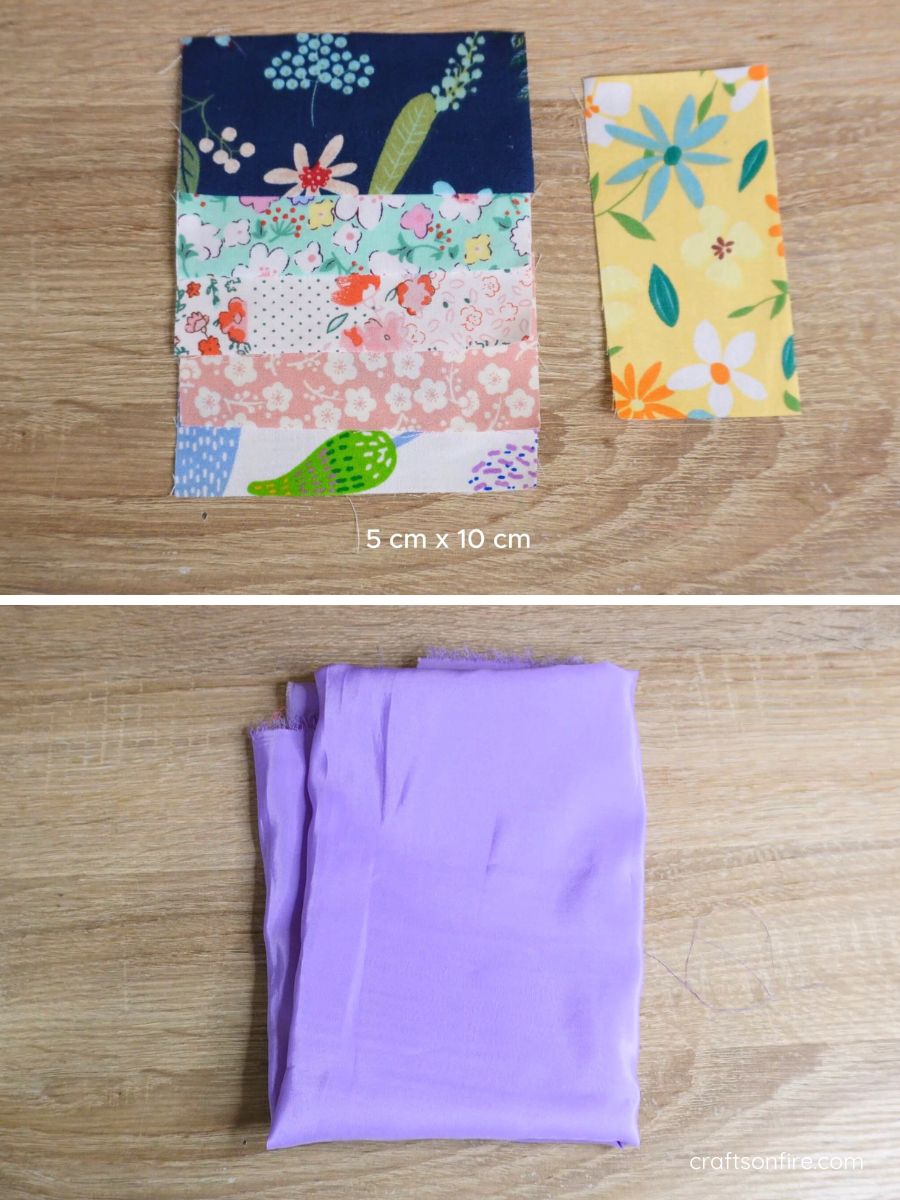
We’ll first cut all the floral fabric strips into 5 cm x 10 cm rectangles, then we’ll join each piece together to create strips. Next, we’ll sew the strips together and attach the batting and lining. Finally, we’ll sew it all together!
I’ve included all the instructions you need, making it as simple and easy to understand. Trust me, making this book cover is way easier than it looks!
Here’s what you need to do:
Table of Contents
Patchwork Book Cover Tutorial
Supplies
- Scrap Fabric (24 – 5 cm x 10 cm strips)
- Lining
- Fabric Batting
- Pins or Clips
- Sewing Machine
Video Tutorial
If you’d prefer to watch the sewing process of this patchwork book cover before you begin, here’s the video version below:
Instructions
Sew The First Strip
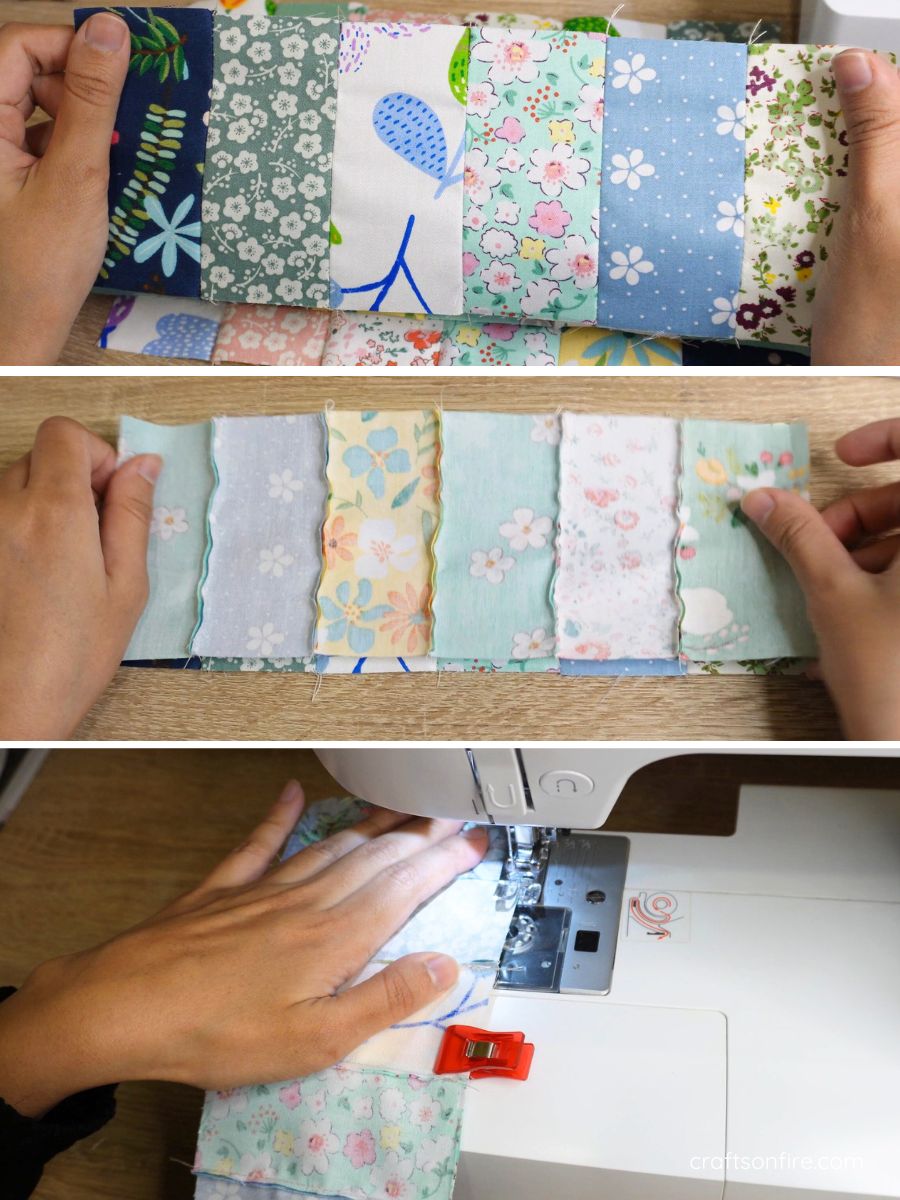
Place 2 strips together with the right side facing in and sew. Open up the joined piece, place another strip on the first piece, and sew these two pieces together.
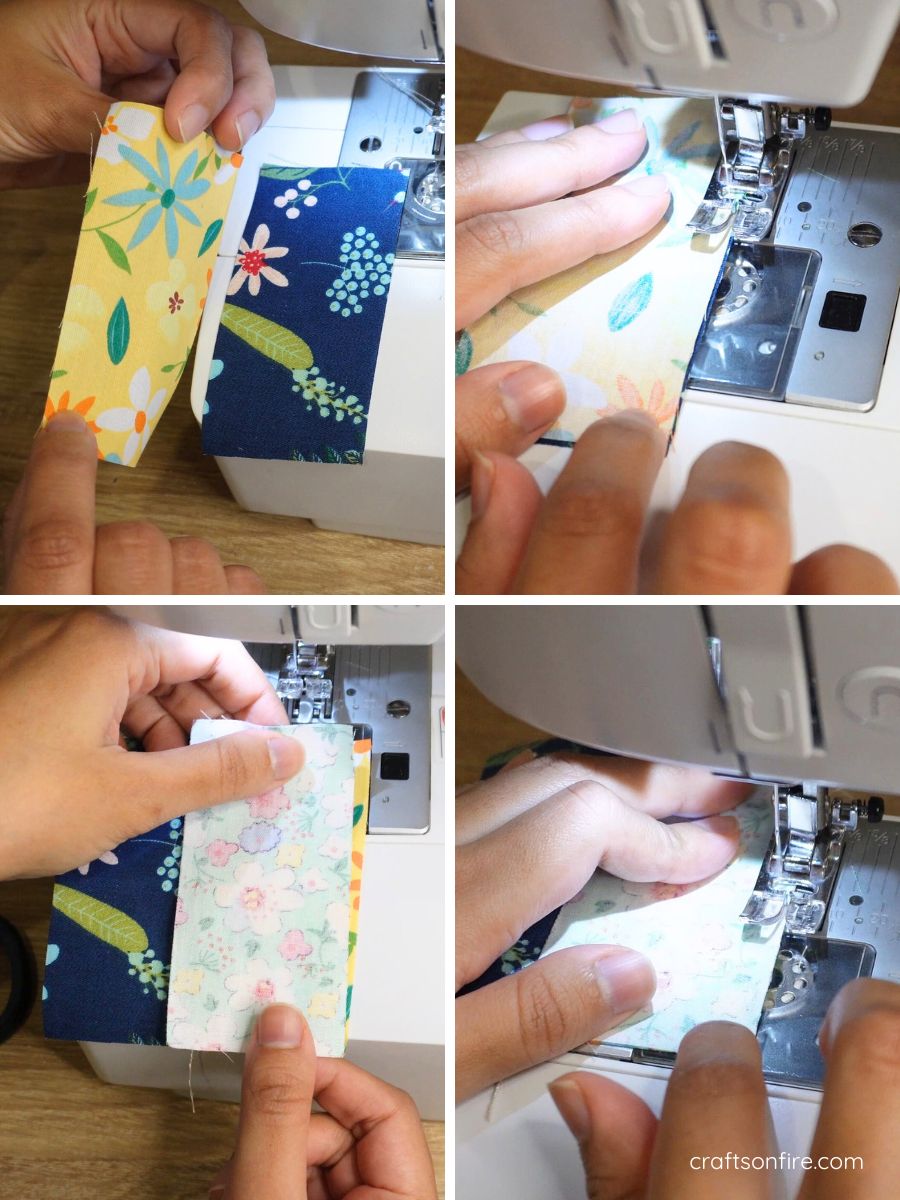
Continue sewing all 6 pieces until you have a beautiful joined strip. You’ll need to create 3 more strips like this for the first set.
Join The Strips Together
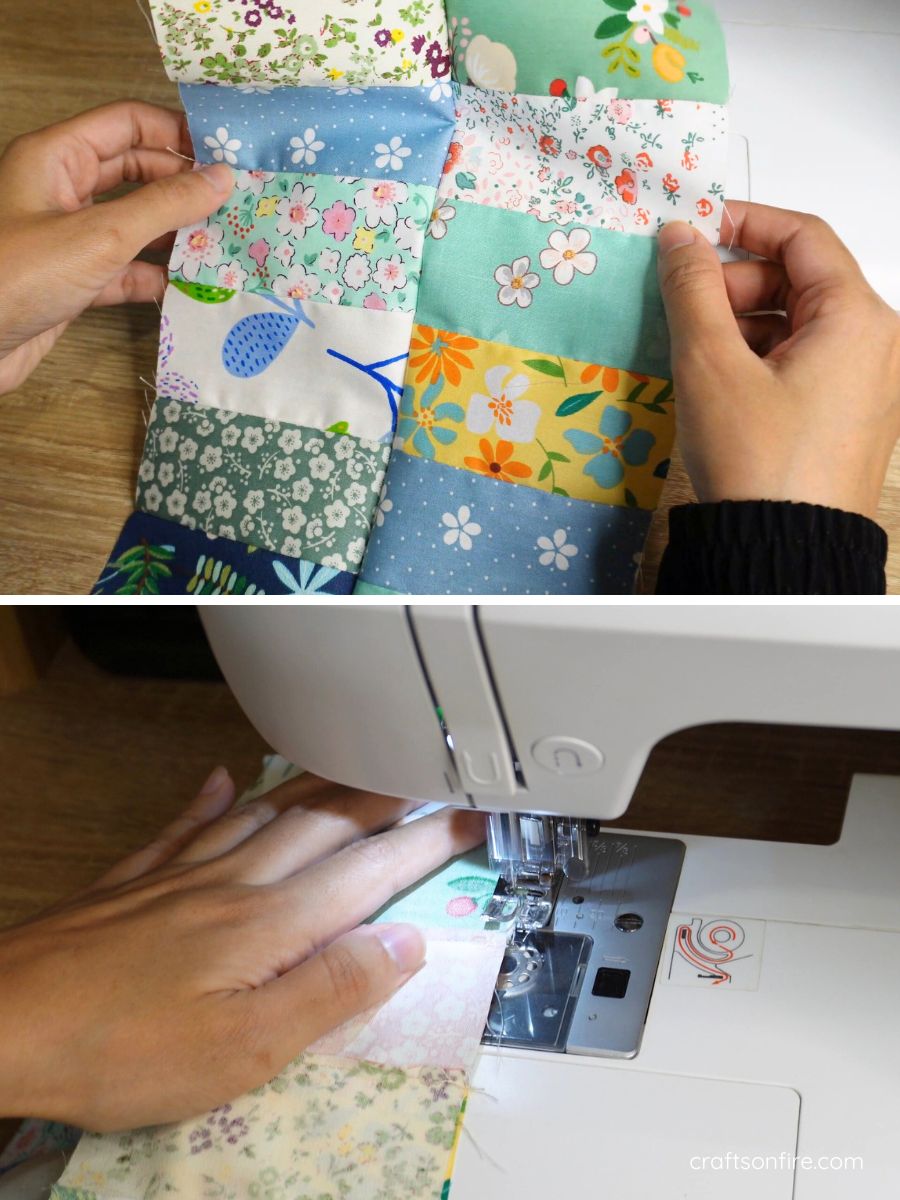
Grab two strips, place them together with right sides facing in, and sew.
Continue joining all the strips until you have a long rectangular patchwork piece. Try to keep the same seam allowance for all the strips.
Iron The Fabric & Pin
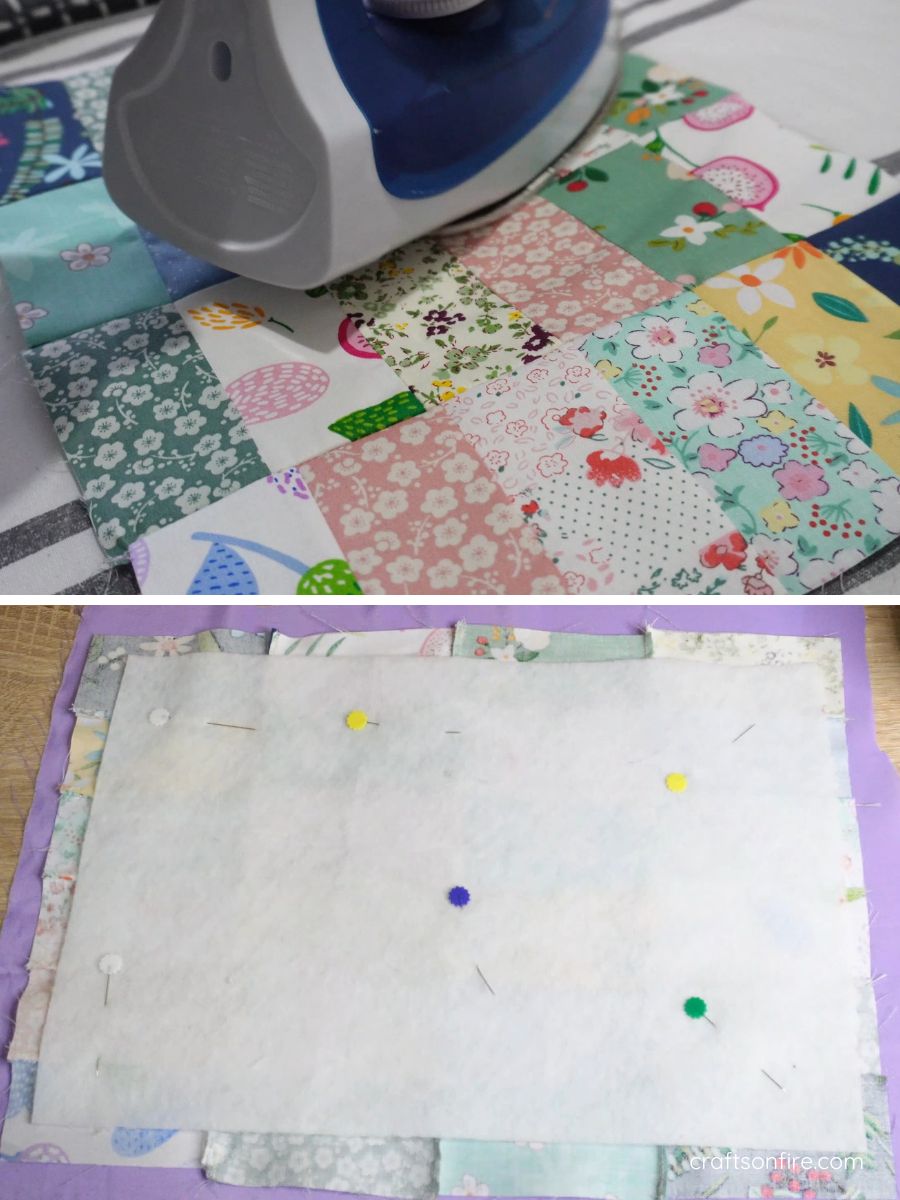
Give your patchwork piece a light press with the iron. This should smooth out the seam lines and flatten the fabric.
Next, grab the fabric batting and place it on the wrong side of the patchwork piece.
Then, place the lining on the right side of the patchwork piece and pin it in place.
Sew Patchwork Piece, Batting & Lining
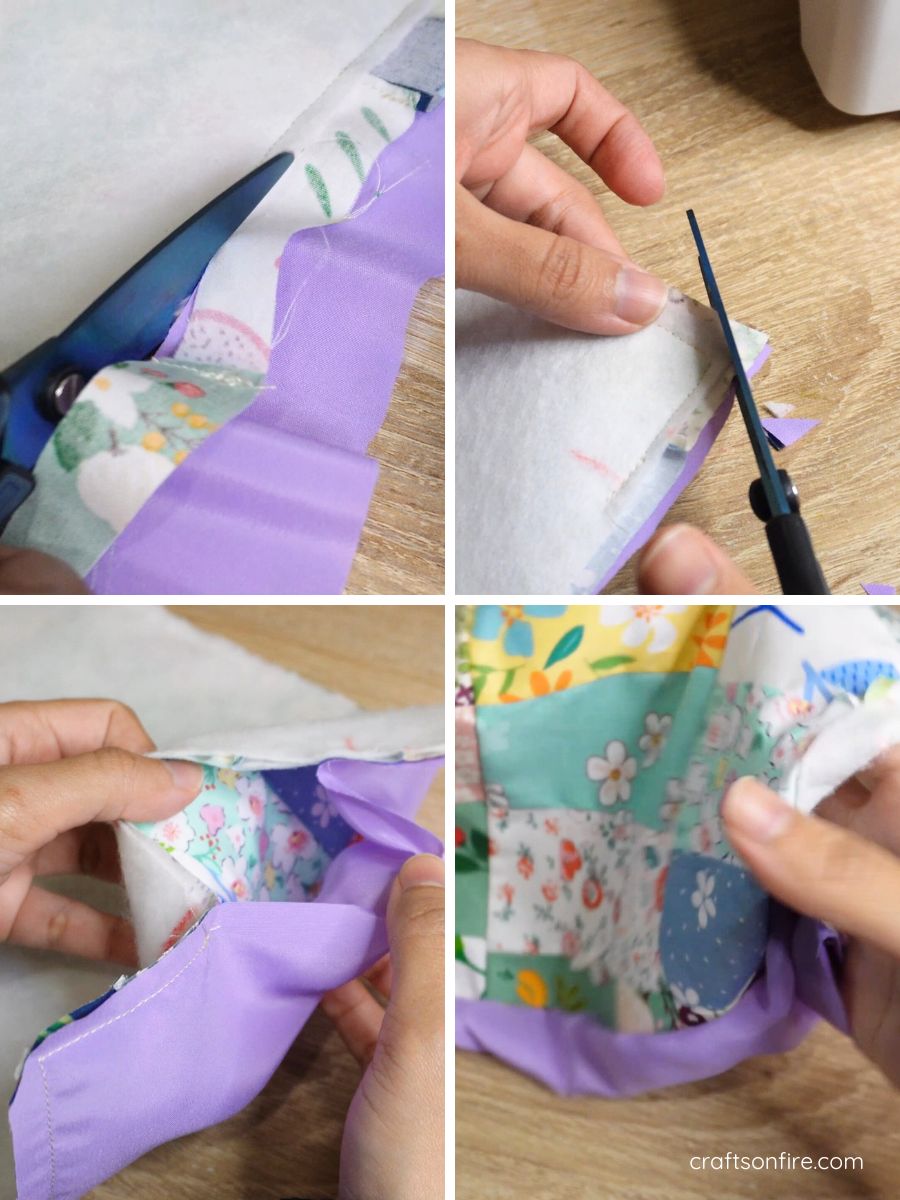
Head over to the sewing machine and start sewing all 3 pieces together. Leave an opening on one side since we’ll use this to turn the fabric to the right side.
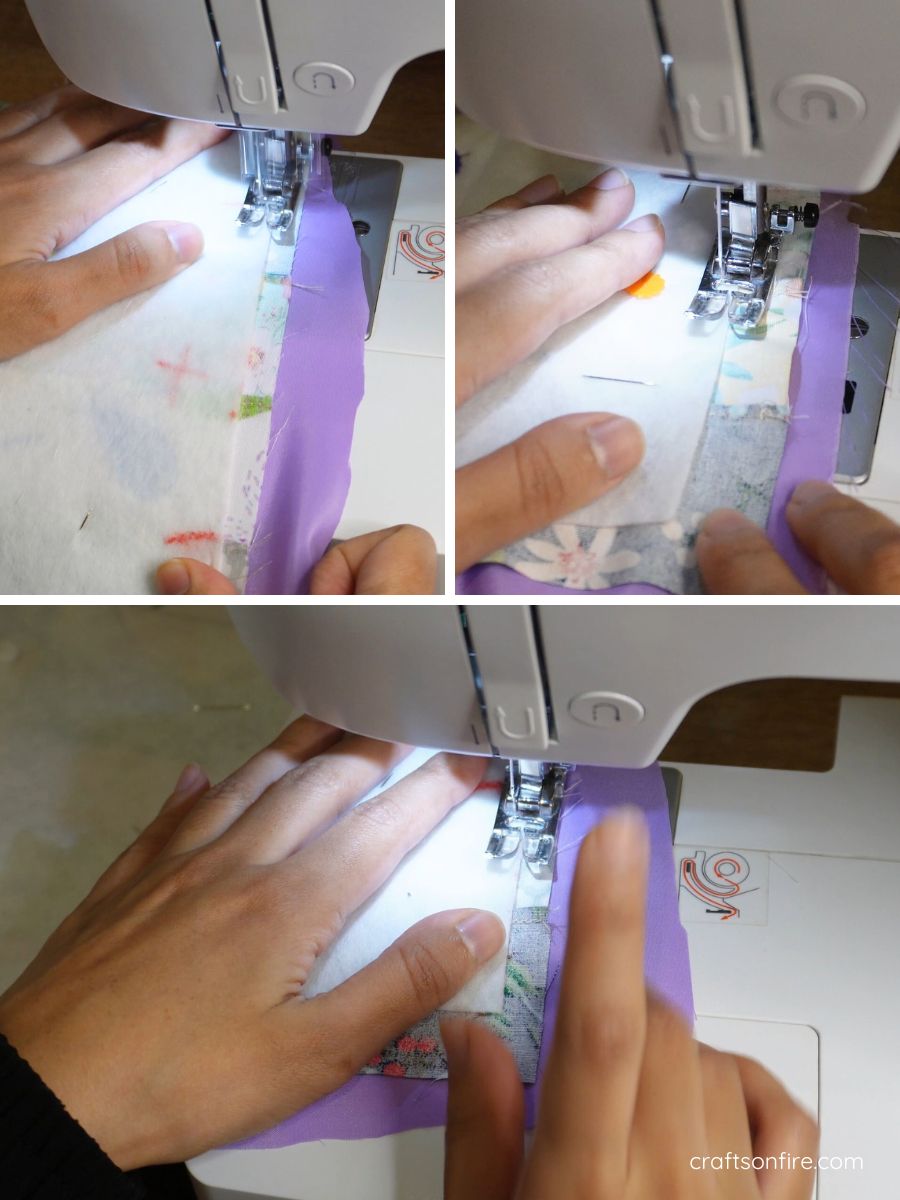
Cut any excess fabric and snip the corners. Use the opening to turn the fabric inside out.
Add The Finish Touches
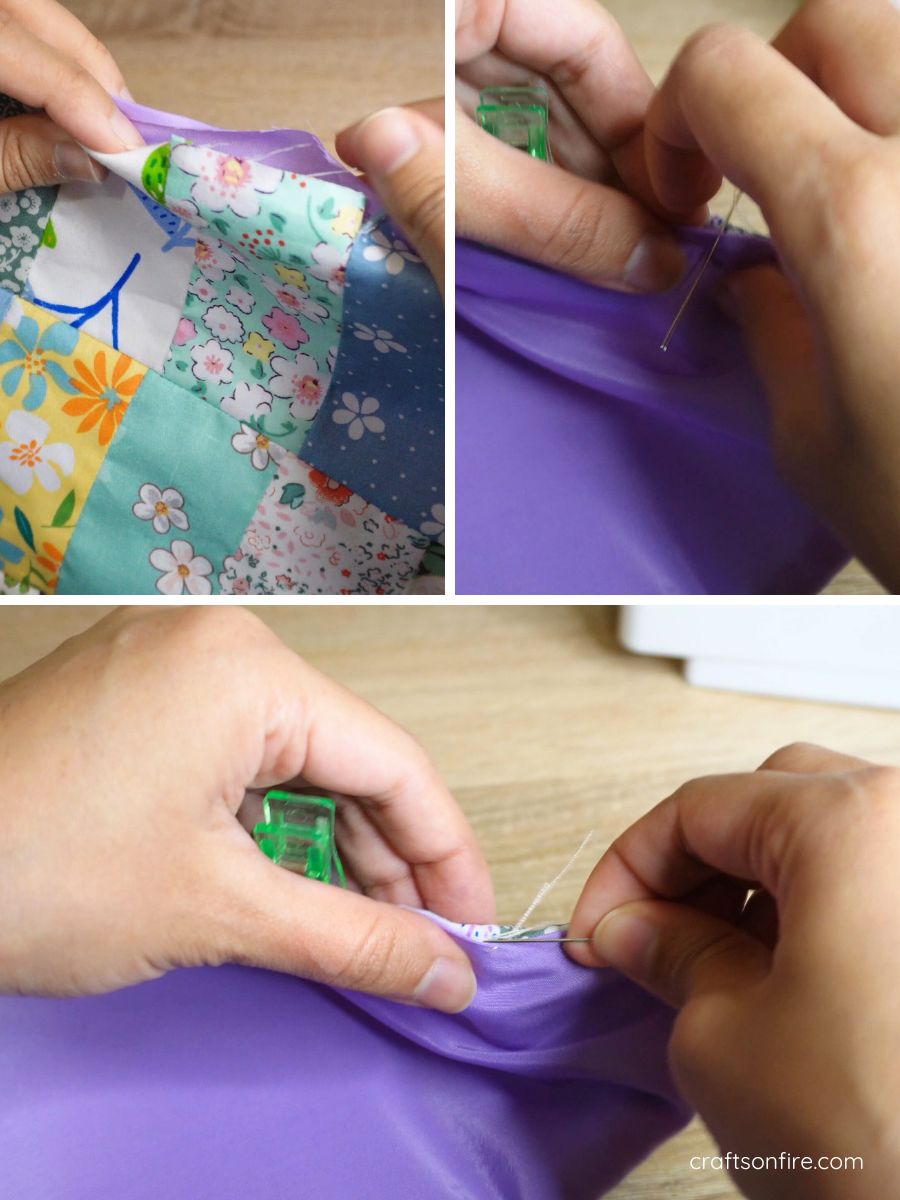
Fold the opening in and use your needle and thread to close it off.
Finished Cover:
This is how the patchwork book cover turned out:
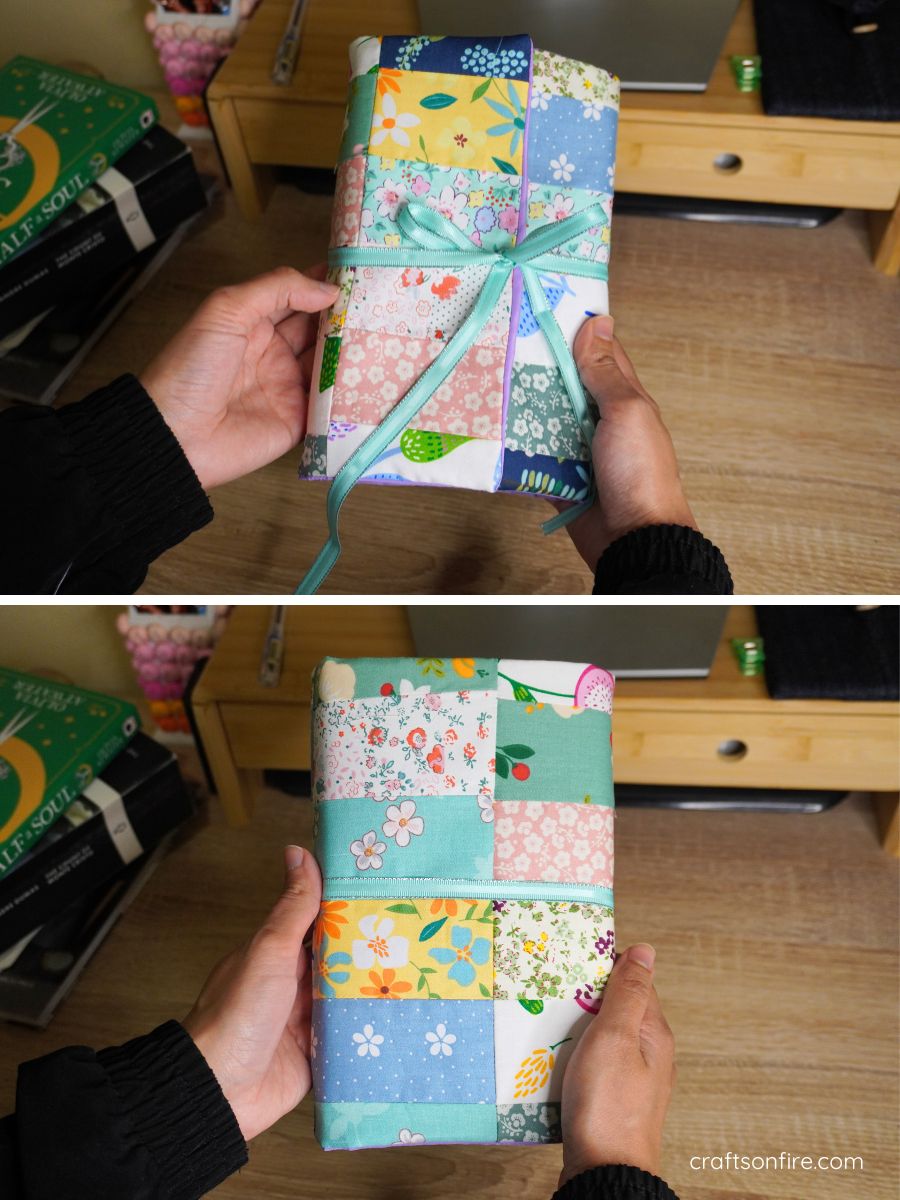
I love how this book cover turned out, especially the different floral fabrics stitched together!
This book cover is perfect for those small paperbacks. I prefer small floppy paperbacks but if you need a larger cover for a hardback, increase the size of your batting.
As for the closure, I used a blue ribbon but you can sew a tie-up or add a loop and button to the front for easy access. You could also use a piece of velcro to secure it but as you can see, a simple ribbon will save you time and effort.
Go with what works best for you!
So, did you find this tutorial helpful? If you have any questions or problems you’ve encountered while sewing this book cover, drop a comment below and I’ll be more than happy to assist you!
In the meantime, here’s a few more cool sewing projects you can try next:
How To Sew A Tassel Bookmark (Step-By-Step)
