How To Decorate A Wooden Jewelry Box
I was browsing the craft store the other day and I found this wooden jewelry box for less than $2!
I instantly knew exactly what it needed to look amazing so I came up with this easy and simple way to decorate the box that anyone can make do with just some paint and air dry clay.
I wanted my box to be bright and colorful so I opted for yellow craft paint but you can customize it any way you like.
If you’re looking for a cute, chic, and colorful ornament to add to your space or to create a special handmade gift for a friend or loved one, this is the perfect item.
To decorate this box, it’s pretty simple.
Here’s my step-by-step tutorial to decorate a wooden jewelry box right now:
DIY Wooden Jewelry Box With Clay Flower
Supplies:
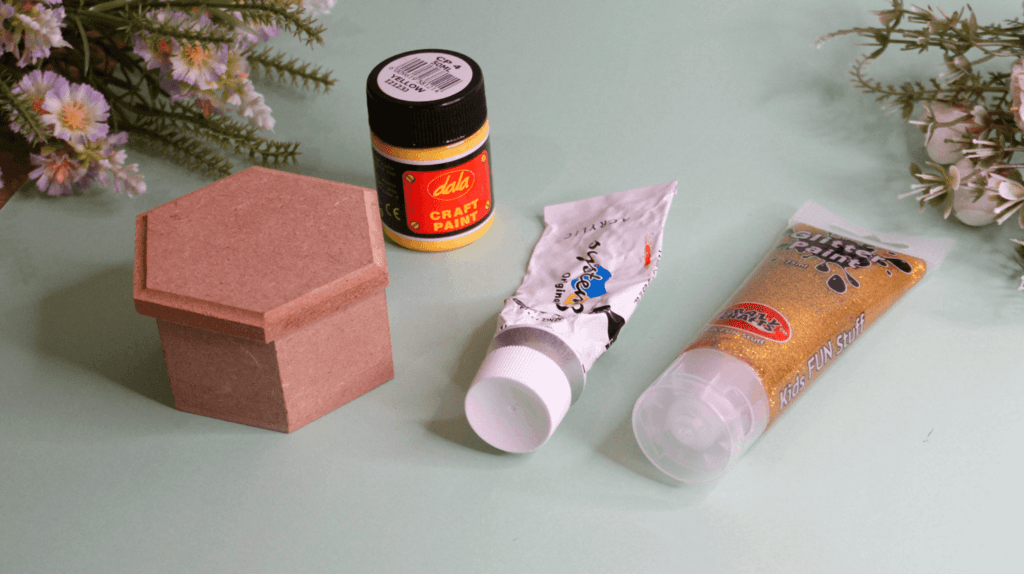
For this tutorial, you’ll need:
- Trinket Box
- Yellow Craft Paint
- White Acrylic Paint
- Gold Glitter Paint
- Air Dry Clay (Yellow + White)
- Glue
Video Tutorial
I have recorded a video of the process of decorating this jewelry box. If you prefer to watch it instead, here you go:
Instructions
Step 1
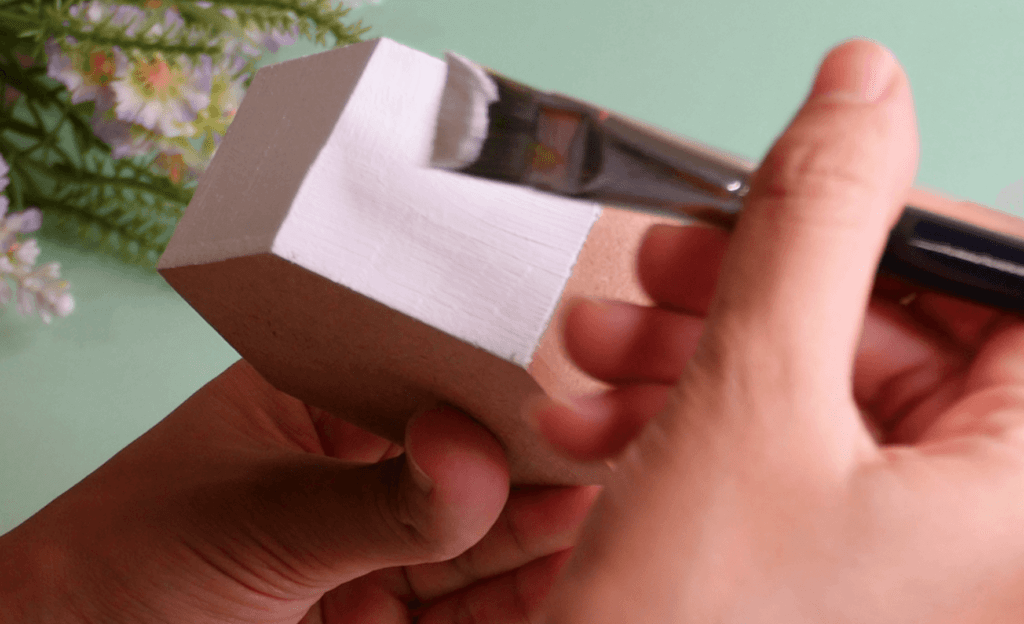
Begin by giving the wooden box a good coating of white acrylic paint to ensure that the yellow paint adheres well to the surface.
If you want a proper painting surface, you could use gesso instead to prime the box.
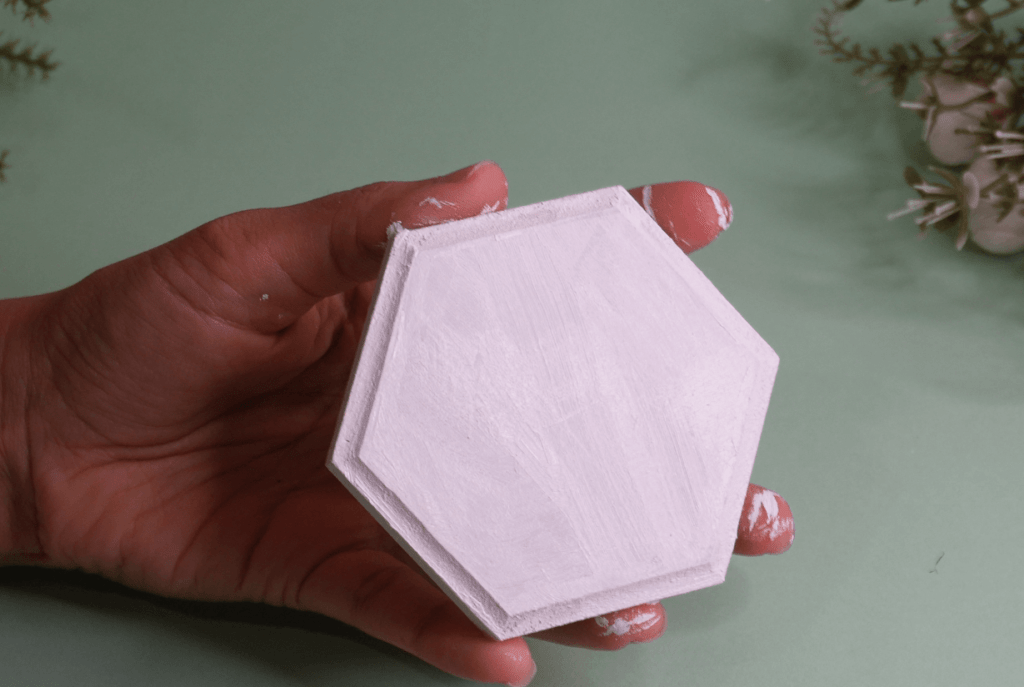
Go ahead and paint the lid with the white acrylic paint as well.
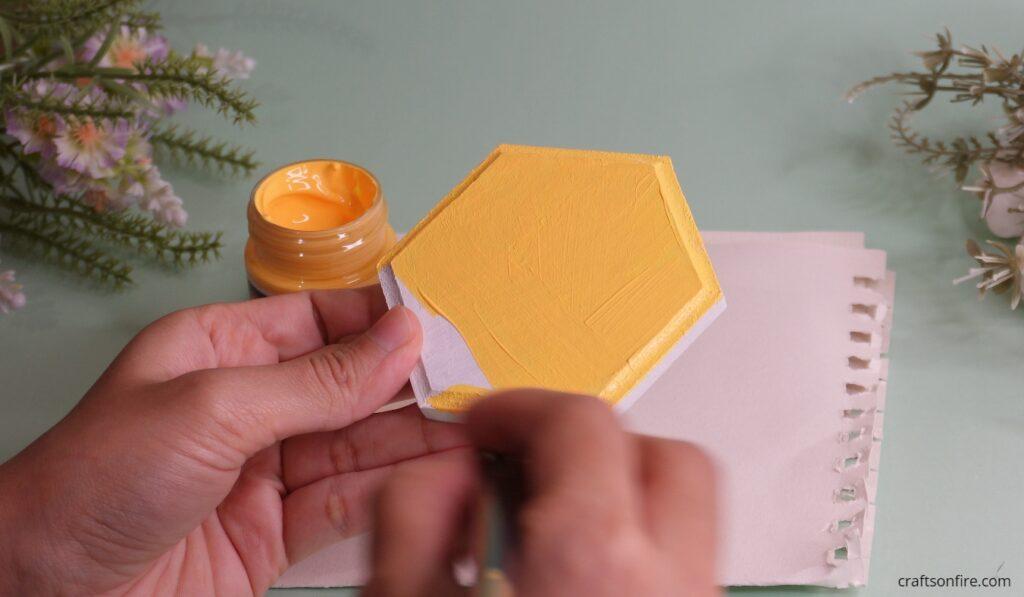
Step 2
Here comes the fun part: painting the box with that gorgeous yellow craft paint.
Paint all sides of the box until it’s completely covered with paint.
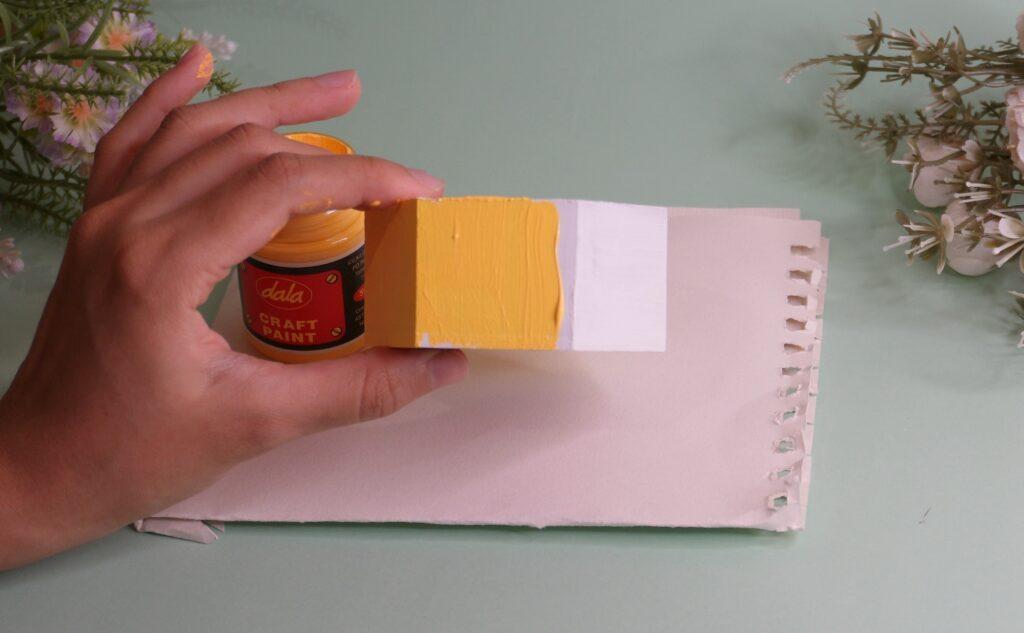
Allow the paint to dry before you do any further touch-ups.
If needed, apply a few more coats to the box.
Then, paint the lid until fully coated and allow to dry.
If you need to speed up the drying time, use a hair dryer or fan.
Step 3
Grab that beautiful gold glitter paint and squeeze a generous amount onto a palette.
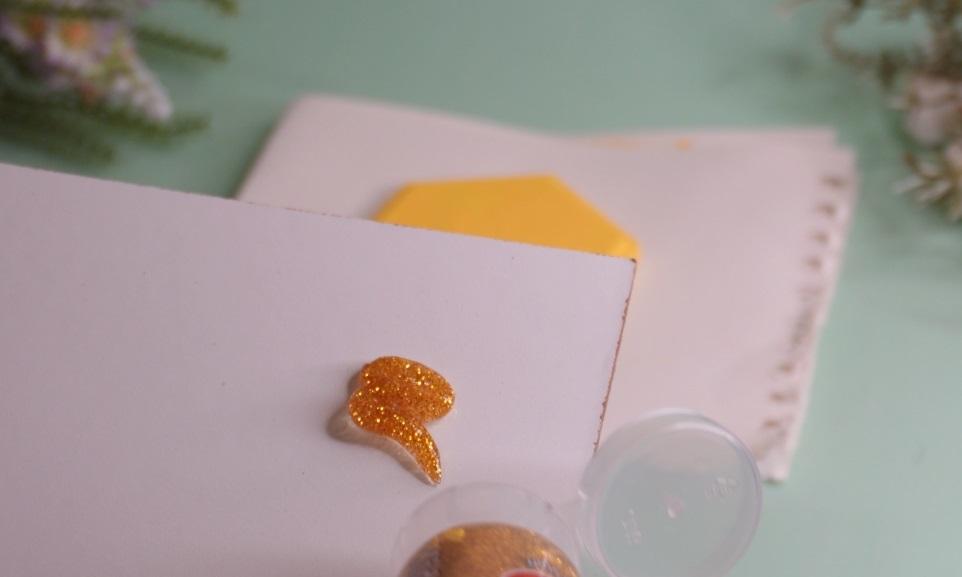
Paint the sides and the top of the lid.
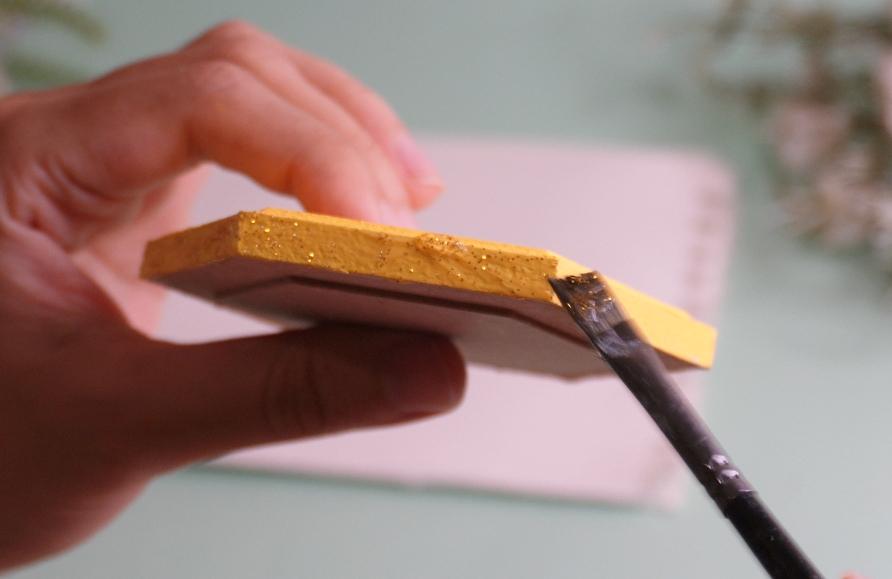
Once you’re done and happy with the finish, leave it aside to dry for a while and we can move on to the next step.
Step 4
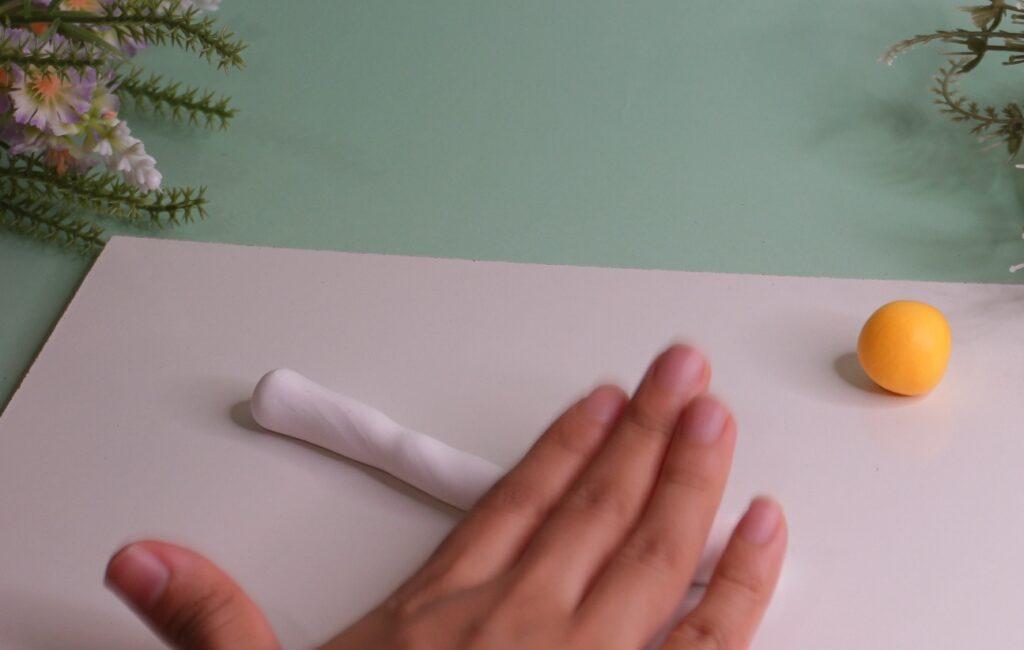
For this part of the tutorial, you’ll want to grab white and yellow air-dry clay to make the flower.
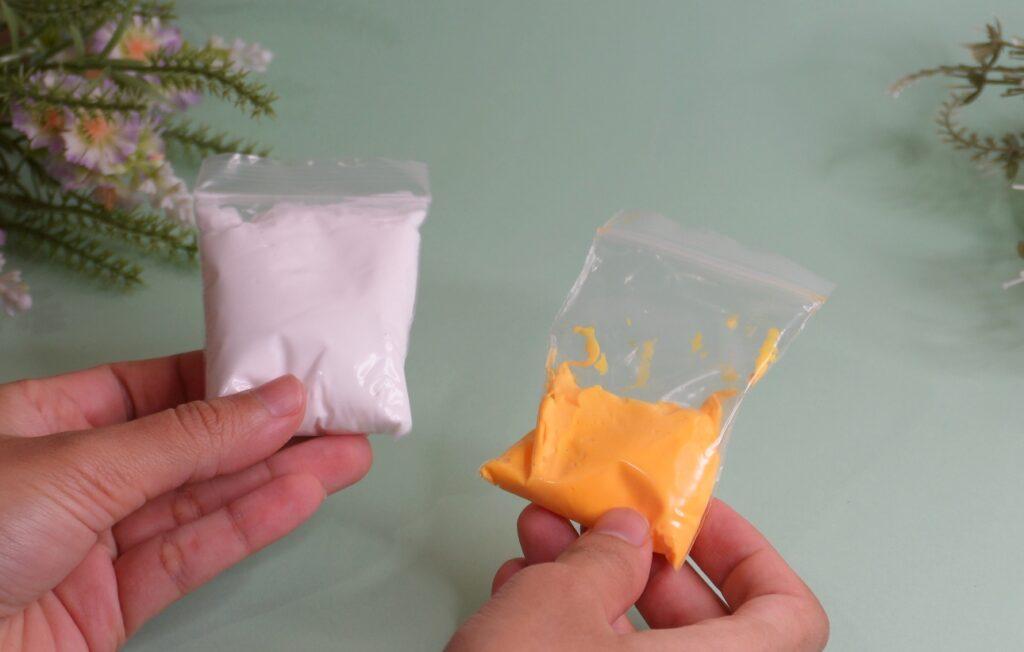
Take a small piece of the yellow clay and roll it into a ball with the palms of your hands.
Leave that aside for now and then we’ll proceed to making the petals of the flower.
Next, roll out the white clay into a log as shown below.
Step 5
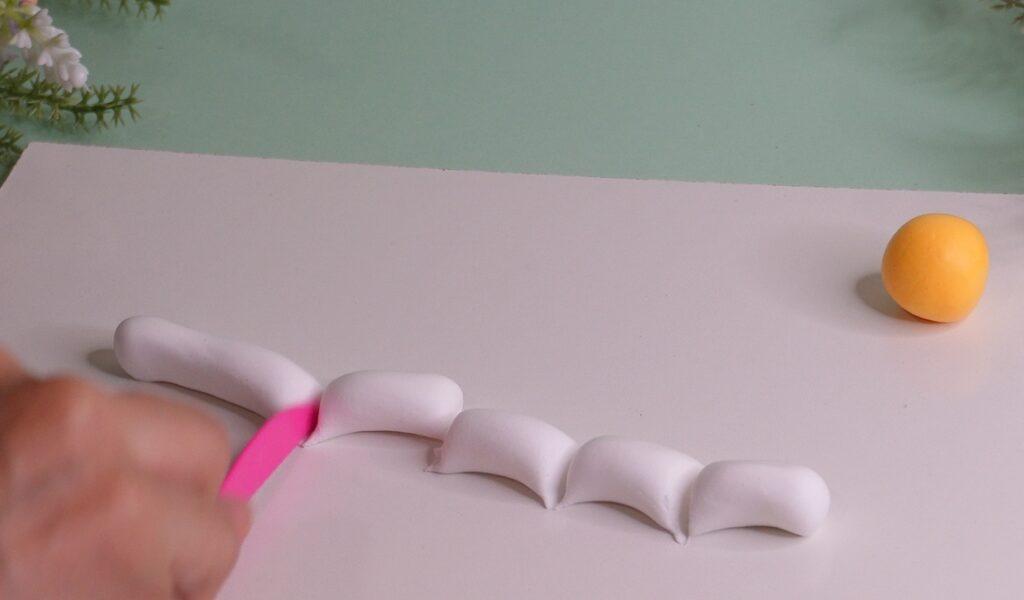
Cut the logs into small sections. Try to cut them in a similar size so that the petals will look roughly the same.
Step 6
Grab a piece of clay and roll it into a small ball.
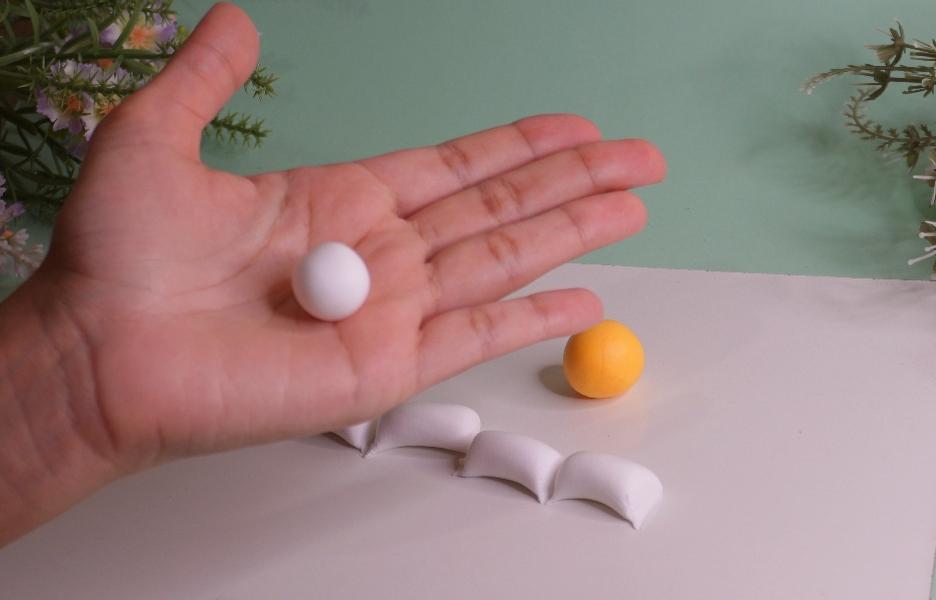
Go ahead and roll out all the white pieces on the board until you have about 4-5 balls.
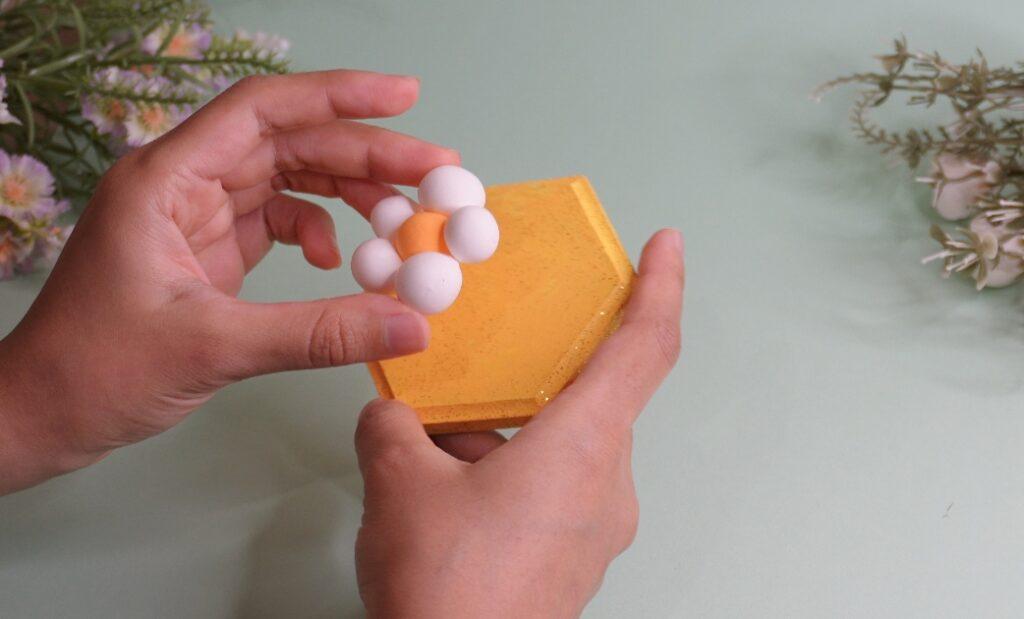
Step 7
Arrange each ball around the main yellow ball to create the flower.
Here’s what it should look like:
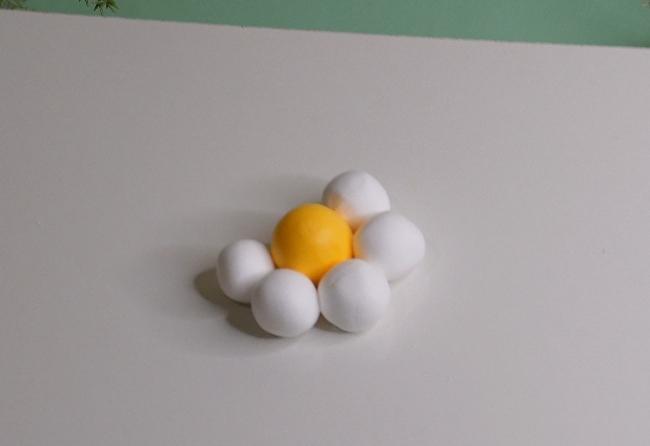
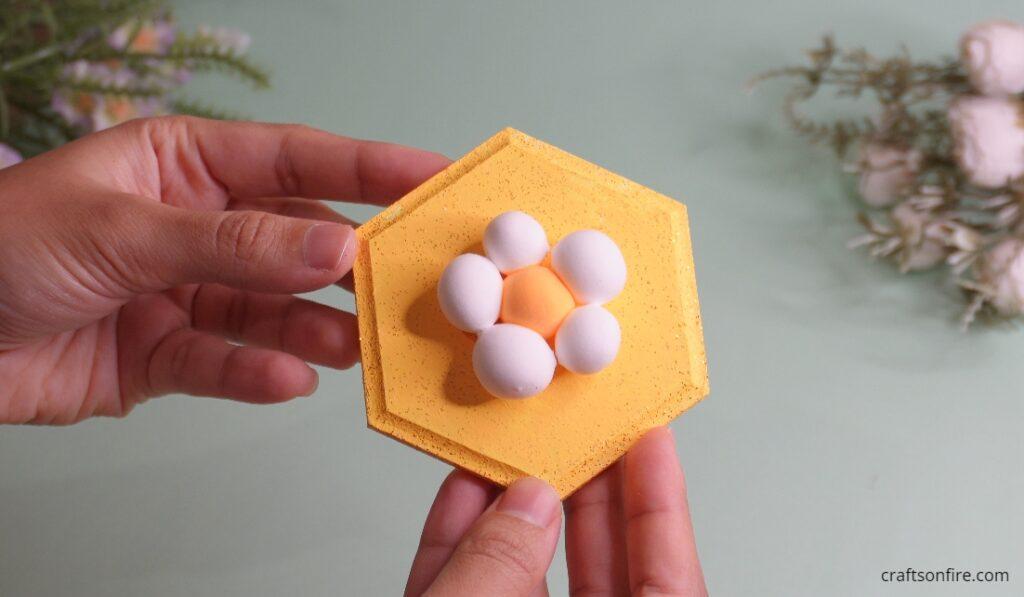
Air-dry clay takes around 24 – 48 hours to dry completely.
Set this flower aside and once it’s dried, you can proceed to the next step.
Step 7
Add a generous amount of glue to the back of the flower and place it in the center of the jewelry box lid.
And there you go! The flower adds a pretty little detail to the lid.
Step 8
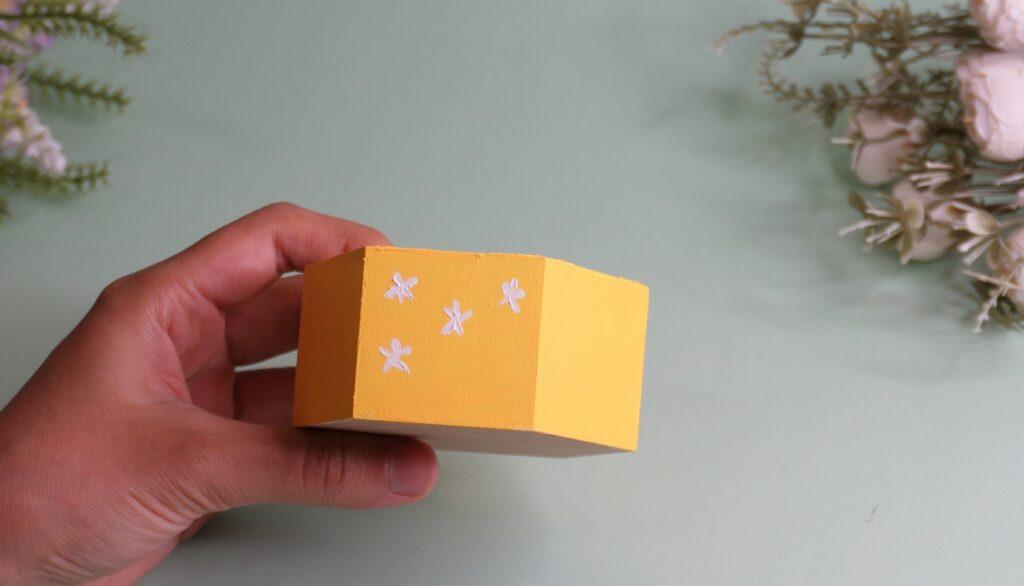
Now, let’s paint the box with small flowers. Grab that acrylic paint from earlier and start painting small flowers on the side of the box using a small brush.
Continue the pattern until the entire box is painted.
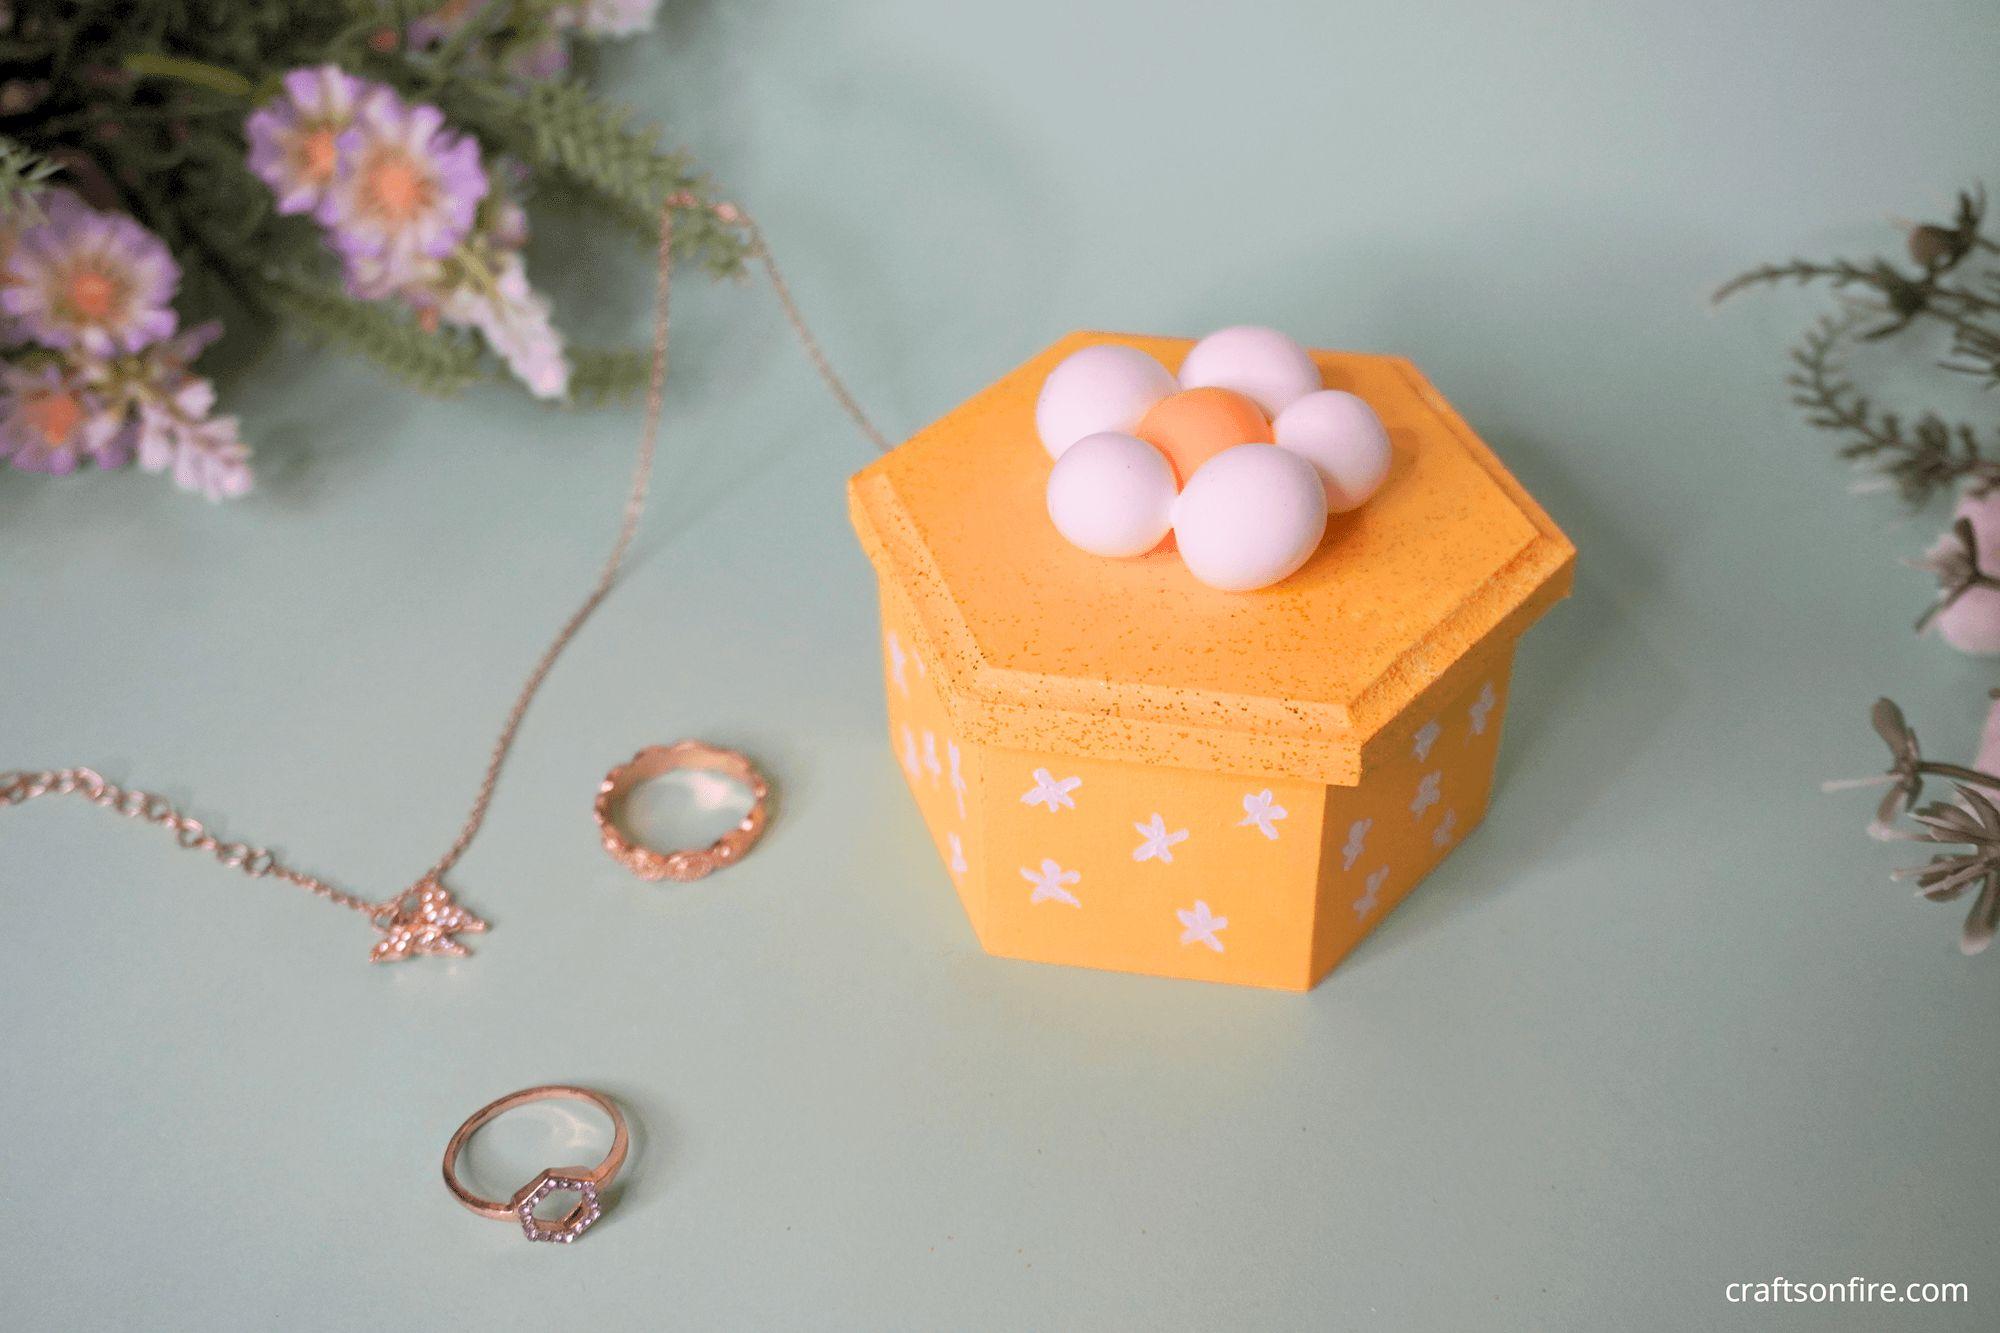
Final Result
Here’s how the entire jewelry box turned out.
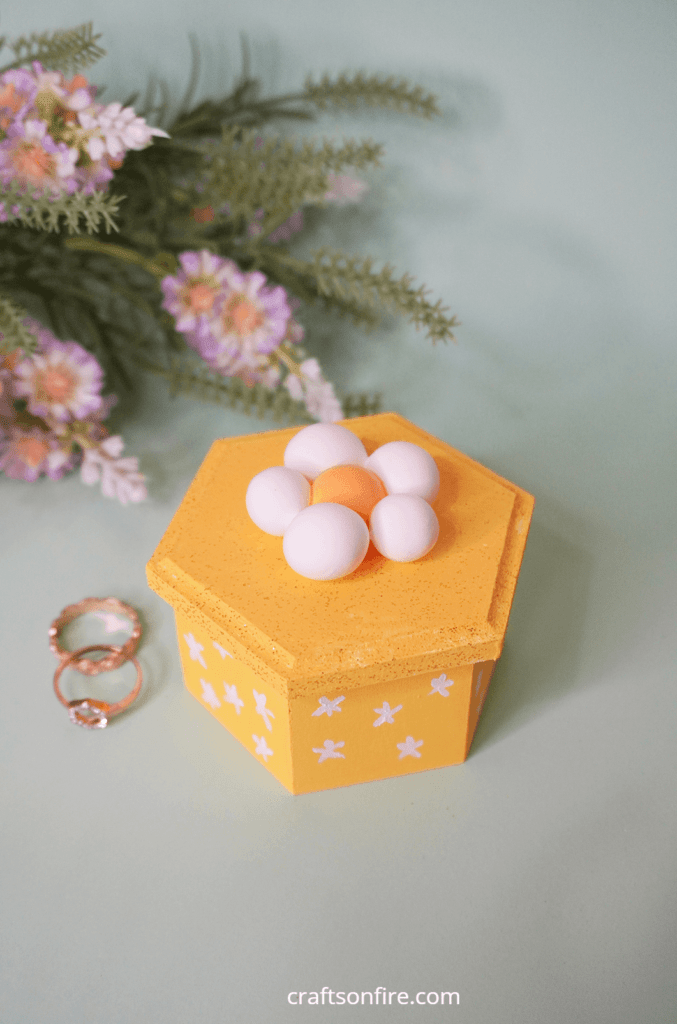
The colors, the flower, and the slight gold glitter detail on the lid of the box can transform any plain and boring box into this cute and chic jewelry holder that will look amazing on your vanity or bedside table.
All in all, I’m really happy with how this turned out and I can already think of other cool ways to use this similar design for larger projects which I hope to share with you shortly.
If you enjoyed following along with this tutorial, I do have another awesome project you can try in the meantime.
How To Make A Colorful Coaster With Yarn
Be sure to check them out!