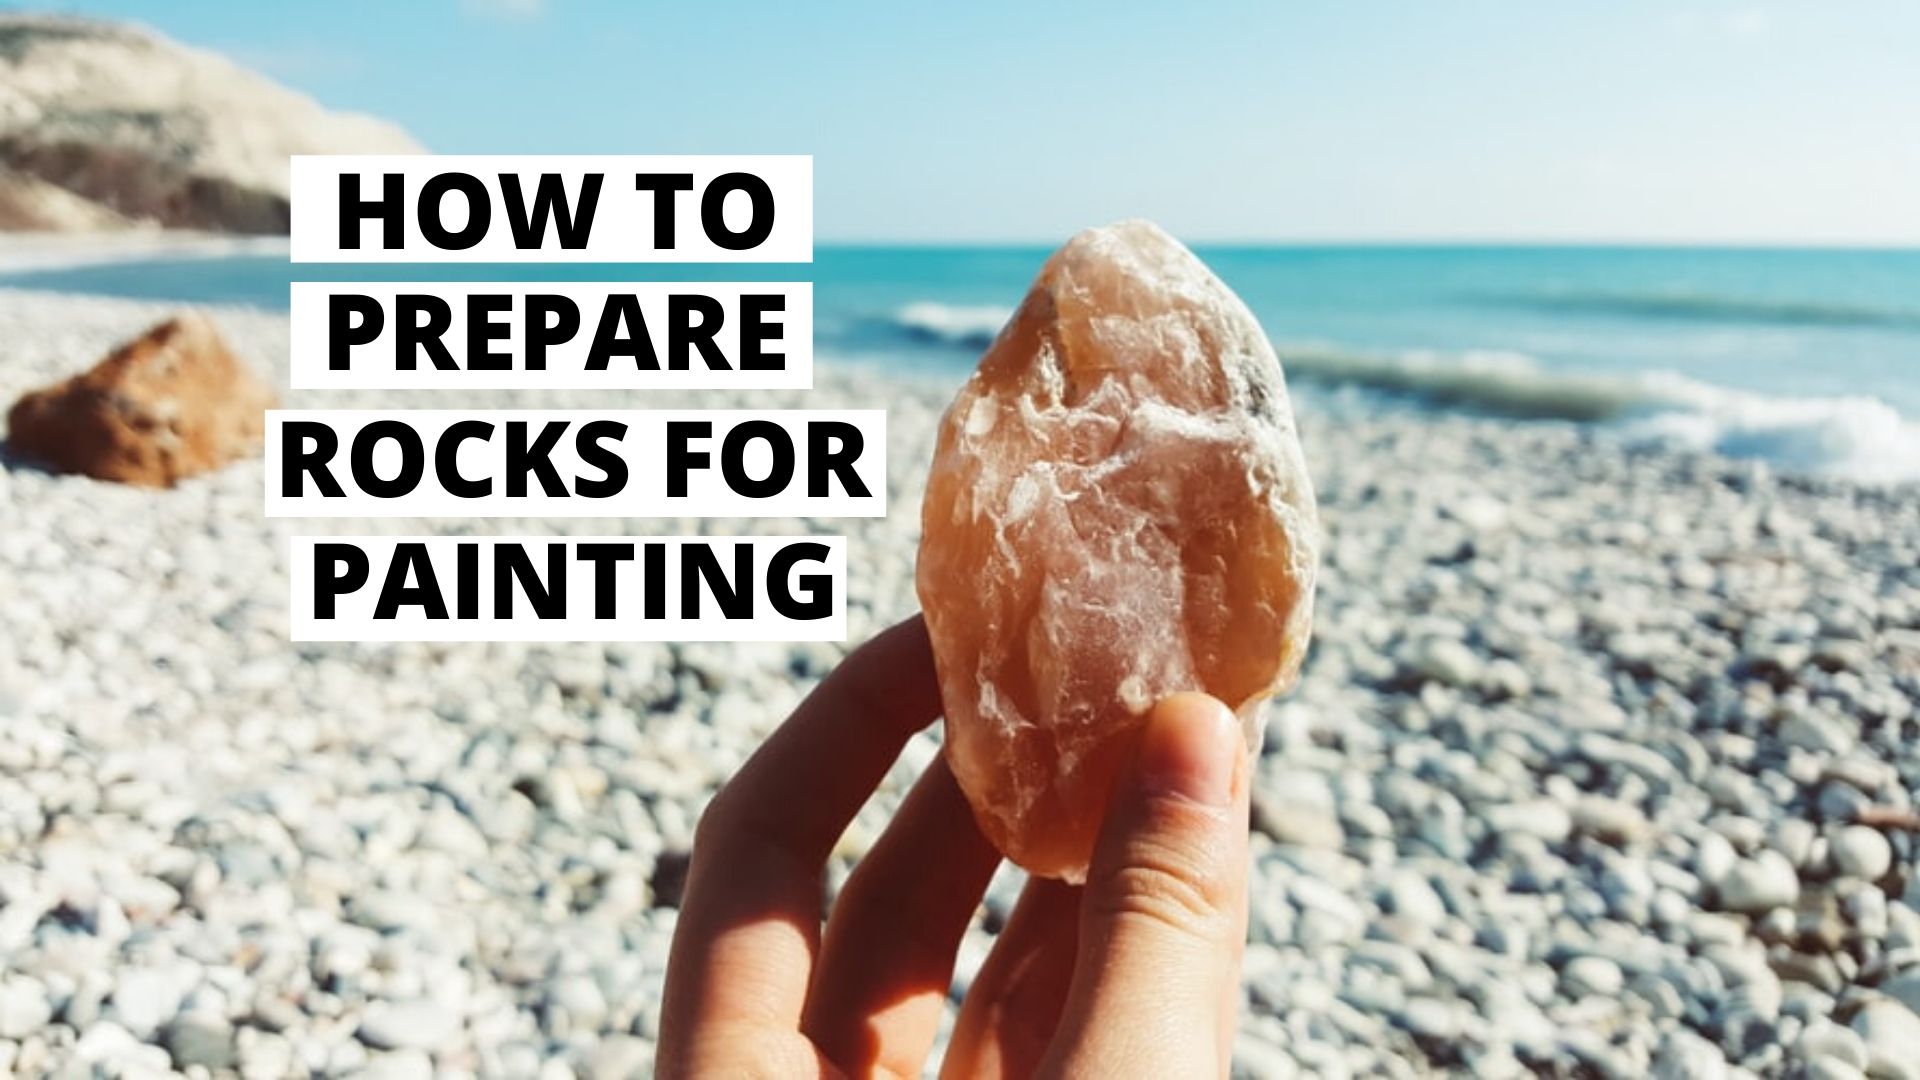
How To Prepare Rocks For Painting (2 Easy Steps To Do)
Before beginning any new DIY project such as rock painting, you still need to know all the details before jumping right in. One of the most common questions there are in this case is, how to prepare rocks for painting?
It’s really simple. You’ll want to find a smooth surface rock and give it a good rinse under the water. Wipe it dry with a paper towel and allow it to completely dry for some time before painting.
Well, that’s the short and sweet answer but there are many more things to take into consideration before beginning your rock painting adventure.
Stick around for more and I promise, these tips will save you so much time and effort.
Tips For Preparing Rocks
Choose Flat, Smooth Surface Rocks
Before we begin, I just want to point out that if you are planning to paint detailed drawings on these rocks, having a smooth-surfaced rock will make your life much easier and the final painting will look so much better.
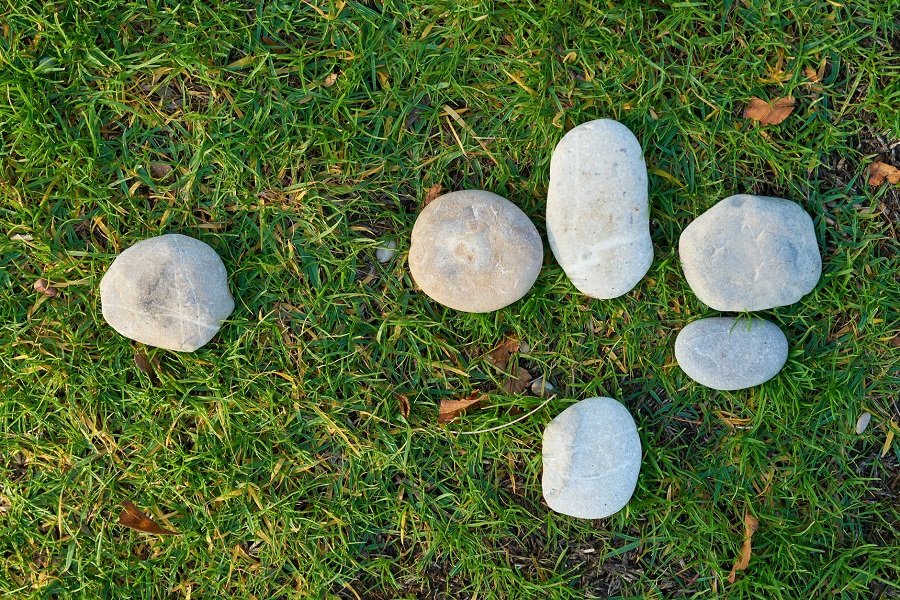
With rough-surfaced rocks, you’ll often find that your design breaks up but this isn’t completely useless.
In fact, rough-edged rocks are great for the acrylic pouring method where you dunk these rocks for a solid color or you can spray a metallic paint to make it look gorgeous.
Decorating these rocks with glitter is also a fantastic way to make them look awesome and they make a great rock painting display!
Step 1: Wash Rocks Before Painting
Now it’s time for the actual prepping of the rock. Before beginning any rock painting, lightly rinse your rock under the water to get rid of any dirt.
You’ll notice with rocks found outside, you will expect them to be pretty dirty and messy so this may require some soap to get rid of the dirt.
I found that if you wash these rocks or pebbles in batches, it cuts down on the tedious task of having to do them again.
This step for rock painting is incredibly important if you do not want any dirt to get in your way while painting.
However, if you choose to buy the rocks from a store, they wouldn’t be as dirty as the ones found outside or by the beach and you may not need to wash them at all, so it really depends.
Finish off with drying them with a towel or paper towel and leave it out to air dry.
Step 2: Seal Rocks With A Light Mist (Optional)
Once your rock is ready, you may want to lightly coat the rock with a layer of sealant. This may help your colors if you choose to use sharpies or markers so that you don’t have to use that much ink.
However, sealing rocks before painting isn’t required but it depends on your preferences.
Even though this is one of the easiest steps on how to prepare rocks for painting, it’s one that’s worth trying sometime.
Other Helpful Rock Painting Tips You’ll Need
Give It A Base Coat
Again, adding a base coat to your rocks is optional and depends on what you like but sometimes adding a layer of white paint can really make the colors of your paint or ink stand out.
You’ll also want to let this layer dry completely before adding any other paint otherwise it will all mix together and may not look very pretty.
Use Smaller Brushes
If all you’re doing is painting large areas, then medium-sized brushes are fine but if you would like to add smaller and fine details, you’ll notice that it’s harder to control than if you had used smaller brushes.
Especially, with the size of these rocks, using small brushes can really help you with painting tiny details and having more control in general.
You could also use a q-tip to paint dots which is commonly used for mandala rock paintings rather than using a brush. It’s much easier and quicker to do so but you will be restricted from the size of the dots.
Try Using Sharpies or Paint Pens
Besides using acrylic paint, there are other options you can try for rock painting and that’s with the use of sharpies and paint pens.
These are great if you want more control and it’s less messy than having to use paint.
For example, take a look at this adorable Star-Lord rock painting design created by Geek Family Life where they used paint pens to draw this:
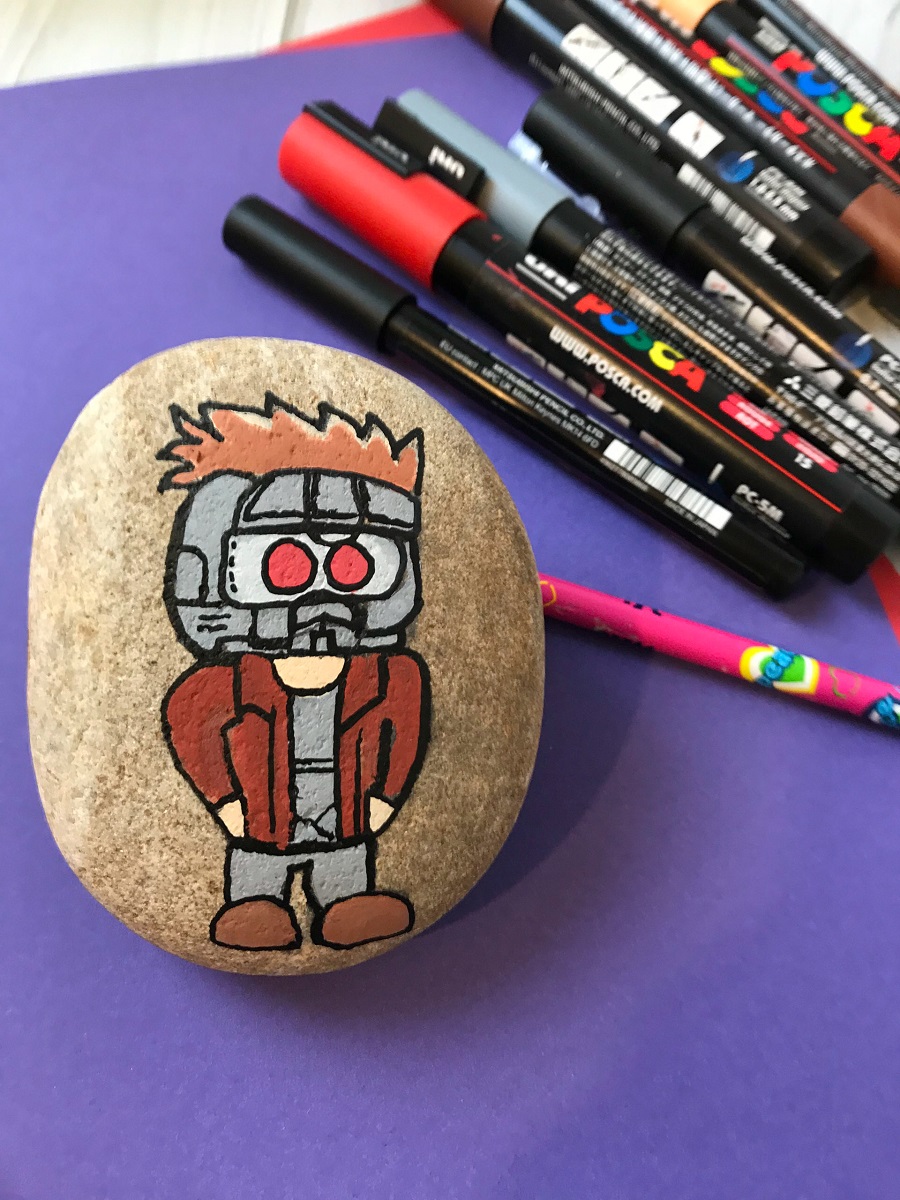
Also, the clean up is a breeze compared to using acrylic paint, especially if you tend to have kids painting along with you.
Finish off With Mod Podge For Extra Protection
When it comes to sealing painted rocks, I always found that using a few coats of mod podge can definitely add to the way your rocks are preserved.
Sealing your rocks is also vital for making sure they can withstand harsh environmental elements and damage in general. They also retain it’s color and shine when coated with a proper sealant.
So, you may want to consider sealing your rocks, especially if you plan to keep them outdoors but not all rocks need to be sealed.
Conclusion
Having a flat-surfaced smooth rock and making sure they are clean before painting will definitely make your rock painting experience more enjoyable.
Although it’s a task that seems unnecessary at first, you won’t have to deal with random bits of dirt getting in your way while painting.
I highly recommend for you to wash them all at first in one go and store the unused rocks in a clean place, usually, a container or so, where dirt or dust won’t make them messy again.
If you enjoyed this tutorial on how to prepare rocks for painting, definitely leave us your thoughts on rock painting, and what’s your experience or tips when prepping rocks!


My granddaughters just finished painting rocks this week. The step I didn’t do is the sealant before painting. What kind or brand of sealant spray do I use?
Thanks for the tips. I plant to paint for is with the grands. Ages 5-7. Any idea where I can find printed patterns or ideas for them to help their creativity.