Easiest Sunglasses Pouch You Can Sew
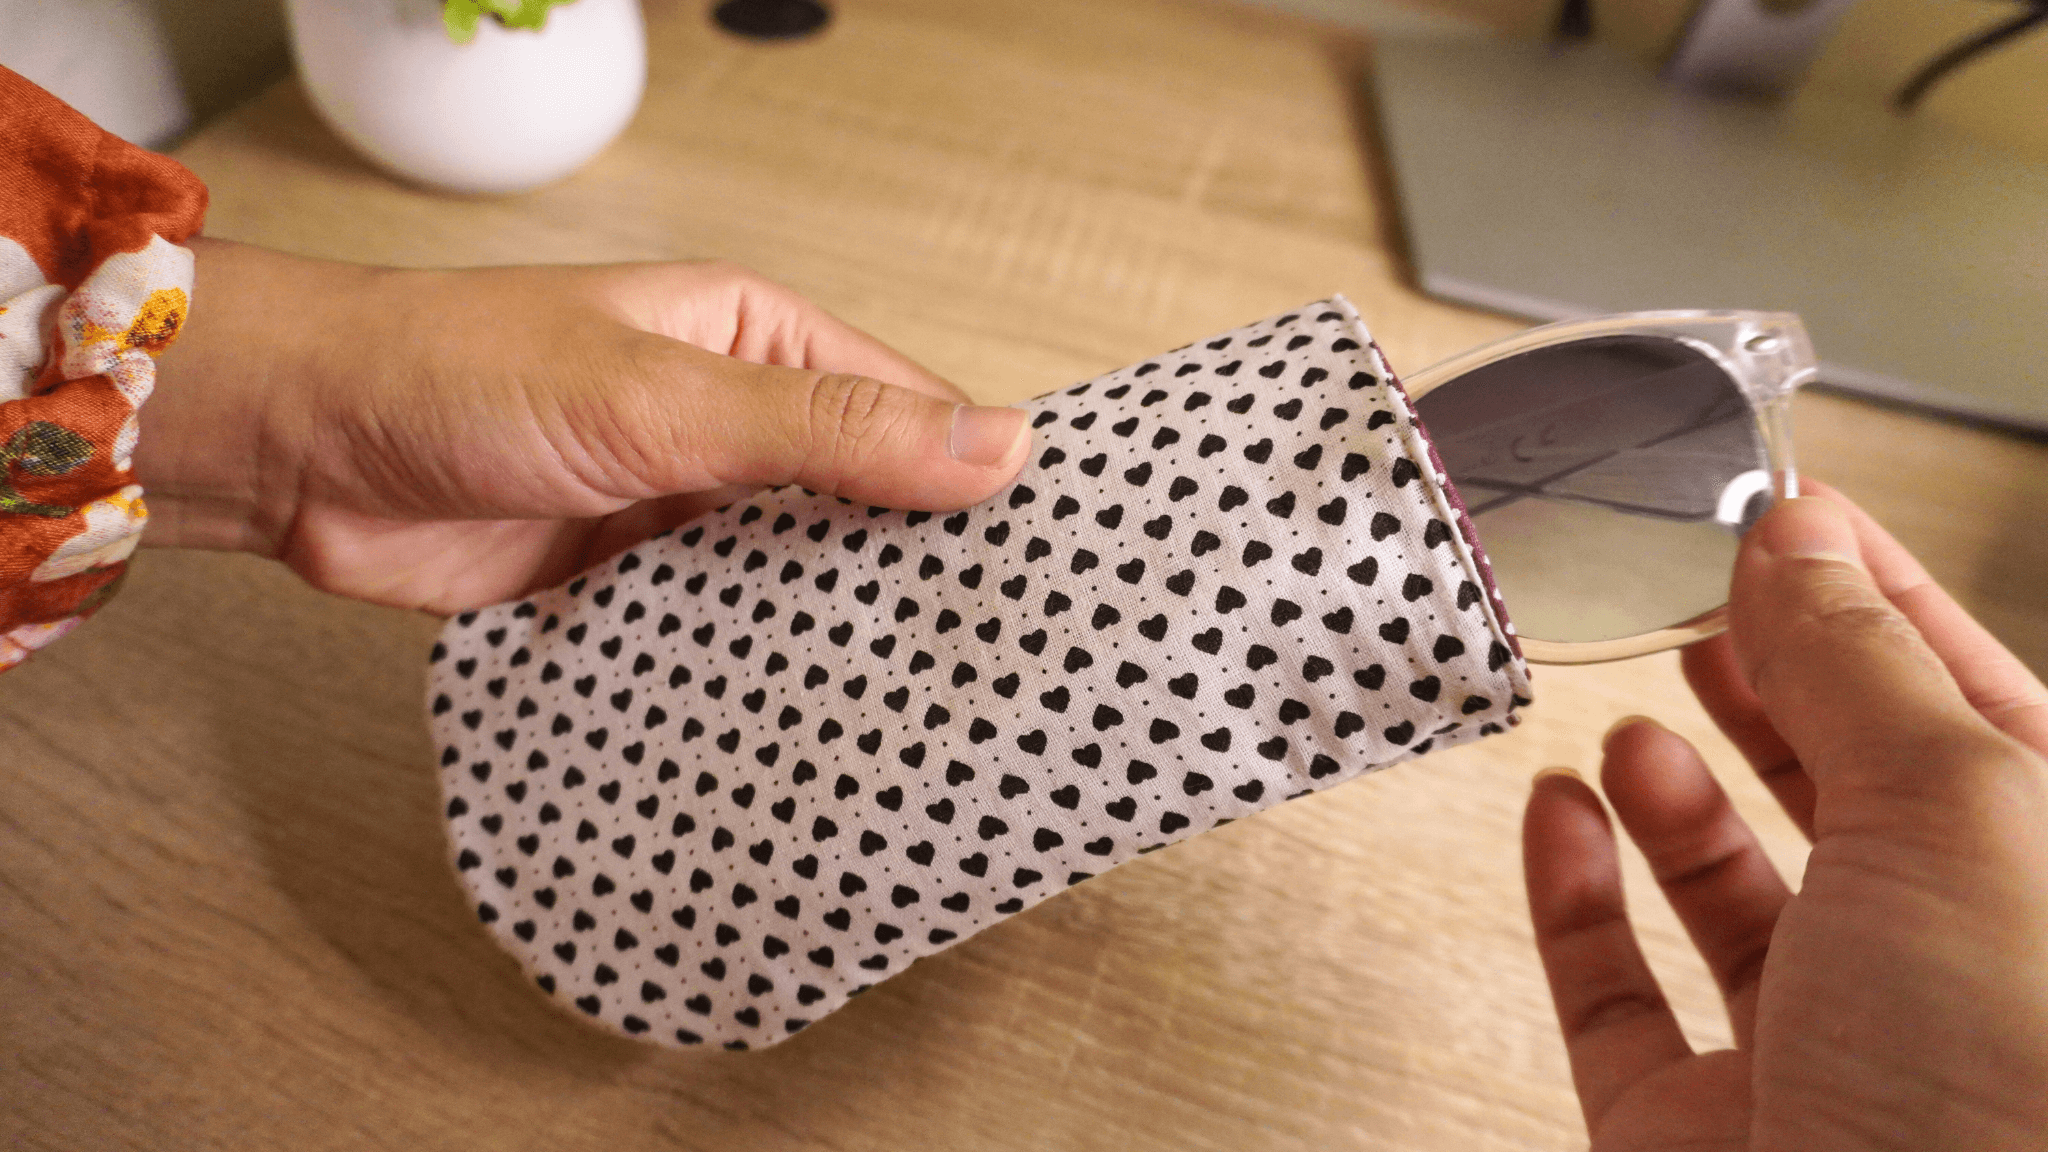
I never thought I’d be sewing a sunglasses pouch but after scratching and misplacing my glasses more times than I’d like, here we are! Sewing a sunglasses pouch is surprisingly an awesome sewing project if you want something quick and easy to sew and this curved sunglasses pouch also has quite a nice design to try.
It’s more interesting than a simple rectangular case.
You can customize it any way you like and turn it inside out if you ever get tired of the outer pattern.
However, that’s not the only reason why I’m so excited to share this tutorial with you! My step-by-step tutorial is the perfect beginner-friendly guide that shows you a simple yet effective way to sew one.
You don’t need to be good at sewing to make this sunglasses pouch. How amazing is that?
You won’t regret this. Trust me.
Grab your sewing machine and let’s sew.
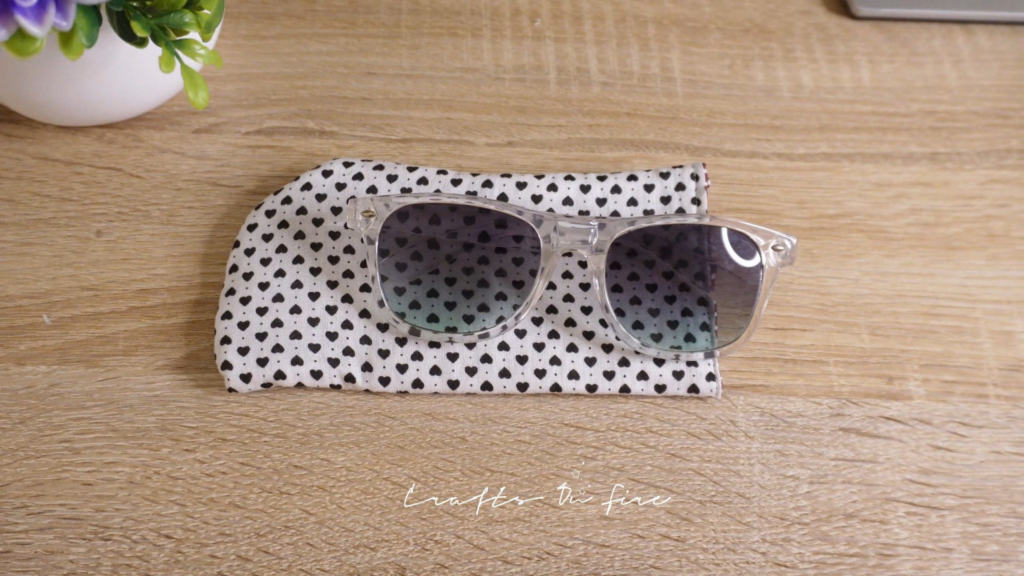
Table of Contents
How To Sew A Simple Sunglasses Pouch
Supplies
- 2x Patterned Fabric (17 cm x 8.5 cm)
- Fabric Batting
- Sewing Machine
- Pins
- Scissor
Measurements & Pattern
You only need three pieces of fabric to make this sunglasses pouch!
The measurements for this pattern are as follows: 17 cm (L) X 8.5 cm (W)
Fold all 3 pieces in half and cut one side in a curved shape (or just the 2 patterned pieces – you can cut the fabric batting once stitched).
Here’s what it will look like:
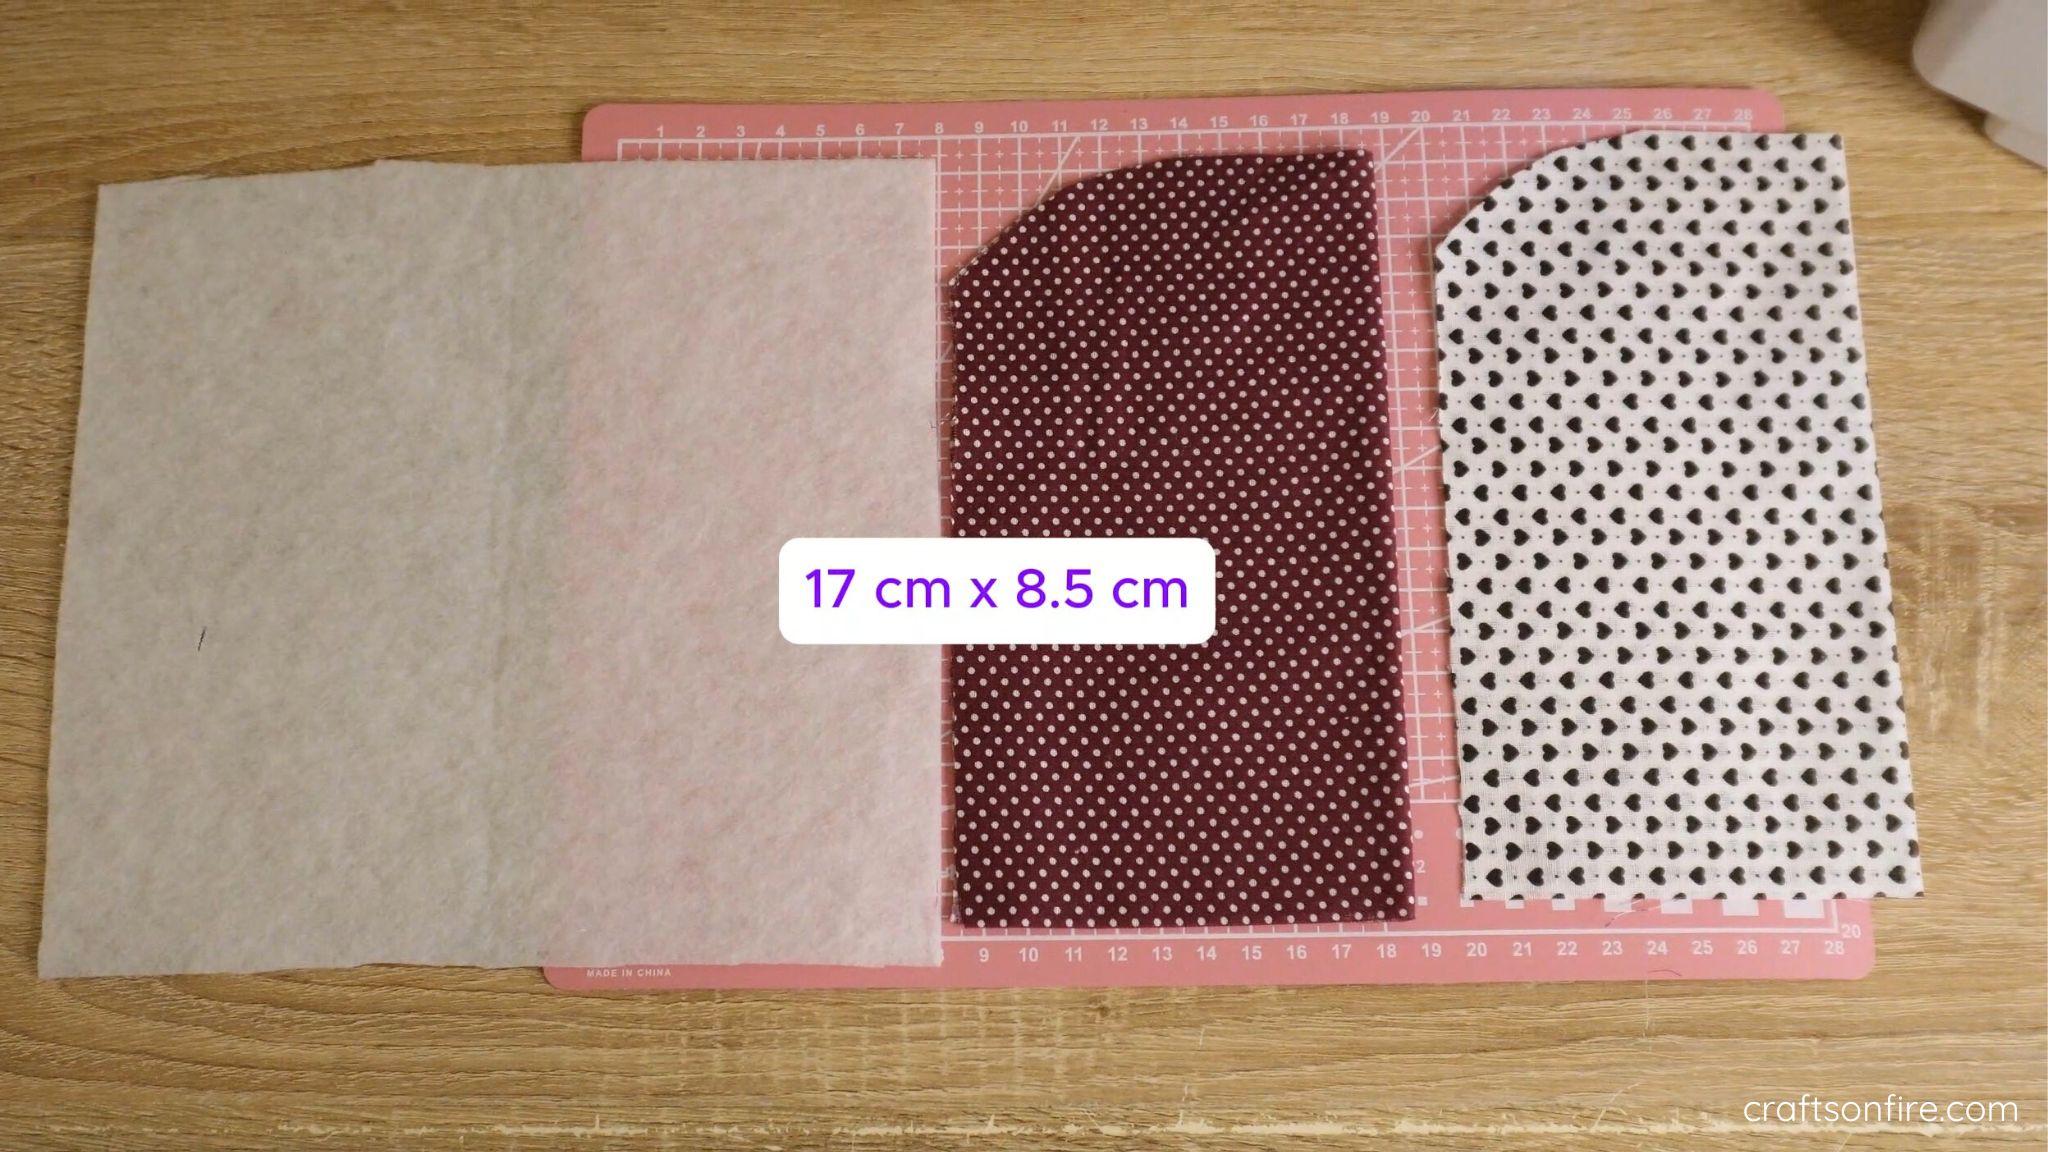
This should take you at least a minute or so. Once you’re done, let’s begin.
Instructions
Step 1: Assemble The fabric
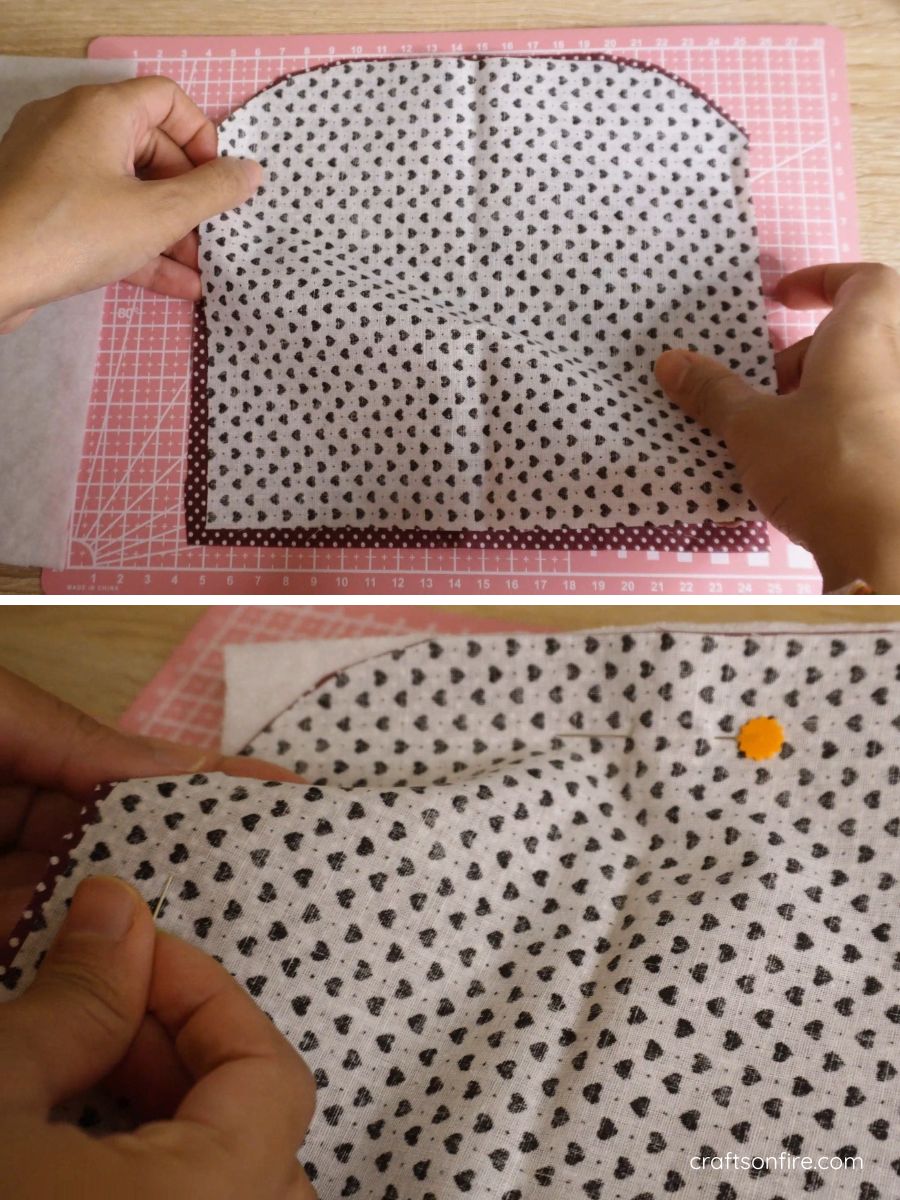
Begin by opening out both pieces of fabric and lay the patterned fabric together with the right sides facing in. Ensure that both pieces match at the top, sides, and bottom.
Place these two pieces on top of the fabric batting and pin the sides and top while leaving the bottom unpinned.
Step 2: Stitch The Sides
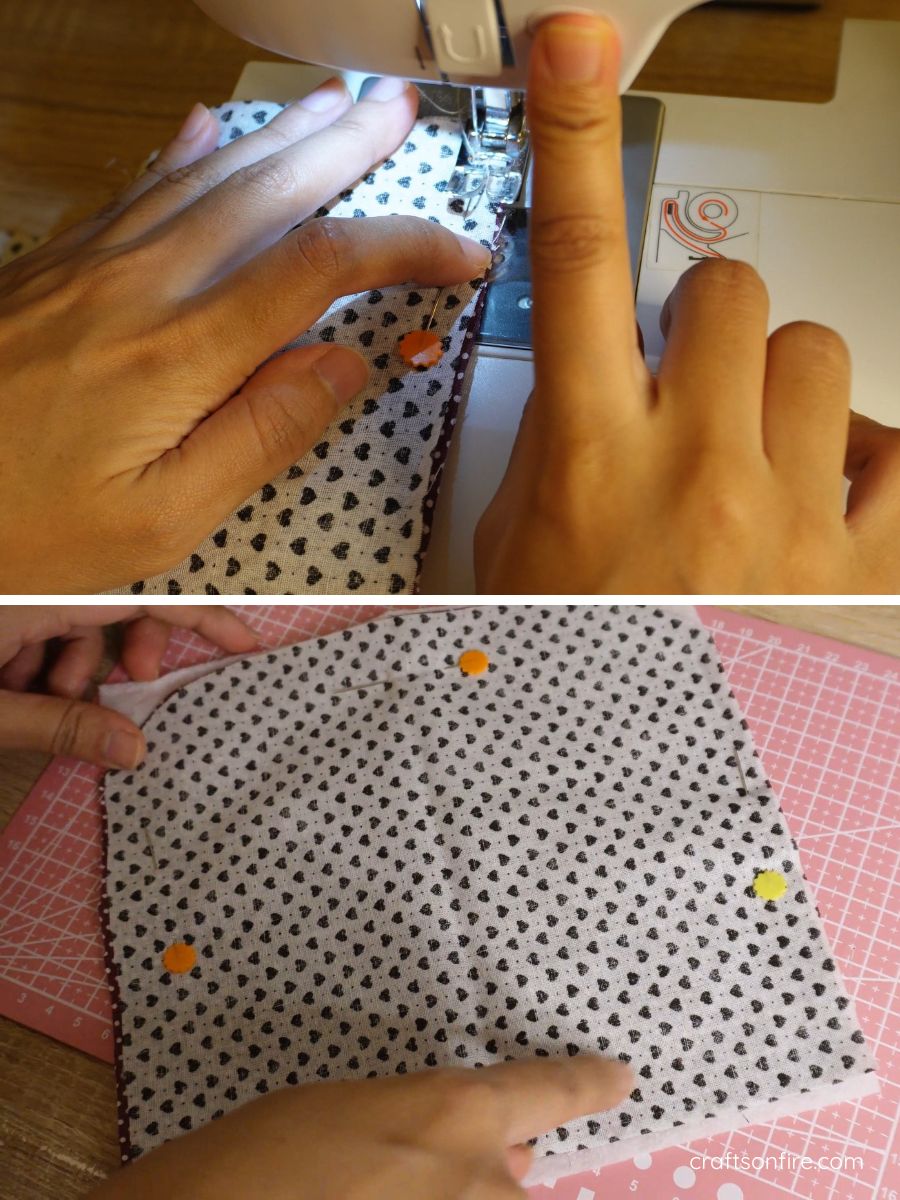
Start stitching the side of the fabric with a seam allowance of 0.5 cm – 1 cm, and make your way around the curve at the top until you reach the end of the fabric on the other side.
There should only be 3 sides stitched.
Step 3: Turn The Fabric Inside Out
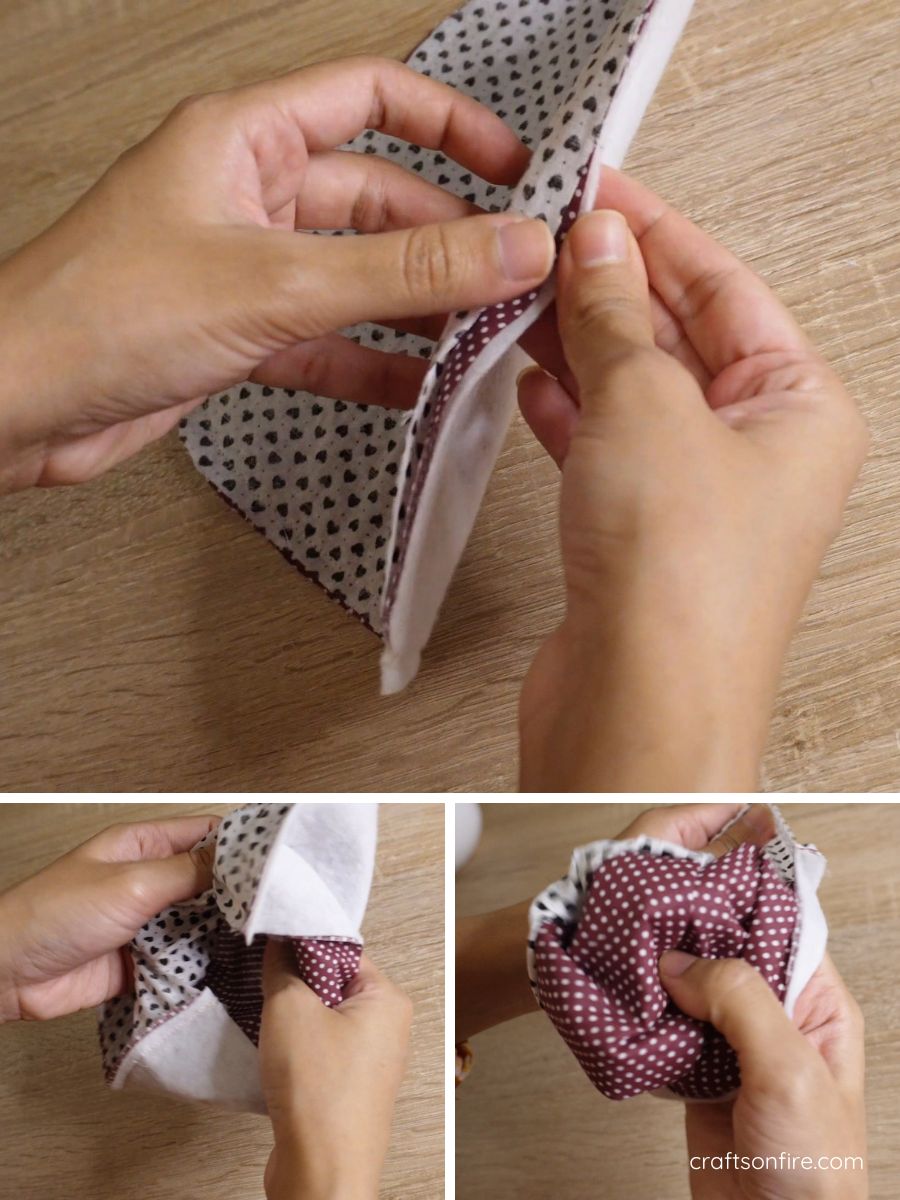
Using the opening, carefully turn the fabric inside out so that the right sides of the fabric are facing out.
To open up the fabric, use your fingers or a pen. This will help the pouch look neat.
Step 4: Iron The Fabric & Batting
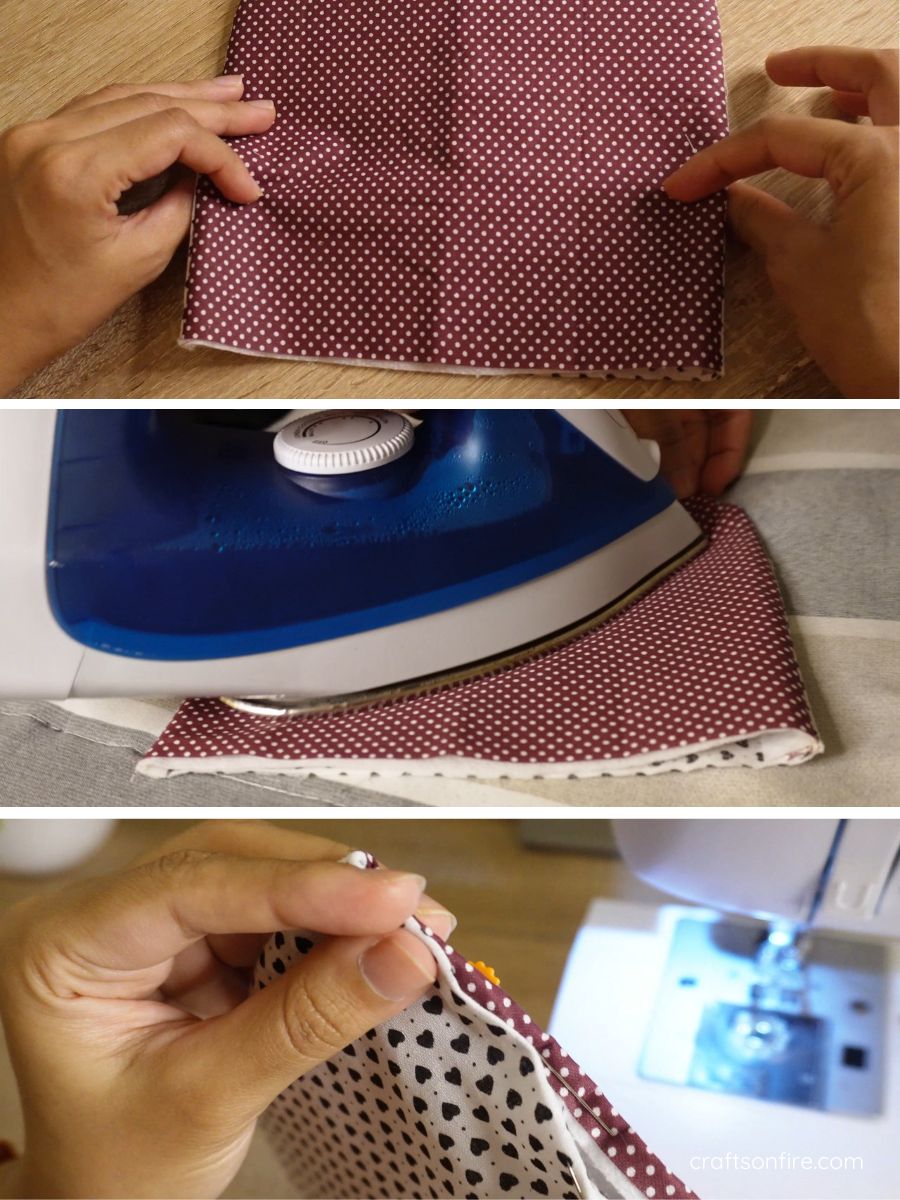
Check that all sides of the case look good. Then lightly press the fabric. Skip this step ff your fabric has no folds or lines.
Now fold the opening seams together and pin.
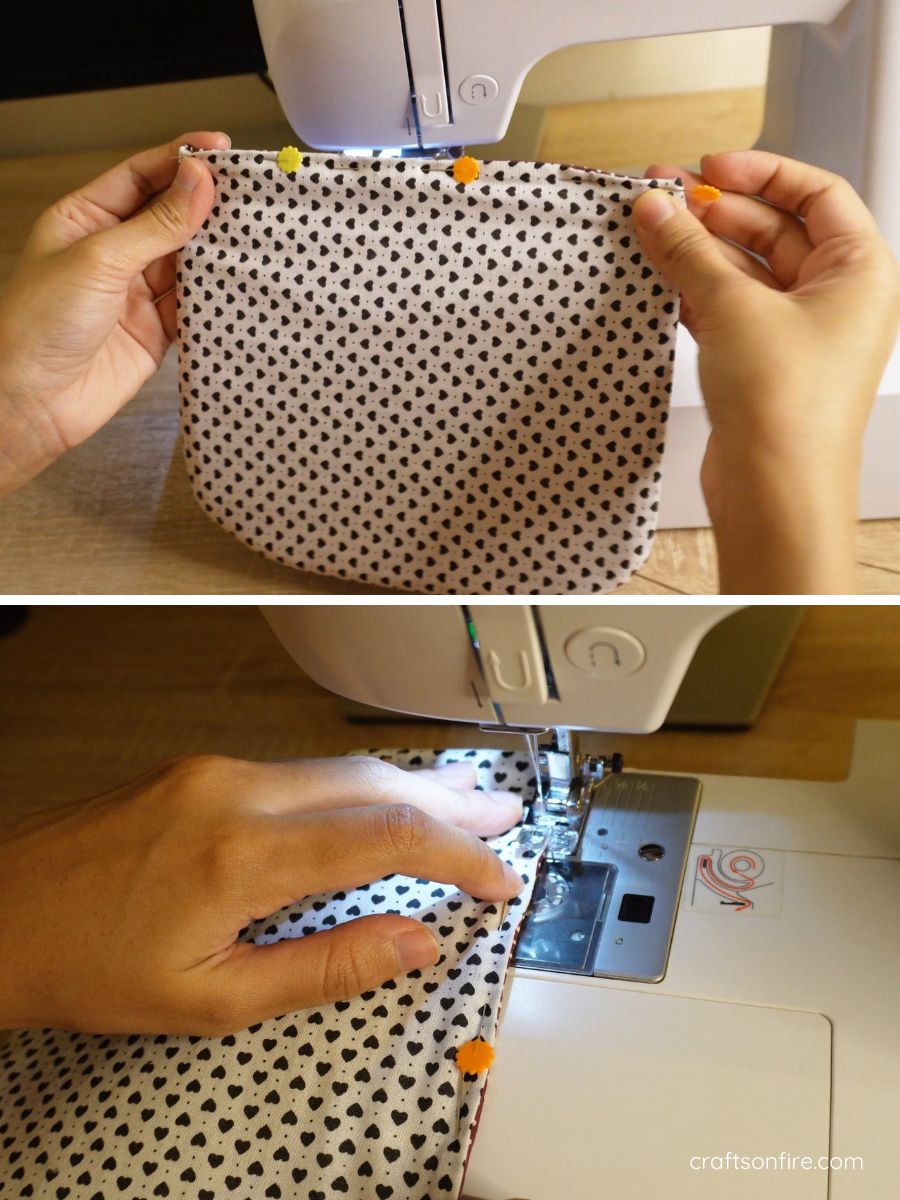
Step 5: Stitch The Opening
Use the machine to stitch the opening closed. Try to keep the stitch line as close to the edge as possible. This will help create that neat finish.
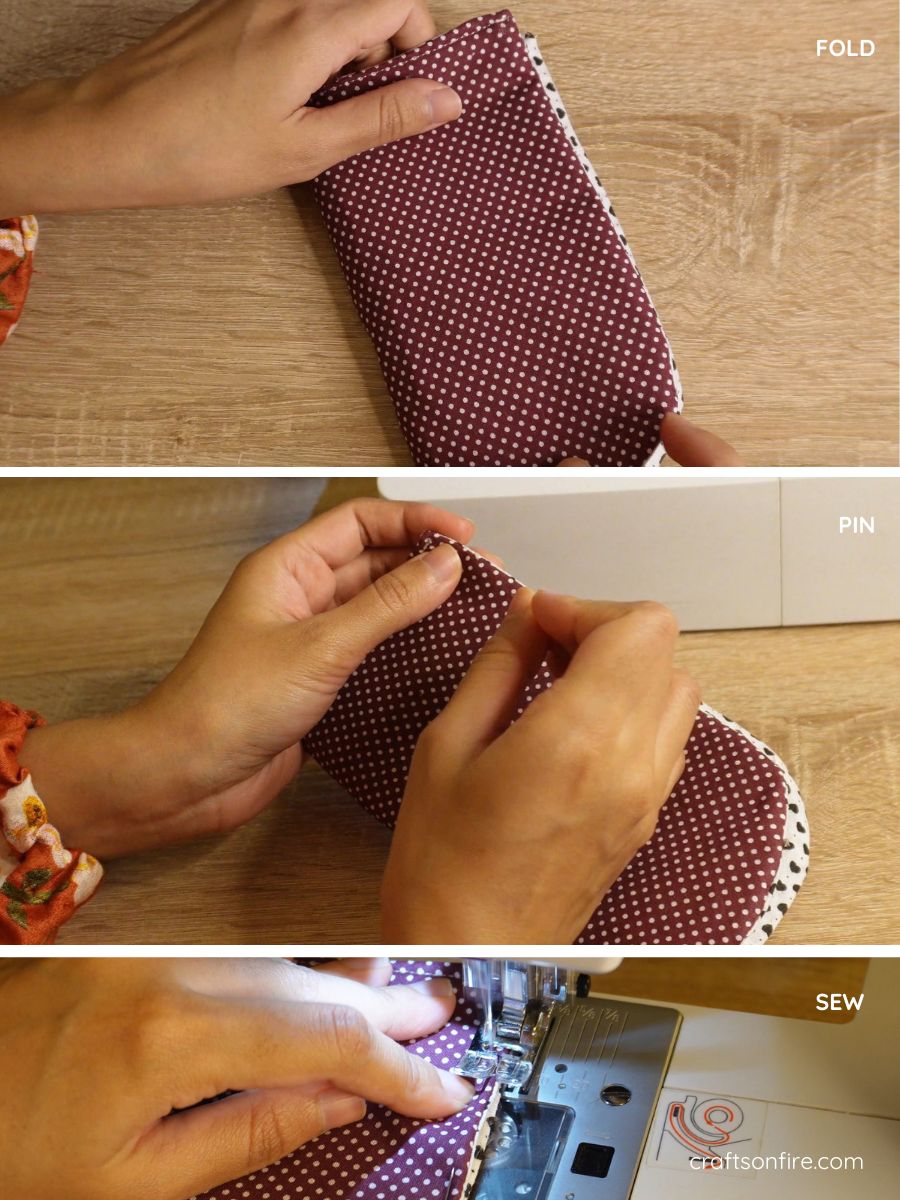
Step 6: Fold, Pin & Stitch
Once the top is stitched, fold the piece in half with the sides matching, then pin the sides. This should now look like a pouch.
Step 7: Top Stitch All Round Except Opening
Go ahead and carefully do a top stitch on the sides of the pouch while leaving an opening at the top for the sunglasses to go in!
Now you can leave the pouch as is or turn it inside out, depending on which side of the fabric you like the most. It’s totally up to you.
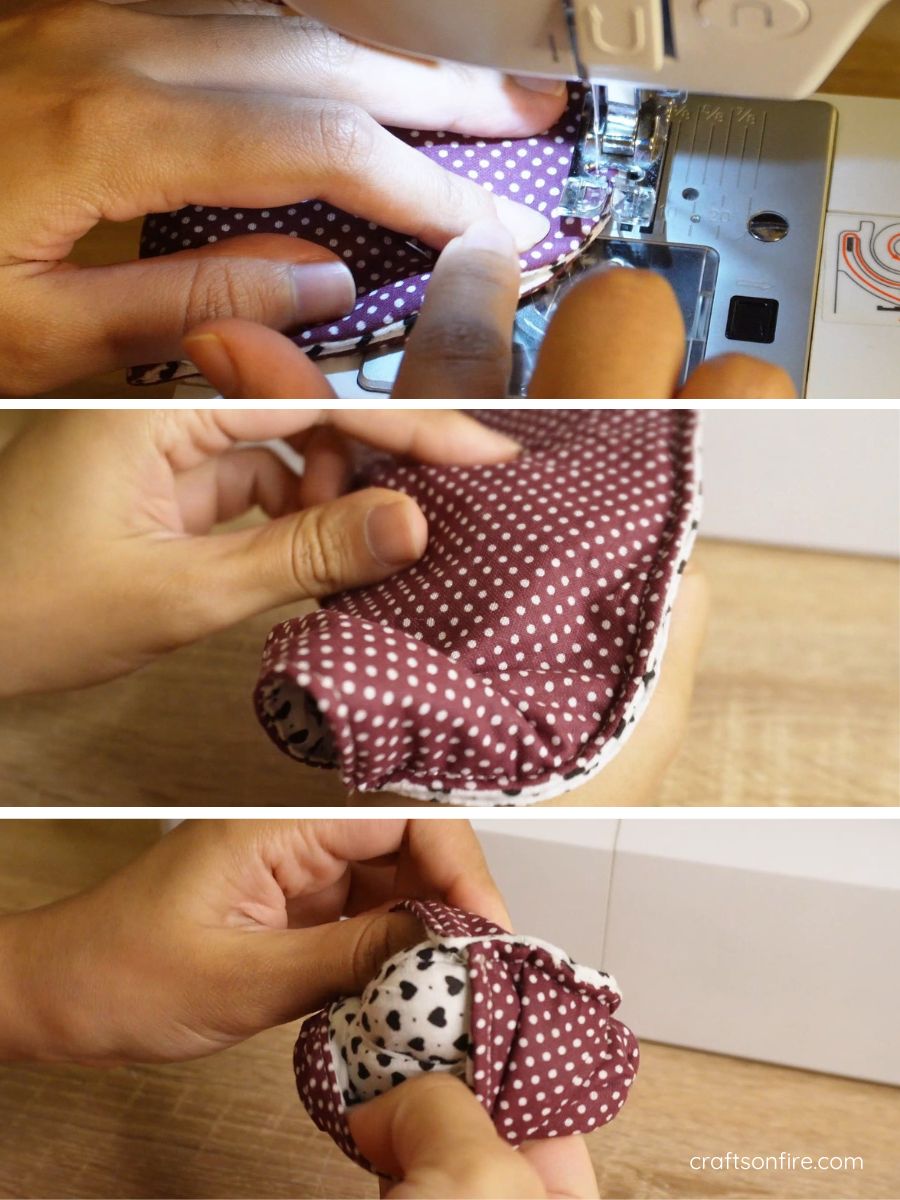
If you like how your sunglasses pouch looks on the polka dot side, add a bias binding to go around that edge so that you don’t have that seam line showing, or leave it as is.
Final Reveal
Here’s the final finish of my sunglasses pouch:
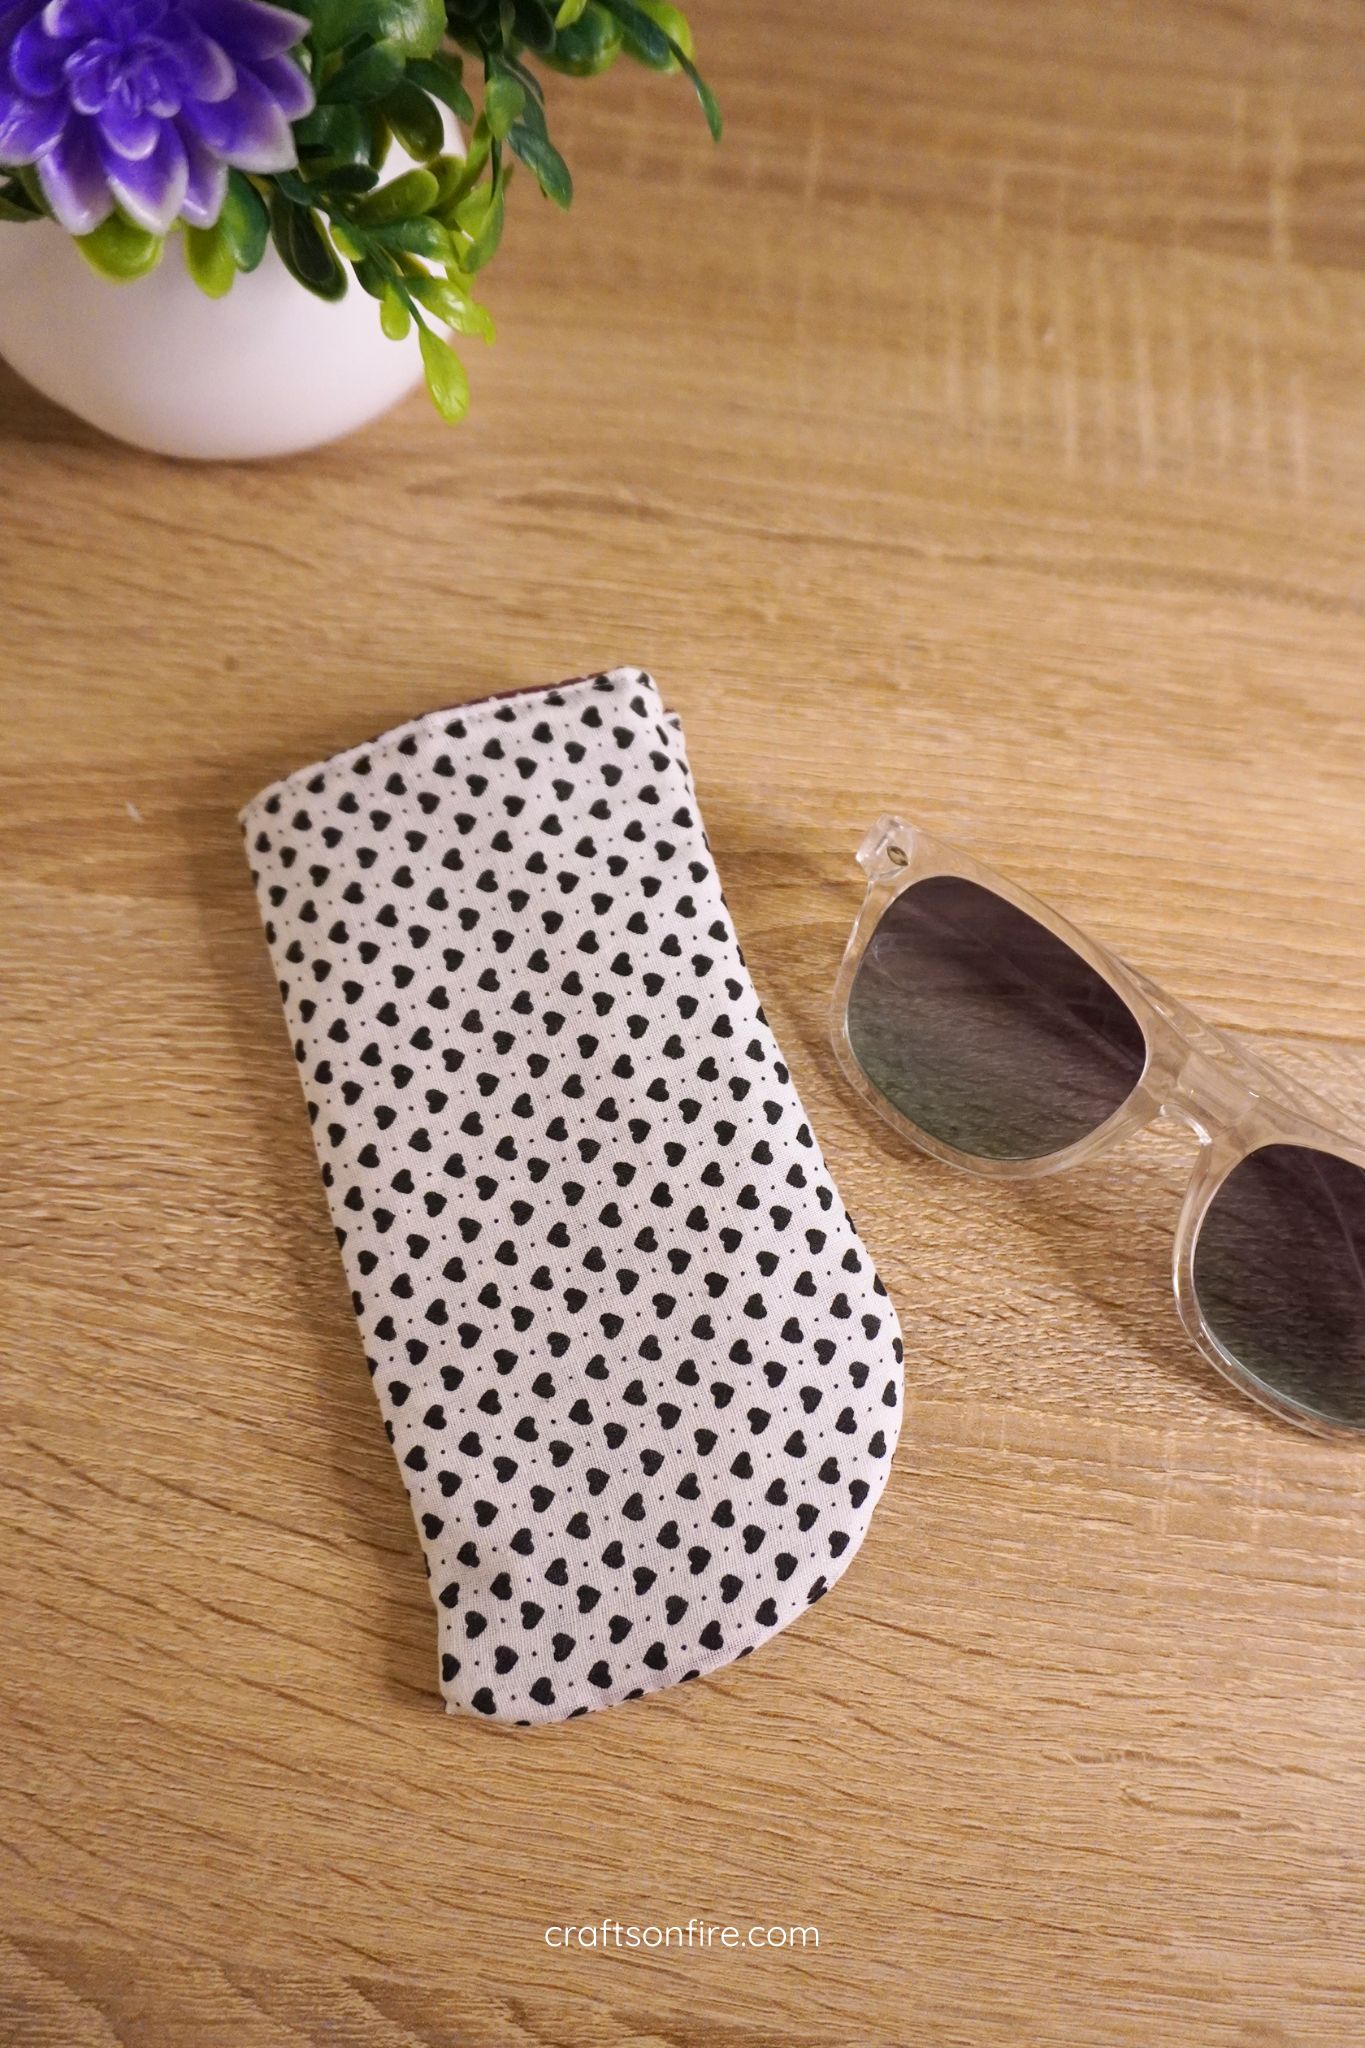
I’m so happy with this one and I love that you can turn it inside out if you ever want a different look which is a bonus for using a pretty inside fabric for the lining.
This was totally an enjoyable project and one of my favorite short sewing tutorials. I thought it would take longer since you have to do a bit of stitching but I would say you can sew this in less than 10 – 15 minutes.
I would like to point out that you don’t have to do a curved bottom if you don’t want to. You can just skip this part and go with a simple rectangle sunglasses pouch if that’s what you prefer.
Also, since my pouch is perfect for the size of my glasses, I’m not so concerned with the glasses coming out from the opening since it sits flush inside the case but if you’re worried that it will or maybe you’re using a thinner material or batting, attach a strap at the top of the case or use a small piece of velcro to secure the case.
If you sewed this sunglasses case, I’d love to see yours! Tag me in your Instagram post (@craftsonfire) or drop a quick note in the comments below to let me know how yours turned out!
More Easy & Quick Sewing Projects
DIY Patchwork Pin Cushion Tutorial
