DIY Patchwork Pin Cushion Tutorial
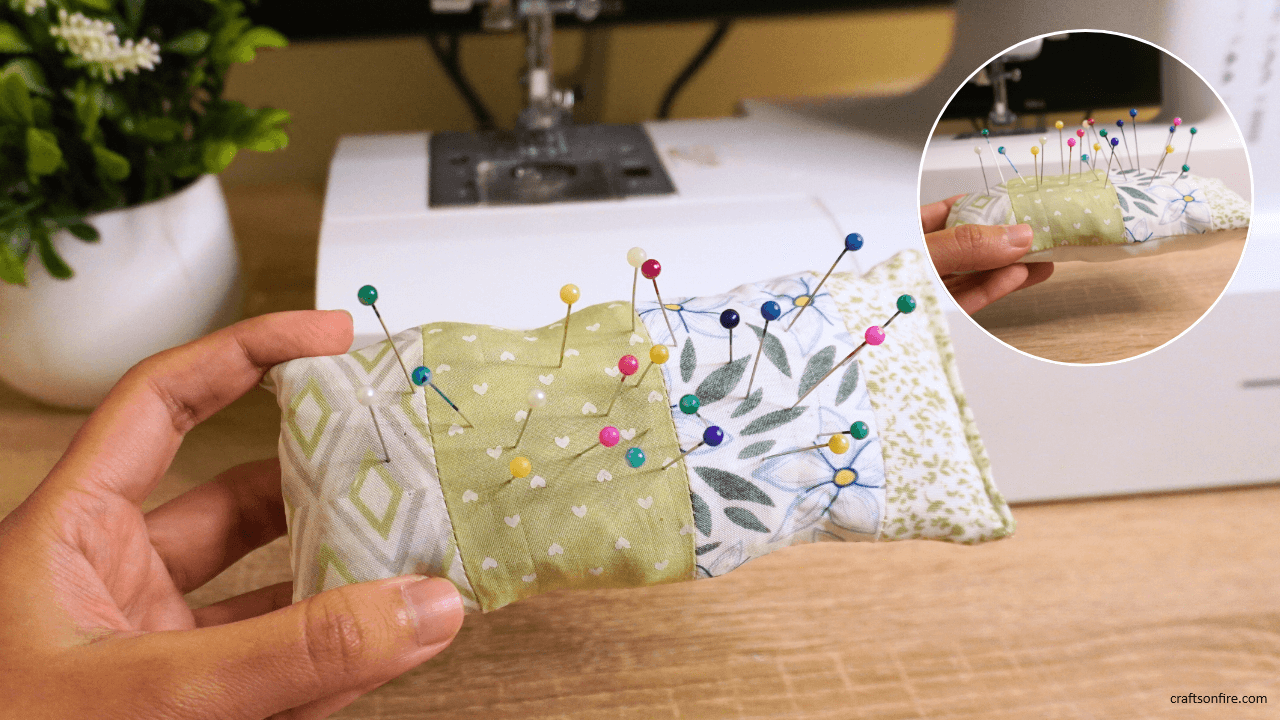
Before you discard small pieces of fabric, check out this sewing tutorial on how to make a patchwork pin cushion, because I think you’ll love it!
Frankly speaking, I don’t like creating scrap fabric tutorials that look like Frankenstein projects (lol). I want the things I sew to look cute, elegant, or stylish. Thankfully, by some miracle, I was able to do just that with this tutorial.
The good news is that you don’t need much experience with sewing or much fabric to complete this project, and I included a video to make it as easy as possible.
Let’s get started!
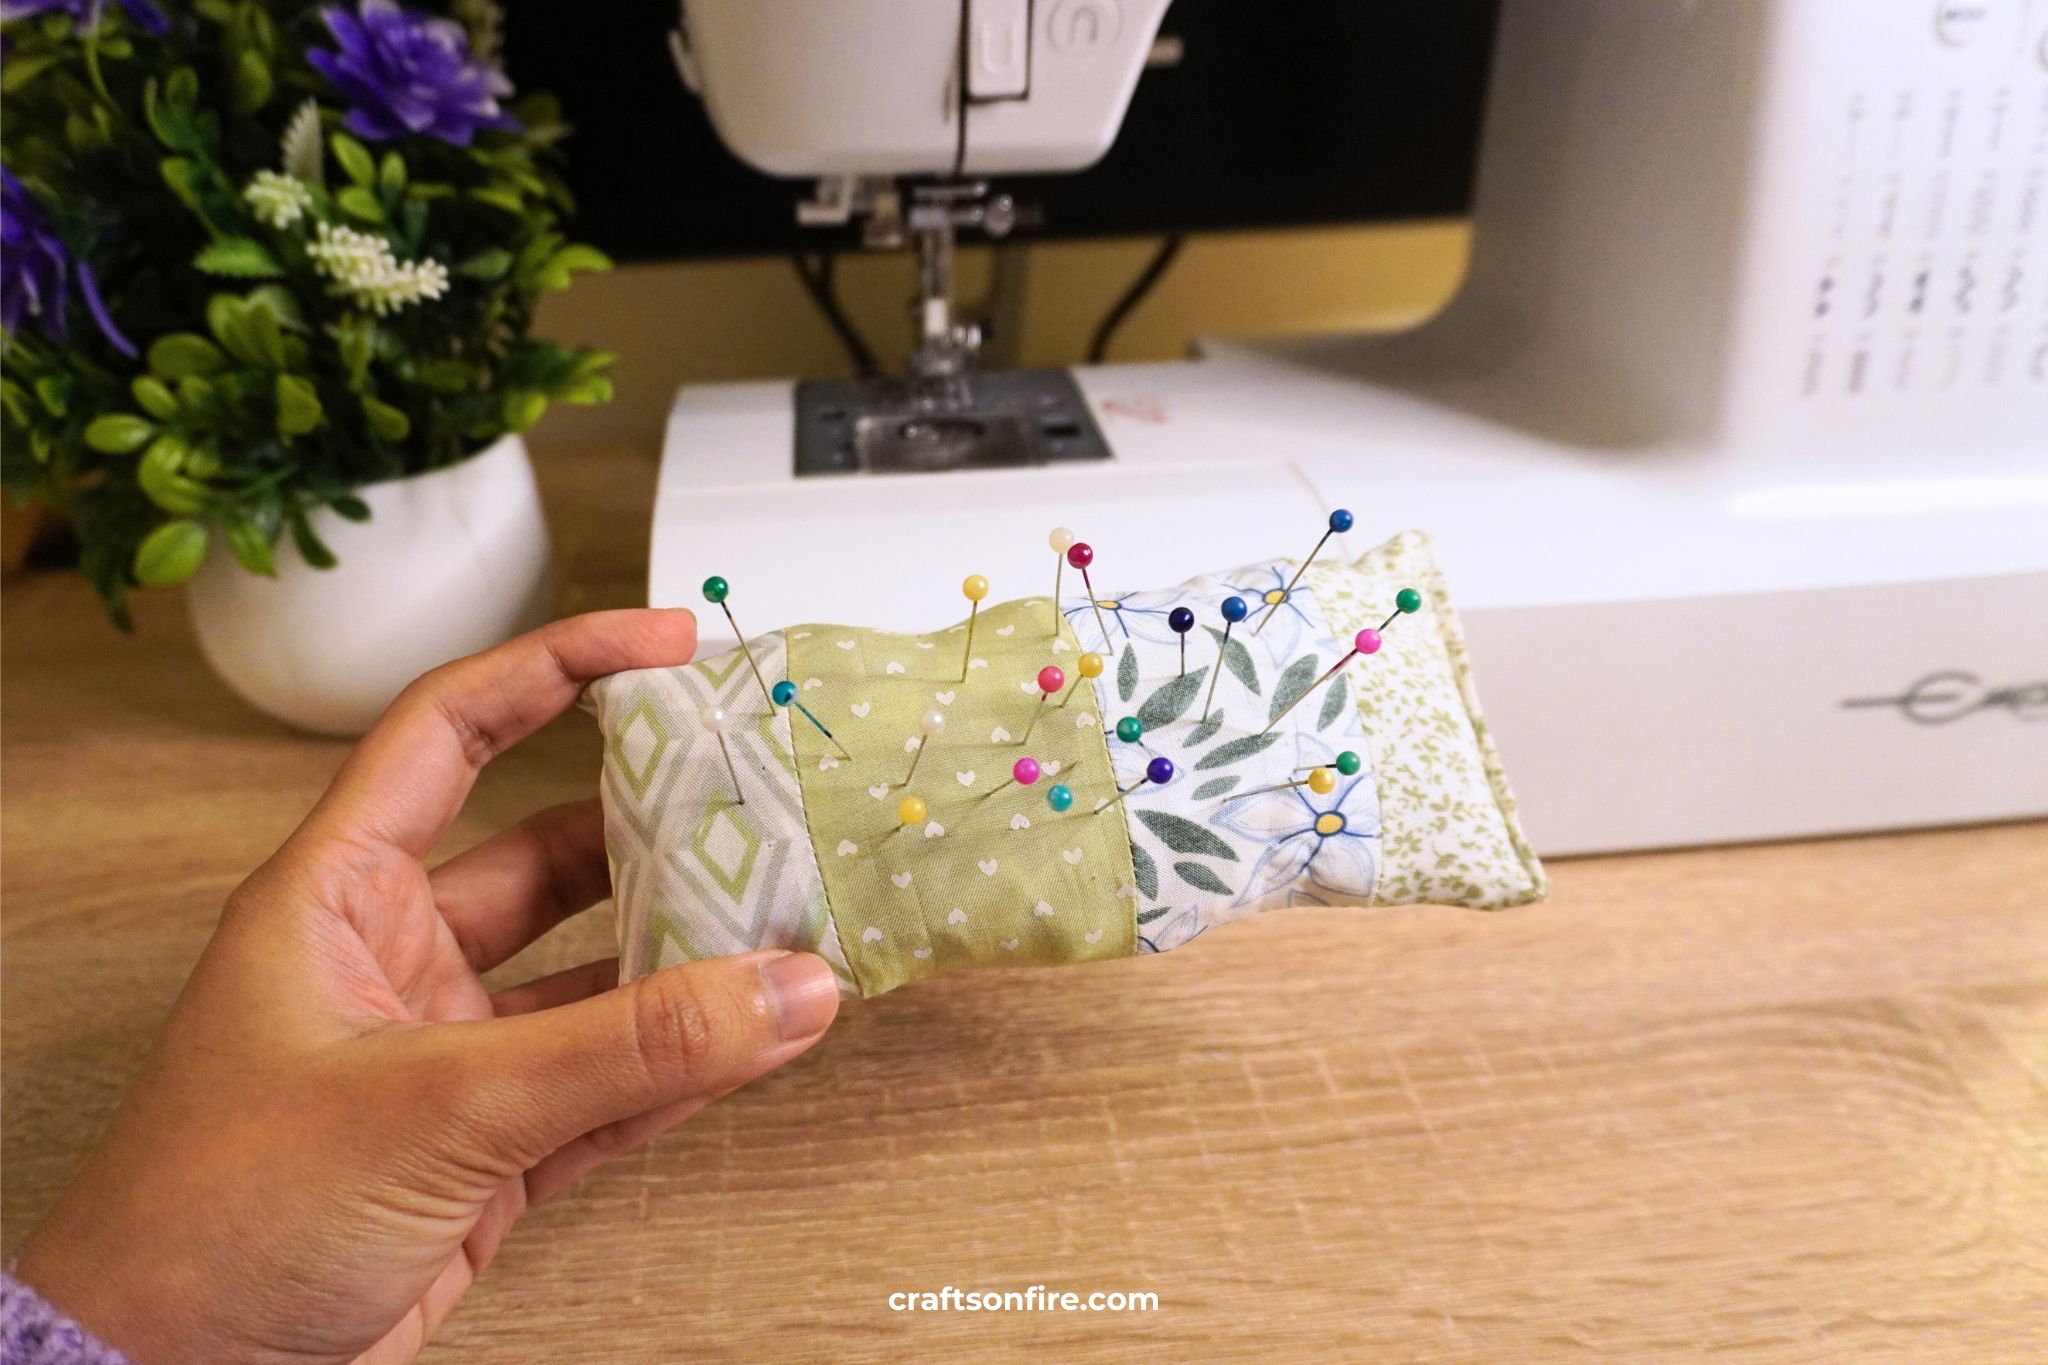
Table of Contents
Supplies
- 4 pieces of fabric with patterns
- White material for the underside
- Scissor
- Pins
- Scrap fabric and/or fabric batting
- Needle (optional)
- Cotton of choice
Video Tutorial
Instructions
Step 1
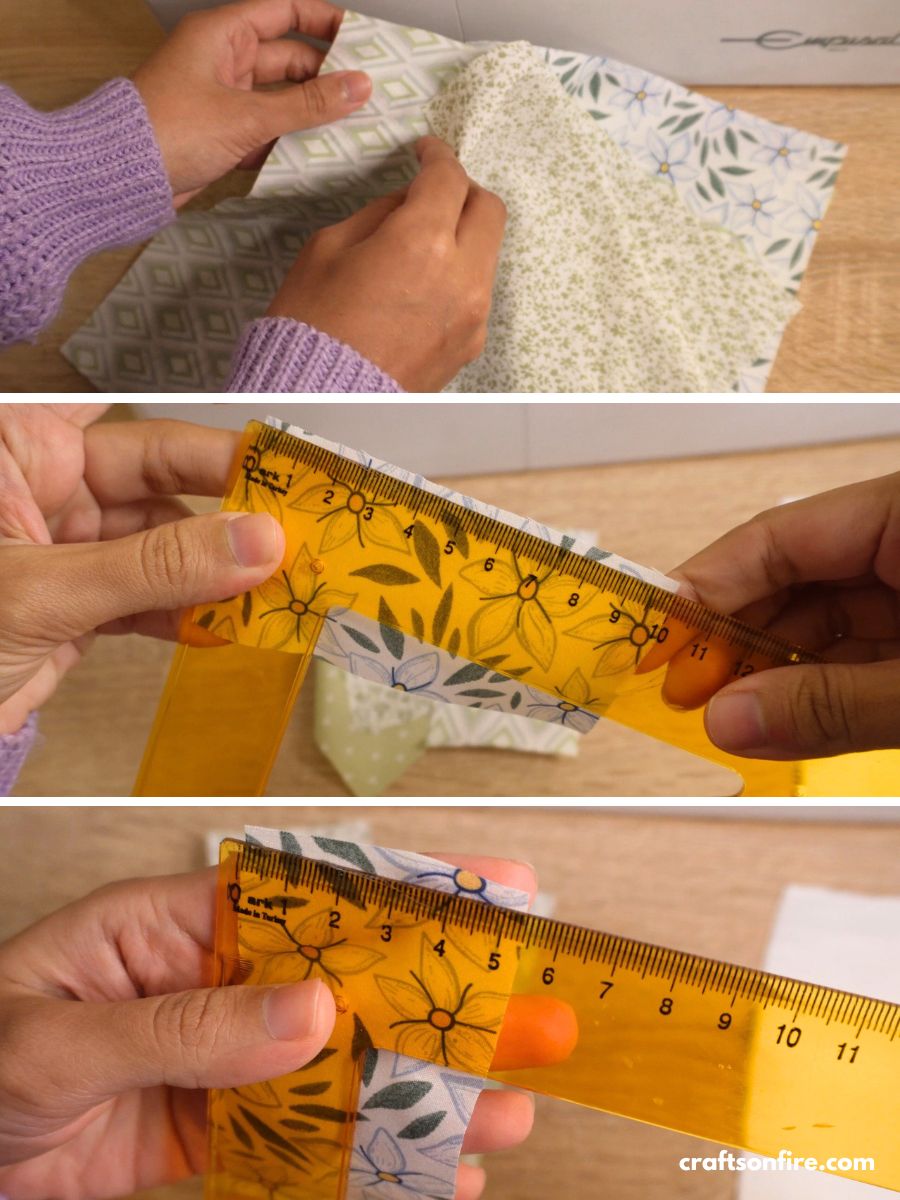
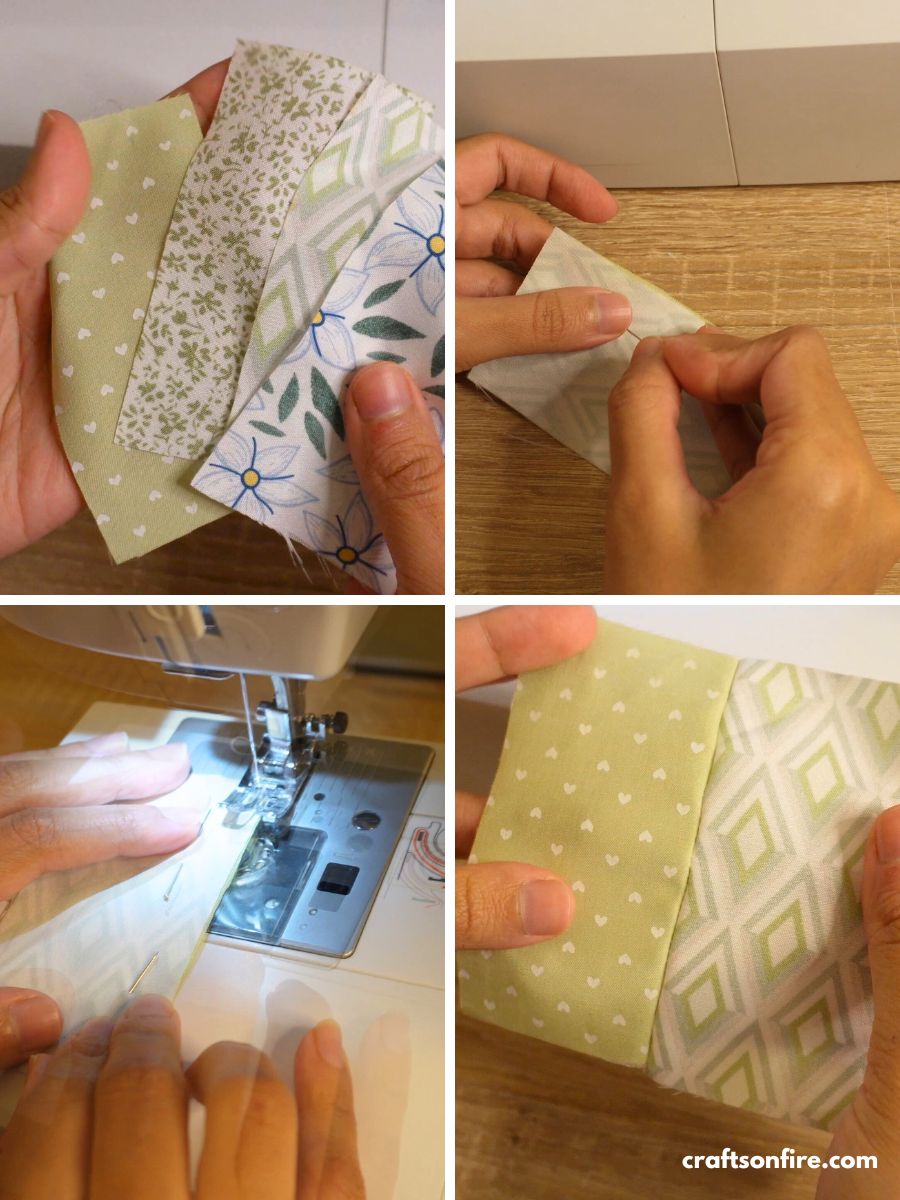
Grab all four pieces of fabric and cut them into rectangles. In this tutorial, the measurements are as follows: 10 cm horizontal and 5.5 cm vertical for each rectangle piece of material.
Step 2
Place one rectangle onto another with the wrong side of the top one facing up. Use pins to secure them together, and stitch down one horizontal end with a sewing machine. For this step, I used a standard straight stitch, but you can overlock for a stronger hold.
Step 3
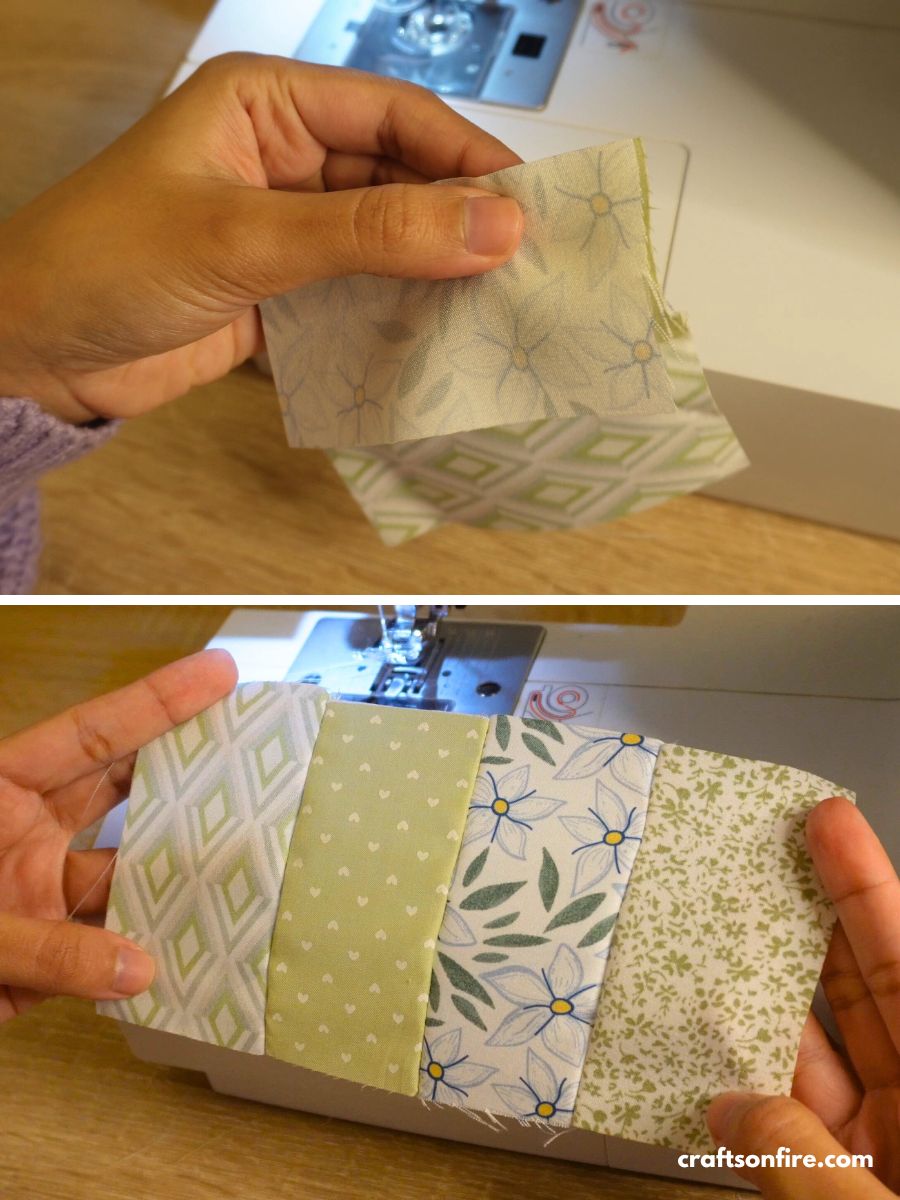
Add another rectangle on top of the newly attached one, with the wrong side facing you. Stitch down the side and create another flap that opens up into the correct side. Repeat this until all four pieces of fabric have been sewn together.
Step 4
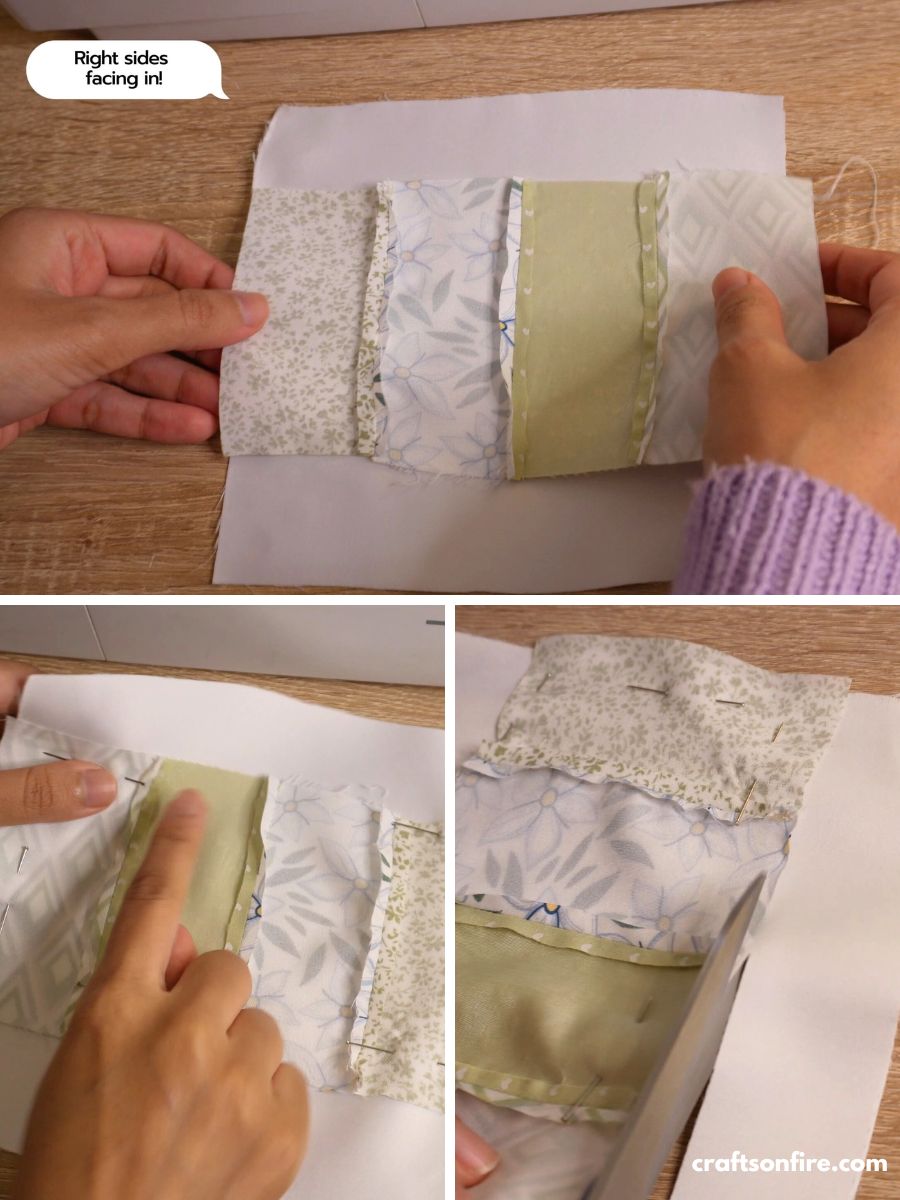
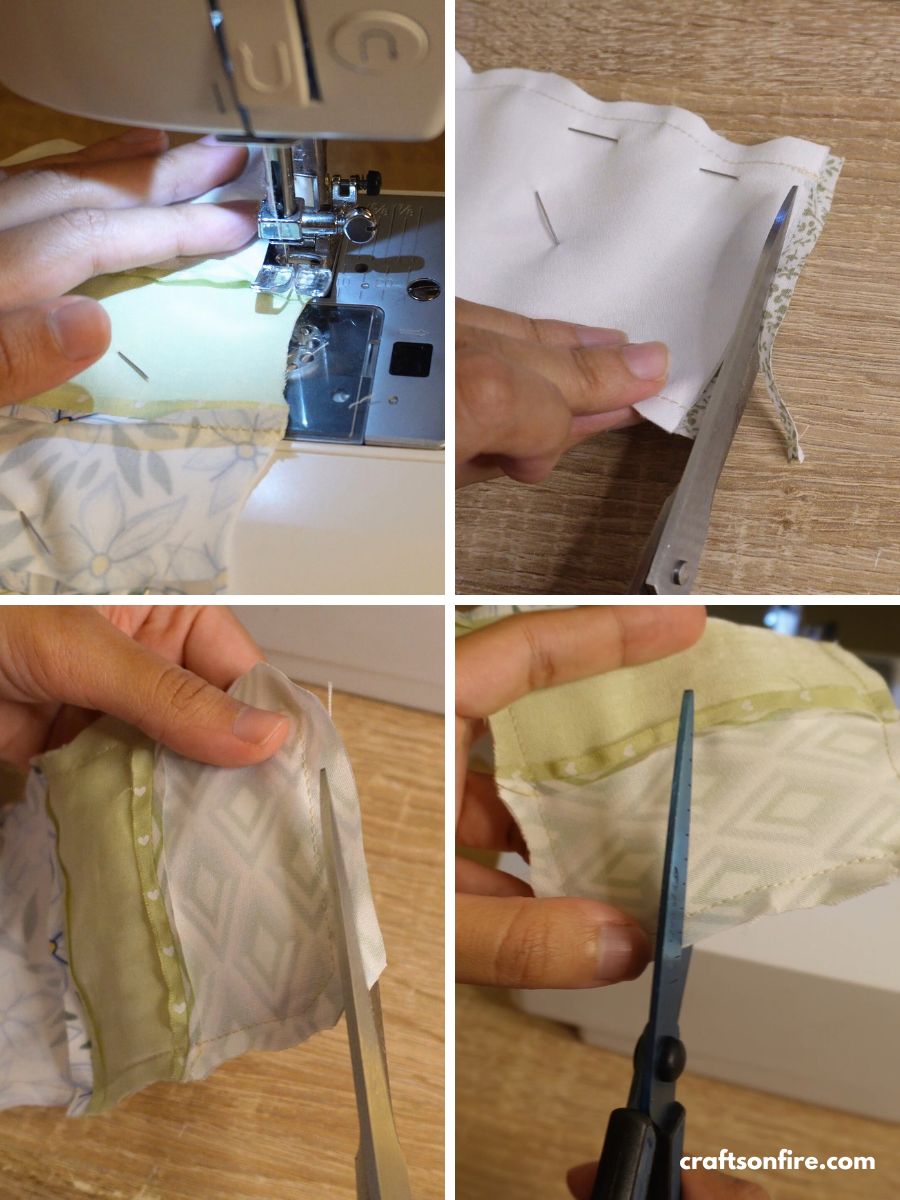
Place the four pieces of material on the plain white material. The correct side should face towards the white backing, while the incorrect side faces you. Attach them together with pins and cut along the sides.
Step 5
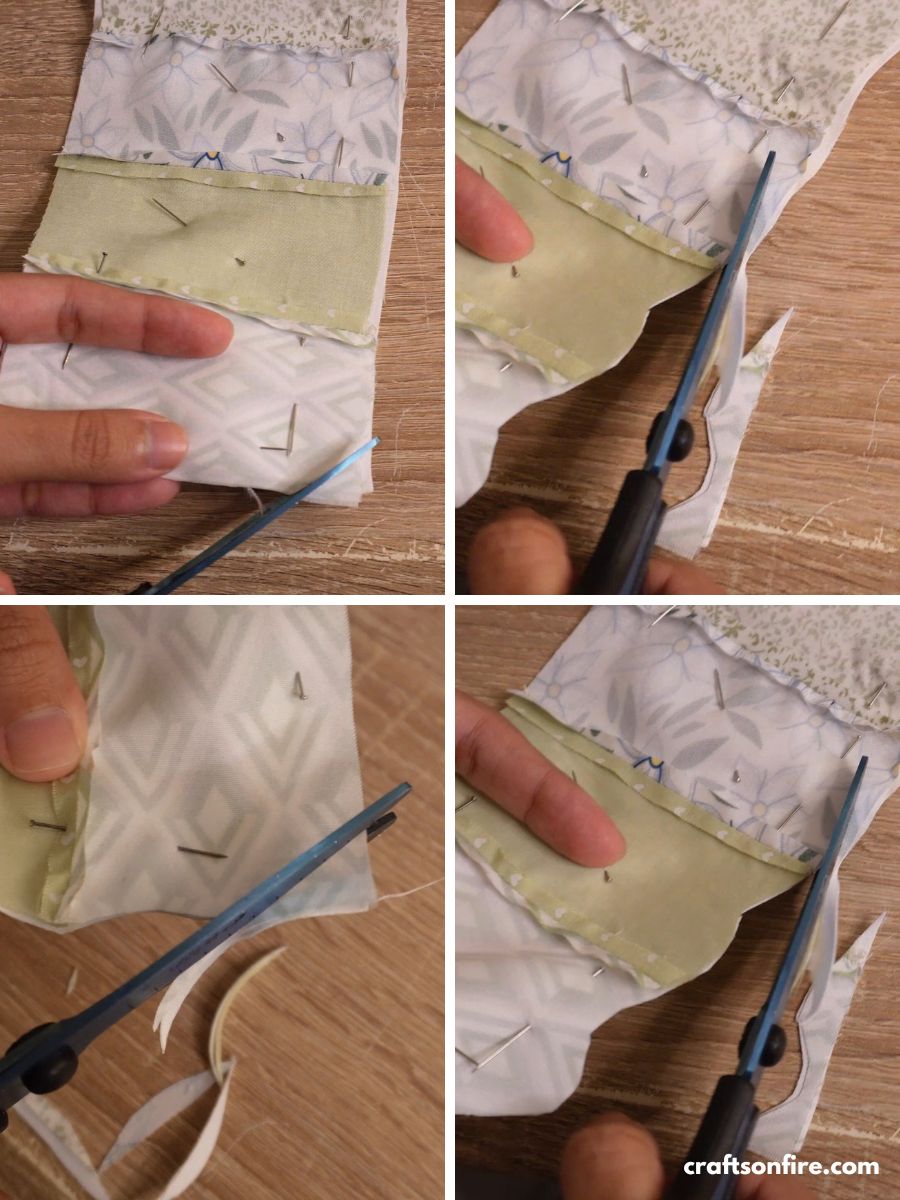
You can sew the pin cushion in a perfect rectangle, or you can cut along the horizontal sides in a wave-like pattern for a unique design.
Step 6
For this step, we will stitch 3 sides of the pin cushion, following the flow of the design on each side. Both horizontal sides and one vertical corner should all be stitched in a seamless manner, while the remaining side should be stitched only a cm on each corner. The unstitched end will be used to stuff the cushion with scrap material or fabric batting. Once stitched, trim the ends and gently cut along them.
Step 7
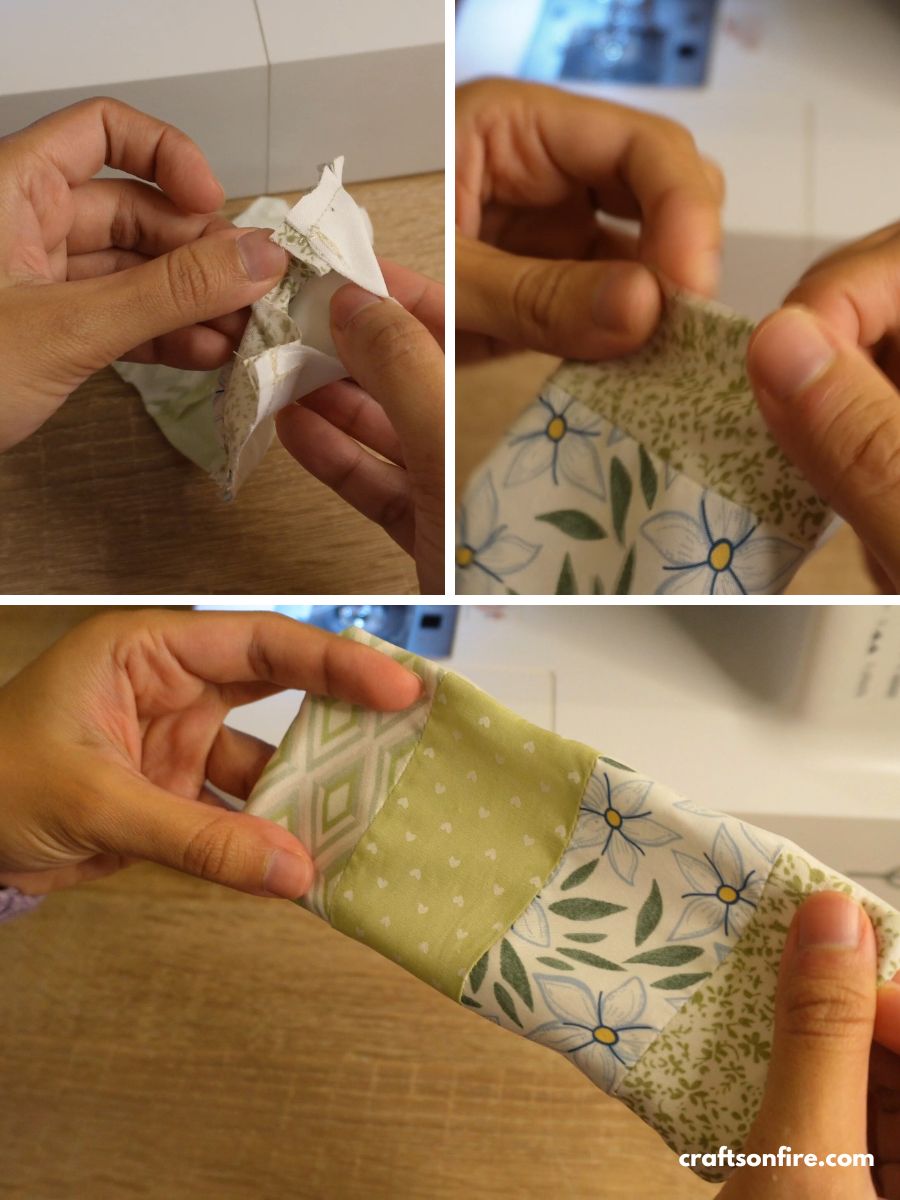
Turn the pathwork pin cushion inside-out to reveal the correct side. Use the open corner to pull the correct side out.
Step 8
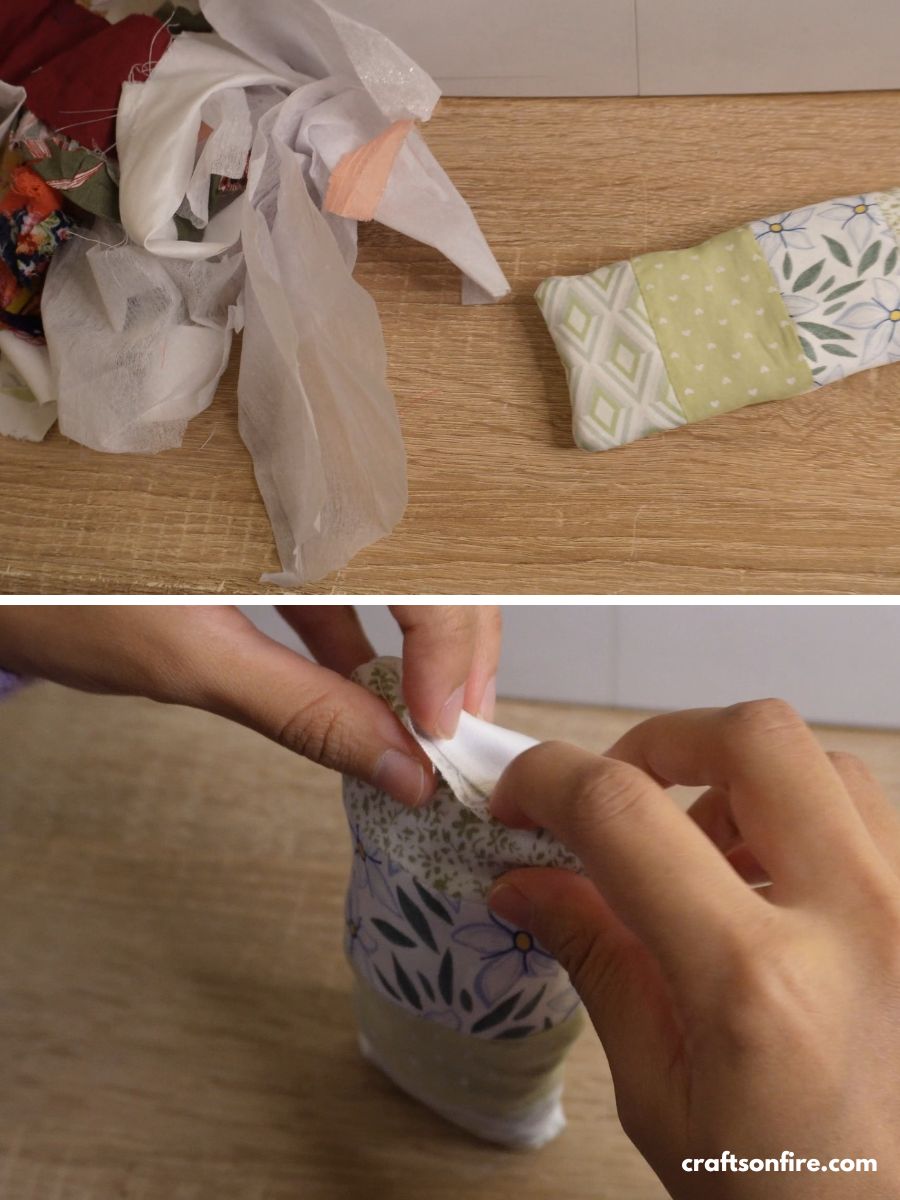
Use as much scrap fabric or fabric batting as possible to stuff the pin cushion until it is thick enough to hold pins. Thereafter, fold and pin the open end so that you can sew it closed.
Step 9
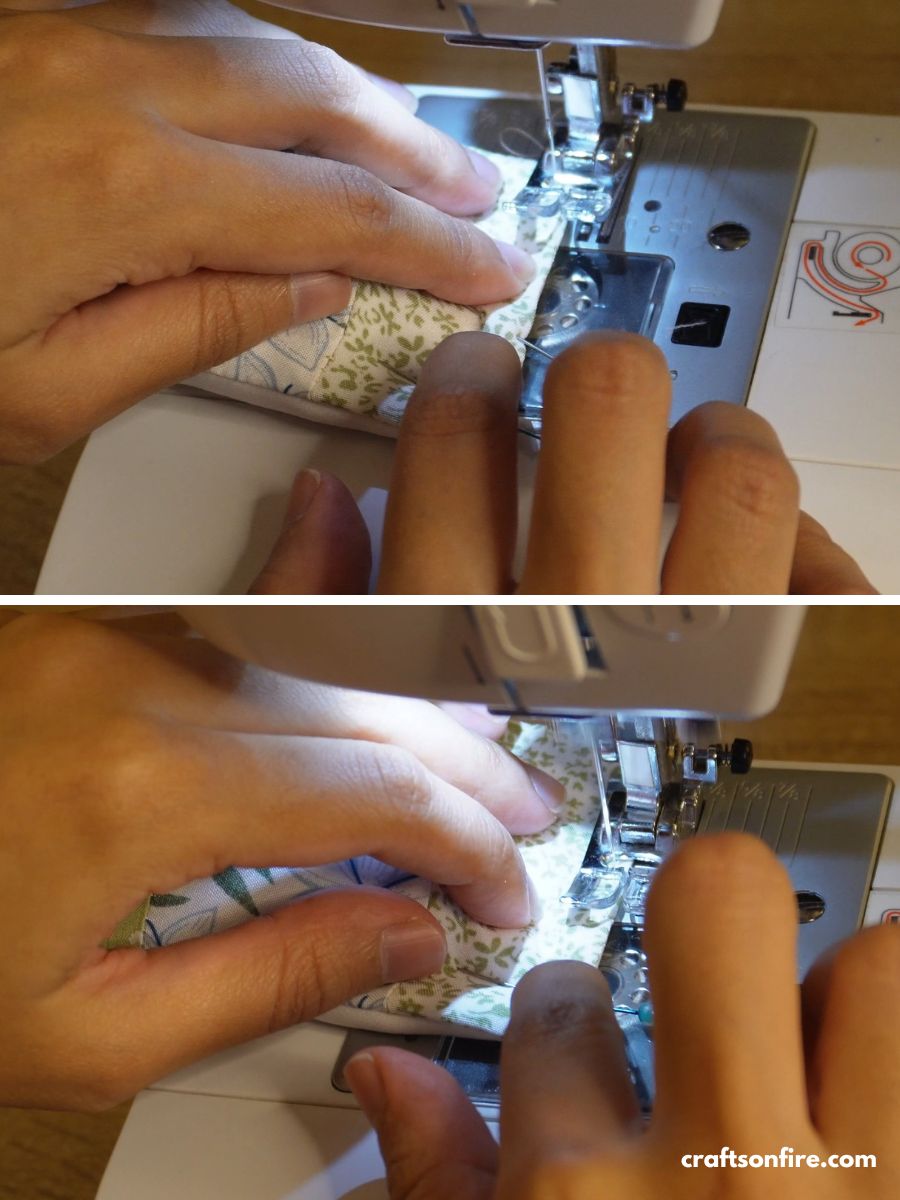
Use a straight stitch or an overlocking stitch to sew the end. Try to place the sewing machine foot as close to the edge as possible. Alternatively, use the invisible slip stitch to sew it closed by hand.
Finished Project!
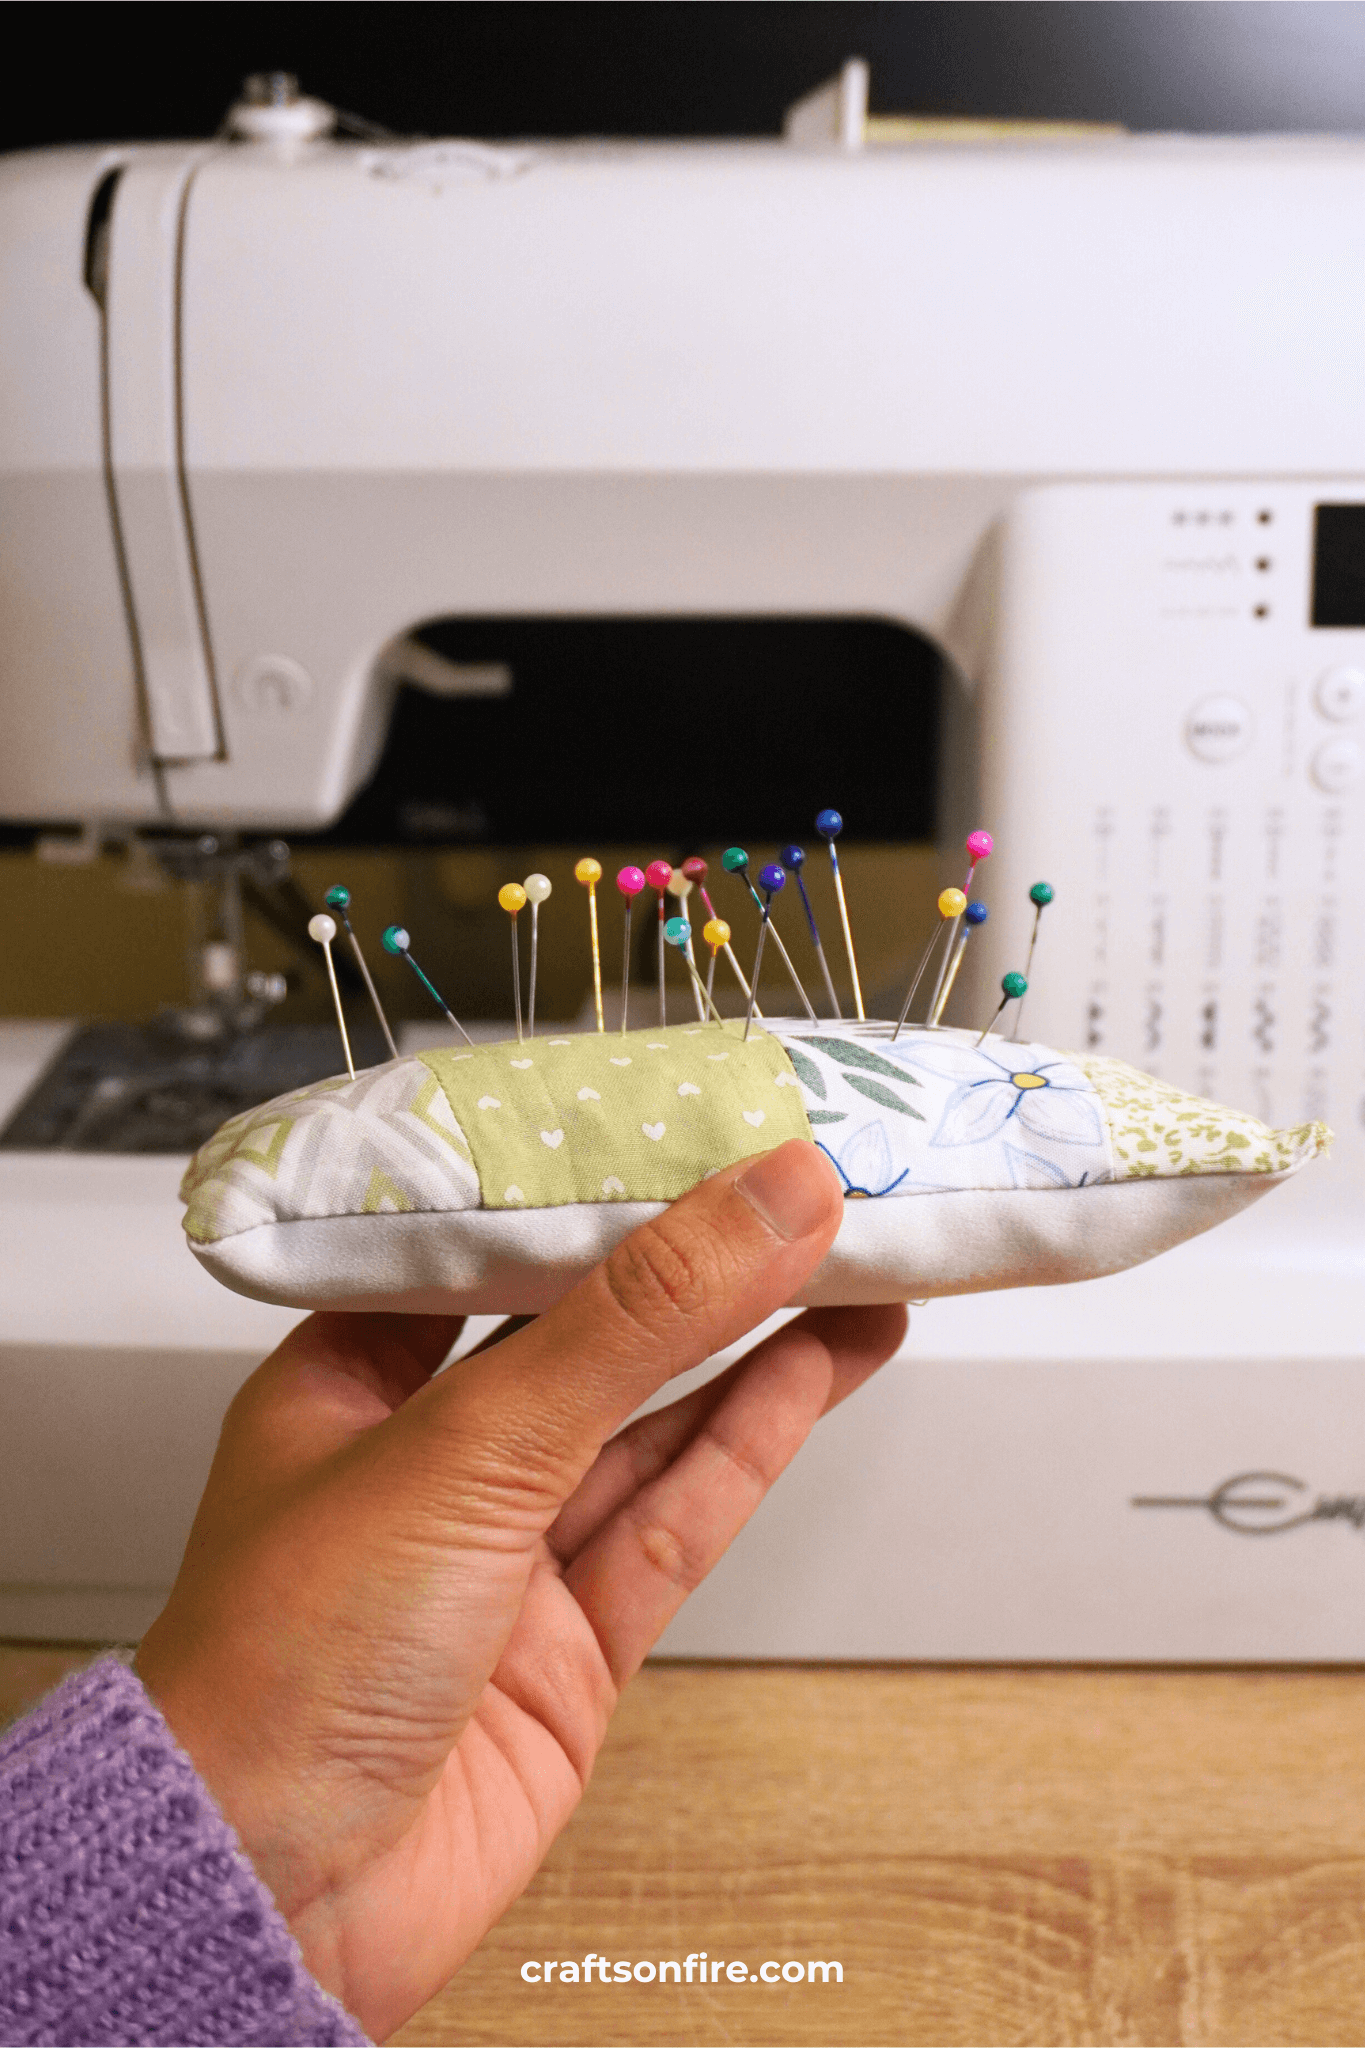
After that last step, you would have successfully sewn this pathwork pin cushion by yourself!
You may not have realized this, but plain pin cushions tend to show pin holes after some time. Thankfully, using different fabrics with a variety of patterns conceals the visibility of pin holes, making it a longer-lasting product.
I’m so happy that you decided to follow along with me on this tutorial, and I hope you enjoyed it as much as I did. If you need additional help with this tutorial, feel free to ask your questions in the comment section below, and I’ll be sure to reply as soon as I can.
Other Easy Sewing Projects To Try Next:
