Woven Fabric Coaster (Sewing Tutorial)
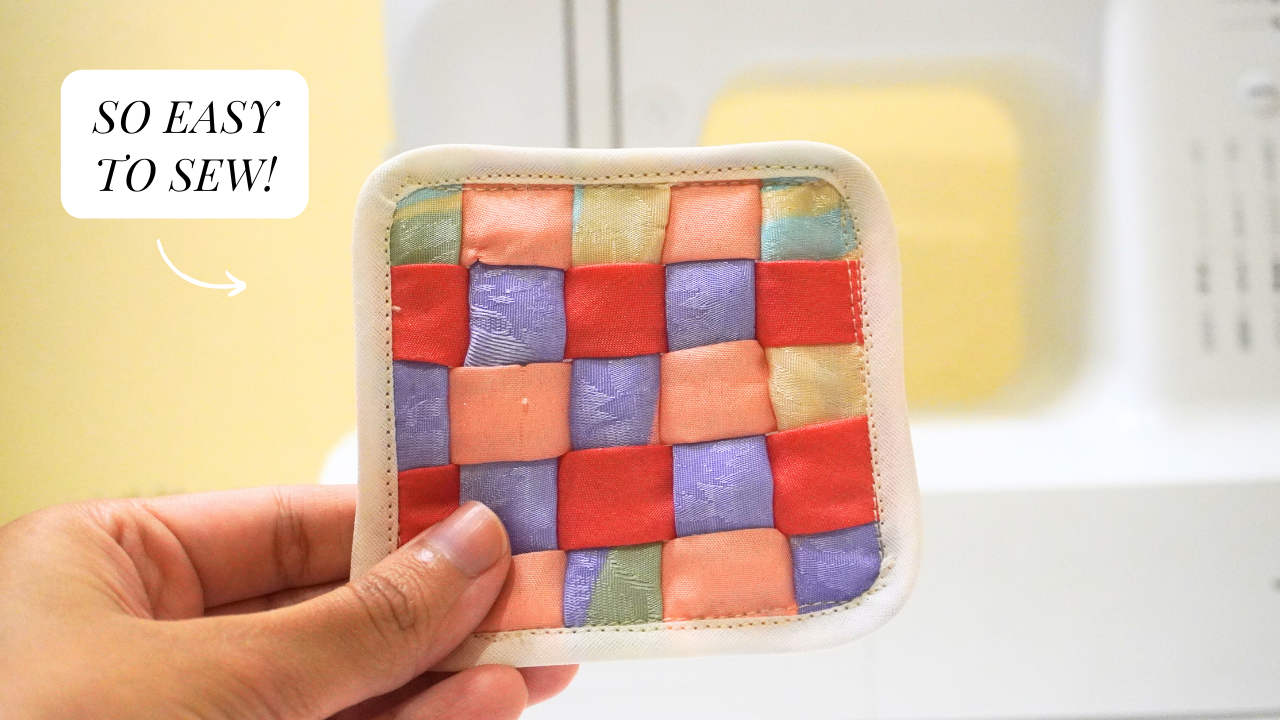
I recently came across a really cool woven fabric basket while looking for something easy to sew and I thought what an incredible idea it would be to make a fabric coaster in this design. Lo and behold, a pretty woven fabric coaster was born! Or should I say – sewed!
This coaster is creative, pretty, and so fun to make.
If you love the woven look, then this tutorial is perfect for you. You could even make a large placemat with this design except you’ll need to cut longer strips.
Let’s get straight into it.
Difficulty level: Easy – Medium*
*It can be a bit challenging for a total beginner to make but I would advise that the pinning part and the bias binding stitching might be slightly challenging. However, it’s still worth trying!
Table of Contents
DIY Woven Fabric Coaster
Materials
- Sewing Machine
- Pins & Scissors
- Safety Pin
- 10 Strips of Fabric
- Iron
Video Tutorial
Instructions
Step 1
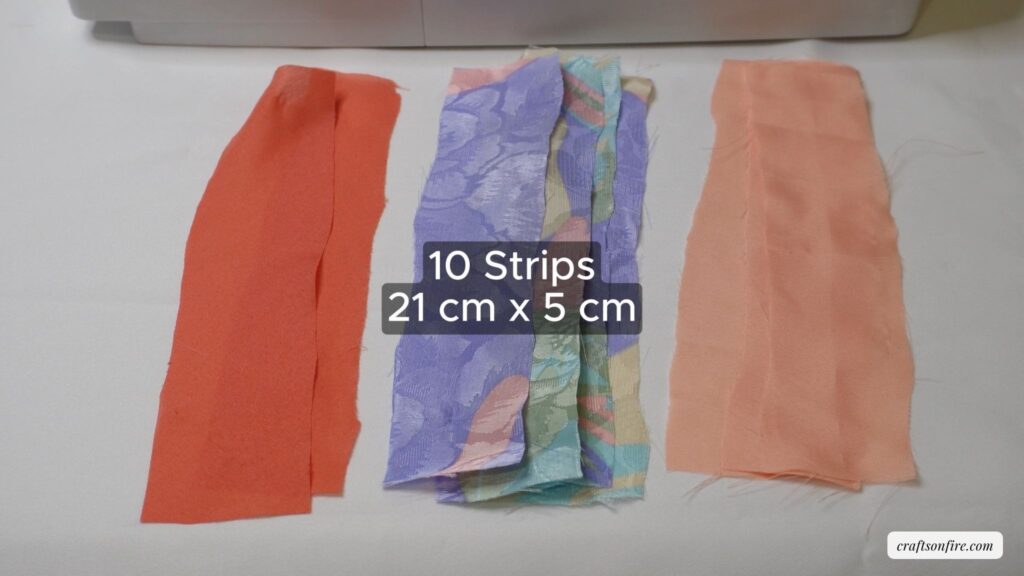
To make this cute woven coaster, cut out 10 strips of scrap fabric.
The dimensions for these strips are 21 cm (L) X 5 cm (W).
If you’re creating a larger woven coaster, you might need to cut additional strips.
For this coaster, I thought it would be nice to stick with a pink theme so I chose two plain colors and a patterned strip to make it more interesting.
Step 2
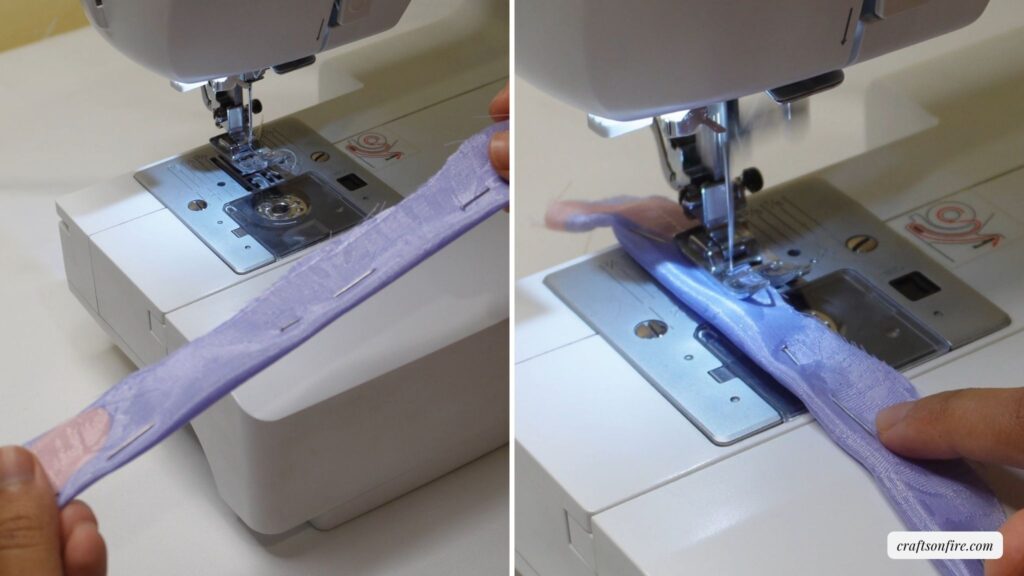
Grab your first strip and turn it to the wrong side. Pin the side of the strip and sew it together. Repeat this step for all the strips.
Step 3
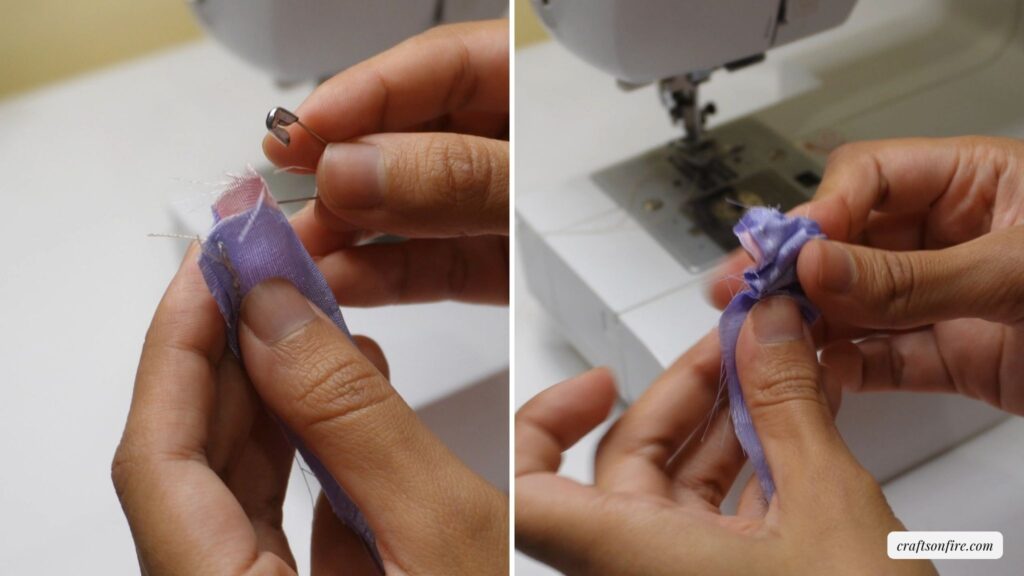
Take a safety pin and poke it through the top of the opening. Thread the safety pin through the tube until it’s turned to the right side of the fabric.
Step 4
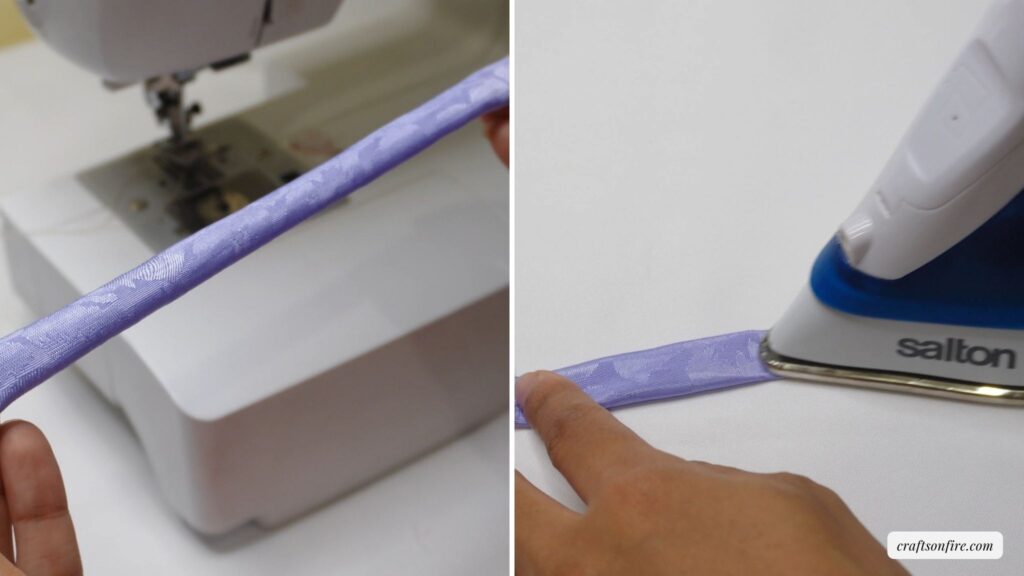
Your strip should now look like this. To make the strip easier to work with, iron the strip down lightly.
Step 5
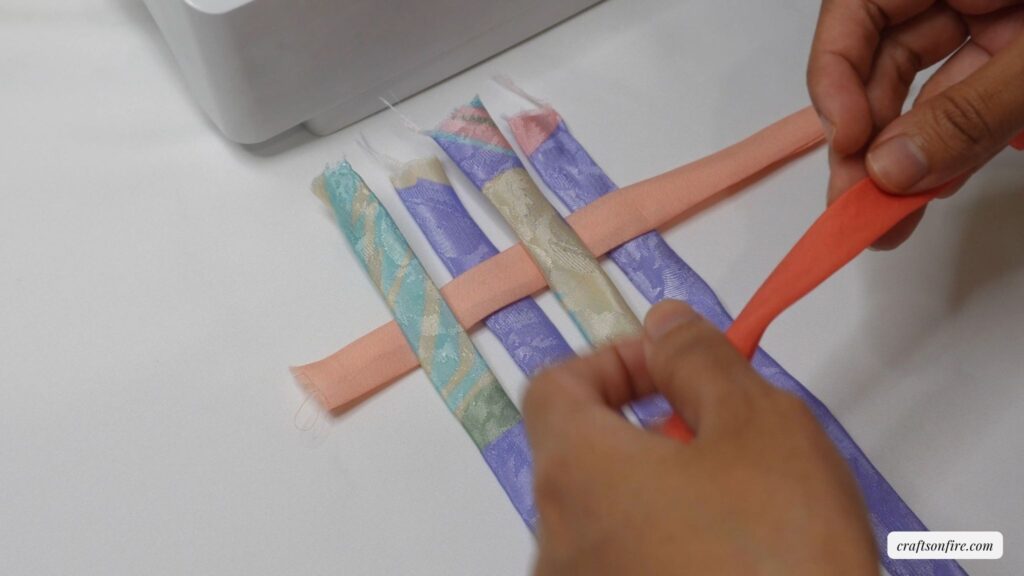
Once all your strips are ready, start woving each strip together. I first placed the patterned strips down side by side. Then I took the first color strip and wove it between each alternating patterned strip.
Step 6
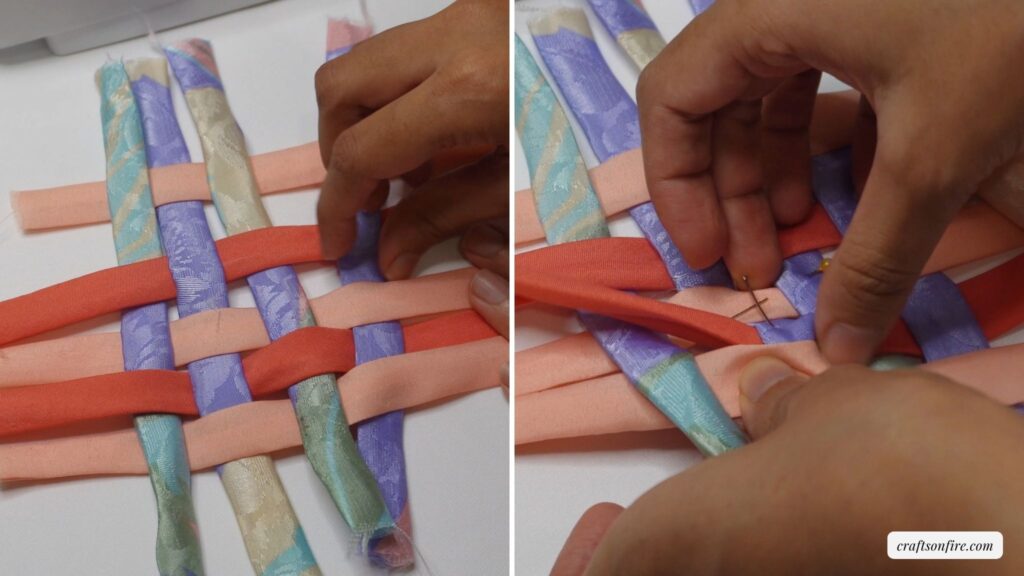
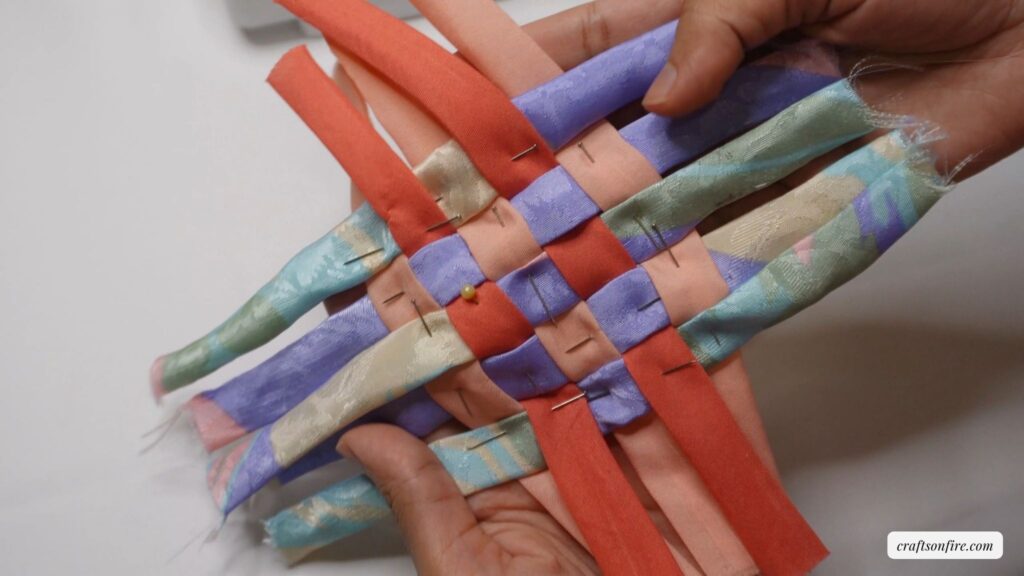
Continue this pattern for each strip until you reach the end. Once you like how the woven strips look, you can then pin them into place until all the strips sit flush against each other. You might have to start pinning from the center and then move out.
Step 7
Here’s how my strips look once pinned:
Step 8
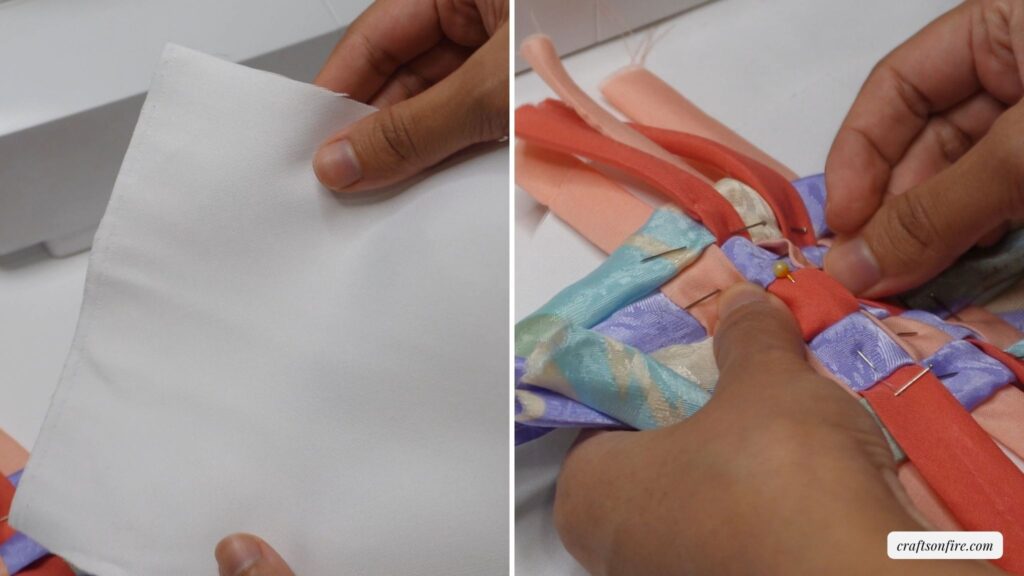
Cut out a piece of white fabric that will fit the size of your coaster. Pin the woven strips to this white fabric.
Step 9
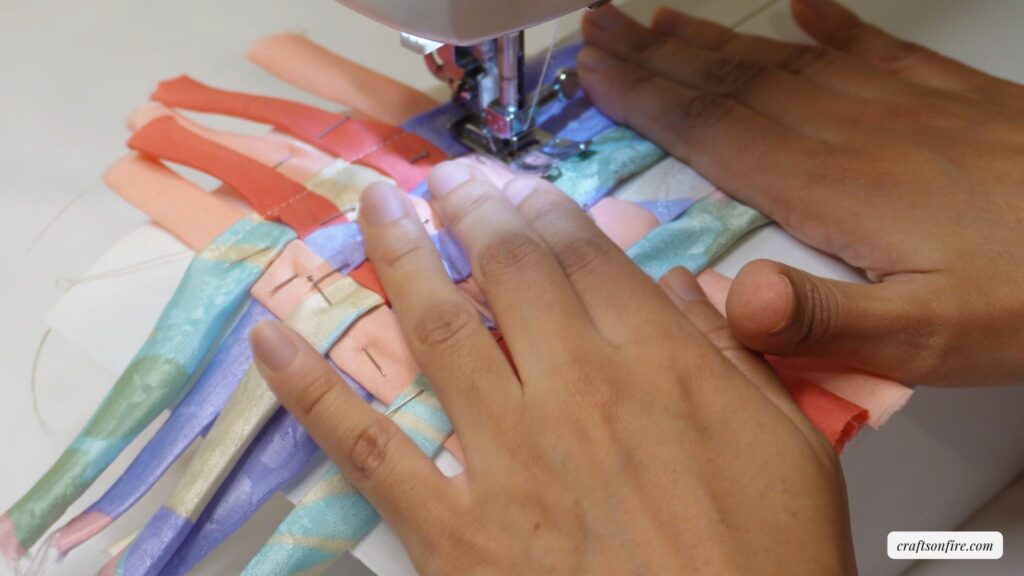
Now it’s time to sew everything together. Start stitching from one corner to the next until all 4 sides are stitched.
Step 10
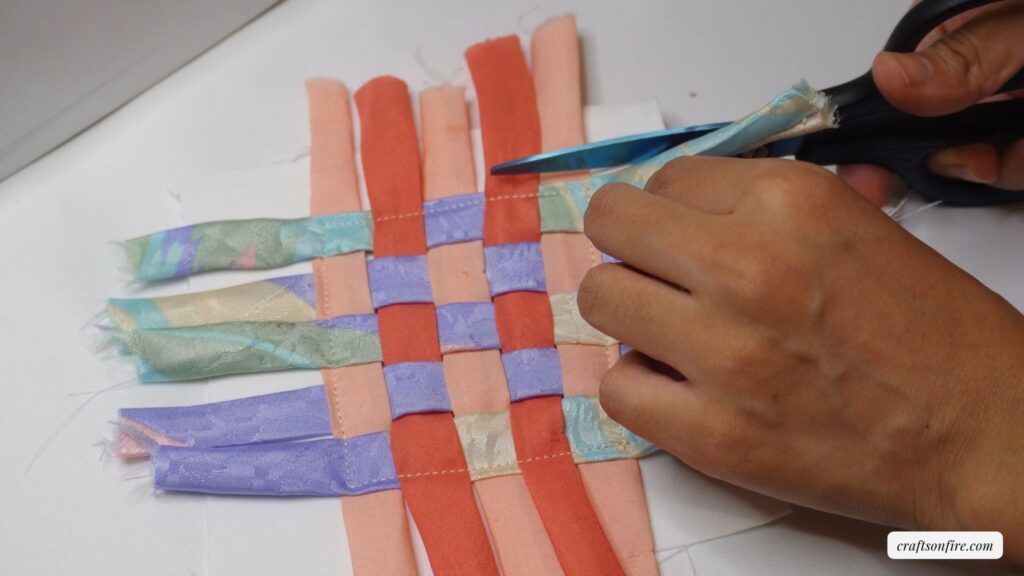
Then cut the excess fabric and strips.
Step 11
The next step is to neaten and tidy up the sides. Take a white bias binding and wrap it around the edge of the woven coaster.
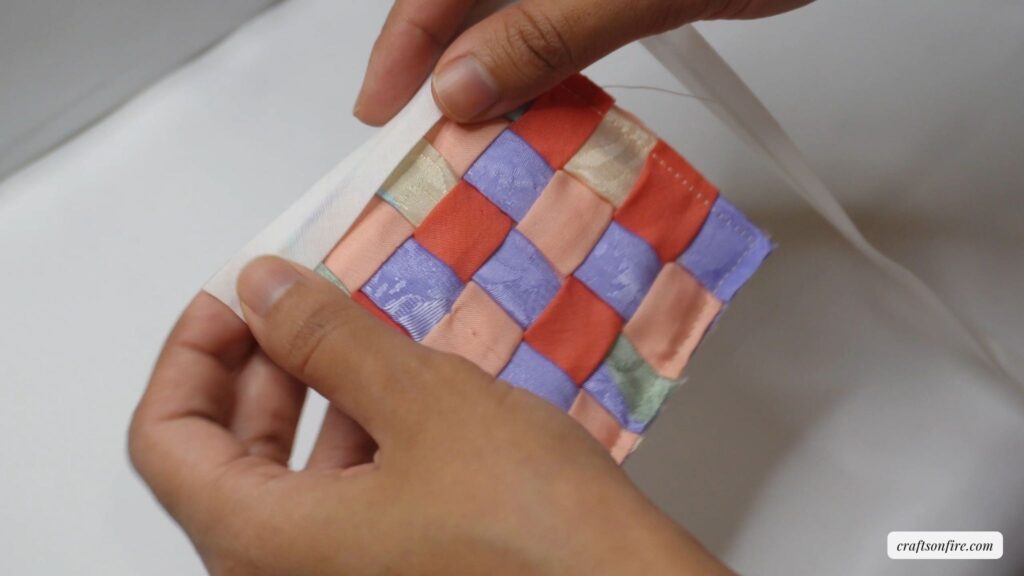
Step 12
Stitch the bias binding around the coaster.
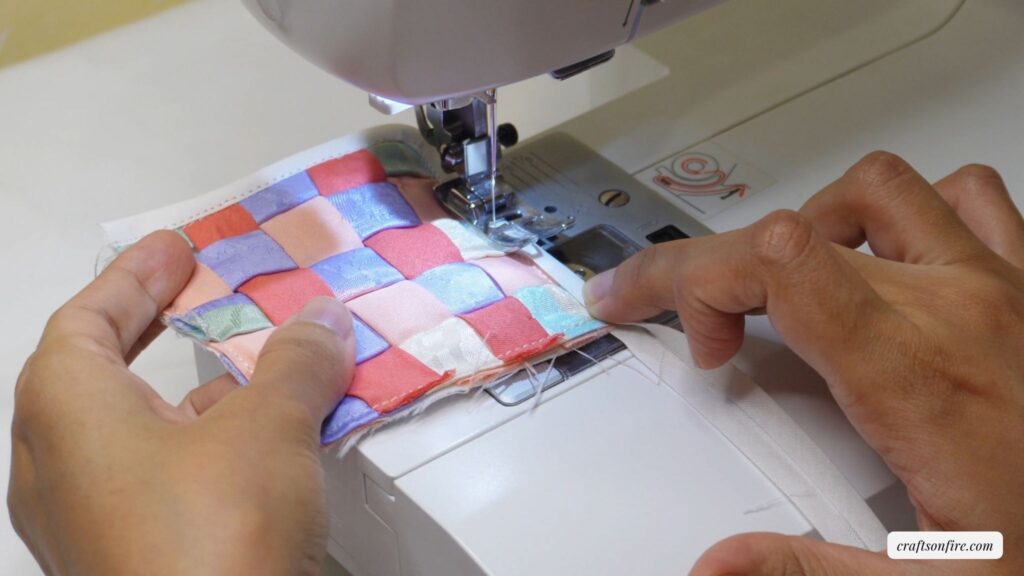
And this woven fabric coaster is now complete. Here’s the final result:
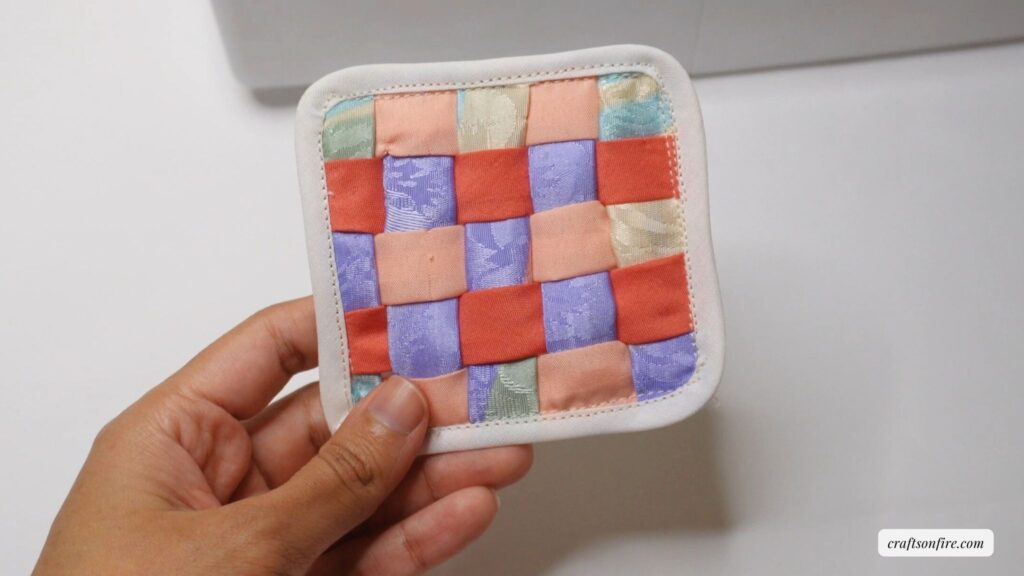
I’m happy with how this woven coaster turned out. I think it’s a great little sewing project you can do if you want to make something cute and creative.
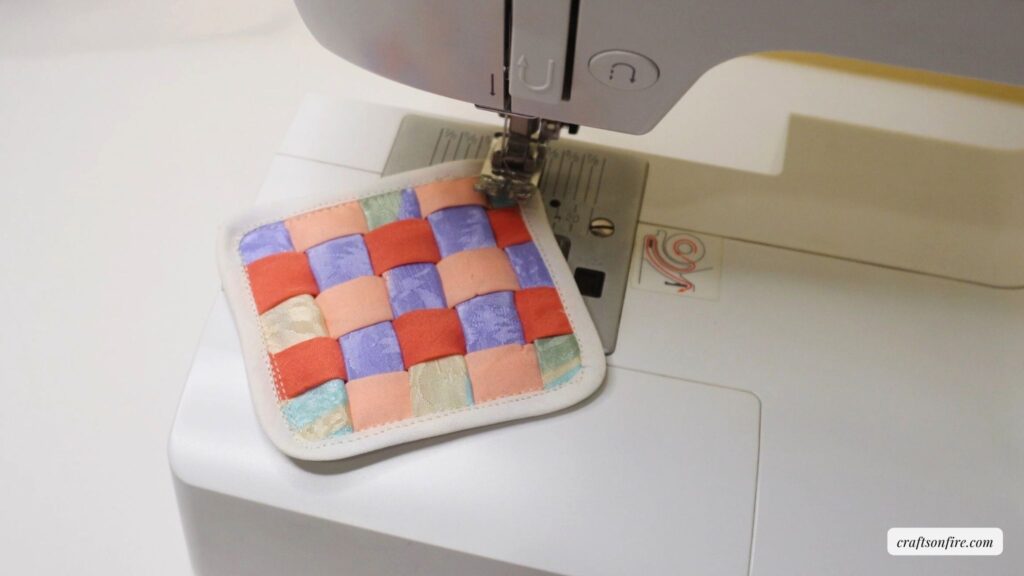
Although it is a bit time-consuming to cut and stitch the strips into tubes, it can still be a satisfying and pleasant way to pass the time.
Another awesome thing about this fabric coaster is that you can switch up the color scheme with whatever leftover fabric you have on hand.
This is a useful and smart way to use up those fabric scraps!
I hope you find this tutorial easy to follow. If you need any help or if you have any further questions, feel free to drop them in the comment section below.
Sewing Projects You Can Try Next:
