DIY Pom Pom Rope Basket
Making rope baskets is so fun and easy! I just finished making this incredible rope basket and I think it’s safe to say that I’m obsessed with it.
It’s worth every second and the result generally turns out amazing no matter how you decorate the basket and there are so many small things you can store in them!
Making a rope basket is pretty much the same process as creating a rope coaster. All you’re doing is gluing the rope together in a swirl pattern.
If you’ve always wanted to create your rope basket, I have a full step-by-step guide just for you.
You can make this with any size rope you have on hand and you don’t even need to decorate the basket with pom poms. This basket looks just fine on its own.
I’m so excited to share this process with you.
If you’d prefer to watch the video version first, here you go:
Let’s get started!
Supplies
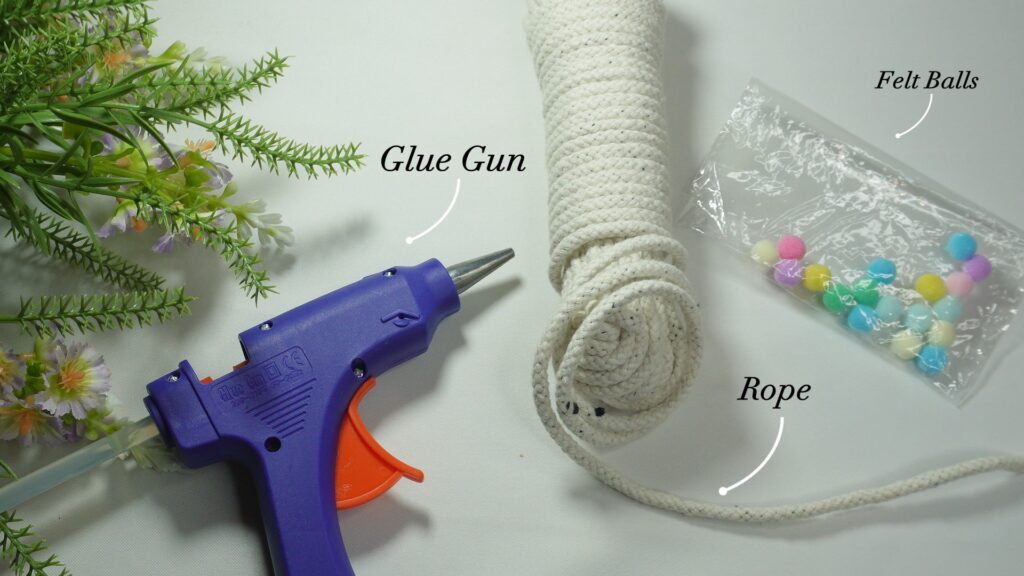
To make this cute rope basket, you will need 3 simple supplies:
- Glue Gun (You can also use any other strong glue)
- Rope
- Pom Poms (to decorate)
Instructions
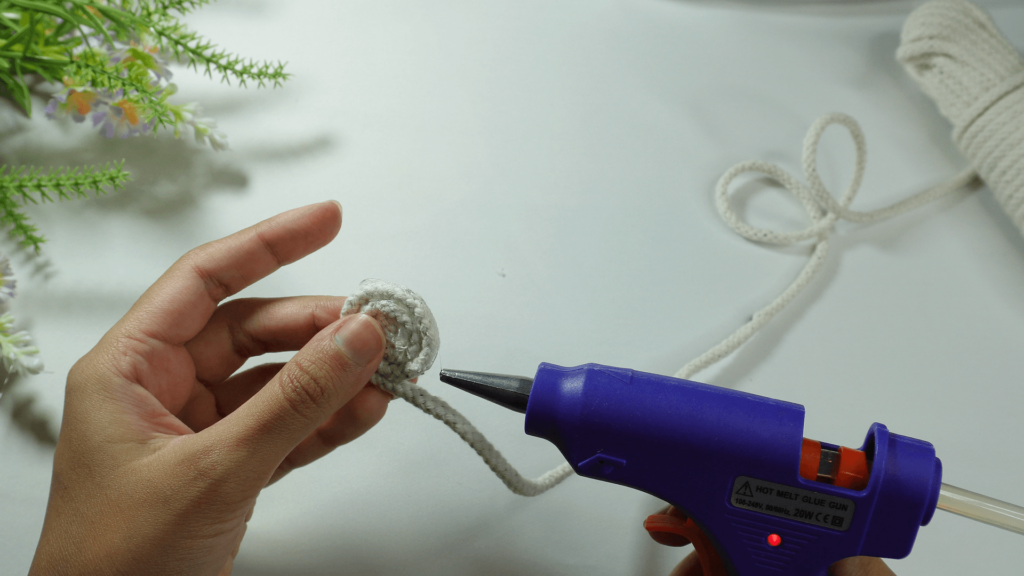
1. Beginning The Foundation
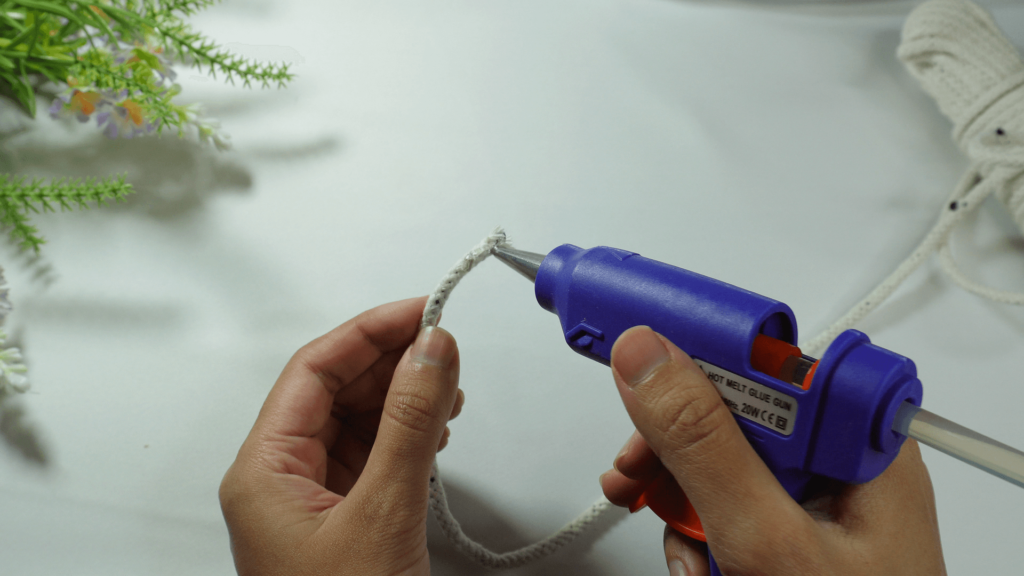
To begin your rope basket, apply a small amount of glue to the rope or string.
Fold the end of the rope piece until the two sides meet and hold it together for a few seconds until it dries.
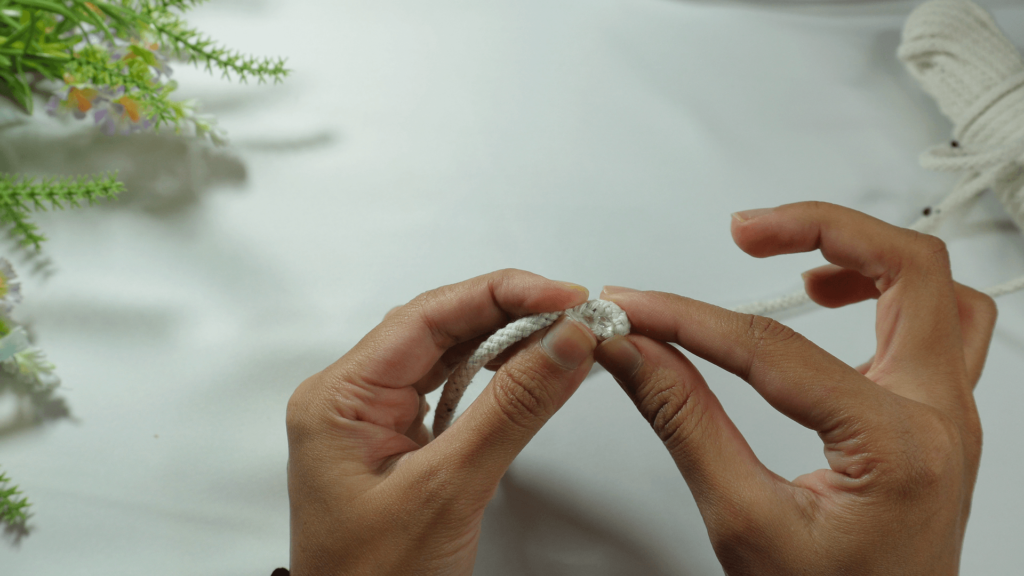
Apply more glue to the side of the rope and start coiling the rope as shown above.
Continue adding more glue and rope to create this swirl pattern.
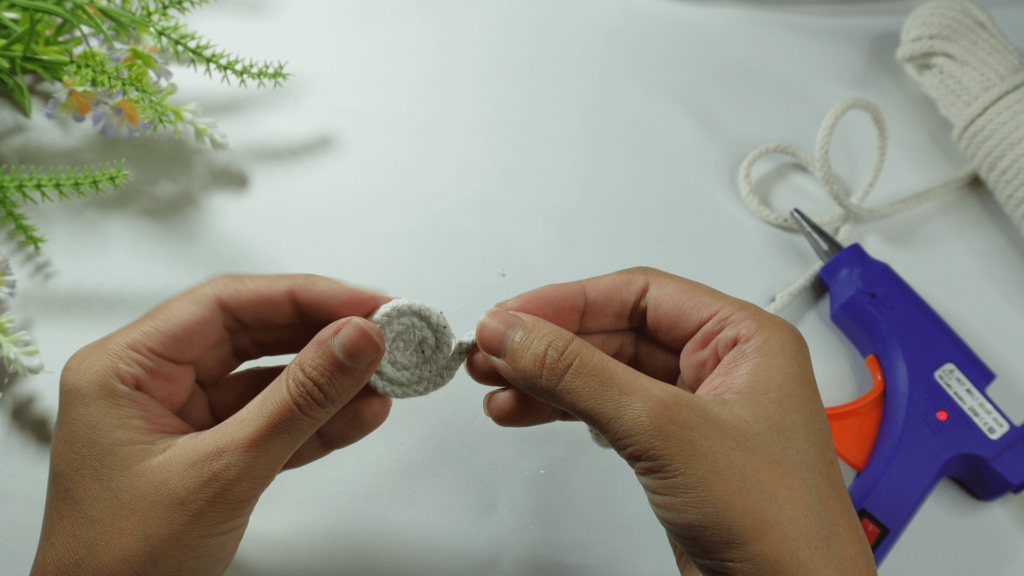
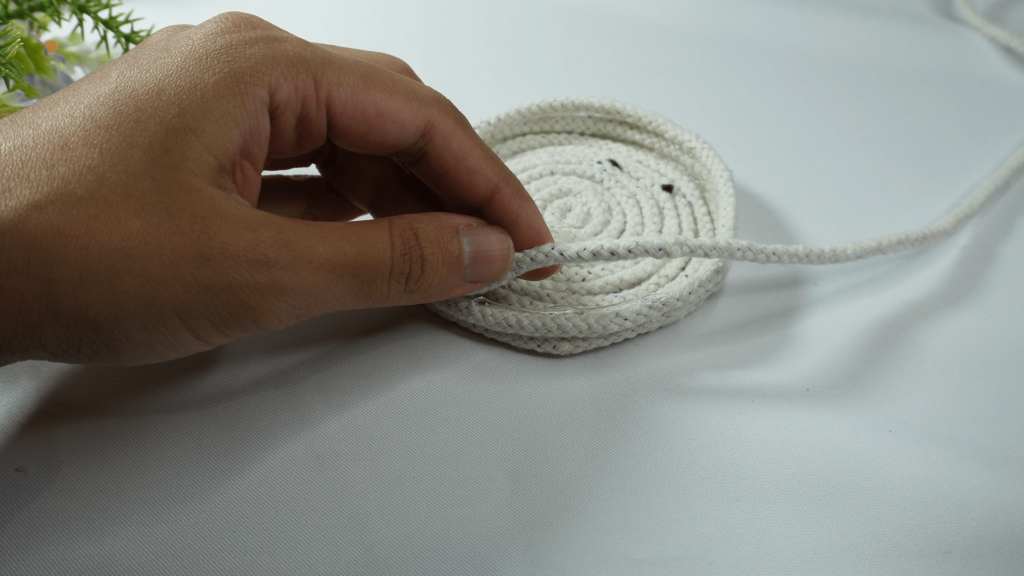
2. Making The Base of The Rope Basket
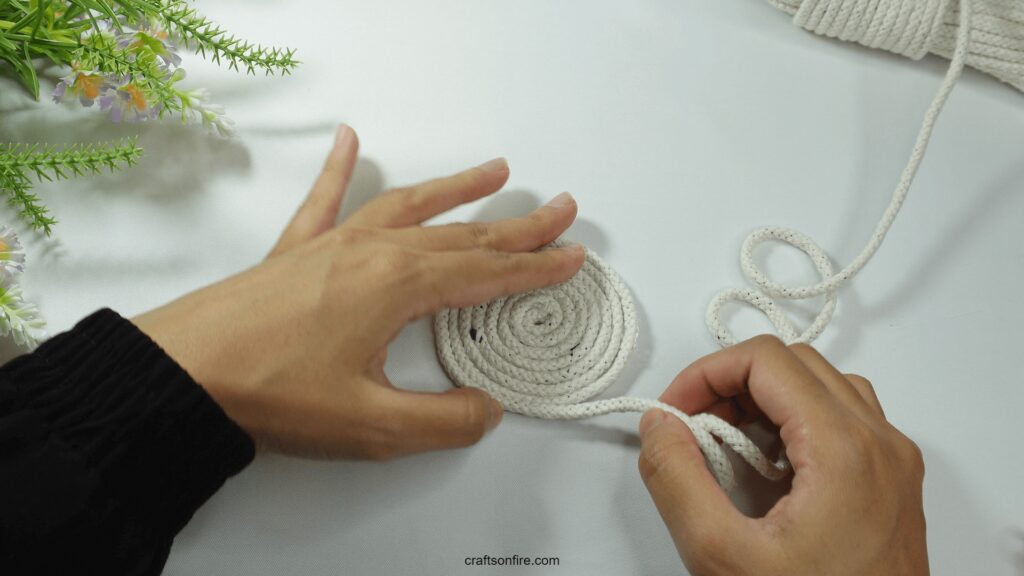
After gluing the rope around each other multiple times, you’ll have a good base to work and this will form the bottom of the basket.
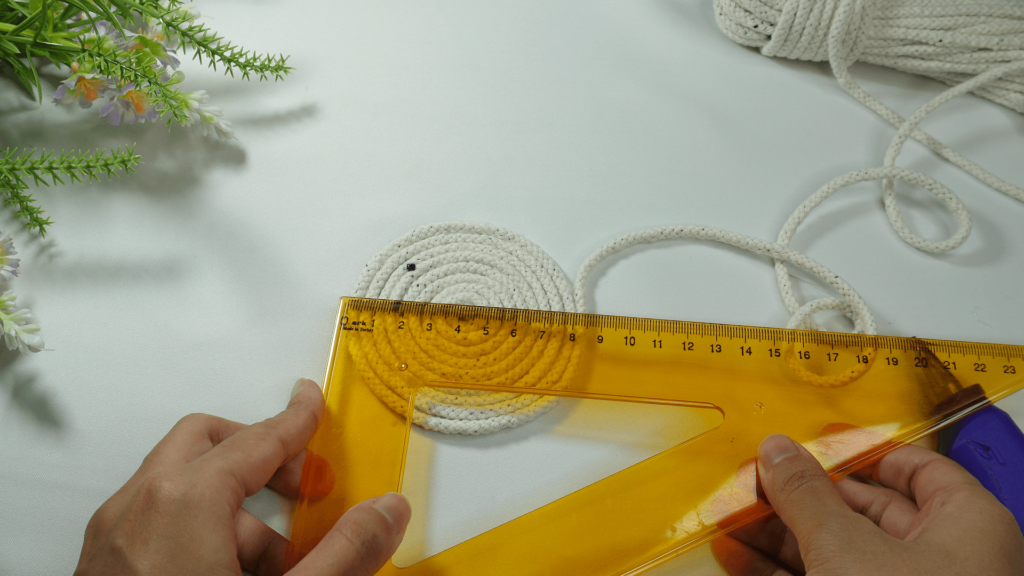
I’m making a small basket to hold a few trinkets and stuff so I stopped gluing when the rope was around 8 cm.
If you want a larger rope basket, you’ll need to add a few more layers.
3. Creating The Sides of The Basket
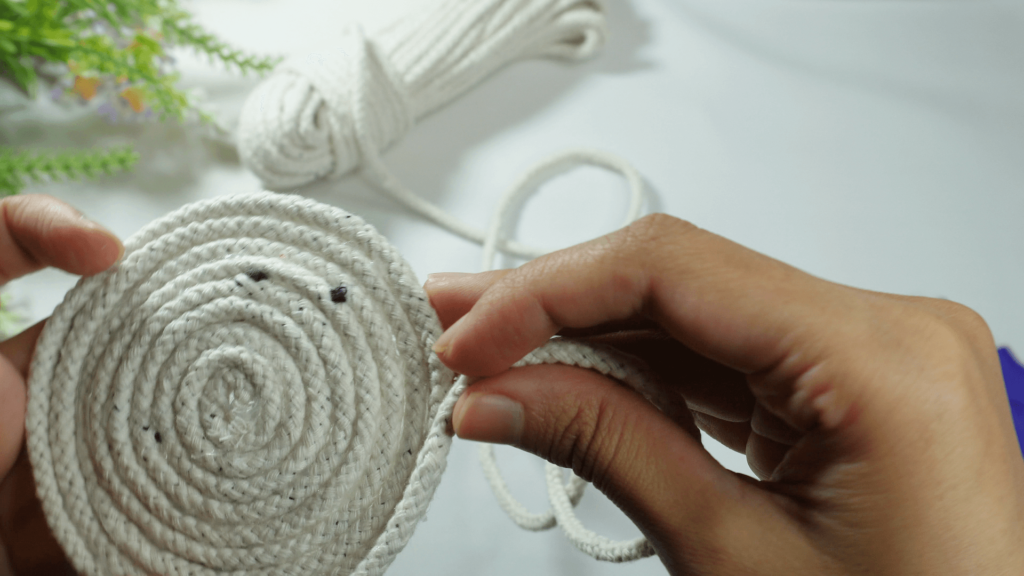
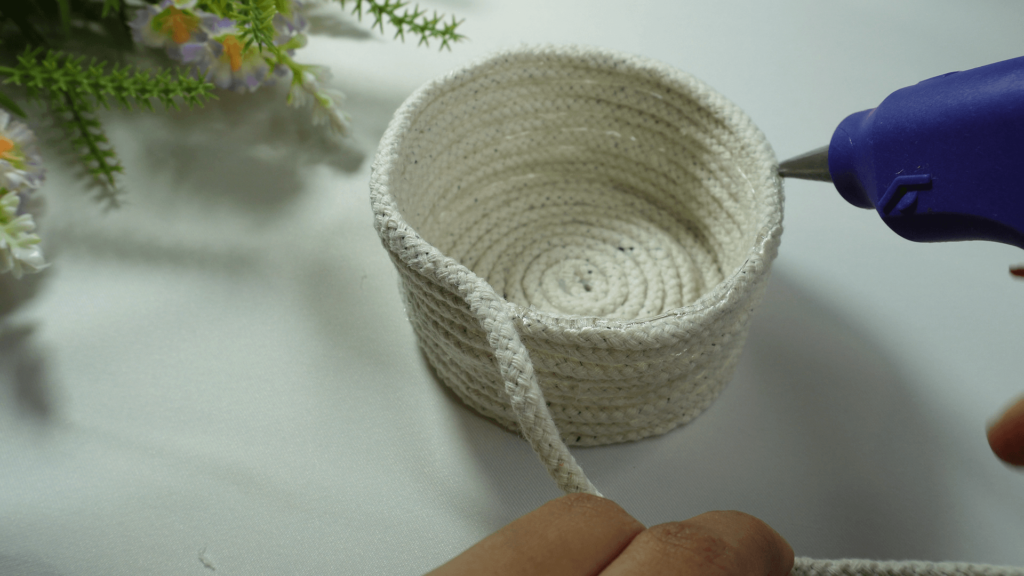
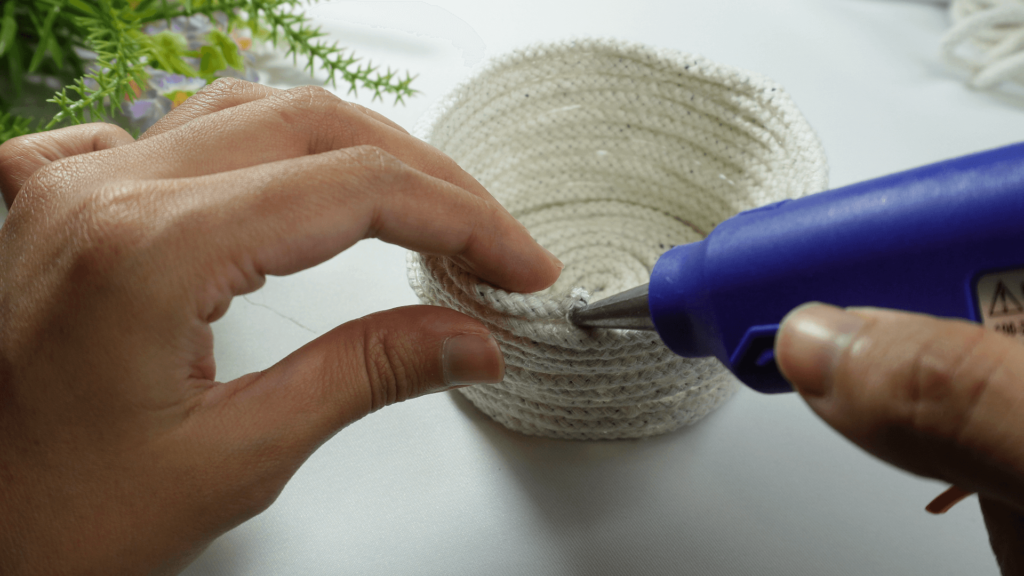
Here’s a significant step to follow when creating the rope basket: You’ll want to add the glue to the top of the rope rather than the side and then lift the rope to sit on top of the bottom layer of the basket.
You can see the process much better in the following image:
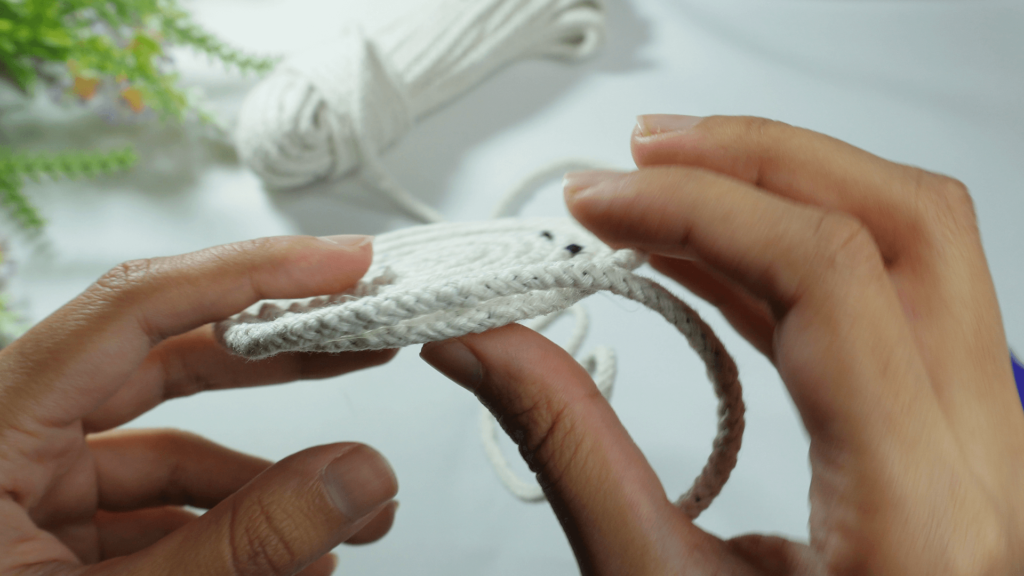
By doing this, you can easily create the pattern that will make up the sides of the basket.
Continue gluing the rest of the rope.
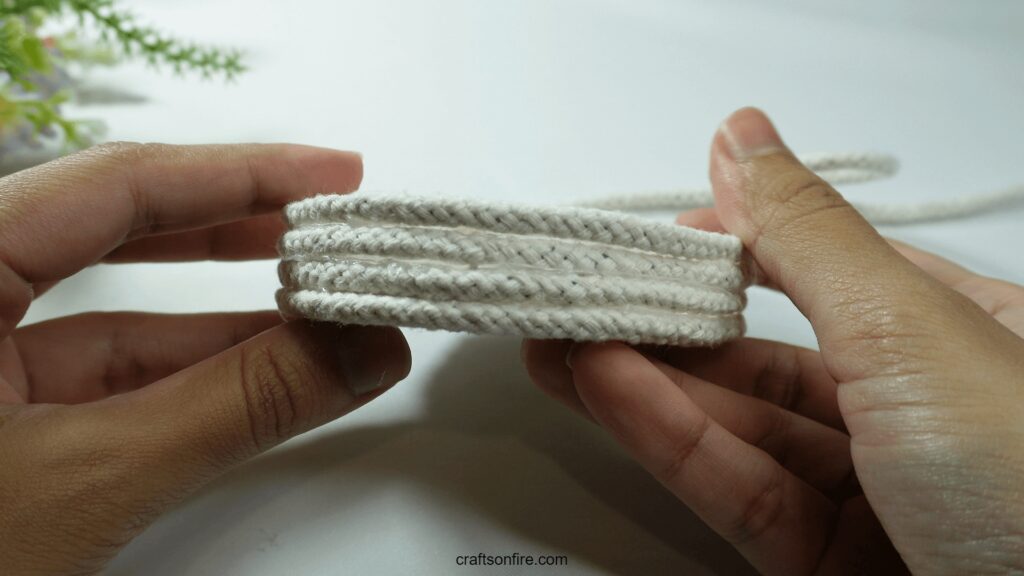
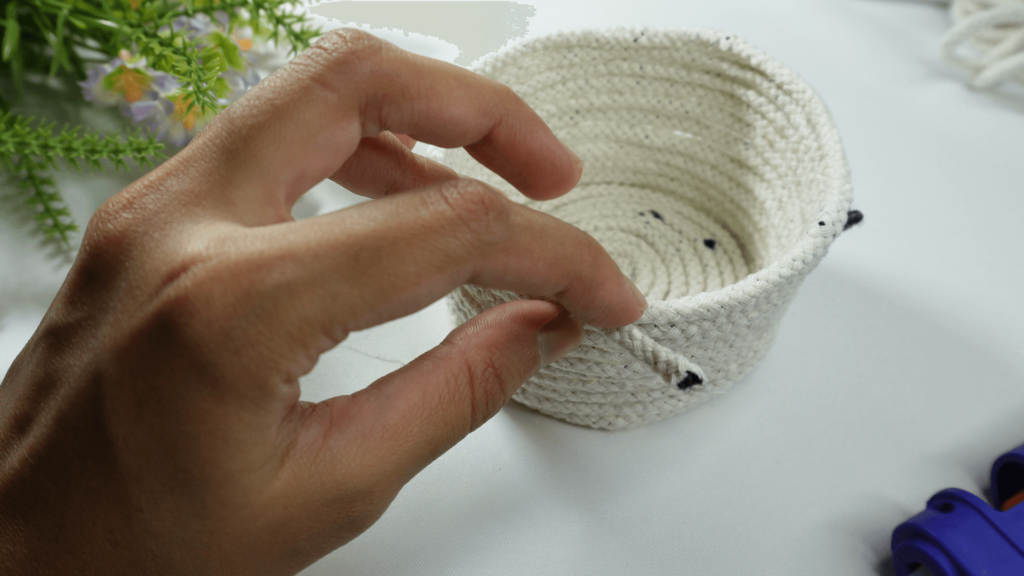
Here’s what my basket is looking like at the moment:
Go ahead and continue gluing more layers of rope until you reach your designed size and length of the rope basket.
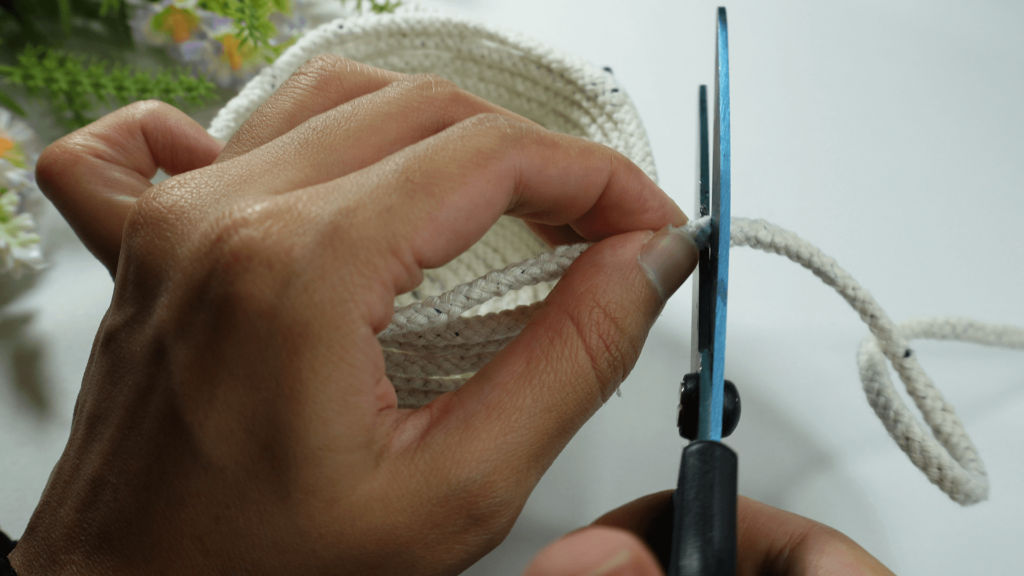
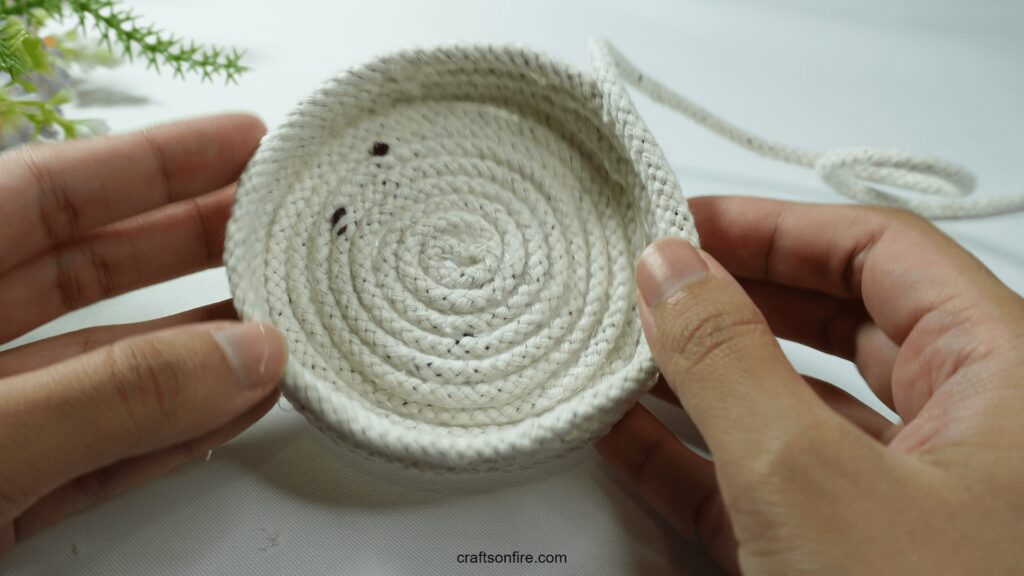
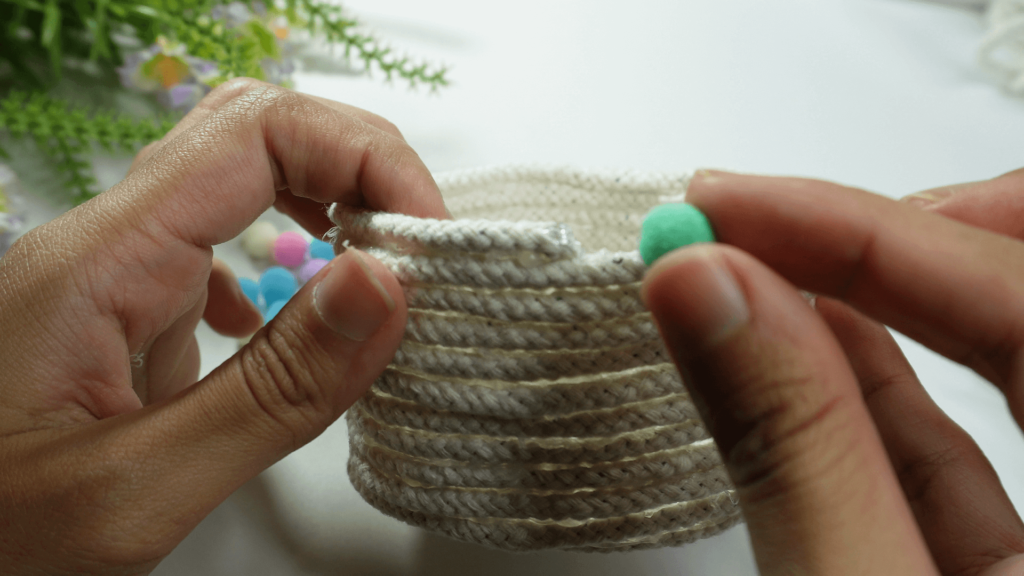
Once you have reached the pefect size and height, cut the rope.
You can see that I have a small piece now to glue to the top of my basket. Go ahead and add a small amount of glue and use your fingers to tidy up any stray edges of the rope.
Your rope basket is now complete.
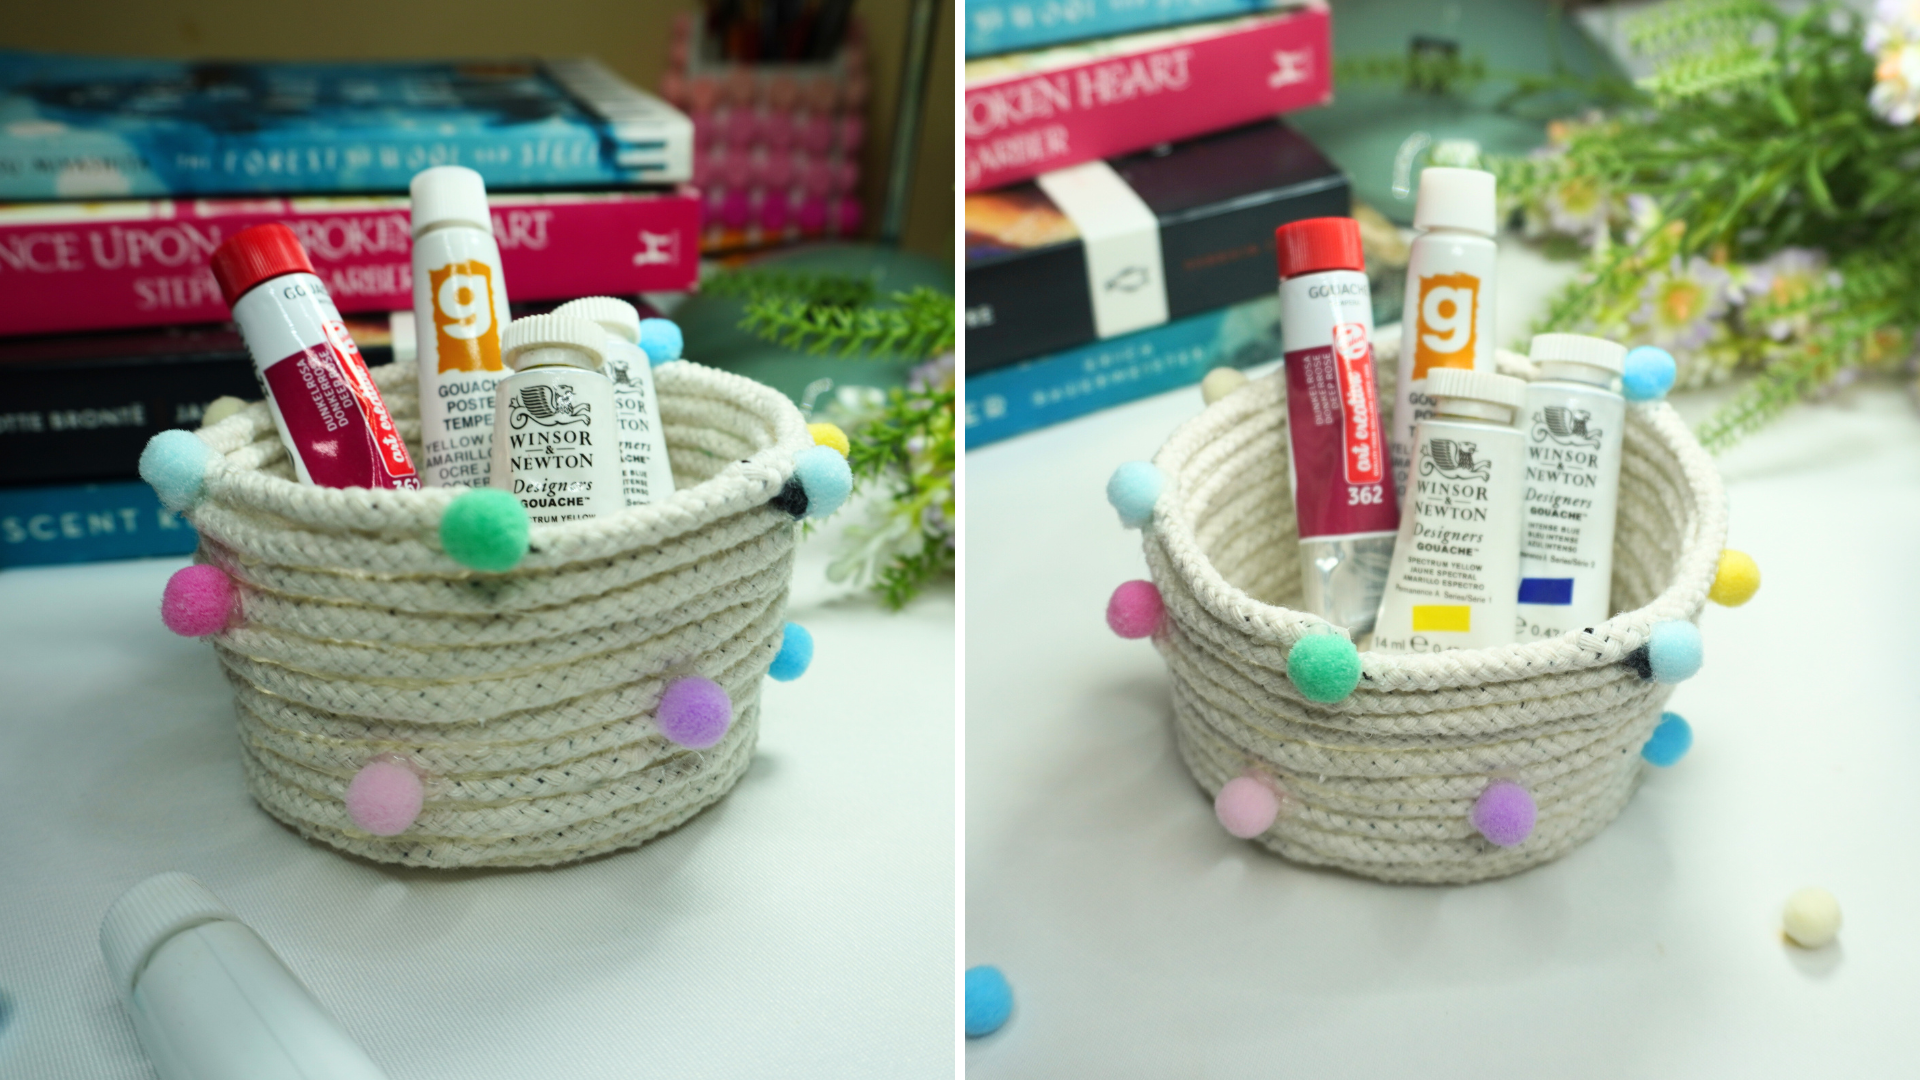
4. Decorating The Rope Basket
You can stop here at this stage but I wanted to add a more cute, aesthetic vibe to my basket so I added a few of these small pom pom balls to the basket.
In the previous step, we cut the rope at the top of the basket.
Where that end meets, add a small amount of glue onto the ending and glue a green pom pom.
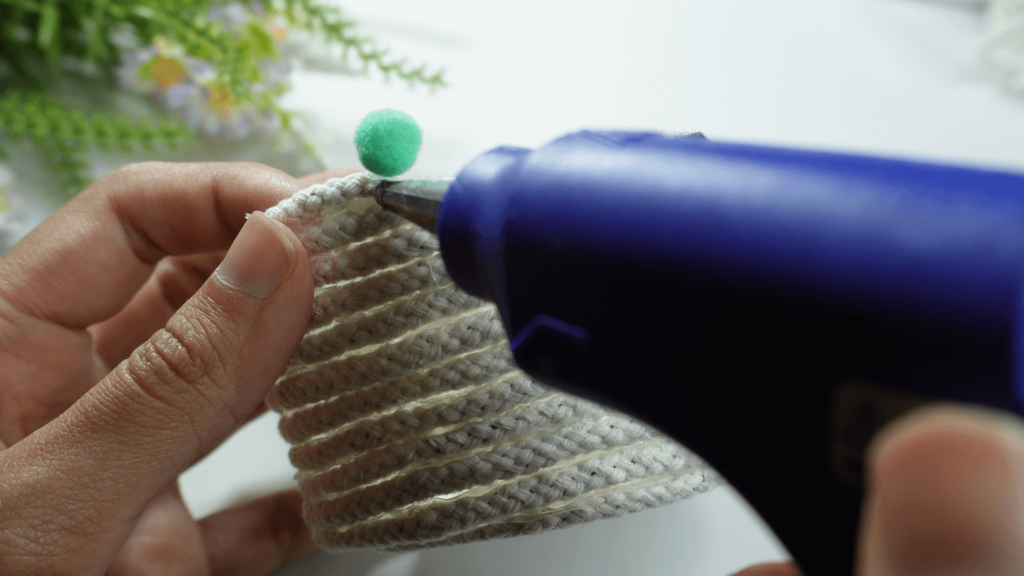
Then glue the rest of the pom poms to the basket.
I recommend spacing the pom poms out for a more creative finish but if you’d prefer, use any many as you like!
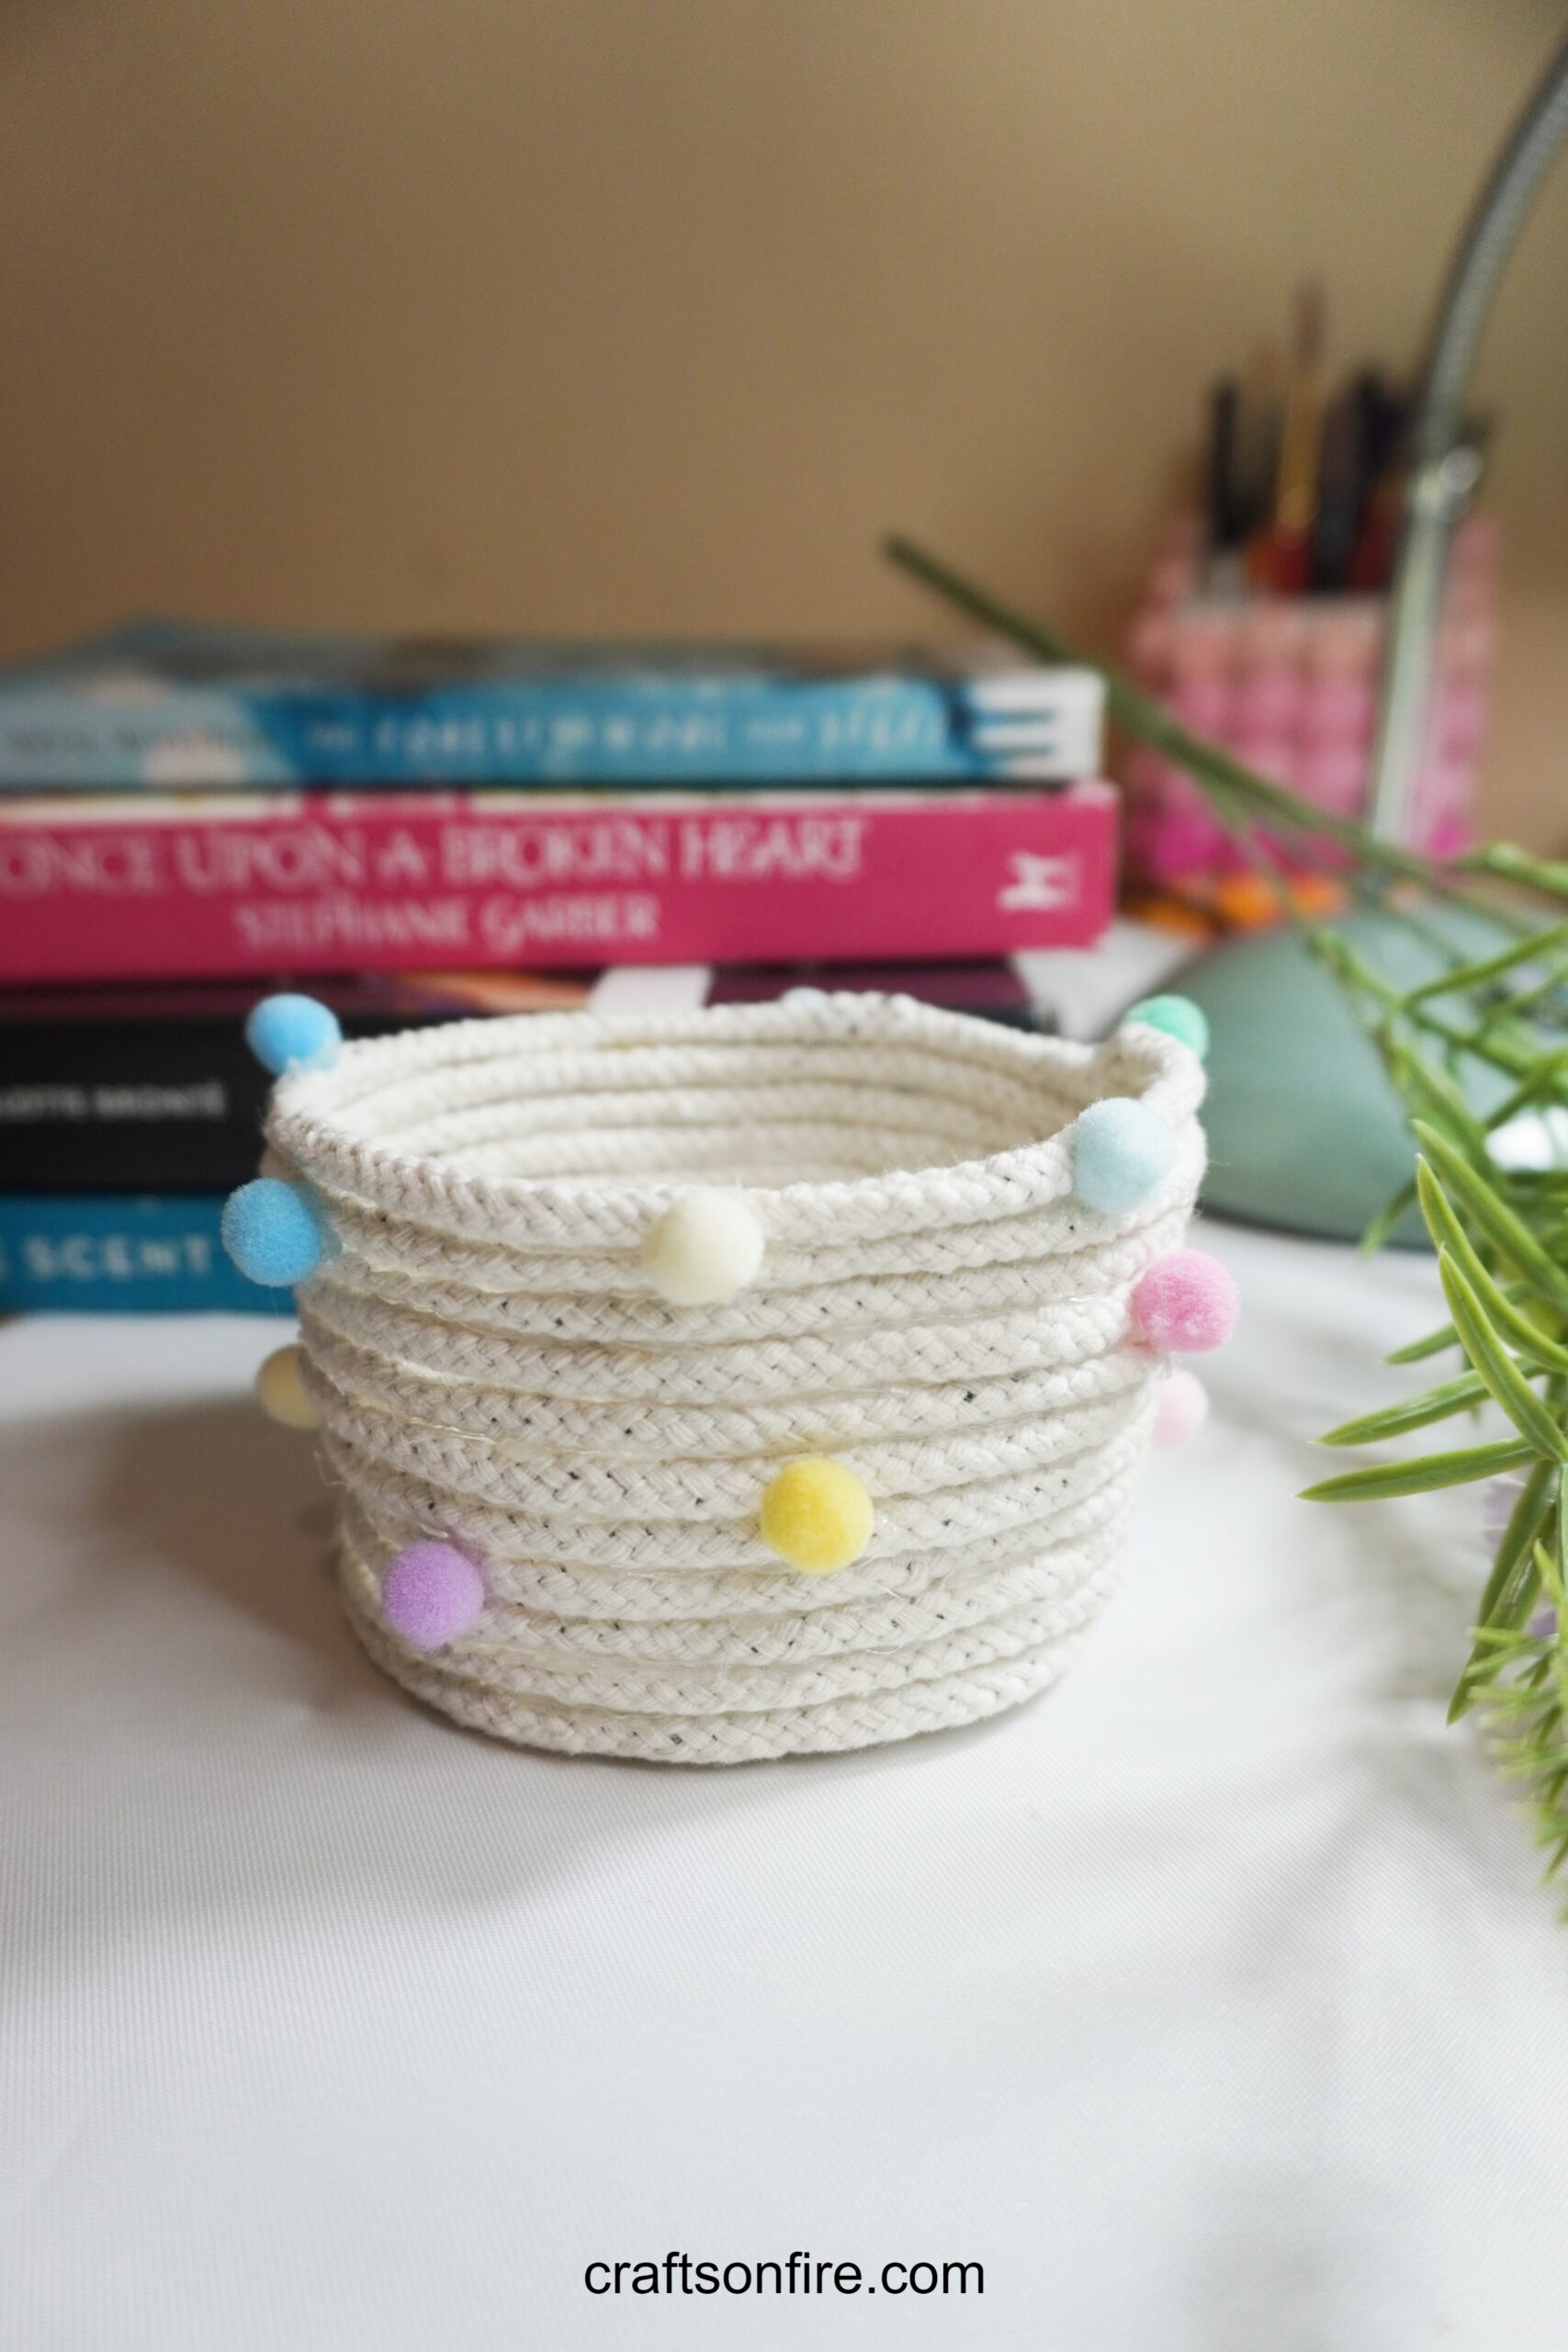
Final Result
Here’s what my final rope basket looks like:
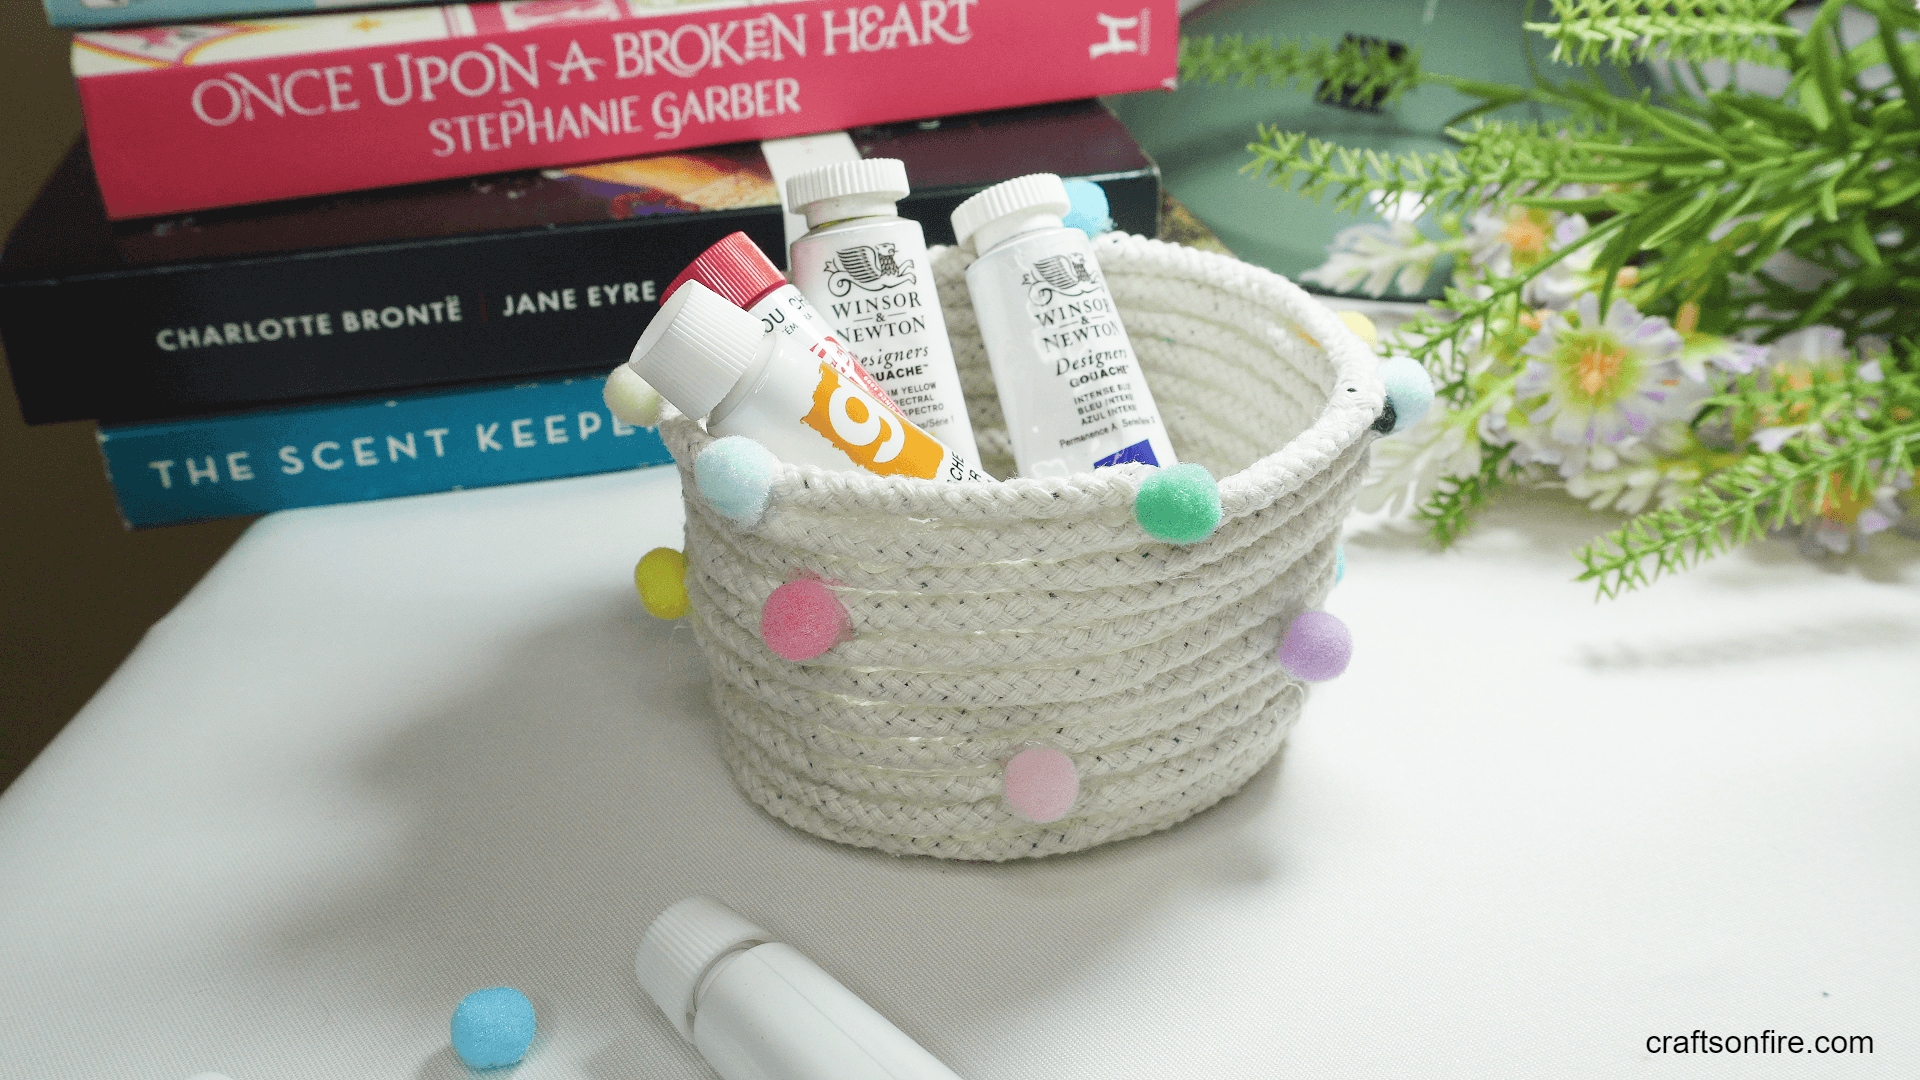
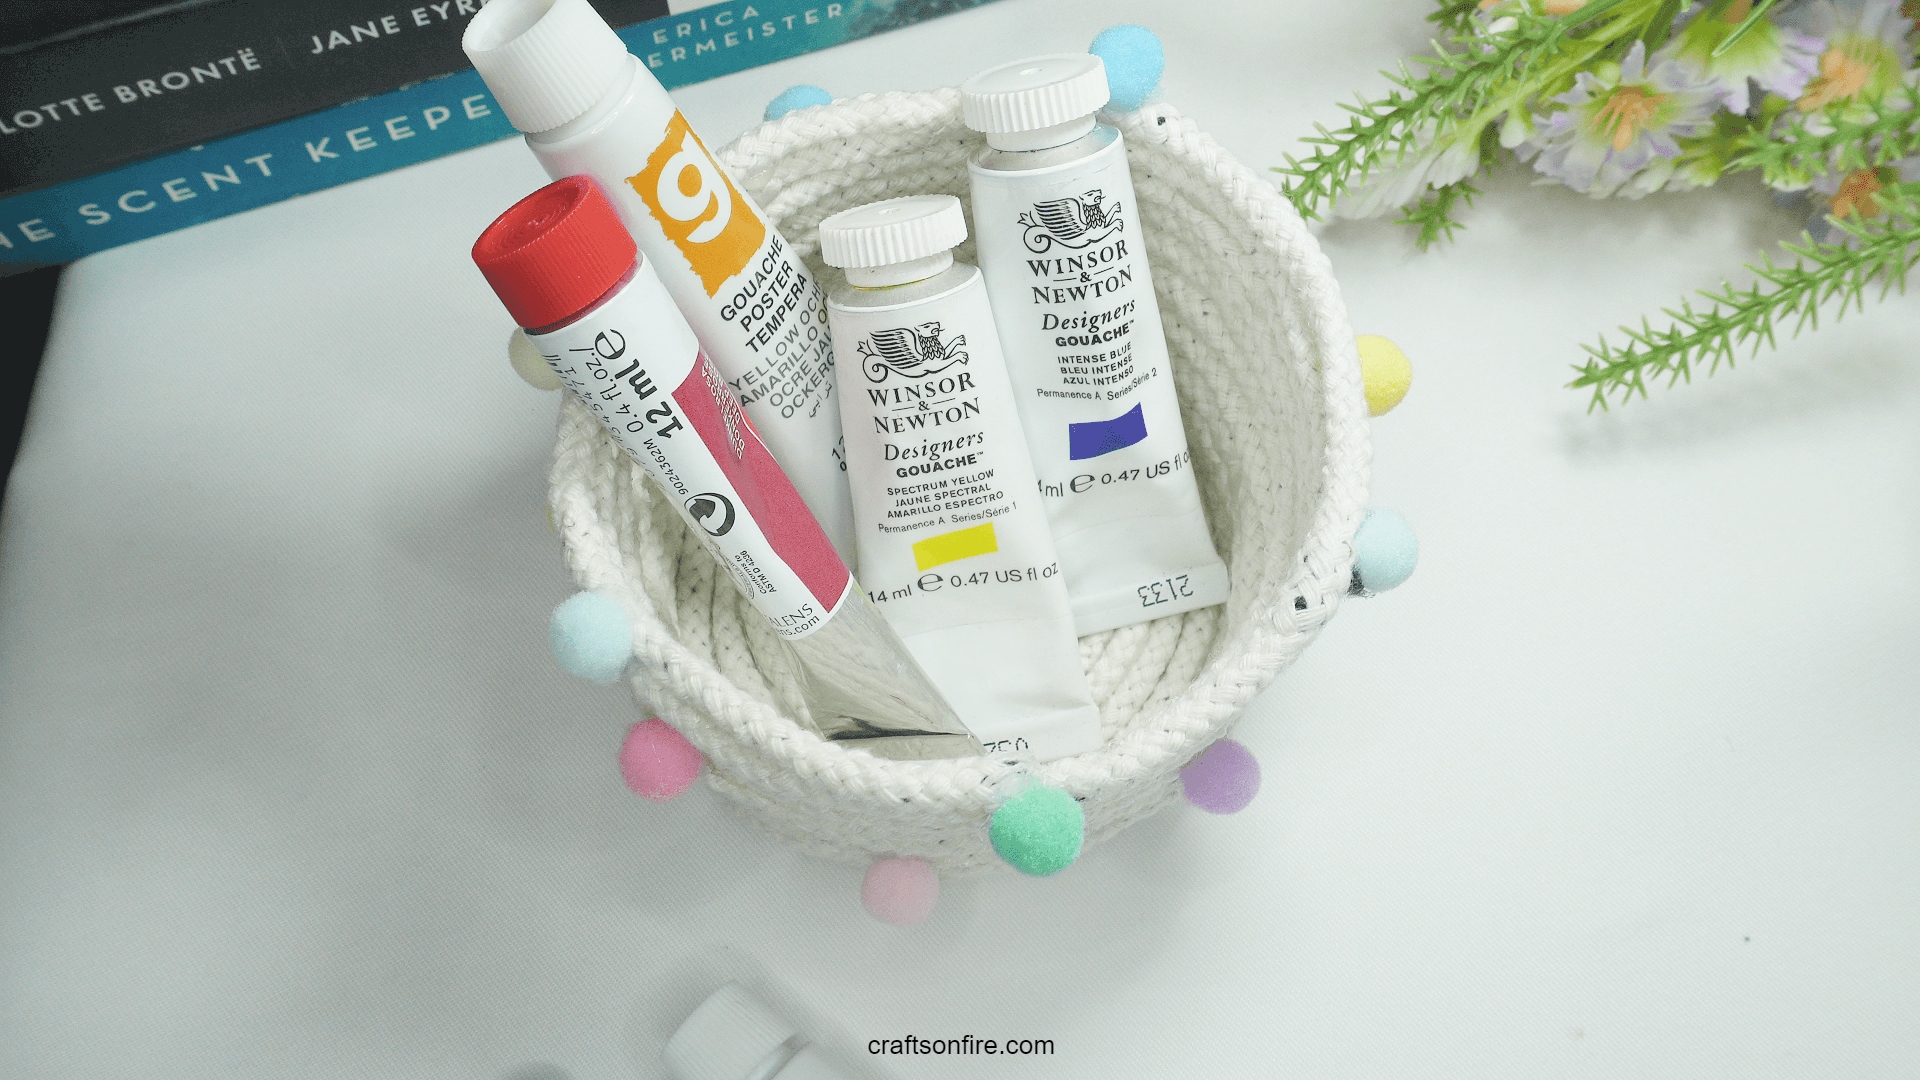
I’m honestly so happy and satisfied with how it looks. It turned out way better than expected and I can’t wait to make a few more.
I also had a few friends and family members request I make one just for them and the good news is that these baskets are so fun and quick to make, it will surely be an enjoyable process!
I hope you found this tutorial easy and simple to follow along.
Here are a few more fun projects you can try next: