Should You Paint The Ceiling Or Walls First? (A Guide On Painting)

As much as it makes sense to paint all the walls since that makes up the majority of the room, it may not be the most efficient or smartest idea. This brings us to the question of the day: Should you paint the ceiling or walls first?
When painting a room, it is best to start with the ceiling. Painting the ceiling first ensures you can finish up an entire section of the room more efficiently with more than one coat. Additionally, you can handle excessive splashes of ceiling paint on the walls because it’s inevitable that some ceiling paint will splash on the ground or on surrounding walls.
Essentially, painting the walls after the ceiling allows you to cover the drips from the ceiling.
When painting the ceiling, keep in mind to use a roller with a double-arm frame to apply pressure evenly throughout, preventing the appearance of streaks or stripes.
With that being said, let’s take a closer look at the process of painting a room in the most cost-effective and time-efficient manner while getting the kind of result that looks professional.
Reasons Why You Should Paint The Ceiling First
- You’ll be able to do touch ups without messing up the rest of the room.
- You can cut corners without splashing paint onto the walls that have already been painted.
- It allows you to finish the hardest part of the room first.
- You can apply multiple coats of paint quickly to finish painting the ceiling once and for all.
- Paint that splashes onto floors and walls can easily be wiped up or removed afterwards without fear of damaging newly painted walls.
How To Paint A Room For Beginners
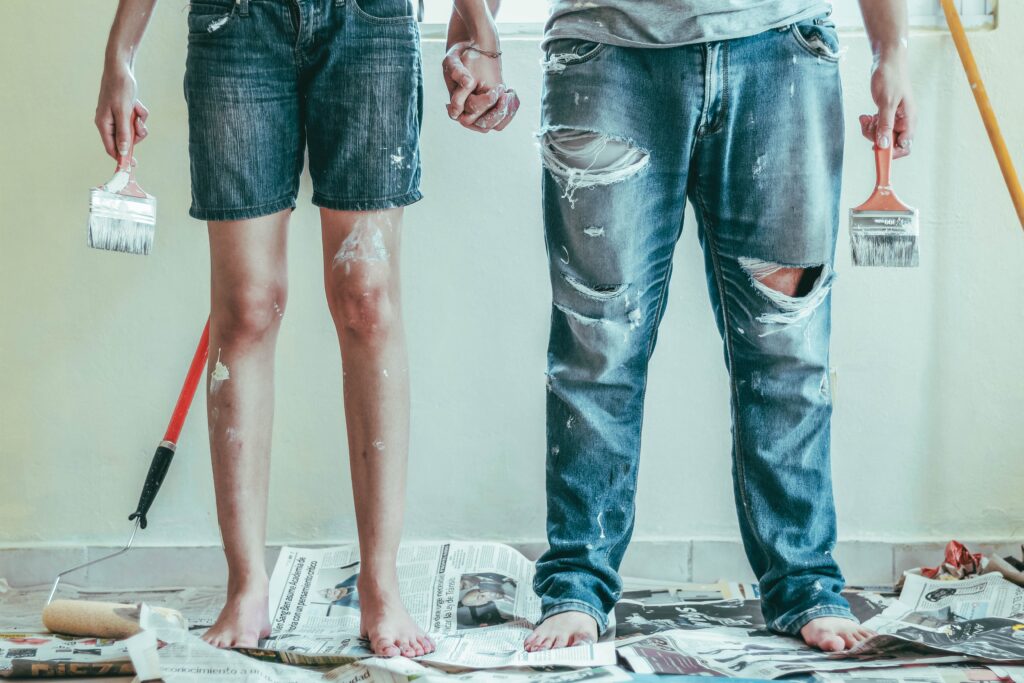
Step 1: Prepare the room
Begin by removing any furniture, wall hangings, and floor coverings. You want to paint-proof things that are immovable, like built-in furniture or your tiles.
Sometimes, taping together sheets of newspaper is more than enough to protect your floors and cupboards from paint splashes.
You may notice that parts of your walls have dents or holes that need filling. This could even be found in your ceiling. Use this opportunity to fill in those holes and dents with a polyfilla mixture.
Wait for it to adequately dry, and then sand down these fillings to create a more even surface.
If you are not familiar with wall and ceiling repairs, it is best to hire a professional to assist you with these tasks.
Step 2: Priming
Before painting, your room surfaces require another prep phase. It is best to repair loose outlets and cracks, before painting.
Afterward, prime the surface you are about to paint.
There are numerous primers to choose from that are known to improve the preservation and longevity of the paint you apply to the walls afterwards.
Another important purpose of priming is to ensure that there are fewer stains on the surface.
After priming, please wait for it to dry, then proceed with the painting process. Depending on the primer’s instructions, it is best to wait between 3 and 24 hours.
In most cases, you’re better off waiting longer to ensure that the primer has set and cured before painting.
Step 3: Ceiling painting
After the primer is dried, it is best to begin with the ceiling.
Painting the ceiling first reduces the chances of drips on the surface, thus ensuring that you spend less time cleaning and removing paint from walls, tiles, and furniture.
The first thing you need to do is start by cutting in the corners with a brush. Essentially, this helps you apply paint to the corners in an even line because most rollers can’t reach the edges of walls and ceilings.
As previously mentioned, a double-arm frame should be used to guarantee complete support and consistent pressure on both ends of the roller.
The double-arm frame offers enough pressure on the roller’s width for maximum coverage. It is best to use a 12″ perfection medium pile roller for excellent results.
You can use painter’s tape to prevent the paint on the ceiling from dripping. However, using painter’s tape adds more time to the painting process.
After cutting the edges, use the double-arm frame roller to fill in the middle part of the ceiling. To achieve a glossier finish, you must work in overlapping series to ensure no streaks are left on the ceiling.
When painting, check whether there are drips or crown molding and get rid of them as fast as possible. This process ensures that the paint does not dry on the wall.
If the paint dries, it will be easy to notice, thus making the walls look messy.
Step 4: Crown molding
After painting the ceiling, you need to concentrate on painting the crown molding.
It is the decorative molding that creates a neat and appealing border around the walls and ceiling.
First, ensure that the ceiling is dry. Then, incorporate the painter’s tape on the edge of the walls and the newly dried paint on the ceiling.
In most cases, molding is thin and not flat. Thus, a brush is necessary to get all the corners and parts of the crown molding.
Using a brush eases the process of getting into the nooks and crannies to ensure that the whole area is covered with paint evenly.
Step 5: Walls
Once you are done with crown molding, get to the walls.
Once again, to prevent the paint from getting onto the crown molding and ceiling, wait until the surface is completely dry. Use painter’s tape to cover those areas.
If there are windows and baseboards on the wall, you can use painter’s tape to prevent the surfaces from coming into contact with the paint.
After covering the areas with painter’s tape, cut the walls. Start with the areas where the wall, crown molding, or ceiling meet. Afterward, cut through the window and door frames as well as the baseboards.
After the cutting process, proceed with painting the walls.
The technique used is highly dependent on the type of paint you use and the finish it produces.
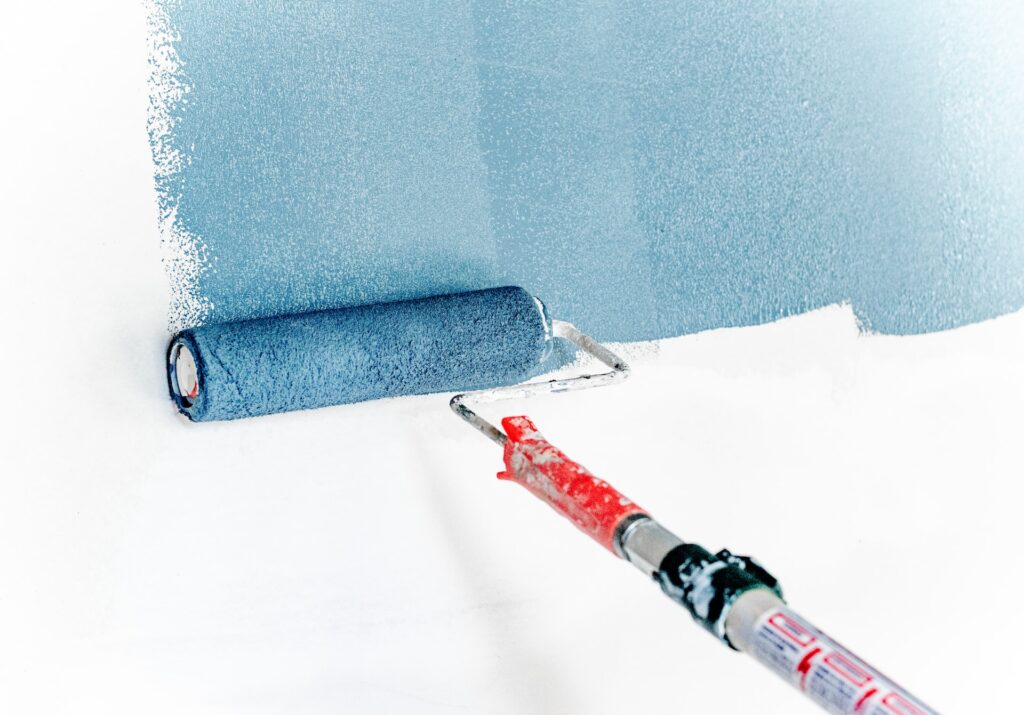
With a roller, pass the roller once, beginning with the cut-in points of the ceilings and heading to the baseboards.
Make sure to periodically replenish the paint on the roller as you work your way through the room.
If you are using flat, matte, or eggshell paint, it is best to use the W technique.
As you roll your paint onto the wall in the shape of a W, fill in the W’s perimeter and interior to create a square, then repeat until the wall is completely covered.
Be careful with overlapping to ensure that the wall gets an even coat.
Step 6: Baseboards
After the walls are painted, move to the baseboards at the bottom of your walls. Once again, wait until the wall paint has dried.
Apply the painter’s tape to the wall and continue the painting process.
If you feel the paint will drip, lay some paper on the floor, which I’m sure you’ve already done.
Slipping a sheet on the dashboard’s edge is also recommended to shield the paint from getting to other points.
Just like with the crown molding, use a brush. With a brush, you can control any excess paint and achieve an even finish.
Step 7: Windows and door frames
Once you are done with the baseboards, proceed to the window and door frames.
Use your brush to pass through the trim.
When painting the windows’ sills and casings, use the painter’s tape on the windows to ensure that you don’t stain the glass. At times, professionals use the sprayer with a low PSI to achieve a smooth, factory-like finish.
But a brush will work just fine for your home.
Step 8: Doors
If the doors are part of the room painting, they should be the last parts to be completed.
Before starting the door painting process, place a drop cloth under the door and ensure that it is at a 45-degree angle.
It will ensure that you can easily access the top and sides of the doors. You can protect the painted part with painter’s tape afterwards. Alternatively, cut the paint around the door knobs with a brush before painting the rest of the doors.
Use a brush to paint the entire area because most doors have crevices.
Nevertheless, if the door has larger surfaces with flat areas, it is best to use a brush.
Wrapping It Up
That brings us to the end of this article on “Should you paint the ceiling or walls first?” Now that you’ve read this, hopefully you have a good idea of how to paint a room as quickly and effectively as you can.
All these tips have been tried and tested in my own home, so I can vouch for them.
If you found this article to be helpful, I’m pretty sure you’ll enjoy the tips and advice in these:
1. What is the best color to paint basement ceiling?