How To Make A Pom Pom Coaster

I’ve been absolutely obsessed with pom pom crafts lately and when I saw these adorable pastel-colored felt balls, I knew exactly what I was going to make with them. Yup, you’ve guessed it – a pom pom coaster!
And wow, this coaster has truly surpassed my expectations and I can proudly say that I love it to bits.
I’ve made another yarn coaster recently but I think this one might be my favorite.
If you’re looking for a simple DIY project, a handmade gift, or a cute item to add to your chic space for a vibrant pop, this pom coaster needs to be at the top of your to-do list.
If you’ve never made a coaster before, no worries! Making coasters is a fun and easy craft anyone can make.
Here’s my easy 3-step method of making a colorful pom pom coaster:
DIY Pom Pom Coaster Tutorial
Materials Needed:
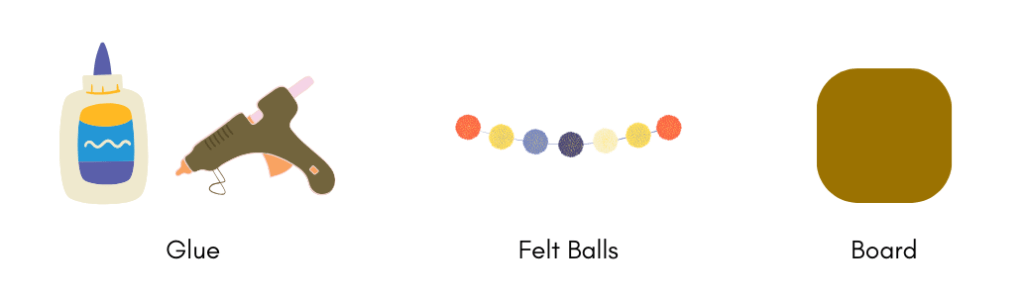
- Glue
- Cork Board/Wooden Coasters
- Small Felt Balls
Project Time: +/- 5 – 8 Minutes
Instructions
Step 1: Paint the board
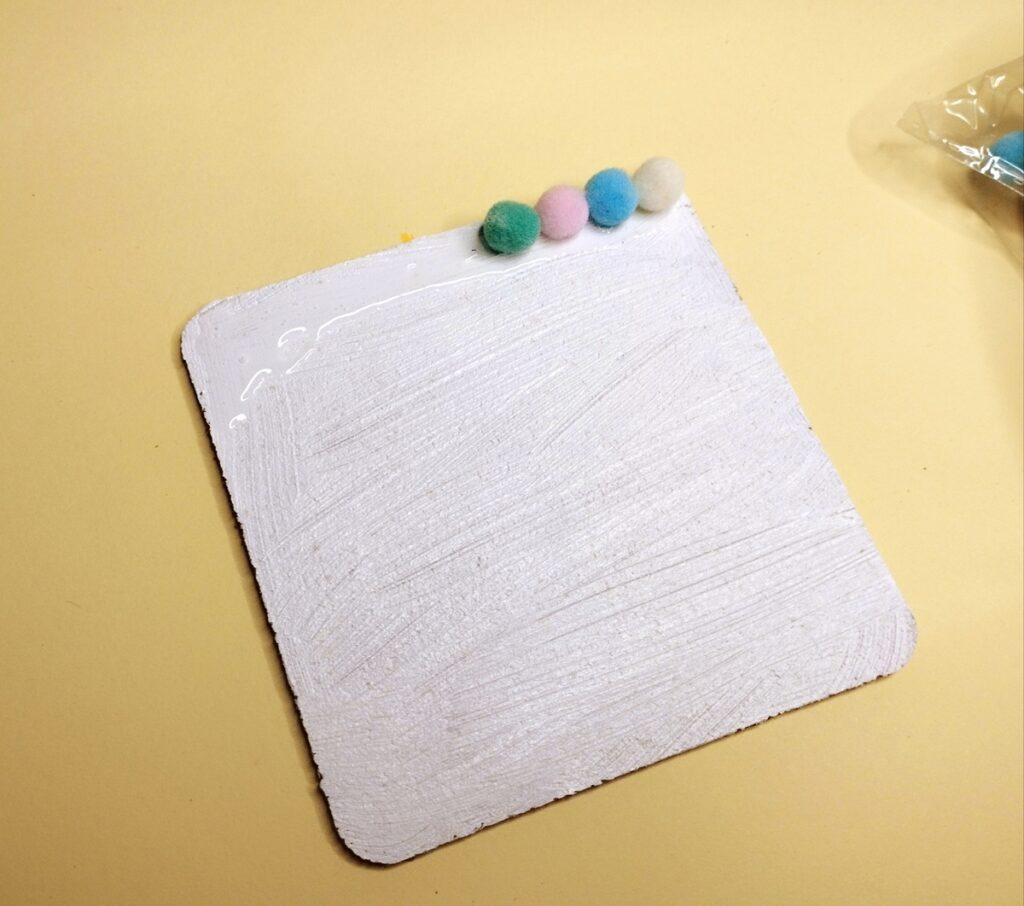
If you’re using a board or a corkboard like I am, give it a thin coat of white acrylic paint since this white background will allow the balls to pop out more.
Allow the paint to dry before we begin the process of gluing the felt balls to the board.
Now, it is time to decide if you’d like the balls to be random or color-coded.
I’ve chosen to go with a random color scheme but you can go with what you like.
Grab your glue and add a nice thick layer to the top of the coaster.
I tried using Elmer’s clear glue but the balls did not stick well. Try using a stronger glue so that the balls actually stick to the surface.
Then, place one felt ball after the after.
Step 2: Continue gluing the felt balls
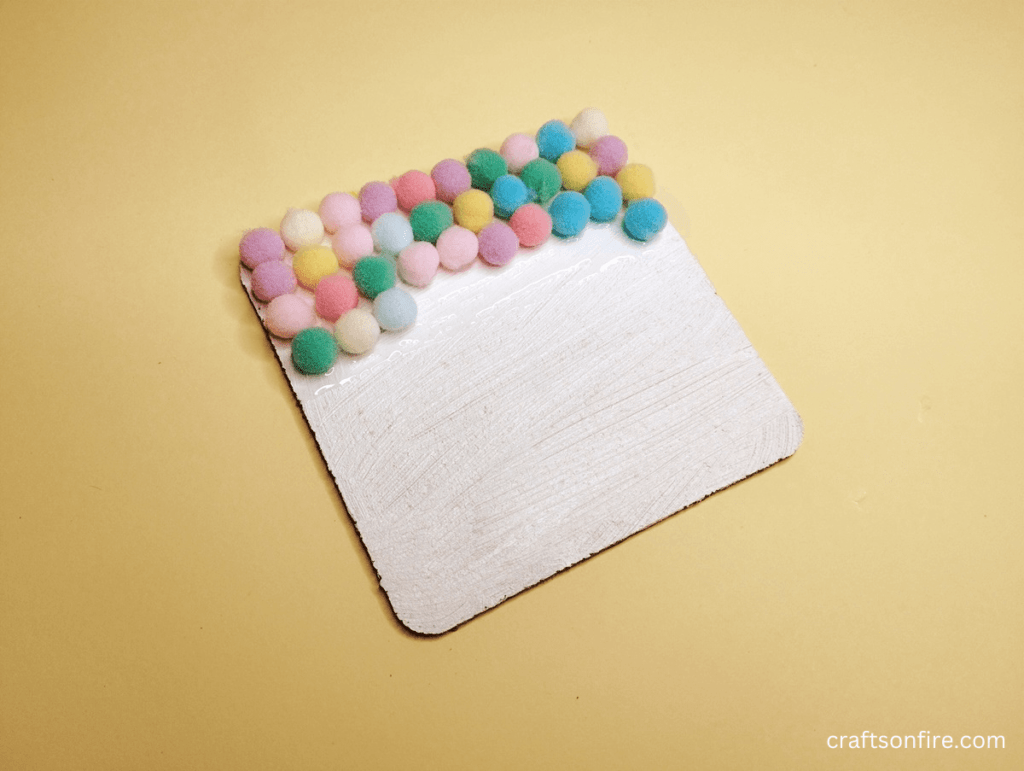
Complete gluing the first row of pom poms to the coaster and then proceed to add another layer of glue after the first row.
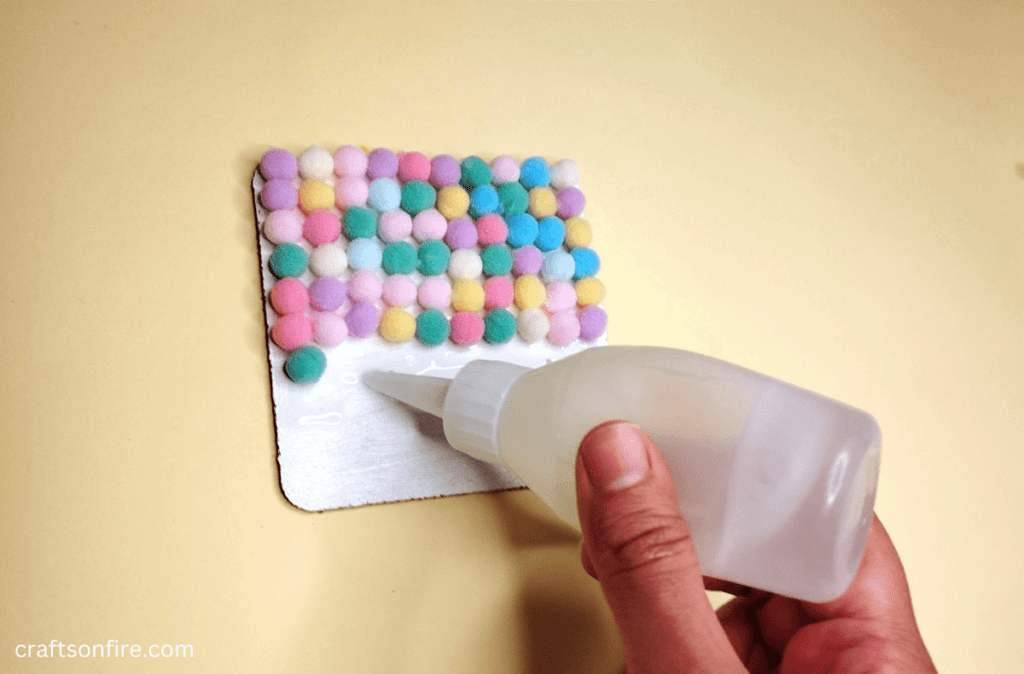
You can go ahead and apply a decent amount of glue to the top half of the coaster and then fill it up with the pom poms to make the process go faster.
As you can see, we’re finally making some progress and the coaster is coming together rather nicely.
Continue applying more glue to the board with your felt balls until you reach the last row.
Step 3: Completed coaster
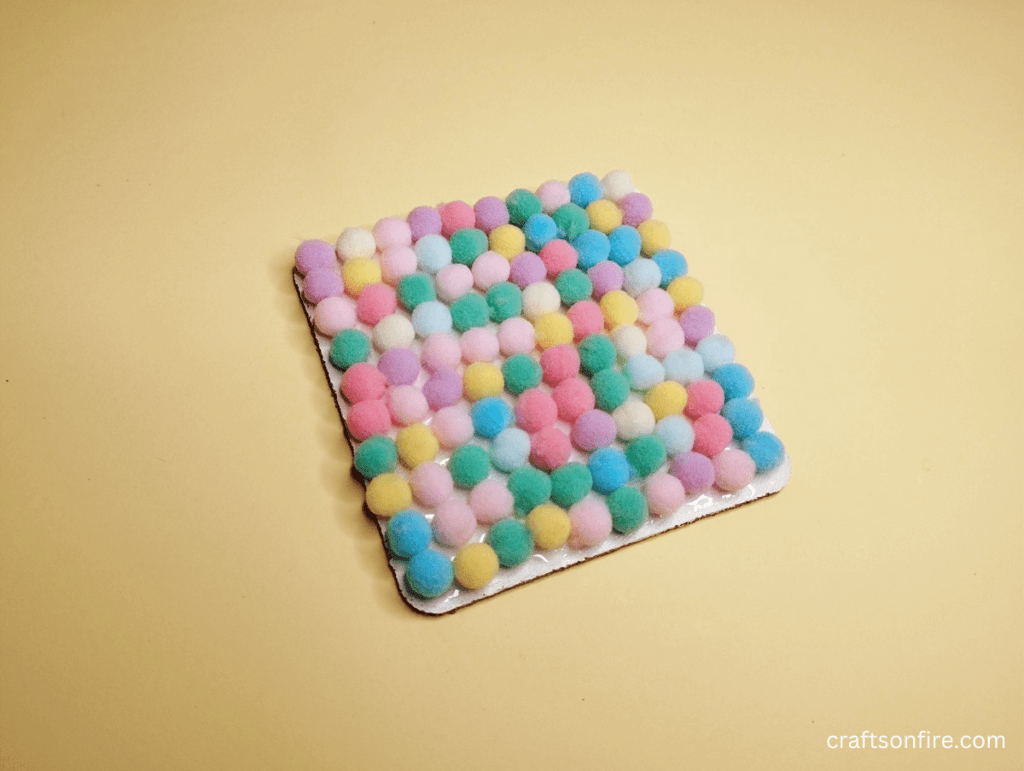
Now, we have to play the waiting game and allow the glue to dry completely before you use it.
Place a heavy book on top of the coaster while it dries so that the balls stick well to the surface.
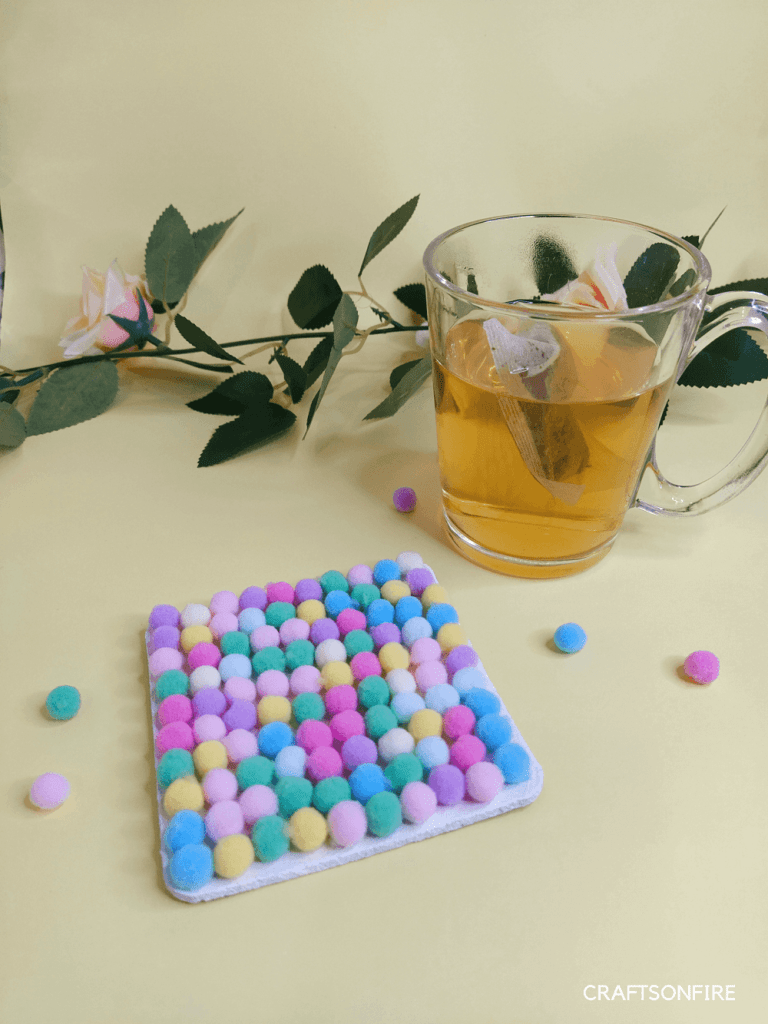
Once the glue has dried, your pom pom coaster is now finished and ready to be displayed on your desk, bedside table, or coffee table.
However, there’s one more small and quick step you might have to do if you haven’t already and that’s painting the sides of the coaster with white acrylic paint.
This step is necessary since it gives this coaster a complete finish.
If you’re wondering whether you can use large pom poms/felt balls, it’s best to stick with small felt balls/pom poms as they work great for this type of coaster.
You could also go with a mixed arrangement of small and large felt balls however I did try this as you can see in the image below and it’s kind of an unstable surface to place your mug down.

So, it’s better as a decorative item instead.
There you have it. A simple, quick, and easy way to make a colorful and bright pom pom coaster.
I hope you have just as much fun making this coaster as I did!
If you’d prefer a video version of this tutorial, you can watch my full step-by-step tutorial below:
I’ll probably do a few more coaster tutorials in the future so do keep your eyes peeled for that.
And if you’re interested in making a coaster with leftover scraps of yarn, here’s my tutorial you can follow.
With that said, see you in the next one!