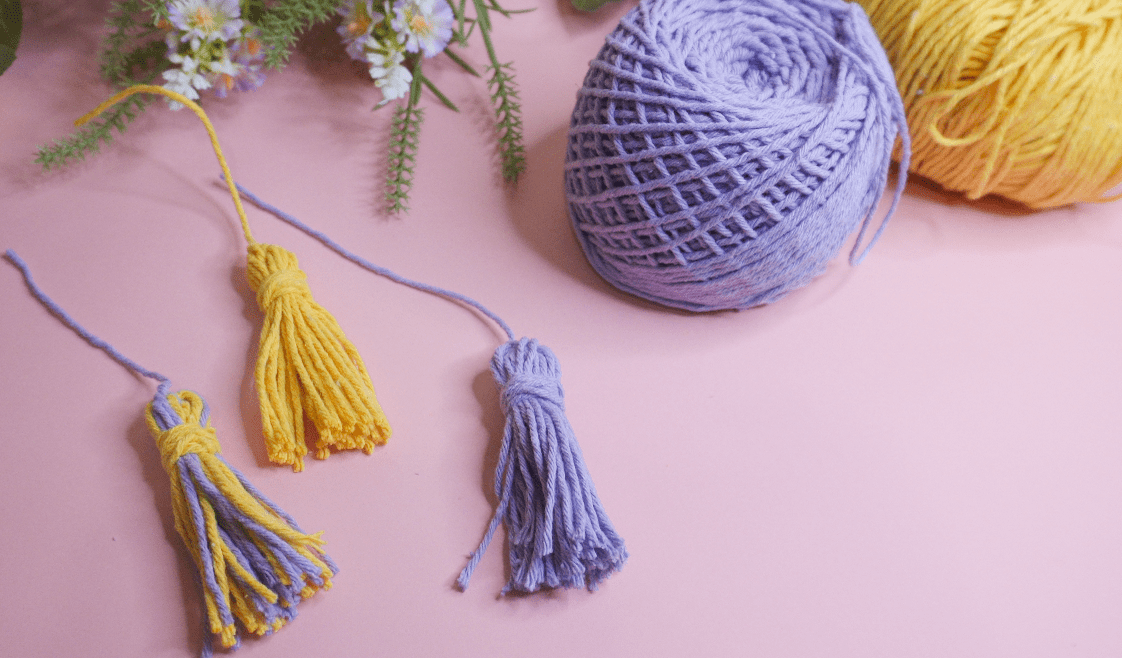
How To Make A Tassel (Using Your Hand!)
I have a really easy, simple, and quick way to make a tassel using your hand which I can’t wait to show you.
I’ve used this method several times to create the most beautiful yarn and embroidery tassels that can be attached to almost anything – bags, curtains, blankets, earrings, etc.
If you’ve never made a tassel before, you’ll love this one. I promise.

In just a few minutes, you can become a pro at making tassels.
It’s that easy.
For this tutorial, all you need is yarn, a scissor, and of course, your hand.
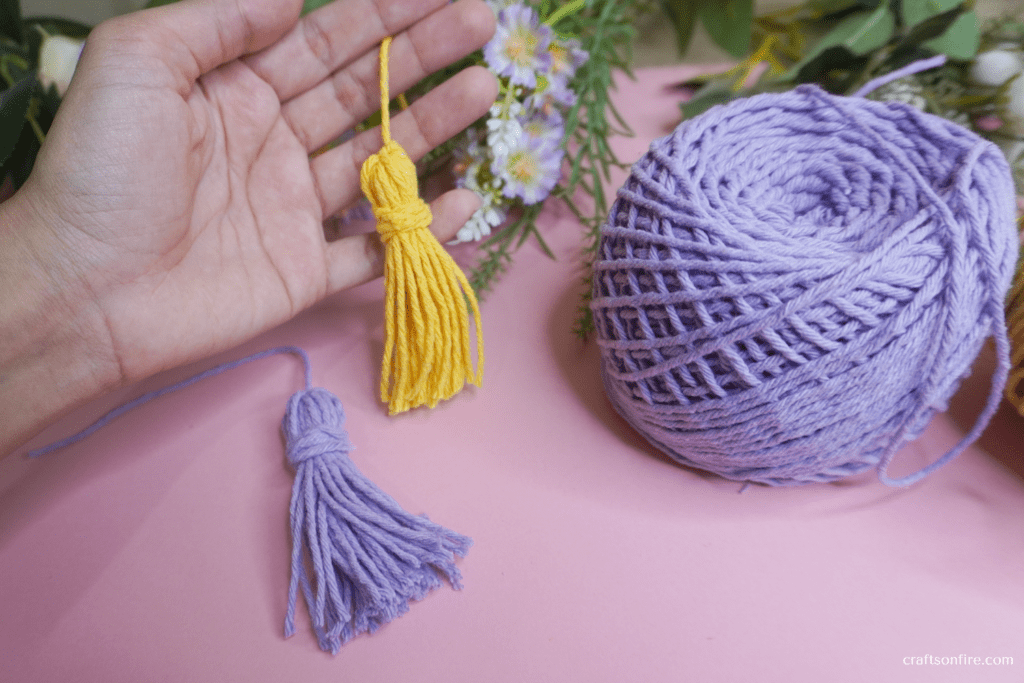
That’s pretty much it. If you want a tassel with a more luxurious finish, I suggest using embroidery floss instead but for this guide, we’ll focus on using this beautiful purple yarn.
With that said, here’s my step-by-step process of creating a tassel using your hand:
Easy Way To Make A Tassel With Yarn
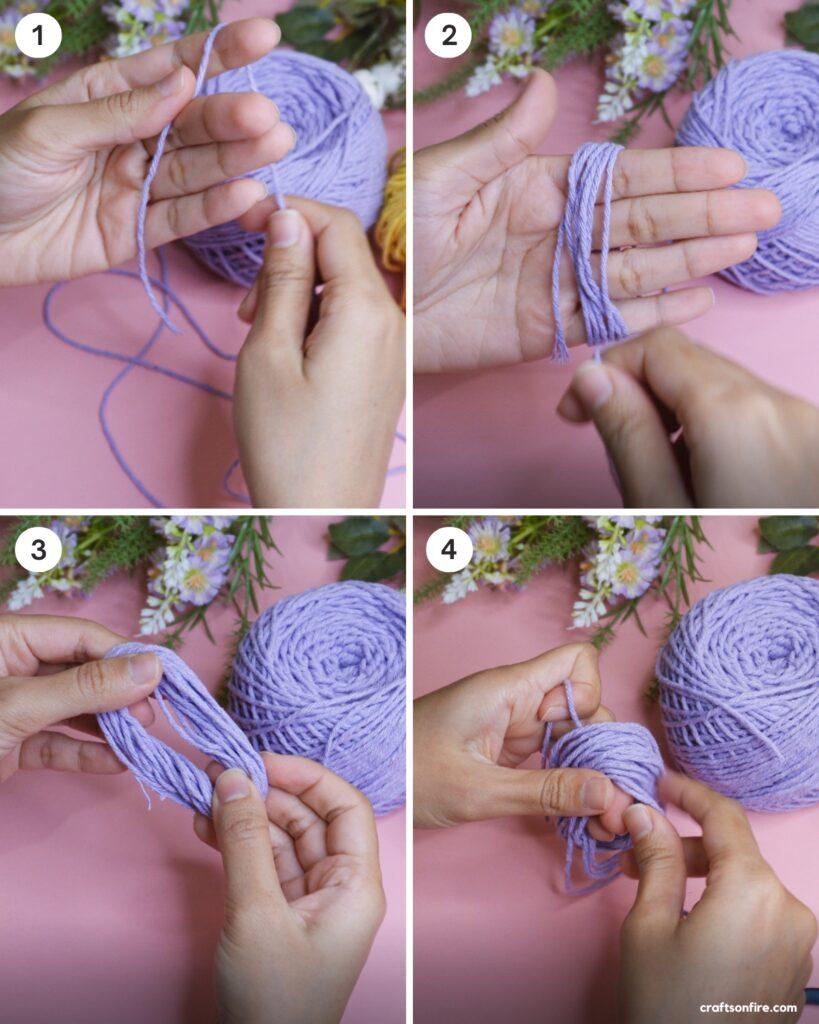
- Begin with a small piece of yarn and drape one end over your four fingers. Use your thumb to hold the yarn in place.
- Wrap the yarn around your fingers multiple times until you have a good amount of yarn which will make a nice tassel. If you want your tassel to be chunky, I recommend wrapping the yarn a few more times.
- Cut the remaining string and remove the ring of yarn from your fingers.
- Cut another small piece of yarn and loop it through the top of the ring of yarn to create a knot.
- Pull the thread together to create a tight knot at the top. You can do this at least two times to ensure that the top of the thread is secured.
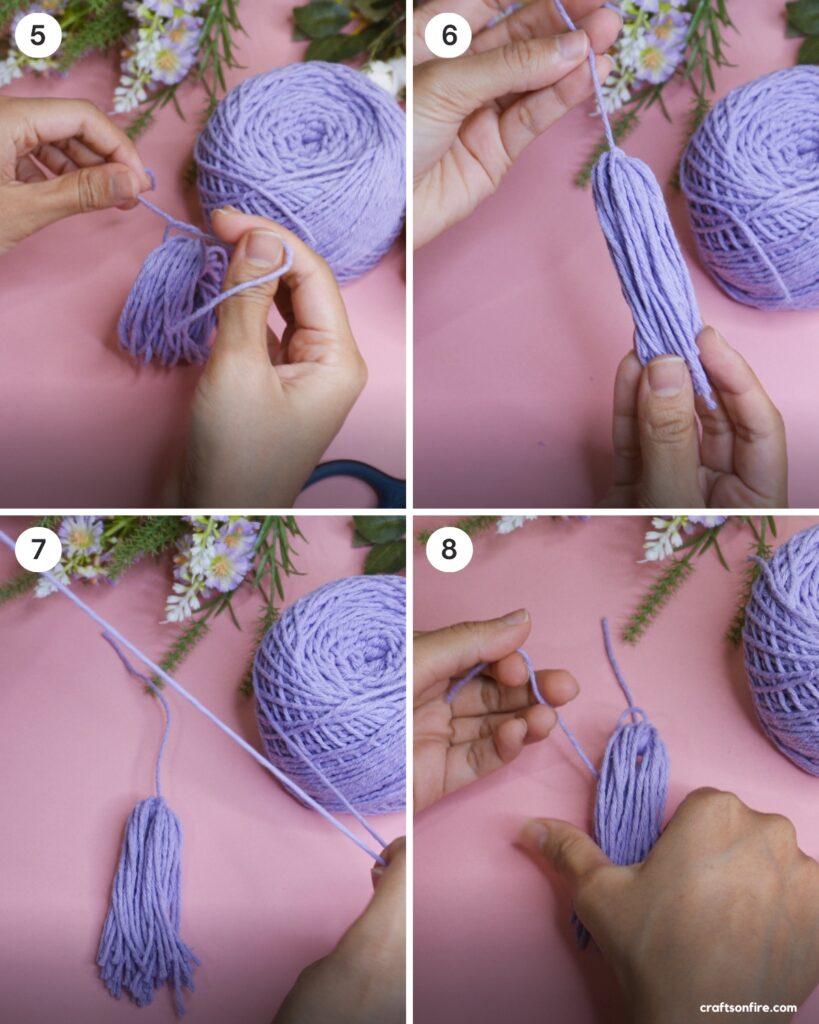
- Grab another piece of thread, this time ensuring that it’s longer than the first thread, and loop it under the tassel as shown above.
- Bring the two ends of the thread and tie them together as shown below.
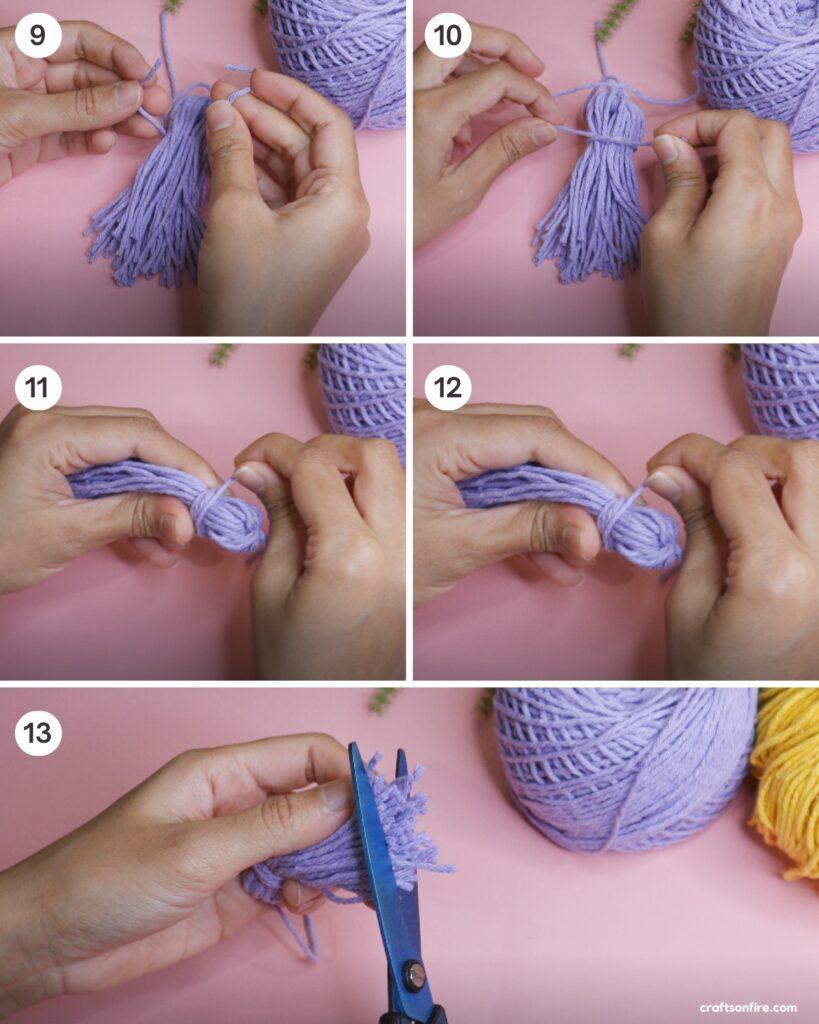
- Take one side of the thread and start wrapping the thread across the tassel a few times until you reach the end of the thread. With the last bit of thread, tuck and wind the thread into that wrap for a neater finish.
- For the final step, grab all the pieces of yarn at the end of the tassel and use a scissor to trim the thread for a straight edge.
You can now enjoy the completed finish of your tassel. Was that not super easy and fun to do?
If you prefer a video version of this tutorial, you can watch it below:
In the second half of the video, I’ve also included the process of creating a two-toned tassel using the purple and yellow yarn.
It’s the same steps except you’ll be using two threads.
Now if you don’t want to use your hand, you could use a small piece of cardboard instead to wrap the yarn around to create the yarn ring.
If you don’t have cardboard, then you could also use a folder piece of paper instead to make the tassel but at the time of making this tassel, it was more convenient for me to use my hand.
Okay, that’s it from me. I hope this tutorial has helped you learn how to make tassels.
Before you go, I also recommend checking out my tutorial on how to use leftover yarn to make a coaster.
It’s a great way to make something cool for your home that would otherwise go to waste.