How To Make A Colorful Coaster With Yarn
Are you in the mood for a quick, fun, and cute little project to add a special handmade piece to your home? Well, you’re going to love this cute colorful coaster made from yarn.
I had a few different bits of yarn from a punch needling project and what better way to make use of it than to turn it into a colorful coaster?
This piece was really quick and easy to make and I’ve been itching to share this cute project with someone.
If you have some free time, you can make this coaster in minutes.
Also, I’ve included a full step-by-step video tutorial on how to make a colorful coaster with yarn alongside this written guide.
If you prefer to check out the video instead, here you go:
With that out of the way, let’s get straight into it.
Supplies Needed:
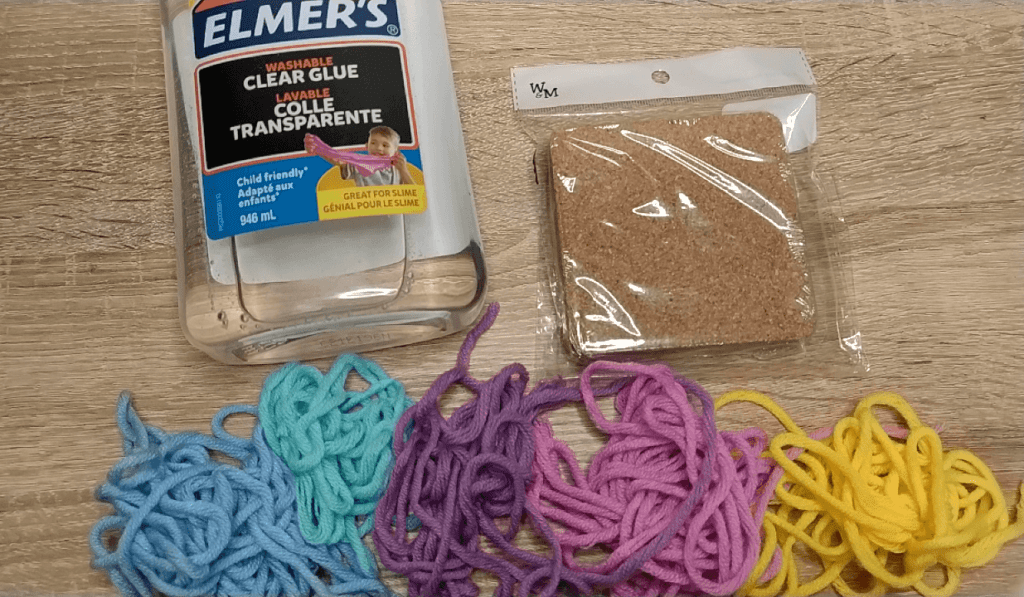
To make this coaster, you’ll need a few basic supplies:
- Clear glue
- Cork coaster or wooden board
- Leftover yarn or string in any color
- Scissors
Steps To Make This Colorful Coaster
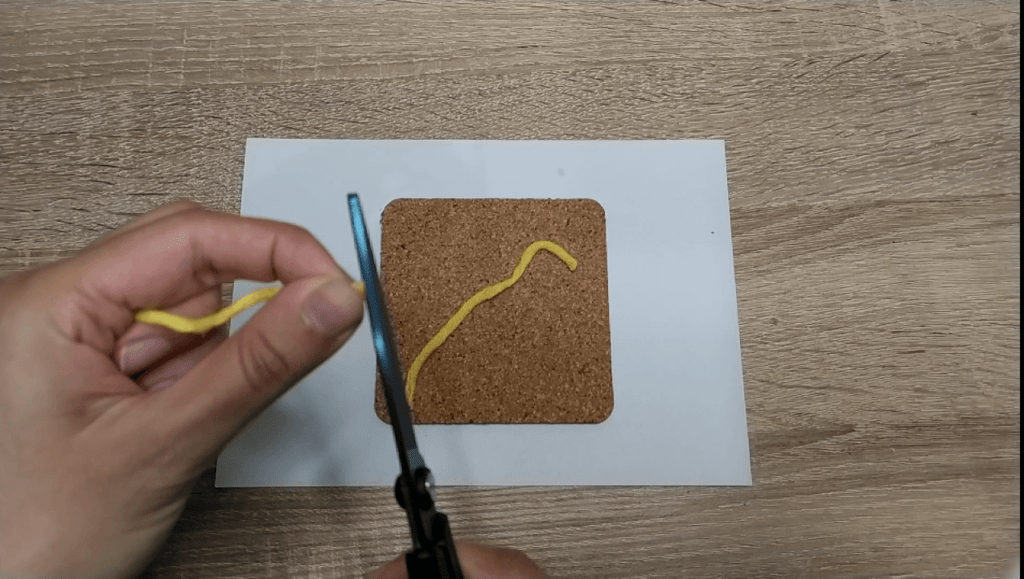
Step 1
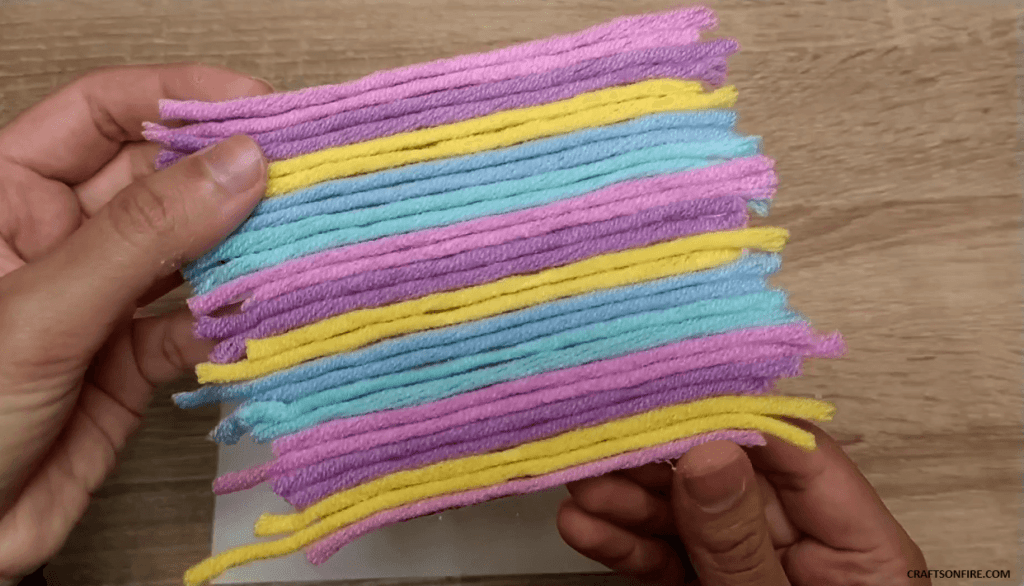
To begin making this coaster, grab a piece of yarn in any color and measure it against the wooden board or corkboard to get a good idea of exactly how much to cut so you don’t have to waste more yarn or string than needed.
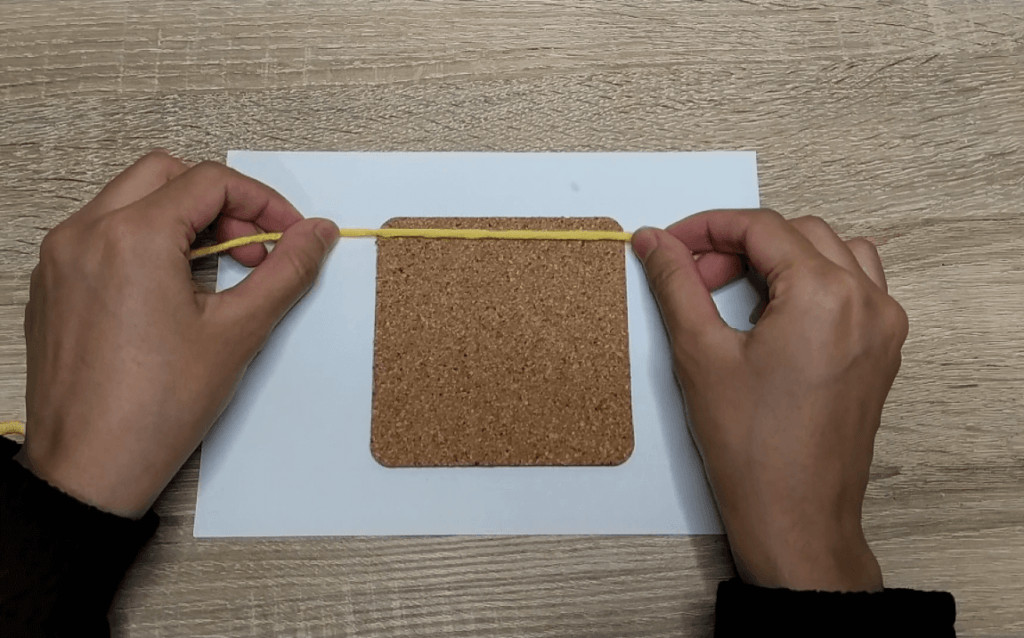
Go ahead and cut the piece and then use that piece as a sample to cut the remaining pieces.
Do this for all the colors until you have a good quantity that will cover the entire board.
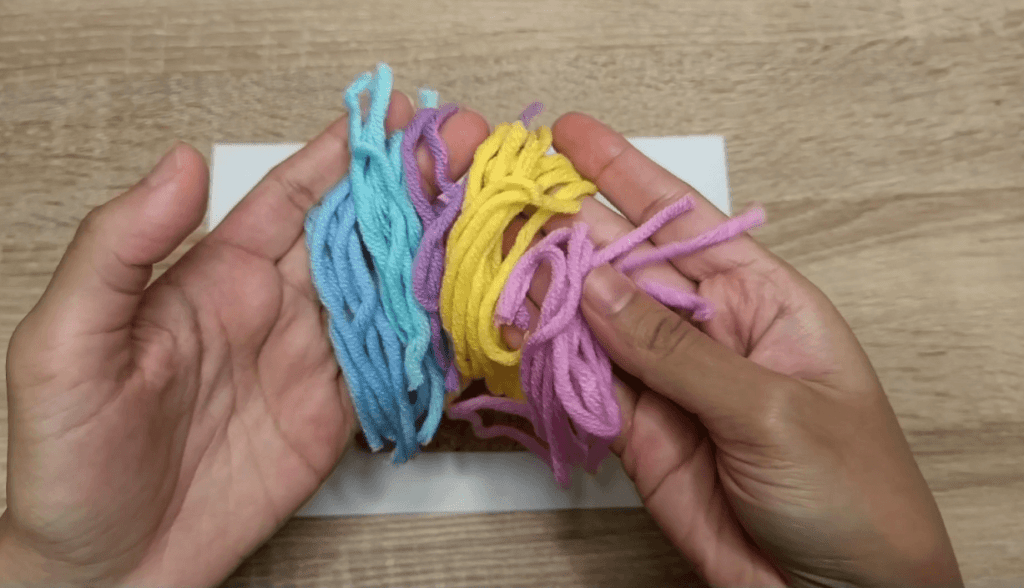
Step 2
As you can see, I have a few pieces of string for each color. Once you’ve cut yours down to size, we can get started on the project.
Step 3
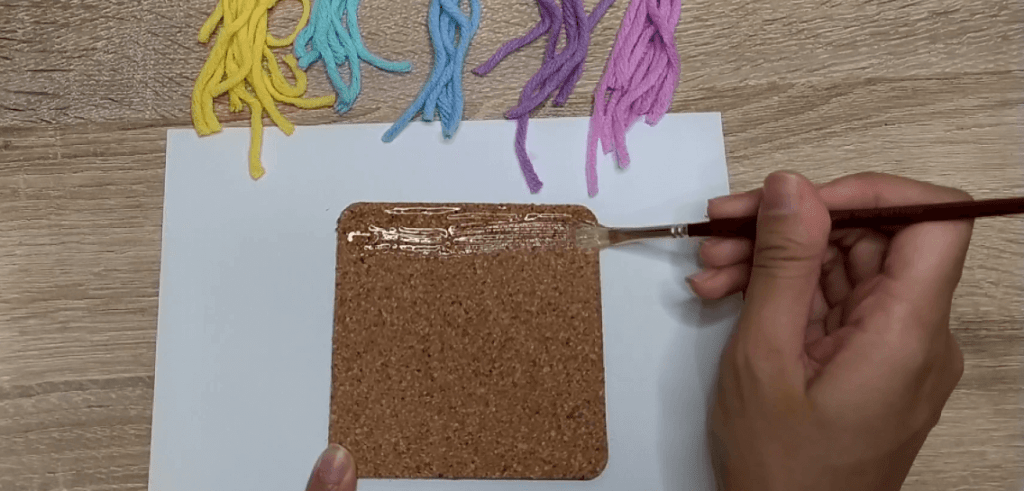
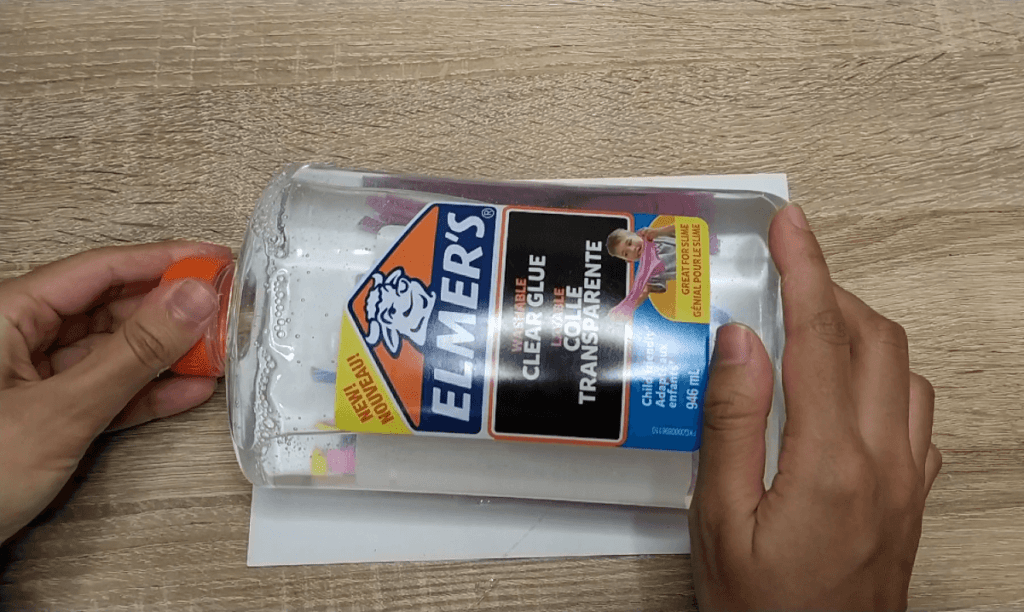
Grab your glue and apply it to the top half of the board. You can use a paintbrush to spread the paint evenly on the board or use an applicator bottle.
Glue the top portion of the coaster before you apply the glue to the entire board.
This will give you more time to work with the string before the glue dries.
I used Elmer’s clear glue however, I suggest using something a bit stronger so it holds well.
A hot glue gun will also be perfect for this.
Step 4
Now, here comes the fun part. Assembling the string on the coaster.
Grab two pieces of the string/yarn and place the first two pieces at the top of the coaster where we applied the glue.
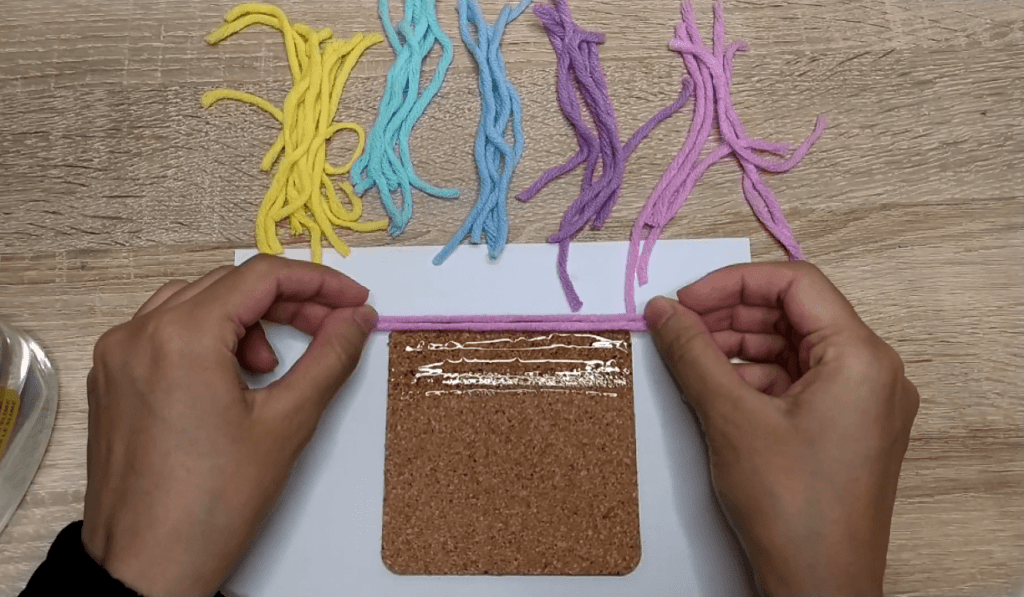
Step 5
Go ahead and place the next few colors as shown below.
I’ve chosen to go with a layout of light purple, dark purple, yellow, dark blue, and then light blue.
I’ll be continuing this pattern as I go down the rest of the coaster.
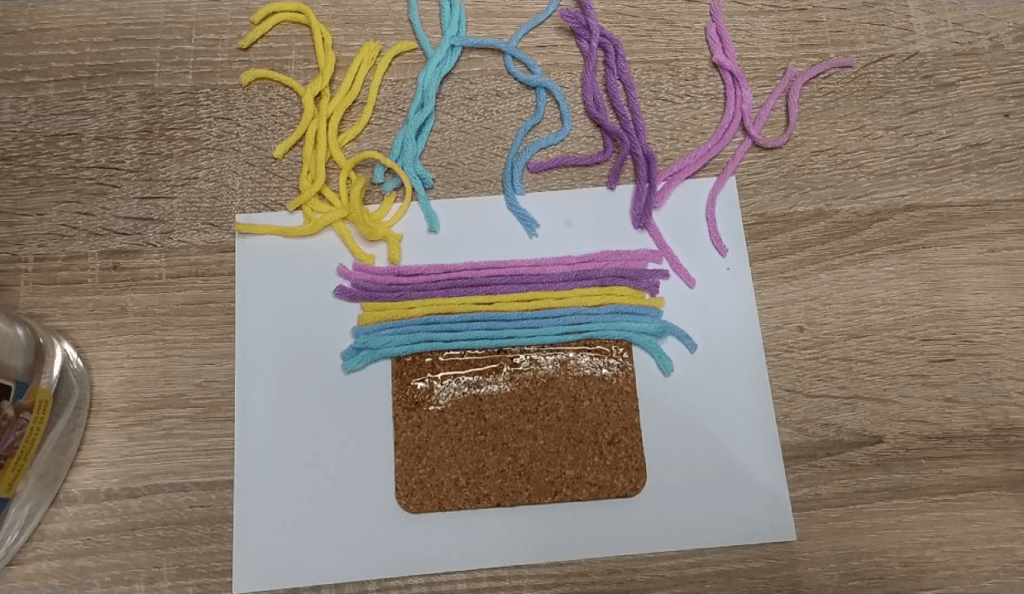
Step 6
Continue placing the string/yarn all the way to the bottom and add as much glue as needed.
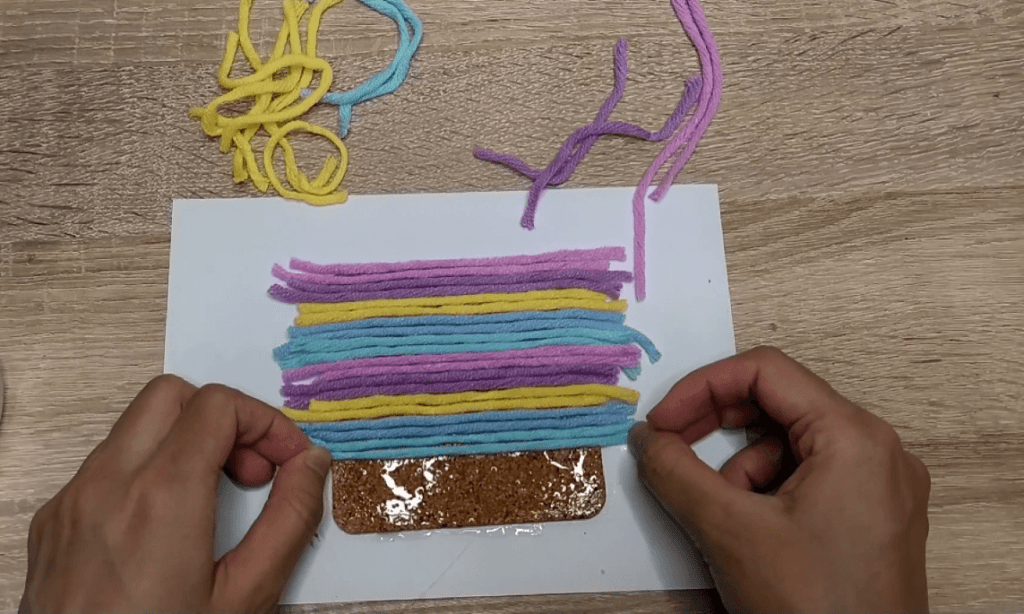
Step 7
Smooth the string down with your fingers to ensure it’s stuck onto the board.
And we’re done with gluing the string to the board!
That was pretty easy and enjoyable, right?
Step 8
We’ll have to wait a few minutes for the glue to dry but to make sure it sets evenly, go ahead and place a heavy book or object on the coaster.
As you can see, I’ve placed that large chunky glue bottle to hold it down.
Step 9
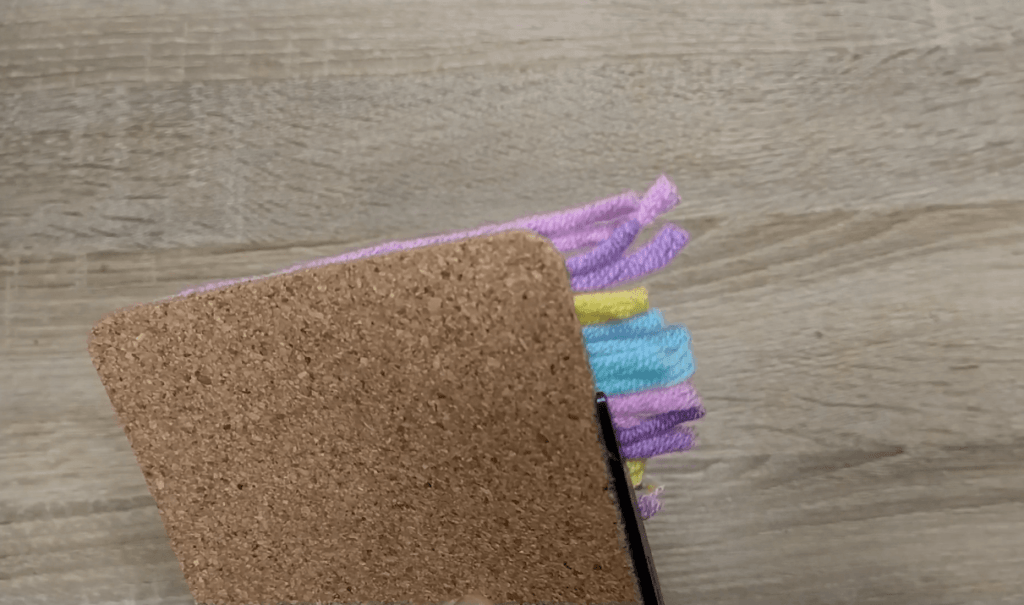
Remove the bottle or heavy object and turn your work around to the other side.
Grab your scissors and cut the excess string from both sides.
Try to get as close as possible to the edge so you can achieve a neater finish.
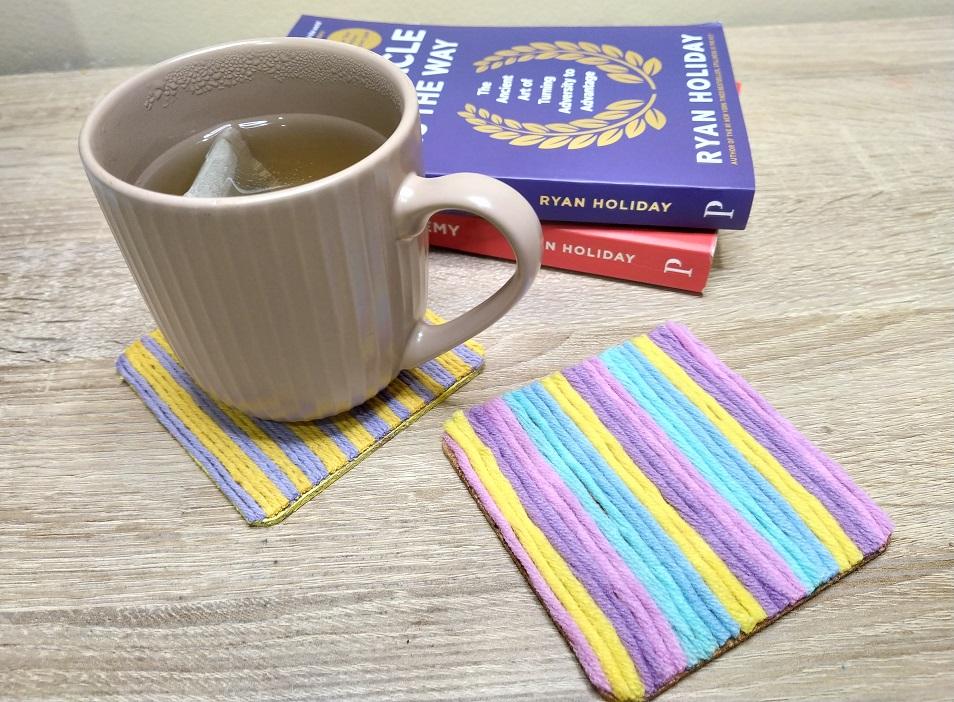
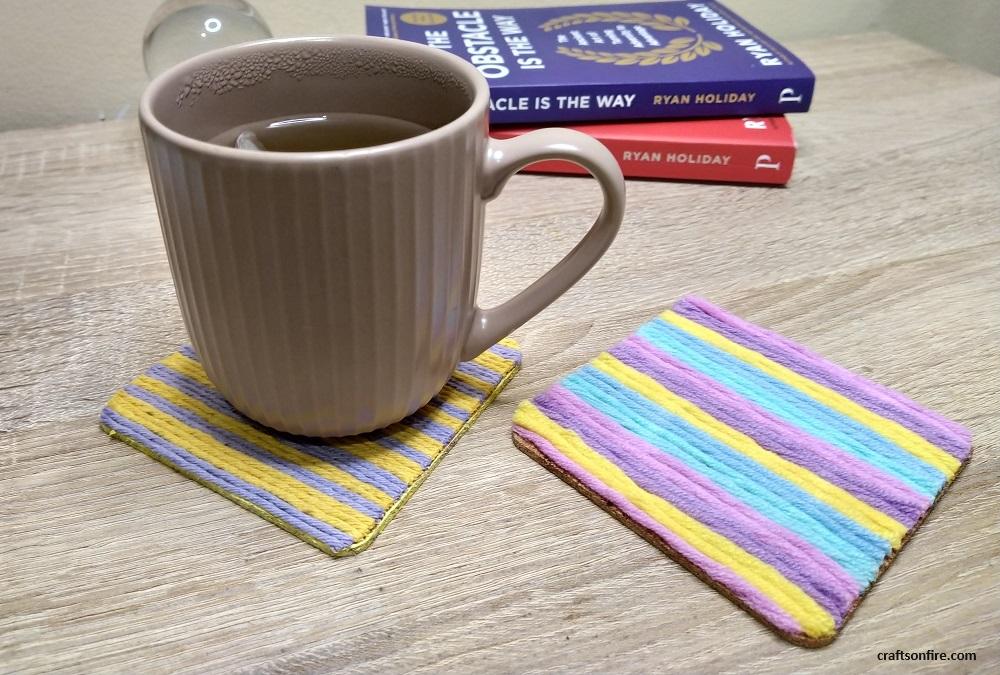
Here’s The Completed Coaster
And there you have it! This bright and colorful coaster is done.

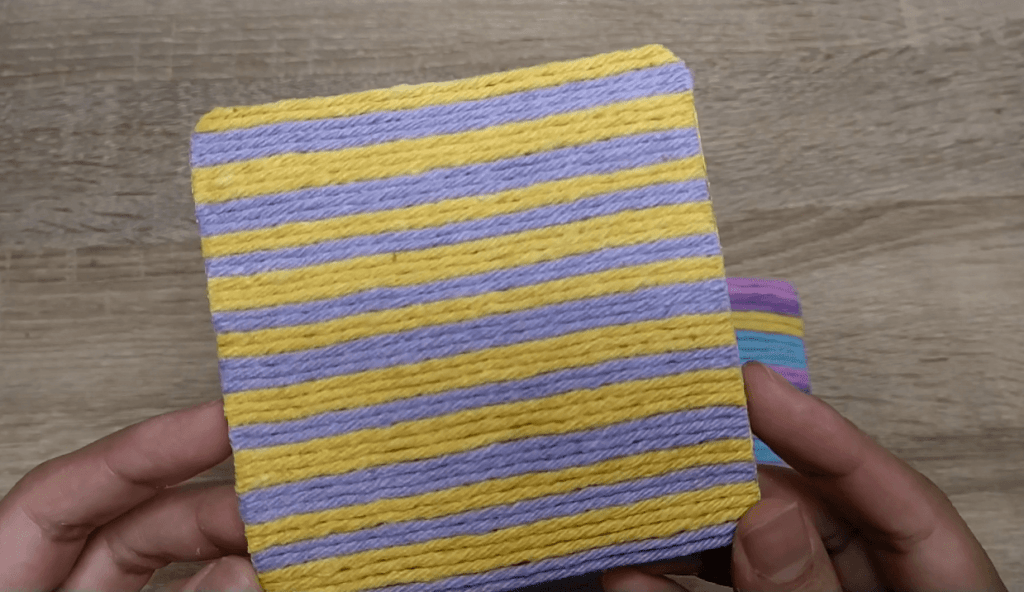
If you like this idea, you can easily create many more of these coasters in different colors and sizes.
Here’s another purple and yellow coaster I did earlier in the day.
Of course, you don’t have to stick with only these colors but you can go with any colors that will match your space or use a color scheme generator to find your perfect match.
Final Thoughts
So, what are your thoughts? Was this coaster easy to make? I sure hope so.
For me, I absolutely loved every minute of creating this coaster. It was really relaxing and fun.
Not only does it look awesome, the colors definitely stand out and it’s great for adding a small piece that will add a pop of color to your desk or table.
It’s also a great way to make use of leftover yarn or string that would otherwise go to waste.
And since it’s such a small project, go ahead and make a few more to gift a friend or a loved one. I’m sure they’ll love it too.
Okay, that’s all from me.
Be sure to check back to see what new tutorials and projects I’ve created when you do have the chance!