DIY Marble Tray Made From Air Dry Clay
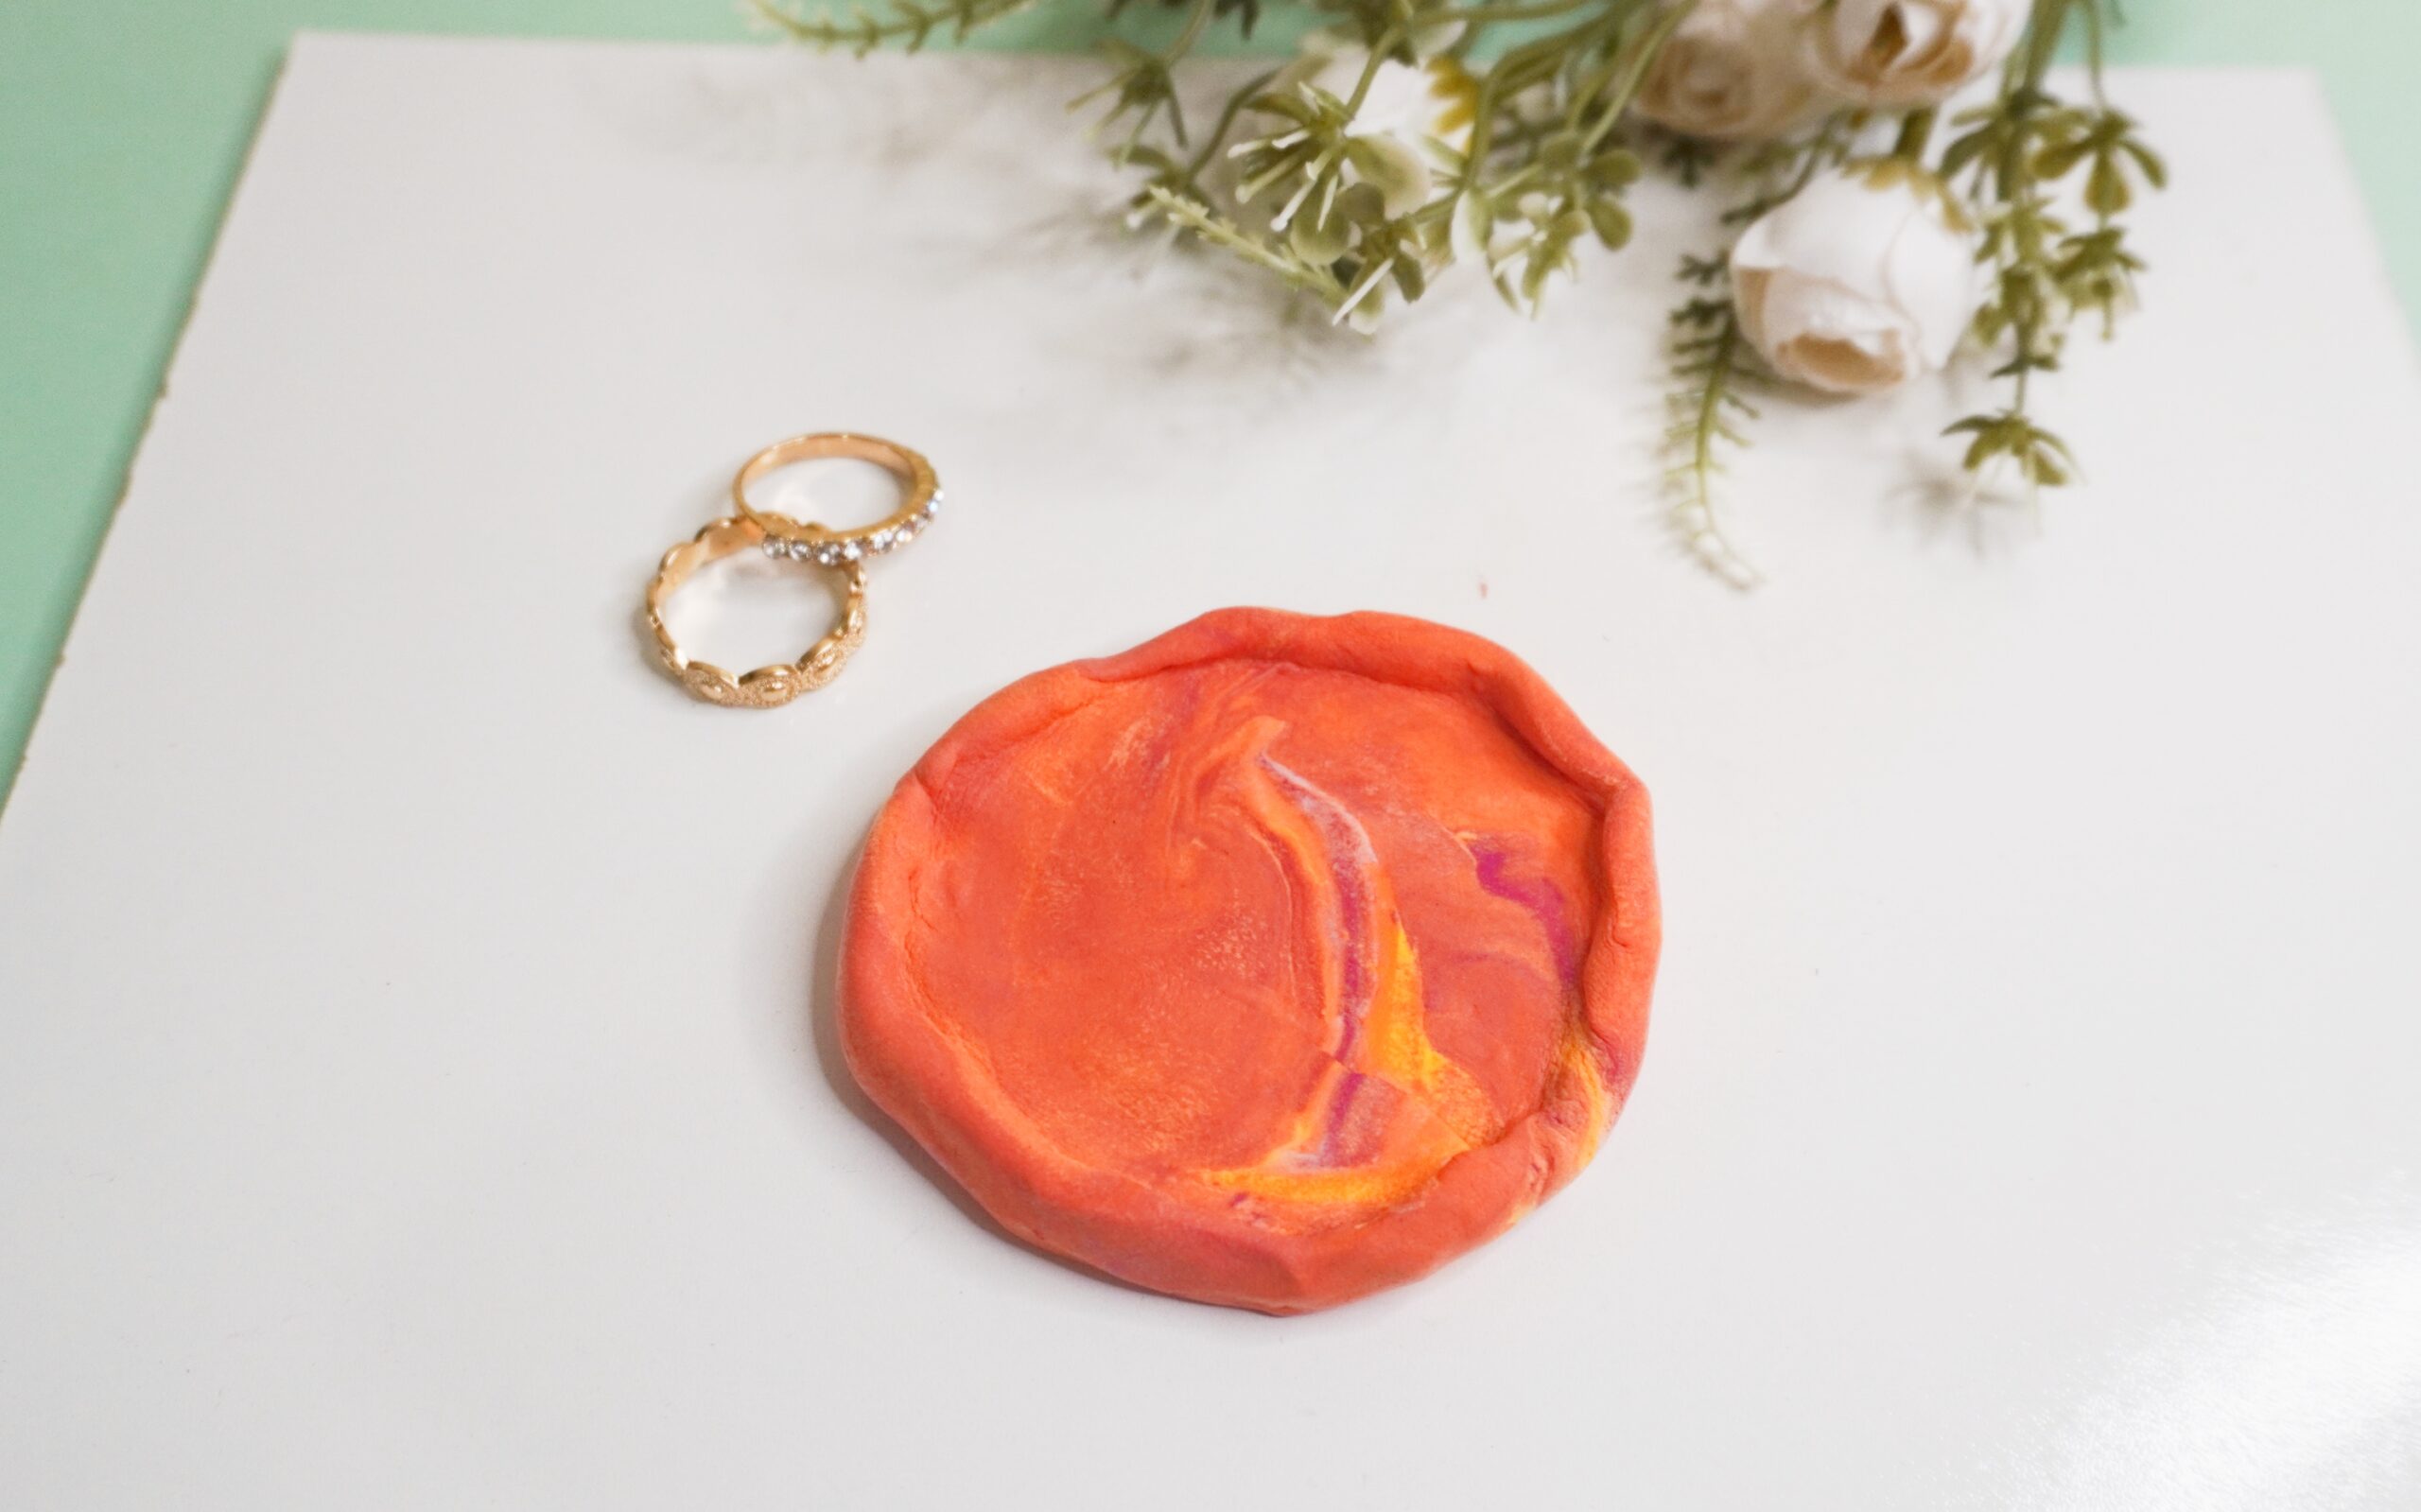
This diy marble tray turned out so beautiful that I’m honestly surprised. Initially, I had no plans to create a marble tray but here we are!
Let’s just say I was aiming to create a cute coaster with colorful round disks joined together until it was ruined by a silly mistake.
But as you know, with every creative adventure, mistakes are bound to happen and sometimes you just have to roll with it.
Luckily enough, I managed to save this project and this awesome marble tray was created so I’ll take this one as a win.
Here’s the simple, easy process to create a marble tray from clay:
How To Make A Marble Tray Using Air Dry Clay
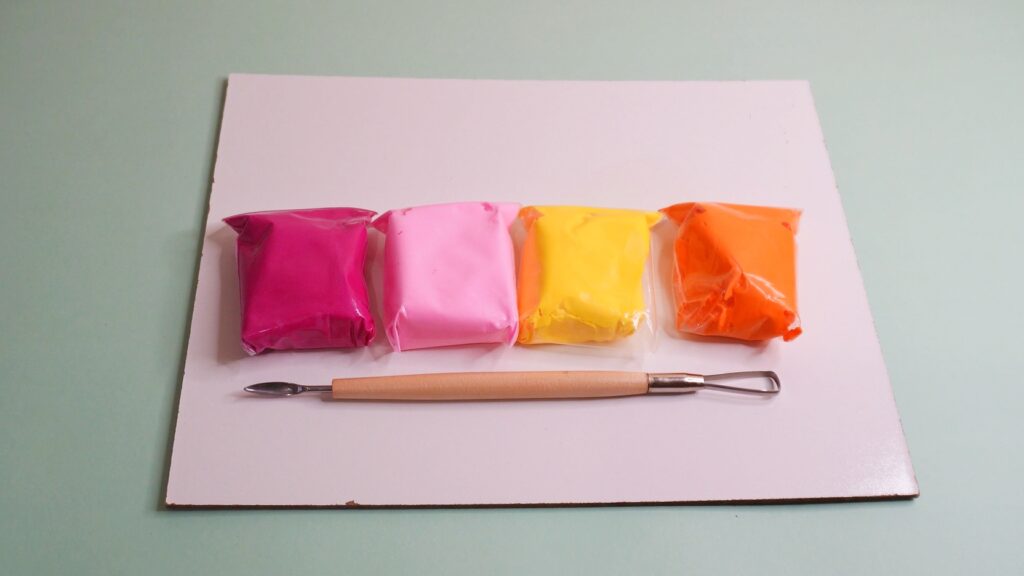
Supplies
Instructions
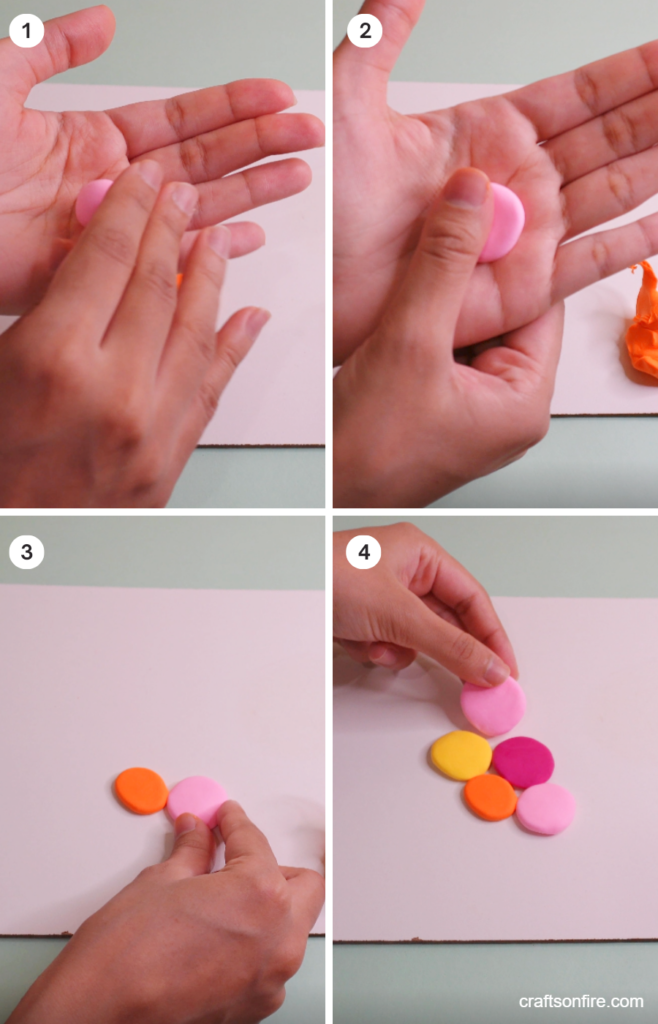
- Take a small piece of clay and roll it into a ball using the palms of your hands and fingers.
- Place the clay piece in the palm of your hand and gently press down with your thumb. Shape the piece until it looks like a flat disk.
- Make a few more pieces in yellow, pink, and orange, and join each piece together as shown in step 4. This part is slightly tricky since the clay pieces will stick together and it will be difficult to rearrange so you’ll have to get it right the first time.

- Take all the pieces and fold them in together. Continue kneading the clay piece until the colors mash together to create this beautiful swirl of colors.
- Place the clay onto a clean board or surface and use the handle of the clay tool or a pen to roll the clay out.
- Pick the clay up once again, roll it into a ball, and shape it as shown in step 7.
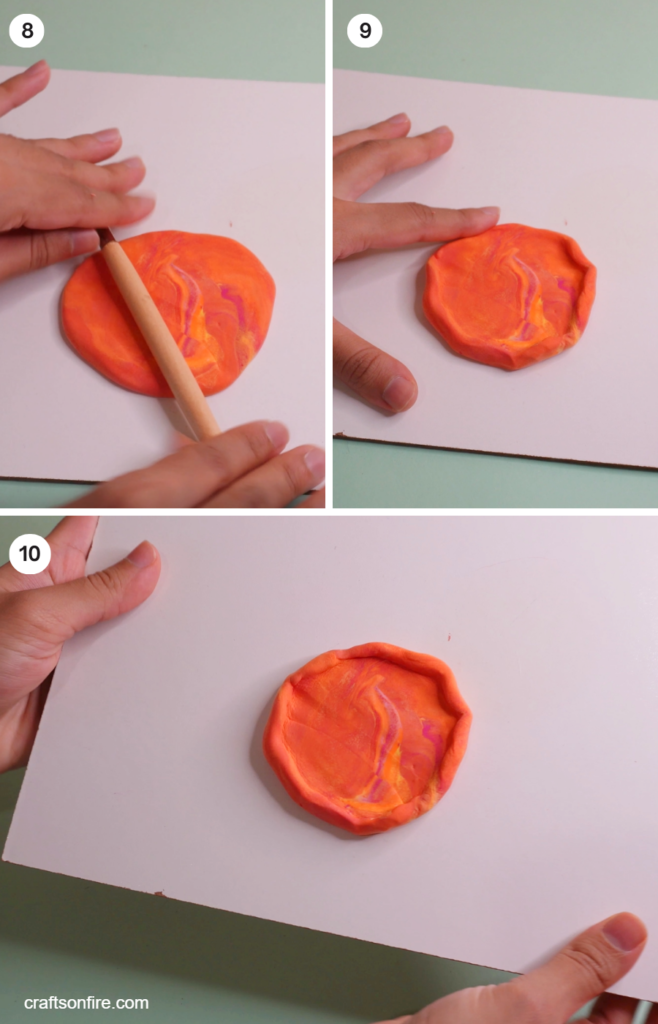
- Go ahead and smooth the surface of the clay once again but this time, decide just how big you’d like your marble tray to be and roll accordingly.
- To achieve this border effect, use your fingers to turn the sides of the clay up. Continue shaping the tray until you’re happy with the final result and smooth out any part of the clay that feels awkward.
- Now, set the tray aside for a couple of hours to fully dry. You might notice that the underside of the tray still feels wet. Simply turn the tray over and allow that side to dry until the entire piece has hardened.
Sometimes, soft air dry clay can stick to the surface and this could mess up the final piece.
I recommend lining the board with a piece of baking paper first before you place your marble tray to dry or you could try leaving the tray on a soft satin cloth to harden instead – whatever works for you!
And that’s about it. You can now display it anywhere in your space.
Now, you don’t necessarily have to do the first few steps mentioned above to create a marble tray.
If you’re looking for a quick and easier way, take a few clay pieces in different colors and knead them together. This will remove the process of creating and joining those small clay pieces together.
Here’s the video version of this marble tray tutorial:
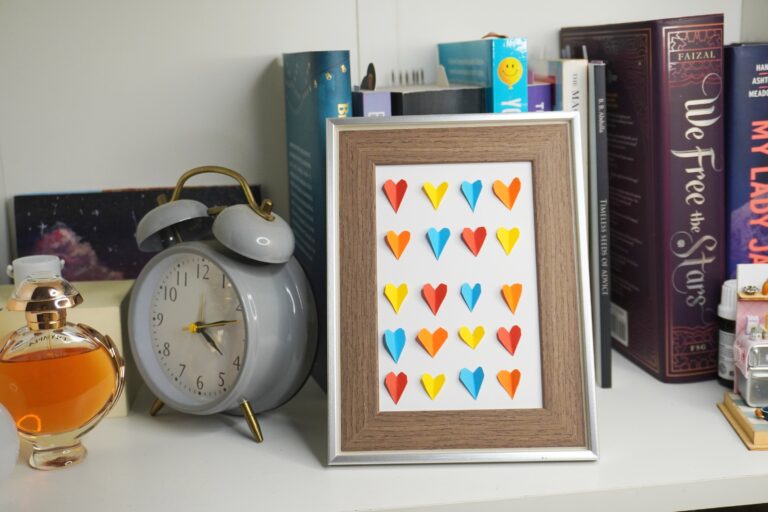
This bright and colorful clay marble trinket tray is a quick and easy project and there’s so much you can do with it.
You could display it on a coffee table, vanity, or bedside table.
It may not be your typical white marble tray but the interesting colors add a creative, unique appeal that immediately catches your attention!
I hope you found joy in creating this small project and if you’re looking for similar air dry clay projects, here are a few more that might interest you:
DIY Air Dry Clay Speckled Tray