DIY Patchwork Mug Rug
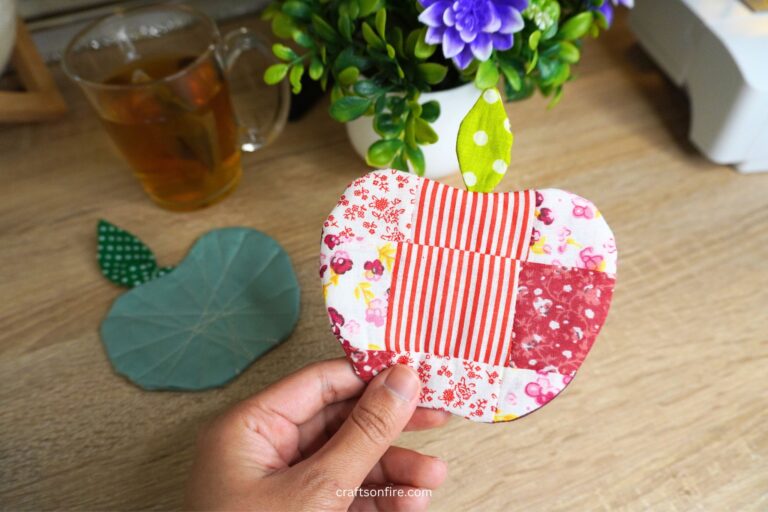
I came across these larger coasters while flipping through a sewing guide and I thought this would be an absolutely fun project to try. Fortunately, I had some scrap fabric on hand to make this cute and easy patchwork mug rug and I’m glad I did!
This is a cute little project you can try whenever you want to sew something quick and easy.
This patchwork mug rug is big enough for a small teapot, mug, and a teaspoon. It has a layer of fabric batting so it’s quite absorbent if any spills occur.
Also, when the mug rug gets dirty, toss it into the wash and it will be as good as new.
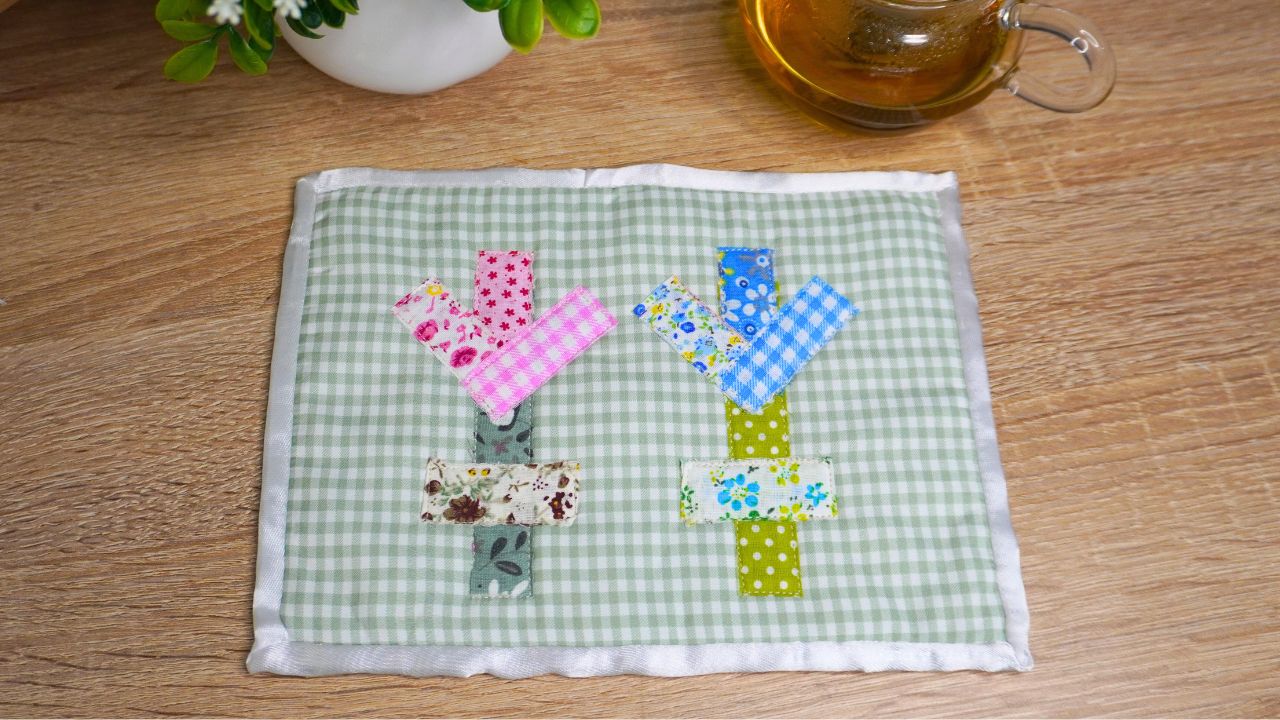
For this particular mug rug, I created an abstract flower shape by folding and arranging the patterned strips one on top of the other. You could also do a star-shaped pattern instead! Then, I attached the fabric strips to a light green checkboard patterned fabric and added a white ribbon as the border.
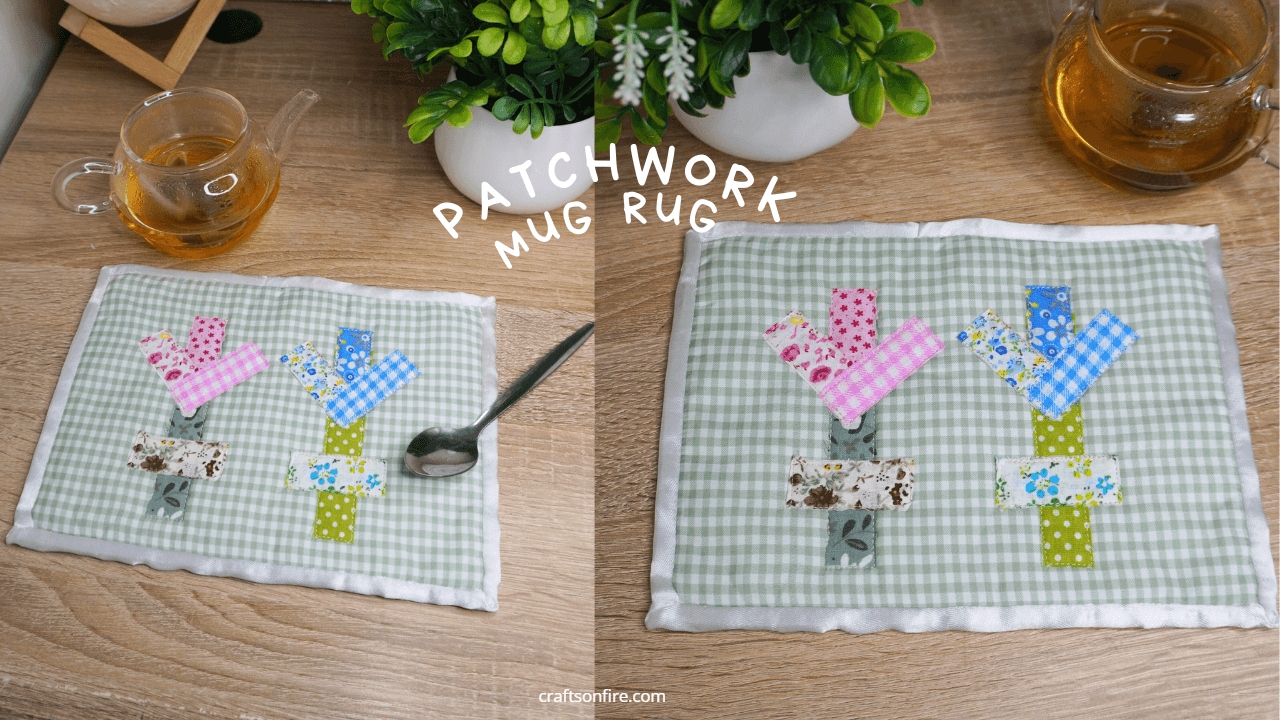
The abstract flower shape contrasts perfectly against the green fabric and white ribbon border but a plain fabric can be used for the background instead.
With that said, sewing this patchwork mug rug is easy and simple. I can’t wait to show you.
Before we begin, here’s what you’ll need:
Table of Contents
How To Sew A Mug Rug
Supplies & Measurements
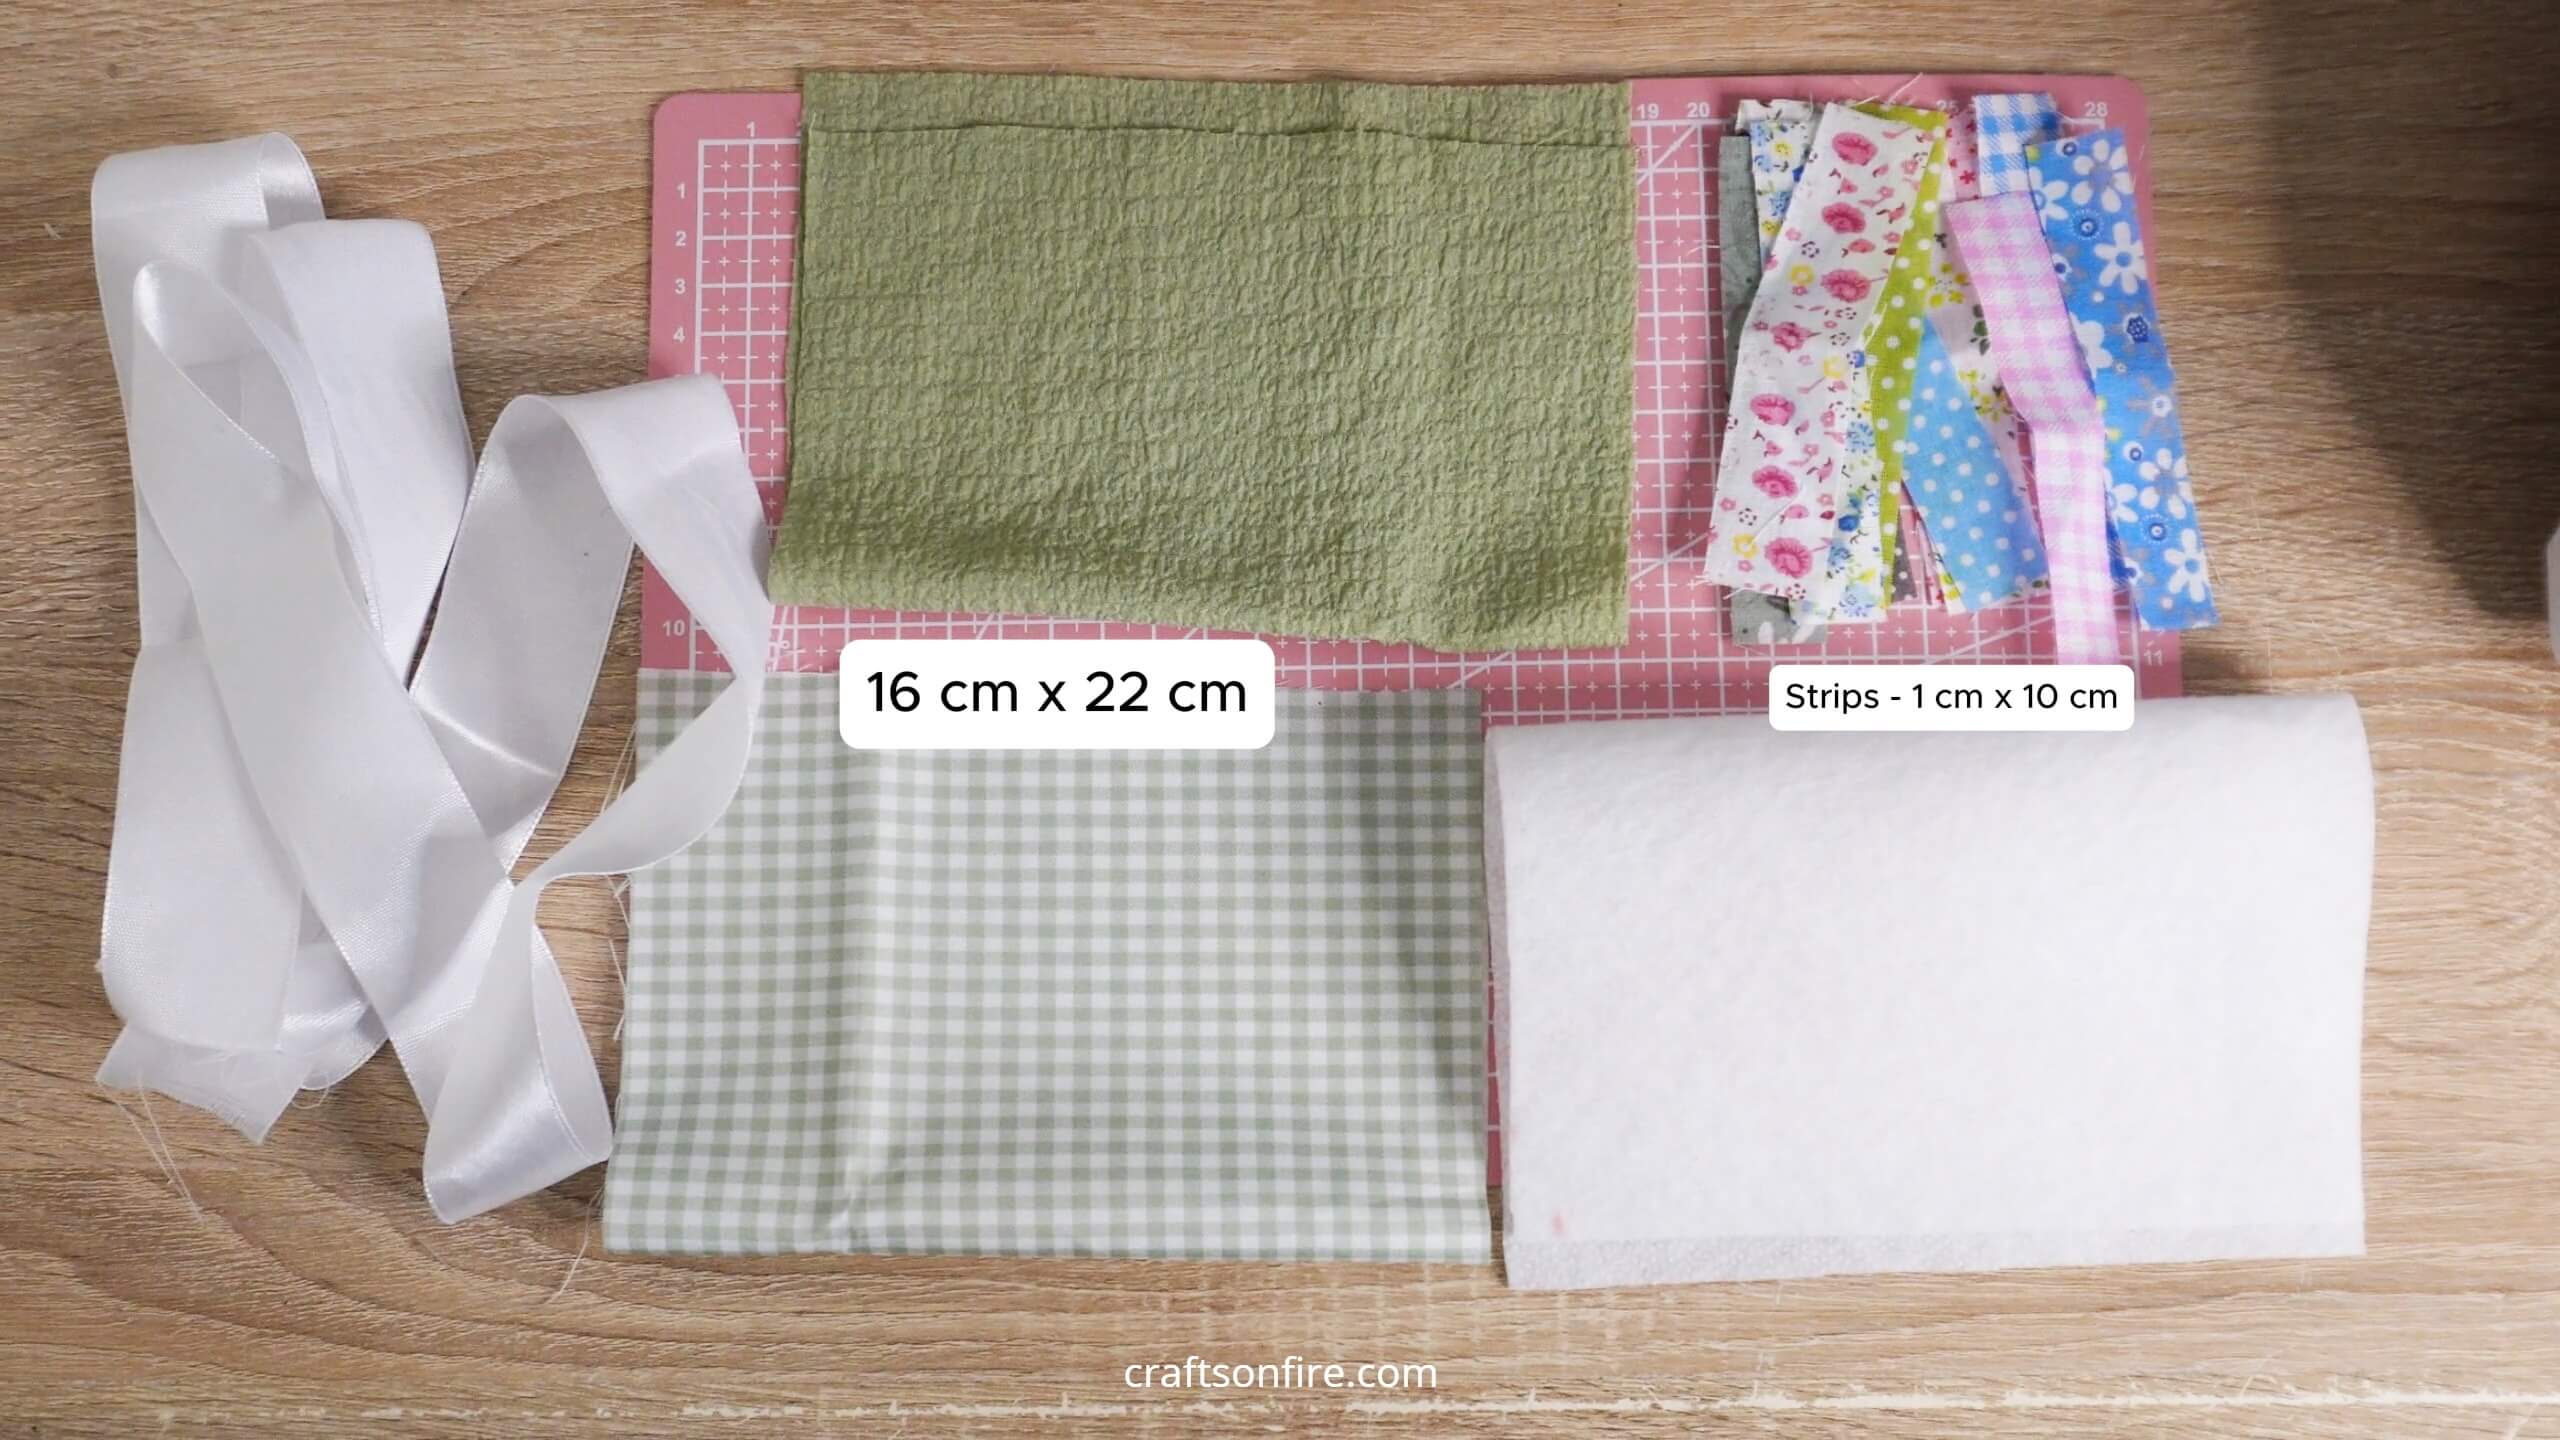
- Material – 2 pieces (16 cm x 22 cm)
- Fabric Batting
- Sewing Machine
- Sewing Pins
- Ribbon
Video Tutorial
I’ve also filmed the entire process of sewing this mug rug in case you’d prefer to watch it instead:
Instructions
Place Fabric & Batting Together
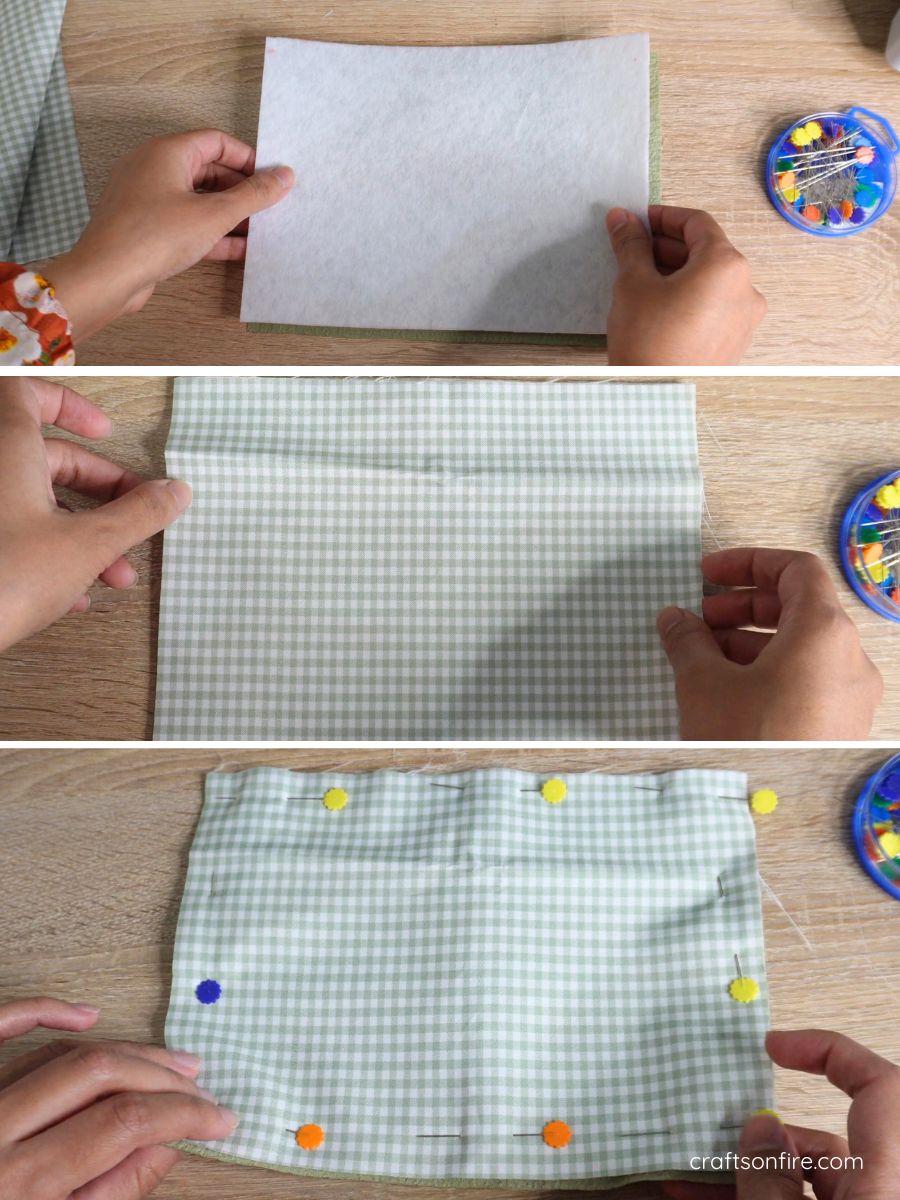
Begin by placing the fabric batting and green fabric together as shown below. Then pin the fabric in place.
Sew The Fabric
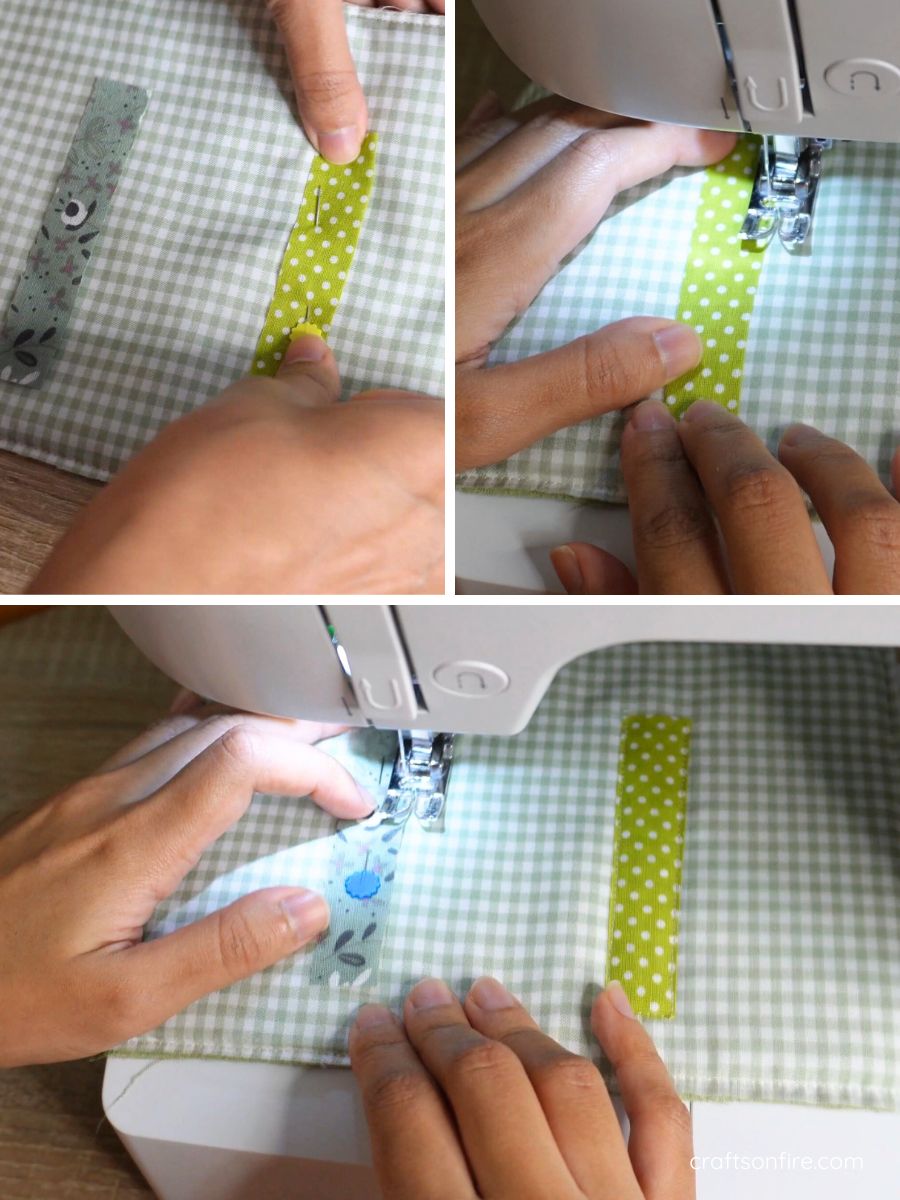
Head over to the sewing machine and sew the fabric on all 4 sides. Then mark out 7 cm and 14 cm using a fabric marker or tailor’s chalk. If you don’t have either, use a pencil.
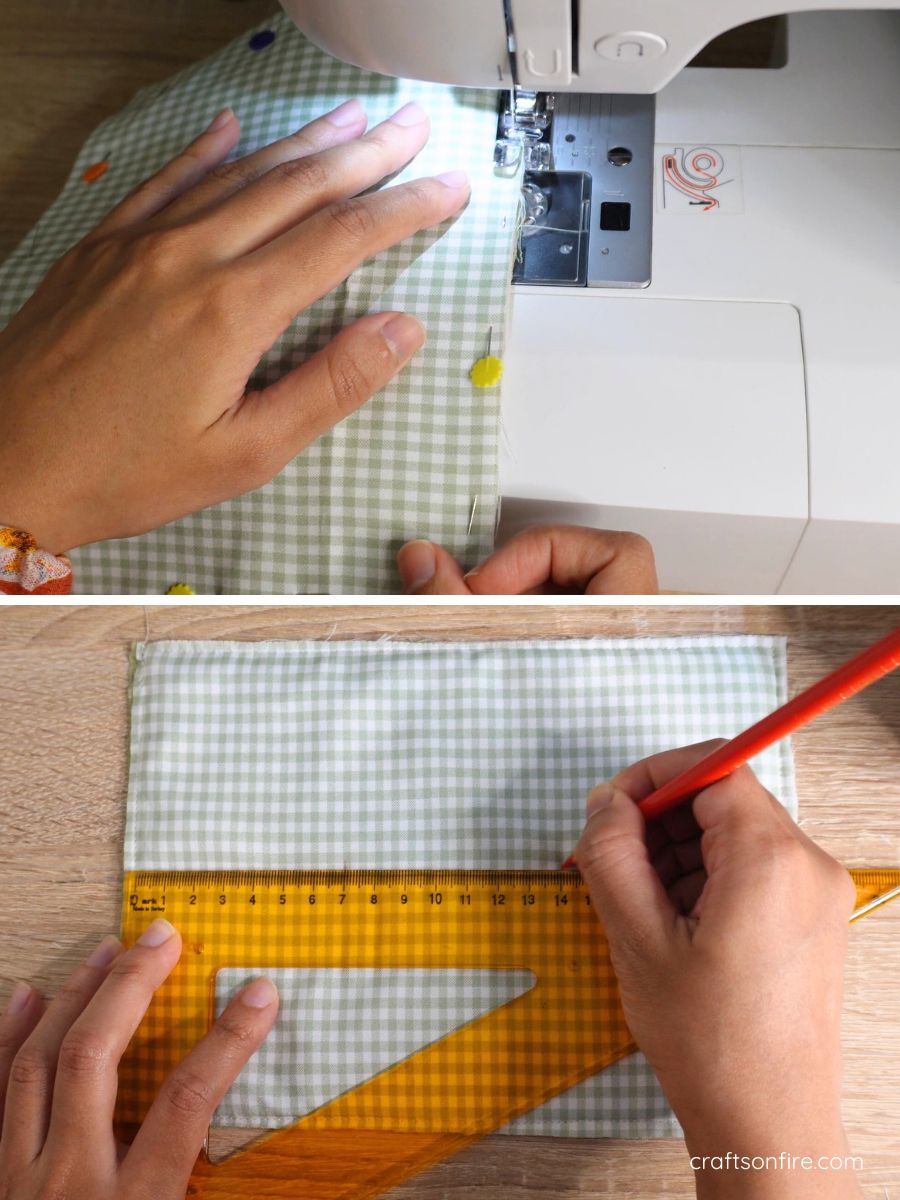
Pin a strip of fabric in the two spots you just marked and sew both strips.
Create The Patchwork Flower
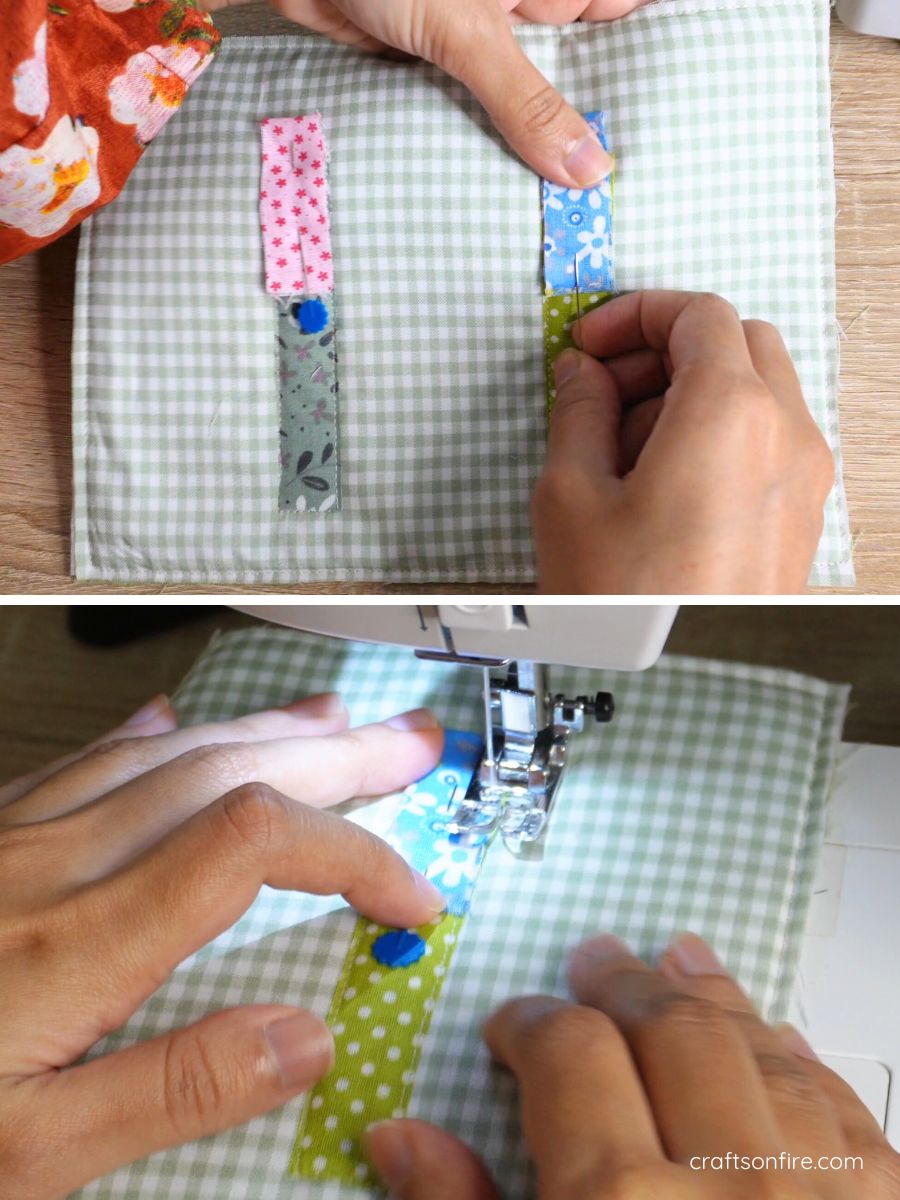
Grab another strip and fold it in half. Pin it to the first strip you sewed and then head to the machine to stitch the folded piece.
Finish Sewing The Flower
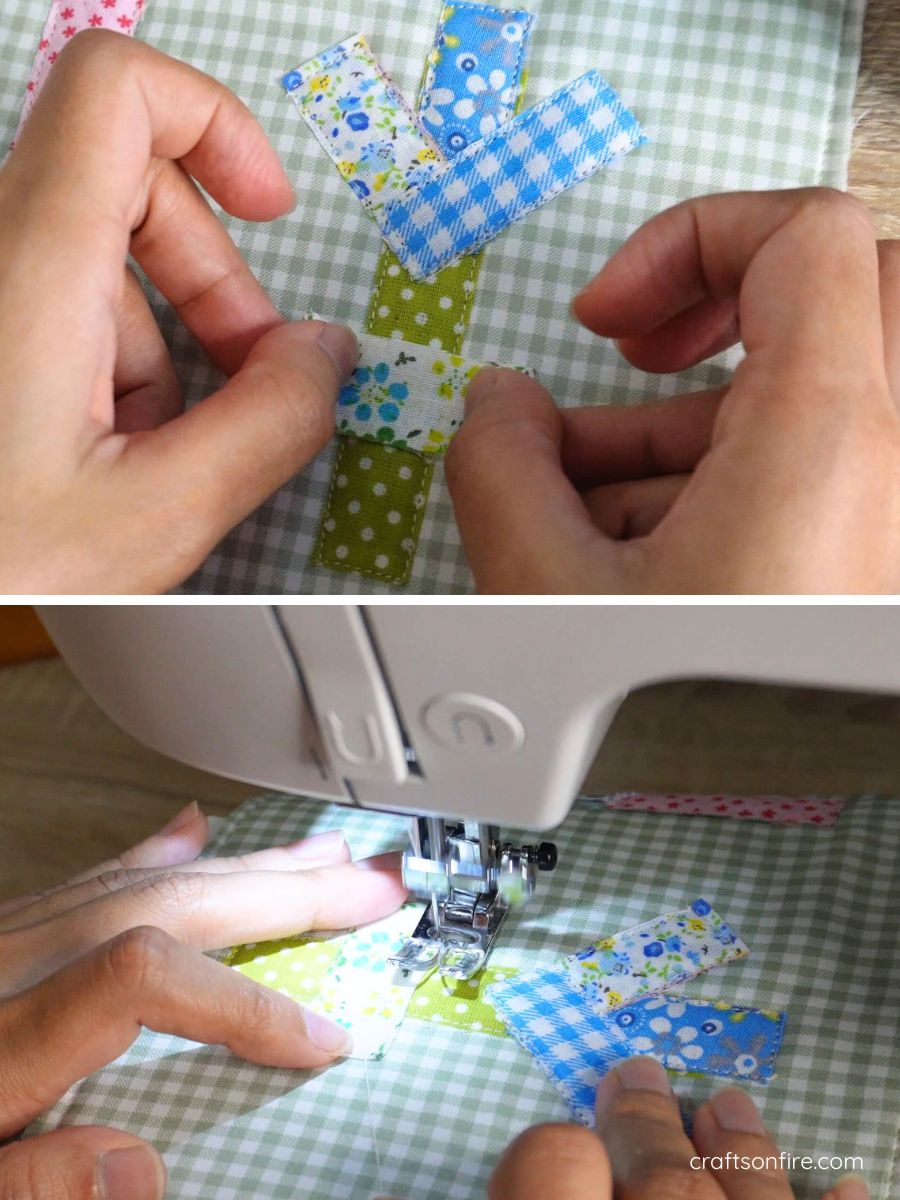
Fold two more strips into half and stitch them to the top piece but arrange them into a V shape.
Then fold one more strip in half, place it on the center of the first strip, and sew to create the flower shape.
Repeat this step for the other flower as well.
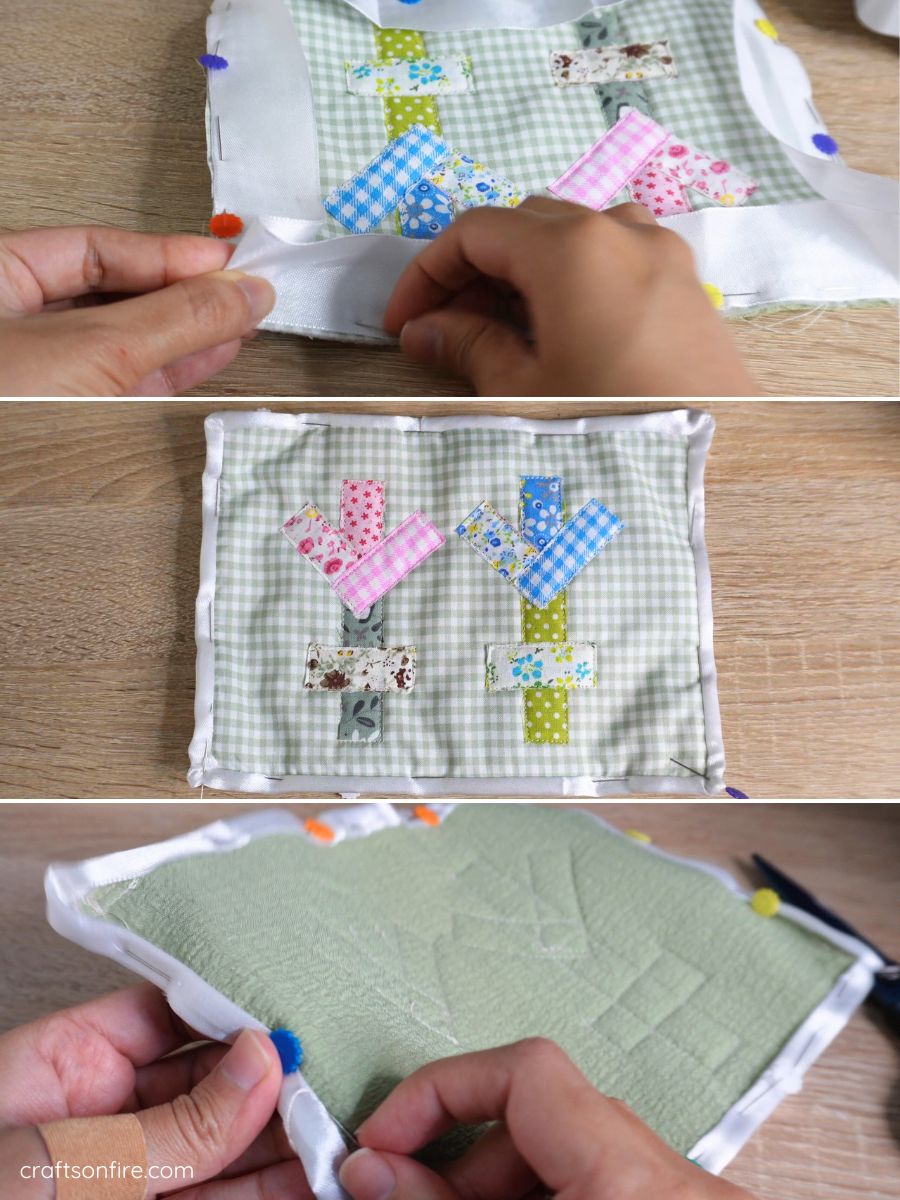
Pin & Sew The border
Grab your tape or rippon and sew the bias binding.
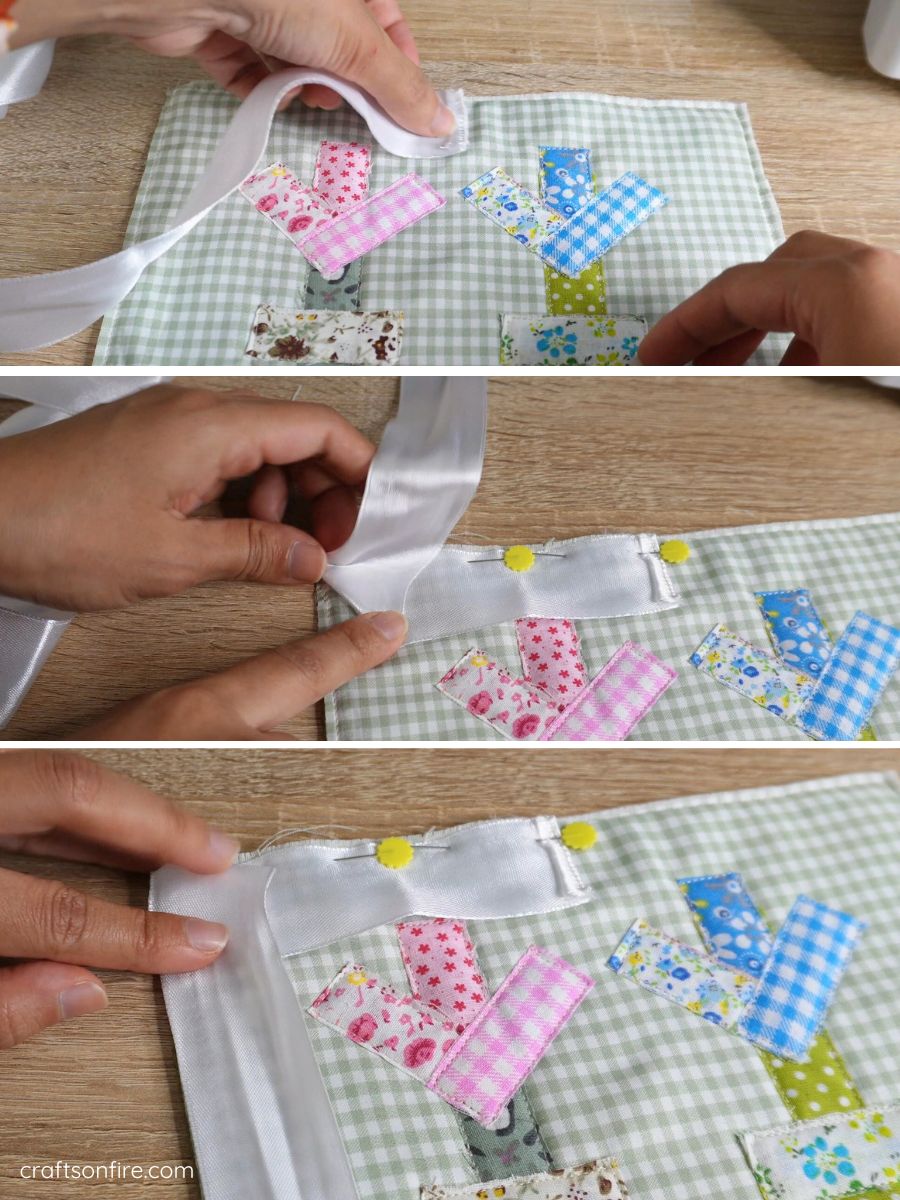
You don’t have to pin it completely, but I’ve done so to show you how it will look. Stitch the ribbon/fabric to the mug rug, then turn the tape or fabric over.
Fold and pin again.
Then, grab some needle and thread to hand stitch the back side.
Here’s what the final mug rug looks like:
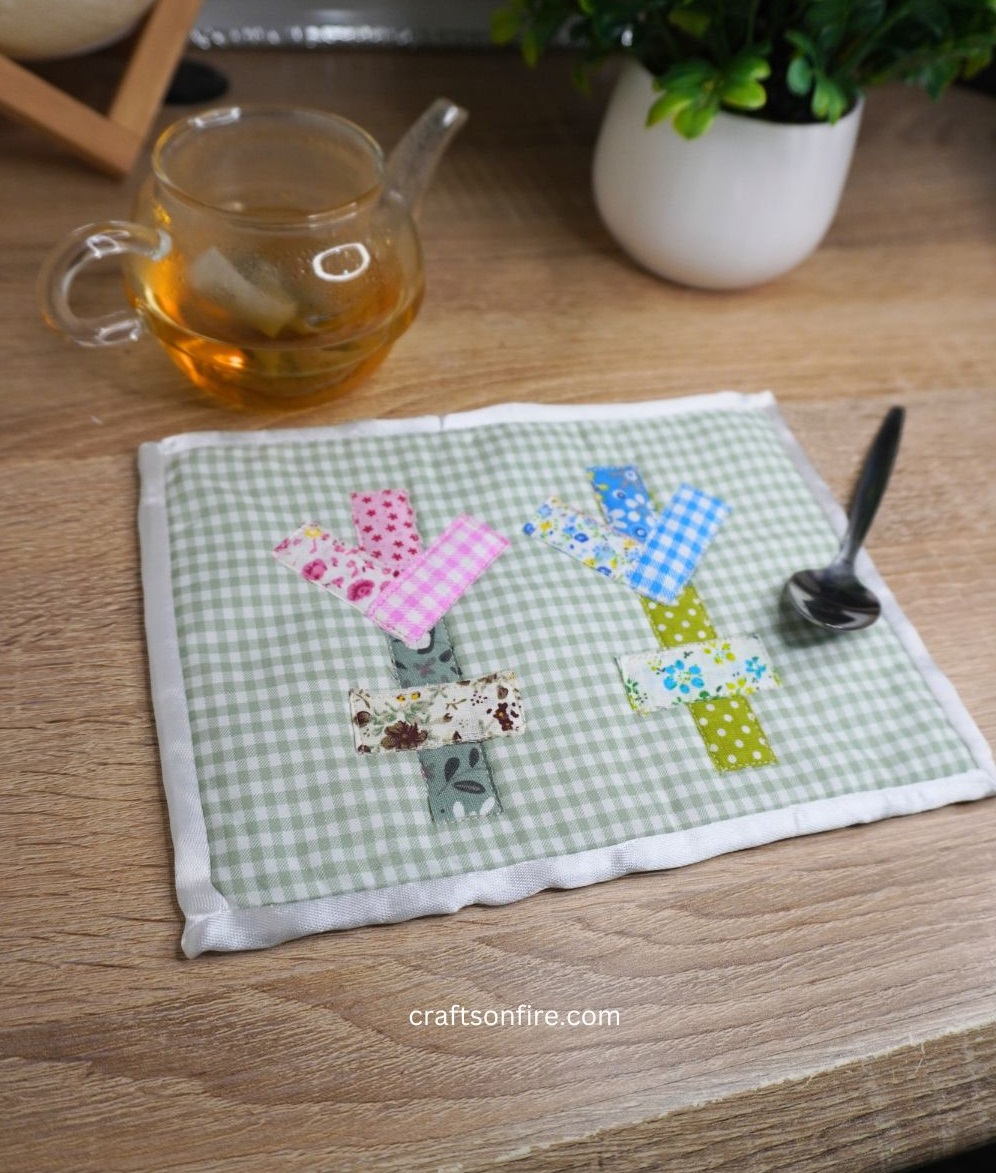
By following these simple steps, you can add a charming new accessory to your space! These mug rugs do not need to be perfect in any way. You can sew them in whichever way you like.
This is a fantastic opportunity to bust out all those fabric scraps and make something that will add a unique piece to your home.
I hope you found this project to be fun and easy! You could go with a darker background fabric if you’d like the flowers to stand out more or use a plain fabric. It’s totally up to you.
I do love having this mug rug for my morning coffee and tea sessions. I’m glad I sewed it and I hope you do too!
Thank you for joining me for this quick sewing project.
If you plan to make this DIY patchwork mug rug, let me know how yours turned out.
Also, if you think of other designs using the scrap fabric strips, share your ideas in the comments below!
More Easy Sewing Projects
Easy Patchwork Book Cover Tutorial
DIY Apple Coaster (Sewing Guide)
