Long Patchwork Coaster Sewing Tutorial
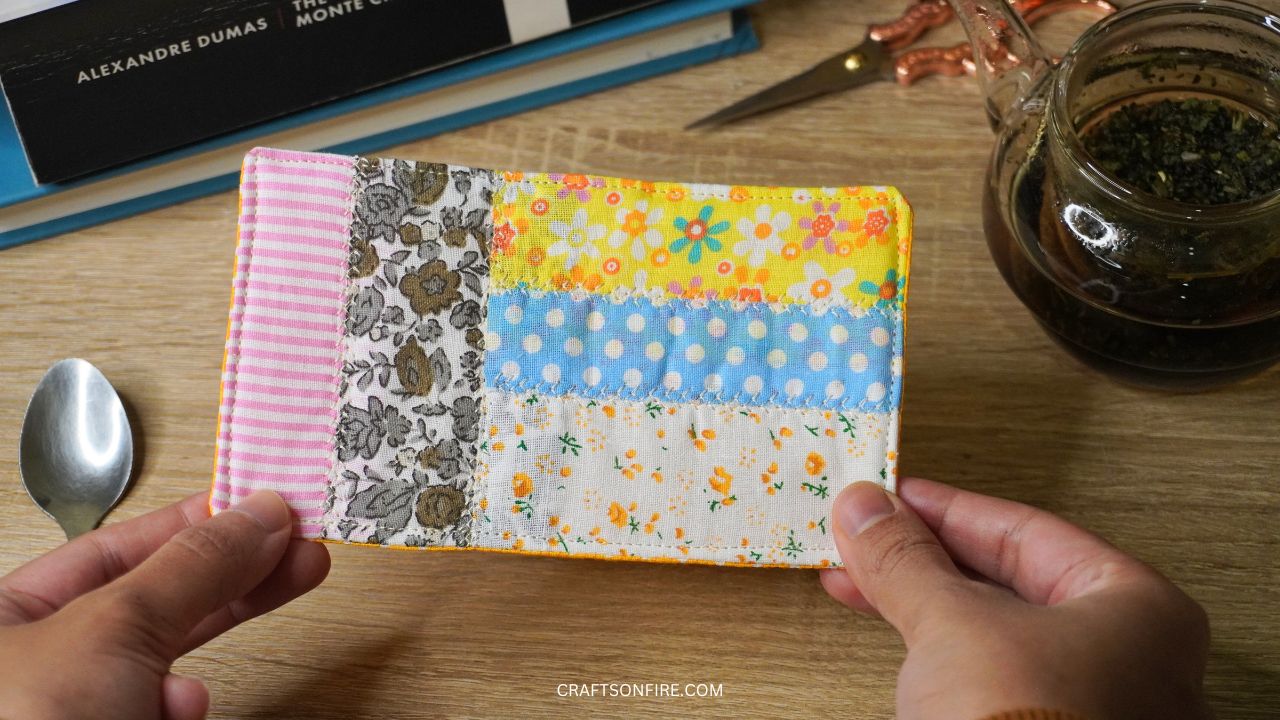
Sew this cute and easy long patchwork coaster using scrap fabric! This quick project is great for any skill level and you’ll have so much fun.
I absolutely enjoy using various scrap fabric pieces to create unique and interesting items. It’s a wonderful way to burn through that stash of leftover fabrics and it’s so satisfying to play around with the different fabrics in terms of colors, patterns, and textures.
If you value creativity, this is a great way to put it to use.
And that’s the story of how this patchwork coaster came to life!
If you’re like me and love using different coasters throughout the week, I’m sure you’ll be excited about this sewing project.
All you need is fabric batting, some scrap fabric, and lining for the underside.
This project will take you anywhere between 5 – 10 minutes.
So, grab your supplies, and then let’s begin.
Table of Contents
Patchwork Coaster Tutorial
Supplies
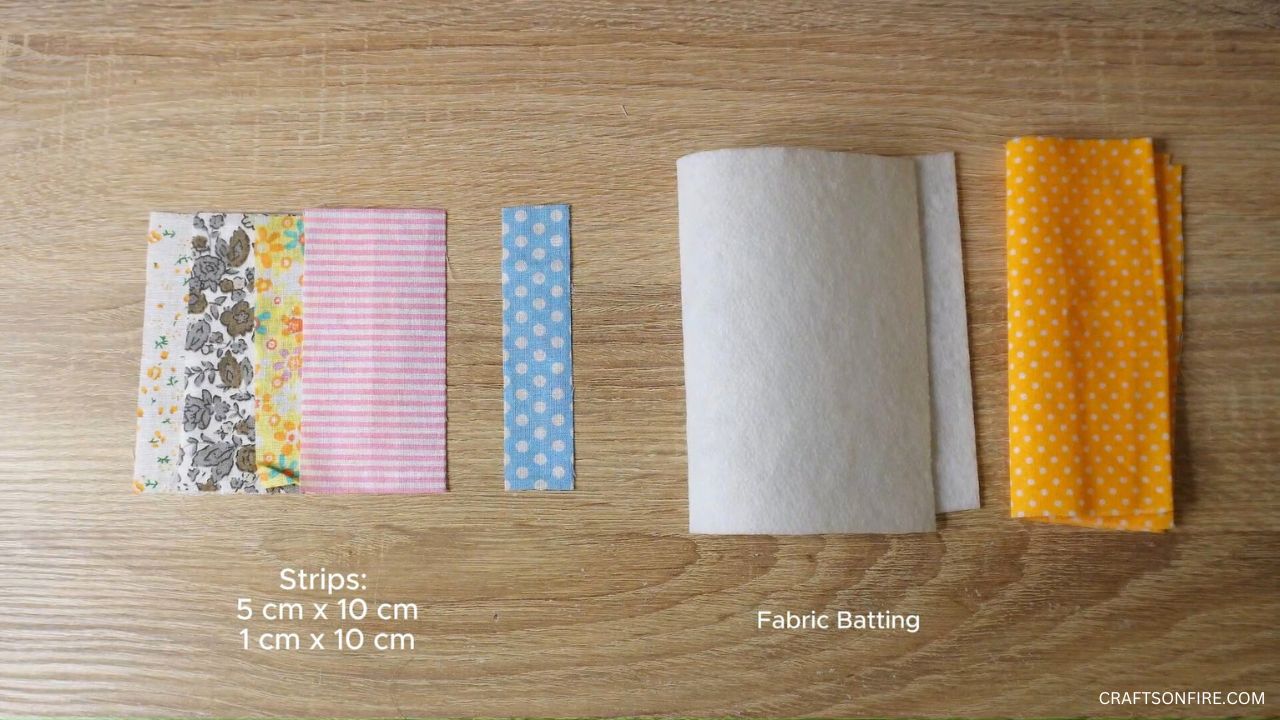
- Fabric Strips (5 cm x 10 cm)
- Fabric
- Fabric Batting
- Sewing Machine
- Pins
- Scissors
Video Tutorial
Instructions
Create The Patchwork
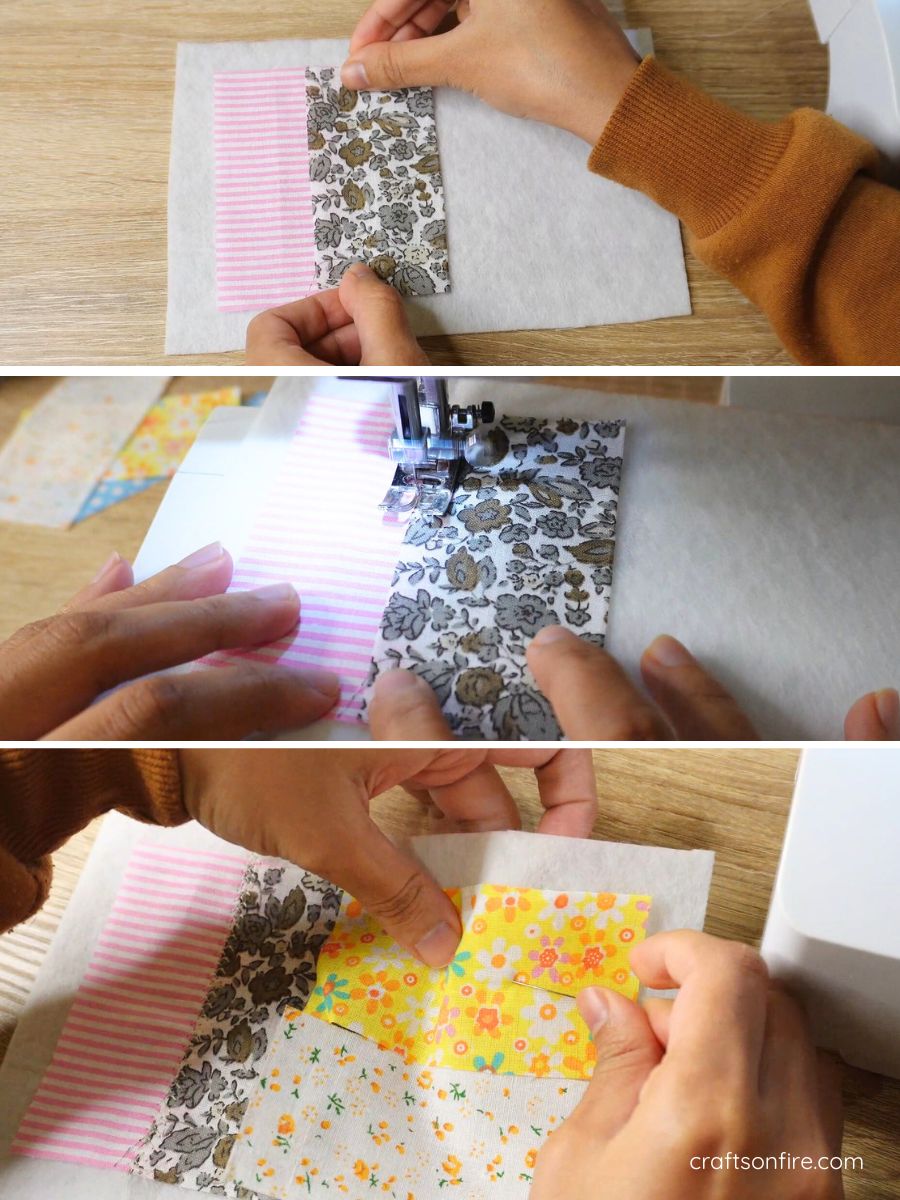
Open out your batting and lay the first two fabric strips together. Head over to the sewing machine, switch to a patterned stitch, and join the two strips together.
Then, grab the next two strips and lay them next to each other. Use a pin to hold the pieces in place or use an iron to attach it to the batting.
Stitch The Strips
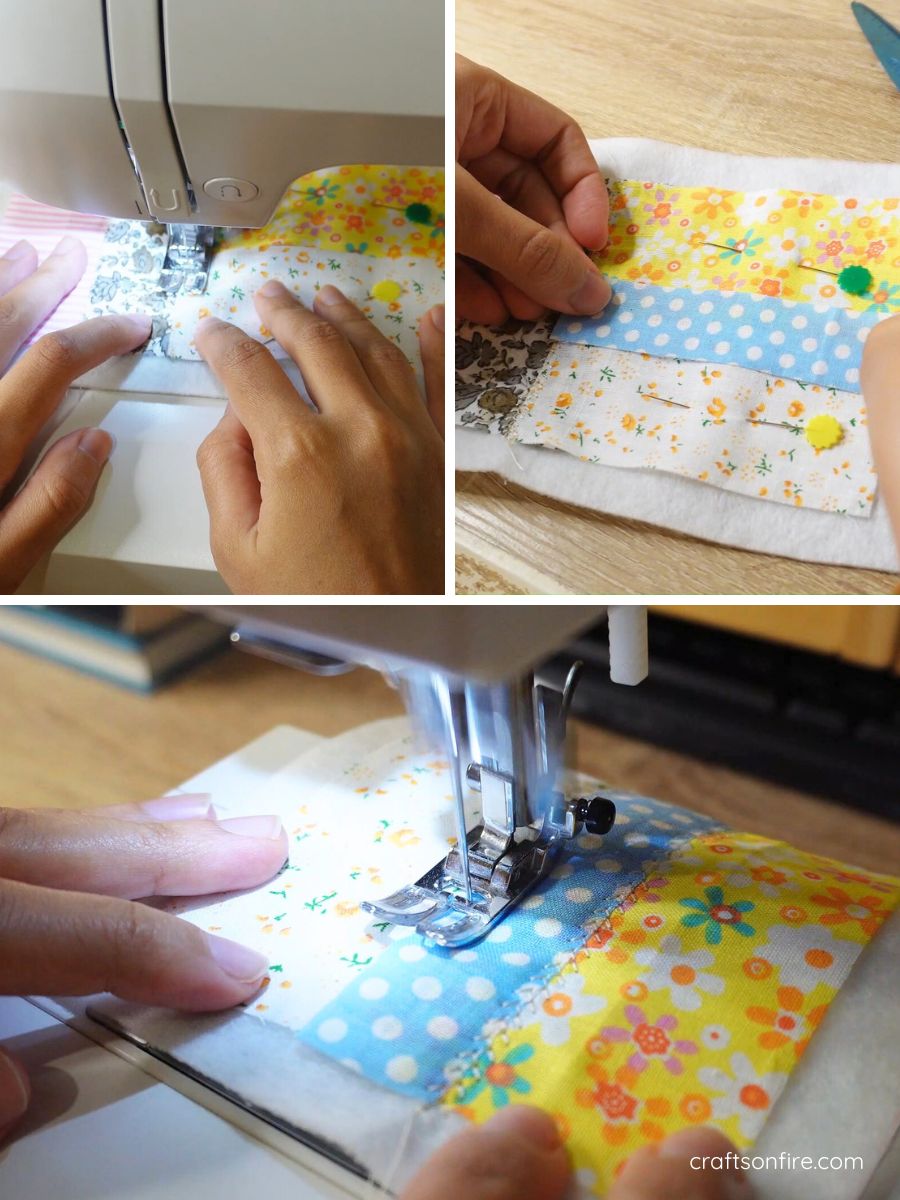
Continue stitching all the strips together until you have a long rectangle shape.
Cut Batting & Lining
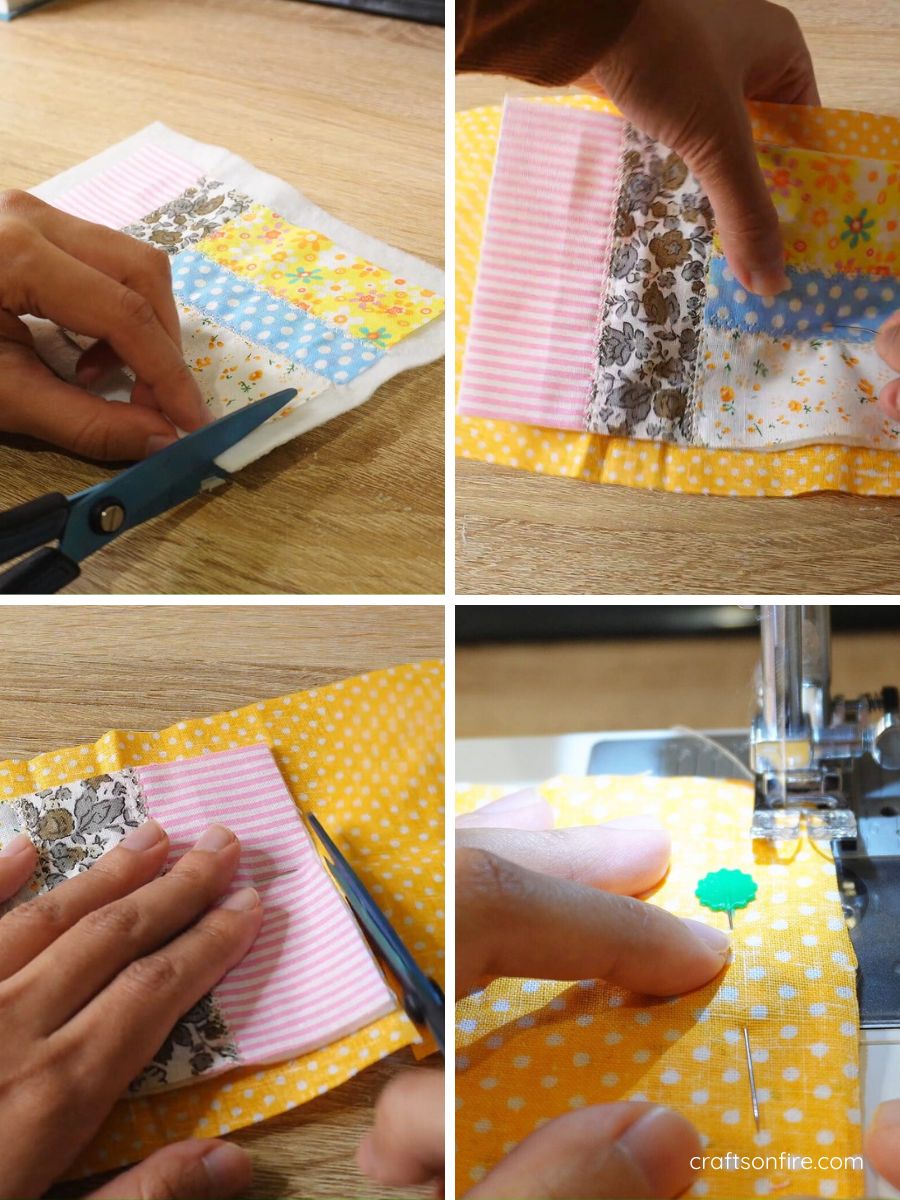
Remove the fabric from the machine and snip off the excess fabric of the batting. Grab the other fabric piece for the underside (the polka dot fabric) and pin it to the coaster. Then, cut the excess fabric.
Grab the polka dot fabric and place it ontop of the patchwork piece.
Head over to the sewing machine to stitch all 3 pieces together but leave a small opening to turn it inside out.
Turn Coaster Inside Out
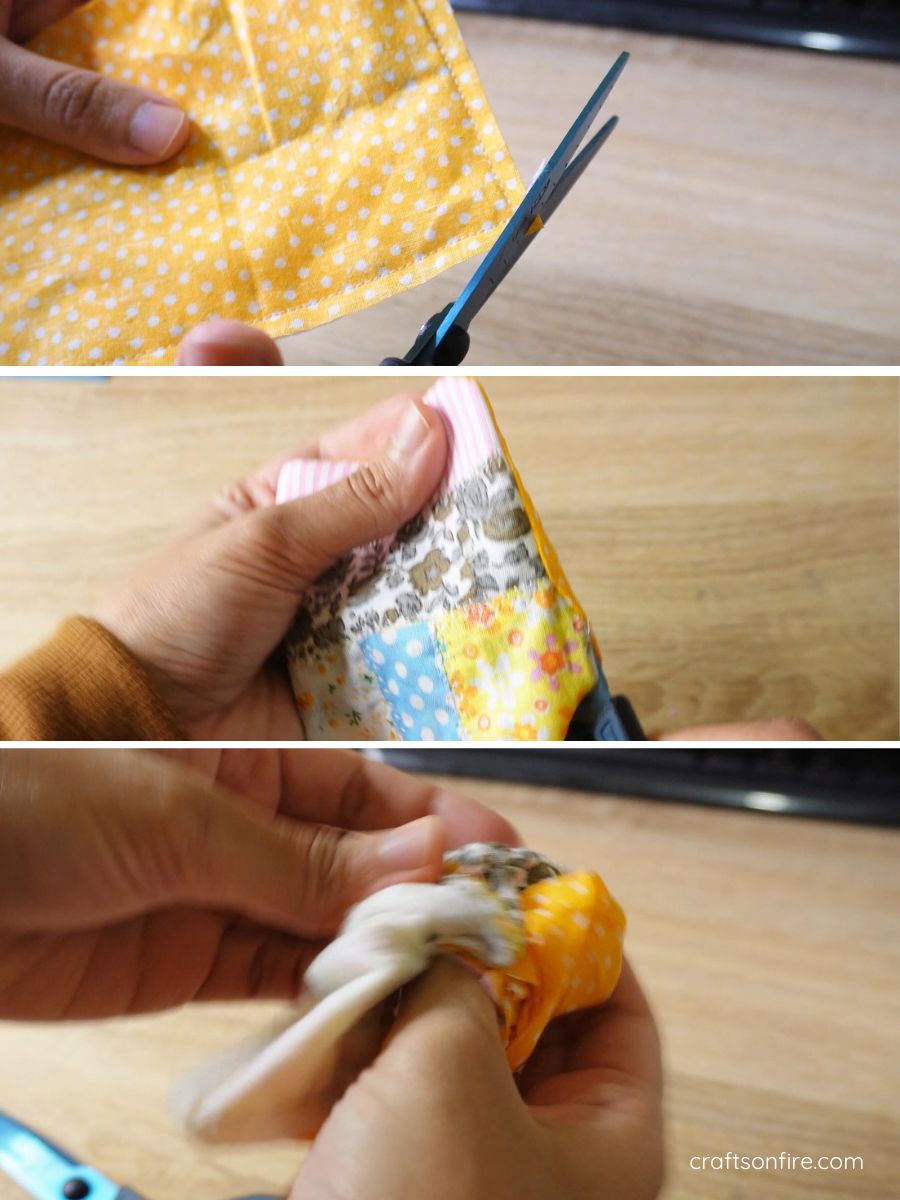
Snip off the corners and use the opening to turn the coaster inside out. Then, use a pen or scissors to open out the corners.
Sew Top Stitch
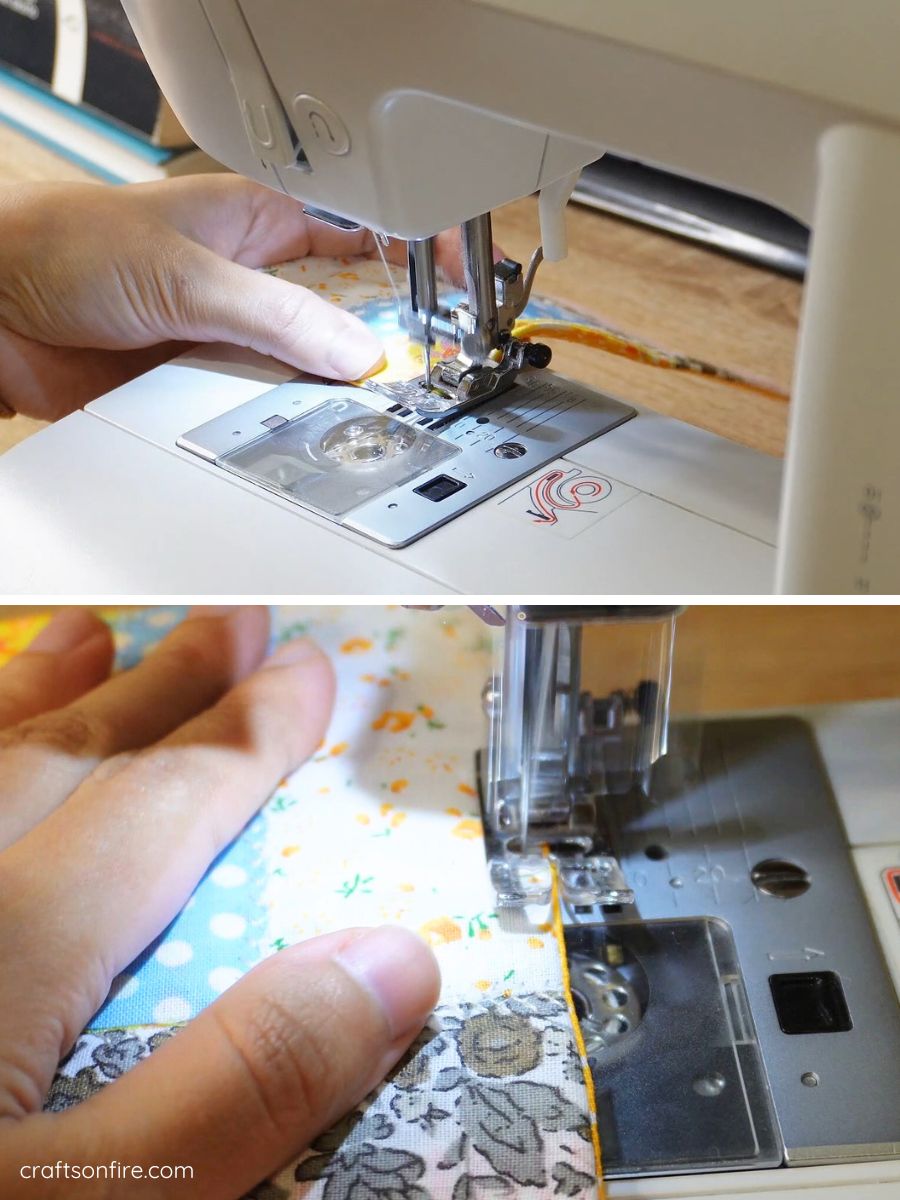
Head over to the machine again and do a top stitch on all sides of the coaster to finish it off.
Final Result
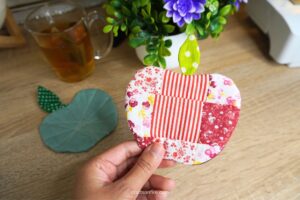
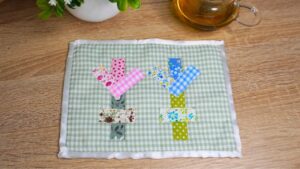
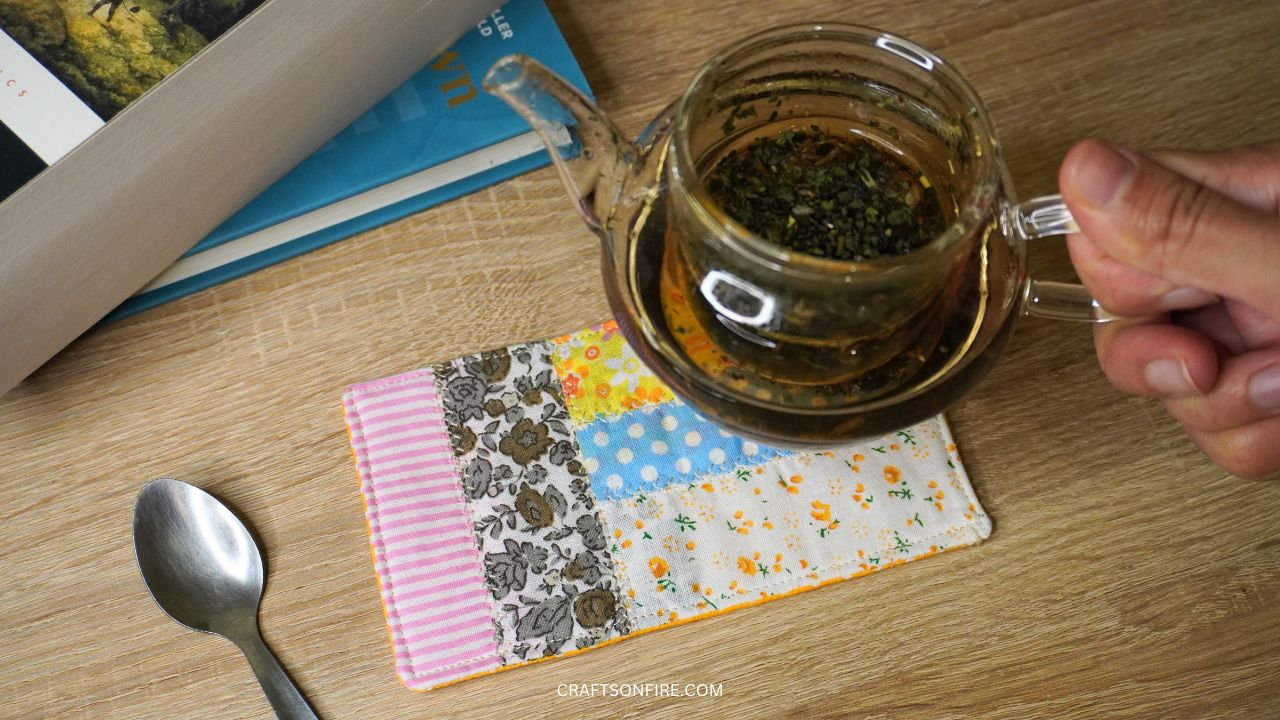
Here’s how my patchwork coaster turned out:
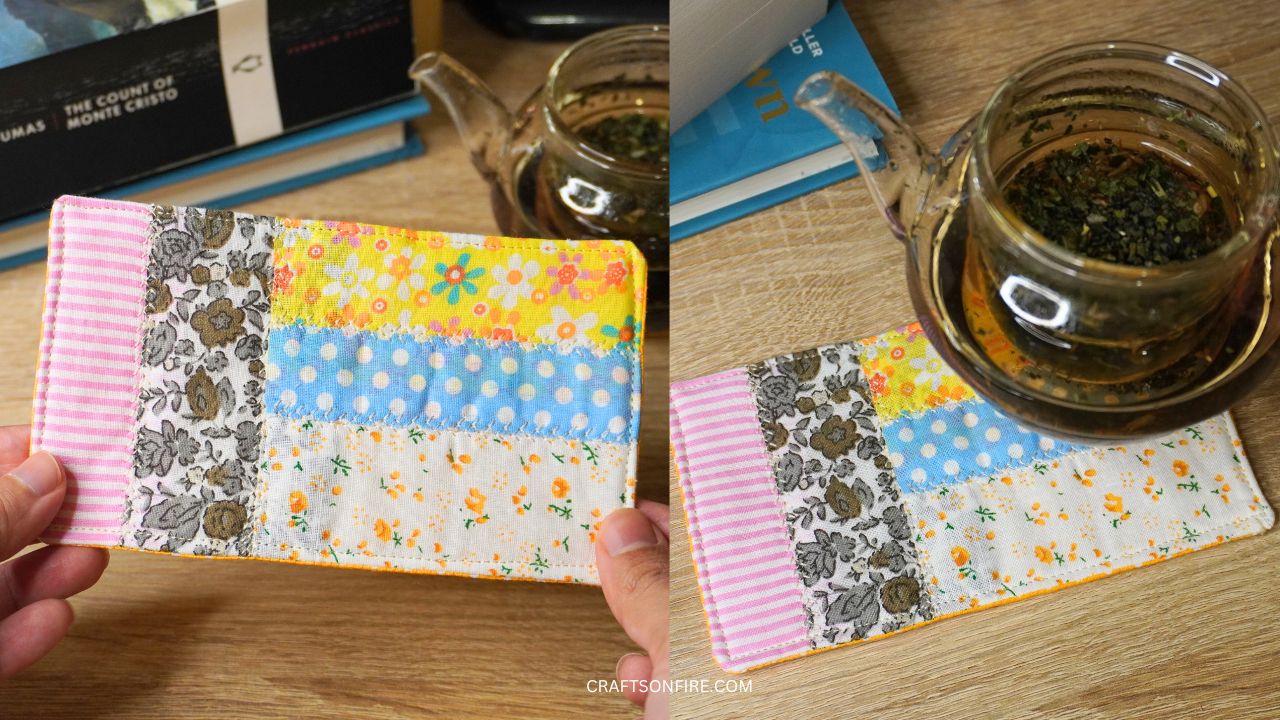
It looks so cute and I love that it can fit a small teapot, mug, and teaspoon! There’s enough space for all of it.
This coaster comes along quickly, especially when stitching all the strips together. You can also change the stitch to any pattern or use a darker cotton that will stand out.
There’s no exact recommendation for how long you can make your coaster but if you’d like for the coaster to be bigger and longer, simply add on a few more strips.
With that said, I hope you liked following this sewing tutorial.
For more fun and easy sewing projects, here’s what you might enjoy:
More Sewing Projects
