How To Sew Cord Holders
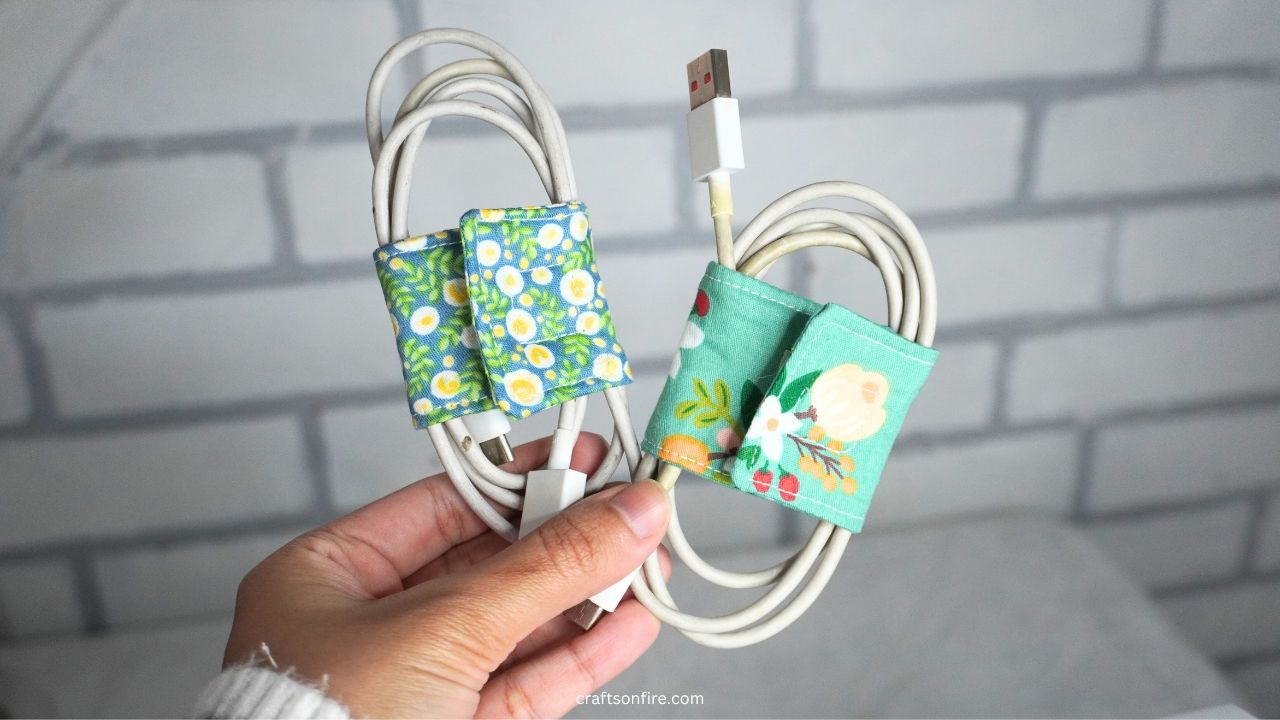
These cord holders (also called cord keepers) are the perfect little item to organize and store cords and cables in seconds. They’re so easy to make and should take around 5 minutes to sew from start to finish!
If you love having your home or office supplies neat and organized, you’ll love these holders.
You’ll never have to dig through a tangled mess of cords ever again.
These cord holders can be used for USB cables, earphones, or even your hair dryer cord.
I can vouch for these cord holders especially if you’re traveling or going out since they’re practical and convenient. You can easily pop them into your luggage or bag and you’re good to go.
The finished size of this cord holder measures 15 cm x 6 cm when opened flat and around 5 cm x 4 cm when closed.
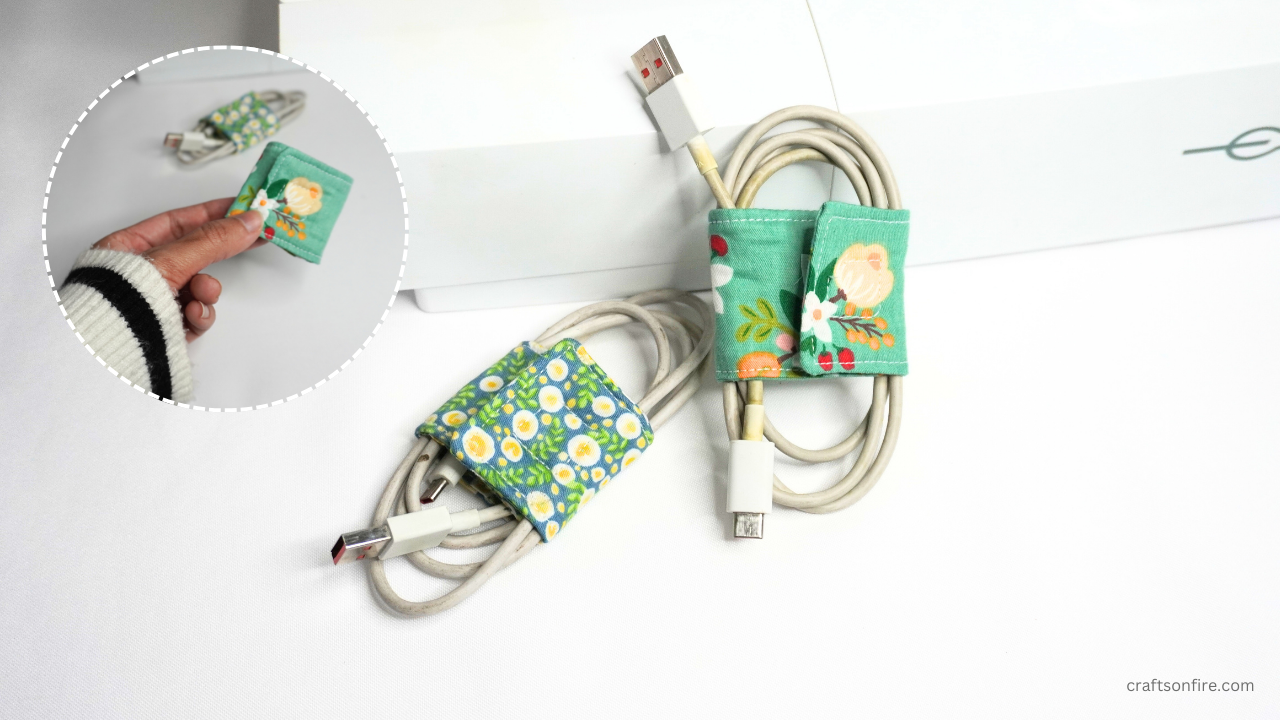
I had a blast sewing these cord holders and it’s one of my favorite tutorials.
I’m so excited to share with you this free sewing pattern and guide.
If you’d like to get the ad-free version of the PDF A4 Printable for this tutorial, you can grab it here!
Let’s begin.
Table of Contents
Cord Holder Sewing Guide
Supplies
- Fabric – 2 pieces (16 cm x 6 cm)
- Fabric Batting (16 cm x 6 cm)
- Sewing Machine
- Velcro (2 cm x 2 cm)
- Pins
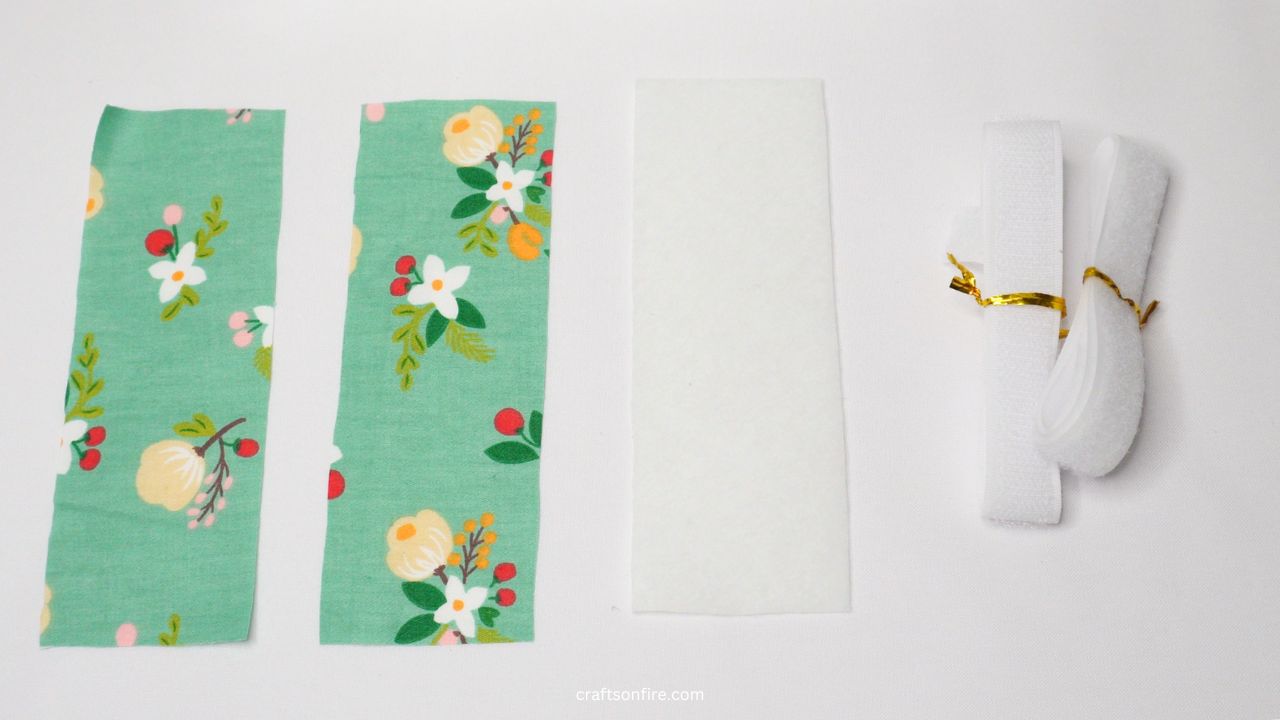
For the prep part of this tutorial, begin by cutting out two pieces (16 cm x 6 cm) in the fabric of your choice, cut the batting (16 cm x 6 cm) and the velcro (2 cm x 2 cm).
I chose to go with a straight rectangle pattern for this cord holder but if you’d like to have a curved pattern instead, fold the fabric in half and cut a curved shape on the end of the fabric.
Repeat this process for the other fabric piece and the batting.
Video Tutorial
Here’s a quick video tutorial for sewing these cord holders:
Instructions
Arrange The Fabric
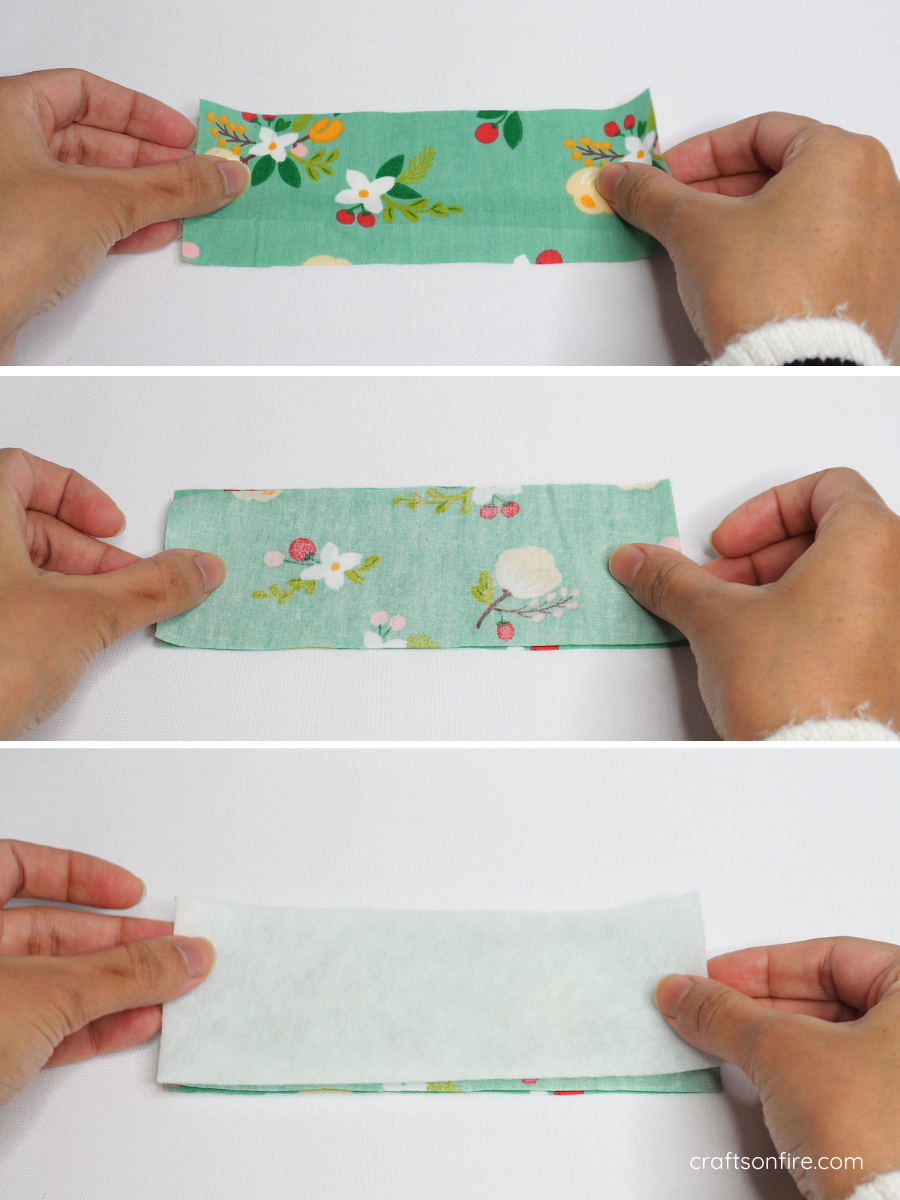
Place the two pieces of the patterned fabric together with the right sides facing in. Then, place the fabric batting on top of that and pin it.
Mark The Points
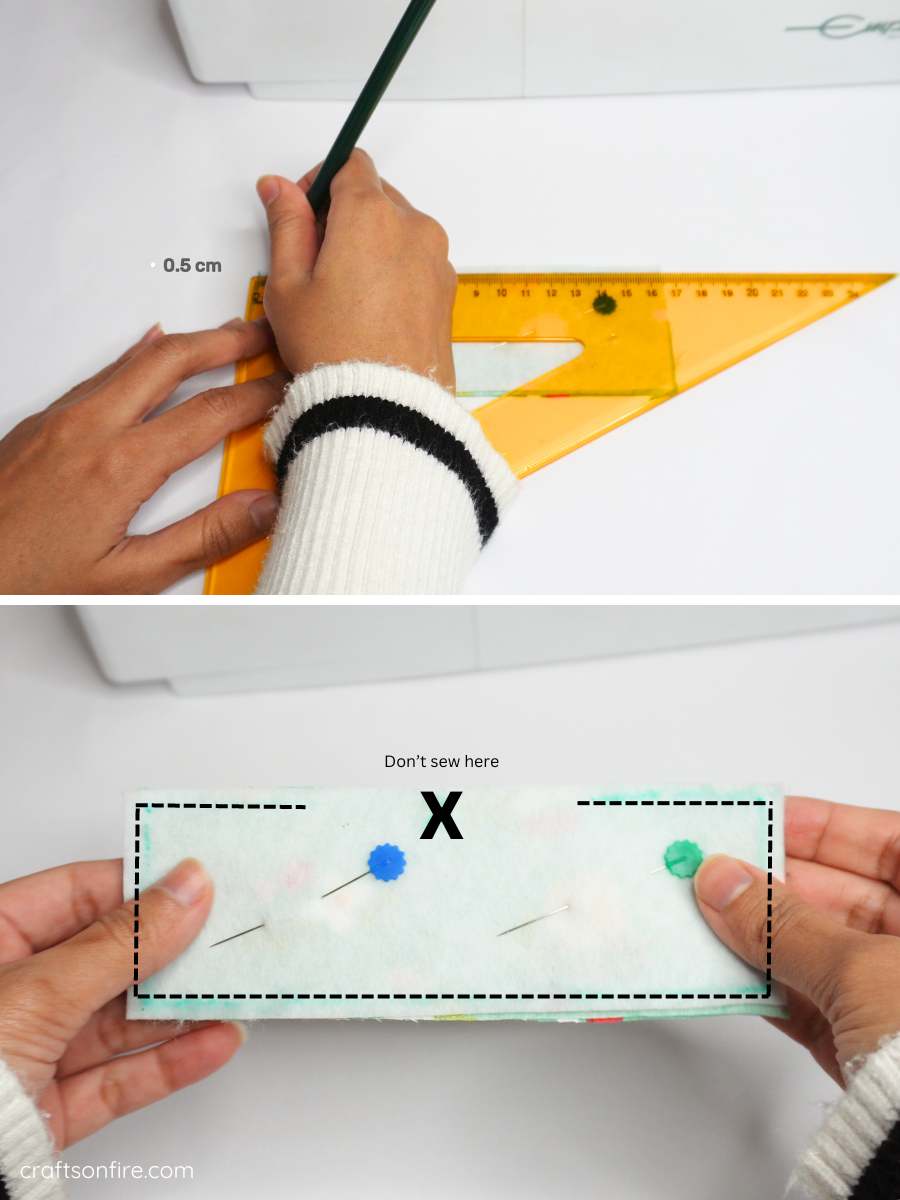
Mark 0.5 cm on each corner and draw a box.
The X at the top indicates the area where you will not sew.
Sew The Holder
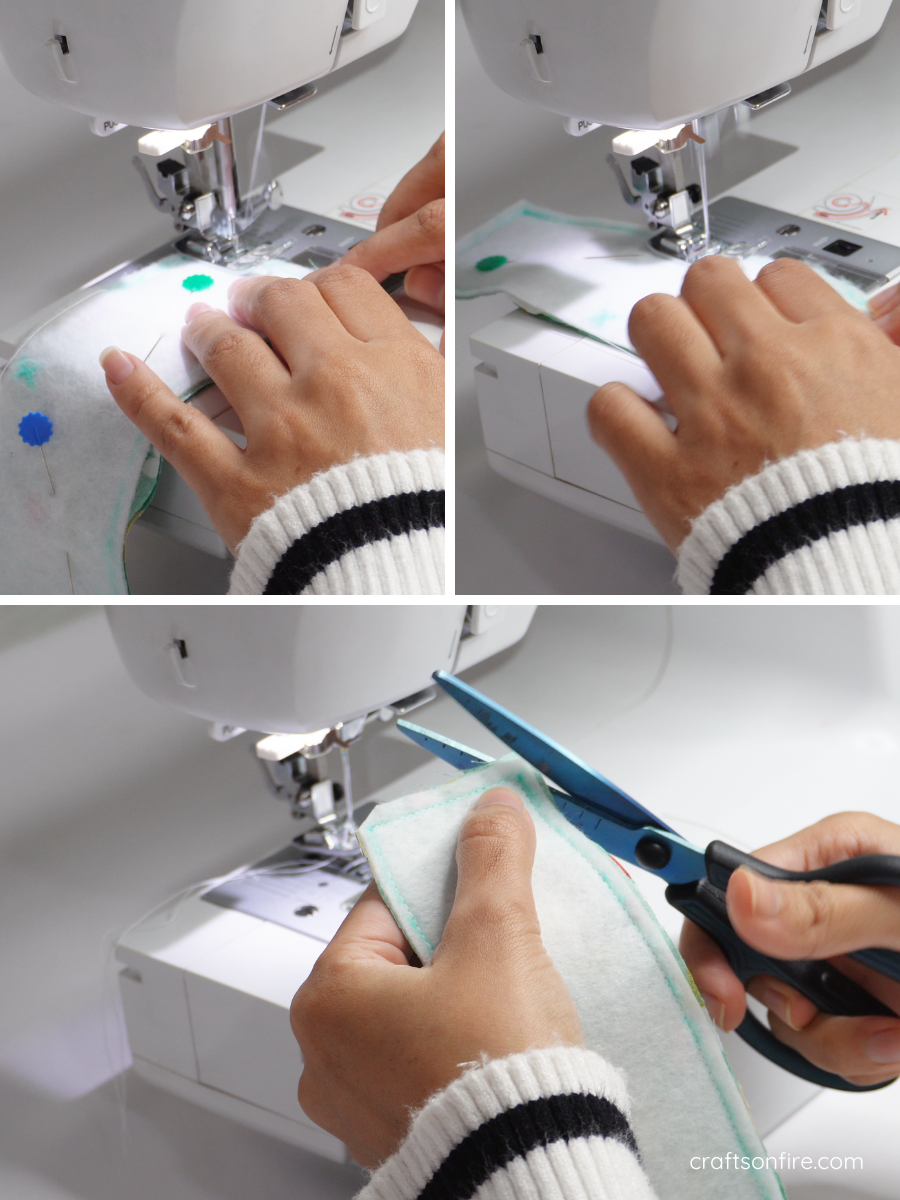
Head over to the machine and sew. Then, grab your scissors and cut off a small section of the corners.
Turn Fabric Inside Out
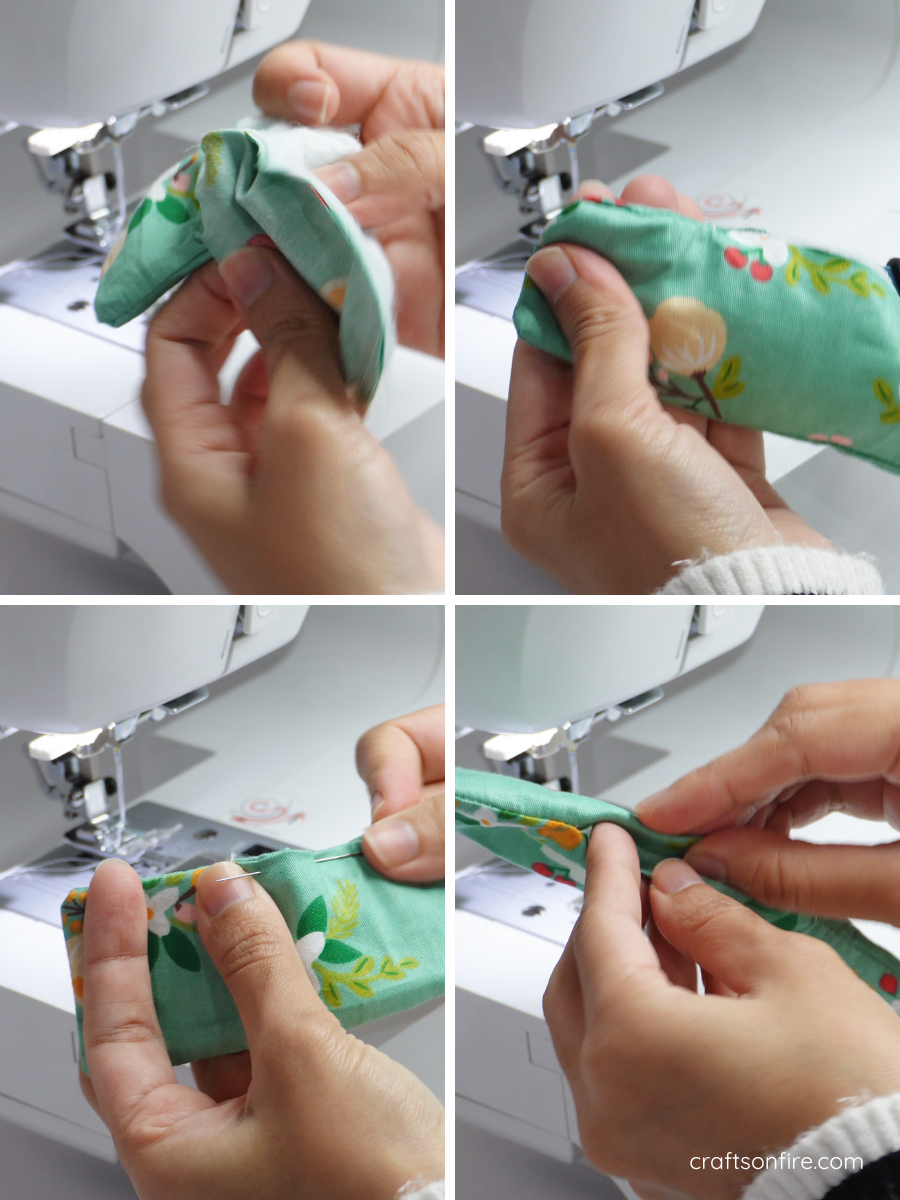
Use the opening to turn the fabric inside out. Use a scissor or pen to open out the points. Fold the opening in and pin.
Sew A Top Stitch
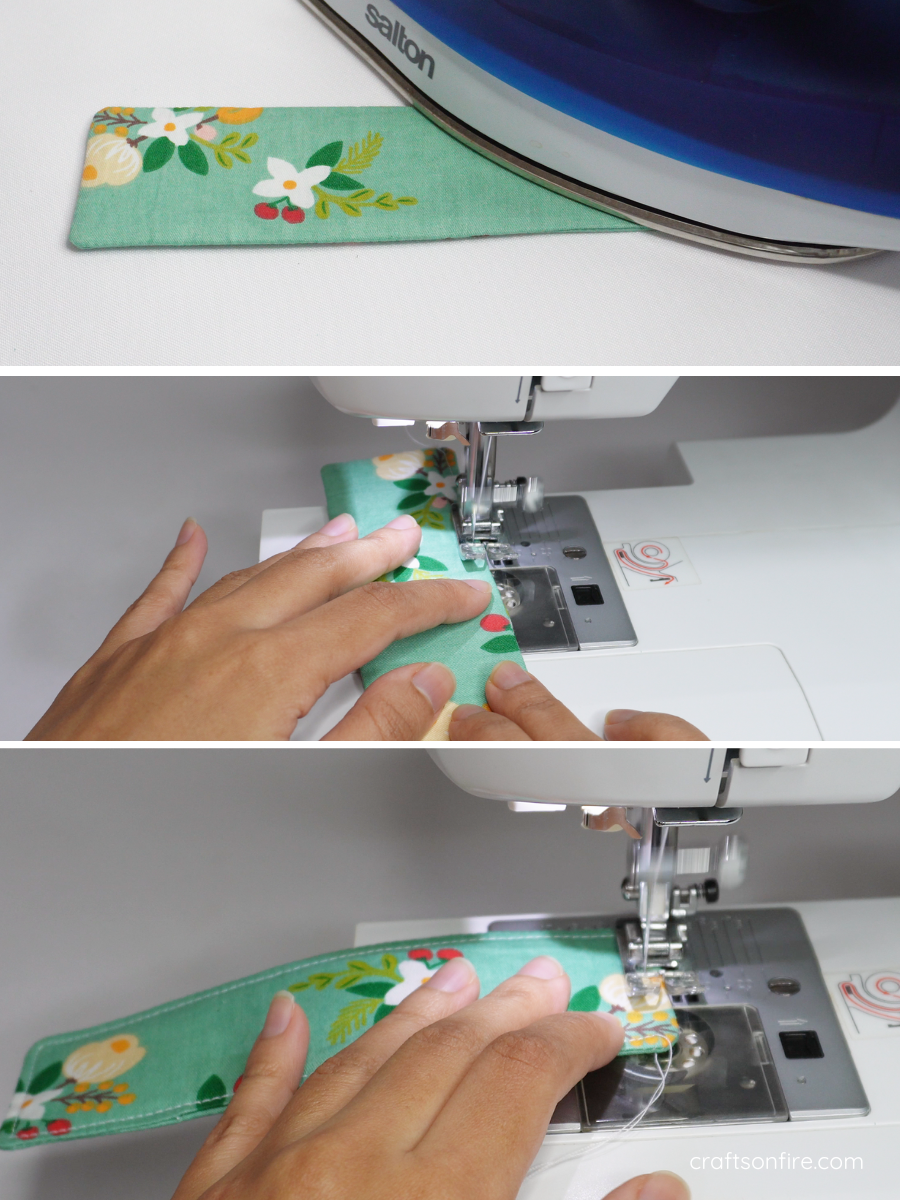
Lightly press the fabric with the iron, then head to the sewing machine for a top stitch.
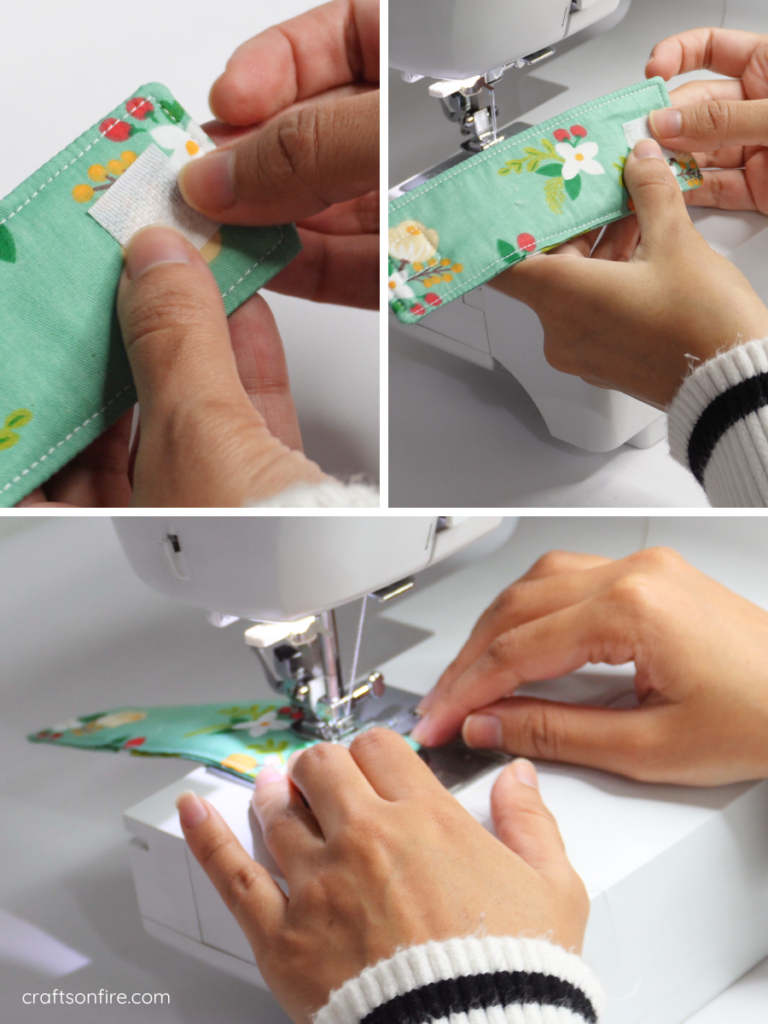
Sew The Velcro
Cut a small piece of velcro (2 cm x 2 cm) and attach the first piece to the right side of the cord holder.
To complete the holder, flip the fabric over and attach the other velcro piece to the left side.
Test It Out
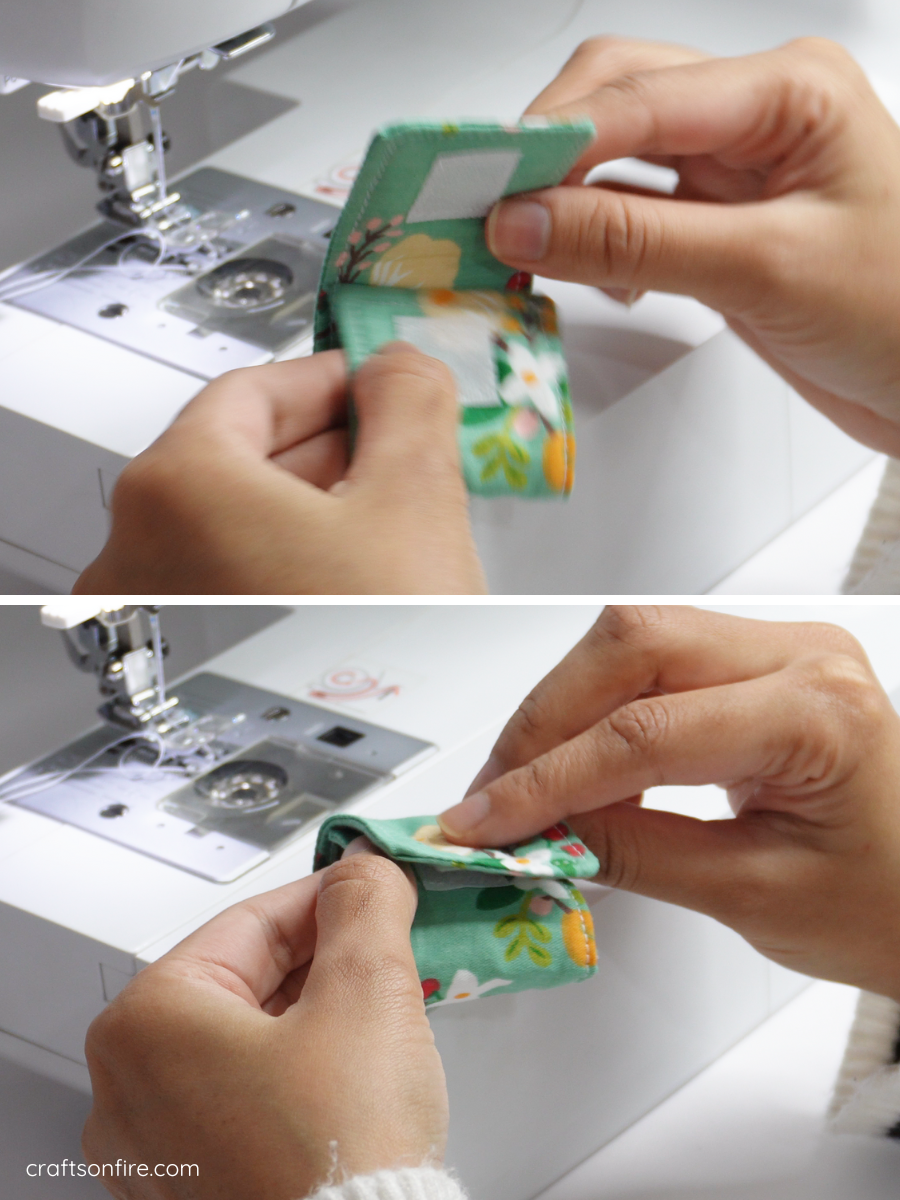
Once the velcro has been attached to both sides, you can now try it out.
Final Result
Here’s how the cord holder looks when completed:
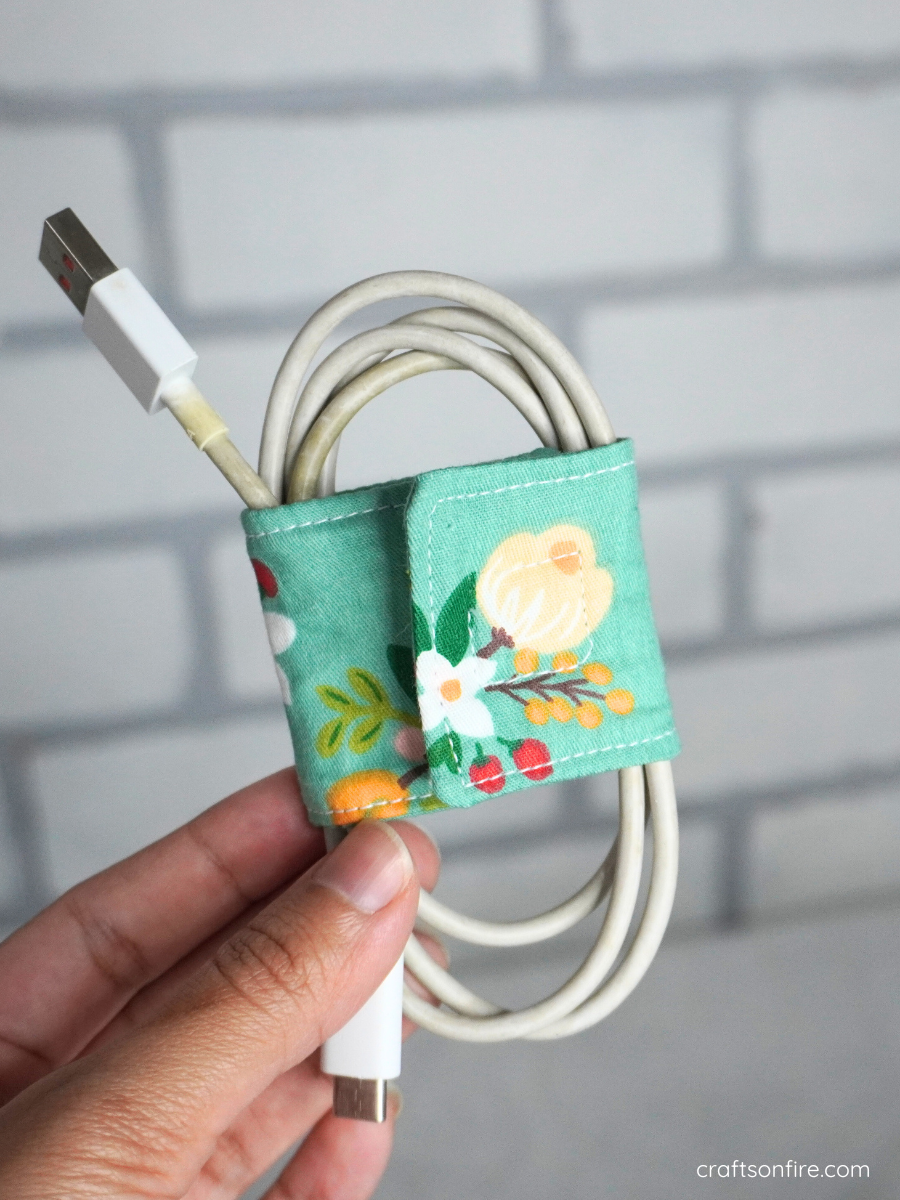
It’s the perfect size for small cables like your mobile charger. I’ve also made a second cord holder using a different patterned fabric and this one looks just as great!
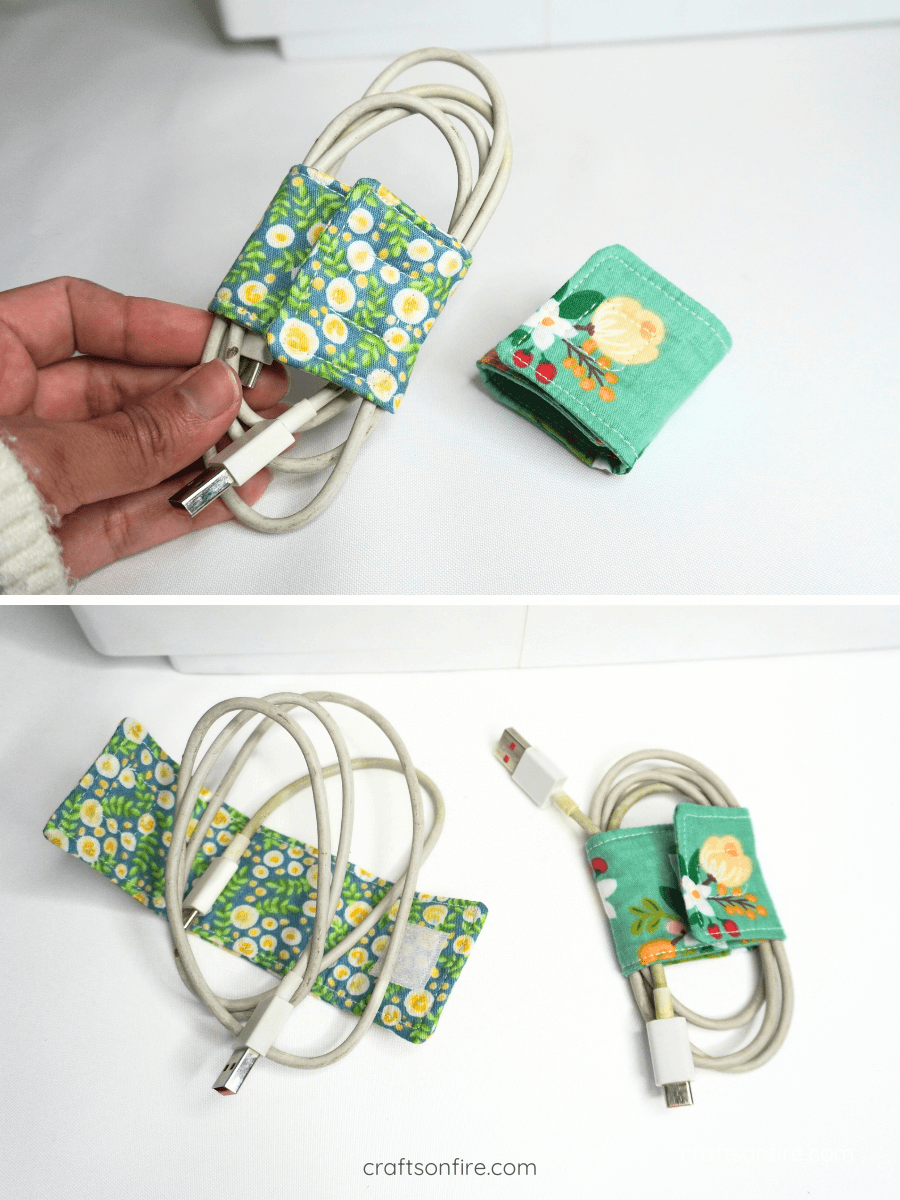
These cord holders are the cutest thing ever. You can also use other closures if you don’t have velcro.
Velcro works best for me. You can cut it to any size and attach it to the cord holder as needed for a better hold that will fit smaller or larger cables/cords.
As you can see, these cord holders are so easy and quick to make. You can make a couple in just a few minutes and gift it to family and friends!
Okay, I hope you enjoyed following my tutorial on how to sew cord holders.
If you have any questions or suggestions, leave a comment below and I’ll get to it as soon as possible.
I have a few more awesome sewing tutorials you can check out if you want to sew something in under 10 minutes. These projects are just as easy and fun as this one and I’m sure you’ll love it.
Quick Sewing Projects
DIY Patchwork Scrunchie (Sewing Guide)

How To Sew A Fabric Tissue Holder



I think these will make the cutest gifts for my grandkids this year. Thank you for the tutorial!
I’m so happy you liked it! 🙂