Mini Fabric Trays: Easy Sewing Tutorial
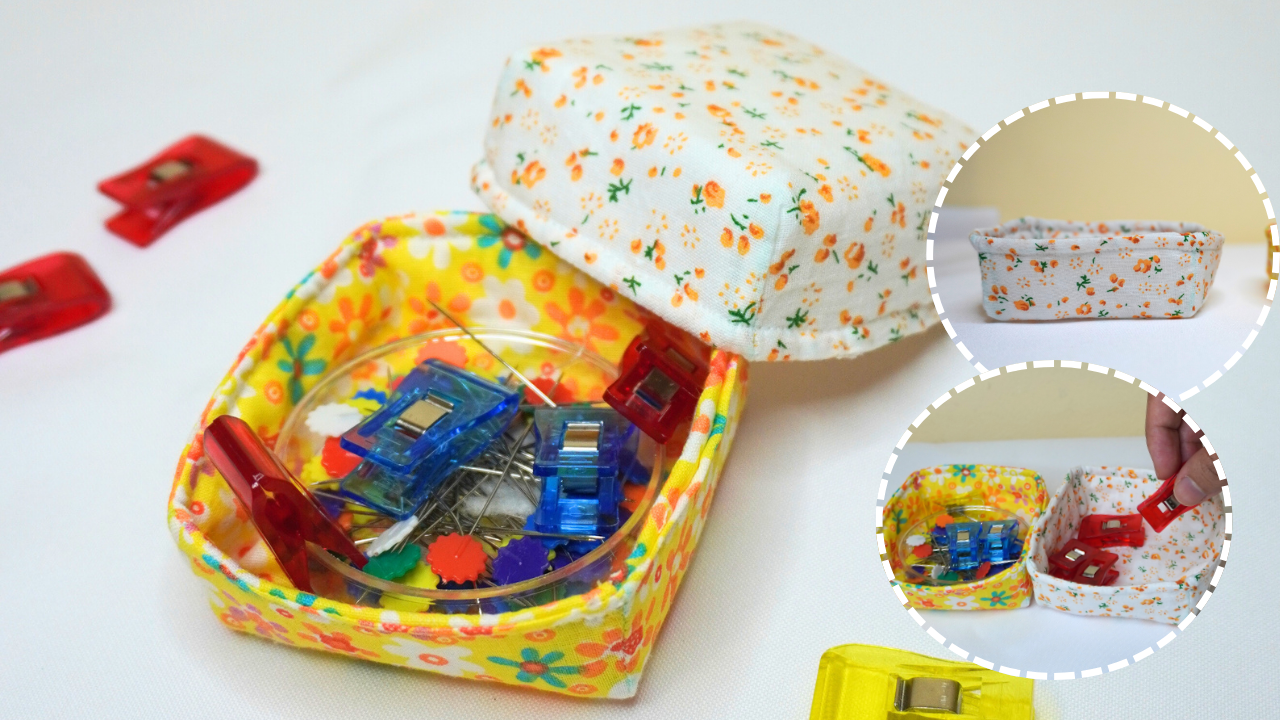
If you’re looking for a practical, easy, and quick sewing project for any skill level, these mini fabric trays are just for you. These fabric trays are a fantastic little way to clean up or organize small items that usually look quite messy.
You can store your a few gouache paint tubes, sewing or office supplies, or even tiny trinkets like your necklaces, rings, or earrings.
Sewing these mini fabric trays will only take you 5-8 minutes and it’s beginner-friendly!
You can also use any scrap or leftover fabric to sew these trays.
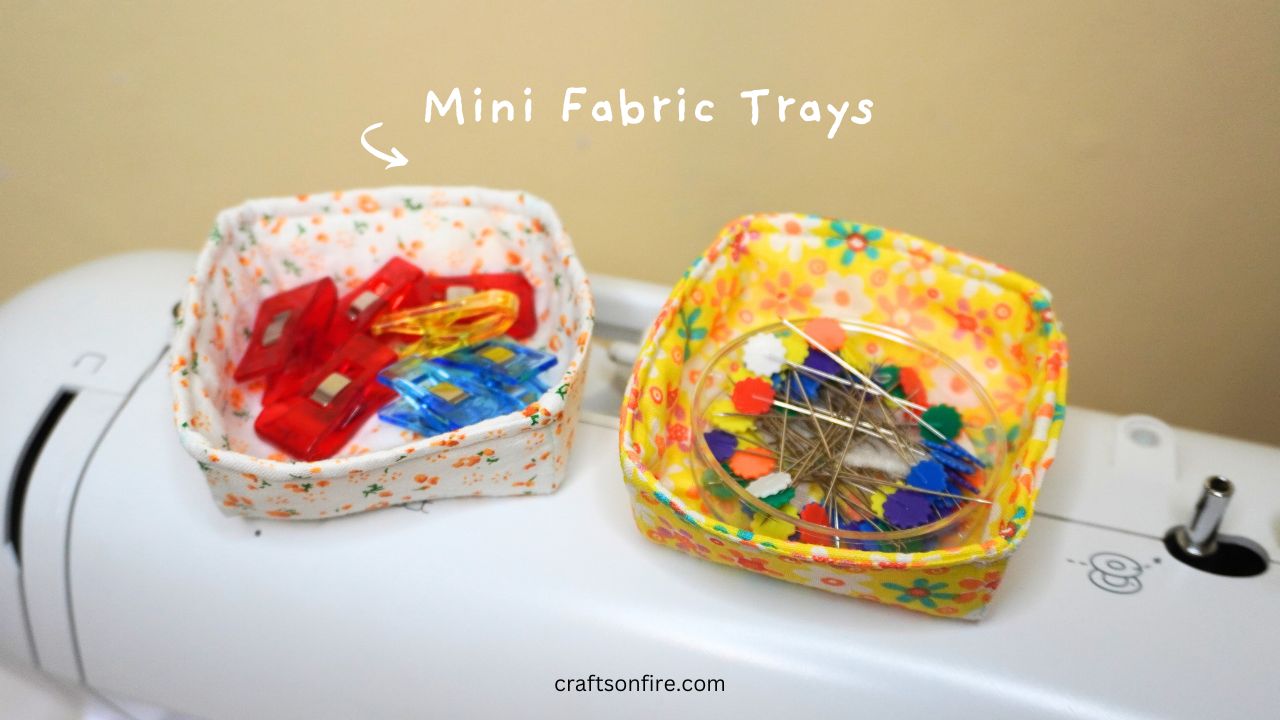
In this tutorial, I’ll show you a quick and easy step-by-step way to cut, mark, and sew these trays. It’s so simple and easy – I promise!
Without further ado, let’s get sewing.
Table of Contents
How To Sew Mini Fabric Trays
Supplies
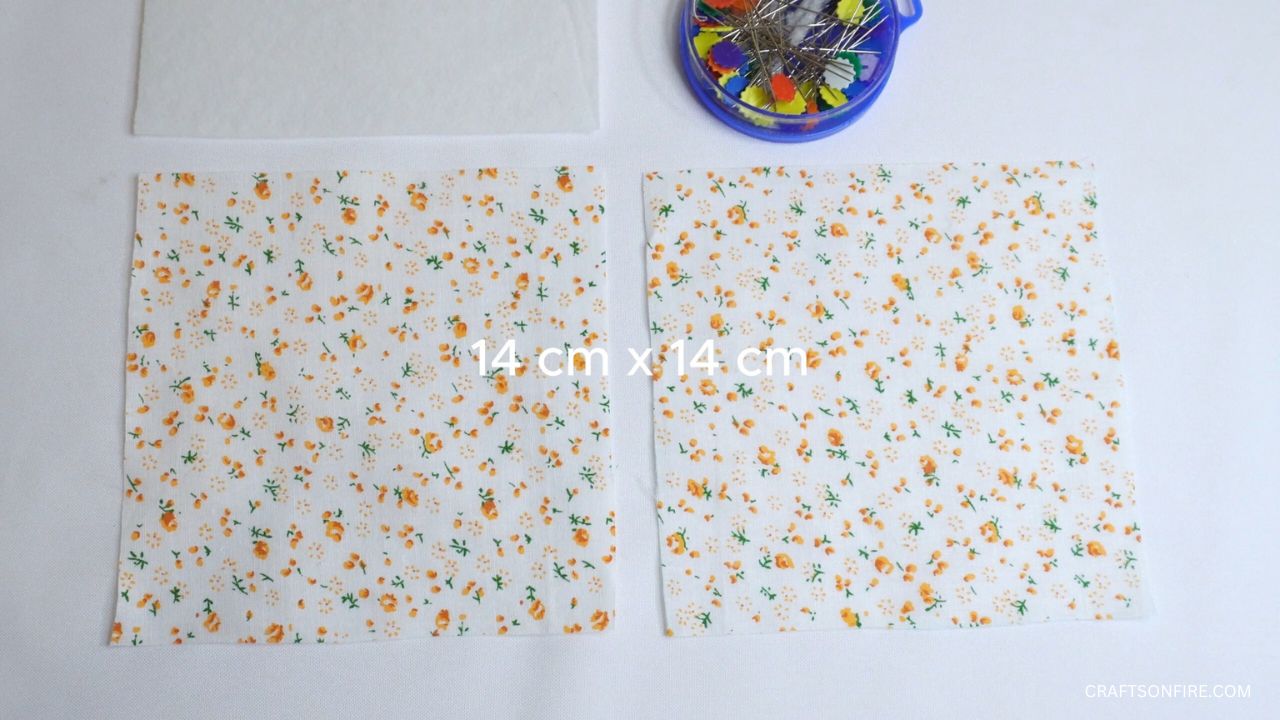
- 2 x Patterned Fabric (14 cm x 14 cm)
- 1 x Fabric Batting (14 cm x 14 cm)
- Sewing Machine
- Pins/Clips
- Ruler/Tape Measure
- Fabric Pencil/Marker/Tailors Chalk
Video Tutorial
Before we begin, if you’d like to catch the full process of sewing this mini-fabric tray, here’s the video tutorial:
Instructions
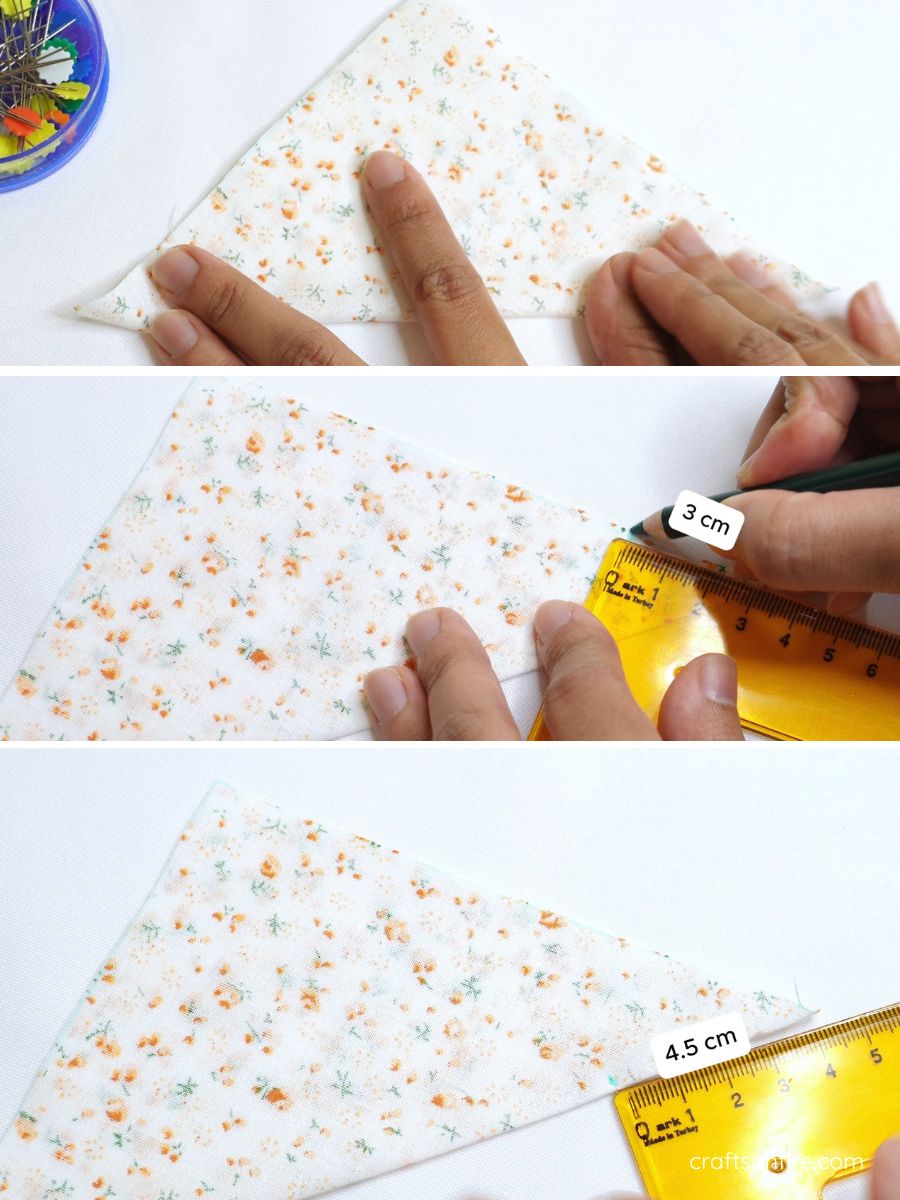
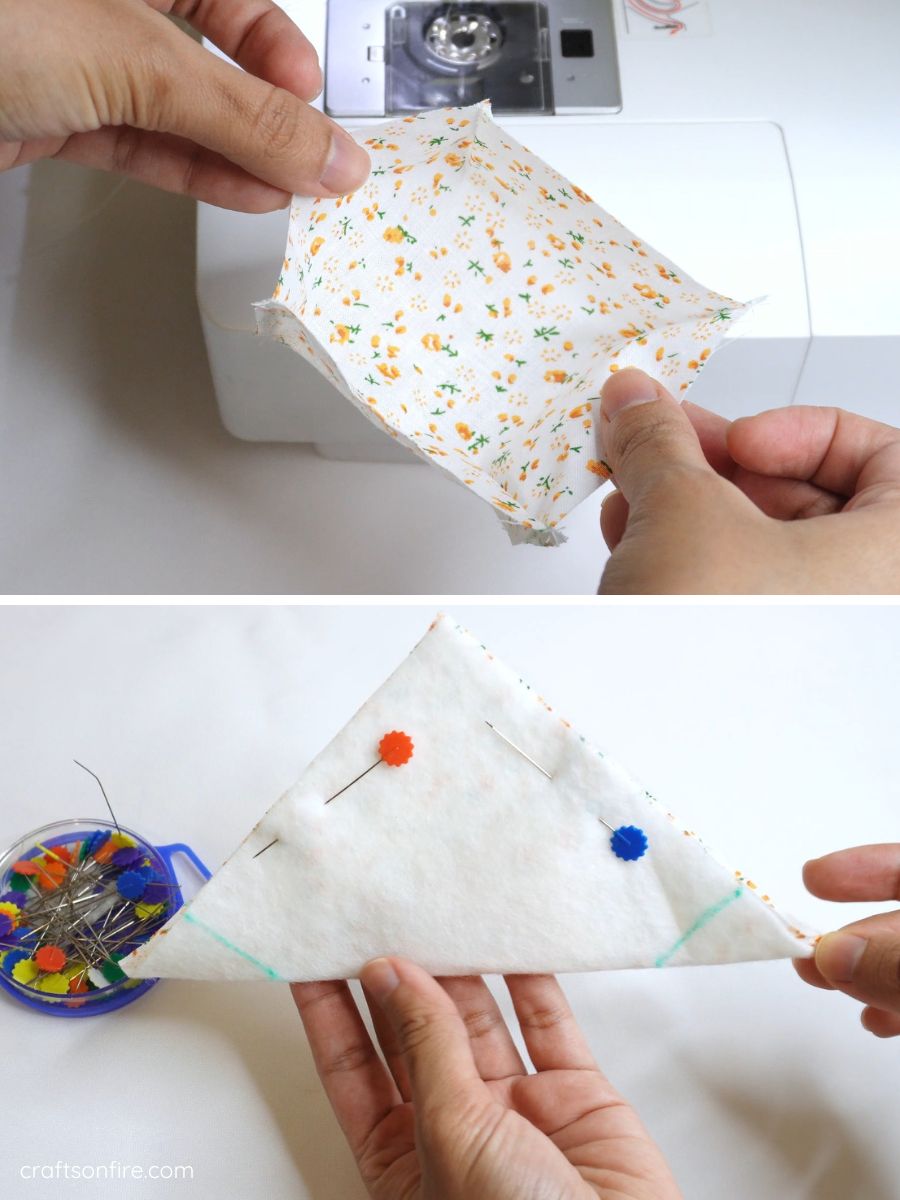
Grab your first fabric square and fold it into a triangle. Head over to one side of the triangle and mark 3 cm at the top. Measure 4.5 cm at the bottom and draw a line, connecting the two points.
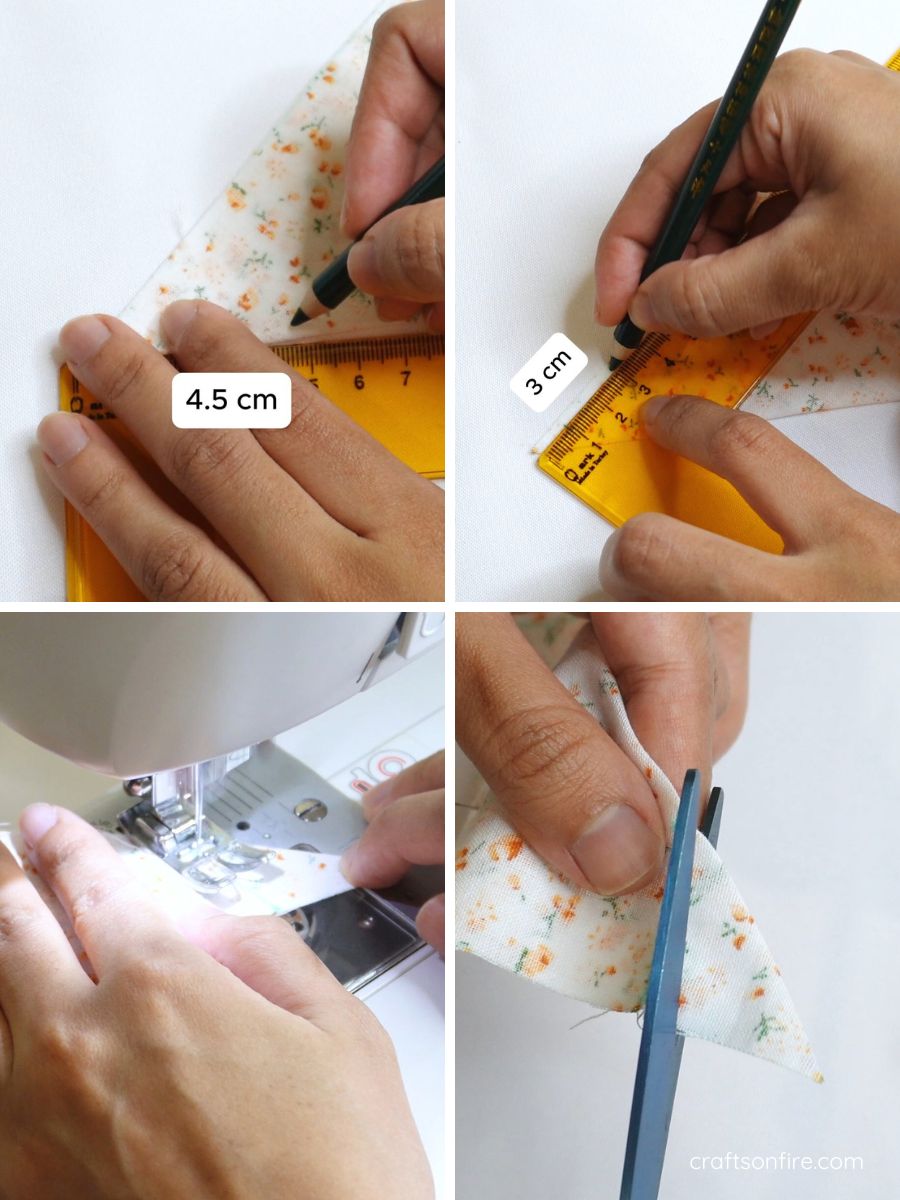
Head over to the other end, mark 3 cm on top and 4.5 cm at the bottom, and use a fabric pencil to draw a line.
Now it’s time to sew.
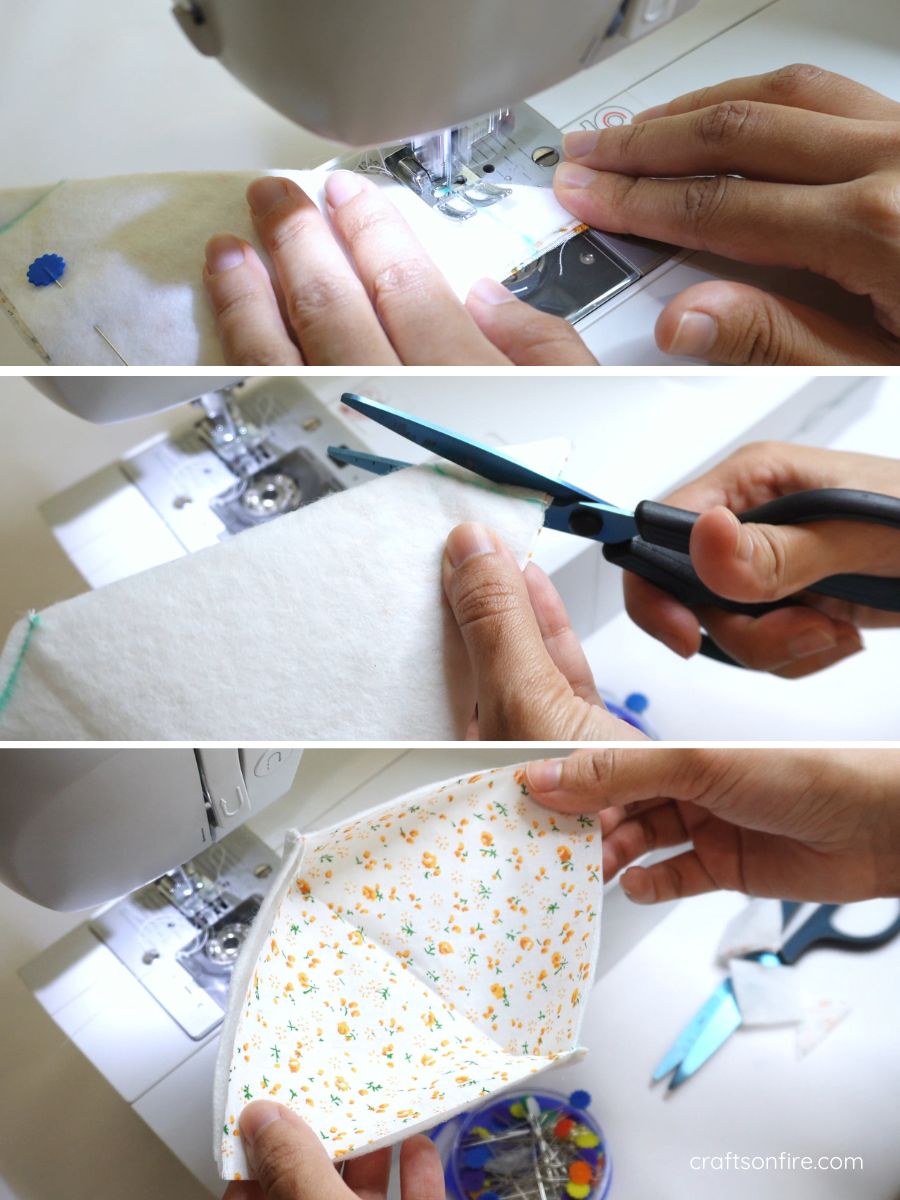
Stitch the two lines using the sewing machine and then trim off the fabric leaving a small seam on both sides.
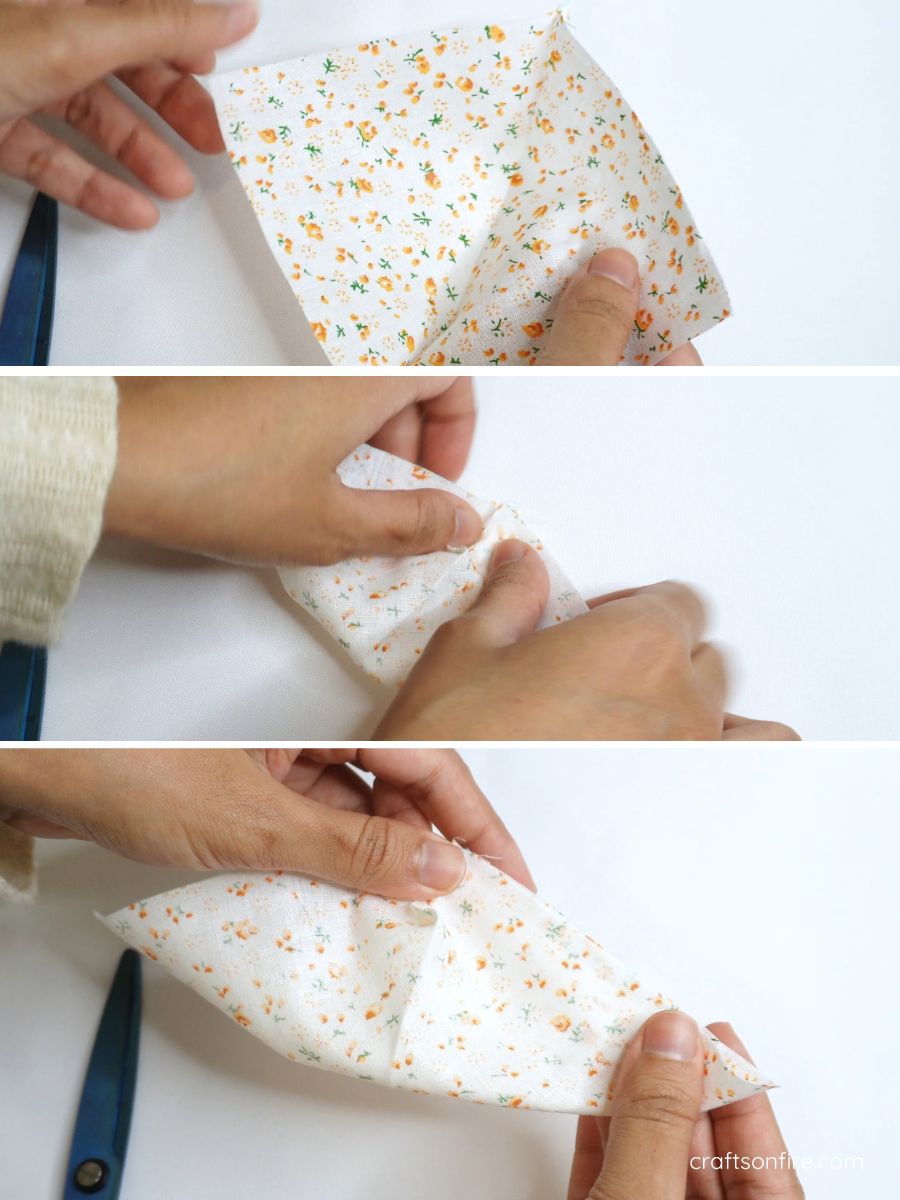
Open out the fabric. Then fold the two stitched points together into a triangle shape and use a pin to hold the fabric in place.
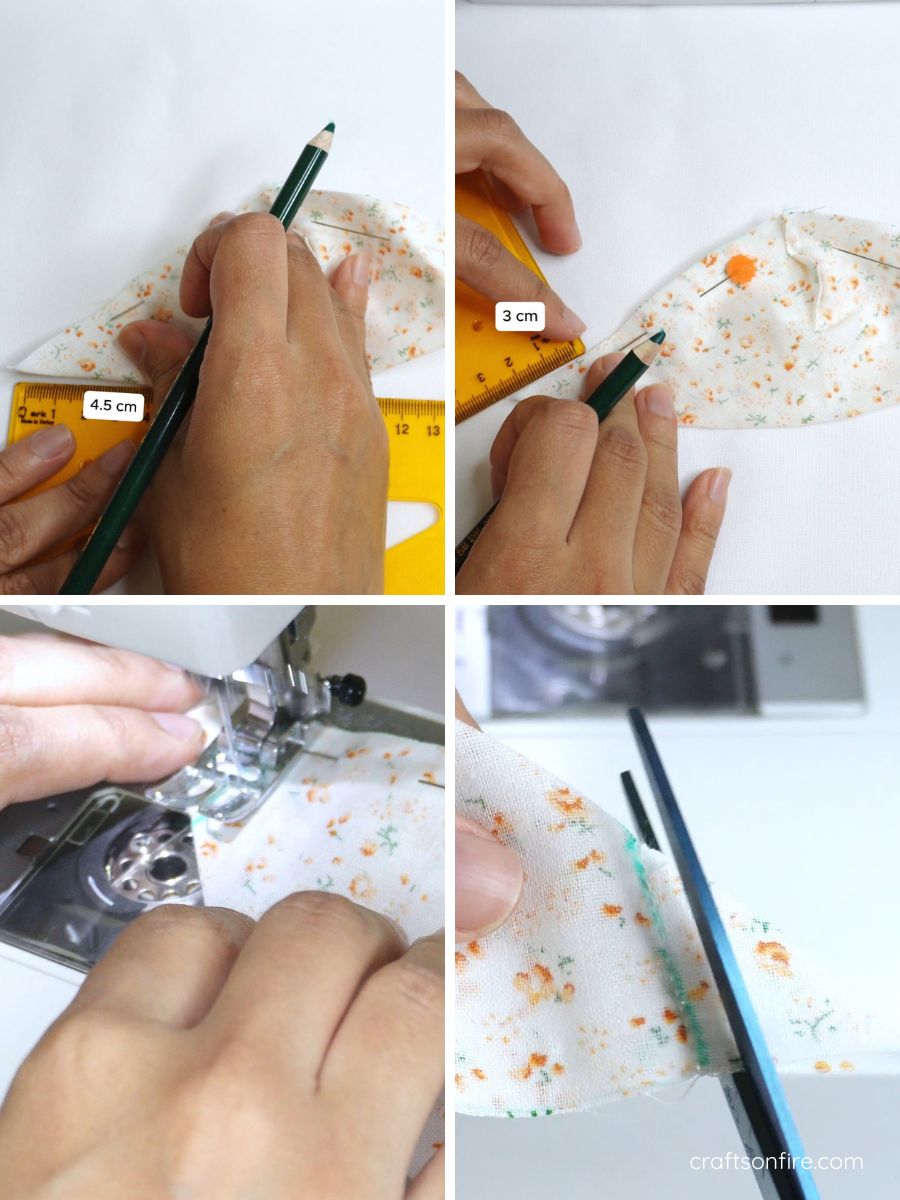
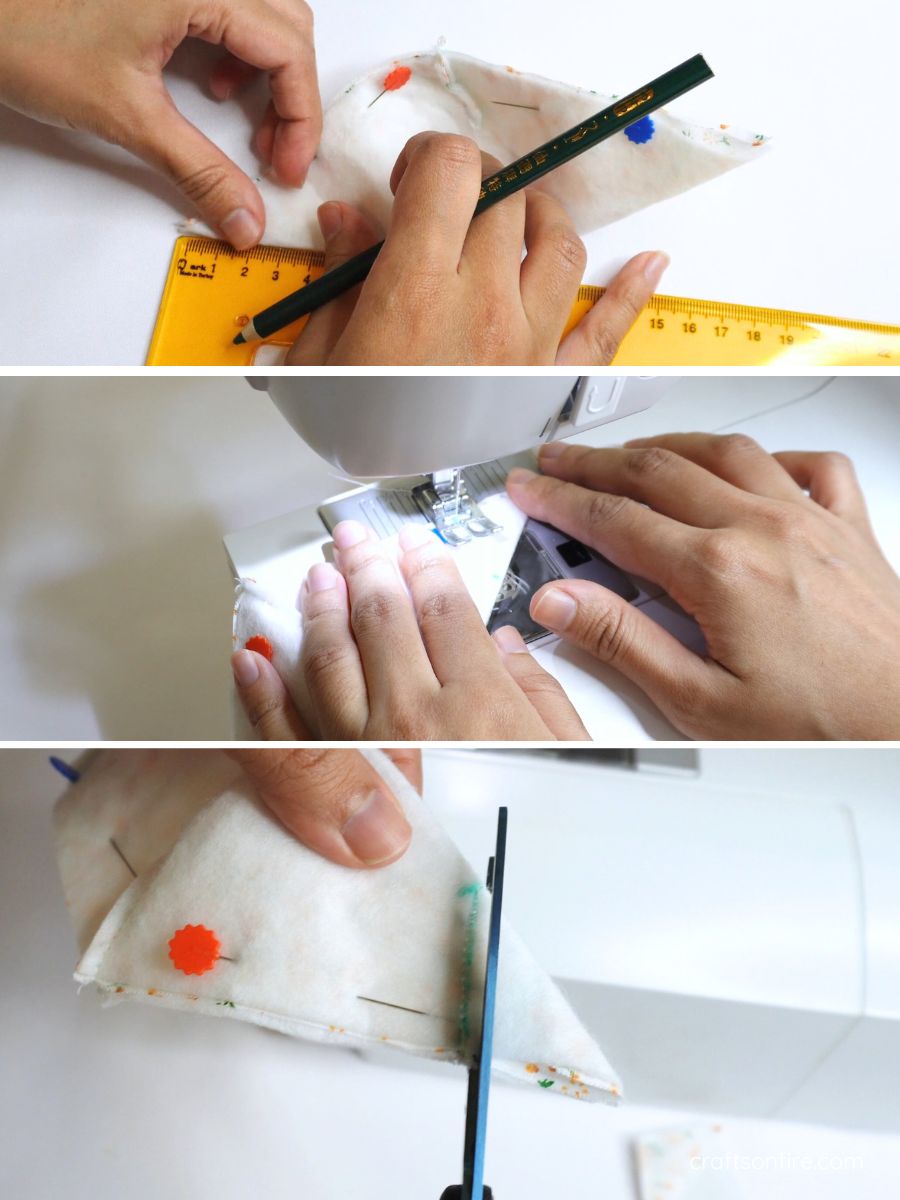
Now it’s time to repeat the previous step – mark 3 cm on top and 4.5 cm at the bottom on both ends. Stitch according to the marked line and use a scissors to remove the excess fabric.
Open out the fabric and you’ll see that we’ve just created the tray/bowl shape.
Next, place the other fabric piece and batting together. Repeat the same steps as shown earlier and you’ll be left with this:
Stitch the batting piece and remove the ends.
Open out the fabric. Match the two stitched points and fold again. Then mark the 3 cm on top and the 4.5 cm at the bottom and stitch.
Now we have two sets of mini trays, the lining and the fabric batting piece.
Grab the lining piece and turn it to the wrong side. Take this piece and place it inside the piece with the batting and match the corners.
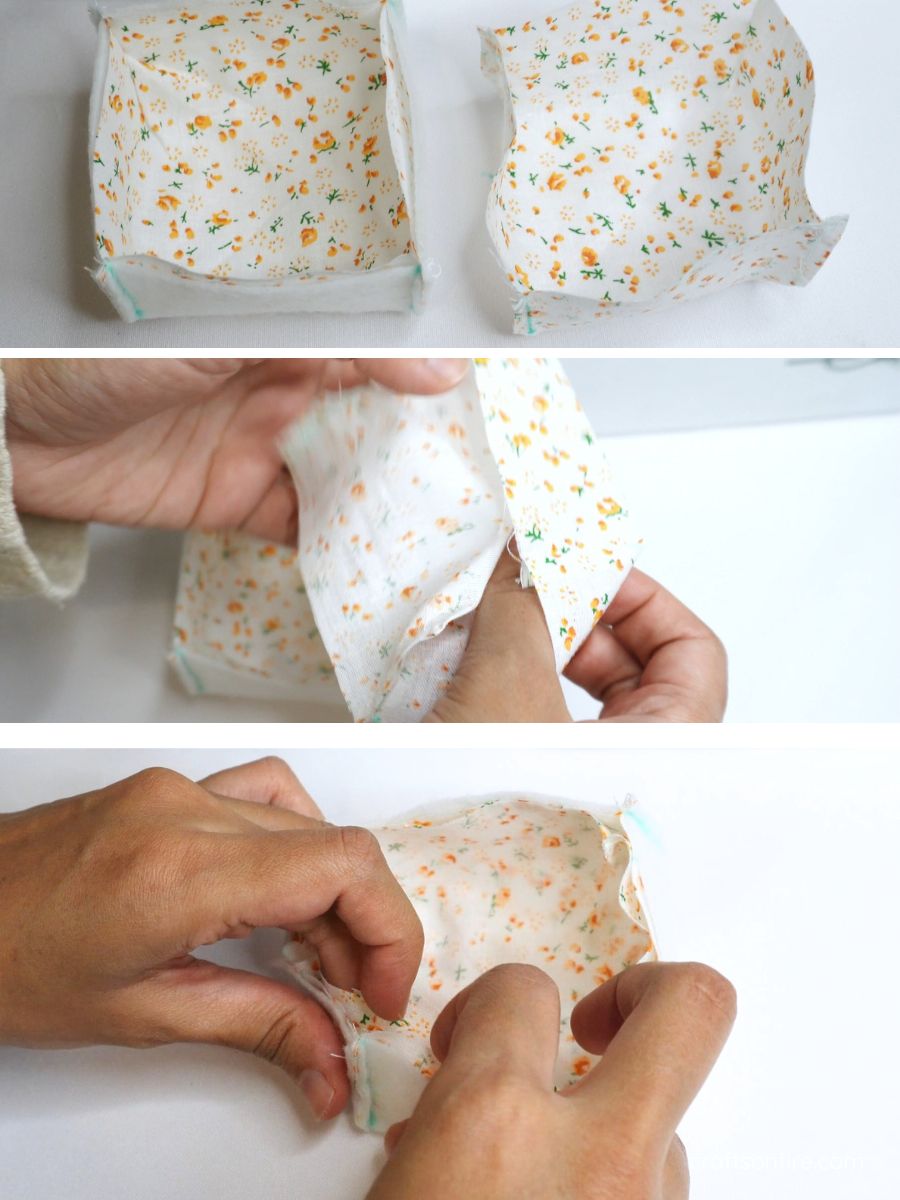
Use pins or these small clips to keep the corners in place. Head over to the sewing machine again and stitch the top while leaving a small space open for turning.
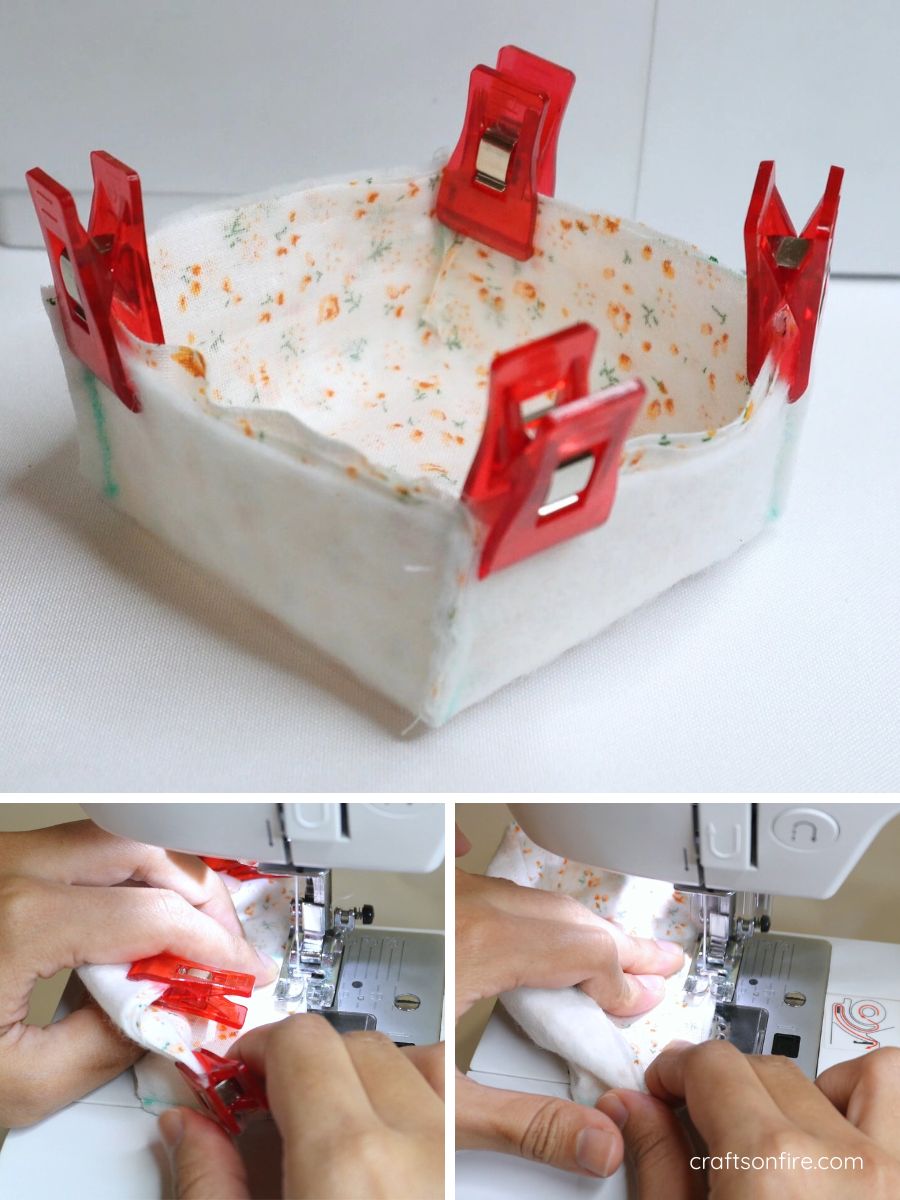
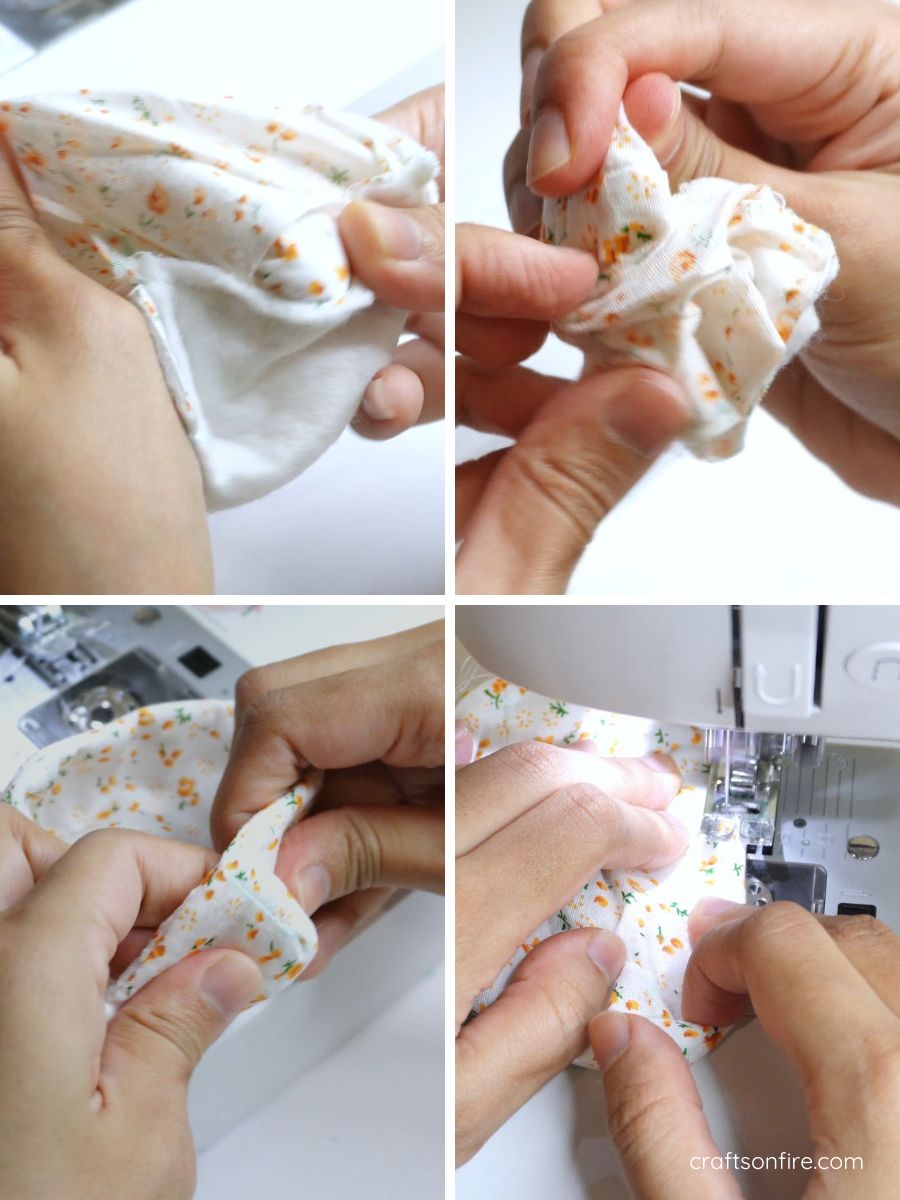
Use the opening to pull the right side through. Smooth out the edges and shape the basket by pinching the corners together.
Head over to the machine once again for a final top stitch to complete the mini tray.
And ta-da! The final reveal:
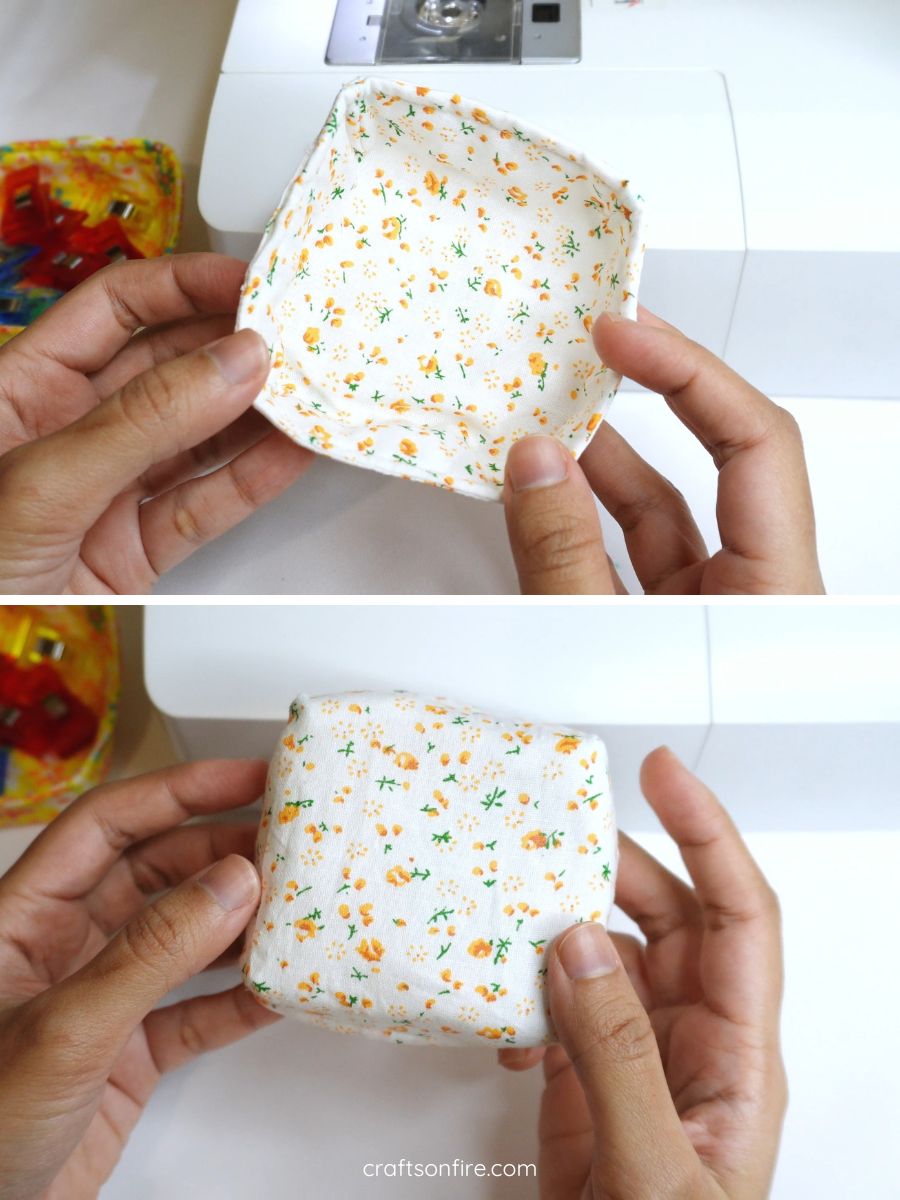
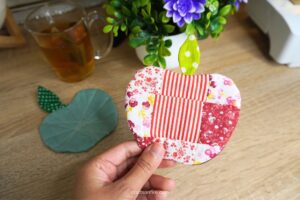
Is this not the cutest fabric tray you’ve seen?! I am thrilled with the outcome, and the delicate floral print looks lovely.
I’ve been using these mini fabric trays for small sewing supplies like storing the clips and pins. I find that it’s easy to use and they look great.
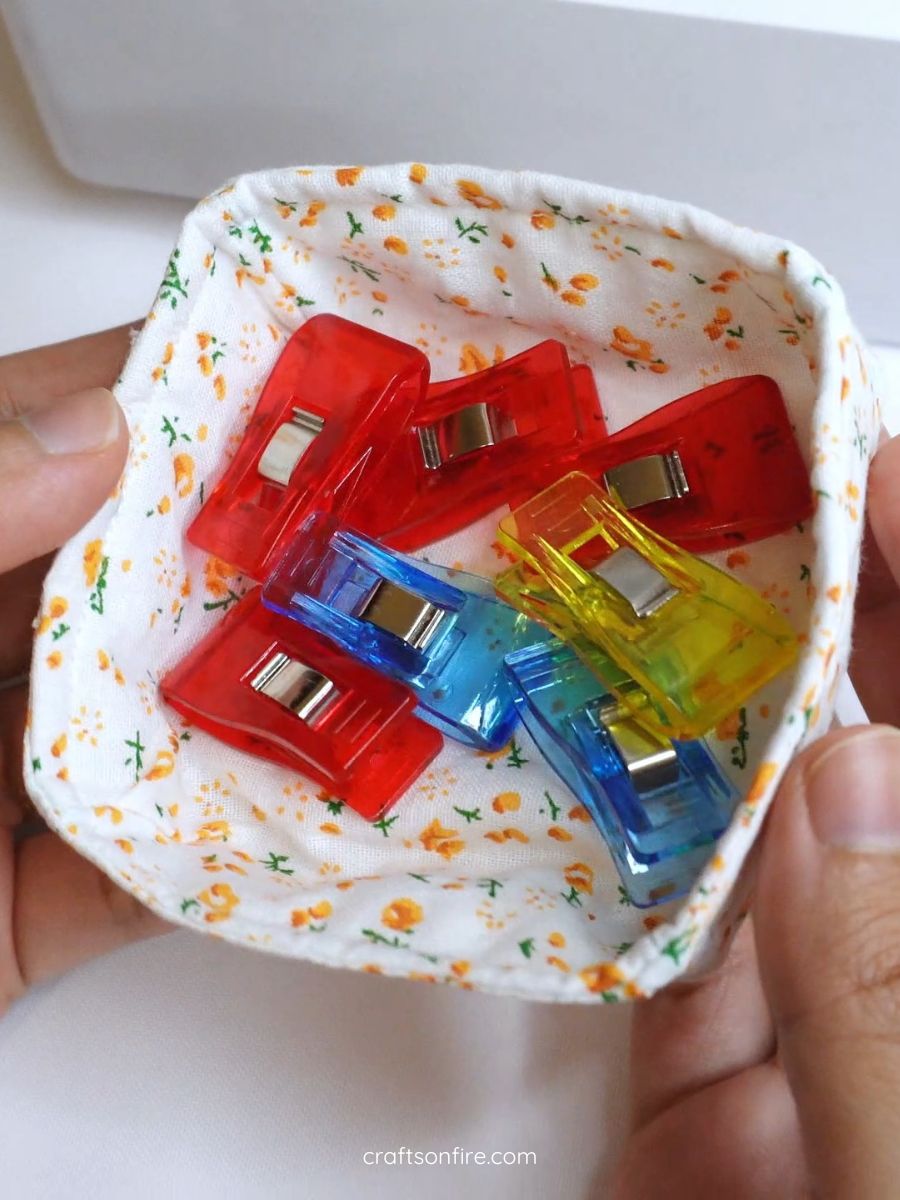
You can give this tray a small touch-up by lightly pressing it with an iron. This could help shape the tray more but you’ll have to be careful due to the size of this sewing project.
Alternatively, you could use foam rather than batting before you begin stitching to give it a firmer hold.
I’ve also sewn this fabric tray in a bright yellow floral patterned fabric, and it looks just as cute. Therefore, you can choose any color fabric to sew these trinket trays!
What are your thoughts? Did you find this tutorial helpful? I sure hope so.
This project is perfect for anyone – regardless of your skill level.
With all the stuff I’ve sewn recently, I’m so impressed by this small project. It was worth all the time spent, which was like 5 minutes!
I highly recommend you try sewing these mini fabric trays. You’ll be so glad you did.
Before you go, here’s more sewing ideas you can check out:
More Sewing Projects For Beginners
