Egg Coaster Tutorial
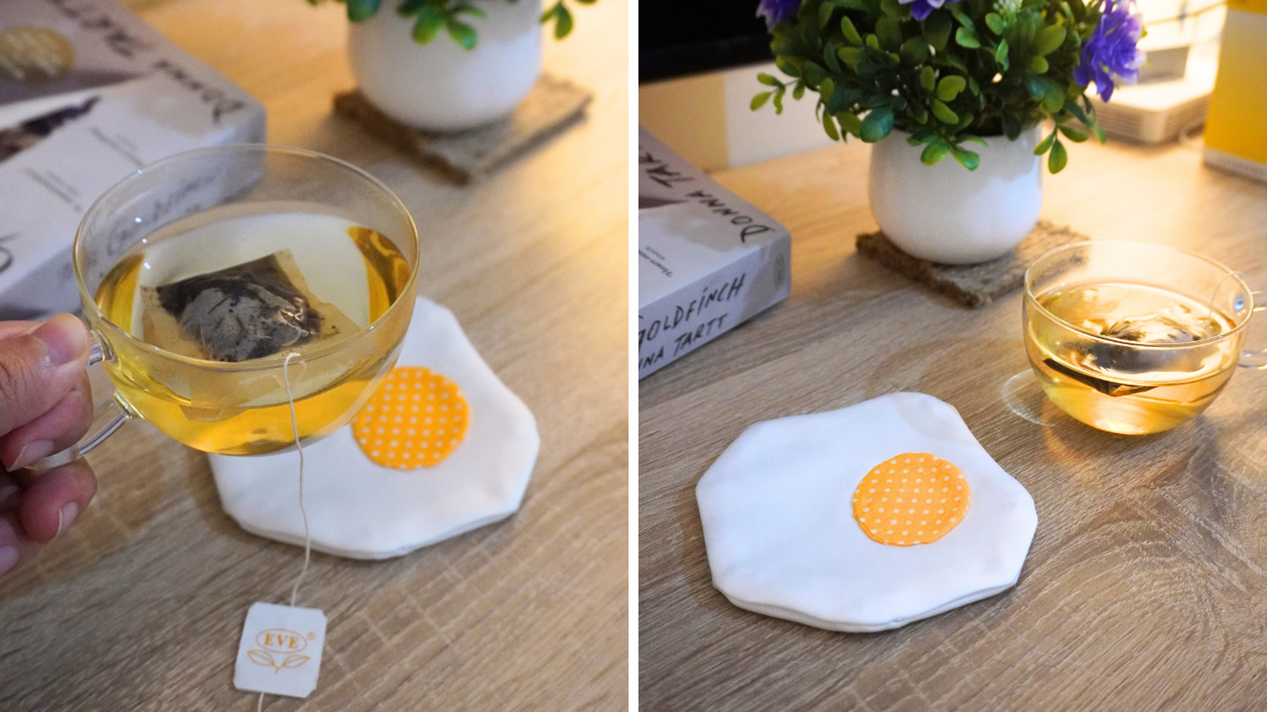
How much would you like to learn how to sew an egg coaster in less than 15 minutes? Well, I hope you answered “a lot,” because that’s exactly what we have in store for you with this tutorial.
I’ve noticed that a ton of people who love to crochet made egg coasters, but nobody seemed to put together a fabric tutorial for those of us who love to sew :(.
I paced around my room, dug through the dark corners of my cupboards, and tossed aside tons of beautifully colored and obscurely cut scraps of fabric until I found what I could use to make egg coasters.
Feast your eyes on what I cooked up in my head last night:
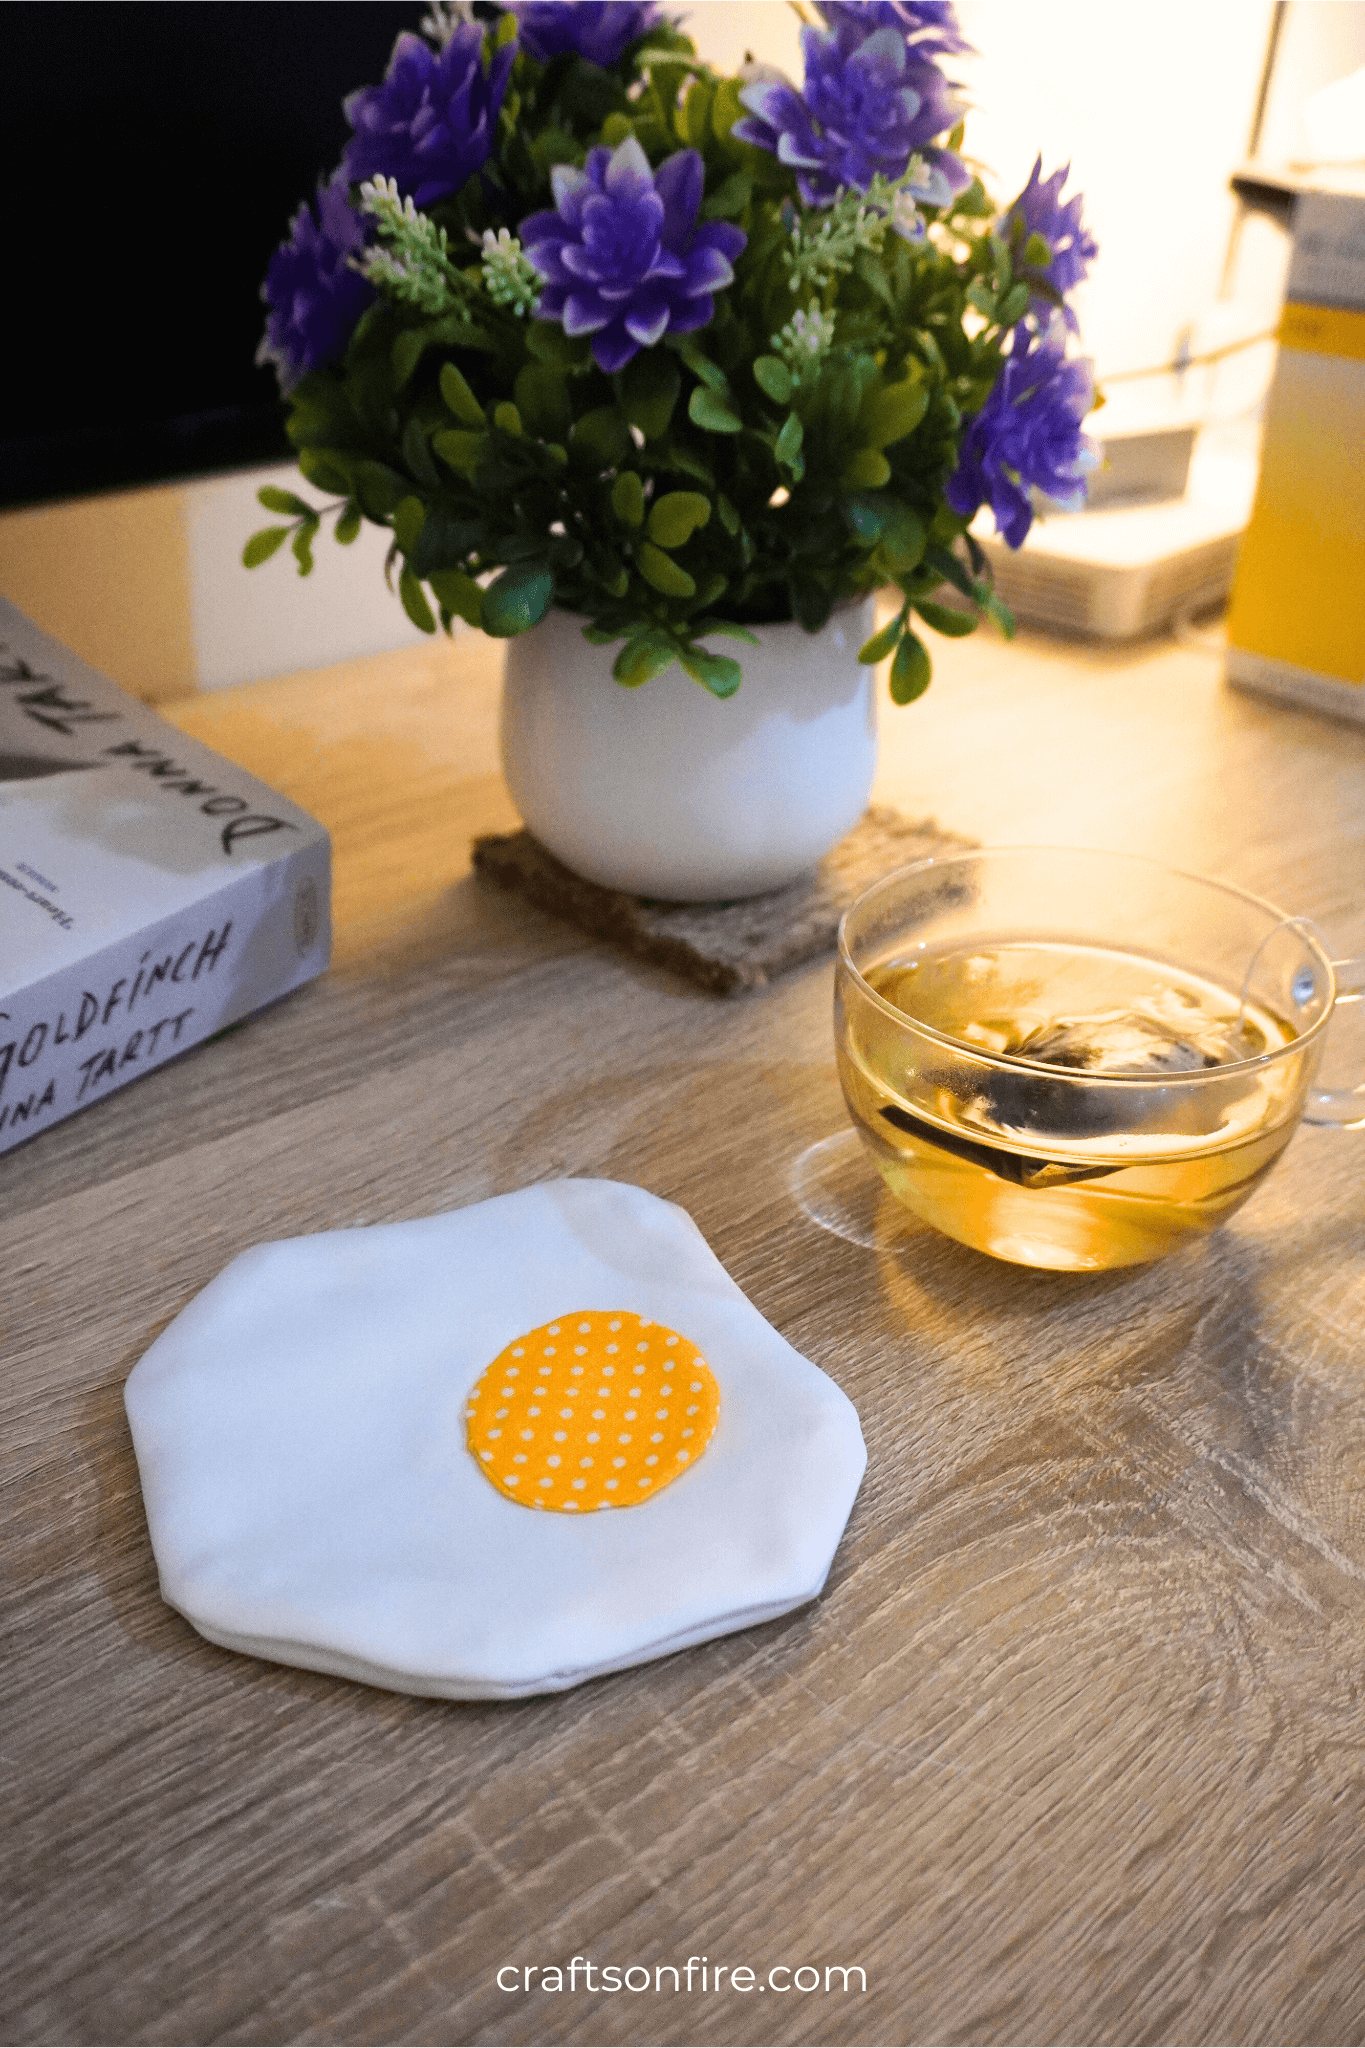
Table of Contents
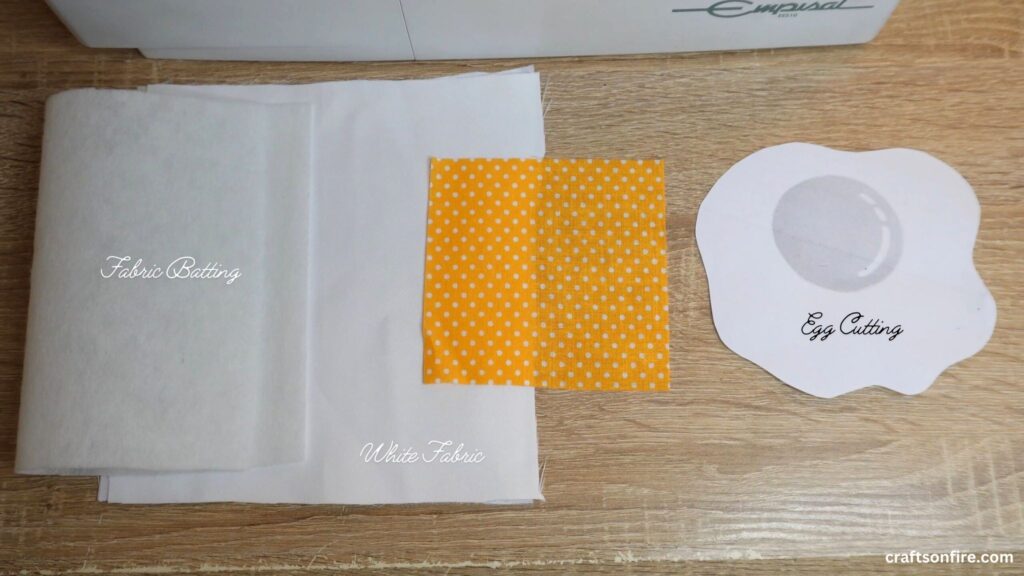
Supplies:
- White fabric (of your choosing)
- Fabric Batting
- Egg cutting
- Fabric pen
- Scissors
- Yellow fabric
- Sewing machine
- Needle
Video Tutorial
Instructions
Step 1
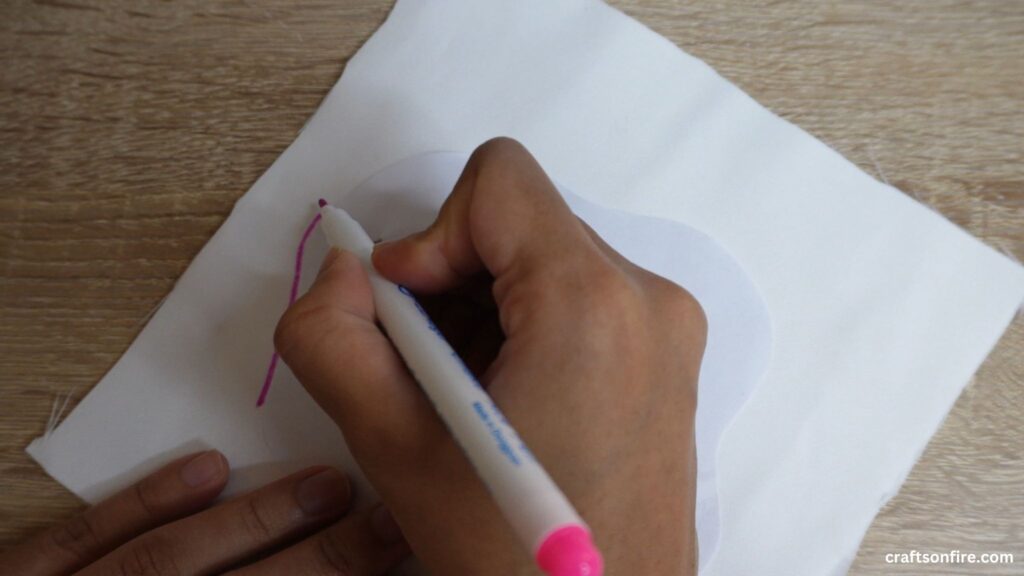
Trace the shape of your egg cut-out on the folded white fabric using a fabric pen. I tried using a fabric eraser to remove the ink, but to no avail. Thankfully, they wash out with water.
Step 2
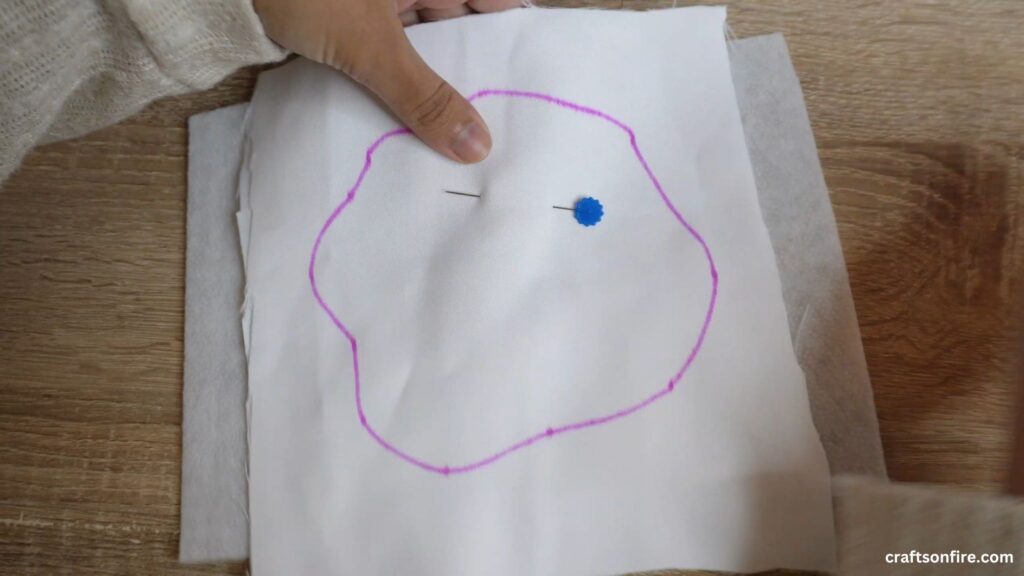
Place the white fabric with the egg drawing onto a fabric batting. Feel free to use as many layers of fabric batting as you’d like. Secure all layers of material by inserting pins inside the drawing.
Step 3
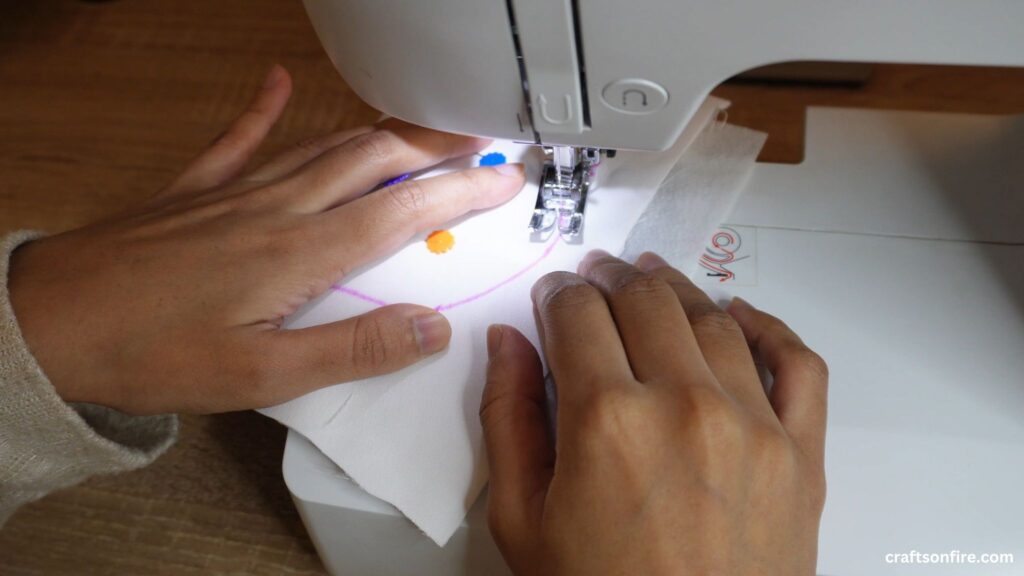
Slowly and carefully stitch along the egg drawing using a straight stitch. Lift the sewing machine foot along each curve to centralize the layers of material as you stitch. Leave a 3 to 5 cm area unstitched because this will be used to turn the coaster inside-out.
Step 4
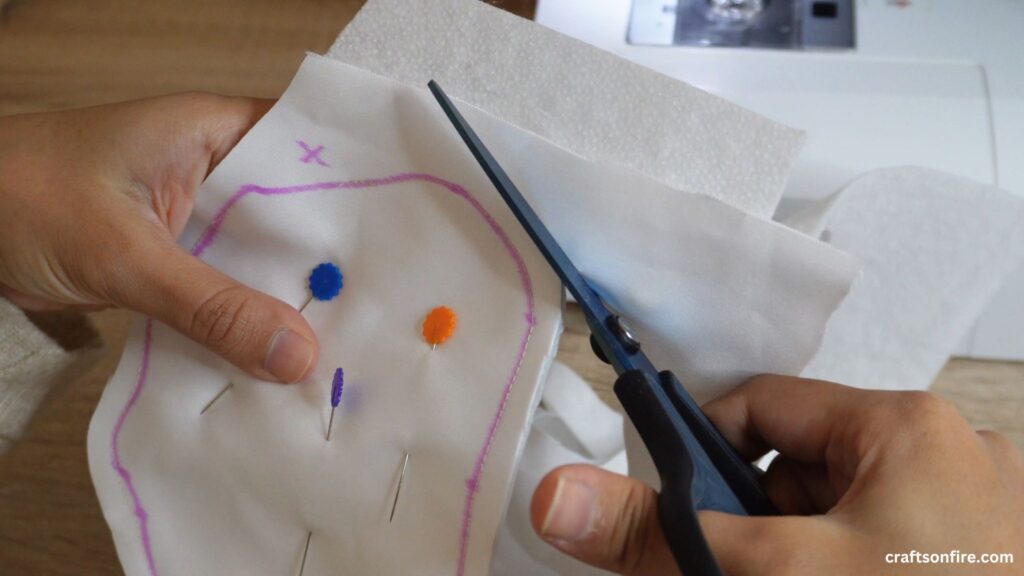
Once stitched, use a scissor to cut around the egg drawing, leaving a cm allowance for stitching. I marked the unstitched area with an “X.”
Step 5
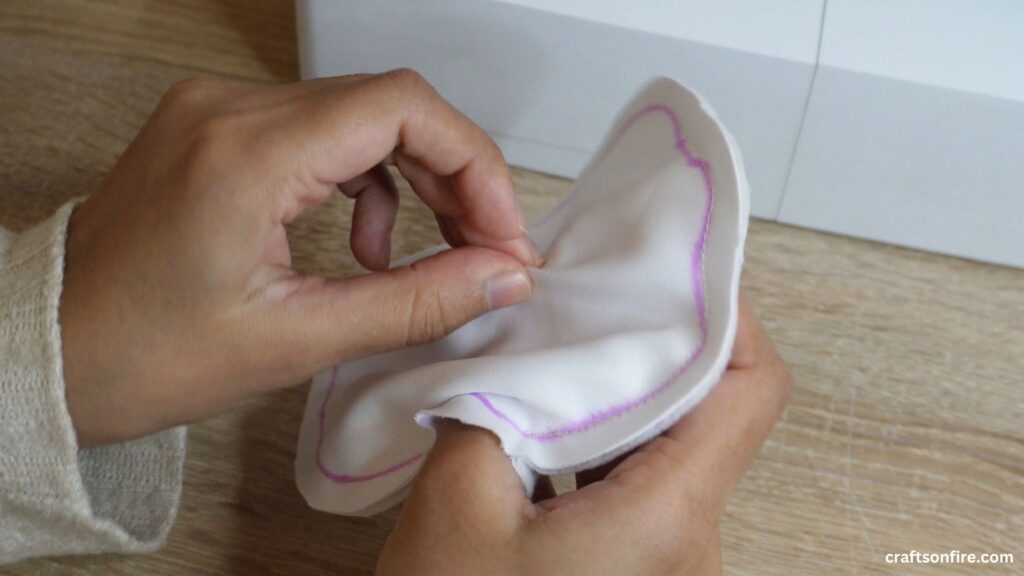
Trim the jagged corners and loose cotton before turning the coaster inside-out, revealing the correct side to you.
Step 6
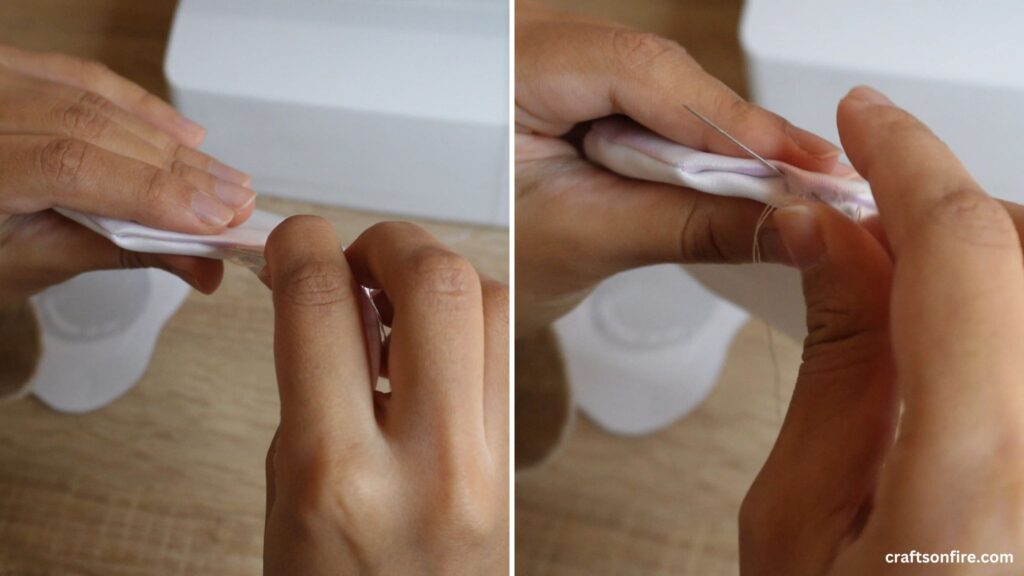
Now that you have flipped the coaster to the correct side, make sure that it has been stitched properly, except for the area that was left unsewn. Then, using the invisible slip stitch method, hand-stitch the open area until it is tightly sealed.
Step 7
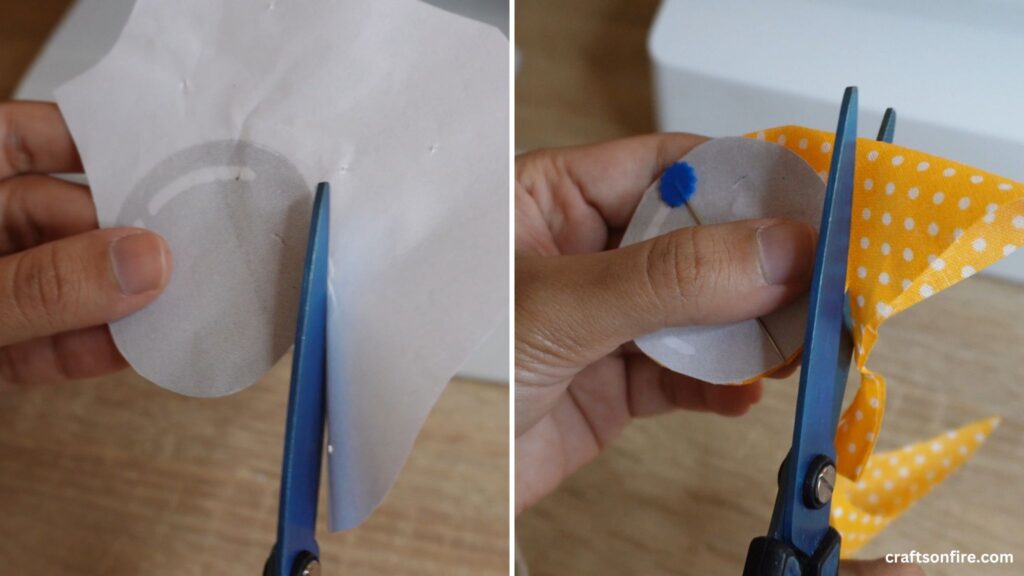
Refer to the egg-printout from earlier and cut around the yolk. Once cut, grab your piece of yellow material and fold it in half or in a triangle. Place the yolk cut-out onto the material and cut around it.
Step 8
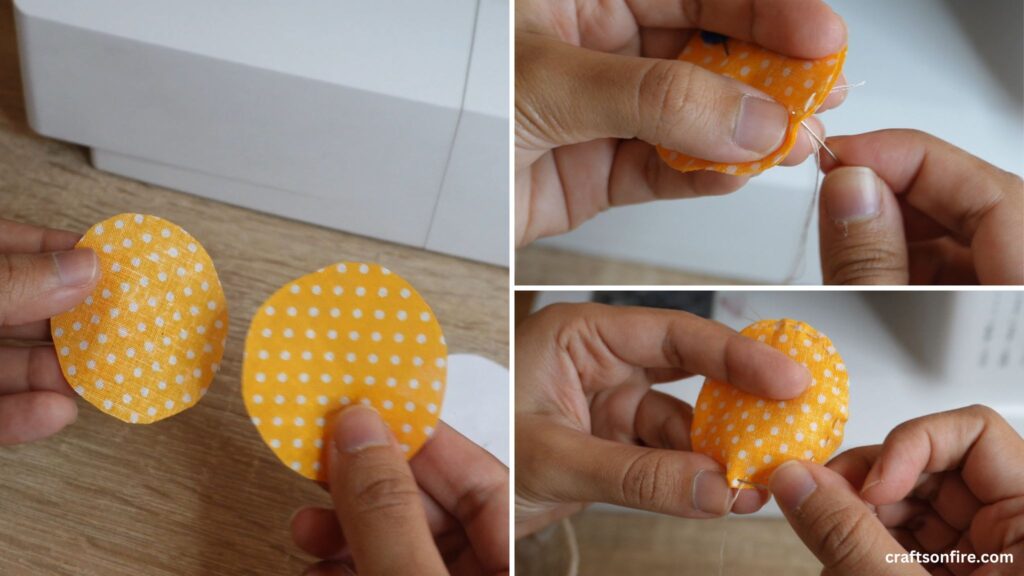
With the two pieces of round yellow material, place them against each other with the correct side facing outwardly on both ends. Stitch along the edges, as close as you can, until they are sewn together.
Step 9
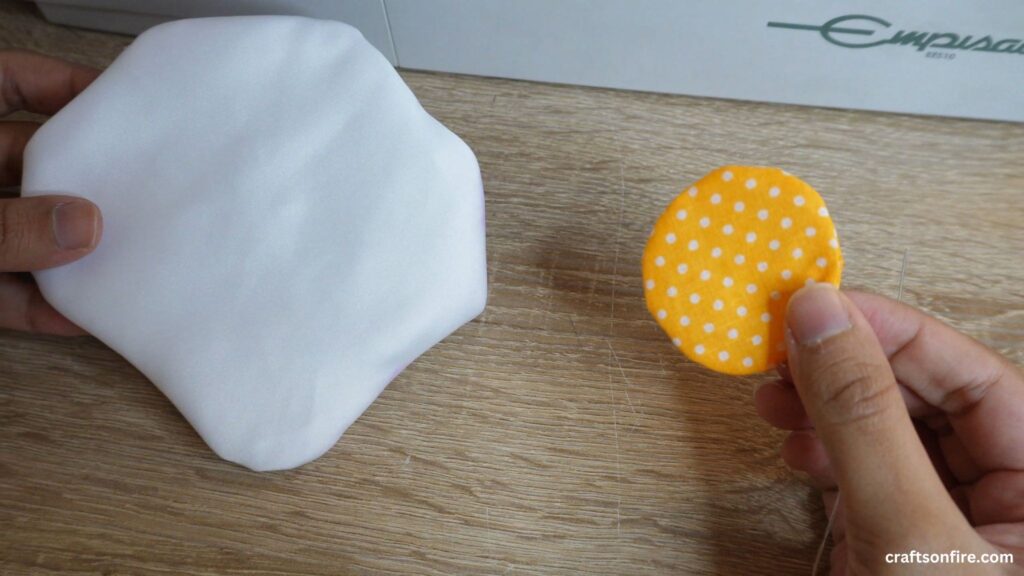
By this point, the egg white and yolk should both be complete. Choose a location to place the yolk on the egg white coaster.
Step 10
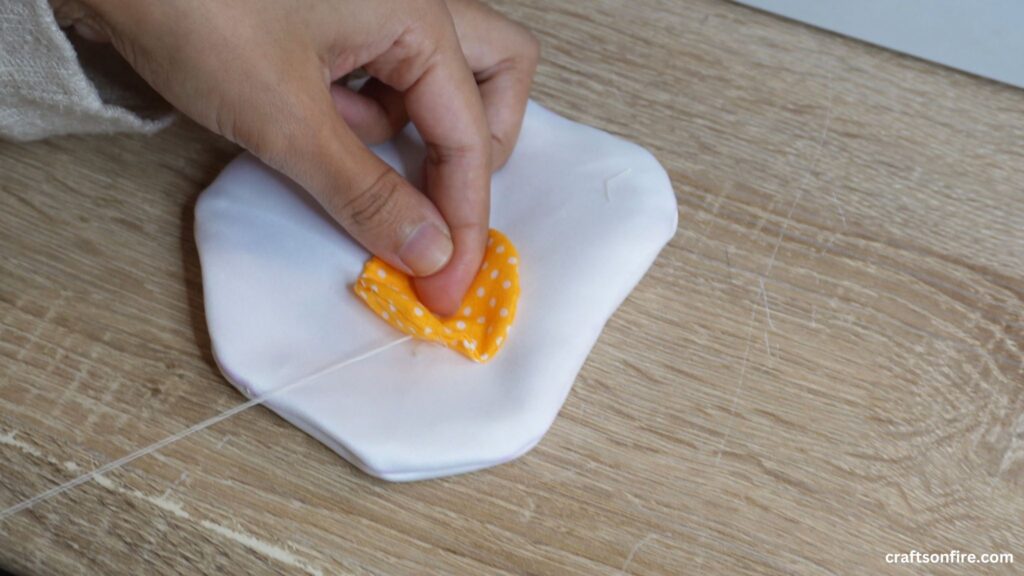
When stitching the yolk onto the egg white, lift the edge of the yellow material and insert the needle through the bottom layer. At the same time, insert the needle only through the top layer of the white material. Repeat this until the bottom layer of the yellow material is stitched to the top layer of the white material.
Step 11
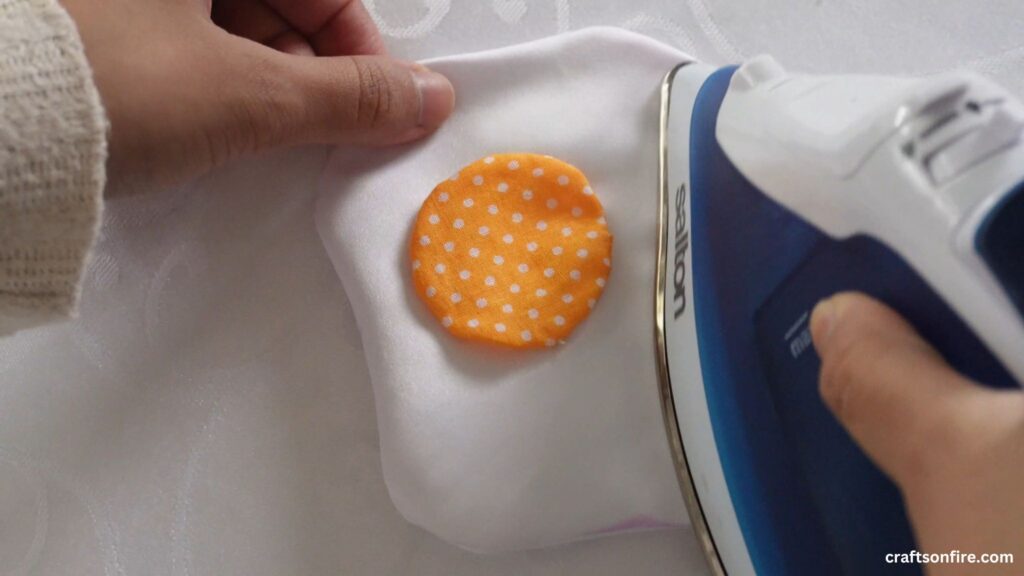
Wash and dry the coaster to remove any residual ink from the fabric marker. Once dried, use an iron to remove any creases from the egg coaster.
Finished Project!
That’s it!
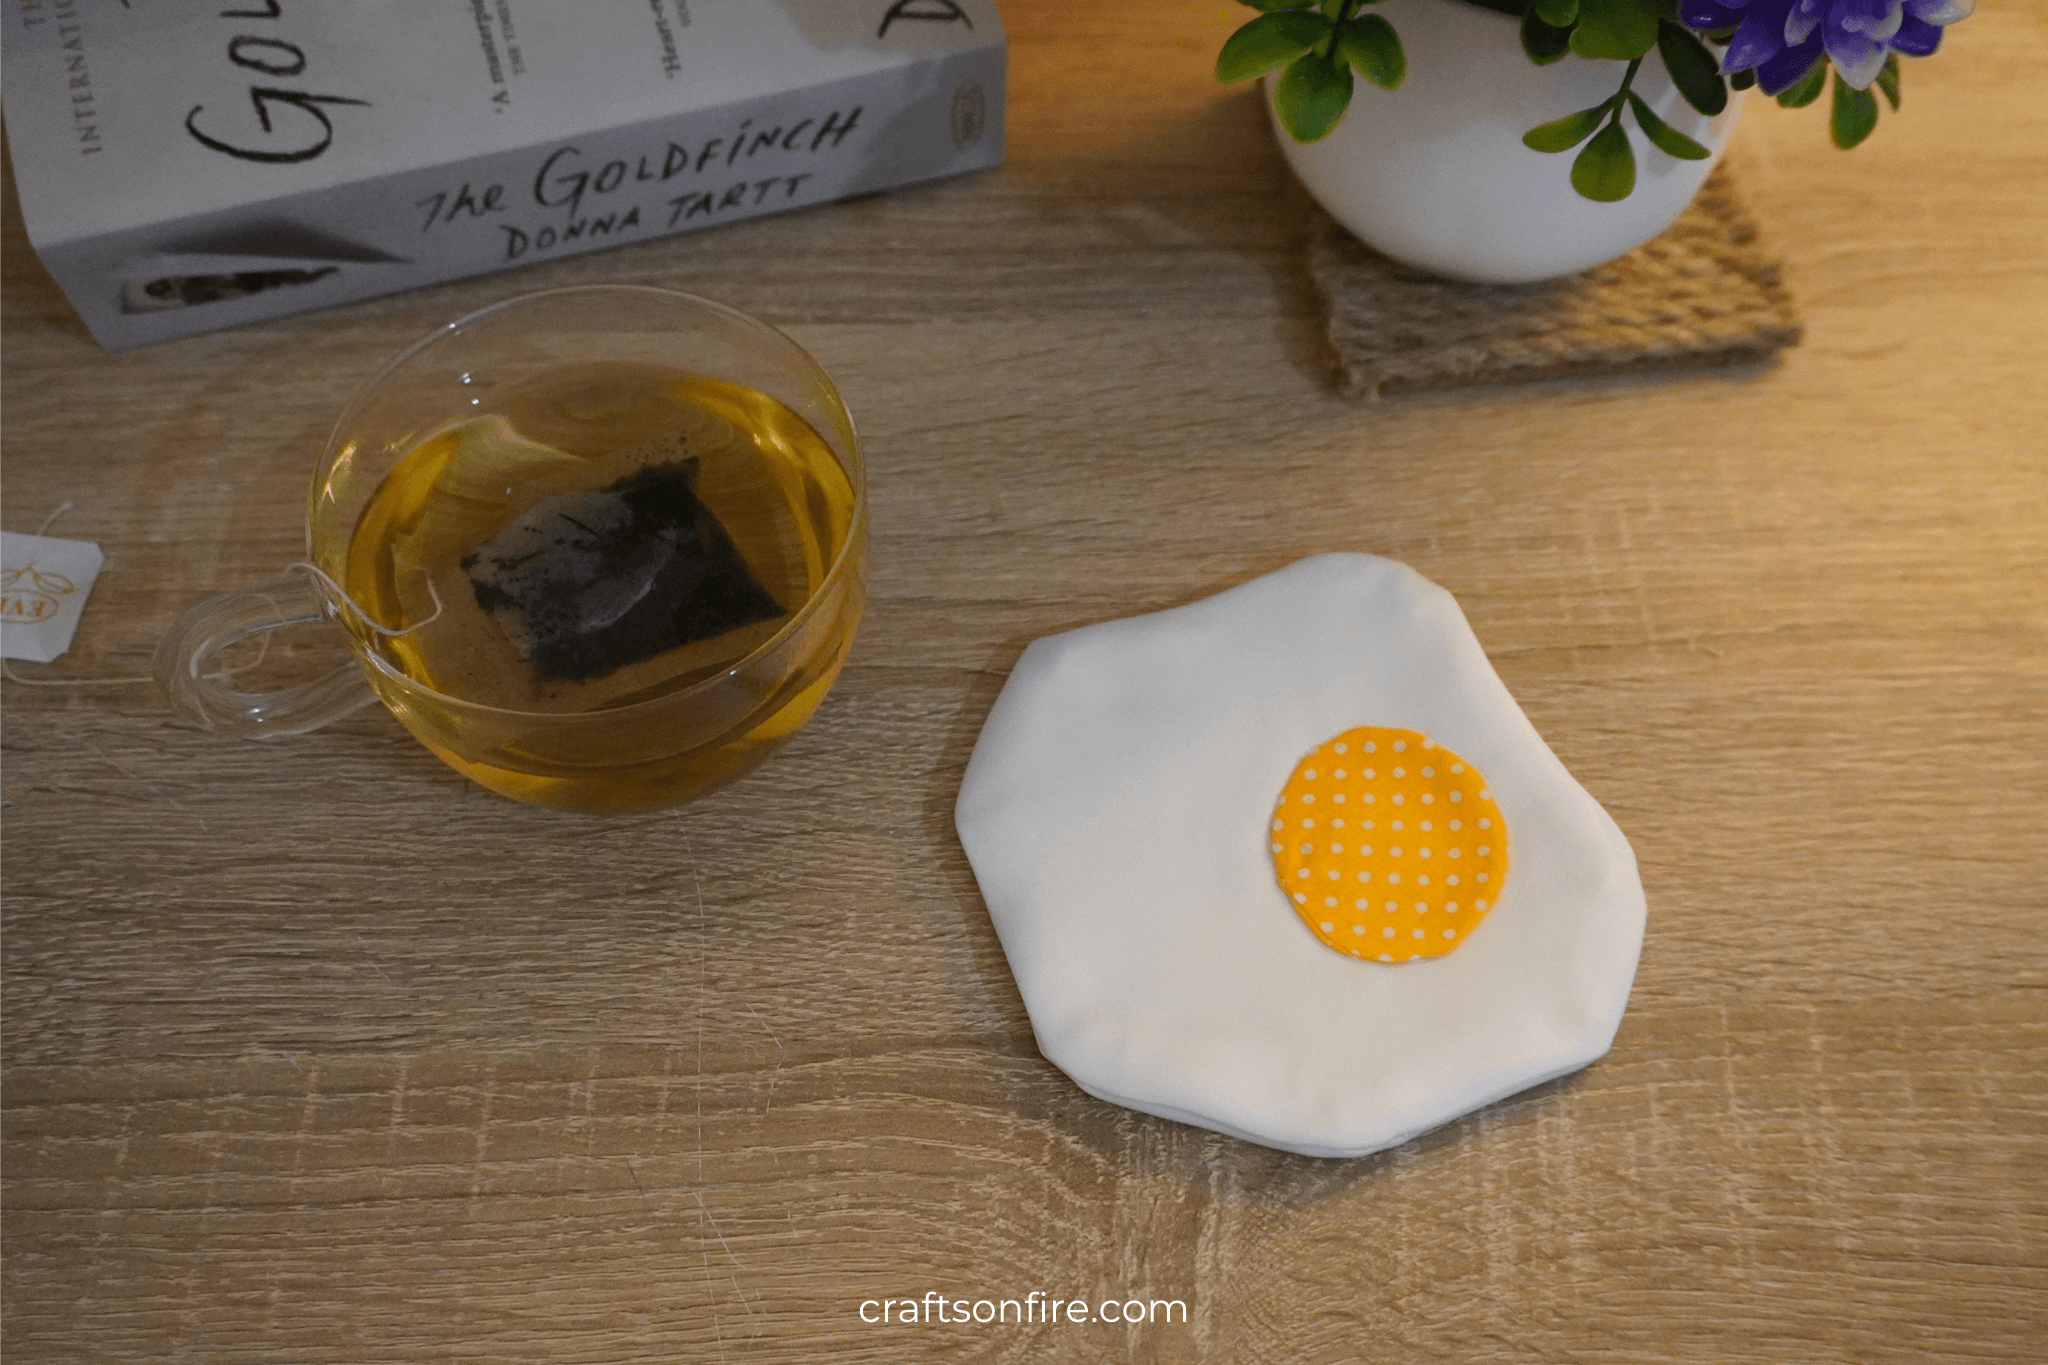
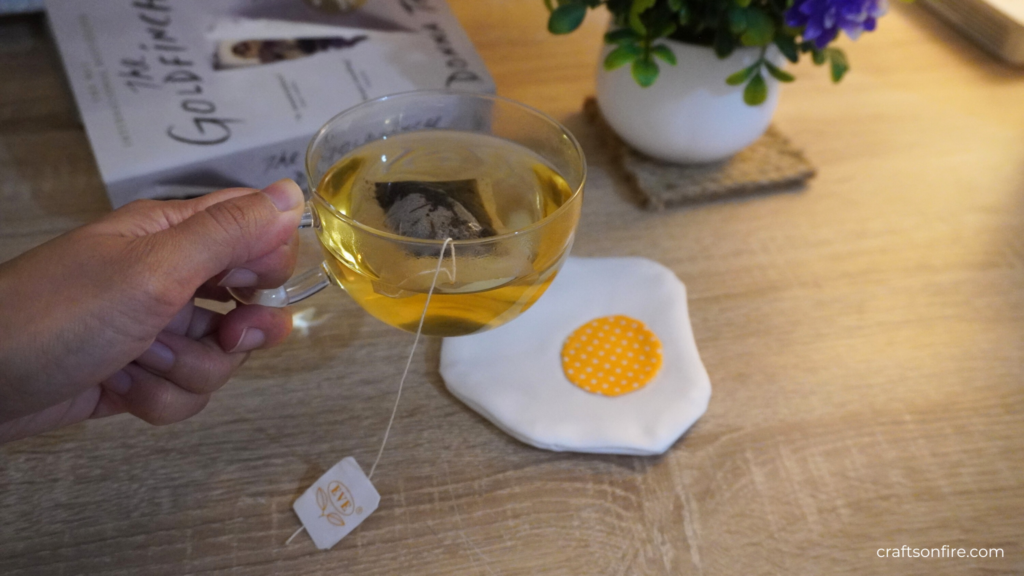
You have successfully sewn this egg coaster! As you can see from the images below, it looks ridiculously cute.
After reflecting on this tutorial, I feel like I could have made gentle stitches along the corners for a more rounded shape.
But apart from that, this coaster is awesome, and it’s a great sewing tutorial for beginners.
Other Easy Sewing Projects To Try Next:
