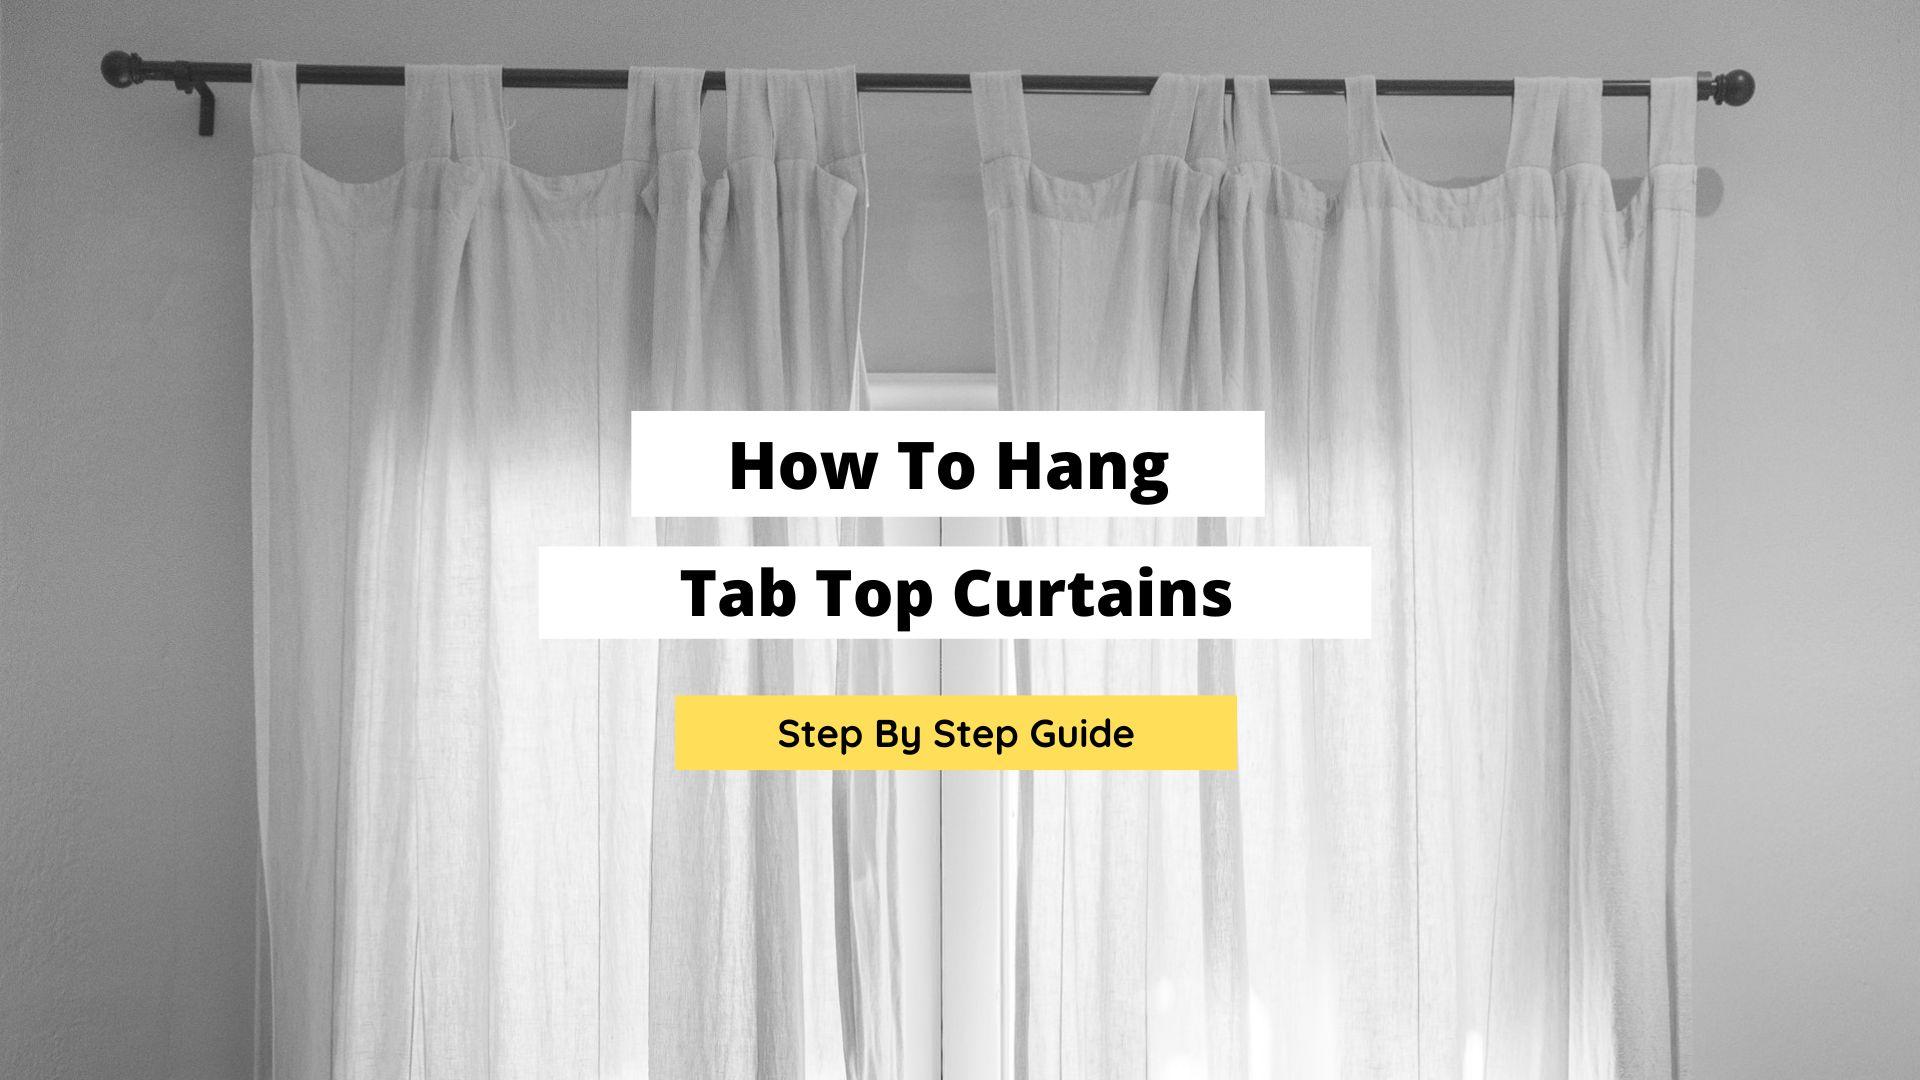
How To Hang Tab Top Curtains: Complete Step-By-Step Guide
Tab top curtains are popular for homeowners who want an elegant and simple window treatment that provides just the right amount of interest and style to a space.
If you’ve been contemplating adding style and functionality to your windows, then, hanging tab top curtains is an excellent and smart choice.
They have become increasingly popular due to their versatility and, honestly, they’re really easy to install and you can have a gorgeous set of your favorite curtains up in no time.
So, whether you’re familiar with hanging curtains or maybe it’s your first time ever having to hang tab top curtains, I think you’re going to find this guide helpful.
In this article, you’ll find step-by-step instructions on how to hang tab curtains like a pro.
So, let’s get started!
Steps For Hanging Tab Top Curtains
I know most of us like straightforward answers and I think this one can be easily and quickly summed up as best as possible.
If you already have a rod installed and mounted, then all you need to do is remove the rod from the wall, slide the tabs of the curtain into the rod and once that is done, place the rod back onto the bracket.
Yup, that’s all there is to hang a tab top curtain. This process will apply to eye-let curtains as well.
But if you’d like to dive deeper into the process or if this is your first time hanging a curtain, here are the main steps you need to take:
Step I. Choose the right curtains
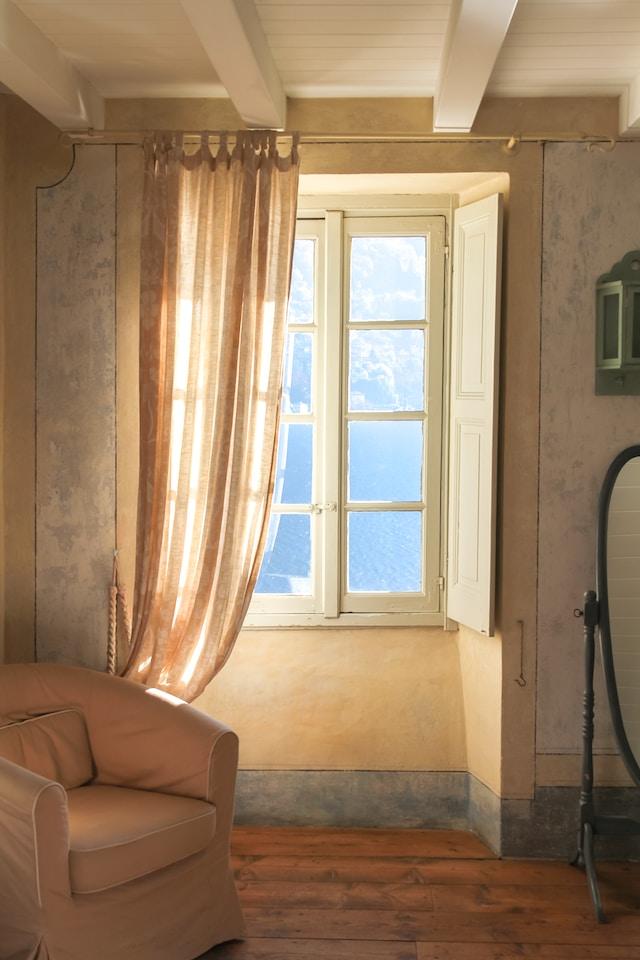
Decide on the perfect style. Tab curtains come in various designs and fabrics, so choosing one that best fits your decor is important.
Light, sheer fabrics are ideal if you’re looking for an airy look. Heavier fabrics such as velvet or suede work well for a more substantial feel.
It’s also a good idea to consider colors, as darker colors tend to add drama while lighter colors brighten a room.
Colors play a big role in affecting light and moods.
Consider the thickness and material of the fabric. The type of material you select will affect your curtains’ durability and functionality.
Lighter fabrics let in more natural light, while heavier fabrics are better at blocking sound and keeping hot and cold air out.
I’ve also discovered a simple trick if you want the curtains to last longer, choose a high thread count.
Additional step: Get the creases out!
For a professional or Instagram-inspired finish, it’s best you iron the curtain to get creases or folds out.
Presentation matters and even if you hang the curtains perfectly, a curtain with creases will just look messy.
Spend that extra few minutes ironing or steaming the curtain before you hang them on the rod and this should look way better.
Step 2. Measure the window
The single most important thing you can do for hanging any kind of curtain is to take accurate measurements.
For hanging tab top curtains, start by measuring the width and height of the window with the handy use of the ol’ measuring tape.
This is the simplest and most accurate way to ensure you get the perfect fit so your curtains don’t end up looking lopsided and one side hanging higher than the other.
As a general recommendation, if the length/width is an odd number, extend by a few inches as this will account for any discrepancies in the size and this should help provide additional coverage over the window frame.
You could go at least 2-3 inches more to that of the width and length of the curtains. It also tends to hang better.
Usually, the size, width, and length will be listed on the packaging of the curtain but if you already own a set of tab top curtains from a while back without the packaging, you can also lie the curtains on the floor and take the measurements.
Step 3. Install the hardware
The hardware is just as important as the curtain itself so it’s best to choose the correct curtain rod so that the tab-top curtains hang beautifully.
Start by measuring the length of your curtains, then select a curtain rod that is slightly longer than this measurement.
Pay attention to the size of the rod to ensure the tab top will slide in easily and can be opened or closed without tugging hard on the curtain.
The weight and material of the rod should be able to withstand the weight of the curtain mainly because lightweight rods may not have the power for heavy fabrics.
Install the brackets on the wall – Attach the brackets at either end of the window frame, ensuring they are level and secure. Leave enough room between the brackets for your curtains to hang properly.
Place the curtain rod onto the brackets. Once the brackets are secure, place the curtain rod on top and adjust it to fit snugly between the two brackets.
Step 4. Prepare the curtains
Iron the curtains to remove any wrinkles. Before hanging your curtains, iron them to smooth out any creases. This will ensure that your curtains hang evenly and look their best.
Identify the tabs and prepare them for hanging.
Once the curtains are ironed, look at the back of the tab tops to determine which side will be displayed in front.
Slip a strong paperclip through each tab loop to make installation easier and secure it in place.
Step 5. Hang the curtains
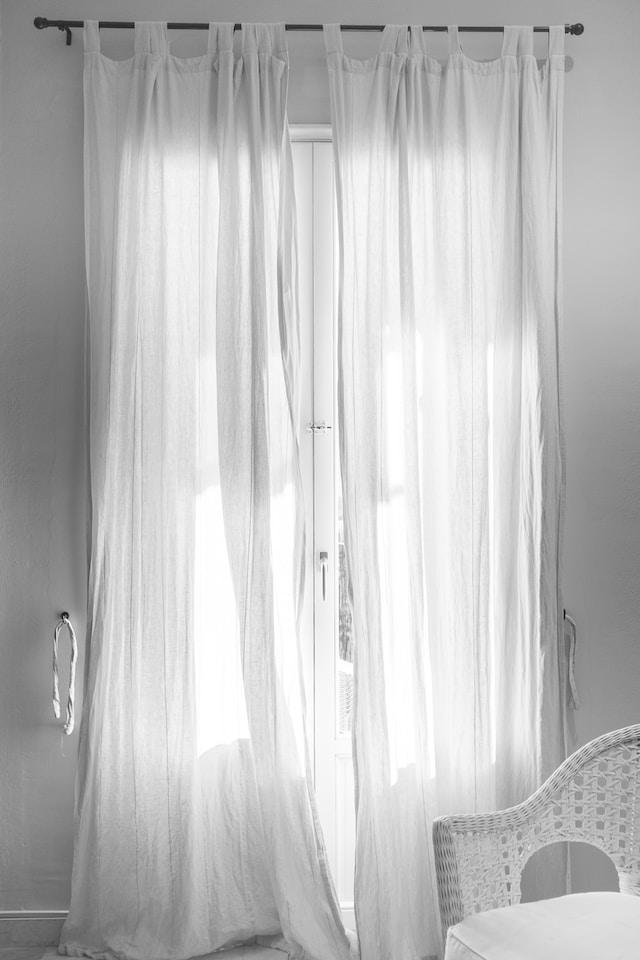
Align the tabs with the curtain rod and slide them on.
Begin by placing the back of a tab top over one end of the rod, then line up the other tabs with their corresponding slots.
Slide each tab onto its respective slot until all of them are in place.
To finish, secure the tabs with small pins or hooks.
Use small pins or hooks to secure the tabs and keep your curtains from slipping off the rod.
This will ensure that your curtains hang properly and aren’t damaged when opening or closing them.
Adjust the length of the curtains.
Once your curtains are in place, adjust their length if necessary.
Take a few inches off the bottom of each panel to give them a more tailored look and keep them from dragging on the floor.
You’ll probably have to remove the curtain from the rod if you plan to make any big changes like this but as you can see, it’s an easy and simple process to get the curtains up on the rod.
Step 6. Finishing touches
If you’re in the mood for a fancy or extra style, consider hanging a decorative valance.
Add an extra dimension to your curtains by hanging a coordinating valance at the top of the window frame.
This will draw the eye upwards and make your room look more finished and elegant otherwise a fancy tie-back will help add a small yet significant detail to dress up the curtain when tied together.
Conclusion
Okay, so let me just get straight to the point. Were these tips helpful in clearing any confusion about hanging tab-top curtains?
I sure hope so!
Hanging tab top curtains and even eyelet curtains is a straightforward and enjoyable task that can be completed in minutes.
Following these step-by-step instructions, you can add style and elegance to your windows and create a warm and inviting atmosphere.
Whether upgrading your window treatment or replacing your old curtains, tab top curtains are an excellent choice that will add a touch of sophistication to your living space.
With that said, I think it’s time you grab your tools and get started.
Your decor is probably begging for a refreshing new look and tab top curtains are an awesome way to change things up.
But if you do have a couple more minutes to spare, here’s a bit more reading you can do on similar topics:
How To Hang Curtains In A Rental Apartment