DIY Pot Holder Sewing Tutorial | No Binding Method
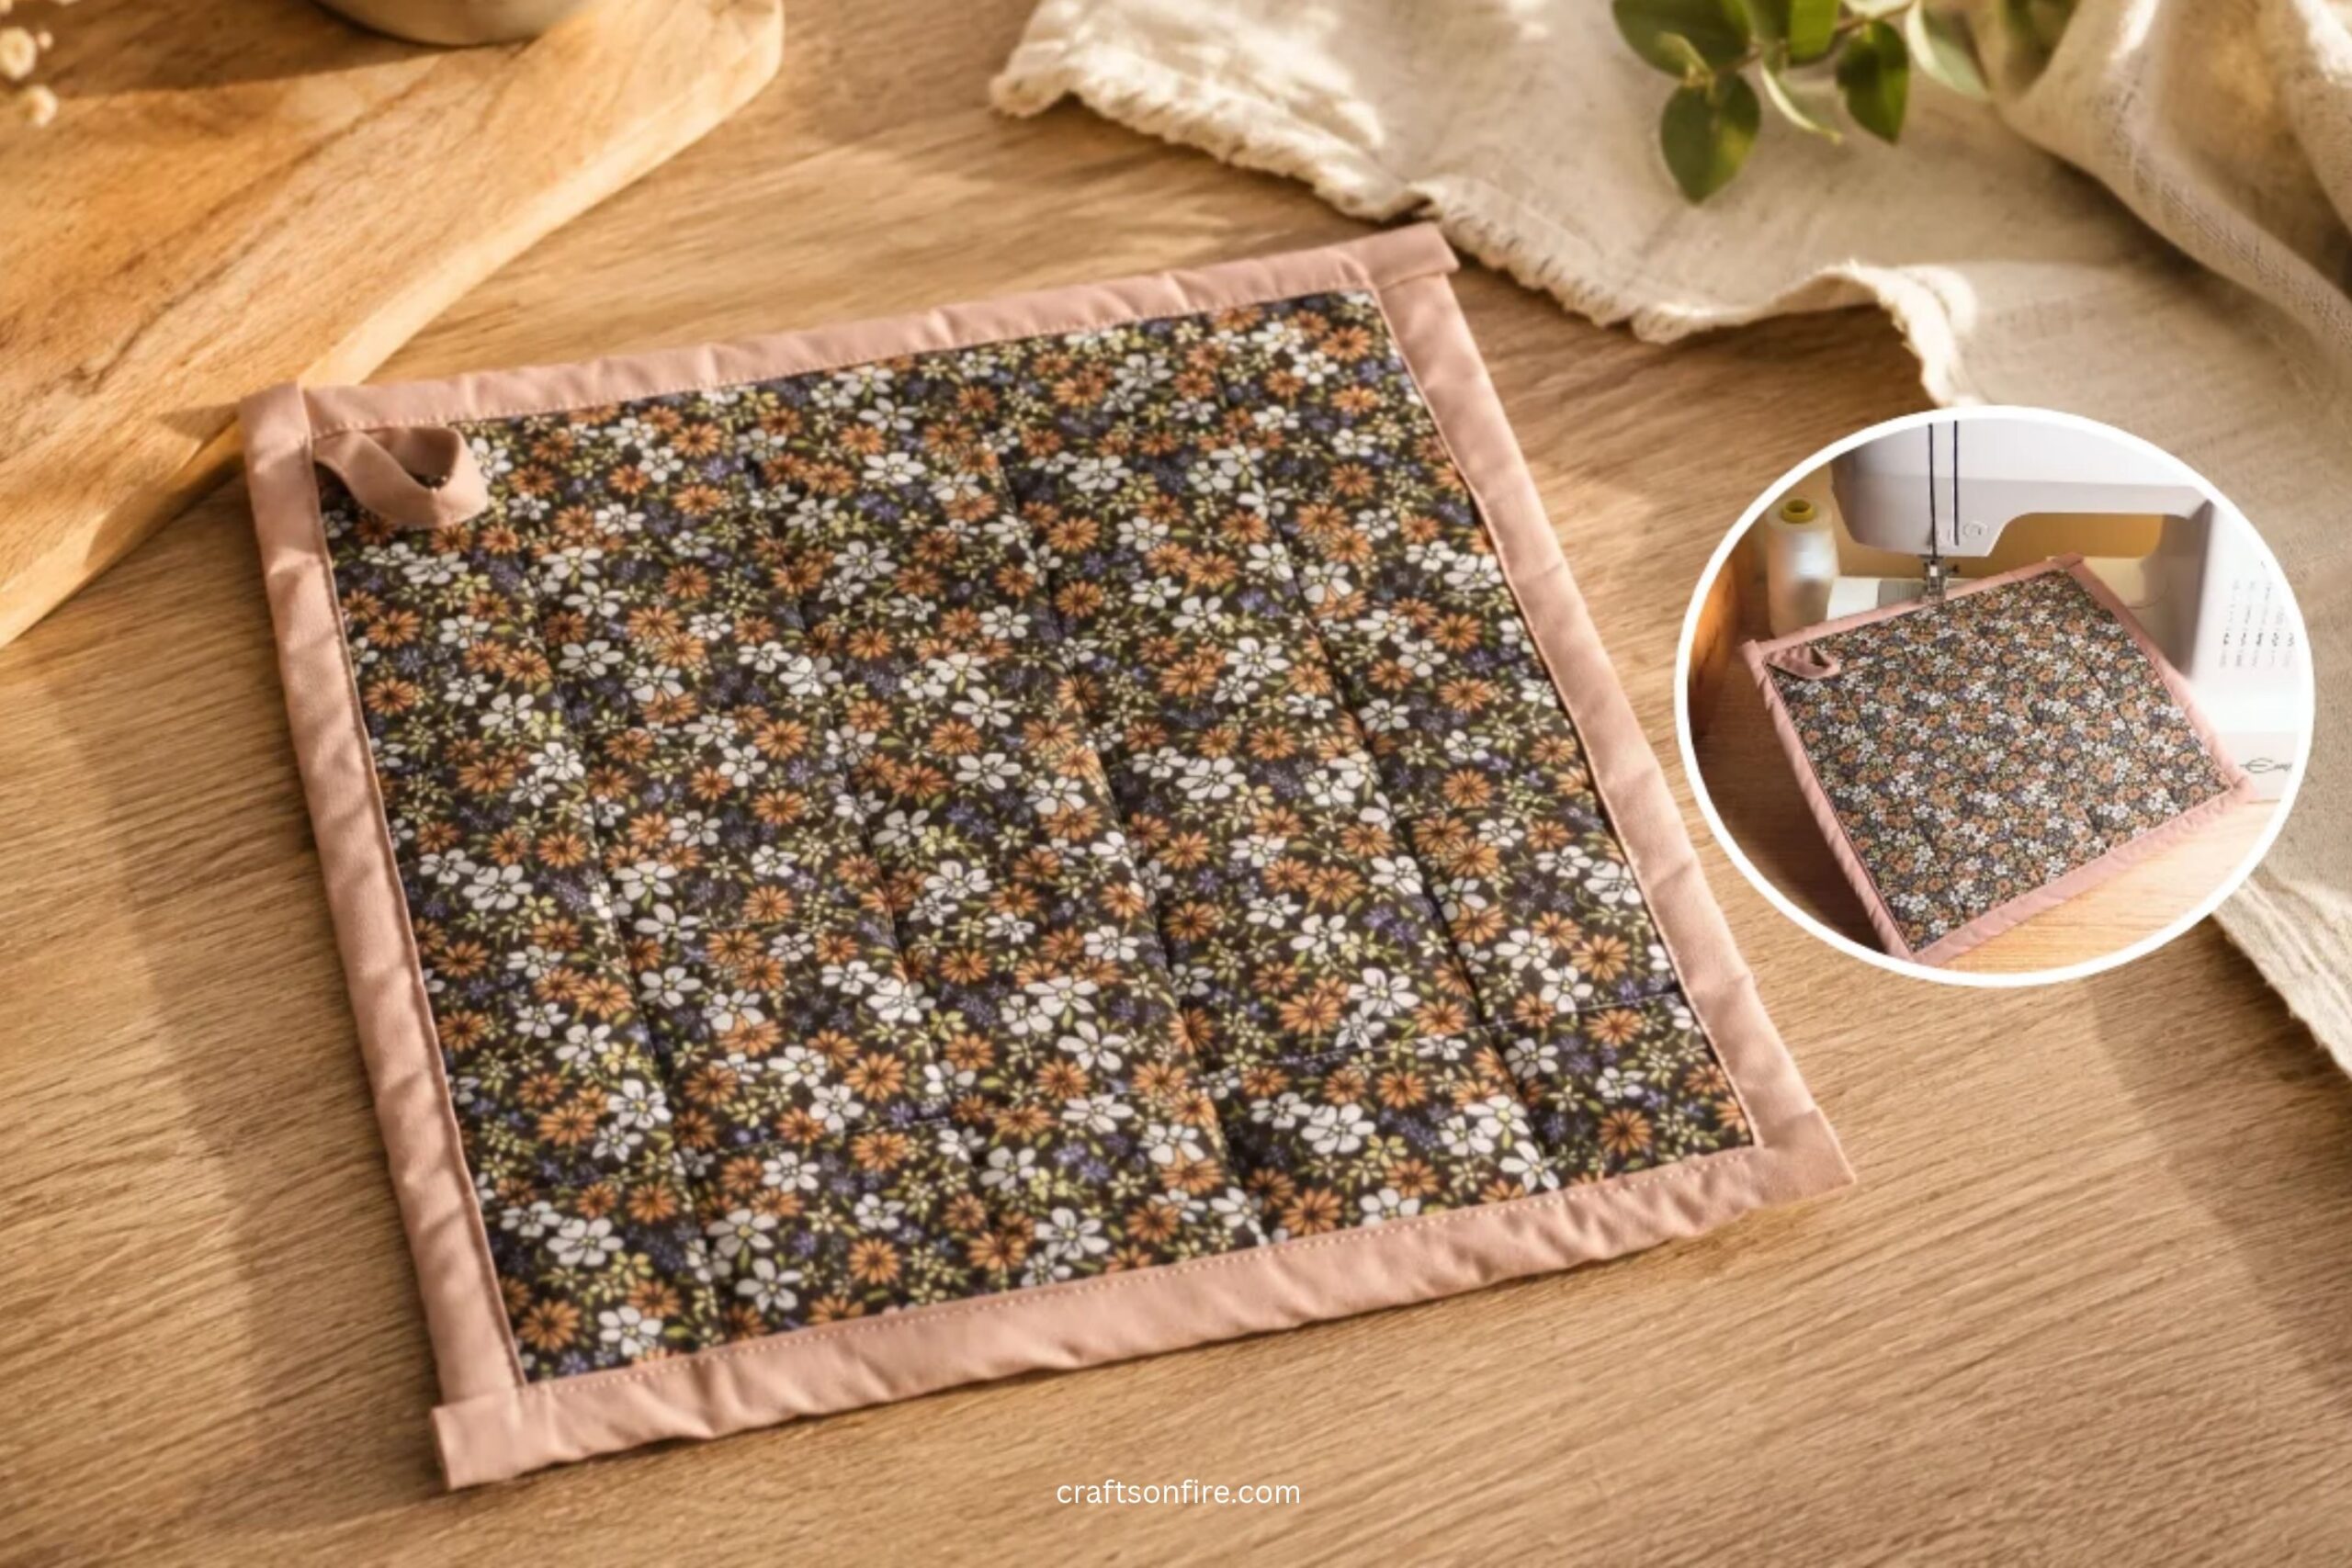
Have you ever wanted to sew a quick and easy pot holder without using bias binding? Then you’ll love this simple sewing trick!
In this guide, you’ll learn how to sew a simple, practical quilted pot holder without traditional binding. This technique creates neat, finished edges and takes only 10 minutes to sew.
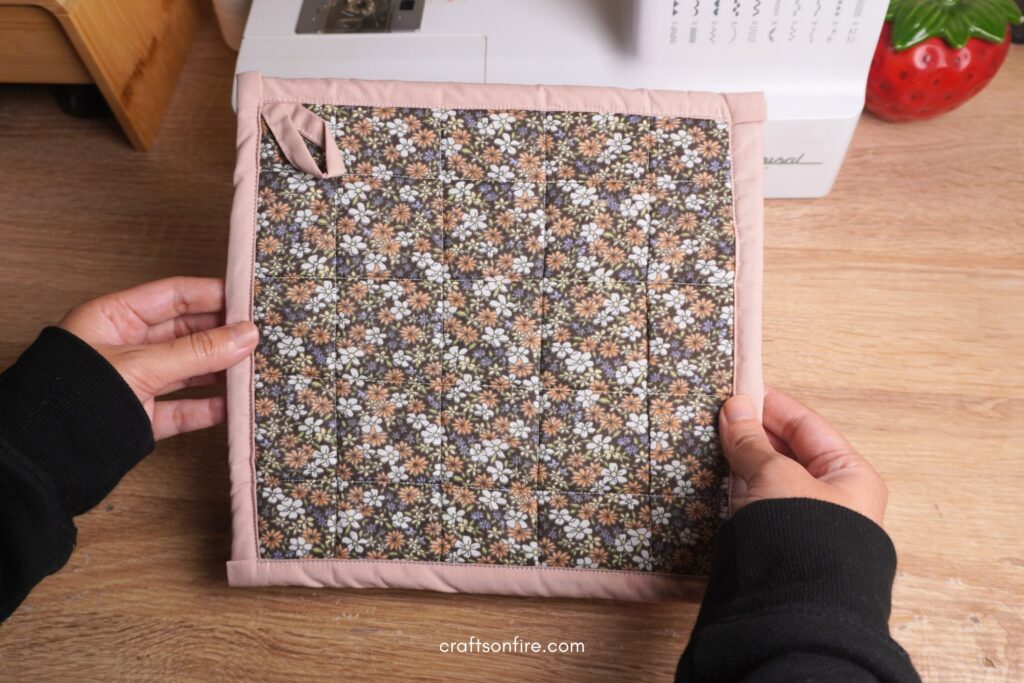
You can also choose any quilted pattern to customize it further – there are so many options and possibilities. You can also make this pot holder in any size since you just need two square pieces of fabric.
So, if you’re ready to learn to sew this easy no-binding pot holder, grab your supplies and let’s get started.
Please note: HanaSews (Craftsonfire.com) is not responsible for any issues if you use this pattern and tutorial to create your pot holder. I highly recommend using 100% cotton fabric and heat-resistant batting. Please use this item at your own risk.
Supplies
- 100% Cotton Patterned fabric: 25 cm x 25 cm / 9.84″ x 9.84″
- Heat-resistant batting: 28 cm x 28 cm / 11″ x 11″
- Loop strip: 4 cm x 11 cm / 1.57 x 4.33″
Video Tutorial
How To Sew A Pot Holder With No Binding
Instructions
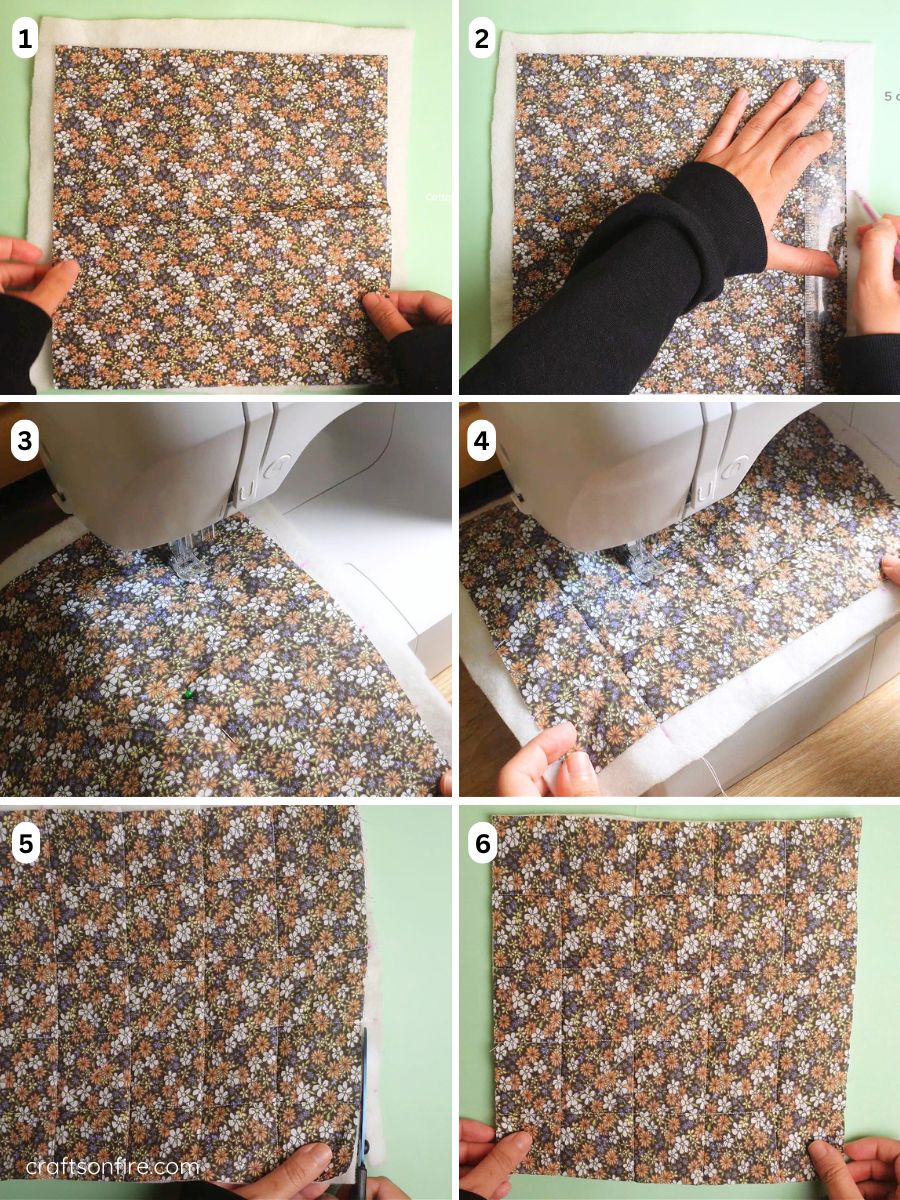
01. Begin by placing the top patterned fabric over the interfacing.
02. The next step is to quilt the fabric. Using a fabric marker or chalk, draw your chosen grid pattern onto the fabric. I’ve used a simple grid pattern, but you can create any pattern you like.
03–04. Take the fabric to your sewing machine and begin quilting along the marked lines.
05. Once you’ve finished quilting, trim away any excess fabric from the sides.
06. Neaten and straighten the edges of your quilted square if needed.
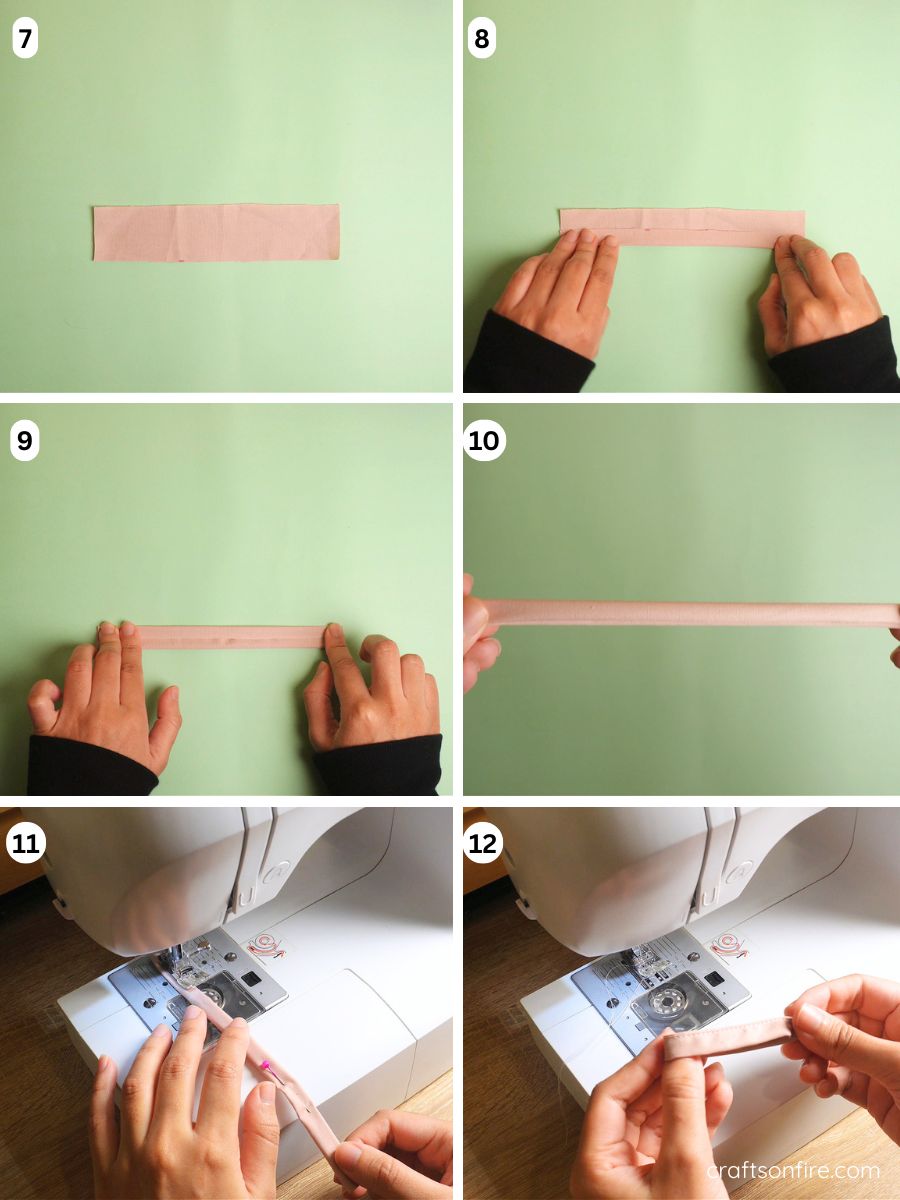
07. To make the loop strip, position the fabric with the wrong side facing up. Fold both long edges towards the centre so that they meet in the middle.
09–10. Fold the strip in half once more.
11. Take the strip to your sewing machine and stitch along the open edge to secure the folds in place.
12. Fold the strip in half to create the loop, then stitch the ends together. Trim away any excess fabric if needed.
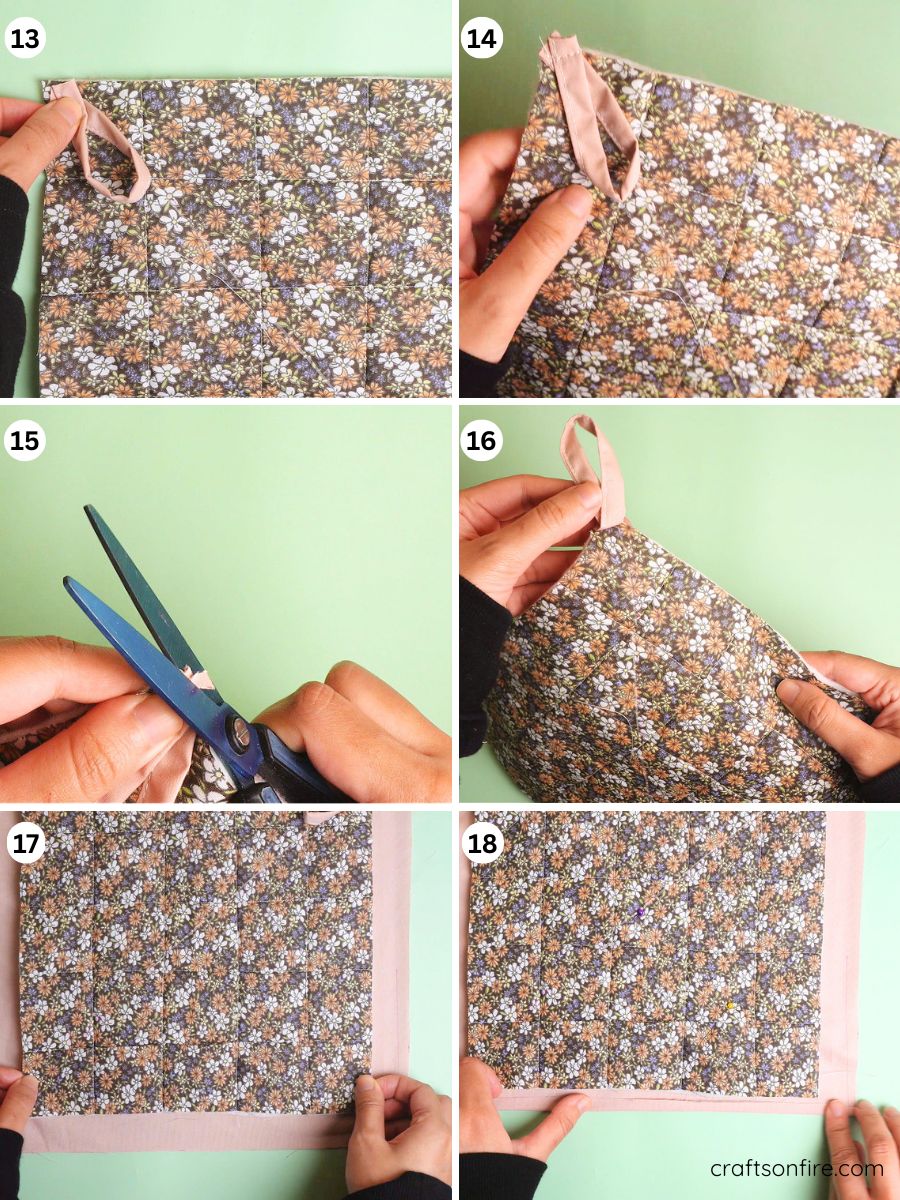
13. Position the loop at one corner of the pot holder, aligning the raw edges of the loop with the edge of the pot holder.
14. Stitch the loop securely in place.
15. Trim away any excess fabric from the attached loop.
16. Your loop is now securely attached to the pot holder.
17. Next, place your quilted top piece over the bottom fabric piece, as shown. The wrong side of the bottom fabric should be facing you at this stage.
18-19. To create the finished edges, start at one end of the pot holder. Fold the pink fabric in half as shown, then fold it over once more so that it sits neatly on top of the quilted piece.
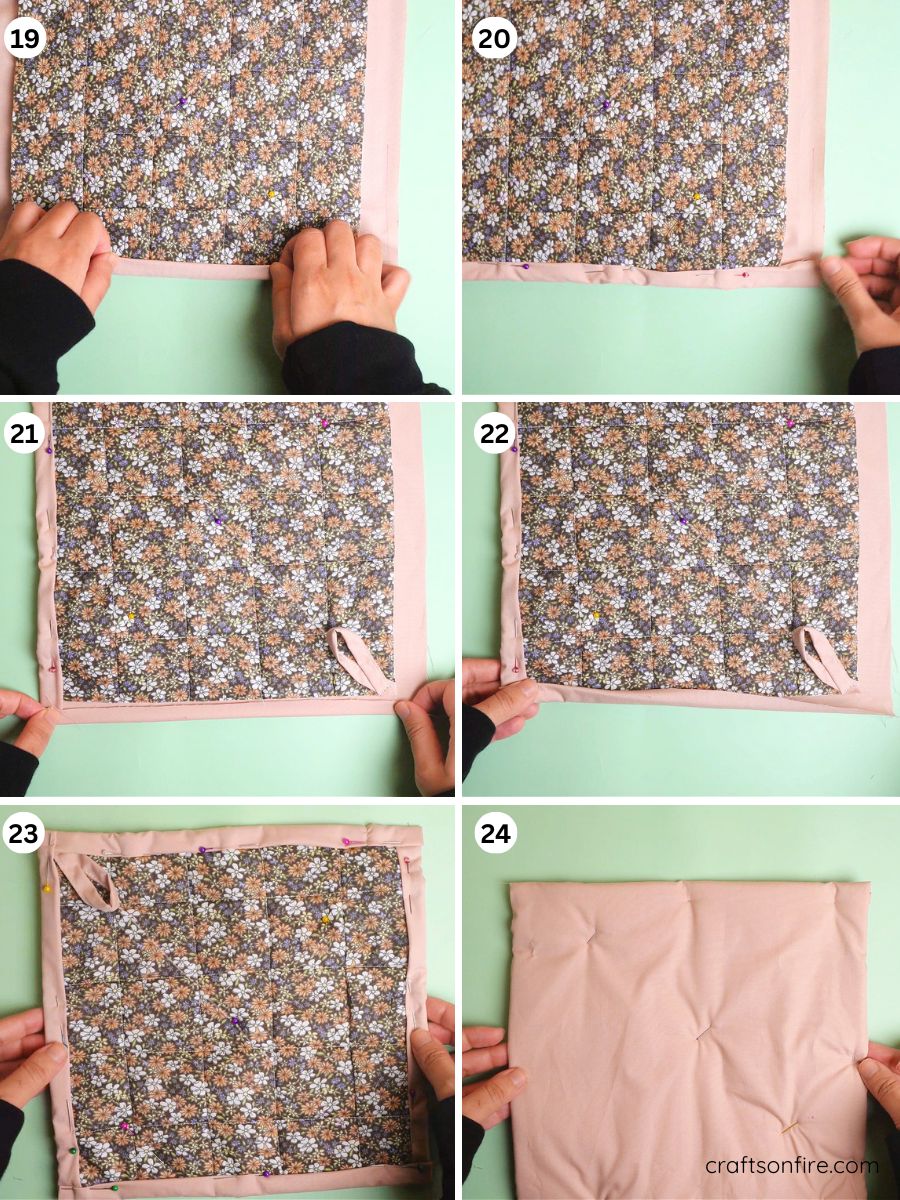
20. Secure the folded fabric in place using pins or sewing clips.
21. Repeat this process around the remaining sides. If you find this step difficult to follow, please refer to the accompanying tutorial video for a visual demonstration.
23-26. Once all four sides are folded and secured, take the pot holder to your sewing machine and add a topstitch along the folded pink fabric, as shown.
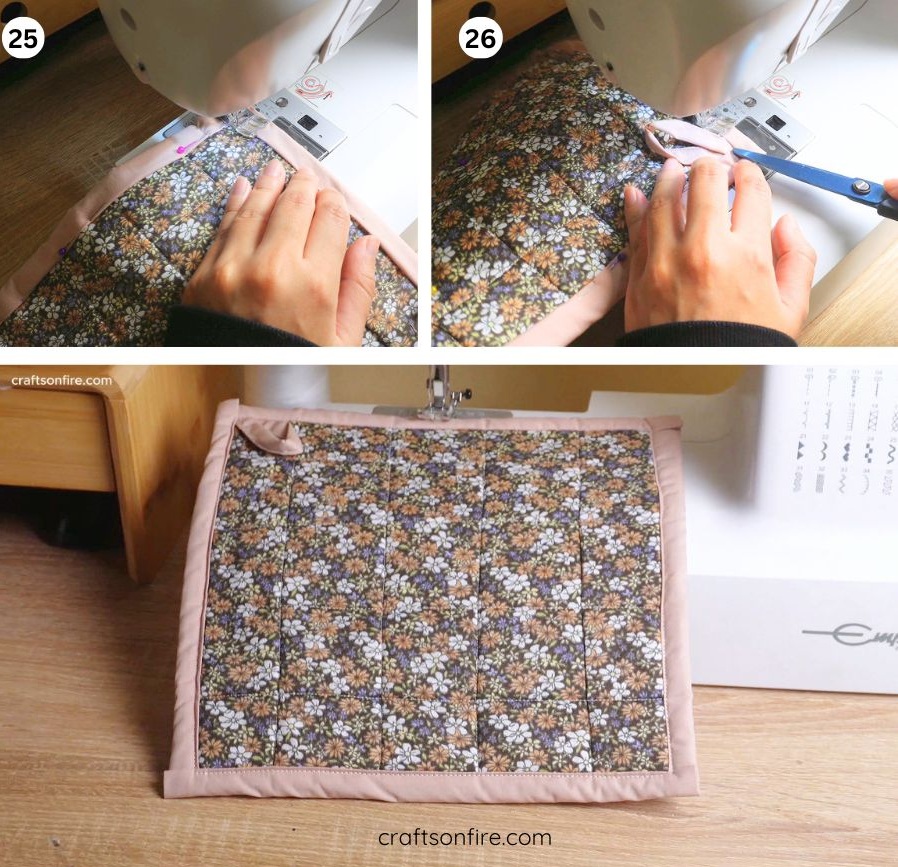
Your pot holder is now complete! 🎉
Making your own pot holder is also a great beginner sewing project, and I absolutely enjoyed sewing this one!
It’s one of the easiest methods I’ve tried, and you can make so many in one go. It’s also handy to have in your kitchen.
I hope you enjoyed making this project and found this no-binding technique easy to follow.
I highly recommend using 100% cotton fabric and heat-resistant batting for this project. However, always use caution when handling hot items and never leave a pot holder in direct contact with hot cookware or heat sources unattended.
Thank you for following along, and I hope you enjoyed learning how to sew this potholder! Please do share your comments below, and don’t forget to pin this guide for later.
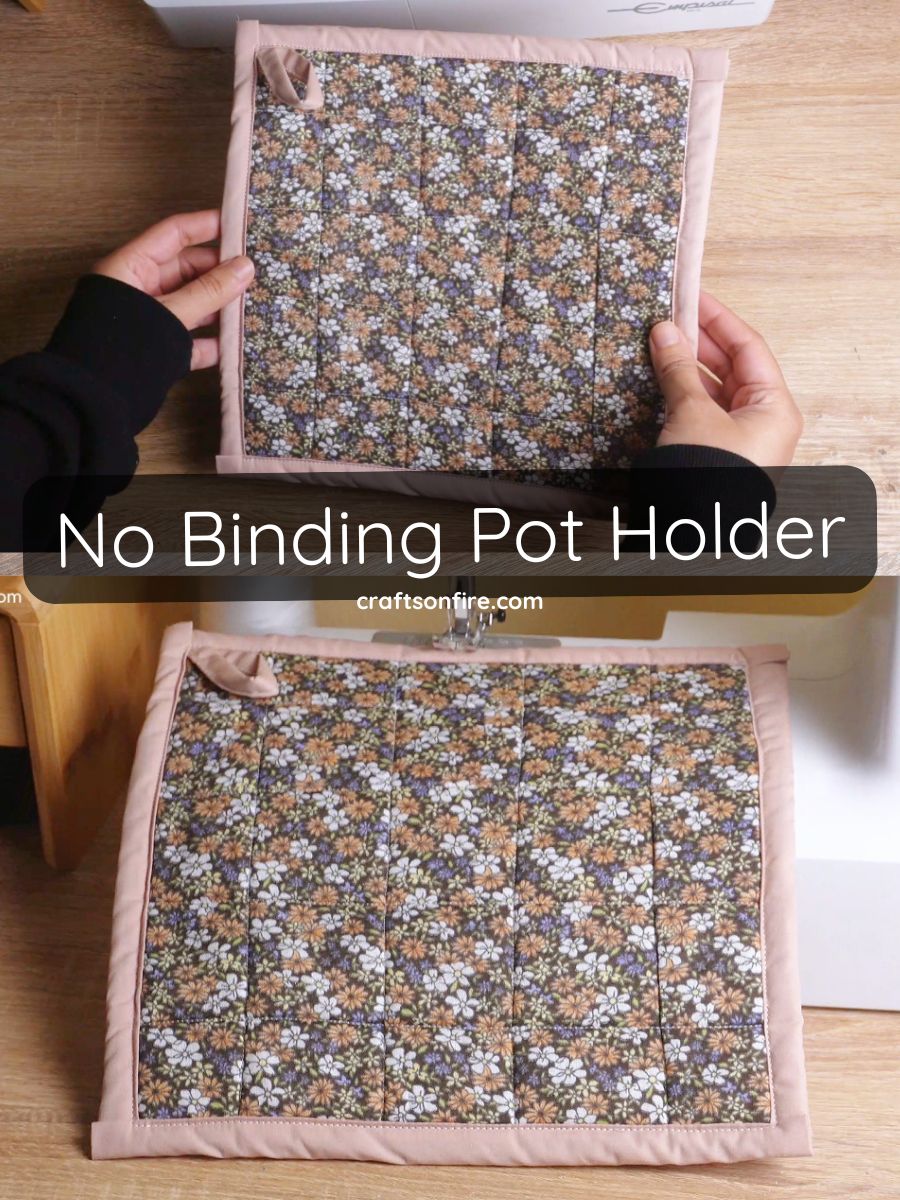
More Pot Holder Sewing Guides:
How To Sew A Pot Holder With A Top Pocket