Easy DIY AirPods Case Pouch Sewing Guide (Cat Ear-themed)
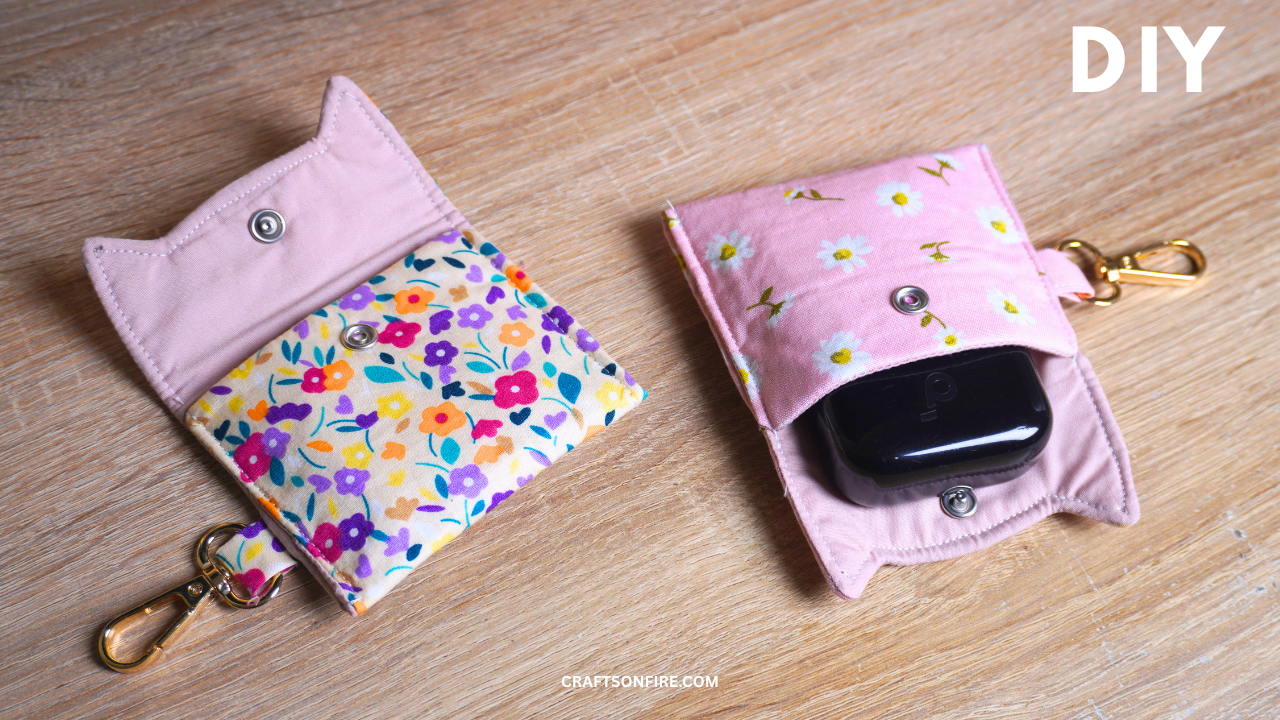
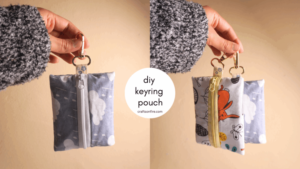
You don’t have to be an expert to sew cute, original, and unique pouches for your keys or zips. I love cats, and I wanted to sew a pouch that could be used as an AirPods case with some leftover material from previous projects. Fast forward to a lazy Sunday afternoon, and I got to work creating this amazing DIY Cat ear mini pouch sewing pattern that I’m so excited to share with you.
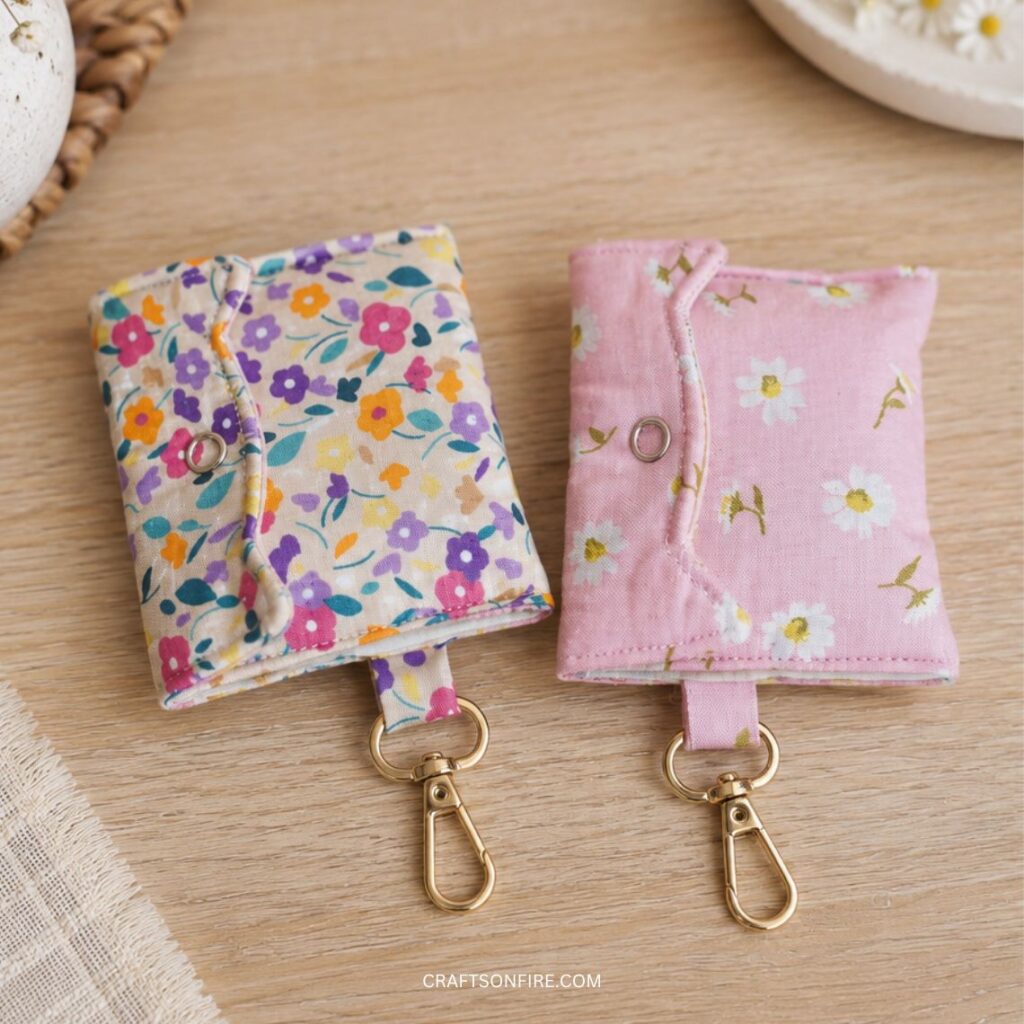
This cat-themed pouch can be a handmade gift for family and friends, or a nice little item to sell at a craft market. Do with it what you wish, but all I ask is that you have fun following this tutorial and that you share it across your social media.
Let’s get stitching, shall we?
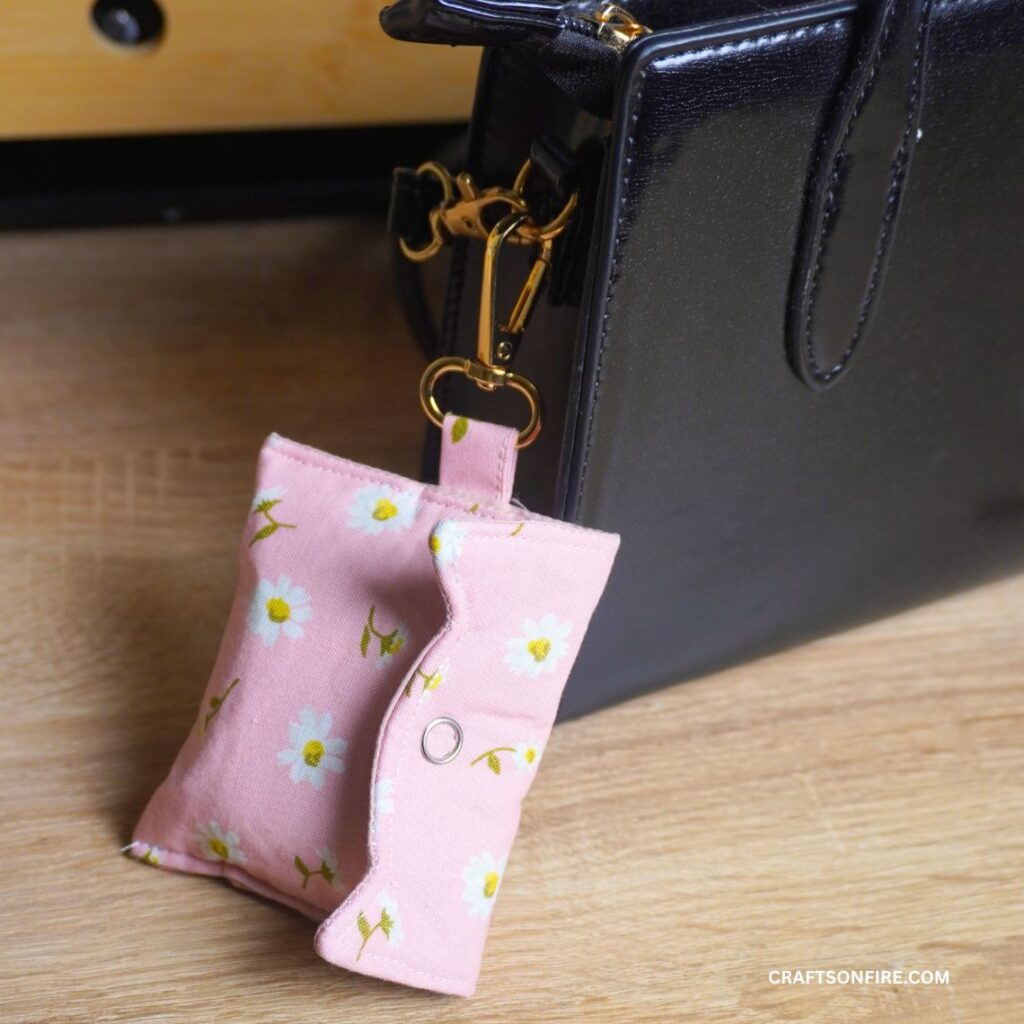
Finished pouch size: 8 cm (Length) x 9.5 cm (Width) (3.14 inches x 3.74 inches)
AirPods Case Keyring Pouch Tutorial
Supplies
This tutorial requires my custom template/pattern, which I designed specifically for this project — GRAB IT HERE! 💕
The PDF also includes a high-quality, ad-free version of the sewing guide, with clear, step-by-step instructions included beneath each photo to make the project easy to follow from start to finish.
Video Guide
Instructions
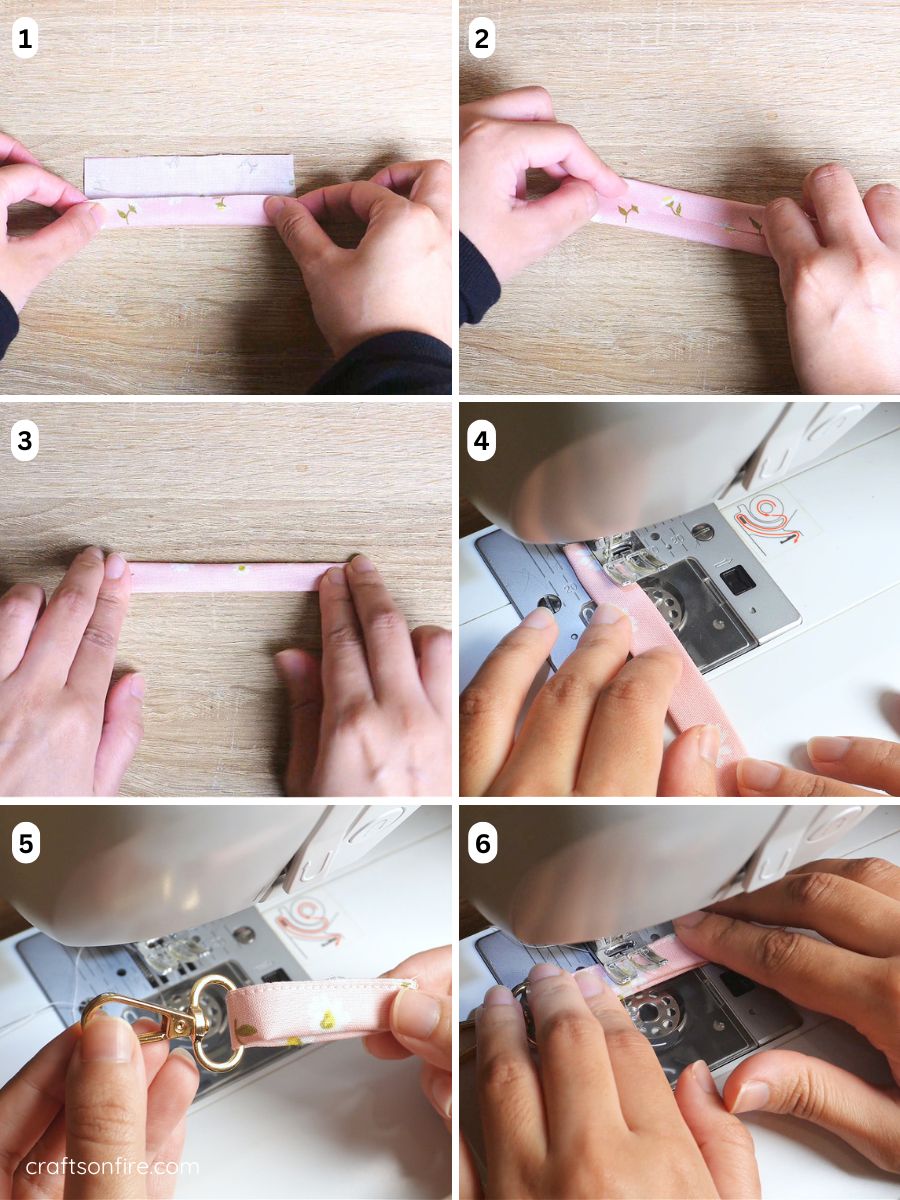
- Begin by placing the loop piece on the table with the pattern side facing down. Fold the bottom end towards the middle, and then fold the top part to meet that edge.
- Fold the top layer over once more.
- Head to the sewing machine and sew the strip.
- Take your keyring and thread the strip through it. Then, fold the strip in half and sew it together. Your keyring should now be attached to the loop.
- Remove the excess fabric from the loop piece.
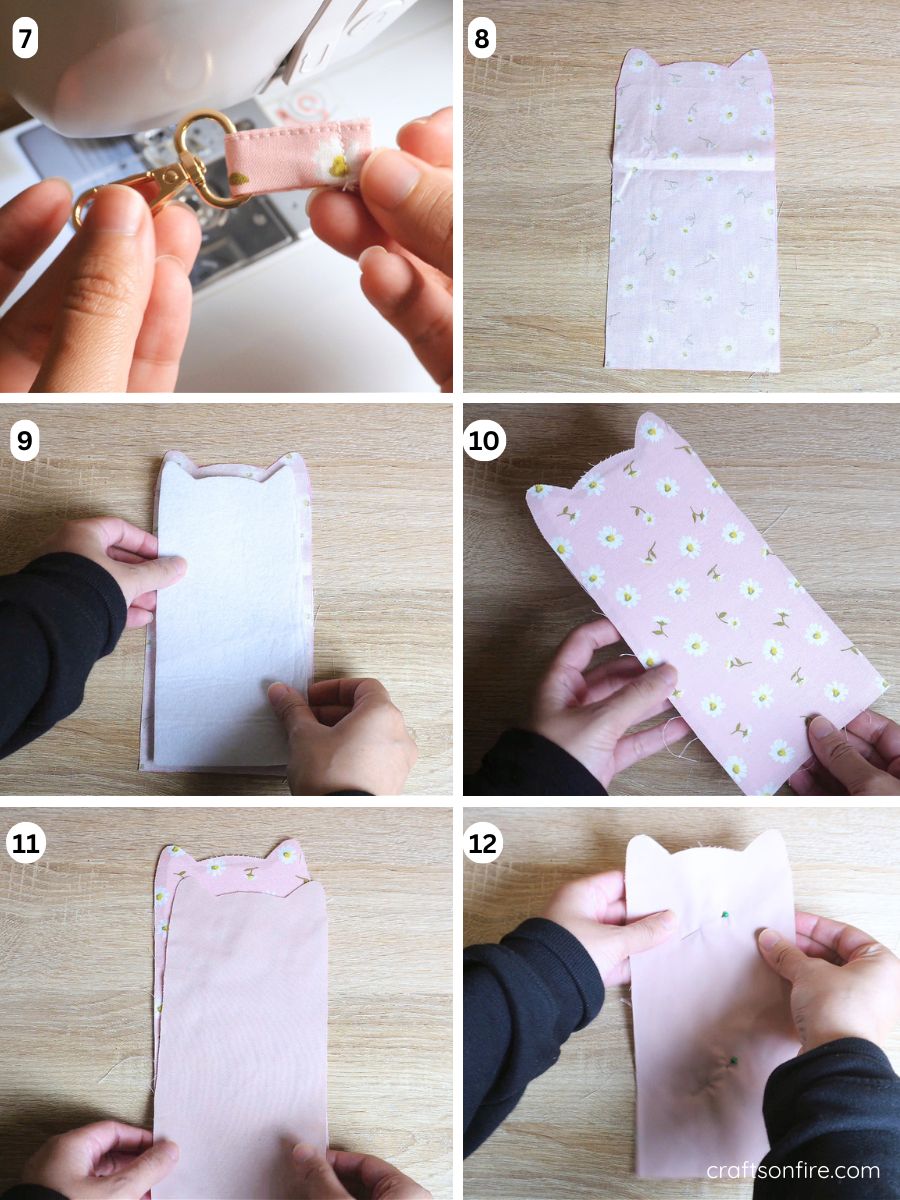
- Next, to create the keyring pouch, position the front fabric piece with the right side facing down. Then, place the interfacing over it.
- Iron the interfacing to the front fabric piece.
- Lay the lining piece over the front piece as shown. The right sides should be facing in. Then, pin the fabric.
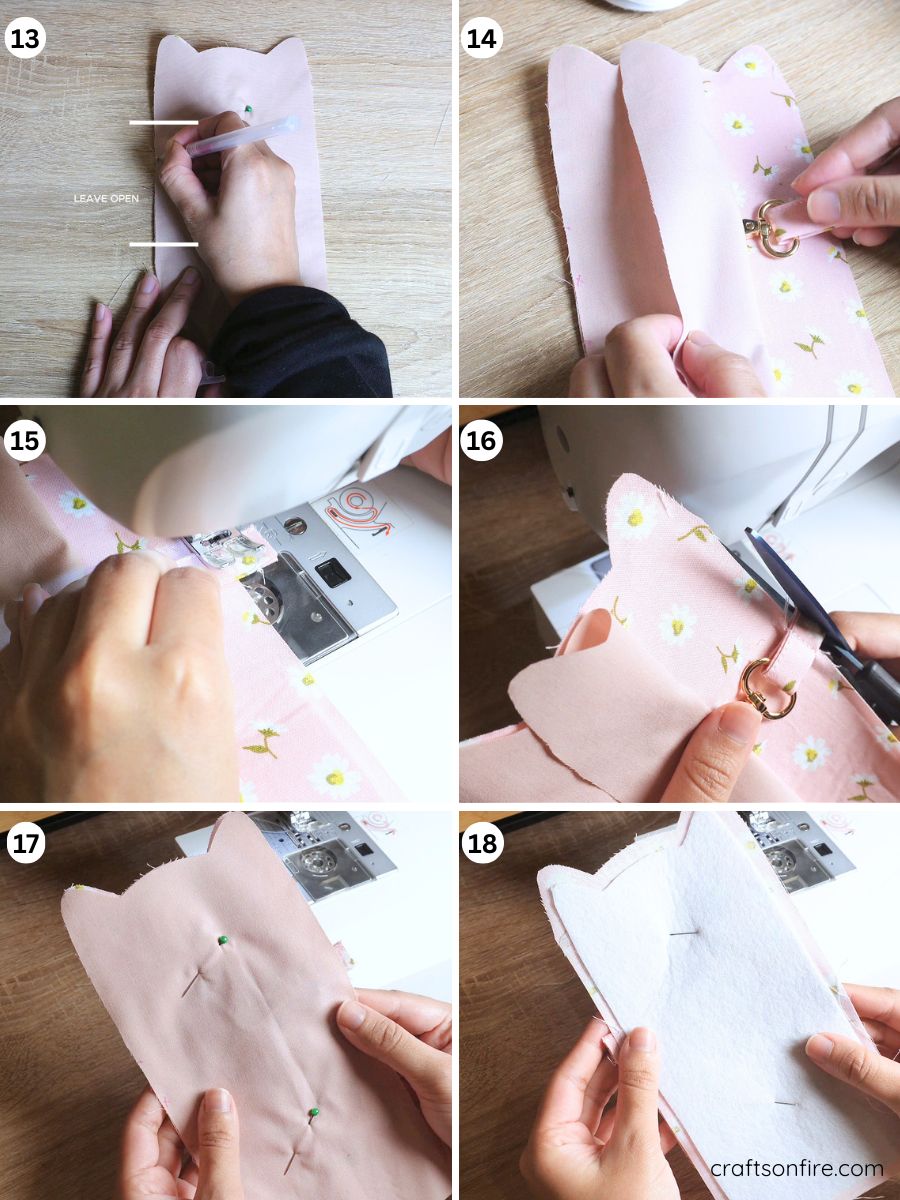
- Leave a small section on the left side unstitched. Turn the piece over and mark the opening on the interfacing side as well.
- Open the right side and insert your keyring piece, ensuring it is facing inward.
- Head to the machine and stitch the keyring loop strip to the piece. Then, trim the excess fabric from the side.
- Turn the piece over to the interfacing side and head to the machine to sew the pieces together.
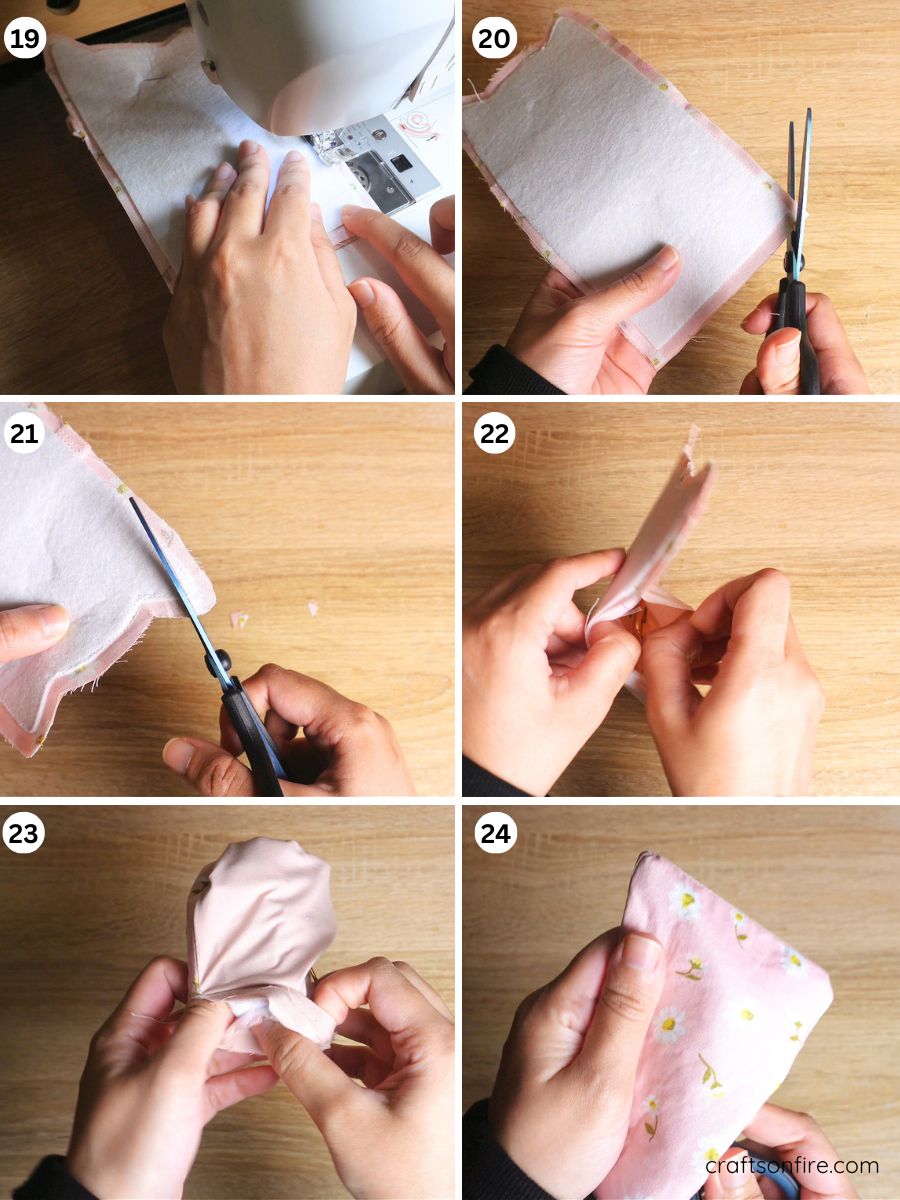
- Use the edge of the interfacing as a guide when sewing. When you reach the ear section, sew the ears with a pointed shape instead.
- Snip off a tiny bit of the corners at the bottom of the piece.
- Add small cuts around the top section of the pouch. Then, open the unstitched area.
- Pull out the right side of the fabric through the opening.
- Use a pen or a pointed edge tool to open out the corners and the cat ears.
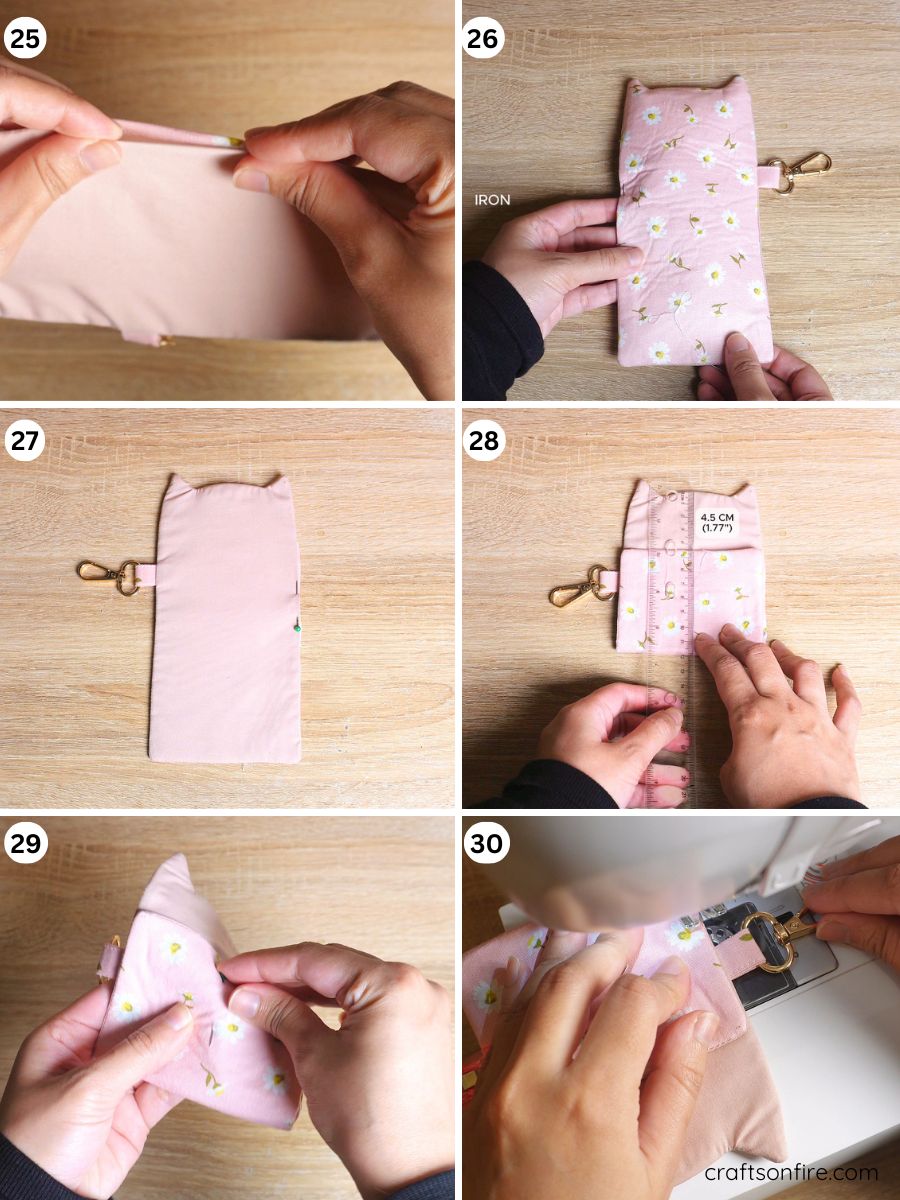
- Turn in the raw edges of the opening and pin them. Then, iron the entire piece to flatten and tidy the pouch.
- Place the pouch with the lining side facing you, then fold the bottom half upwards. Leave approximately 4.5 cm (1.77″) of space at the top. Use a pin to secure the folded section.
- Next, begin stitching the pouch from the folded edge, as demonstrated.
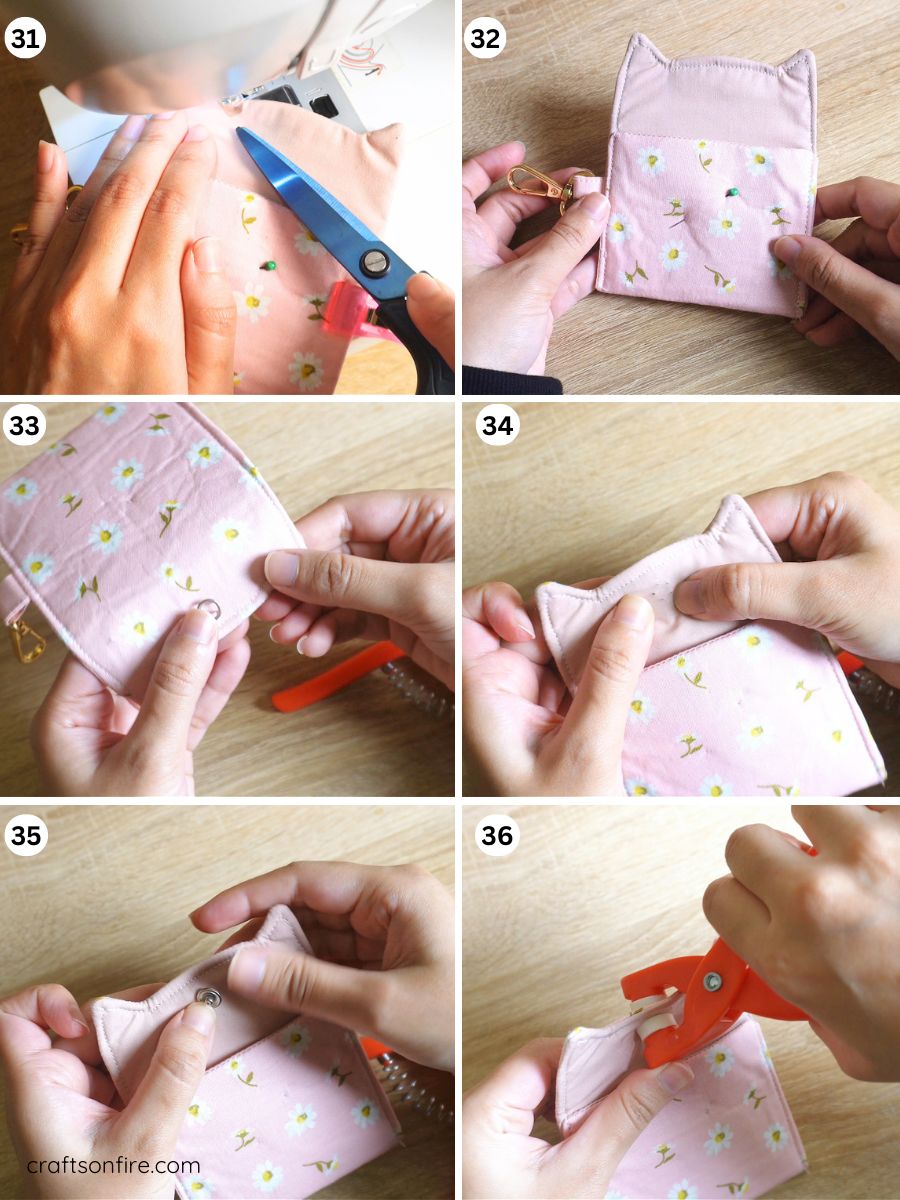
- If the piece gets stuck at the ears, simply lift the presser foot of your machine, manually bring the needle down, up, and then down, lower the foot, and continue stitching.
- To add a closure, use metal snaps. Take the piece with the sharp edge and poke it into the fabric.
- Once the sharp points have passed through the fabric, place the first closure piece on top of it.
- Use the tool to seal the two pieces together.
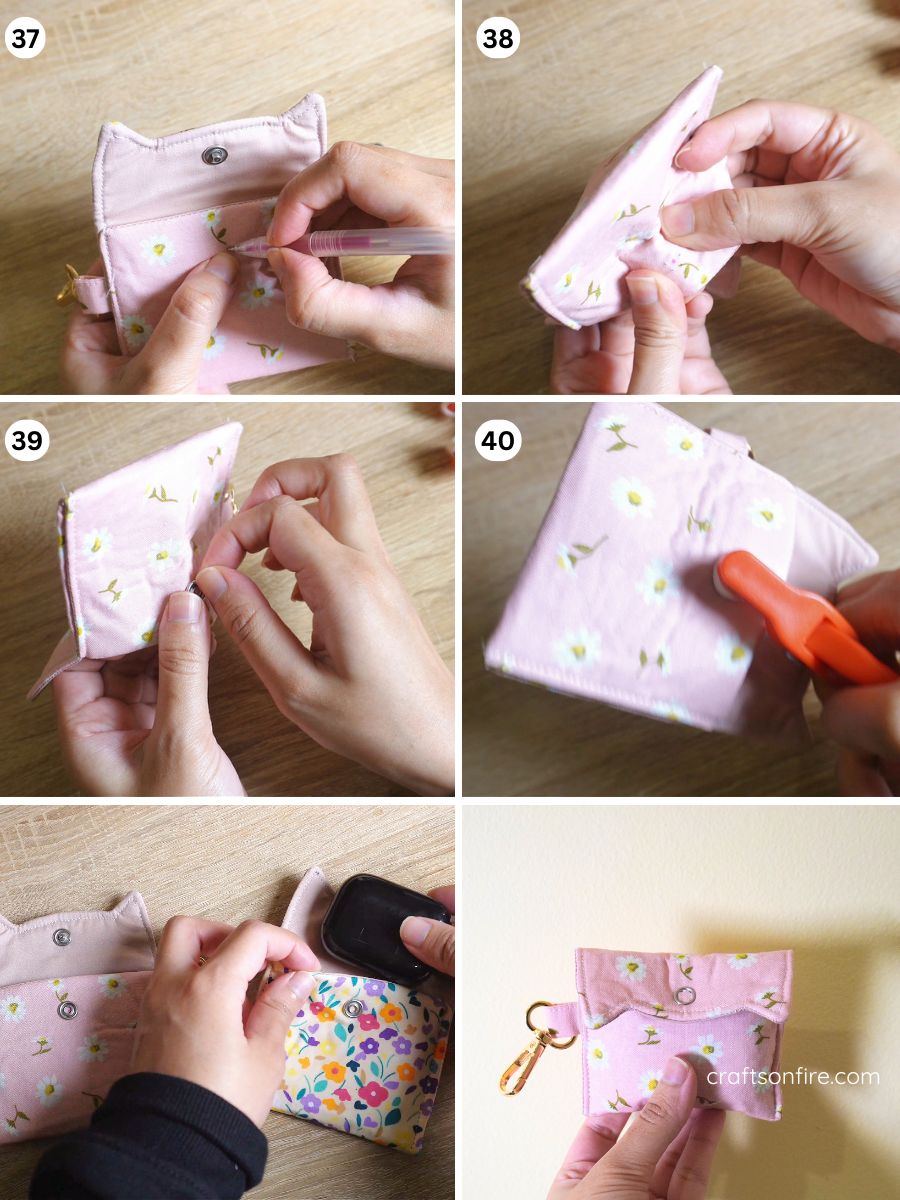
Use a fabric marker to indicate where the top piece will close when folded. Then, open the pouch and insert the sharp piece through the fabric from the inside out.
Place the other round closure piece on top of that and use the tool to seal it together. Your pouch is now complete!
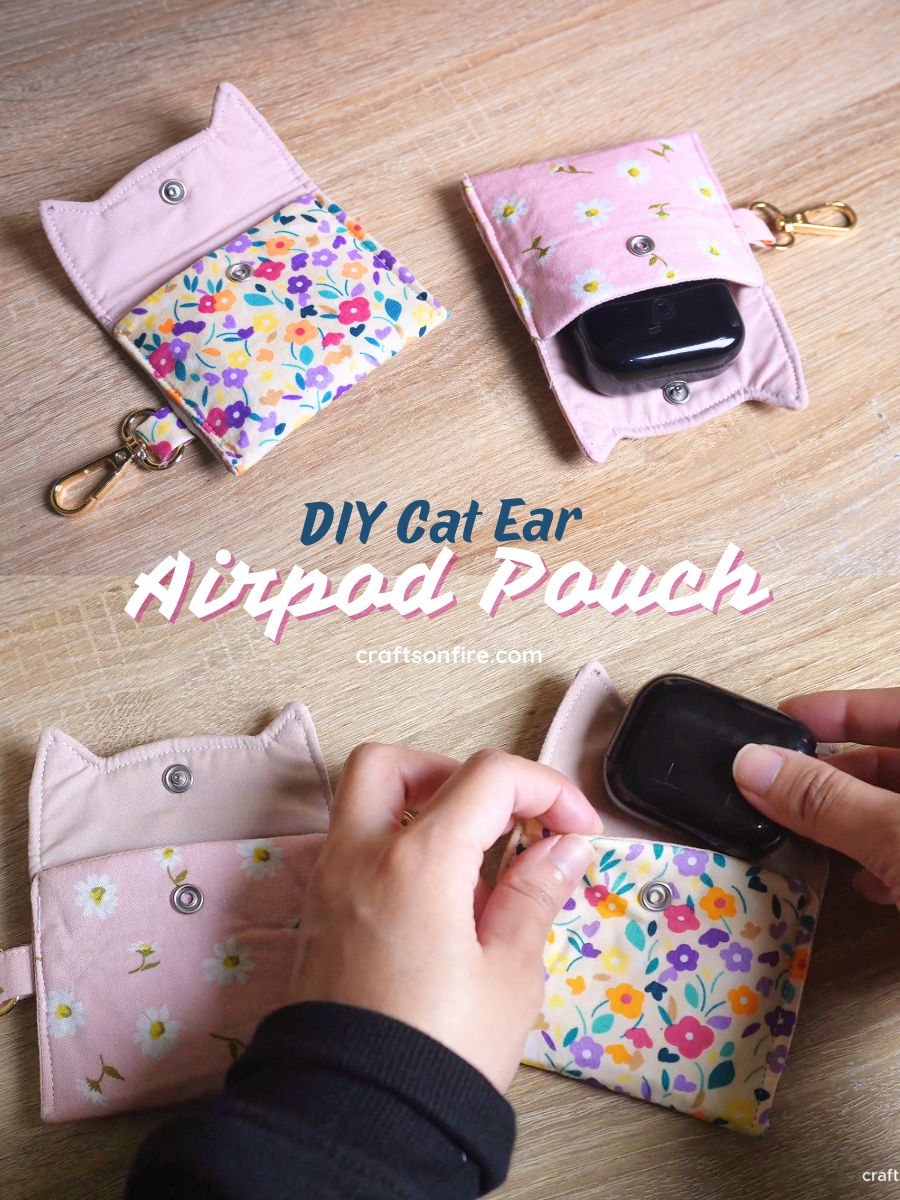
That brings us to the end of this cat ear mini pouch sewing pattern, and I hope that you had an amazing time with this tutorial.
More Easy Beginner Sewing Tutorials:
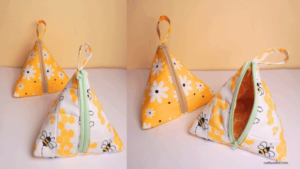
DIY Triangle Pouch (Step By step Sewing Tutorial)