DIY Ruffle Pouch Tutorial (Cute Gift Idea)
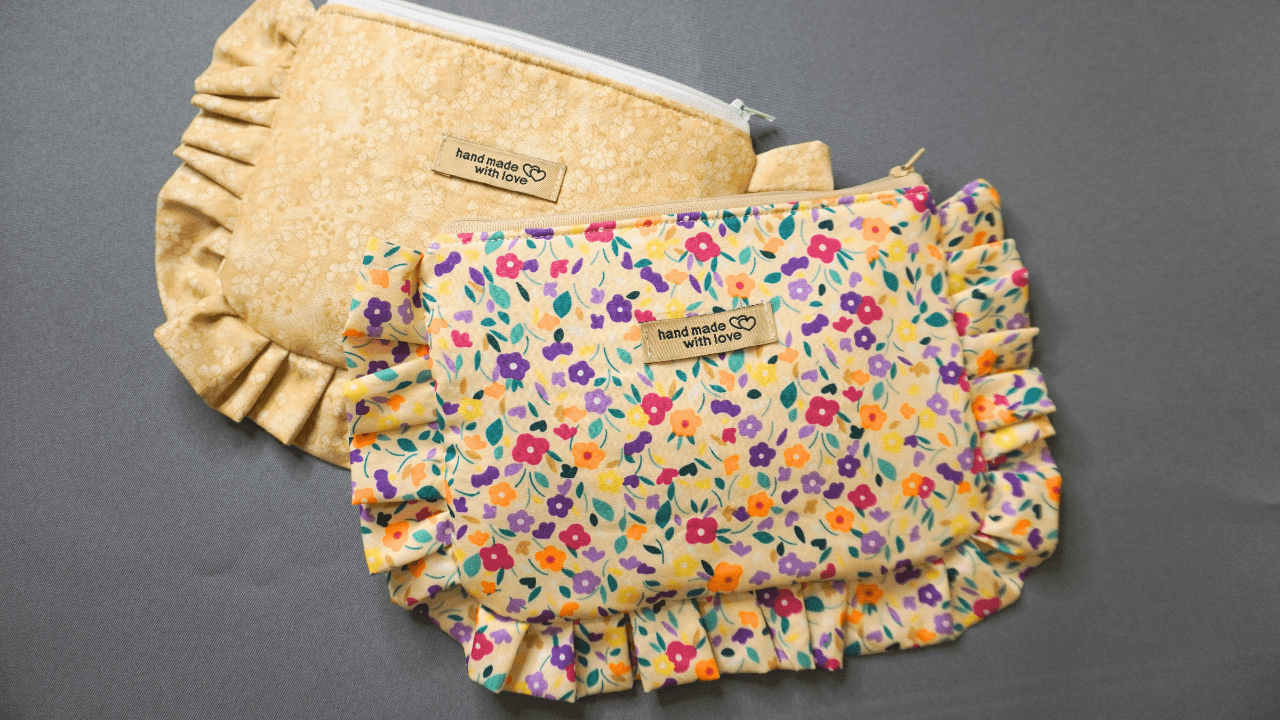
You may or may not have seen these adorable ruffle pouches floating around the internet. Either way, I’ll show you how to make your own ruffle pouch from start to finish!
This pouch is the perfect statement piece or accessory for your collection.
You can use any fabric you have on hand, and it’s large enough to store makeup, jewelry, or even your phone and wallet.
You can also make and gift these pouches to family and friends. They’ll be thrilled to receive this handmade treasure from you!
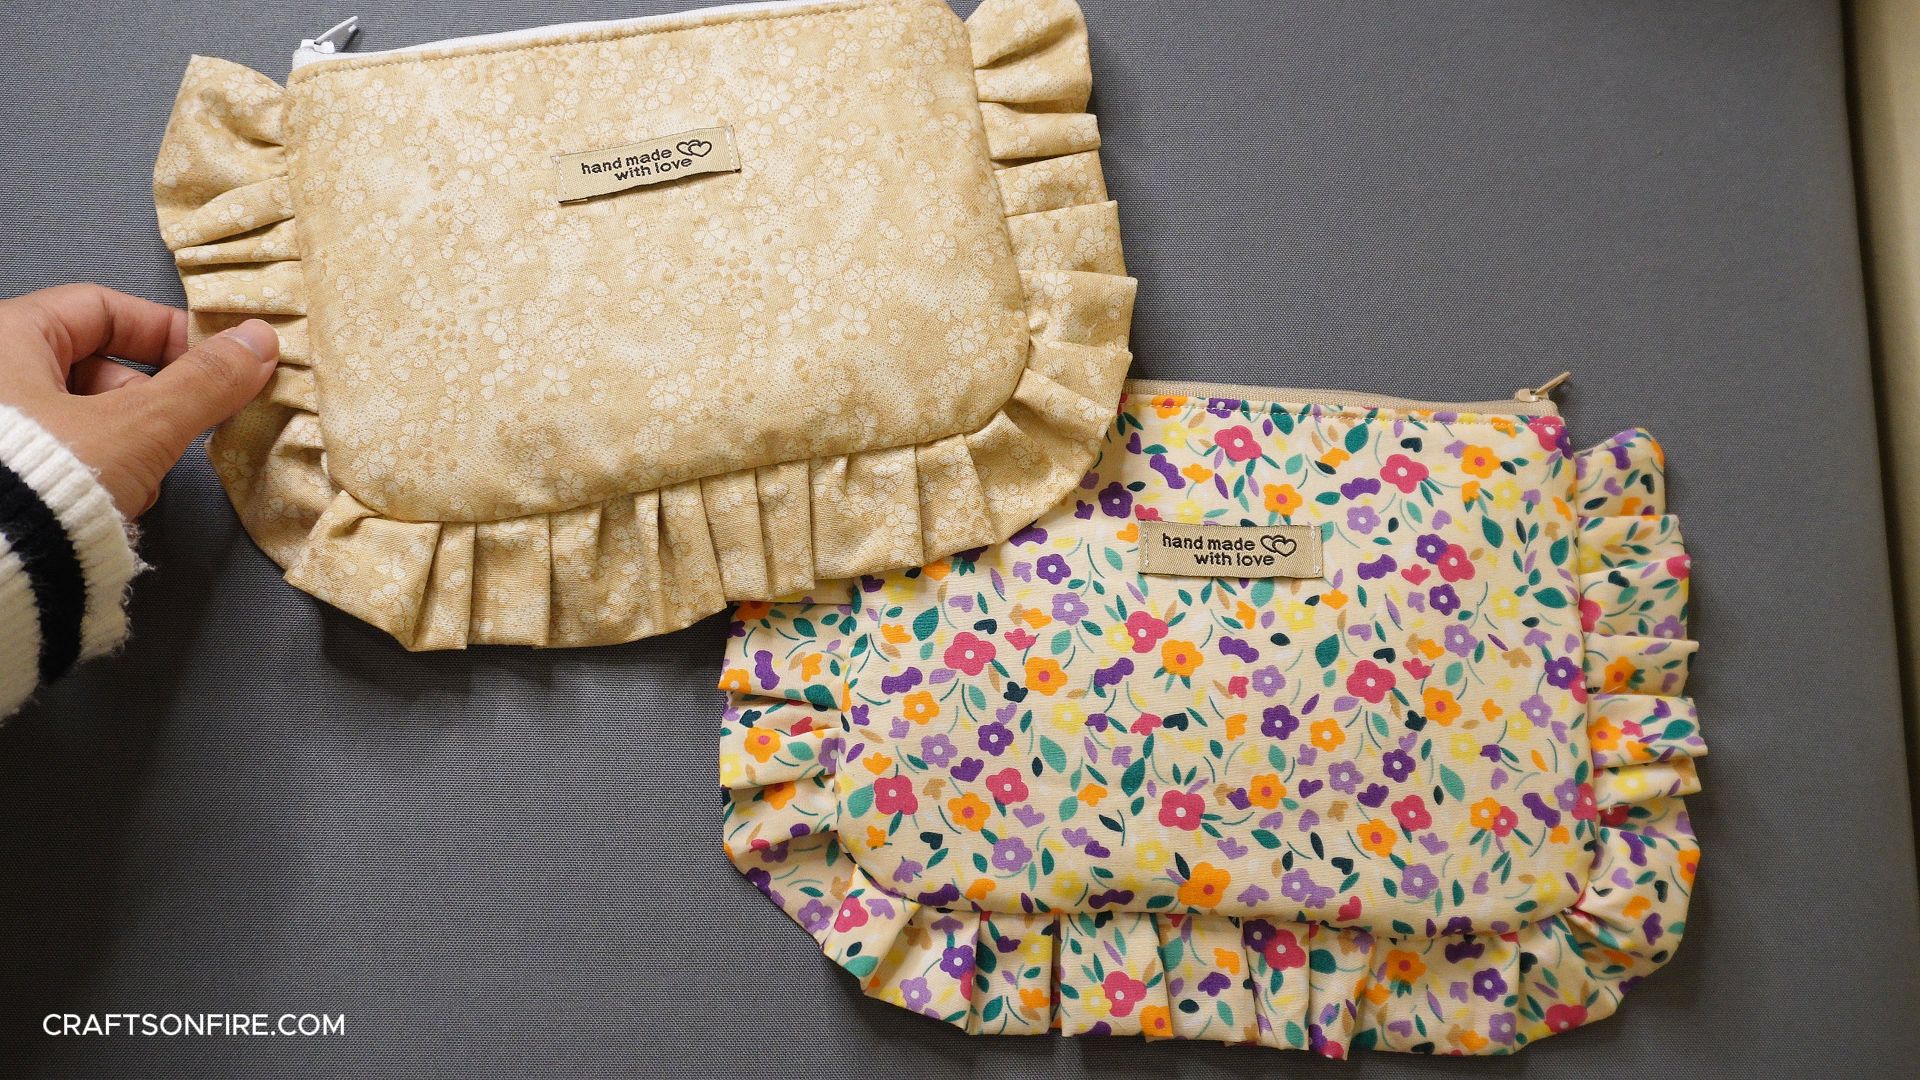
With this easy step-by-step tutorial, you’ll have no trouble sewing one yourself.
We’ll begin by covering the supplies you’ll need, followed by instructions for creating the ruffle strip and the basic pattern for the pouch.
If you prefer, I’ve also included a video tutorial to help you get familiar with the process.
Let’s get started!
Table of Contents
Ruffle Pouch Tutorial
Supplies & Tools:
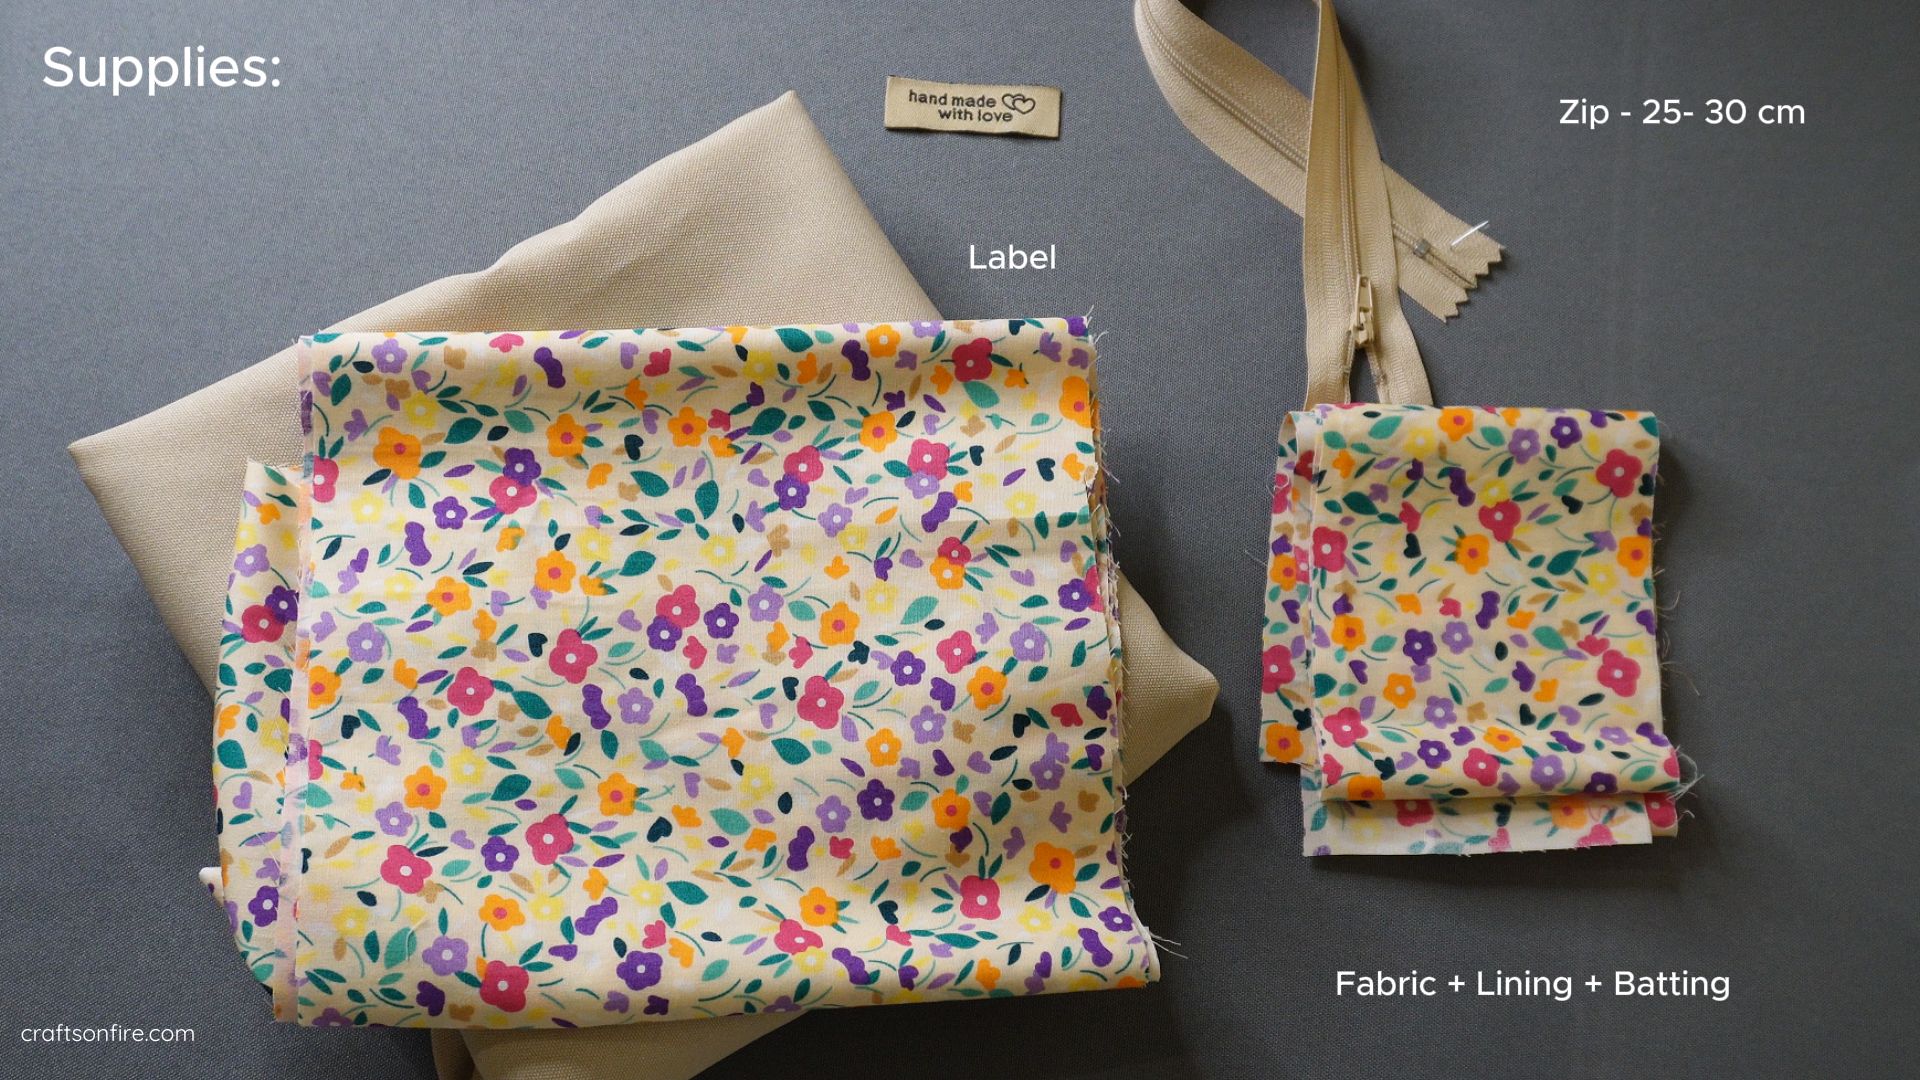
- Patterned Fabric
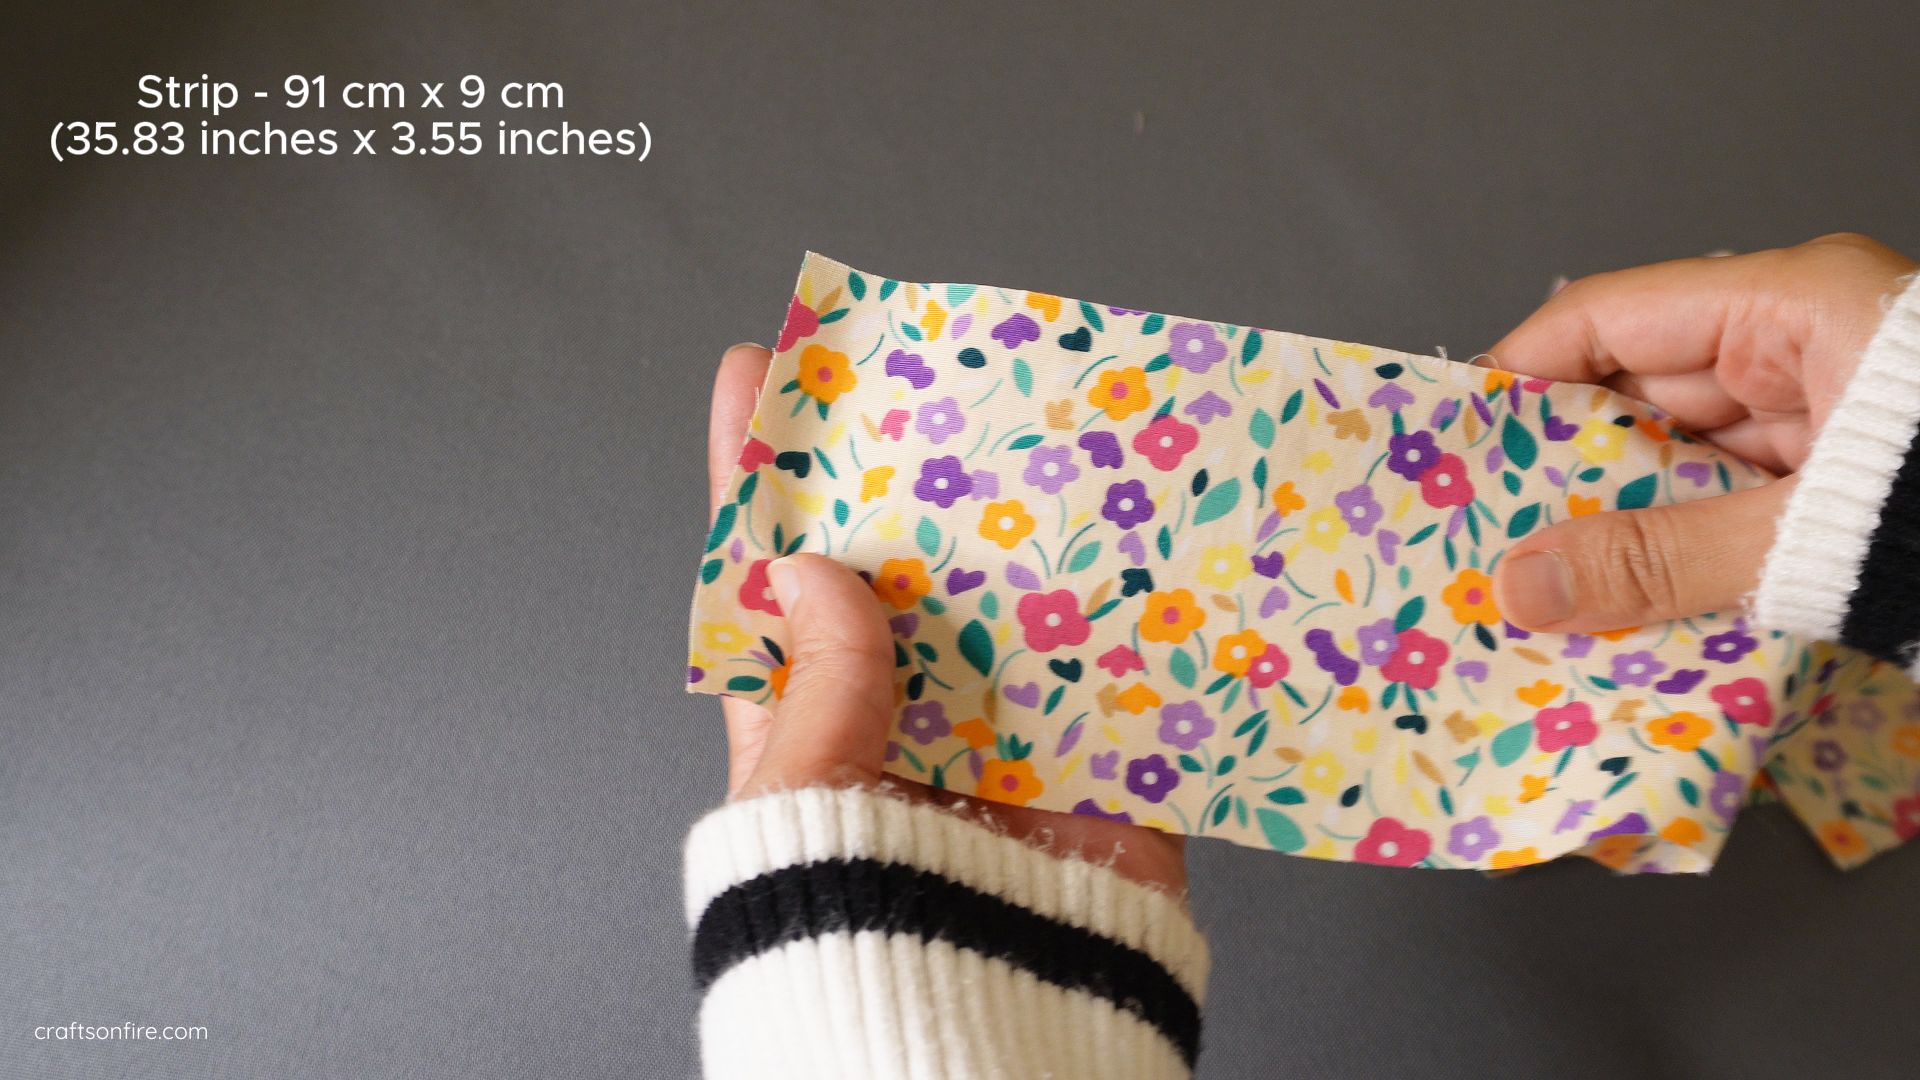
- Strip – 91 cm x 9 cm (35.83 inches x 3.55 inches)
- Lining
- Fabric Batting/Interfacing
- Zip – 22 cm – 25 cm
- Label (Optional)
- Sewing Machine
- Scissors
- Pins
Measurements
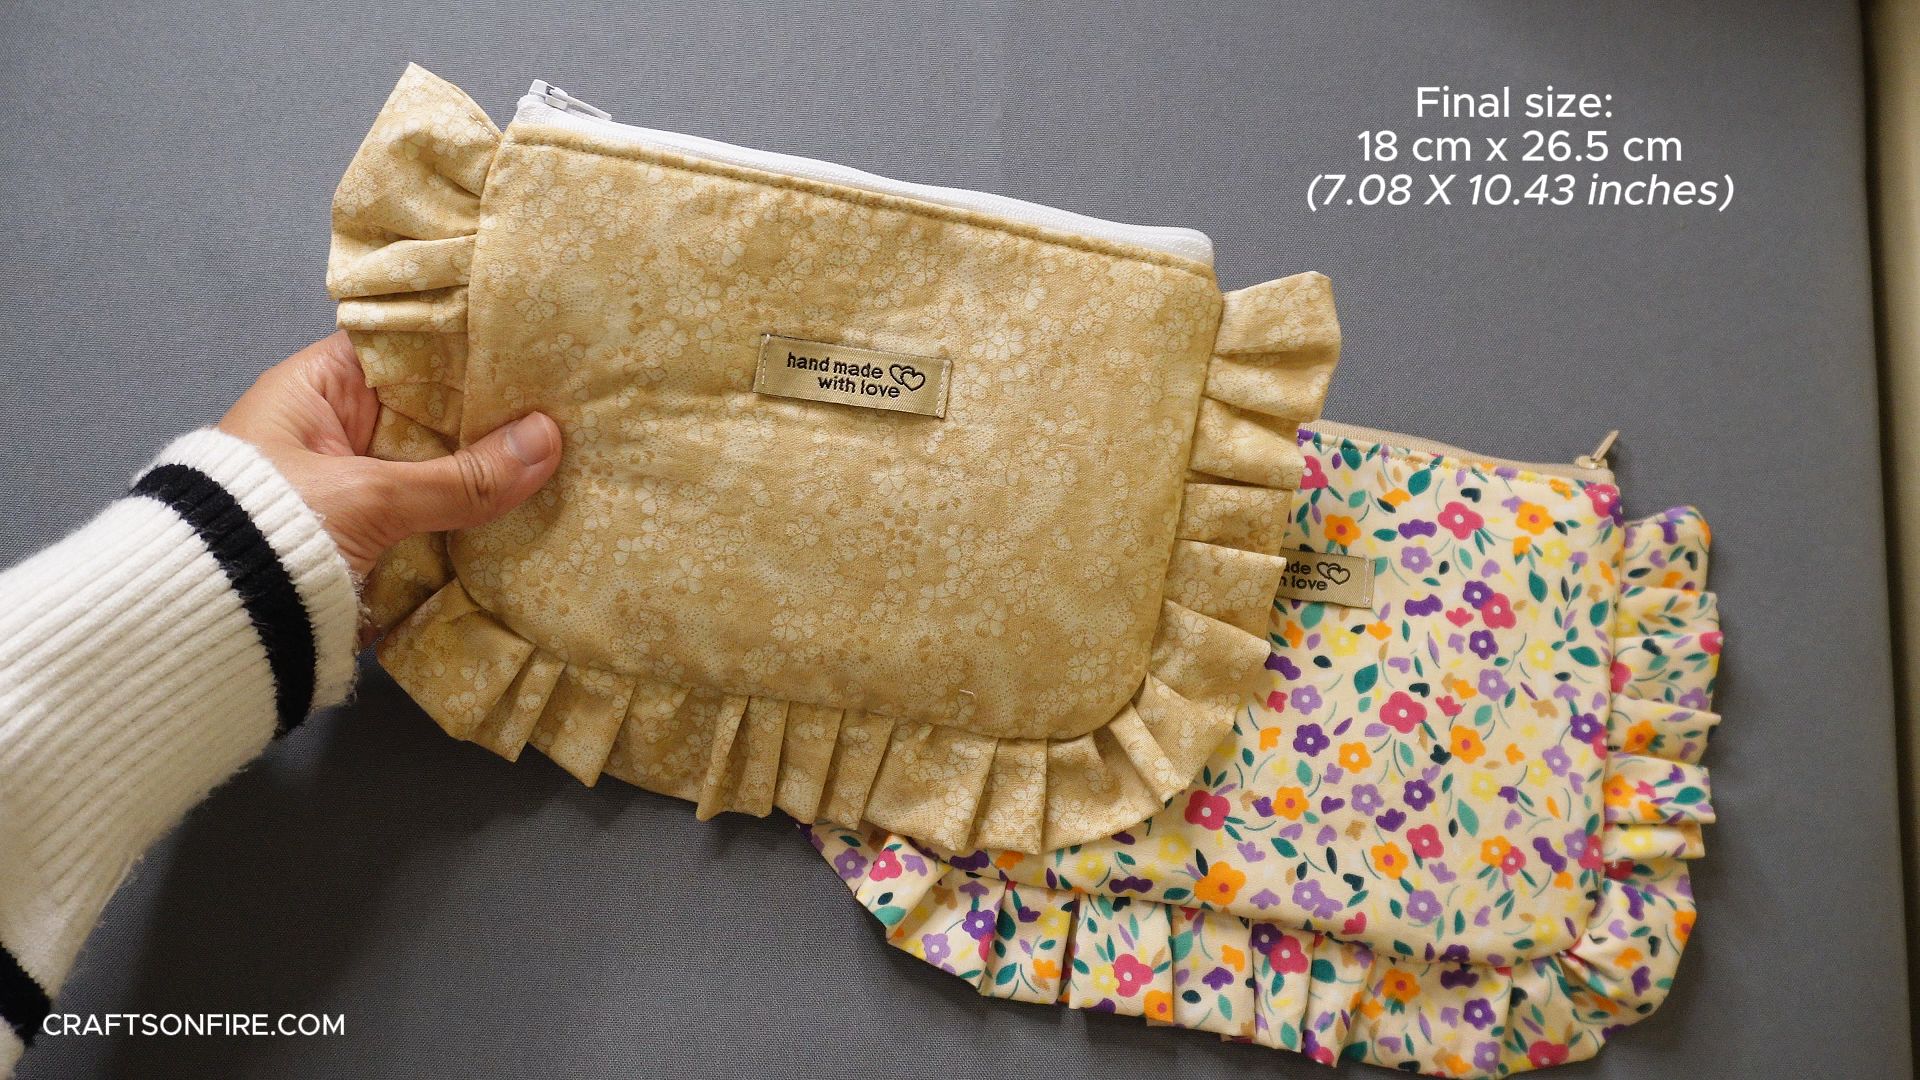
The final pouch measures 18 cm x 26.5 cm (7.08 inches x 10.43 inches)
Pattern template measurement: 22 cm x 16 cm (8.67 inches x 6.30 inches)
This is for the fabric, lining, and fabric batting/interfacing.
Printable PDF:
A quick heads up: I also created an A4 Printable PDF version of this sewing guide. If you’d like to follow along without ads getting in the way, grab your copy over here!
Video Tutorial
Instructions
Step 1: Prepare the Ruffle/Frill strip
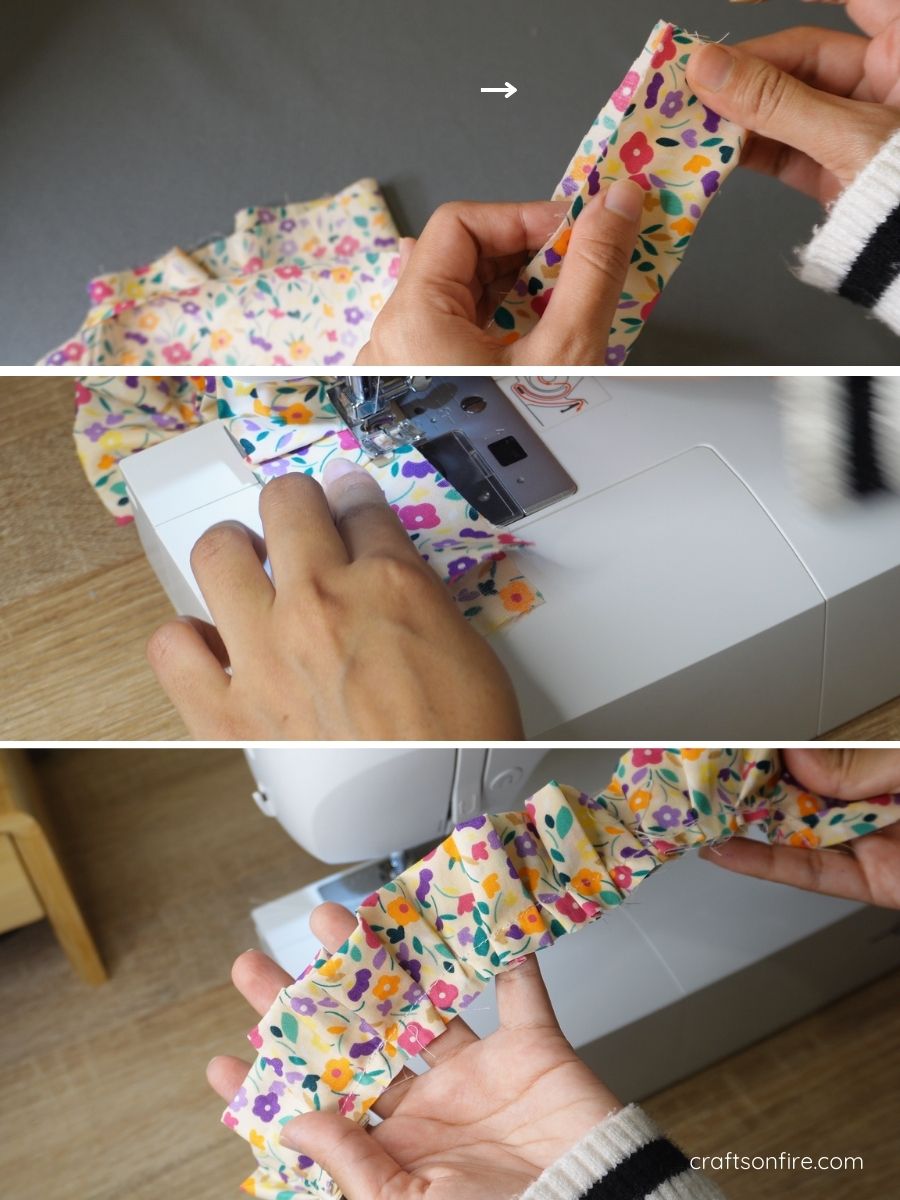
With the right side of the fabric facing up, fold the strip in half lengthwise. You’ll also want to fold the top edge inwards on both ends of the strip.
Set your sewing machine to a loose gathering stitch.
Alternatively, you can create pleats by folding the fabric as you stitch. I’ve chosen this method instead.
Continue until the entire strip is gathered.
If your ruffle/frill is too short (in the later steps), simply loosen a few of the gathers to adjust the length.
Step 2: Create The Bag Pattern
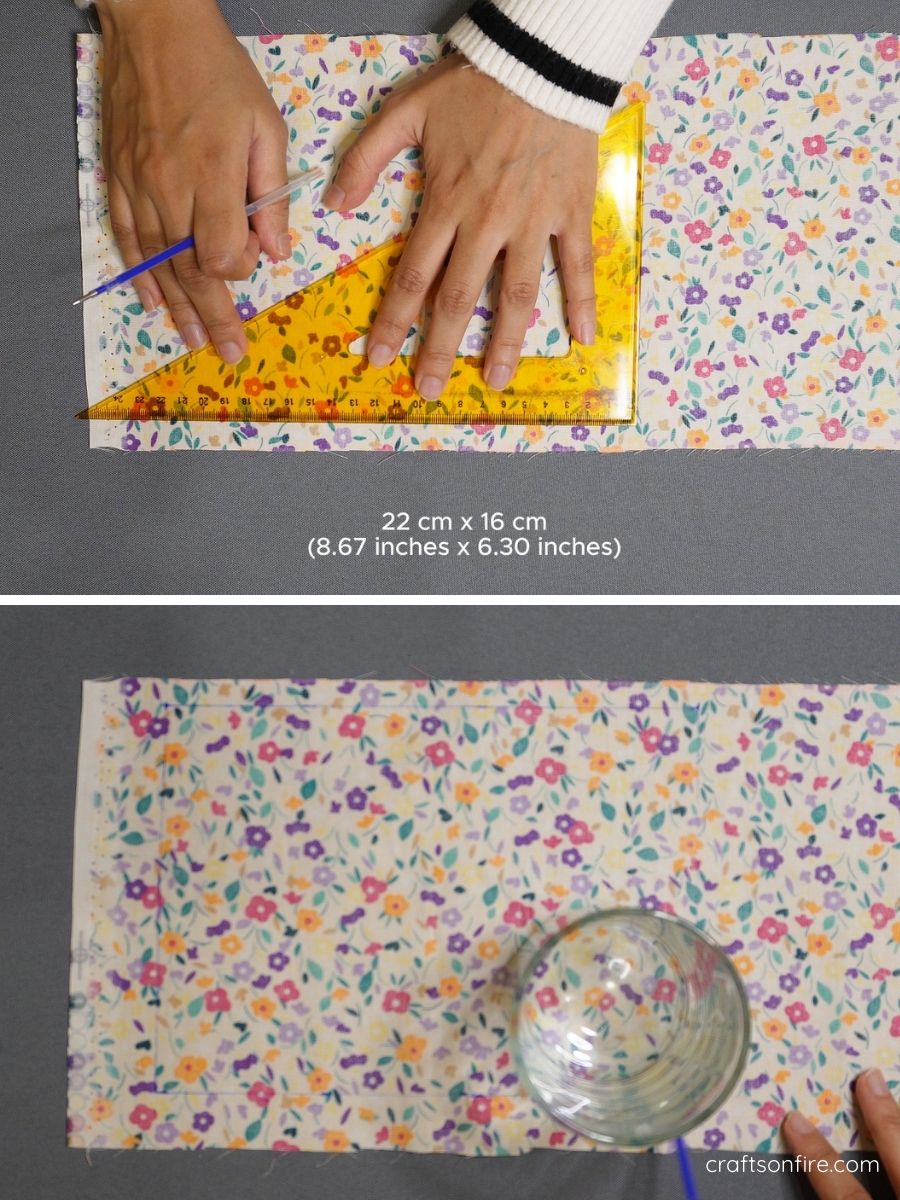
Using a tape measure or ruler, draw a rectangle on your patterned fabric measuring 22 cm x 16 cm (8.67 inches x 6.30 inches).
To shape the edges, use the bottom of a cup to draw curves on both short sides of the rectangle.
Step 3: Cut Out The Pattern
The pen is kind of hard to see so I’ve gone ahead and outlined the bag shape in a white dotted pattern below.
Grab your scissors and cut out the fabric.
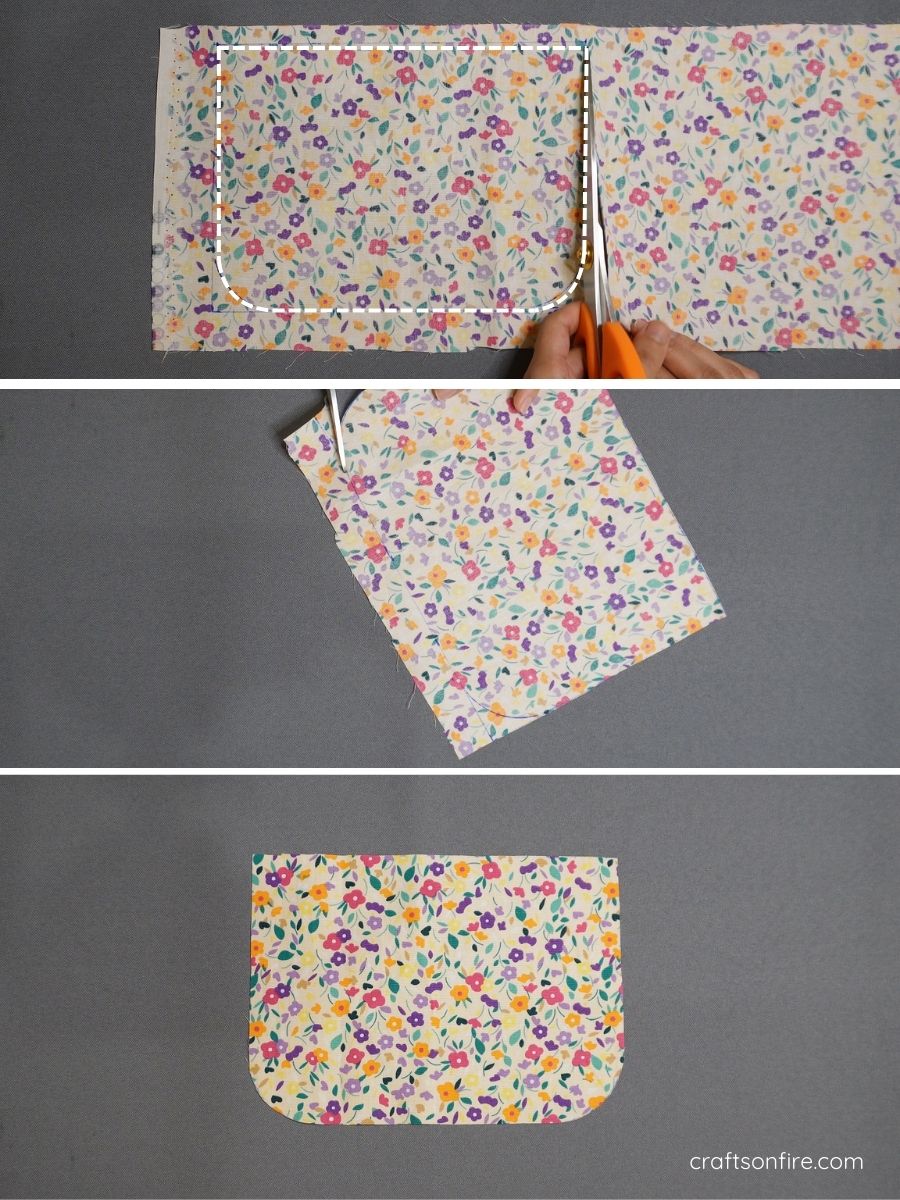
The first piece is now complete.
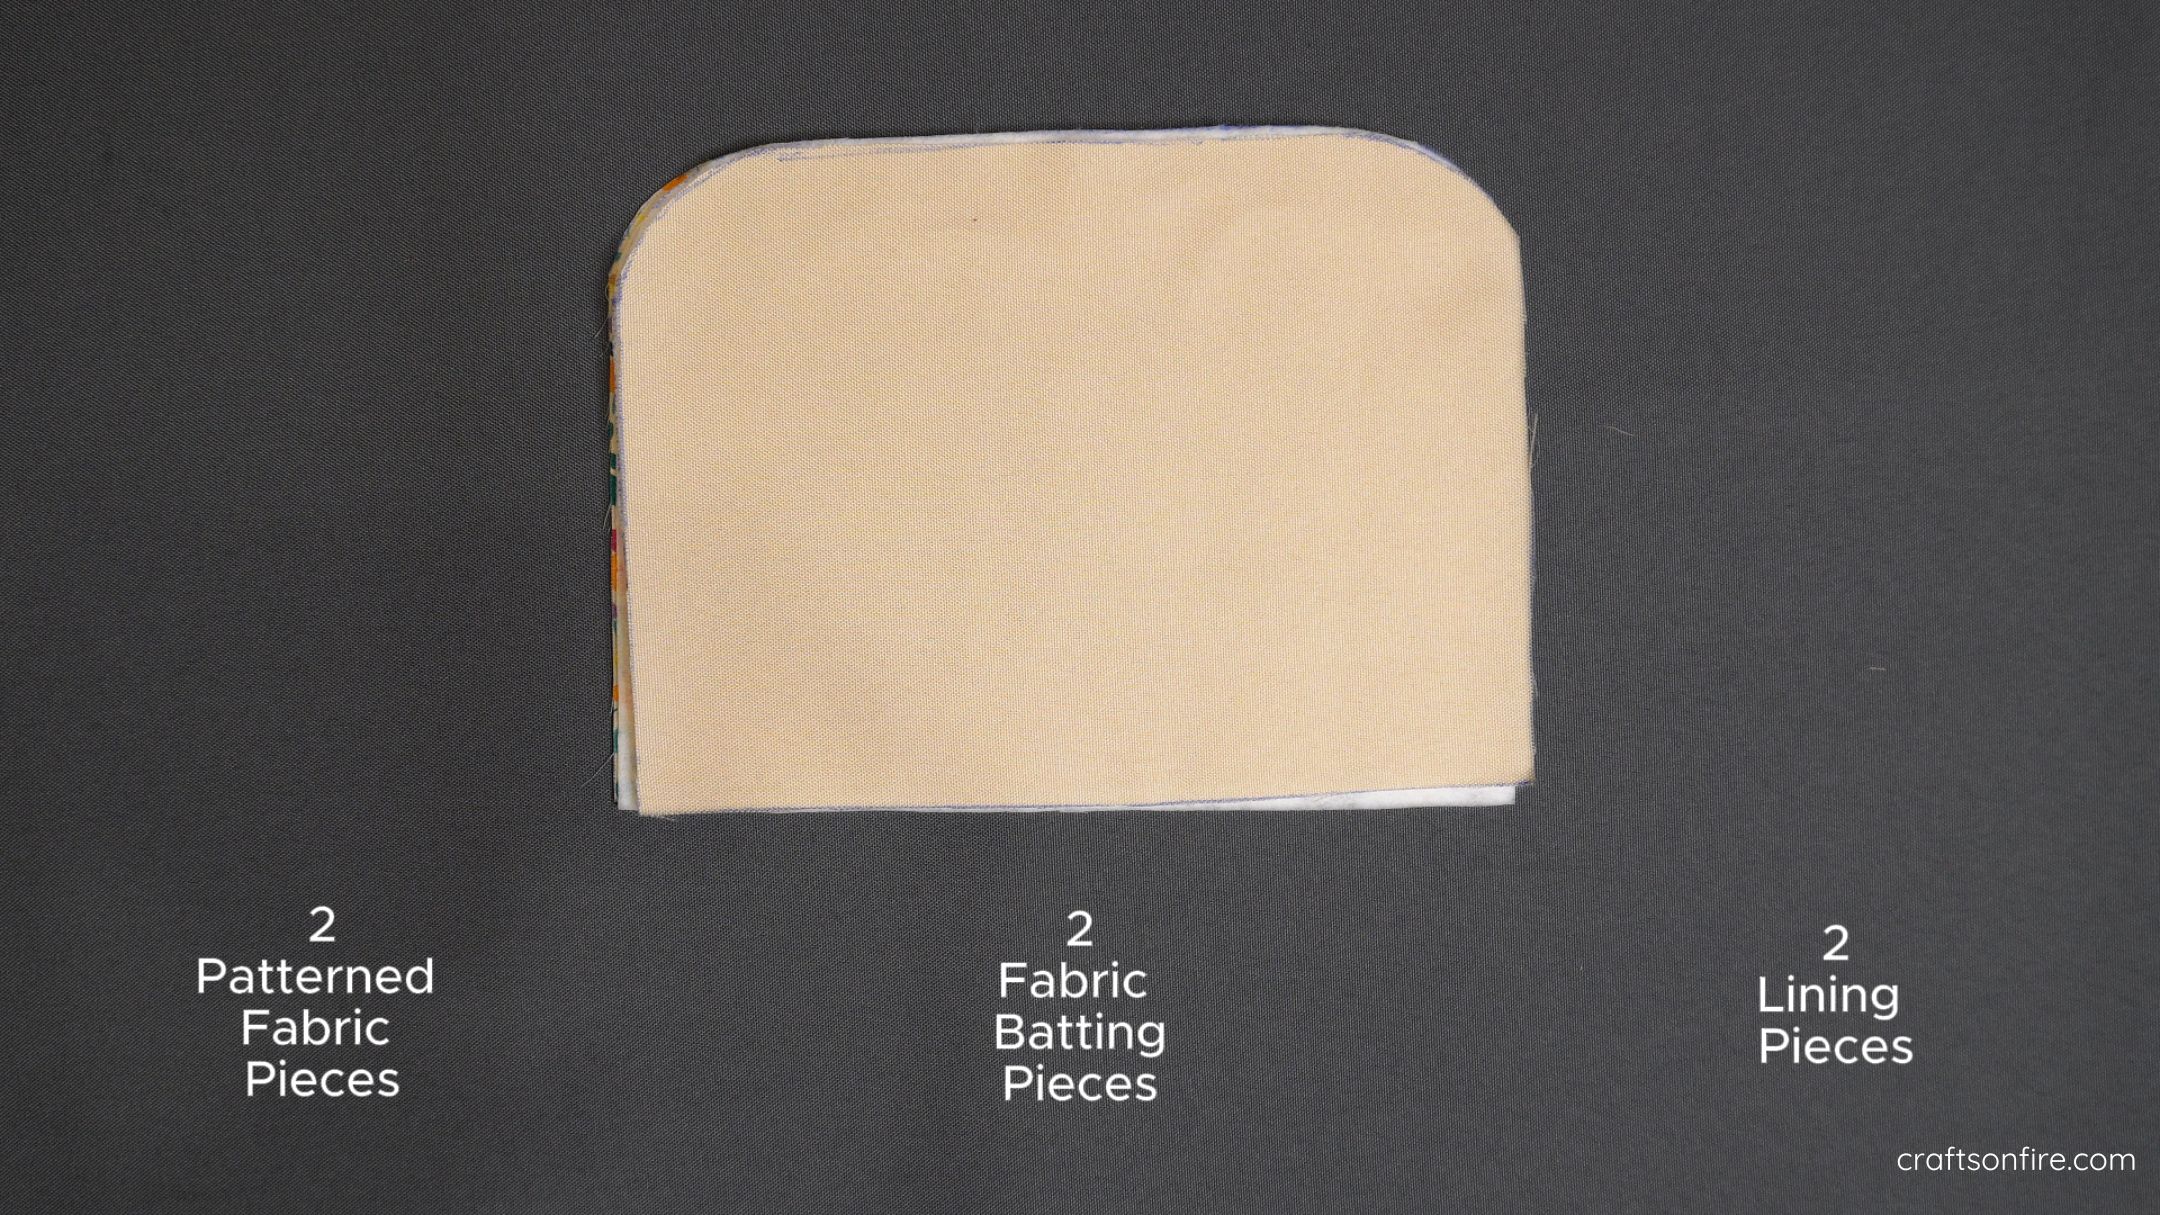
Use the above piece as the template to cut out the next pieces.
For this pouch, you’ll need:
- 2 x patterned fabric pieces
- 2 x fabric batting pieces
- 2 x lining pieces
Step 4: Attach Batting or Interfacing
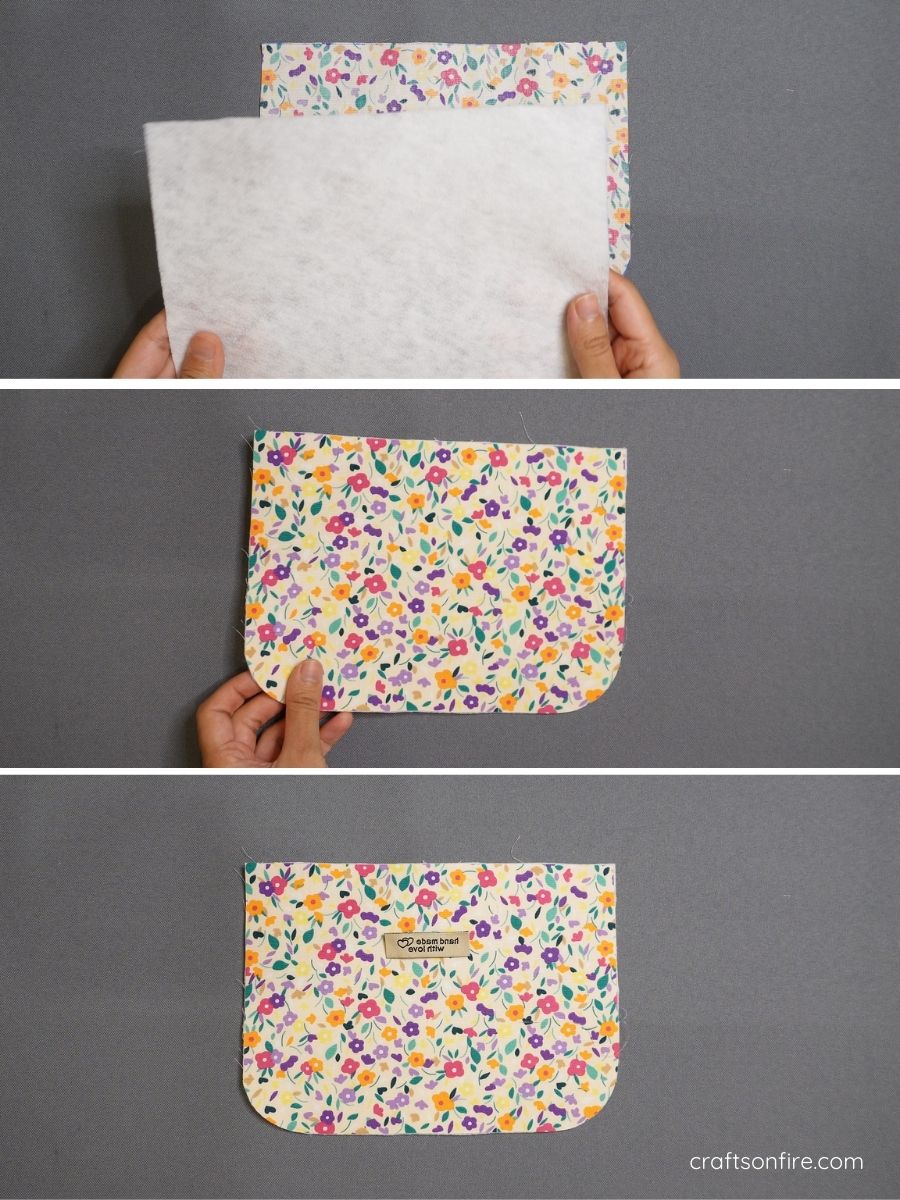
Next, attach the batting or interfacing to the wrong side of the patterned pieces and iron.
On one of those pieces, stitch a label 6 cm down from the top (optional).
Step 5: Attach the Zipper
Place the zipper along the top edge of one of the patterned fabric pieces, with the right sides facing each other.
Then, place a lining piece on top of the zipper, aligning the top edges of all three layers.
The RIGHT sides should face inward.
Sew along the top edge with a 0.5 cm seam allowance.
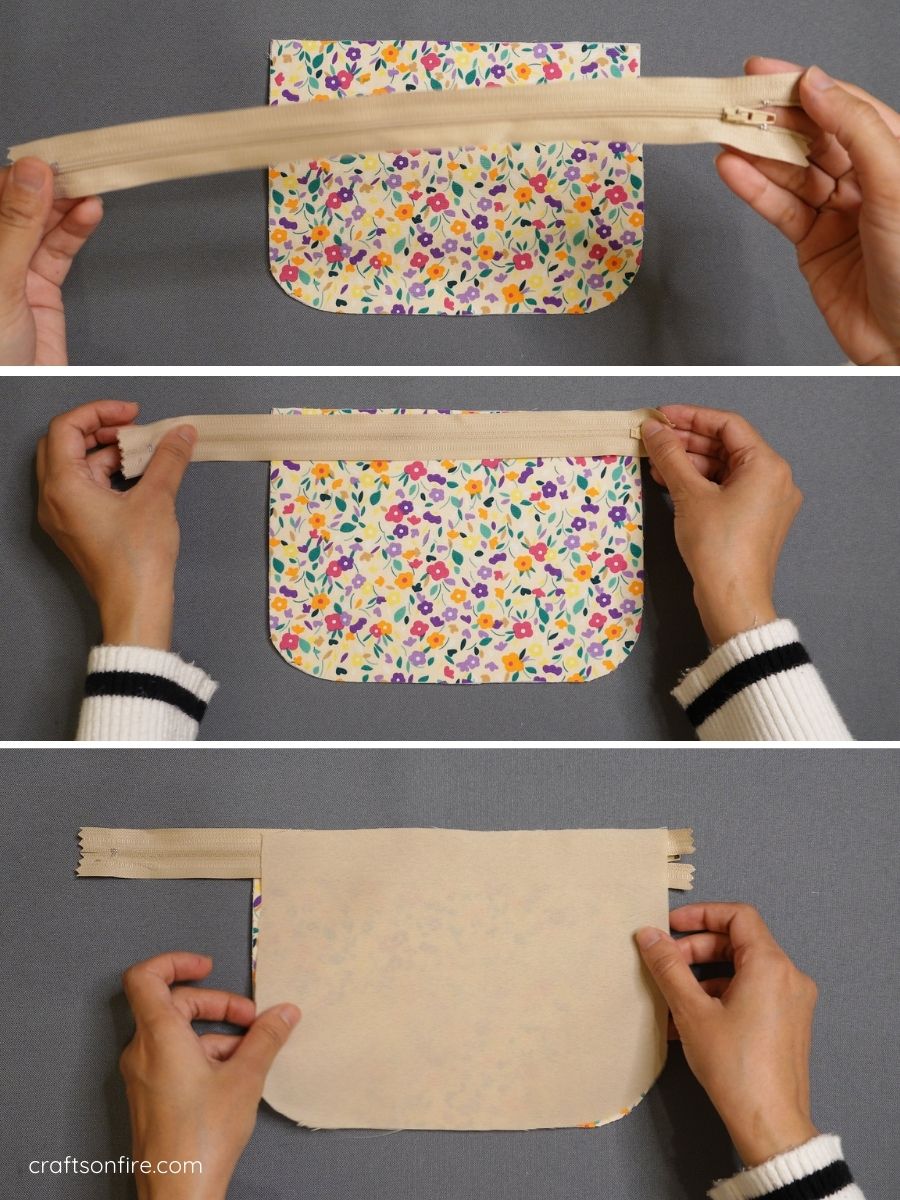
Step 6: Attach the Second Fabric Piece
Once the first set of layers is sewn, fold the fabric down so the right side is facing up.
Next, grab the second patterned piece, turn it over to the wrong side, and align it to the top edge of the zipper as shown below.
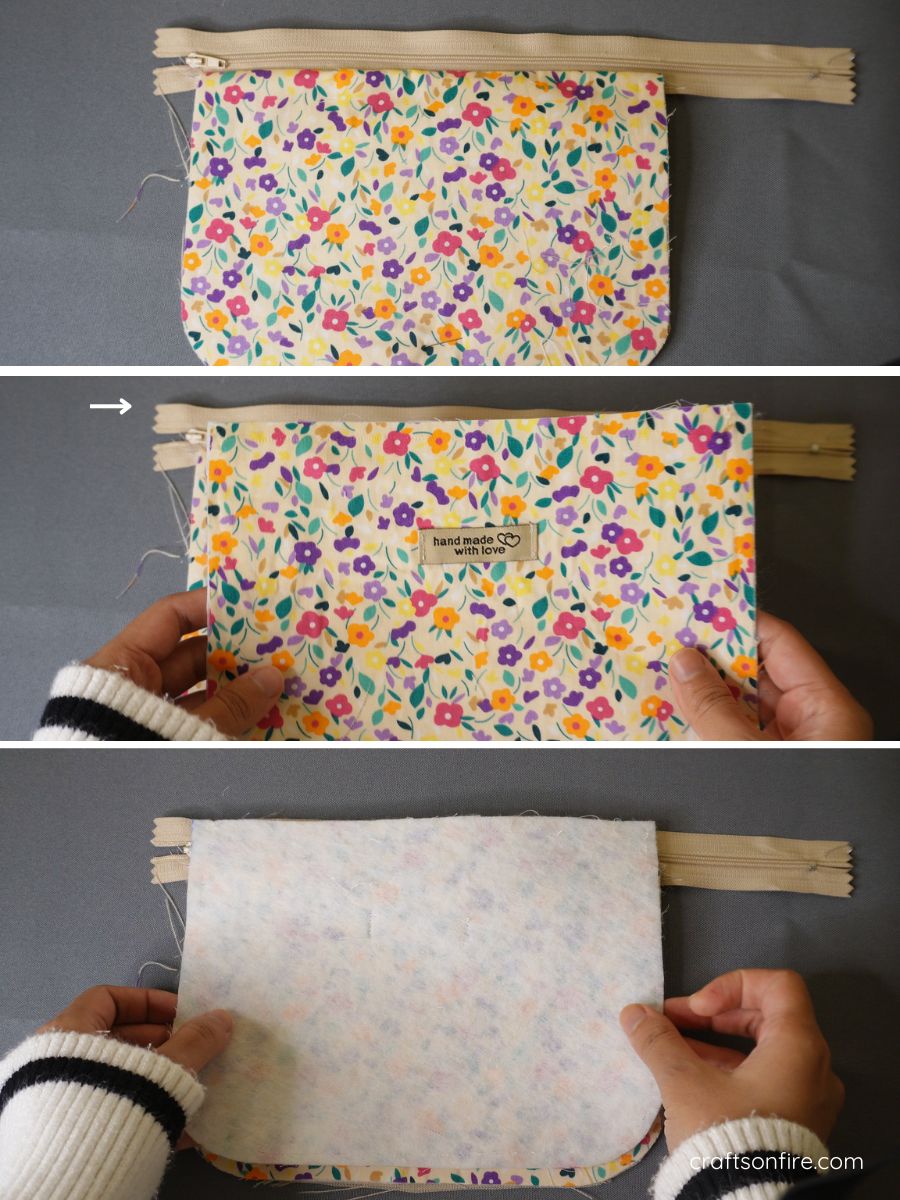
Step 7: Attach the Second Fabric Piece
Then, flip the pouch to the other side, and add the second lining piece on top of that, aligning the edges. You can pin or peg these 3 layers together.
Head over to the machine and sew these layers with a 0.5 cm seam allowance.
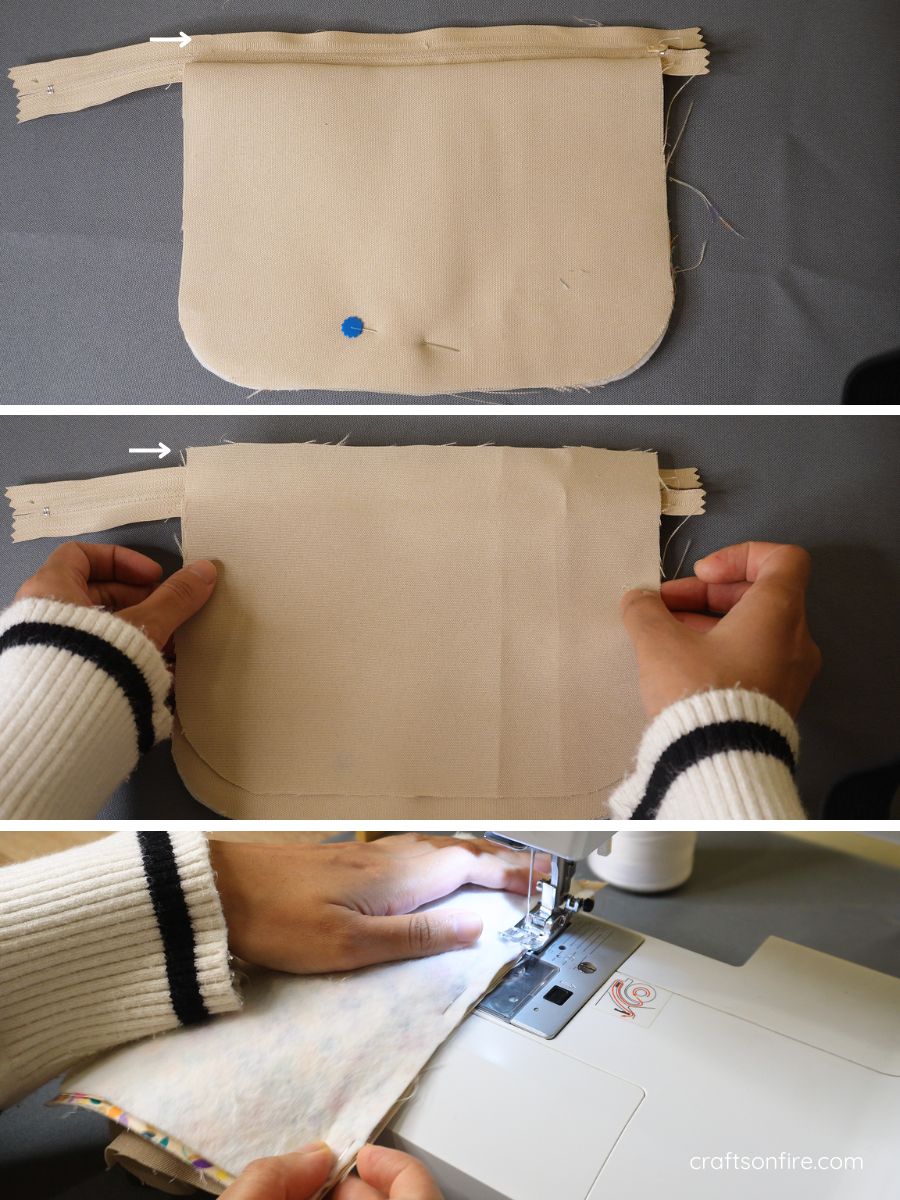
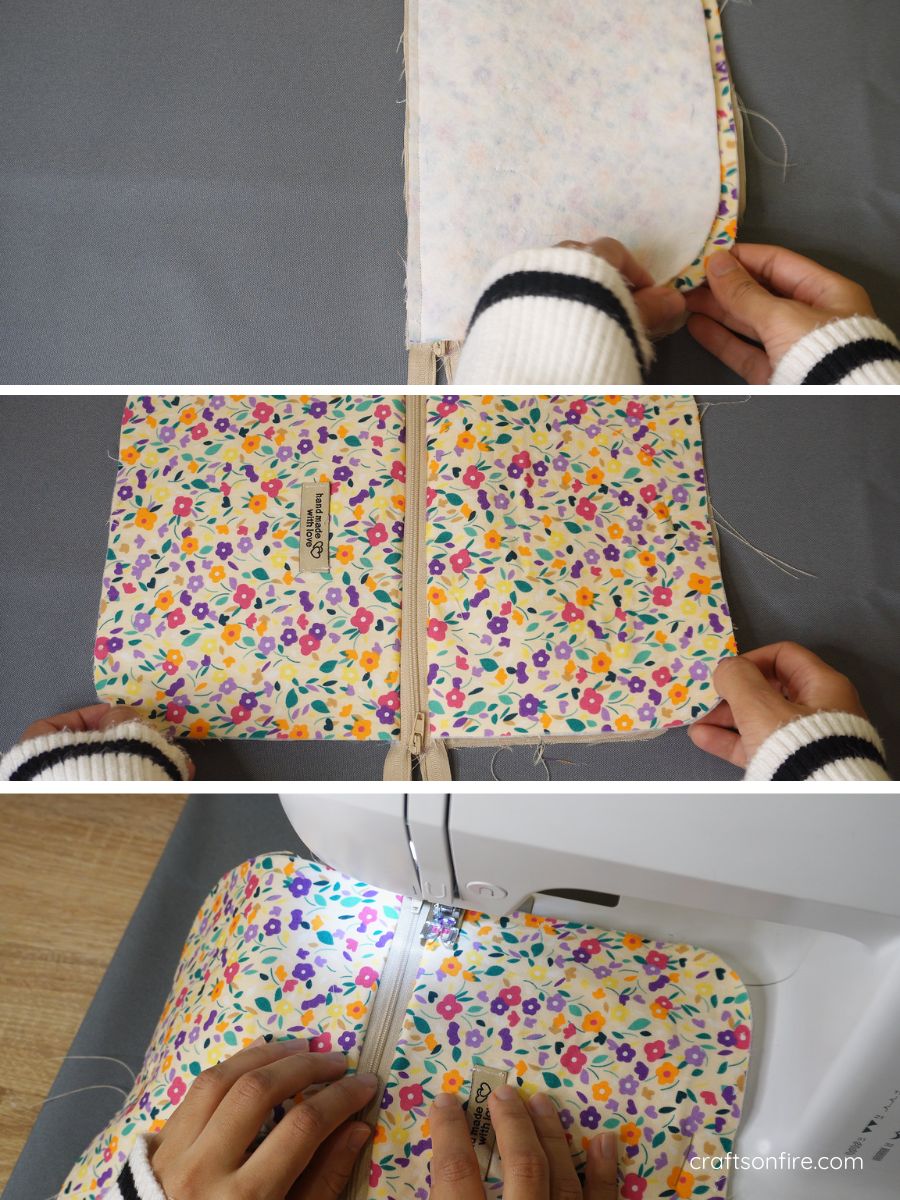
Step 8: Add a Topstitch
Now, open up the fabric so that the right side of the patterned fabric is on top and the lining is underneath.
Go to the sewing machine and add a topstitch on both sides of the zipper, stitching the top of the patterned fabric and lining together.
Use a zipper foot if you have one, or continue as normal.
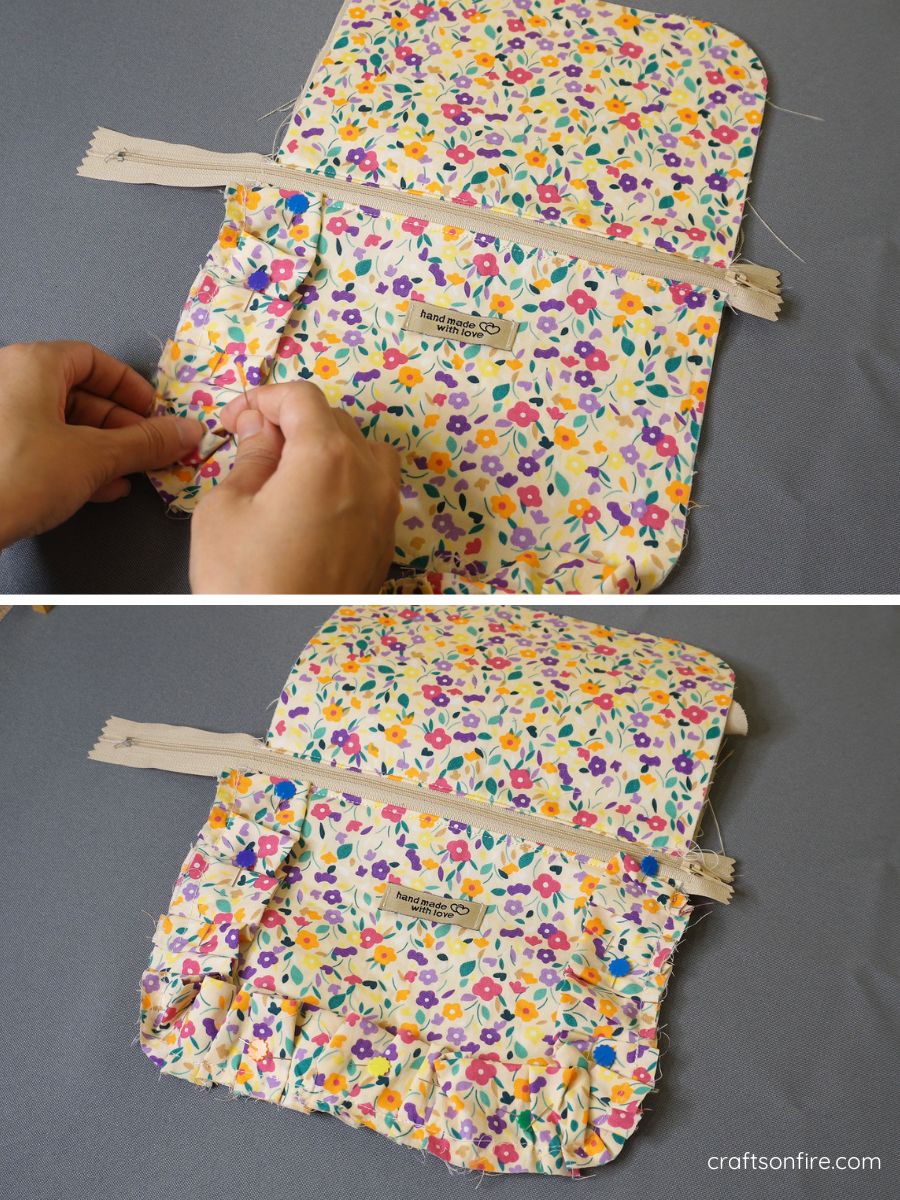
Step 9: Attach the Ruffle To Front Piece
Now it’s time to add the ruffle!
Pin the ruffle strip to the front of the pouch, with the folded edges facing inward.
Step 10: Sew the Ruffle
With the ruffle pinned in place, sew it onto the pouch.
I’ve turned my piece to the wrong side and then stitched the ruffle along the edge.
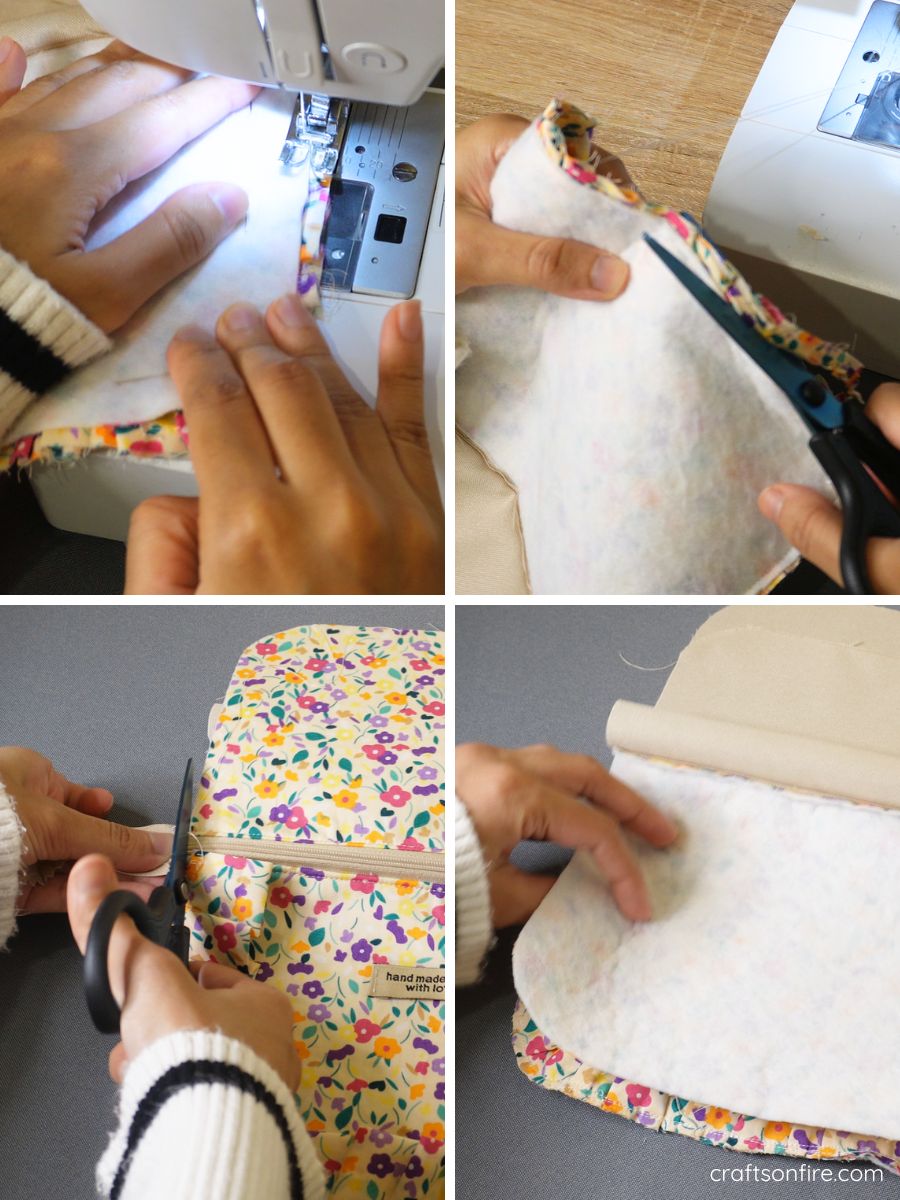
If there’s any excess fabric, trim it off. You can also trim any extra zipper length from the sides.
Then, fold the pouch to the wrong side so that the lining pieces are facing together and the patterned pieces are facing together.
Step 11: Pin & Sew the Pouch Together
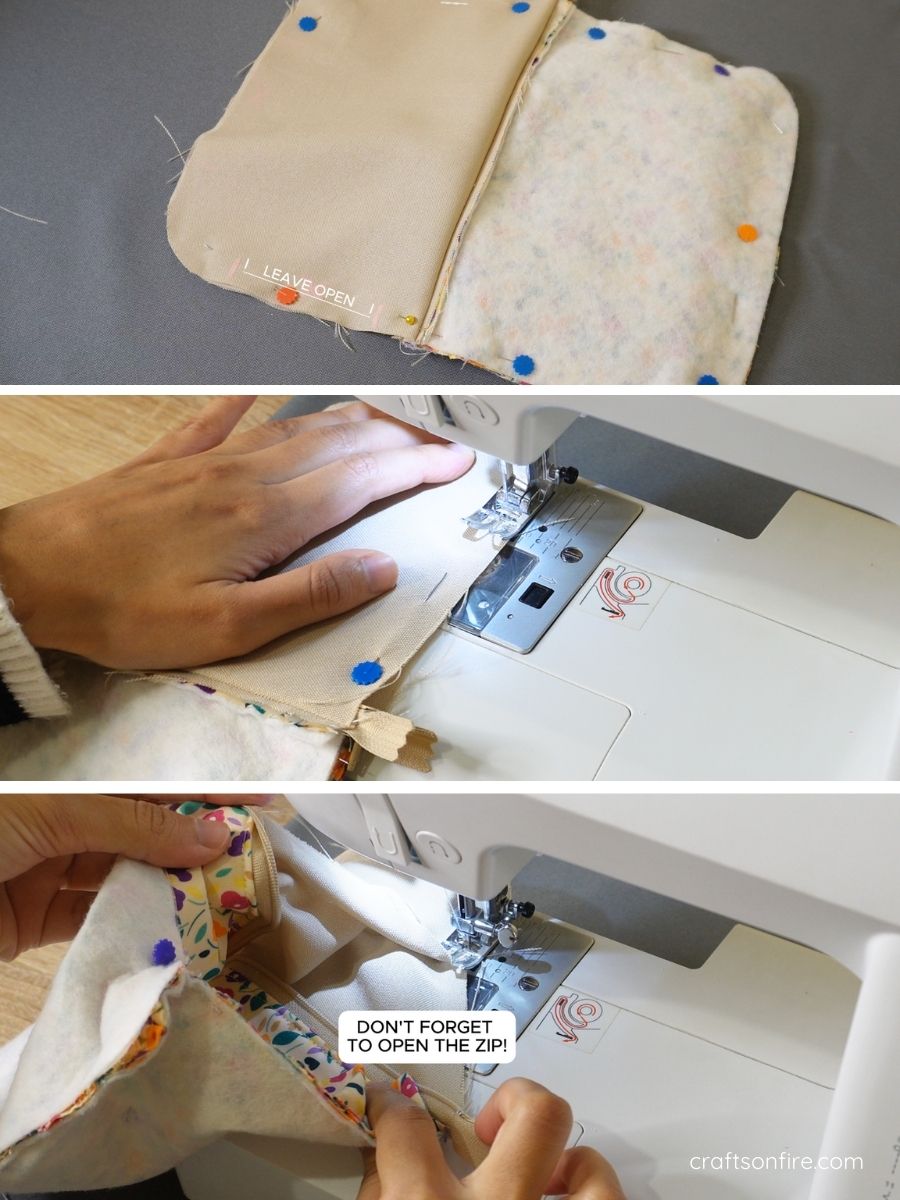
Before you proceed, make sure the zipper is open! This is crucial.
Pin the pouch together.
Mark a small section on one side of the lining where you’ll leave an opening to turn the pouch inside out later.
Sew all around the pouch, using a 1 cm seam allowance.
Step 12: Turn the Pouch Inside Out
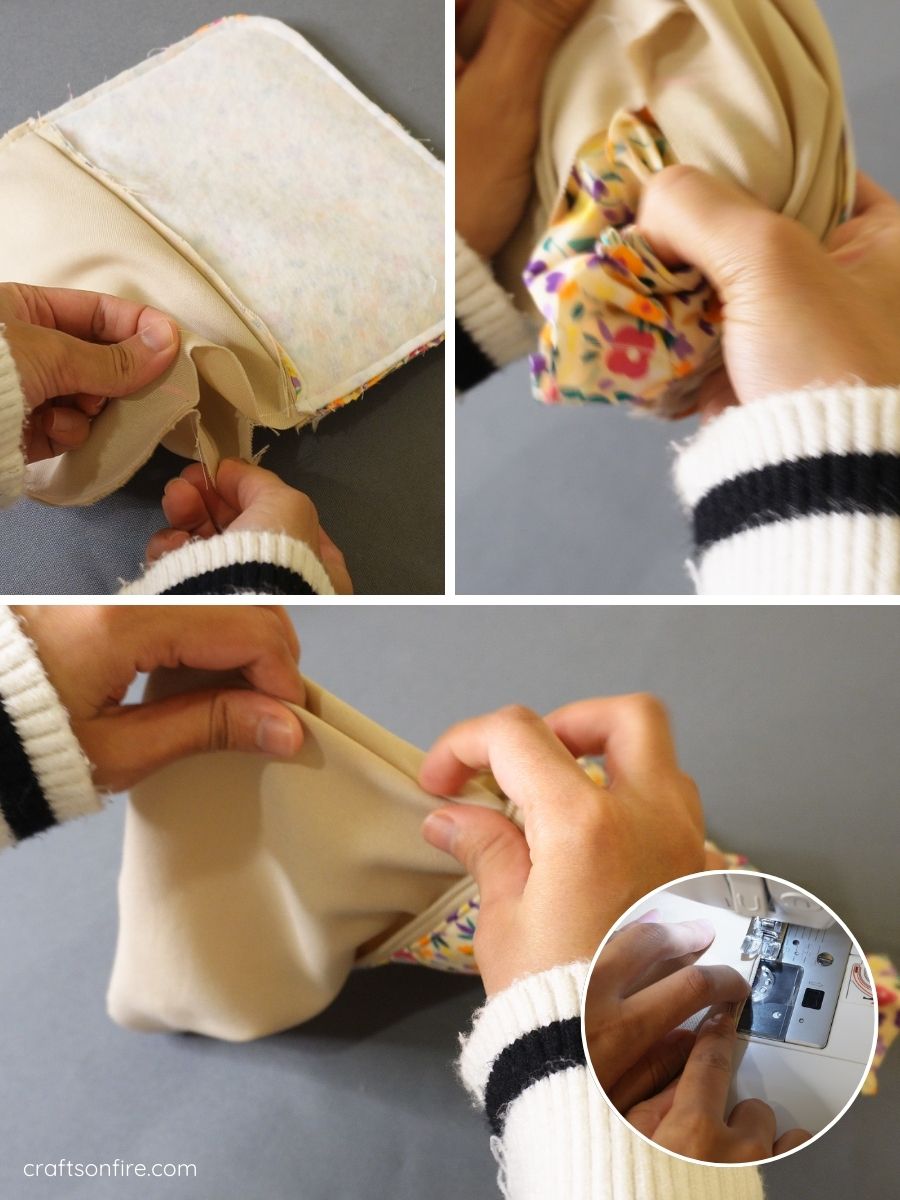
Carefully pull the right side of the fabric through the opening in the lining.
Use a pen or your fingers to smooth the curved edges through the opening.
Once everything is turned, fold the raw edges of the lining opening inwards and sew them closed.
Try to stitch this as closely to the edge as possible.
Step 13: Finish the Pouch
Place the lining back inside the pouch and smooth out any wrinkles.
If needed, give the fabric a final press to remove any creases.
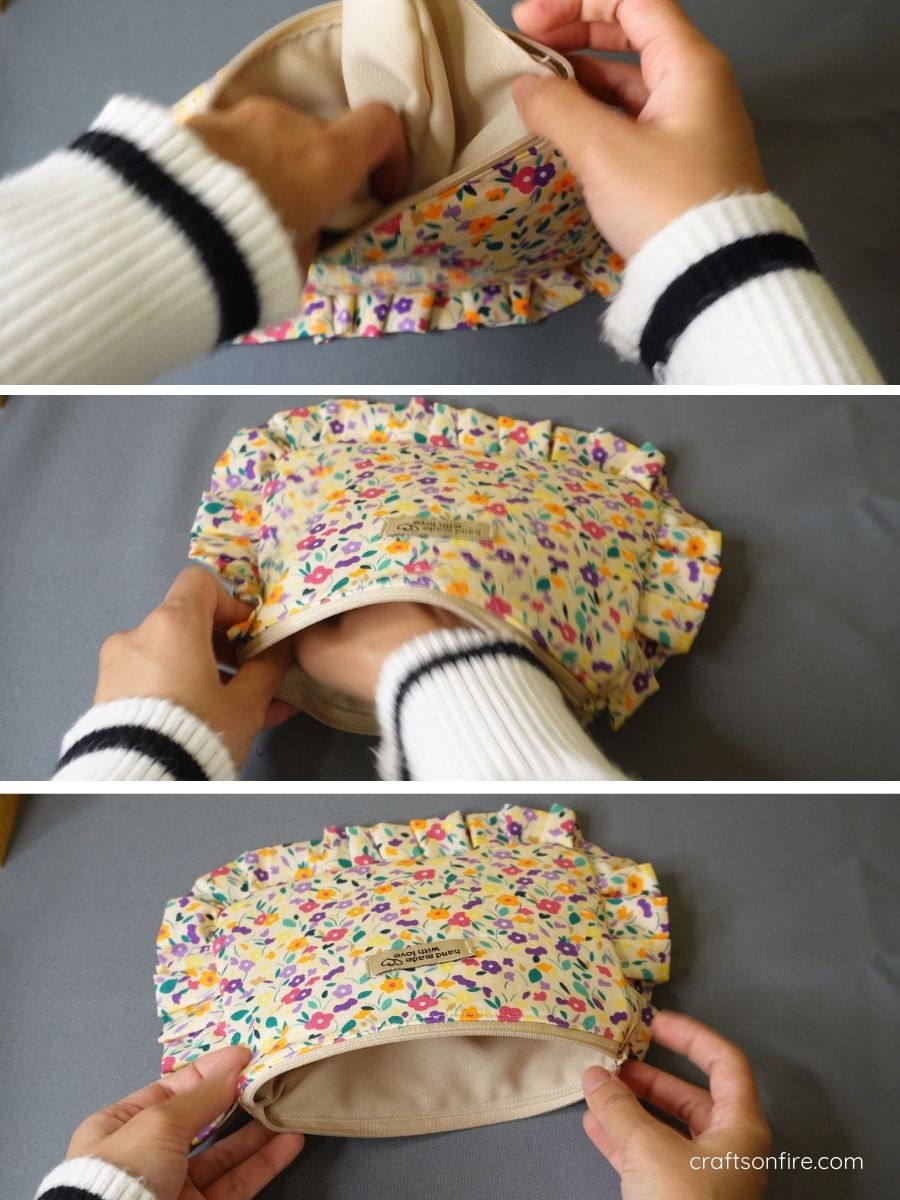
Final Result
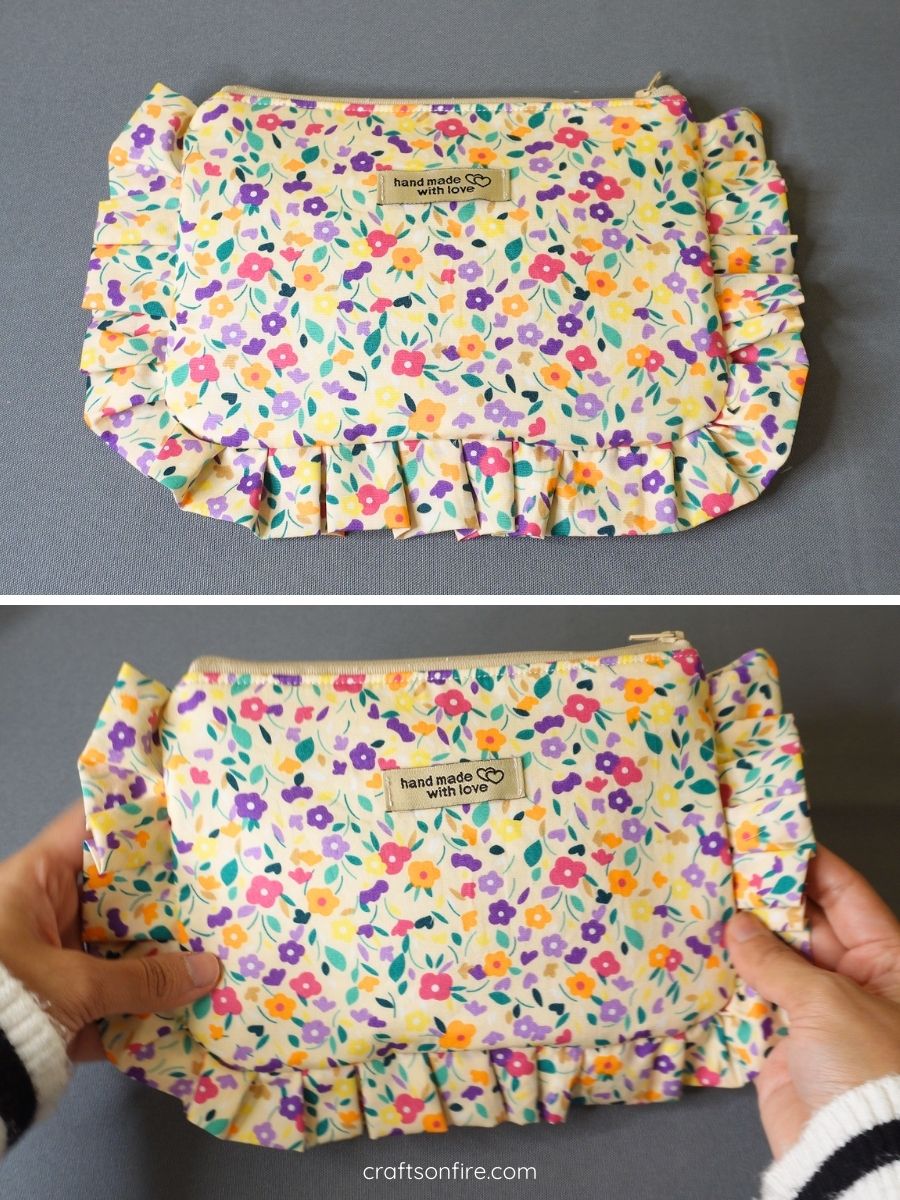
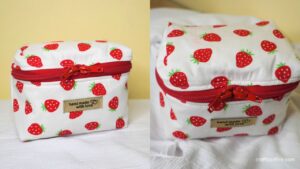
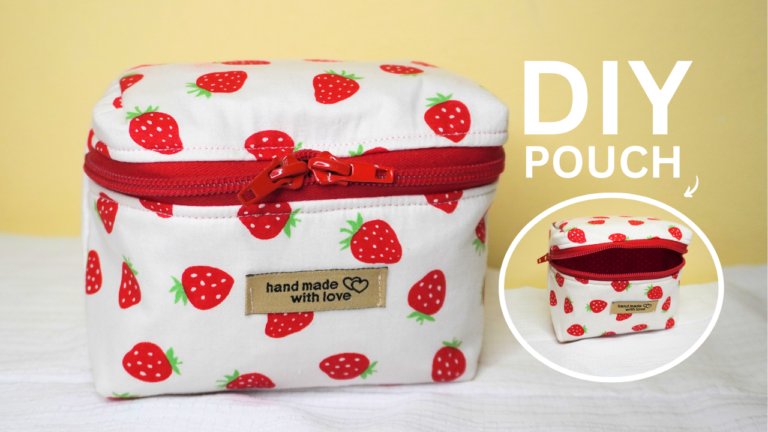
Your DIY ruffle pouch is now complete!
As promised, sewing this pouch is much easier than it looks. With just one simple pattern, everything else falls into place.
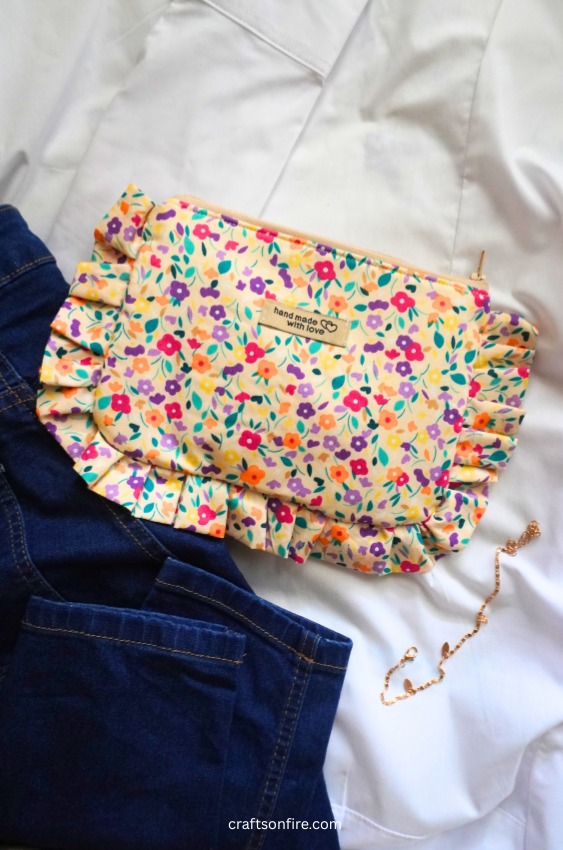
Feel free to get creative with your fabric choices! You can use any style, pattern, or color that you like. As you can see, this ruffle pouch looks great in both simple, solid fabrics and bold, patterned ones.
This project is also a great way to practice and improve your sewing skills, especially if you plan on making more pouches or bags in the future.
I hope you enjoyed sewing this ruffle/frill pouch with me! If you’d like to share your finished ruffle pouch, tag me on Instagram – I can’t wait to see how your pouch turned out!
Before you go, here are a few more sewing tutorials you can try next:
Strawberry Zipper Pouch: Step-By-Step
