How To Float Furniture In A Living Room
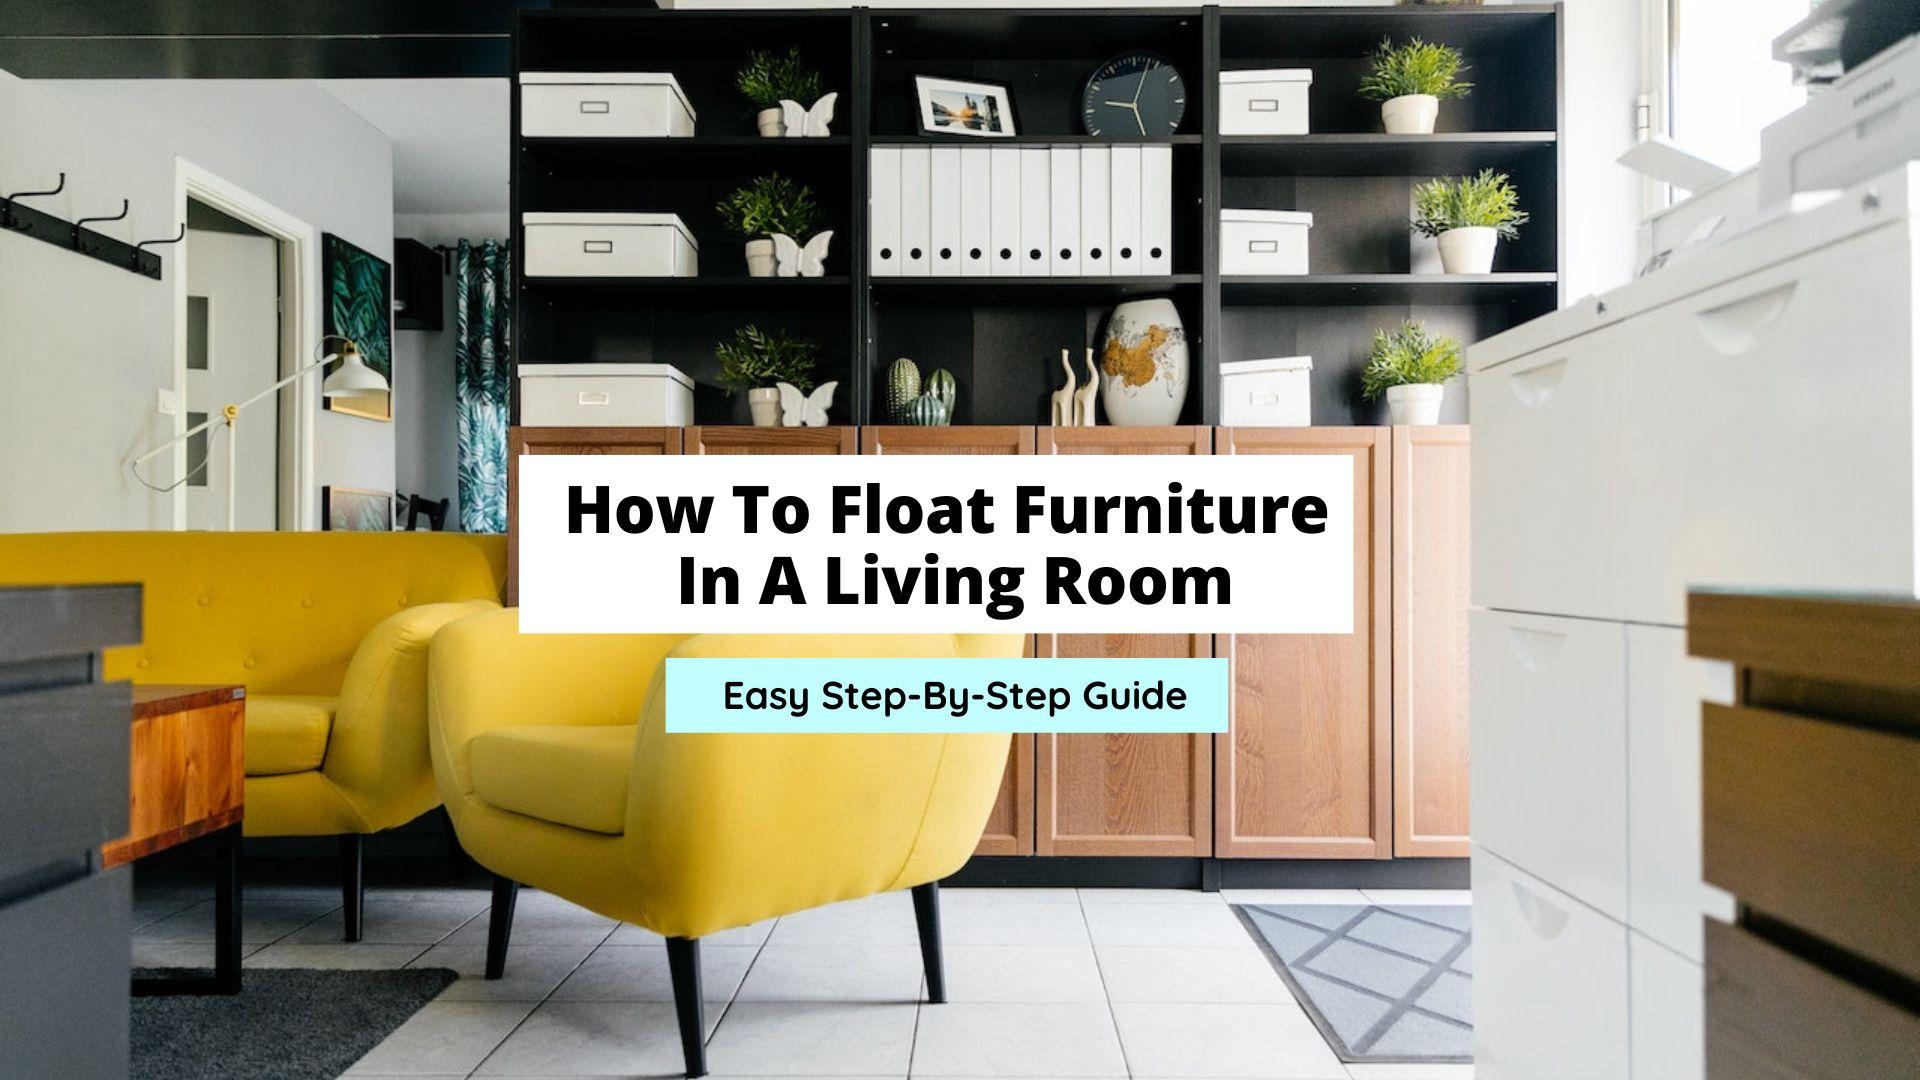
Floating furniture can be a great way to transform any space and create a refreshing new look. Not only is it functional and practical, but it’s also visually pleasing and satisfying.
Floating furniture can truly be a valuable way to style a room if you have the space to do so. It’s a technique that can be considered both timeless and modern.
To make it easier on you, I’ve broken down the process of learning how to float furniture in a living room into steps that feel simple and easy to understand.
You’ll discover the various benefits and the best ways to go about it.
If you’re excited to get started, let’s get straight to it:
Benefits of Floating Furniture
Floating furniture is a means of arranging pieces and creating an open, inviting space.
Rather than cramming everything together, this open style appears modern, classy, and stylish.
In a way, you can consider this a means to give some of your furniture space to breathe.
Floating furniture allows for a fresh, new feel while allowing for better traffic flow and also highlighting specific furniture pieces in the space.
As you can see, the pros of floating furniture are outstanding.
Just these reasons are enough to give it a try immediately!
Table of Contents
Here’s How To Float Furniture In A Space
Step 1: Make A Plan
Before beginning the task of floating furniture, it’s a good idea to create a plan.
This removes the chance of extra work in case something doesn’t fit or goes with the layout of your space.
Here’s what you need to do: Take accurate measurements of the living room and the surrounding elements.
If there’s an abundance of space, this will give you an idea of what you can do with the space.
You can also look online to come up with ideas and inspiration that will help you create a beautiful arrangement.
Step 2: Pick An Anchor Piece
When it comes to floating furniture, every space requires an anchor piece, for example, a sofa or sectional.
This is something that will tie everything together and ground the space. You can also use this to set the tone of the space.
The only requirement is that the anchor piece has to look appealing from all angles. If you have something in mind that meets these criteria, you’re good to go.
You’ll then want to decide where to position the anchor piece.
The anchor piece should also be placed close enough to a table for convenience’s sake.
For most spaces, this could be towards the middle of the room or facing any area like the TV or fireplace.
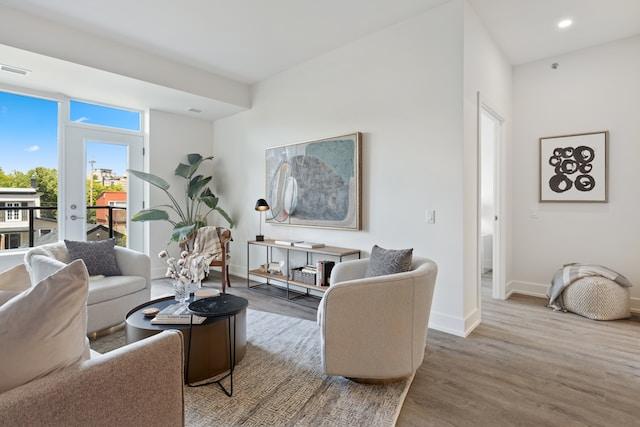
Step 3: Create Zones
Once the anchor piece has been established, you’ll now want to define different zones in the space.
An easy way to do this is to use rugs to create this visually aesthetic separation.
Having a beautiful textured rug or a patterned rug in place will add depth to the room and, at the same time, keep things looking interesting and unique.
Tip: Group Furniture
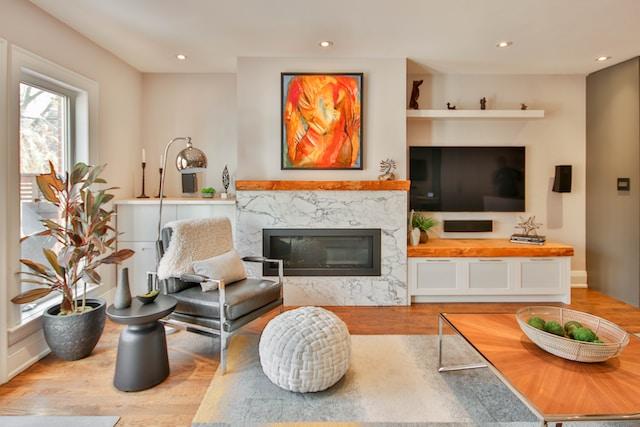
Grouping furniture together is a great way to add balance and harmony to the space. This is especially so with a floating arrangement.
Simply pair furniture pieces of similar size and style on either side of the anchor piece.
However, for a more dynamic look, you could try mixing it up.
Play around with styles. This will help you discover what works best for your space. You can also keep the main function and purpose of the piece in mind when doing so.
For example, grouping seaters together can create an open and inviting feel that encourages communication and easy conversation.
Side tables or a coffee table paired with these seaters can also provide a convenient place for drinks, snacks, or a lamp.
Step 4: Traffic Flow
An essential factor to think about is the flow of traffic when creating a floating furniture arrangement.
In any space, there has to be easy access and movement in the room without any objects obstructing the pathway.
The last thing you’d want is to knock into a furniture piece. The goal of floating furniture is to keep things natural and flowing smoothly.
If you manage to accomplish this, you’re definitely creating a successful decor.
Step 5: Add The Final Touches
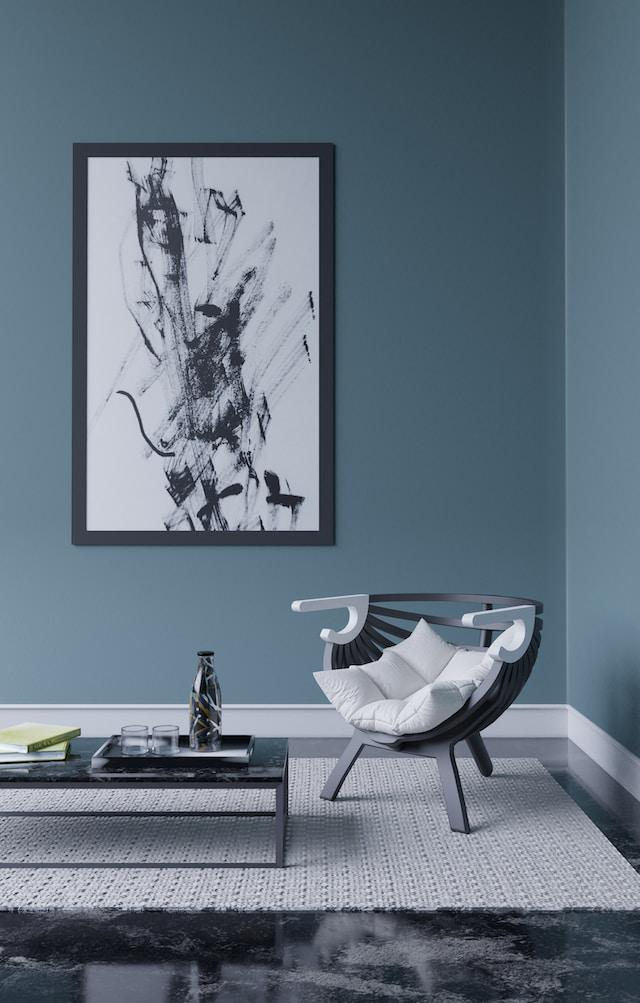
Once you’re done with your floating arrangement, it’s time to consider the finishing touches for your masterpiece.
Accessorizing with key elements such as pillows, blankets, sculptures, and artwork is a great way to add further charisma and charm to the space.
You can also use this as an opportunity to add a splash or pop of color for extra visual appeal.
While you’re at it, make use of the wall space when decorating.
Hanging artwork, mirrors, or shelves will help maintain balance in the space.
However, it’s important to not overdo it.
I know how easy it can be to keep adding pretty new objects to the space, but when you’re doing a floating arrangement, the less you add, the better.
In fact, you don’t want the furniture and objects to compete for attention. Rather, have them complement or highlight each other.
Quality over quantity should be your go-to rule.
Step 6: Essentials of Lighting
Lighting is the secret sauce to making any space appear cozy or alive.
It can easily make a world of difference and affect the way things appear. In other words, you can set the tone for the space with the lights. When floating furniture, think about the position of the windows.
If you want the furniture to be bathed in natural light, simply place it near a window.
Floor lamps or overhead lighting can be used to add soft lighting for a warm and cozy ambiance. This can also easily fill up empty or bare areas in the space.
Final Thoughts
As you can see, floating furniture is quite easy if you know what to do. As long as there’s an anchor piece to begin with, the rest falls into place. You can truly transform any space if you’ve never tried having a floating furniture style before.
There are no strict or hard rules you need to follow but I recommend going with what feels comfortable for you and how you’d prefer things to be.
Every space is unique, and I honestly feel that when you inject some of your personality and charm into the space, it becomes even more special.
